_GOTOBOTTOM
Dioramas: Techniques
Diorama techniques and related subjects.
Hosted by Darren Baker
Battle damaged bitumen road, Iraq test
Adamskii
Visit this Community
South Australia, Australia
Joined: November 06, 2010
KitMaker: 537 posts
Armorama: 474 posts
Posted: Thursday, January 13, 2011 - 04:53 PM UTC
Hey folks, i am about to get into the nuts and bolts of building my Iraq Diorama, The buildings are done, the vehicles are done and the layout pretty much confirmed. Just a few loose ends. One of which is how to make a good looking battle damaged/ worn bitumen (ashphat) road.

I had an idea how to go about it , so here is a blog dedicated to my technique. I hope i can get some feedback at the end on how you think it looks. Please read my explanations and remember this is just a test bed, and final product would incorporate improvements from experience and suggestions, and i would take alot more time to do it (not a few hours like this did).

Adam

the test bed with an appropriate vehicle for context -
Adamskii
Visit this Community
South Australia, Australia
Joined: November 06, 2010
KitMaker: 537 posts
Armorama: 474 posts
Posted: Thursday, January 13, 2011 - 05:04 PM UTC
ok here goes :

essentially after studying how a real road looks and degrades, i thought I would try emulate nature. when a road gets cracks and pot holes, it from pressure applied from above compounding the aggragate underneath the road, causing the hard surface to depress and fracture. water and sun help this process occur. Ever see a pothole in your street get bigger and bigger over time?

SO I want to have a crushable roadbase, with a hard surface. I decided to use the soft flower arranging foam that comes in a brick. this stuff holds shape real well, but it crushes with next to zero pressure applied. it is very inexpensive - the brick cost about $2.


I use a bread knife to cut enough blocks to cover the test base - a piece of MDF board offcut about A4 size. The board was warped before I began so keep that in mind for later.


3 pieces to cober the board, cut about 10mm thick

attaching to the board was first big hurdle. superglue does'nt work the stuff crumbles around the glue. leaving the superglue on the board

plan b - use double sided tape


it doesnt work much better. but it did hold - and the foam can be removed, but i tacked the edges with superglue. I will do another test later with PVA woodglue, but I didnt want to waste time today waiting for that to dry.

The blocks in place,and trimed to the size of board


I use the breadknife to level out the surface and add a camber to the road. it doesnt need to be perferct


the roadbase ready for the hard shell
Adamskii
Visit this Community
South Australia, Australia
Joined: November 06, 2010
KitMaker: 537 posts
Armorama: 474 posts
Posted: Thursday, January 13, 2011 - 05:37 PM UTC
The surface and texture.

plainly the easiest surface to use is plaster of paris. So lets start there - I mix enough as per the manufacturers instructions.

I decided to add a little texture in the form of fine but course natural gravel (sourced from a creek bed, and then oven dried, sifted through a 1mm sieve)


the mix is a bit of a "slurry" ie. runny, like thick custard.

pour onto center of the road base


use a spatula so smear across the surface - the thinner the better . I think about 2mm is a good target, not too thick or it wont crack later.


looks like cream on a cake - lol..


Leave it to dry - I left mine for an hour or so while I went to get lunch.

As a side note I try to not waste plaster once mixed. I always have some spare moulds handy to pour left overs into. Here is my sidewalk master (on the board) and the mould (pink rubber).

plaster poured

and my curved sidewalk corners - you can never have enough of these - i have dozens of 4 inch by 2 inch sidewalk sections made of plaster ready for and street dio I might do later !

Adamskii
Visit this Community
South Australia, Australia
Joined: November 06, 2010
KitMaker: 537 posts
Armorama: 474 posts
Posted: Thursday, January 13, 2011 - 05:53 PM UTC
weathering the street - battle damage

ok the fun bit . This is where I would get my wife involved its easy and she cant really stuff it up but at the end I can say that she helped.. inclusion is a good thing.

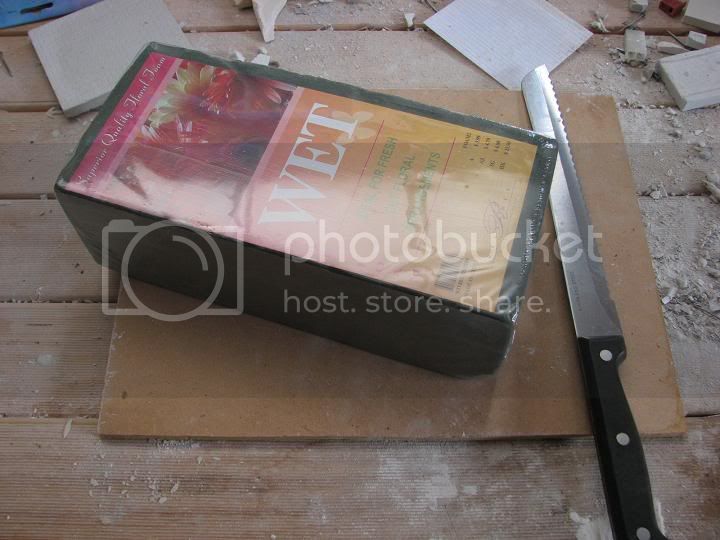
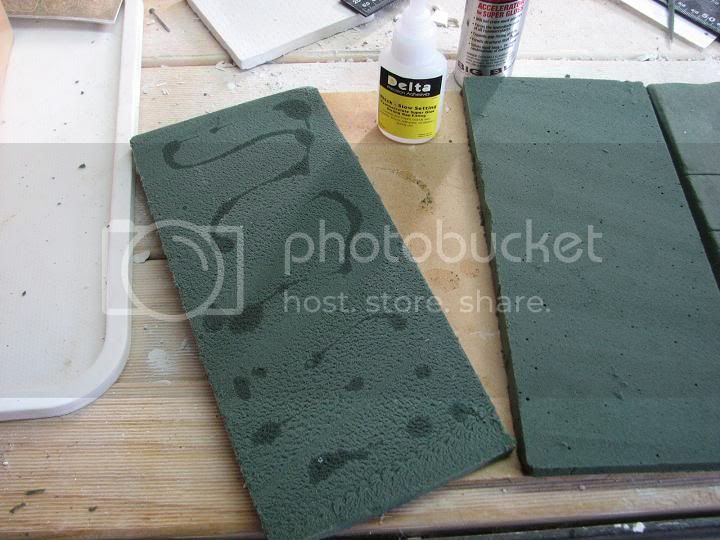
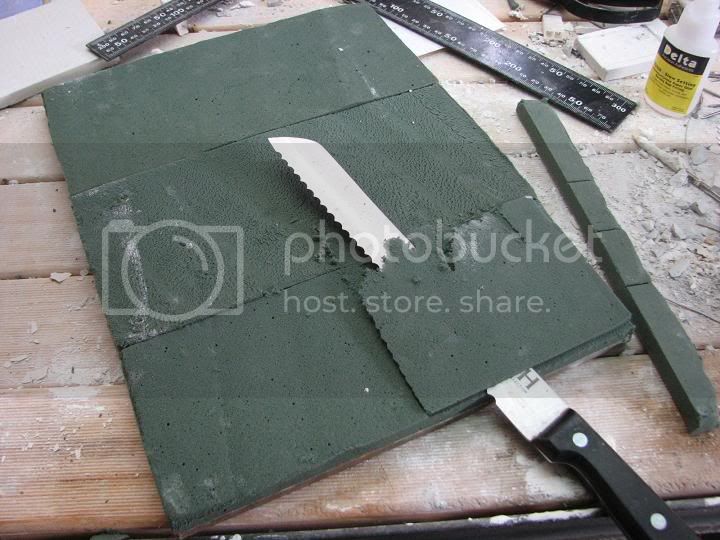
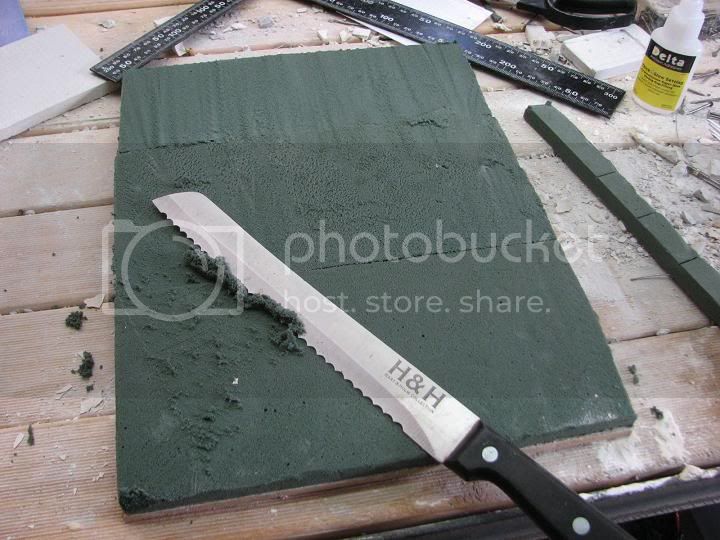
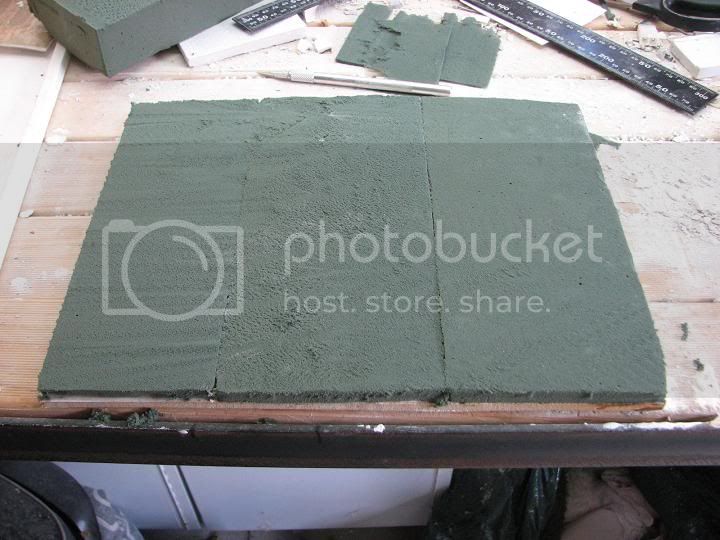
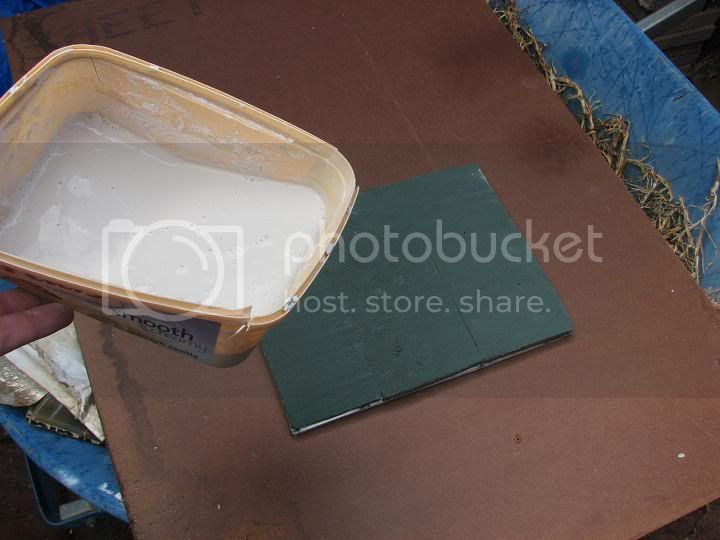
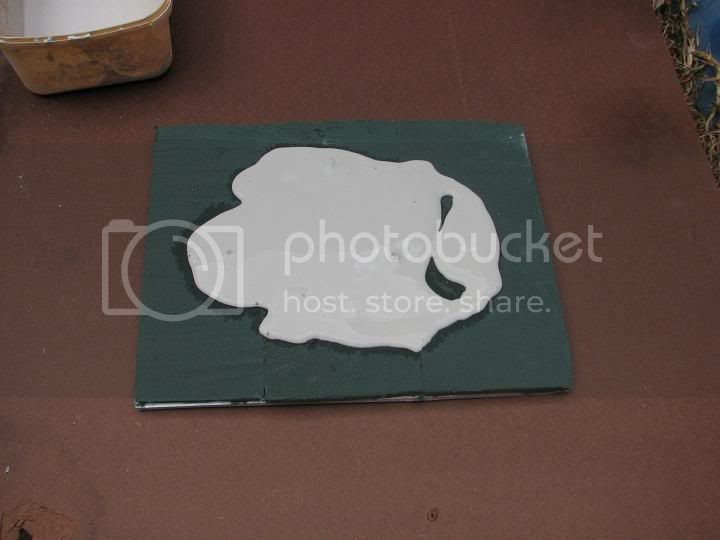
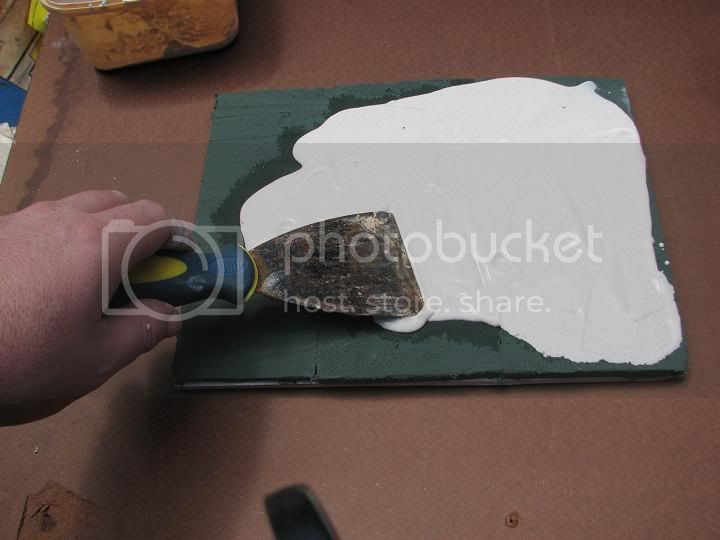
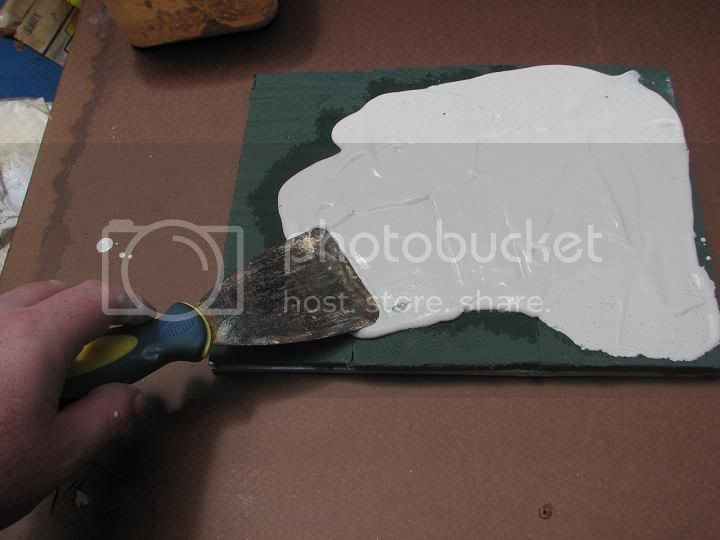
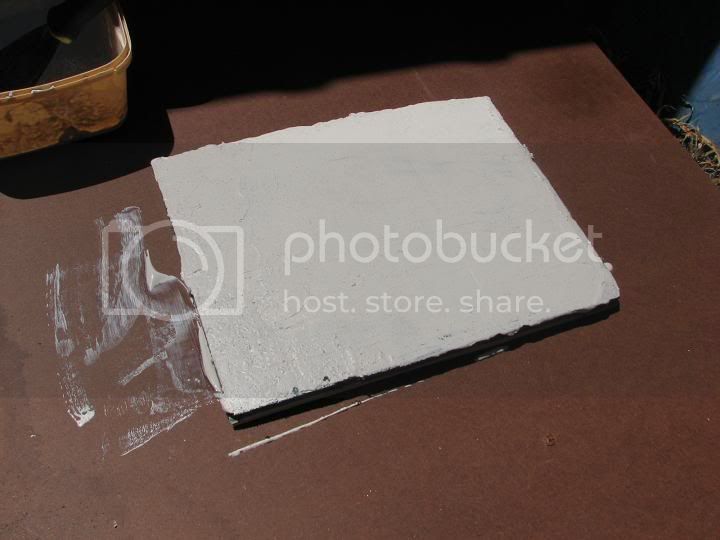
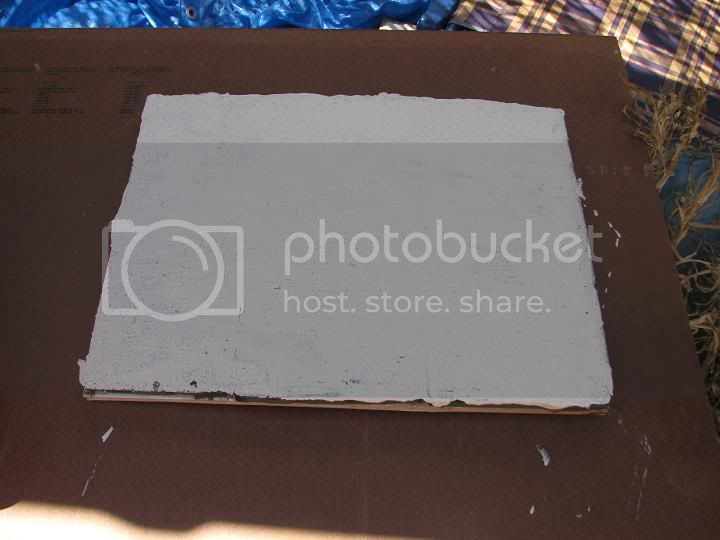
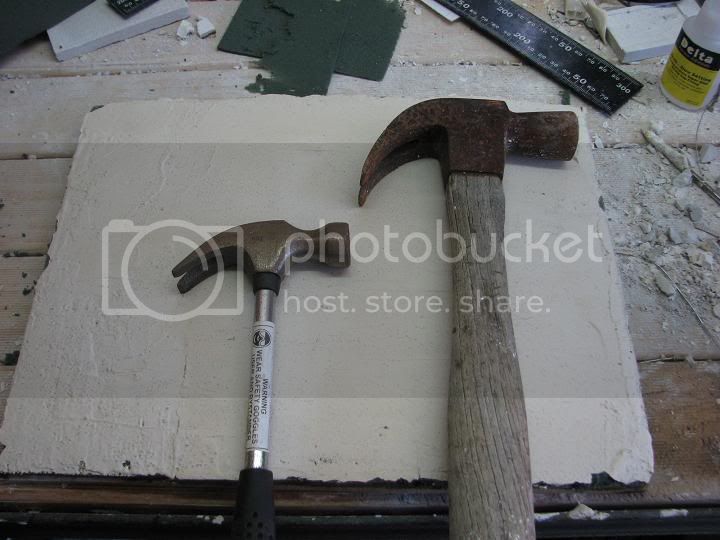
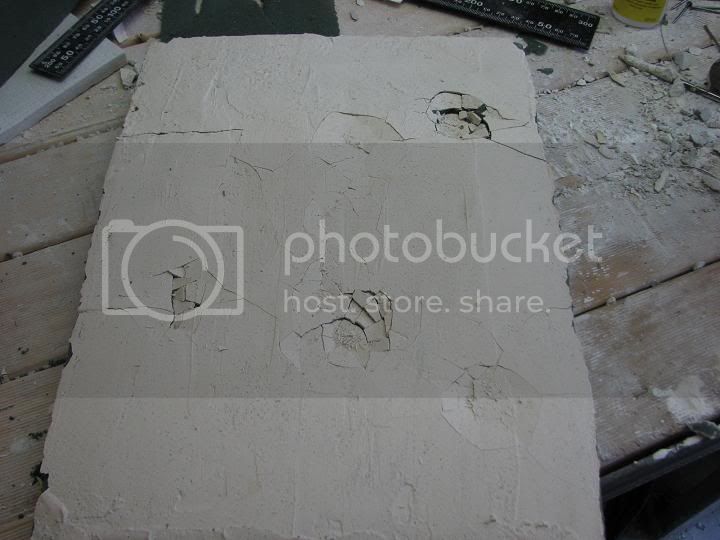
the boards nice and cured plaster surface.

I use a small hobby hammer - not the big one on the right which is a normal sized claw hammer.

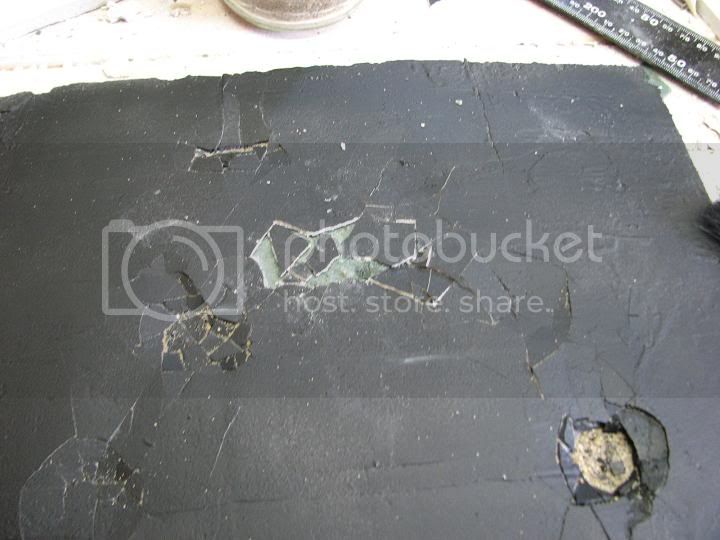
hit to crack the surface to make a pot hole - a swift but gentle hit with the hammer ! like an egg shell ( could use other items to make the craters - experiemnt later I think)

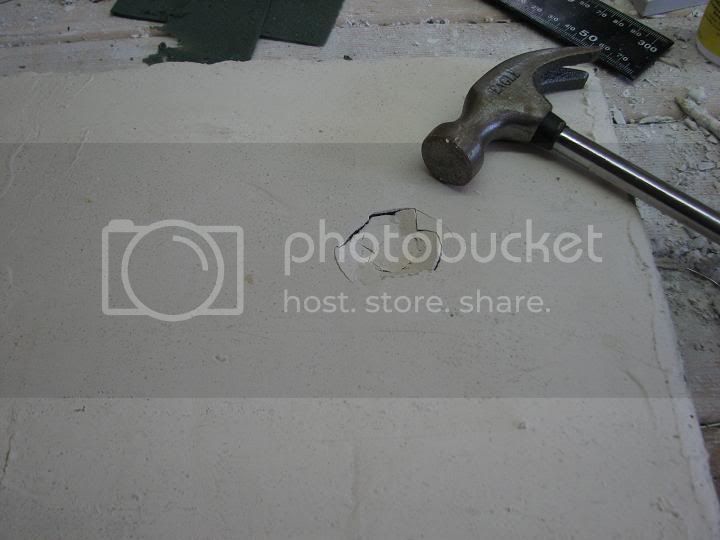
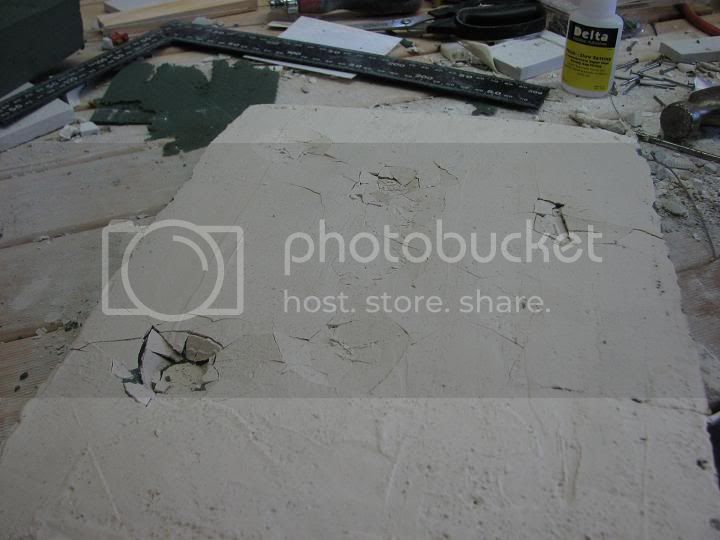
more and more - trying to not get carried away ! remember its a test bed so Im looking for technique and effects - ways to use the hammer how much force , what angles etc , how to create cracks etc so a bit of experimentation.

another angle of view


Painting

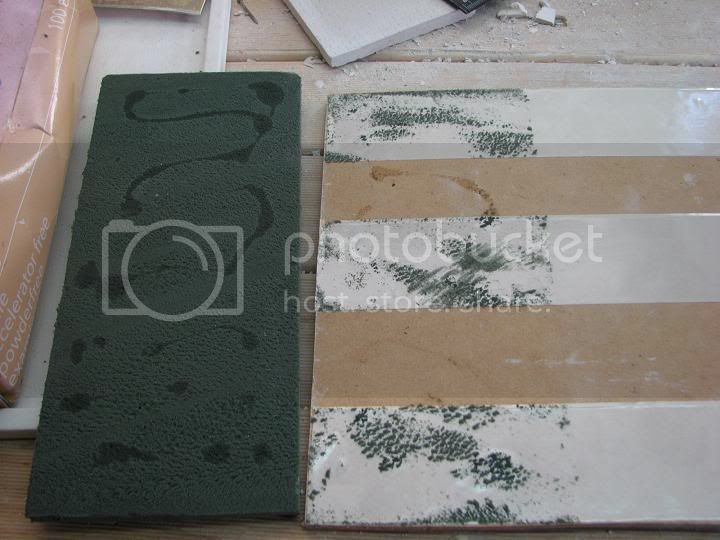
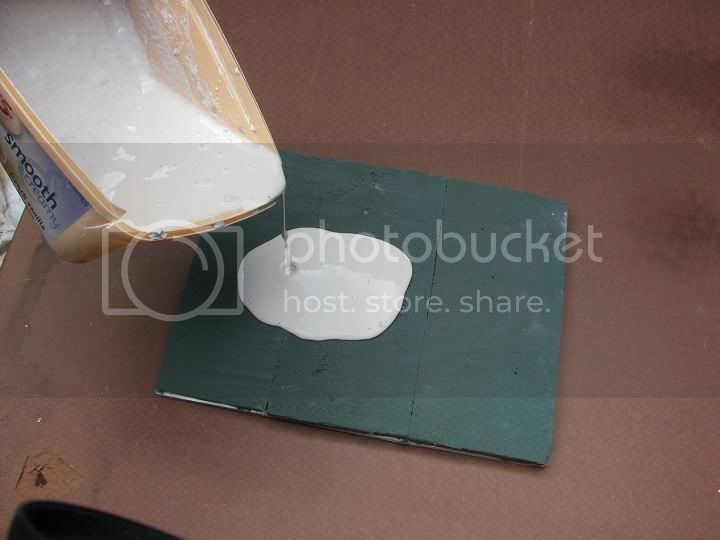
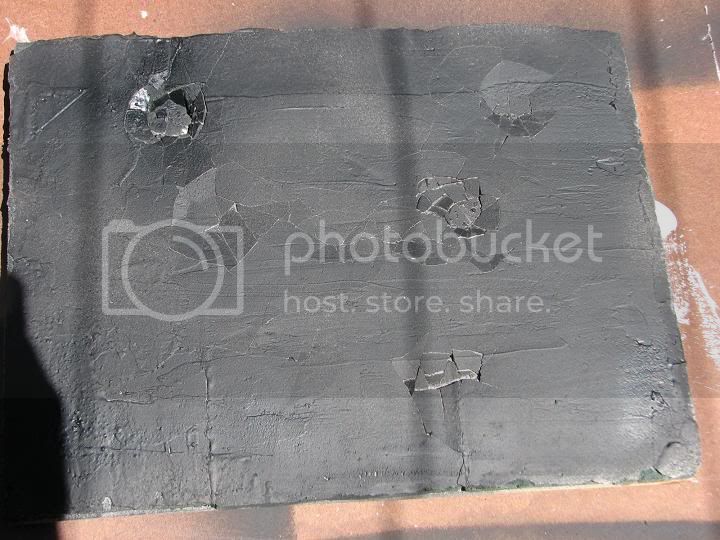
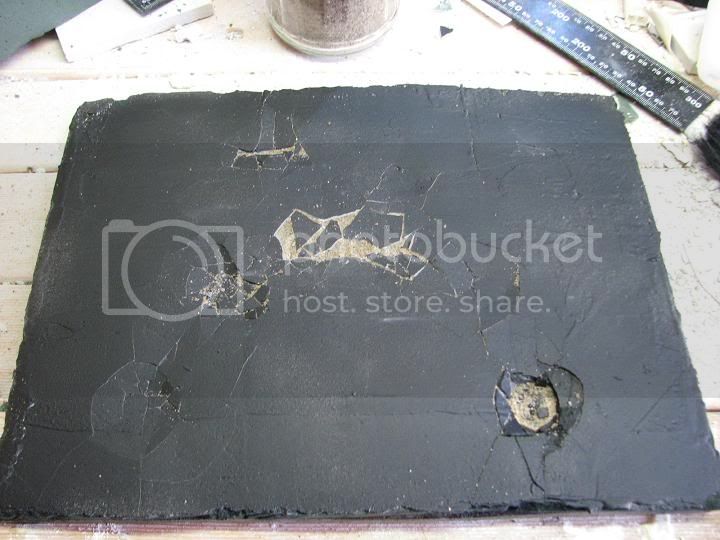
I hit it with some black paint - I didnt want to waste time with the airbrush, I grabbed a tin of blackboard paint from the garage !

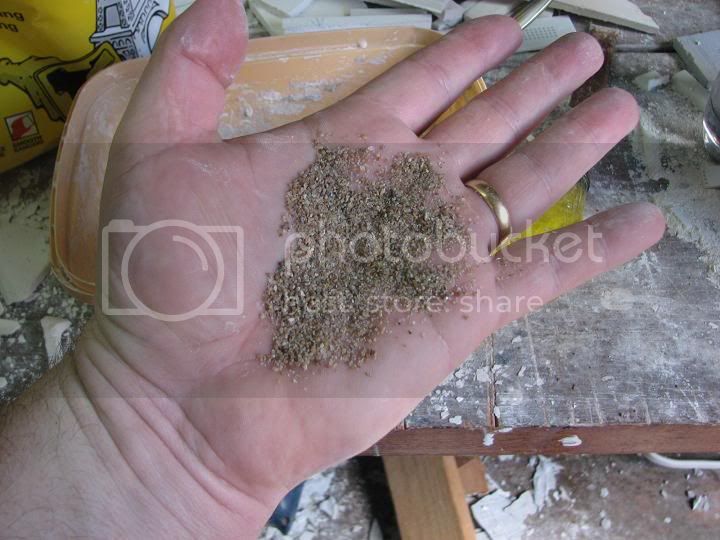
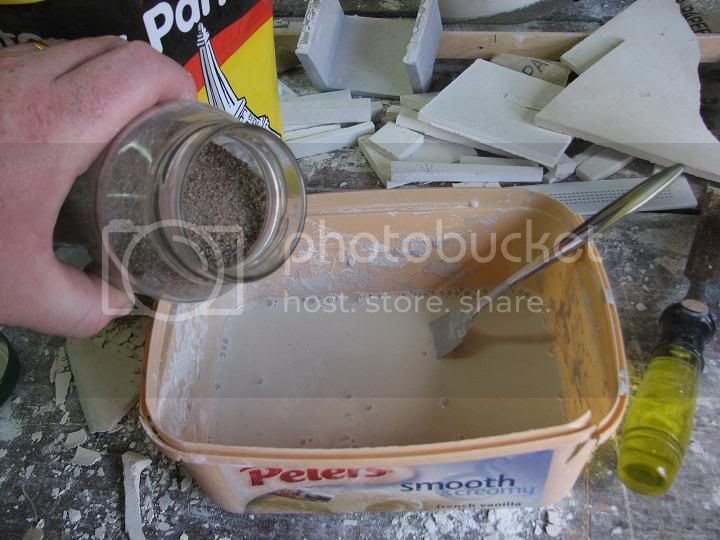
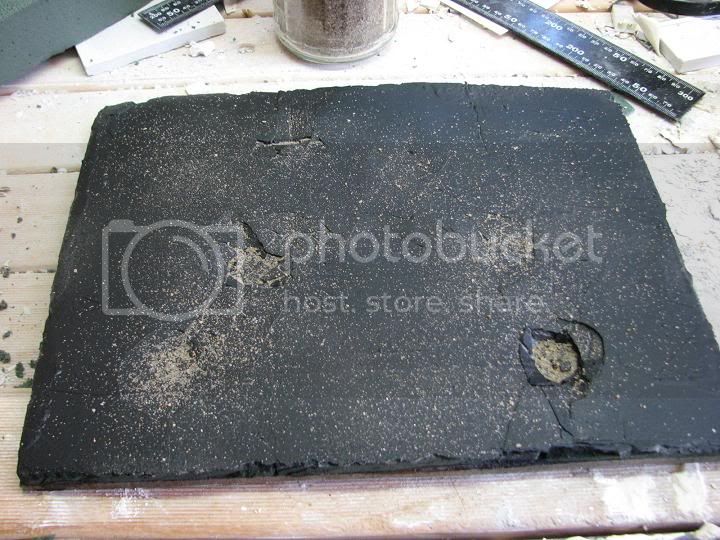
I sprinkle some of that 1mm gravel I mixed in the plaster before, onto the surface, to fill into some of the depressions. I used a 2 inch paintbrush to move it around.

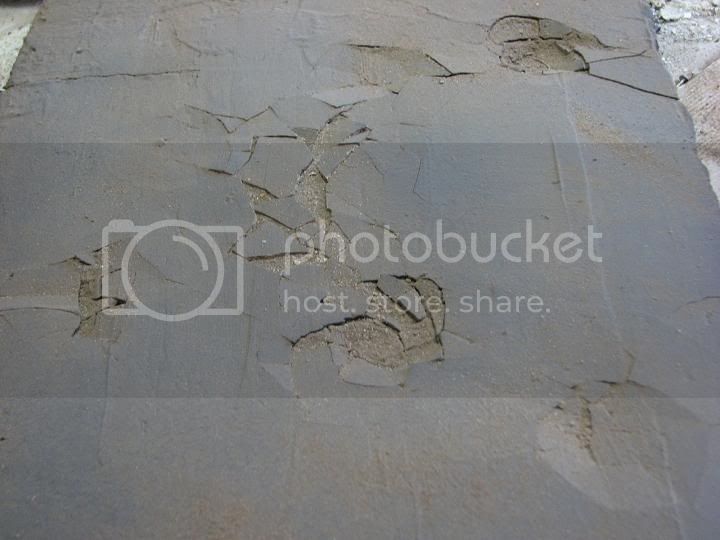
I thought I needed more cracks so I took away some of the chips

added more gravel , this represents the road base that would rise up out of the ground when the surface cracks in real life.

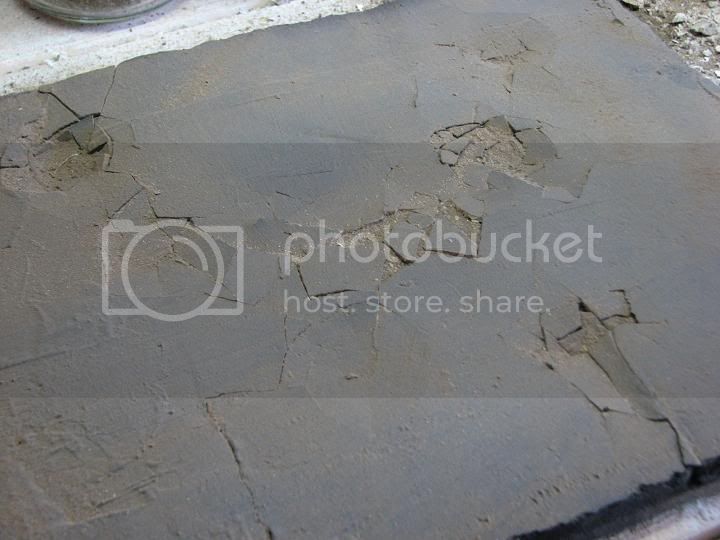
now i sprinkle it with very fine dust - bulldust (outback Australia), but Im sure any really fine dirt/sand coloured dust would do. This represents the real dust that settles in all the cracks and depressions.

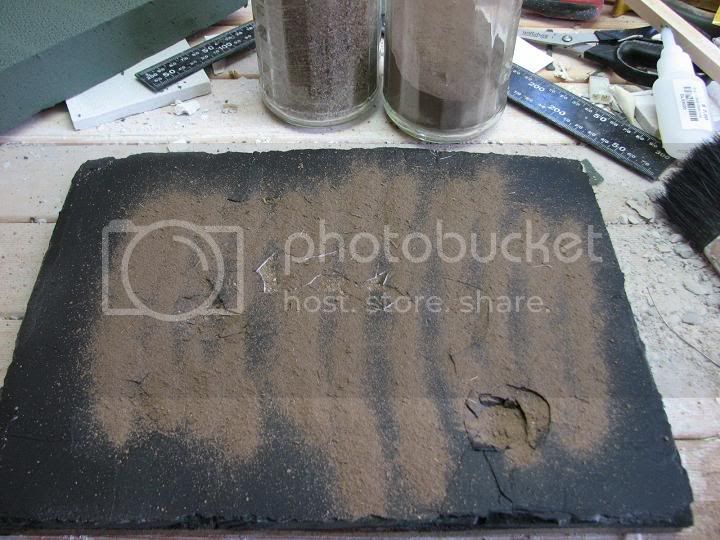
push it around with the dry brush. I try not to wipe the brush across the surface at the end as it leave dust streaks, but dab or stipple the brush to make it appear even.


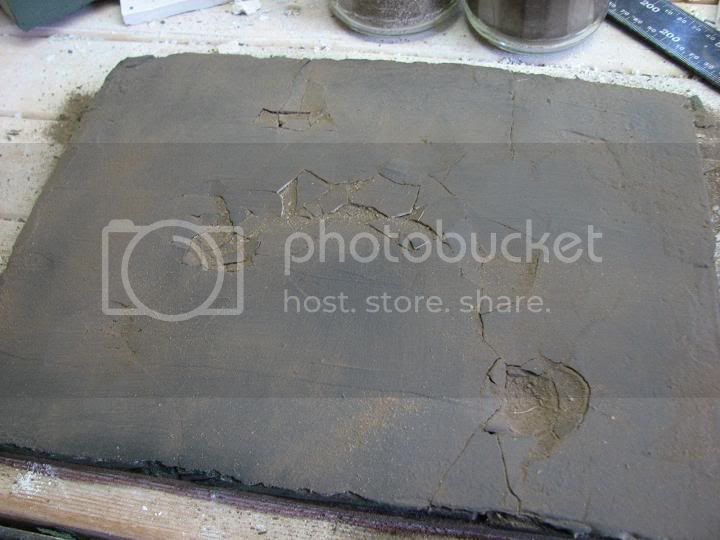
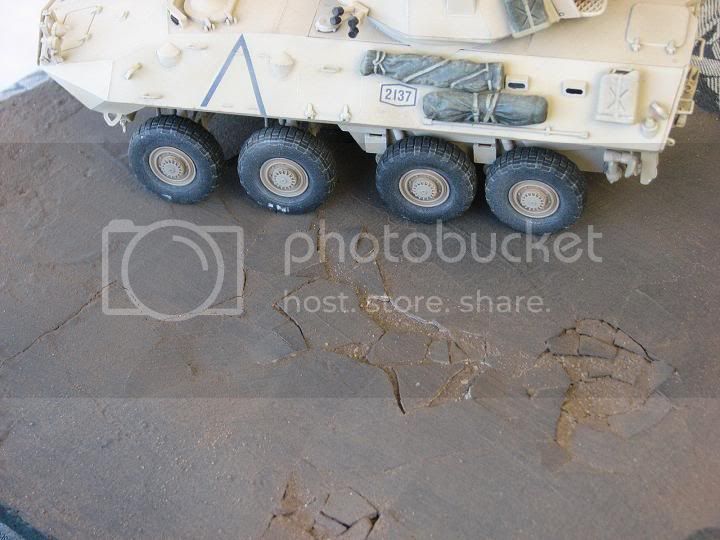
heres the results ! remember just a trial and learning curve was big - when i do for real I know a few things to do different. Also the total time to make this not including drying of the plaster was maybe an hour. There are no washes or drybrushing or other things and that would make it look 10 times better of course - as well as vehicle tracks, and road repairs. can always go back and add a second layer of "bitumen" like a pothole repair in real life so have layers of road in different states of disprepair.

Please offer comments


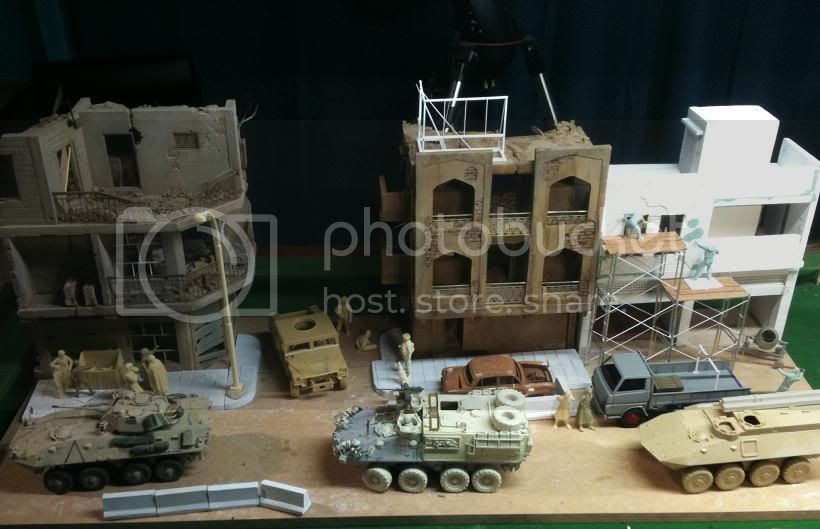
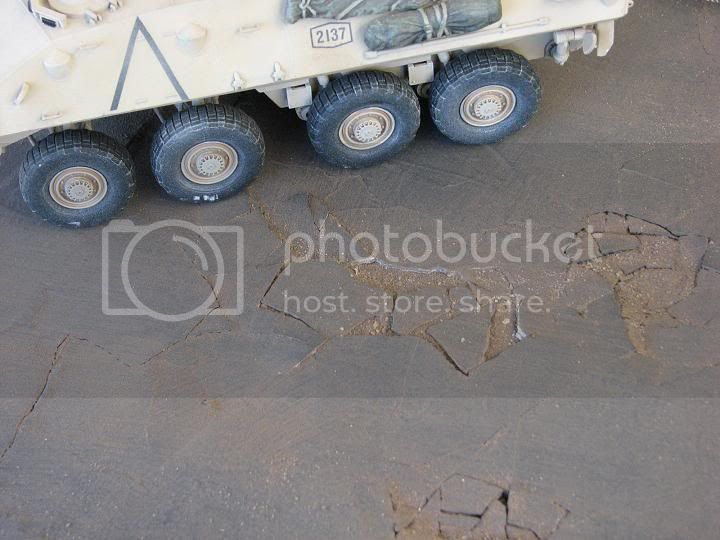
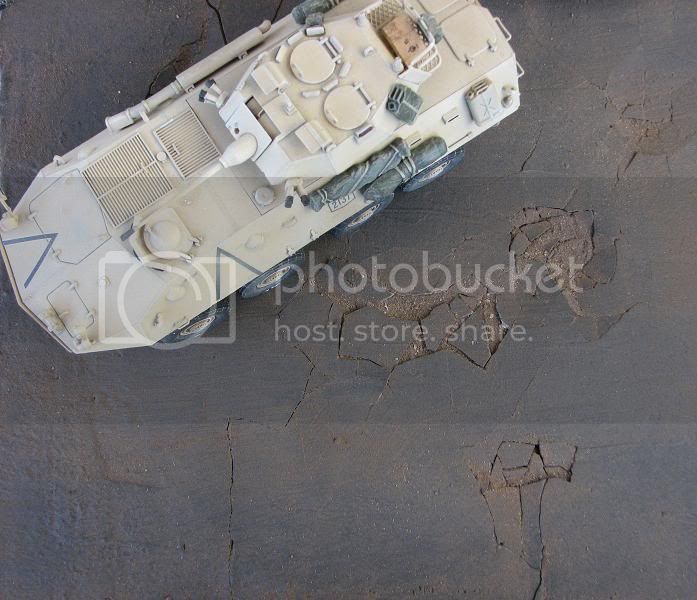
vehicle added for context - lol @ my thumbprint in the dust.


Thanks for reading , Adam
AussieReg
Staff MemberAssociate Editor
AUTOMODELER
#007
Visit this Community
Victoria, Australia
Joined: June 09, 2009
KitMaker: 8,156 posts
Armorama: 194 posts
Posted: Thursday, January 13, 2011 - 06:05 PM UTC
Hi Adam. Great little tutorial and I love the result. Looks very realistic.

Just a suggestion for an adhesive, it would be worth trying some water based Liquid Nails, either in a silicone gun tube or a squeeze tube. I've used it in the past on various foams and other soft products and it works well. You can spread it around with a scraper or flat blade, and it has a bit of "body" so you can settle the boards on to it.

Cheers, D
Adamskii
Visit this Community
South Australia, Australia
Joined: November 06, 2010
KitMaker: 537 posts
Armorama: 474 posts
Posted: Thursday, January 13, 2011 - 06:21 PM UTC

Quoted Text

Hi Adam. Great little tutorial and I love the result. Looks very realistic.

Just a suggestion for an adhesive, it would be worth trying some water based Liquid Nails, either in a silicone gun tube or a squeeze tube. I've used it in the past on various foams and other soft products and it works well. You can spread it around with a scraper or flat blade, and it has a bit of "body" so you can settle the boards on to it.

Cheers, D


I like the idea of liquid nails - i have quite a collection of tubes of silicone and liquid nails right next to me when I was doing thi and the thought did cross my mind. I also plan on using epoxy (araldite), PVA (Aquadhere), craft aerosol spray adhesive, and also priming/sealing the down side of the foam. these ae all different way i guessi could try - the thing about the big dio is thatit has a perfectly flat base to work from - this rial had a warped mdf board and the foam lifted from the warping so was difficult to hold in place at the start.

Thanks for the idea though - certainly makes me put that to top of the trials list given your experience with foam and adhesive .

Oh and I was also thinking of spraying some of that self expanding foam on the board and smearing it around - that stuff is sticky as hell! but my luck it would blister and bubble before it dried...

Adam
Anirudharun
Visit this Community
England - West Midlands, United Kingdom
Joined: February 16, 2008
KitMaker: 597 posts
Armorama: 530 posts
Posted: Friday, January 14, 2011 - 12:06 PM UTC
Great tutorial Adam, and that flower arranging stuff would be perfect for making ruined buildings as well.

I wouldn't recommend using expanding builders foam because that stuff reacts quite badly to most sorts of plastics, and could do a lot of damage to the foam, or any plastics it comes in to contact with.
I'd also suggest stirring some white glue (PVA) into the plaster mix which would help it bond so it doesn't turn in to powder when you hit it, but rather retains its shape in large cracked areas. (does that make sense?)

Thanks for the great tips and techniques, they'll be really useful!

Anirudh
BROCKUPPERCUT
Visit this Community
Rhode Island, United States
Joined: October 29, 2006
KitMaker: 191 posts
Armorama: 102 posts
Posted: Friday, January 14, 2011 - 12:28 PM UTC
looks pretty good.
make sure that your depth is correct , on streets its about 6ish inches deep , runways over a foot (learned from experience digging through one) and they are usually laid down in 15ish foot wide strips and there will be a small seem where the second strip will overlap the cooler previous layer so it wont look like one solid piece
. if you could find a handbook from the airforce from their equipment operator school there is a lot on asphalt and concrete pavement, i seem to have misplaced mine since i got back last march.

zontar
Visit this Community
Hawaii, United States
Joined: August 27, 2006
KitMaker: 1,646 posts
Armorama: 1,557 posts
Posted: Friday, January 14, 2011 - 12:29 PM UTC
Aloha Adam,
Very nice SBS. I've book marked this thread as I might have use for it later. Thanks for sharing.

One comment for the final is that you might want to sand the plaster before cracking it so the original road looks more even and doesn't show the "icing" streaks. The overall effect is convincing.

Happy Modelling! -zon
Adamskii
Visit this Community
South Australia, Australia
Joined: November 06, 2010
KitMaker: 537 posts
Armorama: 474 posts
Posted: Friday, January 14, 2011 - 12:42 PM UTC
Keep the suggestions coming - they are great!

adding a pva to the plaster I will do a small experiment with.

The road design - good point to scale the thickness of the crust to the scale thickness of the bitumen on a road. I have been looking at my reference pics and its amazing how intact the iraqi roads are ... alots of evidence of cracks and repairs. Also they have virtually no camber ? roads seem very flat compared to the ones here . (guess not much rain ? no need for run off). The "seams" that join the sections of road is something I would consider aswell. I wouldnt lay my road in one giant section - i would do it in sub sections to help convinve of that point.

The sanding of the plaster is something i would also do - getting a decent starting point for the road it imperative - also with 3 x 8 wheeled vehicles the surface needs to be flat so all the wheels touch the ground....

Suggestions are great - all will be used in some form on the final !

Adam

heres a pic of the size of the street to be made.. (my early in progress layout and composition test pics)

tdeimling
Visit this Community
United States
Joined: January 15, 2011
KitMaker: 12 posts
Armorama: 10 posts
Posted: Friday, January 14, 2011 - 03:18 PM UTC
You've got the idea for a great technique. Having spent many college summers paving roads I would like to make two observations. First, when the pavement first begins to fail a depression covered by a Mosaic like layer of small broken pieces of asphalt. As the damage proceeds the resulting pothole will contain small pieces of pavement with irregular rounded edges. This would be particularly true in Iraq given the high ambient temperatures.
bobbyh
Visit this Community
Texas, United States
Joined: September 09, 2009
KitMaker: 433 posts
Armorama: 167 posts
Posted: Friday, January 14, 2011 - 03:49 PM UTC
looks awesome !! very convincing. neat idea and technique. " felt" like I was there with your layout. great foundation continue to " tune " to your own specific taste. I considered even painting fine grit sand paper. that away you could get the subtle texture and varying colors that blend from black far away to black, grey's, and tan's up close. keep up the good work !
TankManNick
Visit this Community
California, United States
Joined: February 01, 2010
KitMaker: 551 posts
Armorama: 543 posts
Posted: Friday, January 14, 2011 - 04:22 PM UTC
Fantastic technique! My suggestion is to add some cheap black acrylic paint to the plaster when you mix it and color it gray. That way any cracking after you are done will not show white and you can still paint the surface as you please!
TankManNick
Visit this Community
California, United States
Joined: February 01, 2010
KitMaker: 551 posts
Armorama: 543 posts
Posted: Friday, January 14, 2011 - 08:33 PM UTC
Just realized what was bugging me. (Amazing what some nice brews will do:) ) Tarmac is a bit chunky with all that gravel and those crack lines are very sharp. I suggest softening/chipping/rounding some of those sharp edges in a random manner.
Adamskii
Visit this Community
South Australia, Australia
Joined: November 06, 2010
KitMaker: 537 posts
Armorama: 474 posts
Posted: Friday, January 14, 2011 - 09:27 PM UTC

Quoted Text

Just realized what was bugging me. (Amazing what some nice brews will do:) ) Tarmac is a bit chunky with all that gravel and those crack lines are very sharp. I suggest softening/chipping/rounding some of those sharp edges in a random manner.


Thanks again everyone for the suggestions - some really good ones too ! Will have to change this to a group build soon theres been so much input..

The rounding of the edges, I know what you folks mean, I see that too. I thought about it and I think I could perhaps mix the plaster out of specification - In other words too watery. Badly mixed ratio of water to plaster results in a very crumbly final product. I actually had to recast 2 of my buildings from this problem ( I was mixing by volume not weight - duh..). the walls and floors instead of having strength could be squeezed between finger and thumb and would just compact/crumble with no pressure - also the surface would not hold detail - a paintbrish would wipe it off and round corners. thats the key right there - it would round corneres without pressure being applied. once the cracks and pot holes are i place I could usea featherweight brush to round out the edges and achieve that bitumen look described by some of you.

I will try again very very soon.

Thanks for the input folks!!

Adam
Adamskii
Visit this Community
South Australia, Australia
Joined: November 06, 2010
KitMaker: 537 posts
Armorama: 474 posts
Posted: Tuesday, January 25, 2011 - 09:34 PM UTC
An update for those who followed this blog - I am doing the final version on my diorama in my build log here - https://armorama.kitmaker.net/forums/170525&page=1 and in next day or so will be doing the 'cracking" etc.

I will be incorporating many of the suggestions mentioned here so thanks folks!

Adam
 _GOTOTOP