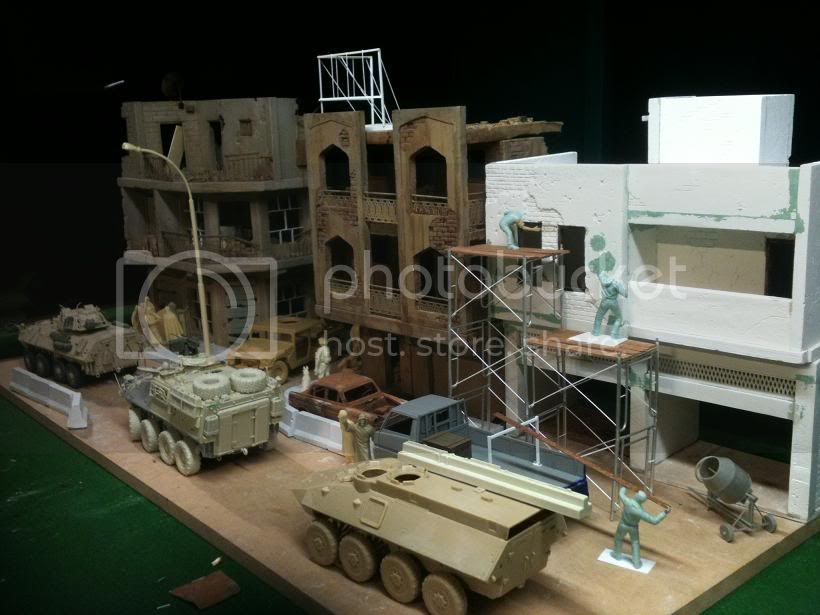
weathering the street - battle damage
ok the fun bit . This is where I would get my wife involved its easy and she cant really stuff it up but at the end I can say that she helped.. inclusion is a good thing.
the boards nice and cured plaster surface.

I use a small hobby hammer - not the big one on the right which is a normal sized claw hammer.

hit to crack the surface to make a pot hole - a swift but gentle hit with the hammer ! like an egg shell ( could use other items to make the craters - experiemnt later I think)

more and more - trying to not get carried away ! remember its a test bed so Im looking for technique and effects - ways to use the hammer how much force , what angles etc , how to create cracks etc so a bit of experimentation.

another angle of view

Painting
I hit it with some black paint - I didnt want to waste time with the airbrush, I grabbed a tin of blackboard paint from the garage !

I sprinkle some of that 1mm gravel I mixed in the plaster before, onto the surface, to fill into some of the depressions. I used a 2 inch paintbrush to move it around.

I thought I needed more cracks so I took away some of the chips
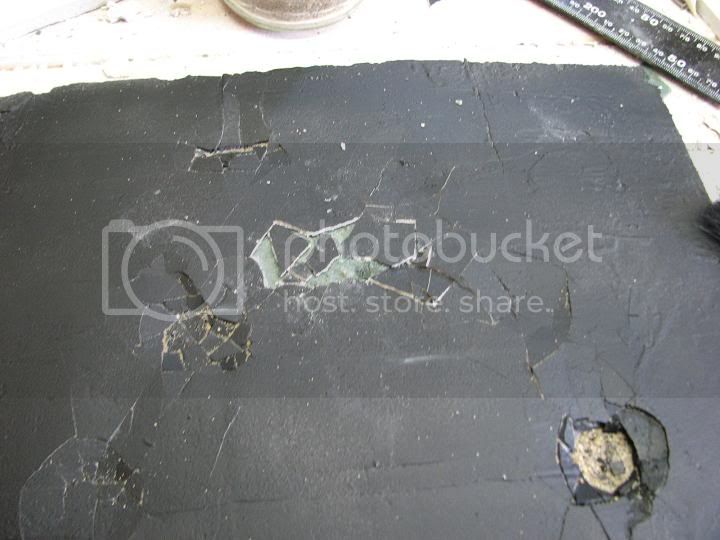
added more gravel , this represents the road base that would rise up out of the ground when the surface cracks in real life.
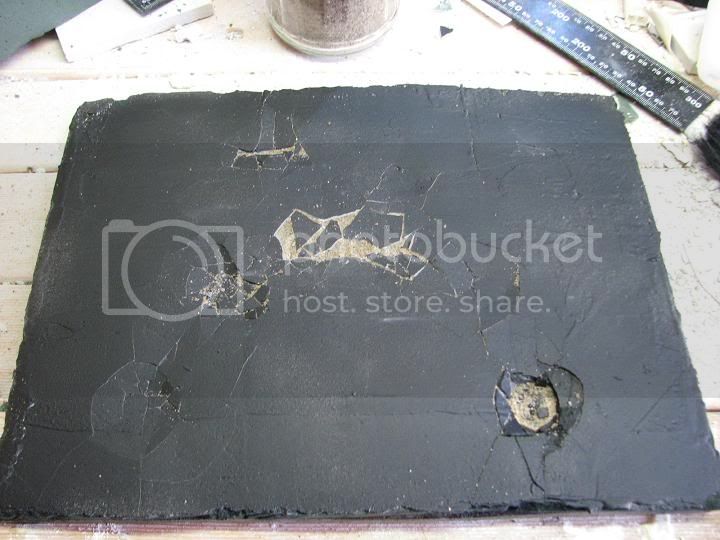
now i sprinkle it with very fine dust - bulldust (outback Australia), but Im sure any really fine dirt/sand coloured dust would do. This represents the real dust that settles in all the cracks and depressions.

push it around with the dry brush. I try not to wipe the brush across the surface at the end as it leave dust streaks, but dab or stipple the brush to make it appear even.

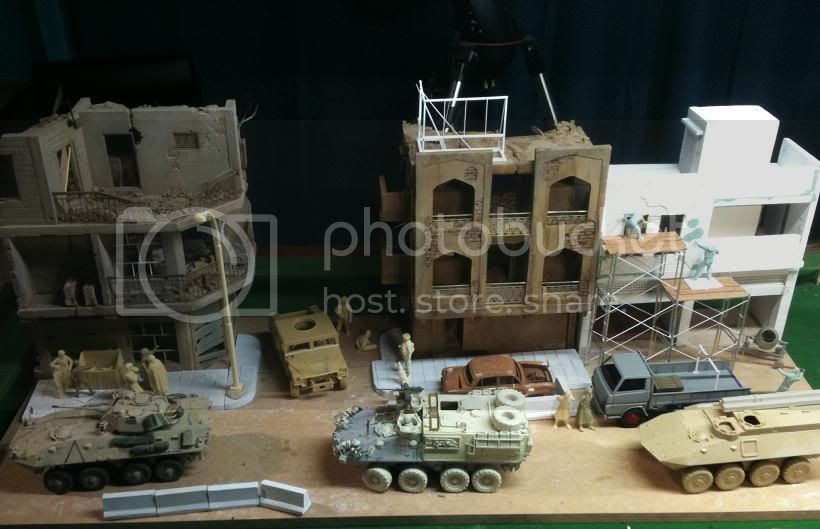
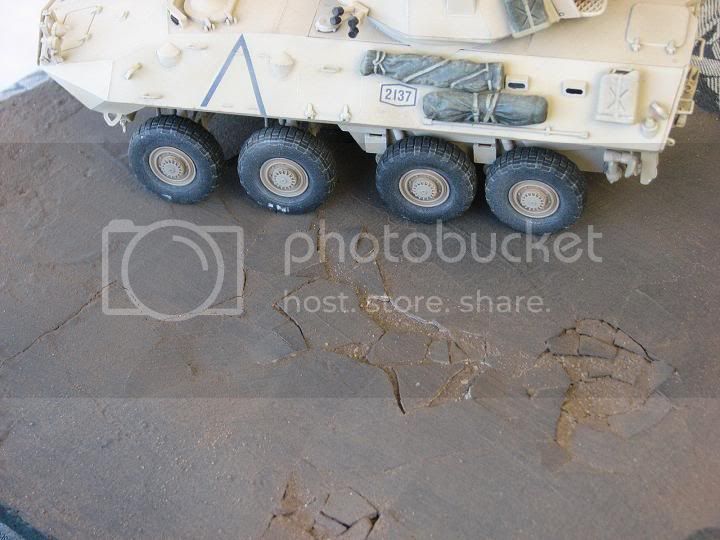
heres the results ! remember just a trial and learning curve was big - when i do for real I know a few things to do different. Also the total time to make this not including drying of the plaster was maybe an hour. There are no washes or drybrushing or other things and that would make it look 10 times better of course - as well as vehicle tracks, and road repairs. can always go back and add a second layer of "bitumen" like a pothole repair in real life so have layers of road in different states of disprepair.
Please offer comments


vehicle added for context - lol @ my thumbprint in the dust.


Thanks for reading , Adam


