_GOTOBOTTOM
Constructive Feedback
For in-progress or completed build photos. Give and get contructive feedback!
Tiger I Winter White Wash
collin26
Visit this Community
Connecticut, United States
Joined: March 24, 2007
KitMaker: 317 posts
Armorama: 259 posts
Posted: Thursday, February 24, 2011 - 04:19 PM UTC
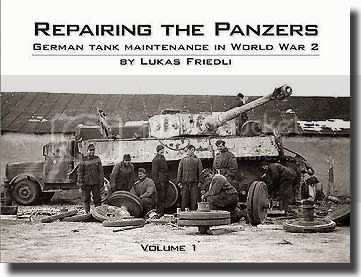
Well, after reading "Repairing The Panzers" by the good folks who brought us "Panzer Wrecks", I am compelled to paint the Tiger on the cover. The vehicle features a Winter White Wash. For a bit of practice, I am painting the Tiger I "Wedgie" from Darious Miniatures of Poland.

The first image shows a base of Panzer Grey........
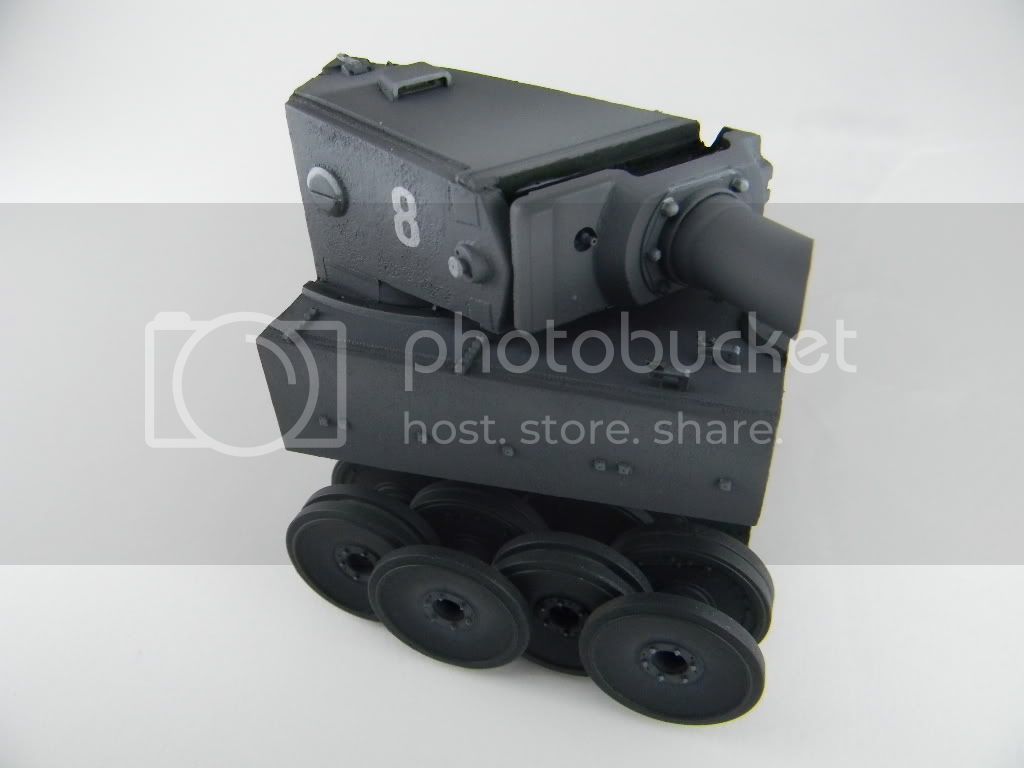
The second shows the first chipped away White Wash using the hairspray technique. The white was "dirtied" up a bit with deck tan.
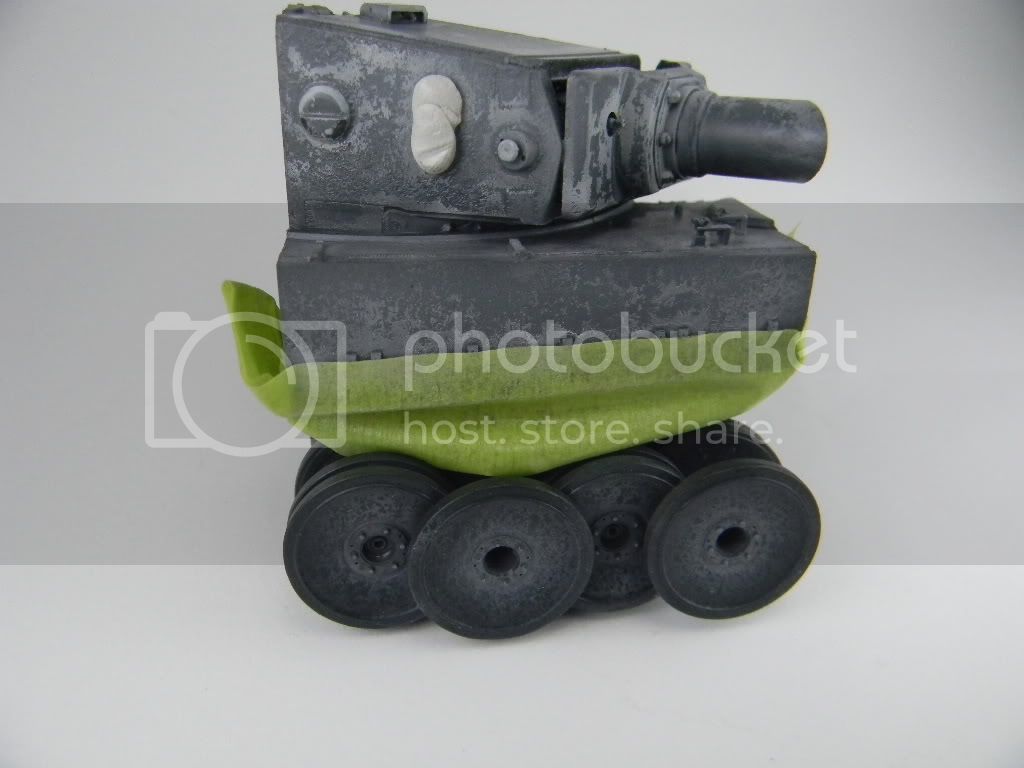
The third shows the second White Wash applied using the same technique. The white was used straight from the bottle this time around.
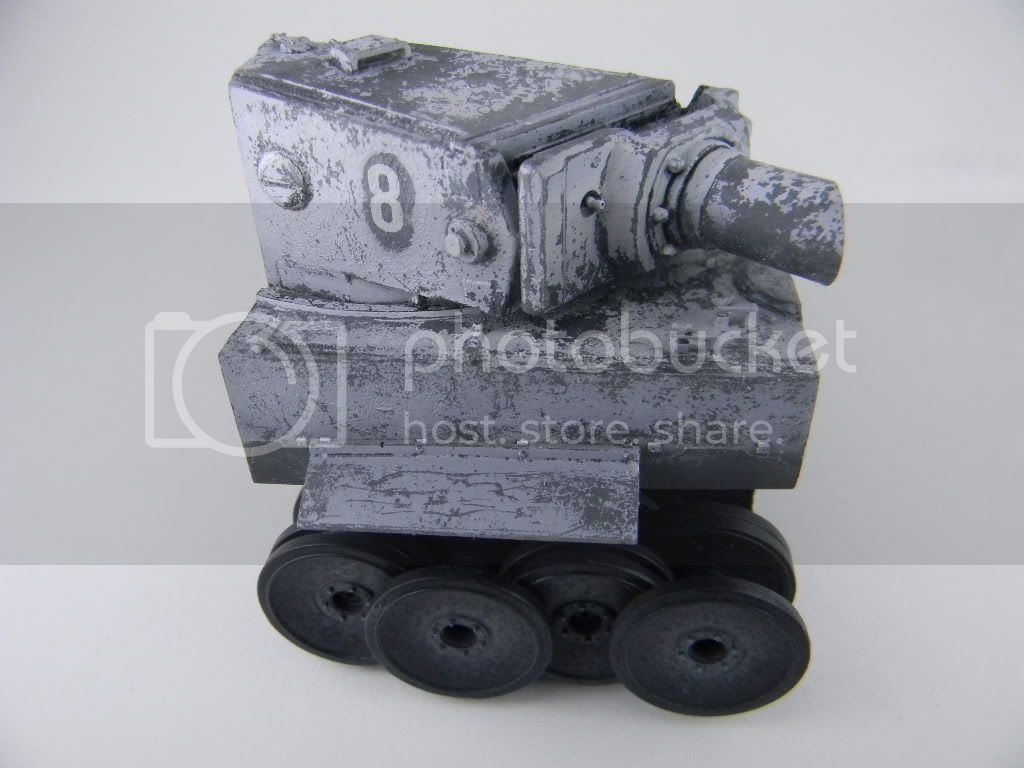
The fourth shows the effect of a filter mixed with AK-015 "Dust Effects" & AK-014 "Winter Streaking Grime" thinned about 85%. Some chipping has been retouched with Humbrol White & Vallejo White.
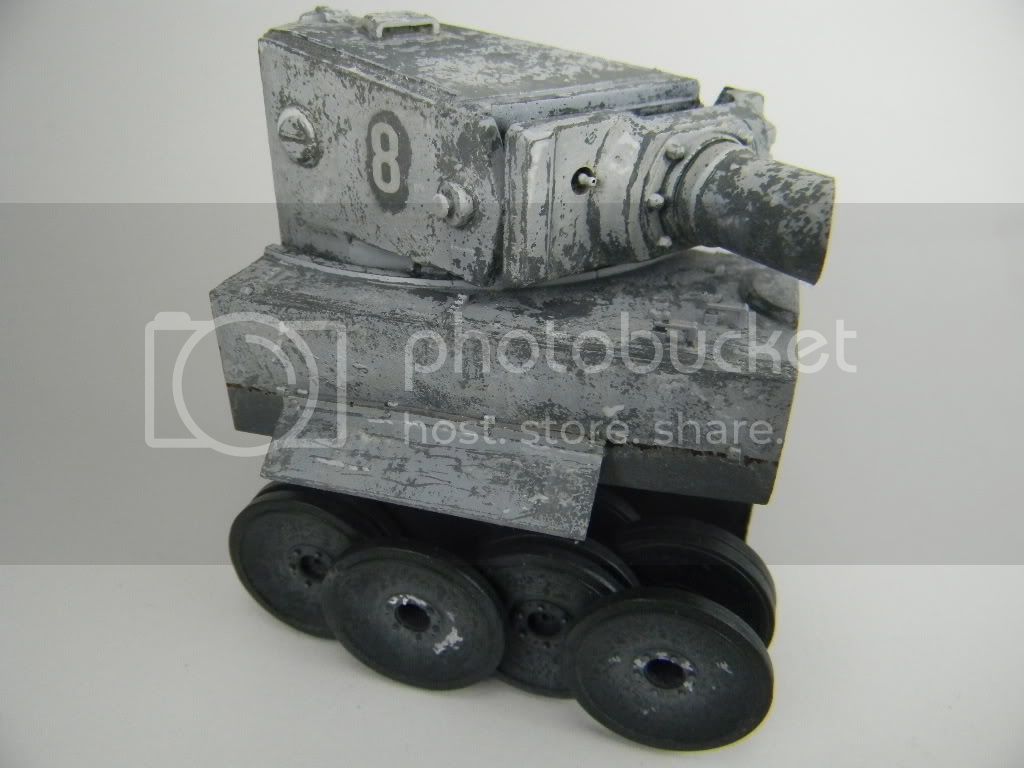
If this little "Wedgie" has the correct look, it will be replicated on the full (1:35) version.
vonHengest
Visit this Community
Texas, United States
Joined: June 29, 2010
KitMaker: 5,854 posts
Armorama: 4,817 posts
Posted: Thursday, February 24, 2011 - 05:47 PM UTC
Iain, I like what I see but I am curious as to how you got such successful results using the hairspray technique? Many who have tried the hairspray technique have ended up with less that favorable results..
collin26
Visit this Community
Connecticut, United States
Joined: March 24, 2007
KitMaker: 317 posts
Armorama: 259 posts
Posted: Friday, February 25, 2011 - 01:41 AM UTC
Jeremy,
Yes, this technique seems to be a difficult one for many to grasp.
These basic steps are exactly how I use hairspray for chipping effects.
1. Apply base color(s) with acrylics Vallejo or Tamiya synthetic Laquers.
2.Once the base coat is dry, we can apply a laquer barrier. Something like a Testers Dullcoat -or- Satin, or Gloss. This will protect the base color from the color that we wish to chip away using the hairspray.
3. Apply a coat of hairspray. You can spray from an aerosol can -or- use from a pump bottle and simply pour it into your airbrush and shoot from the airbrush. This will give you much more accuracy if it is neccesary to only chip very specific areas.
4. Apply 2nd color, this is the color that will have a chipped appearance. I always use Tamiya paints for this step thinned with Mr Hobby 250 Laquer thinner.
5. Last but not least is to "chip" the 2nd color. For this I use worm tap water and a stiff brush. Some use water cut with rubbing alcohol but I personaly have had no luck with this cocktail! Softly scrub with a wet brush and you will see the hairspray lift taking the second color with it. Exposed is your first color giving the effect of chipping. This part takes a minute to get the hang of. You could use a piece of sheet styrene to practice this technique and I am sure you would pick it up quickly.
Aslo, in the AK Interactive DVD "Winter Weathering Techniques", Mig gives an excelent step by step of this technique on a beautiful big scale KV-1 !
I hope this is helpfull. If not, I will post up a step by step with images as soon as i have the opportunity.
vonHengest
Visit this Community
Texas, United States
Joined: June 29, 2010
KitMaker: 5,854 posts
Armorama: 4,817 posts
Posted: Friday, February 25, 2011 - 10:33 AM UTC
Thank you for the step-by-step explanation. I am wondering if the problem that most people face is the type(s)/brand(s) of paint that they use. Do you prefer a specific type of hairspray?
messynachos
Visit this Community
Saskatchewan, Canada
Joined: November 14, 2012
KitMaker: 142 posts
Armorama: 113 posts
Posted: Friday, November 30, 2012 - 01:17 PM UTC
thank you for putting this in simple easy to understand terms, i will try this out on my test tank today!!!
 _GOTOTOP