


The box art
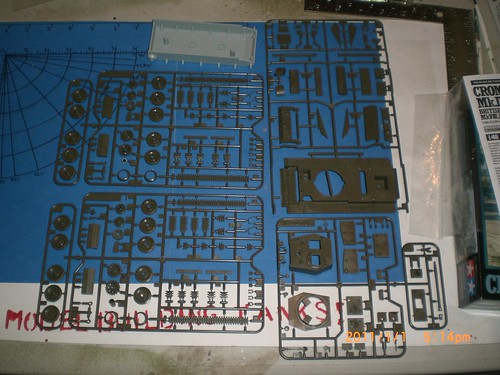
The sprues


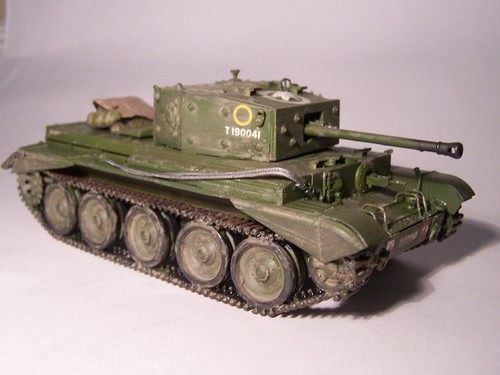
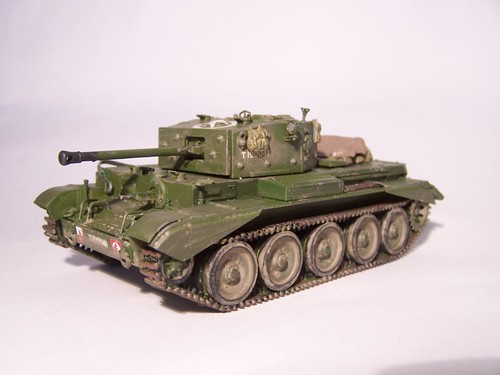
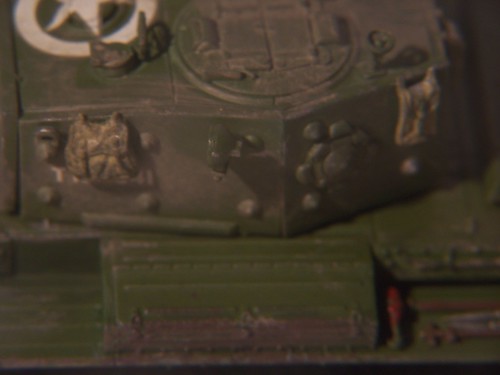
 This is from track48 - a cromwell by Pat Johnston. Looks like he hit the turret with a Dremel tool to put nicks in the steel.


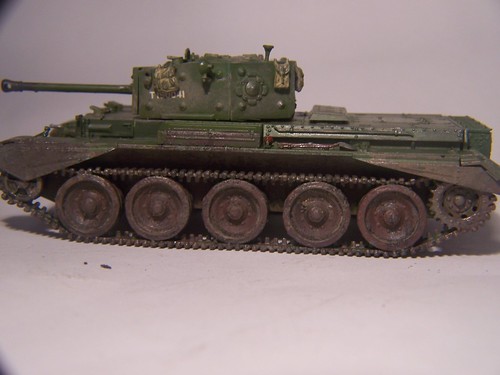
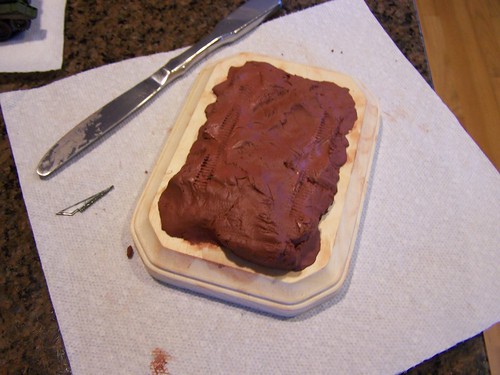
 . I finally got some terf figured out for my base. I'll be using an old plaque for the base instead of ply. Thanks for the advice and the awesome comments!
Lookin good, maybe a little glossy but that could be the lighting. Look forward to seeing the base, and I agree you should stay away from plywood.


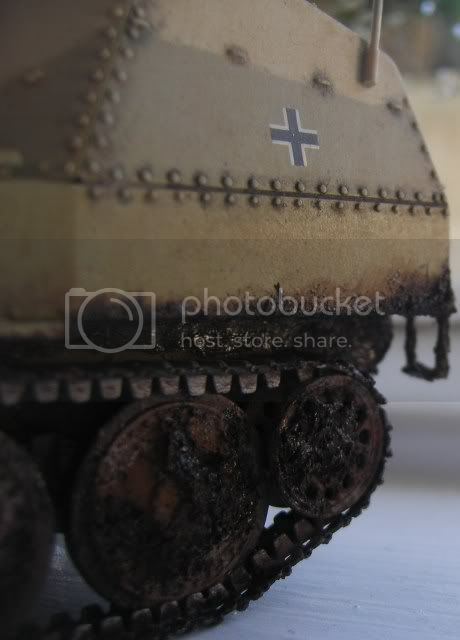
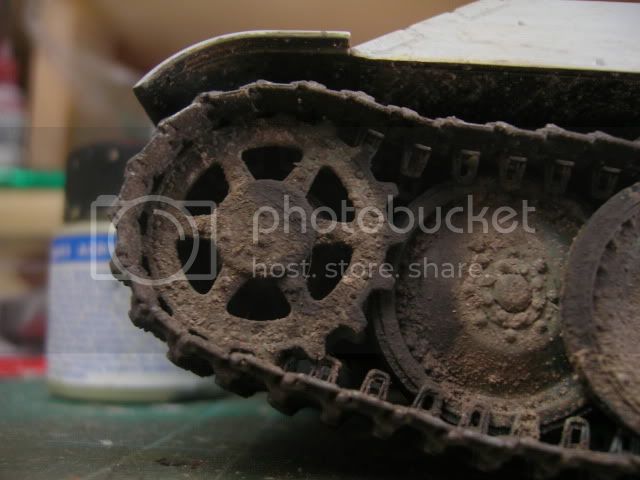
Alex , gonna be a quick un as I'm on my phone and I hate typing on it. Mud looks much better. It blends in more and looks more convincing. I shoot through a 6-7 year old Kodak 5mp. The main thing to worry about in photos is light. I use natural light on a sunny day and can get some great shots on my crappy old thing . Any good macro should be fine. A tiger is a good one. Although if you can find the afv club tiger in 1/48 for the same price or cheaper go for that one. Imo it is superior albeit a little more fiddly. The late even comes with pre moulded zimmeritt if I recall correctly. I have no experience on the tamiya kv, but have built about 4 hobbyboss ones, and they have been fun builds. The hobbyboss Shermans aren't fantastic. But they are passable. The hobbyboss t-34s are tasty, bit can be known to have minor fit issues. I'm currently building one, its on the constructive feedback forum. I have also built the tamiya pz iv and marder, and out of the two preferred the marder , well, went on a bit there for a quick reply eh.
Happy modelling and keep us posted on the base and new builds


Are those figures behind the Tiger the ones that come with the Skybow kit?


 |


