Hi folks,
Some progress on the gun site, this is without the PE and several other bits that still need to be added lol. Lost track of the number of parts but about 4 to 5 average in each mini sub assembly.
Only points to note so far, you may wish to add part B70 the elevating ratchet later than step 3 as it needs to be aligned to the ratchet wheel added in step 9 and the fitting of sub-section 11 in step 10.
Only fit issue I've had is with part A9 the separator at the rear of the trail, Step 13. Mine pushed the end of the trail out a bit and made fitting the top and bottom covers (A49 and A3) difficult. Left a slight gap to fill. Probably just file the ends of part A9 but you will not find that out until Step 17.
Part B77 is best left off until you mount the sight. It was only looking at some reference pictures that gave me the correct location forward of the sight plate, this isn't easy to pick up in the instructions.
Anyway here's how things look at the moment.
Cheers
Al
Hosted by Darren Baker
Bronco 25ppdr Field Gun Mk II/I
Posted: Thursday, December 27, 2012 - 10:35 PM UTC
PvtMutt
Missouri, United States
Joined: July 01, 2006
KitMaker: 614 posts
Armorama: 601 posts
Joined: July 01, 2006
KitMaker: 614 posts
Armorama: 601 posts
Posted: Friday, December 28, 2012 - 03:55 AM UTC
Hey Al
Something I found out when building the Bishop was that if you're really careful with the glue and paint the breech block operating handle will actually raise and lower the breech block. Not a real plus for the Bishop since the gun is inside but would be cool for the arty model.
Great kit huh?
Tony lee
McGrump
Ontario, Canada
Joined: April 24, 2005
KitMaker: 30 posts
Armorama: 21 posts
Joined: April 24, 2005
KitMaker: 30 posts
Armorama: 21 posts
Posted: Friday, December 28, 2012 - 05:03 AM UTC
Hi all just wandered about the gun limber pictures . As my old arty unit has two working field peaces, one limber and tractor,and is currently in the process of looking for a second limber and tractor .They are the senior guns in the saluting troop . More to the point they are looking for a second limber and a tractor .
Posted: Friday, December 28, 2012 - 12:09 PM UTC
Hi Tony,
Terrific kit detail wise, tricky to build, I need smaller hands
Even the small box for the gun has the wedges cut into all sides for the perfect fit. PEs quite soft though which can be good and bad. It's a high quality kit but not for the faint hearted.
Hi Jeremy,
Talk to Darren Baker here on site he is involved with the real thing.
Cheers
Al
Posted: Saturday, December 29, 2012 - 01:51 AM UTC
Hi folks,
Bit more progress, work on the trail and wheels added.
Cheers
Al
Bit more progress, work on the trail and wheels added.
Cheers
Al
Posted: Saturday, December 29, 2012 - 11:04 PM UTC
Some work on the inside of the gun shield. There are tiny PE handles for the trail of the gun, but these are very difficult to work with being very tiny and of soft PE. I have some Eduard ones of similar size only marginally easier to work with as they are slightly stronger, but only slightly lol
Al
Al
Posted: Tuesday, January 01, 2013 - 10:44 PM UTC
Morning folks,
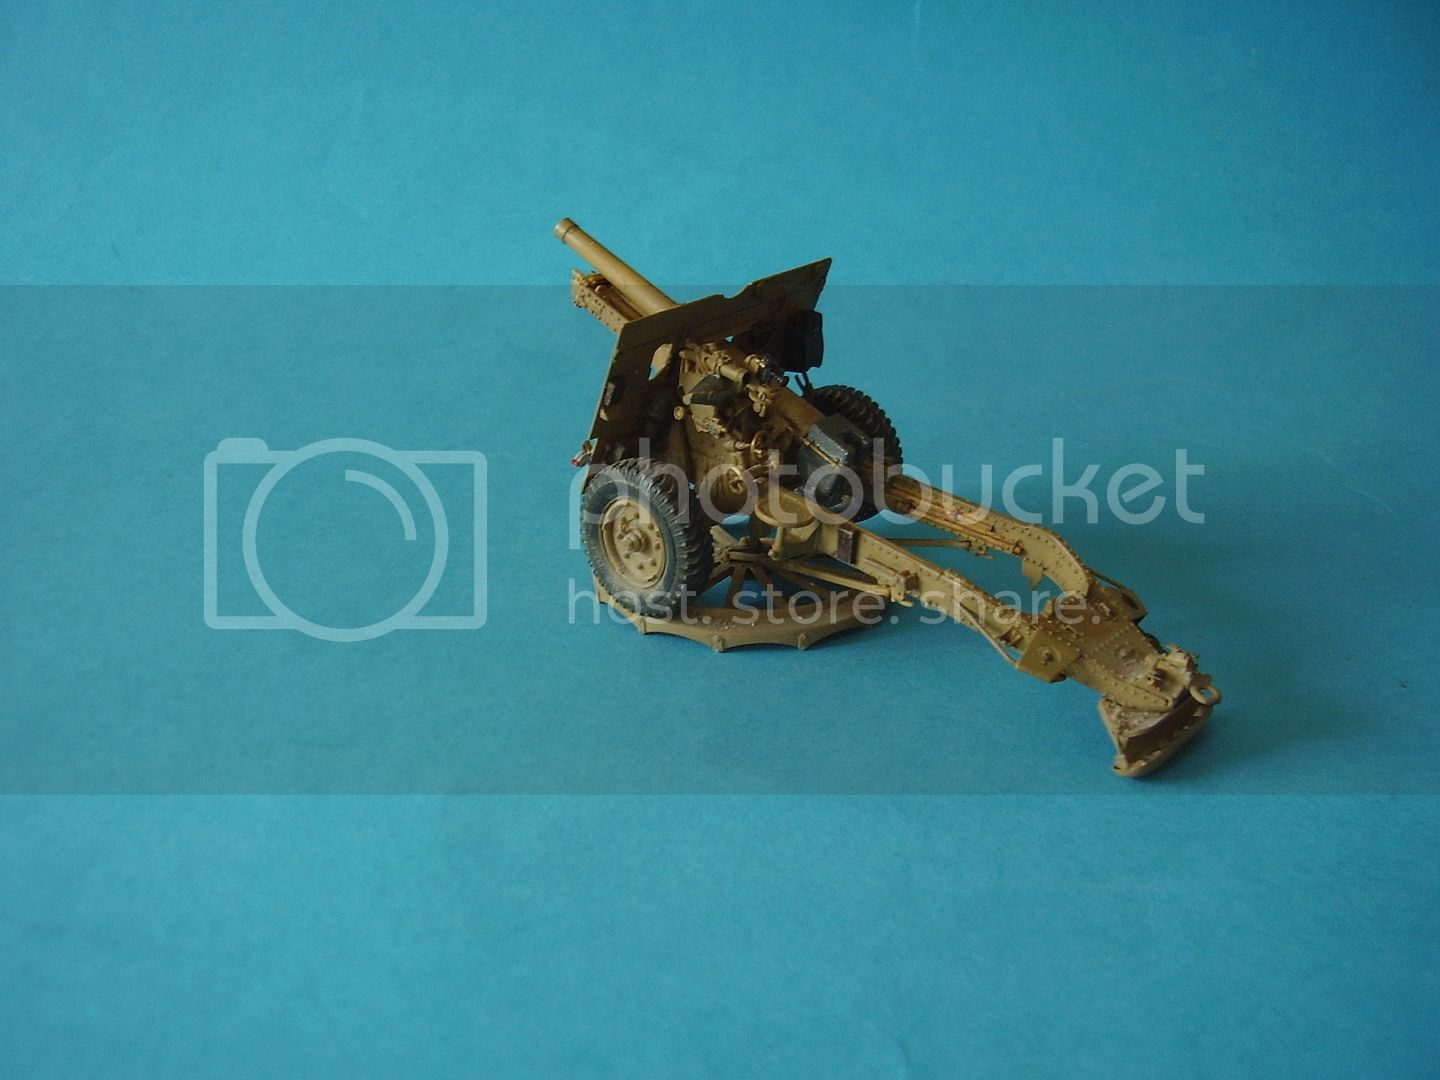
The gun is pretty much finished. I lost a few small parts to the carpet monster and fumble fingers, but they might turn up yet. Only additions I made were the pick head which Bronco don't supply and some replacement straps as the PE ones snapped.
with a figure for scale
Cheers
Al
The gun is pretty much finished. I lost a few small parts to the carpet monster and fumble fingers, but they might turn up yet. Only additions I made were the pick head which Bronco don't supply and some replacement straps as the PE ones snapped.
with a figure for scale
Cheers
Al
jimbrae
Provincia de Lugo, Spain / España
Joined: April 23, 2003
KitMaker: 12,927 posts
Armorama: 9,486 posts
Joined: April 23, 2003
KitMaker: 12,927 posts
Armorama: 9,486 posts
Posted: Wednesday, January 02, 2013 - 01:12 AM UTC
I've just come back from a few days in London and made the trek to the R.A. Museum ('Firepower')at Woolwich Arsenal. Managed to photograph several 25s and limbers so I now have all I need (apart from a decent Quad) to start the Bronco ones I have sitting here...
Good, useful build Alan! Any problems we shoul know about?
Posted: Wednesday, January 02, 2013 - 02:59 AM UTC
Hi Jim,
Happy New Year to you. Haven't made the RA museum yet.
On the gun build the most tricky parts are the PE. It is very thin and therefore will bend out of shape very easily and I found some of the parts just too small to work with. I used some substitute handles on the top of the gun trail in place of P13 stage 17.
Part A29 which is the end separator between the two trail legs and fitted at stage 13 was a little wider than needed, this means when you go to fit part 19 and 20 at stage 17 you could have a very small gap at the edges and the parts don't settle into each other well. Only suggesting I can make is combine those two stages (13 & 17) so you can deal with any fit issues at the time.
With so much detail and so many tiny parts clean up can be tricky and I didn't get a good fit with parts B58,B59 and A2 so I would suggest you build this as a separate module as shown in stage 18 (21).
You'll also need a good reference picture for part B77, just to see how it fits.
Make sure you aligned parts A35 on the wheels correctly or it will cause a problem when you fit the break gear A5,A4,A6 and A8. Also use a reference picture for the angle of the break lever, mine is a little two far forward.
I used alternative handles for P13 stage 17 as I simply couldn't work with the kit parts P13.
When your working on the gun shield is is quite flexible something PE doesn't like so watch things don't spring off lol.
This is a gem of a kit, you'll need patience to build it, but I think the end result is worth the effort.
If you succeed with PE part P2 let me know lol.
Cheers
Al
Posted: Wednesday, January 02, 2013 - 03:33 AM UTC
Alan I struggled with the firing handle assembly did you? Or are my eyes getting worse.
Posted: Wednesday, January 02, 2013 - 04:49 AM UTC
Hi Darren,
A series of mini builds, with some very small parts. You can't really build a complete unit, just part - let it dry properly then add the next bit, hence the patience comment, as the assembly needs done over several sittings, but the end result is worth it. I left the PE off until the last, otherwise my fumble fingers would have knocked it off.
Cheers
Al
Posted: Wednesday, January 02, 2013 - 10:17 PM UTC
Hi folks,
A side by side comparison with the old Tamiya 25 pdr.
Al
A side by side comparison with the old Tamiya 25 pdr.
Al
Posted: Friday, January 04, 2013 - 03:03 AM UTC
Hi folks,
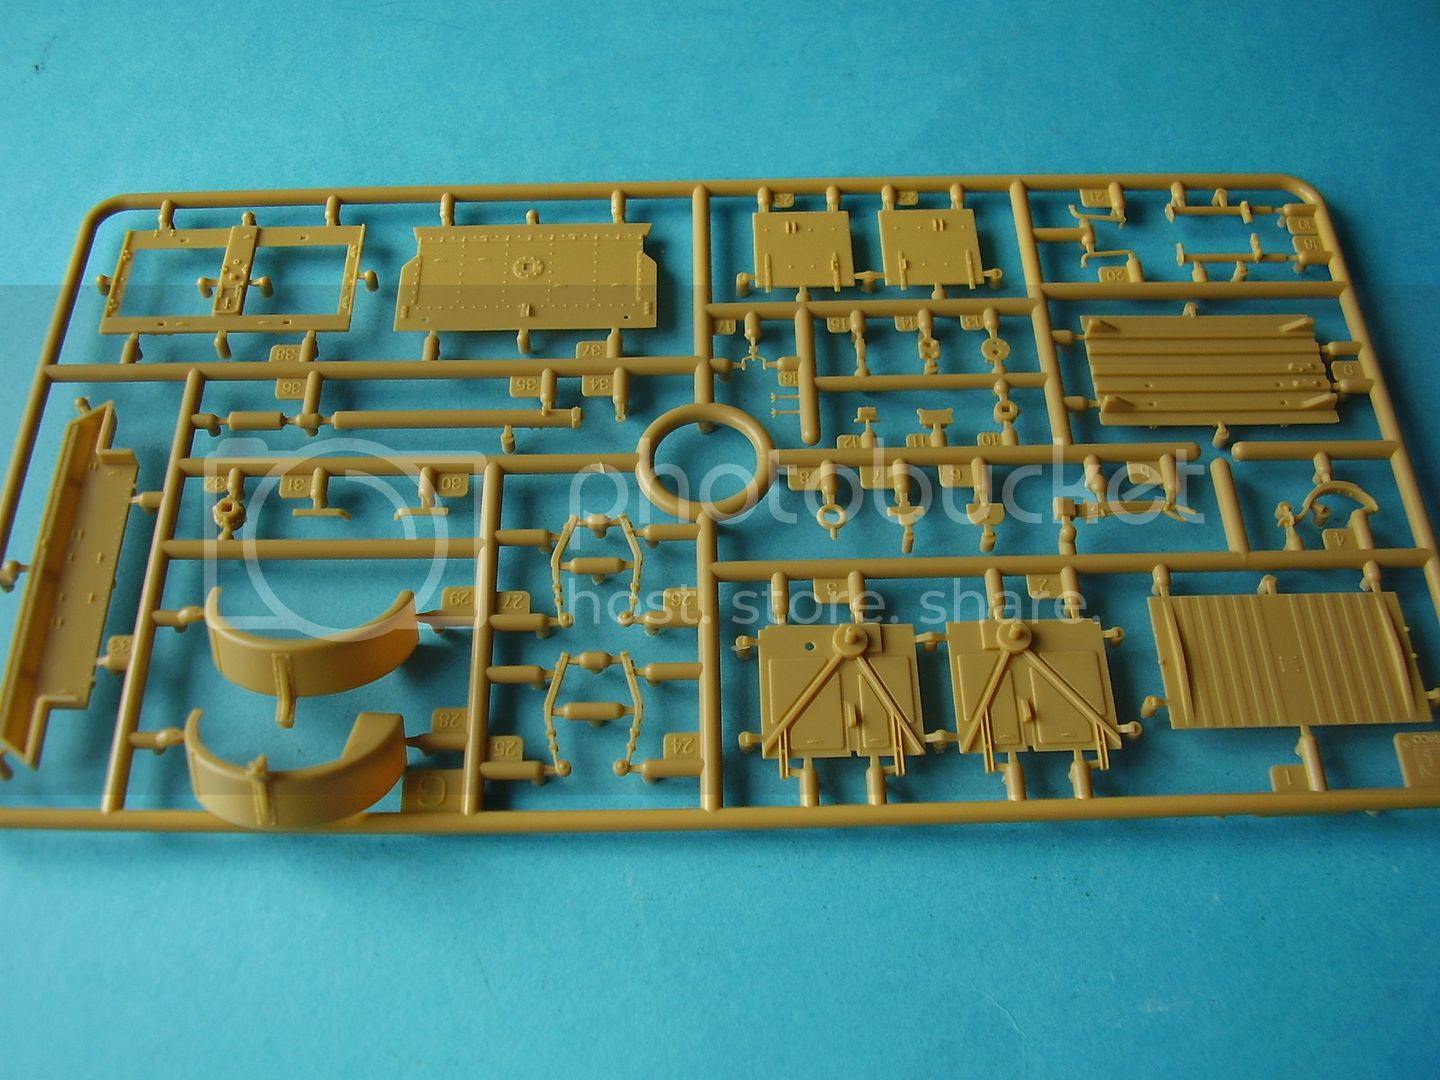
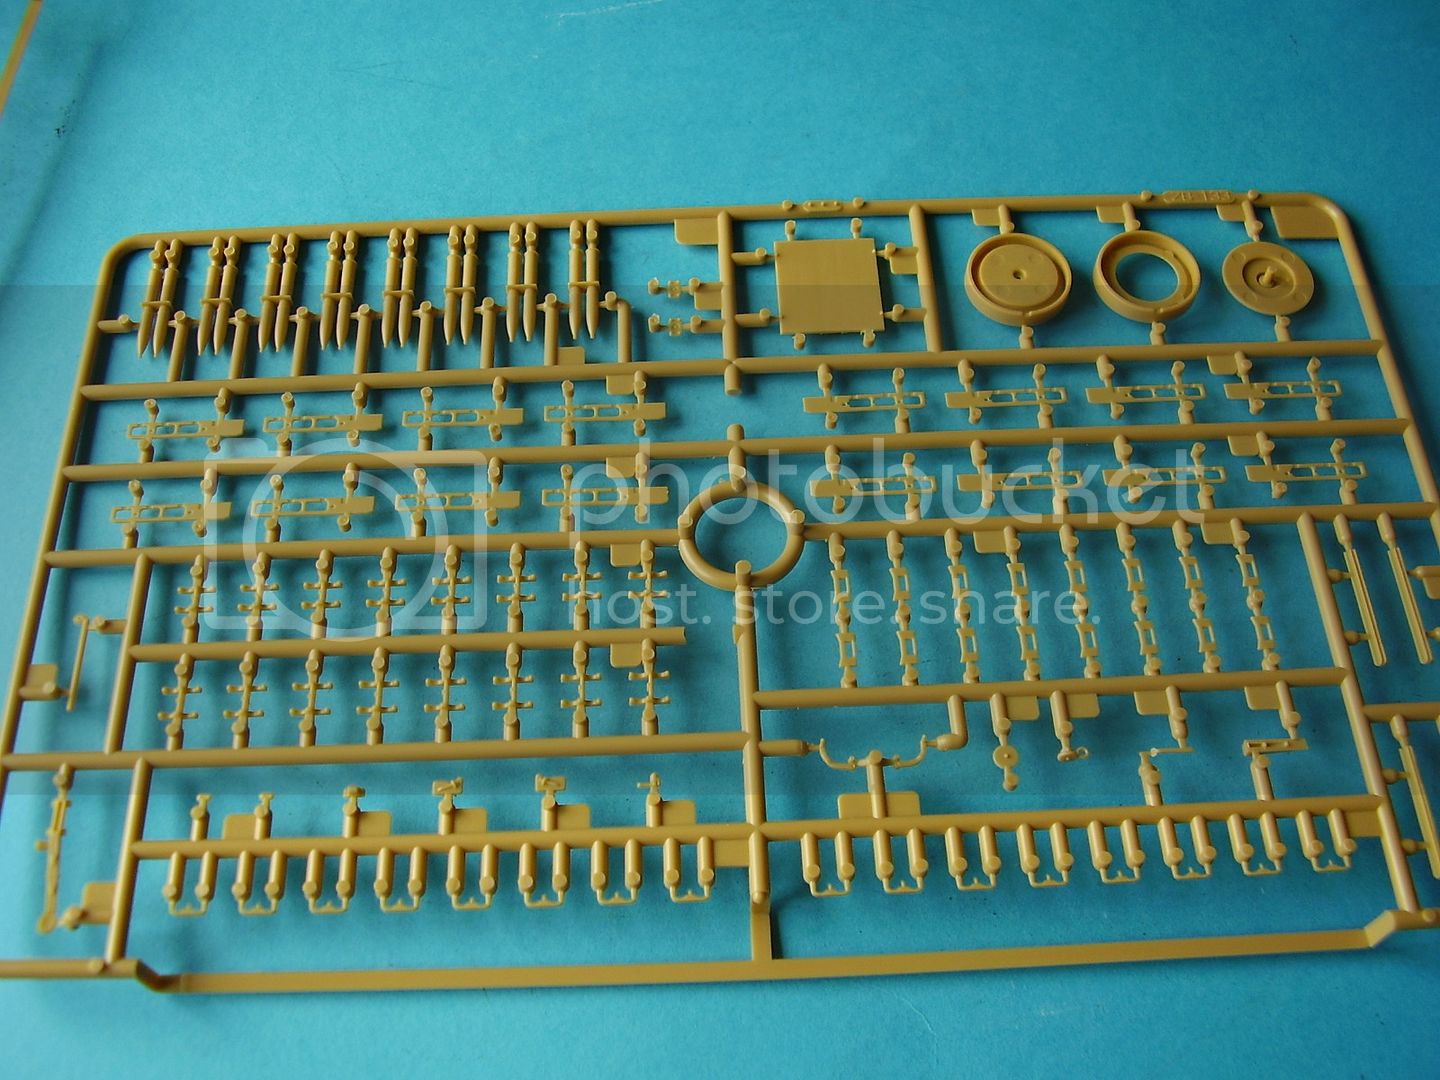
Next up will be the ammo limber. I have two of these to build one for the 25pdr and one to go with the Bishop when I get to it.
One tree of limber parts and two trees of ammo parts, looks like a very comprehensive limber and a really good quantity of ammunition.
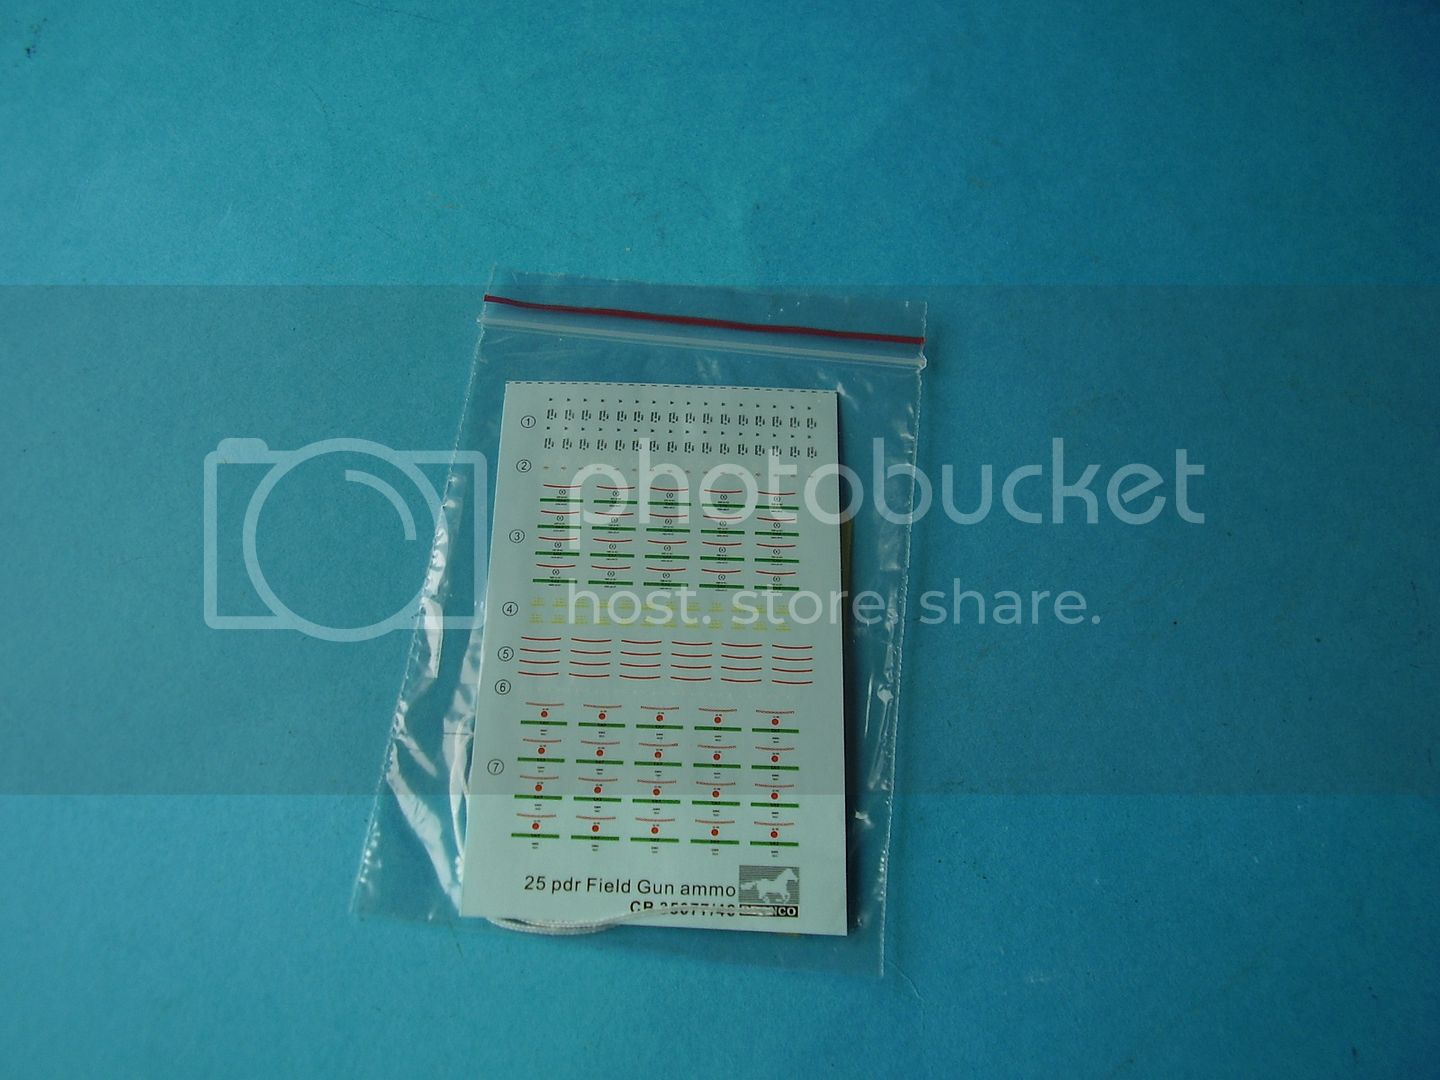
You also get marking for the shells which is very good and makes all the difference to finished ammo.
Cheers
Al
Next up will be the ammo limber. I have two of these to build one for the 25pdr and one to go with the Bishop when I get to it.
One tree of limber parts and two trees of ammo parts, looks like a very comprehensive limber and a really good quantity of ammunition.
You also get marking for the shells which is very good and makes all the difference to finished ammo.
Cheers
Al