_GOTOBOTTOM
Armor/AFV: Axis - WWII
Armor and ground forces of the Axis forces during World War II.
Hosted by Darren Baker
Kfz 2 Kettenkrad
FAUST
#130
Visit this Community
Noord-Holland, Netherlands
Joined: June 07, 2002
KitMaker: 8,797 posts
Armorama: 4,190 posts
Posted: Friday, October 28, 2011 - 07:06 AM UTC
Ola Guys

Started a new project last week. After the Zundapp KS 800 I decided to built a kettenkrad.
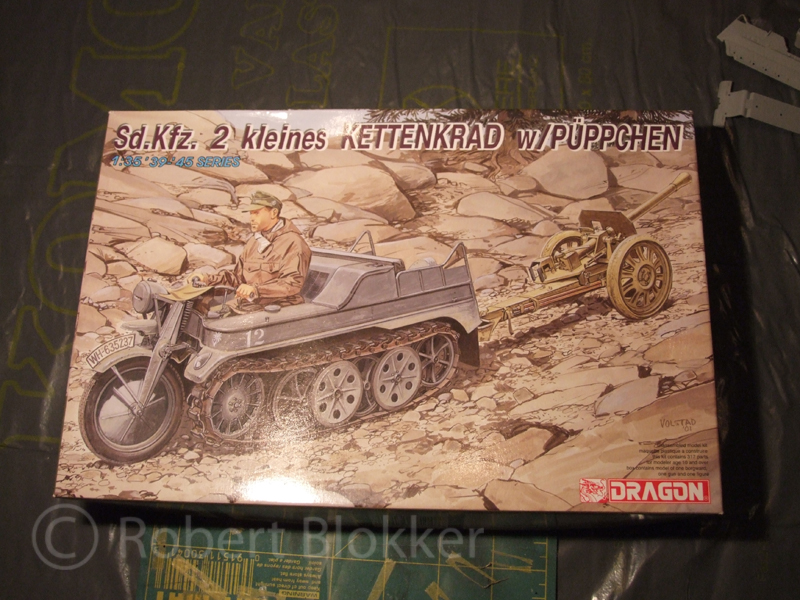

Got quite a good Eduard PE set for the kit
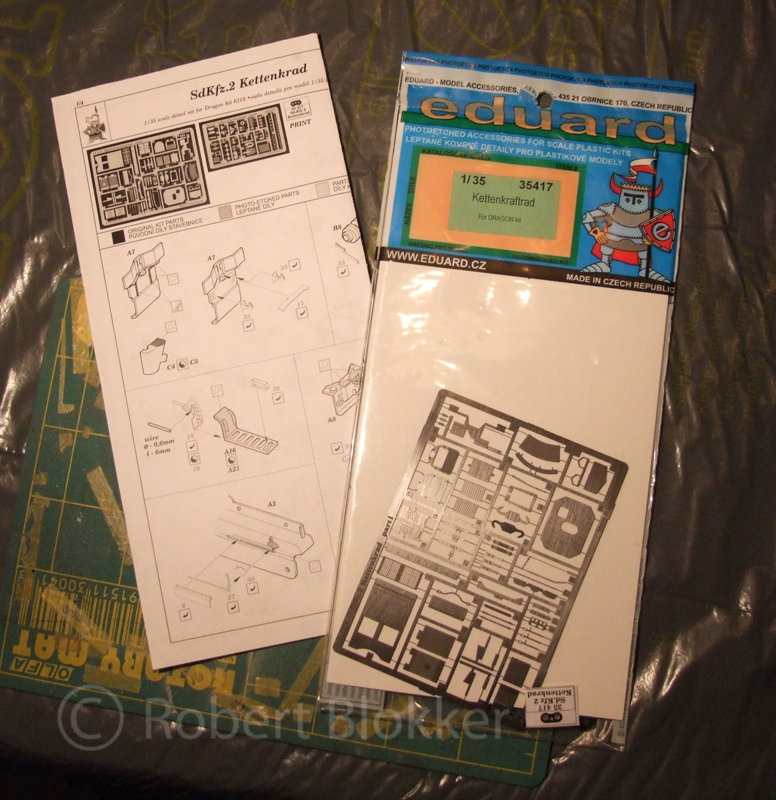

Good supply of Evergreen and other stuff. Not pictured copperwire and a cut up energy drink can
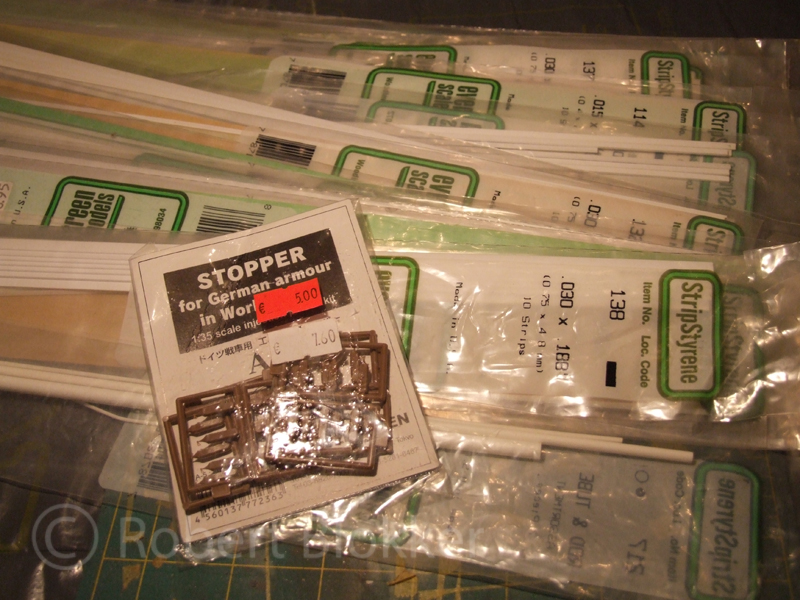

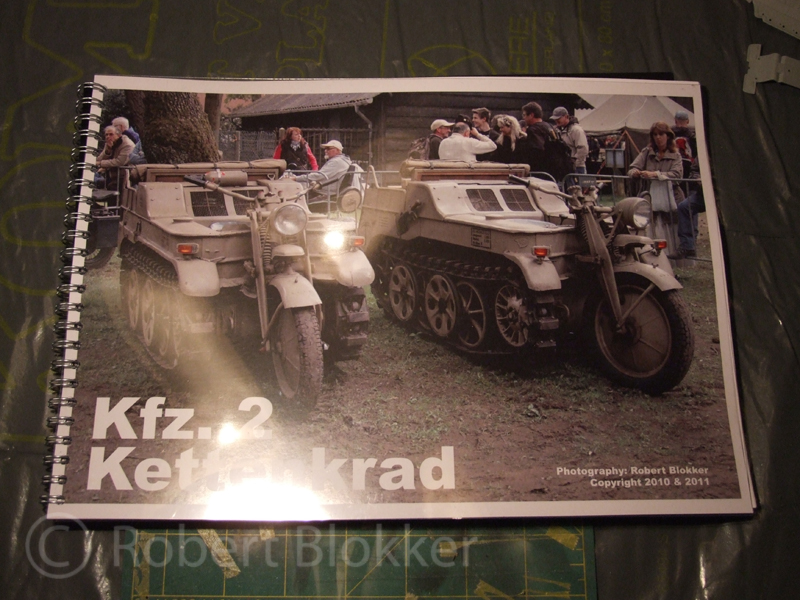
Some stuff from the personal library
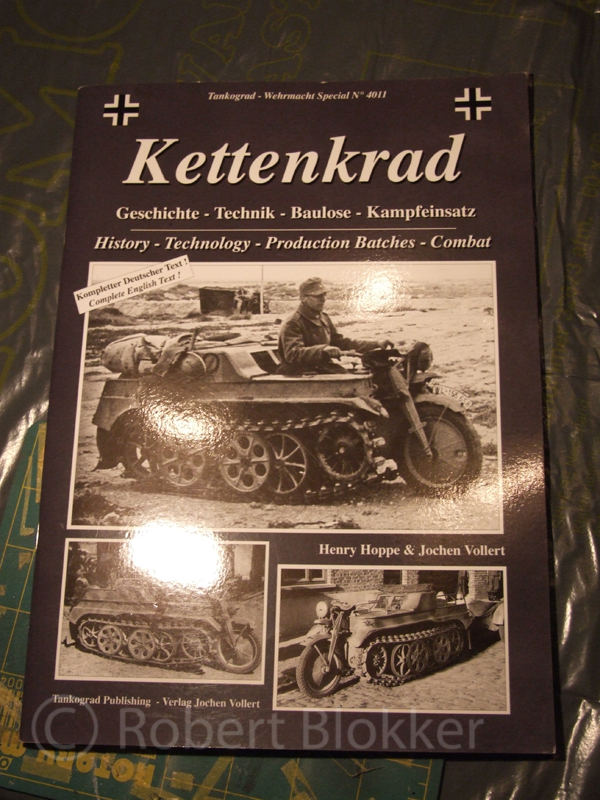


Verlinden Tool set for the toolbox under the vehicles backseat
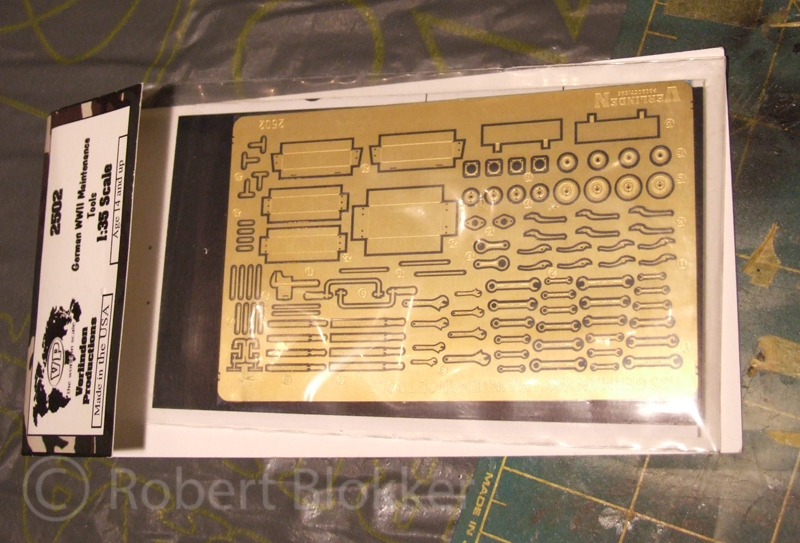

The gallery was out of order for a bit therefore I have quite a load of poctures in this first post. I hope you don't mind.
Starting off with the huge amount of work I did in the Kitmaker stand at the IPMS nationals last week. 4 pieces cut off the sprue and sandedand a grandtotal of one piece of PE. Don't scroll too fast or you'll miss it
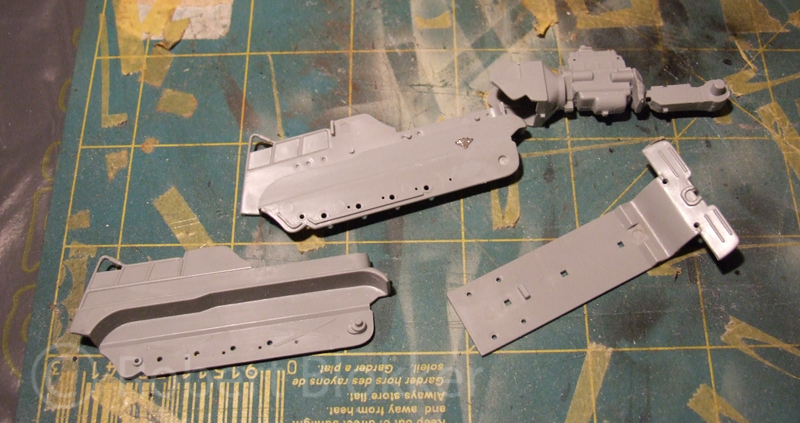
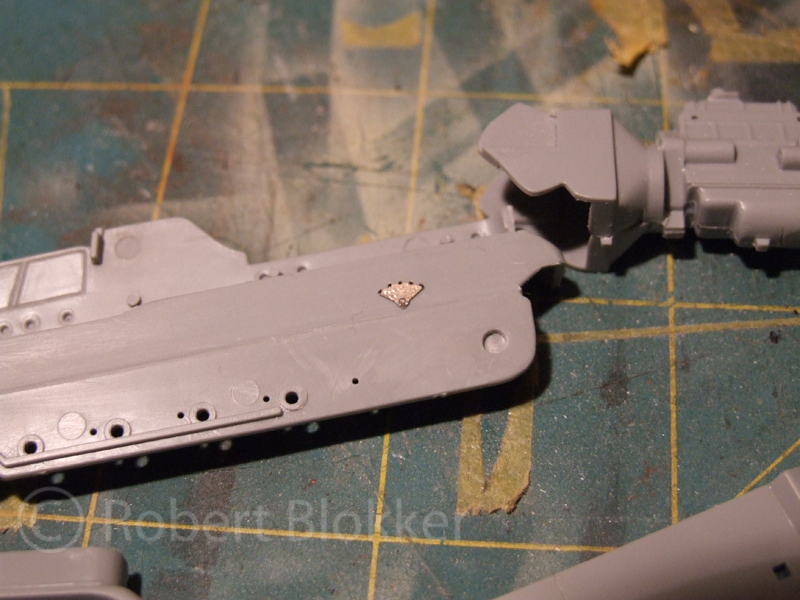

Ok back to my own workbench at home.
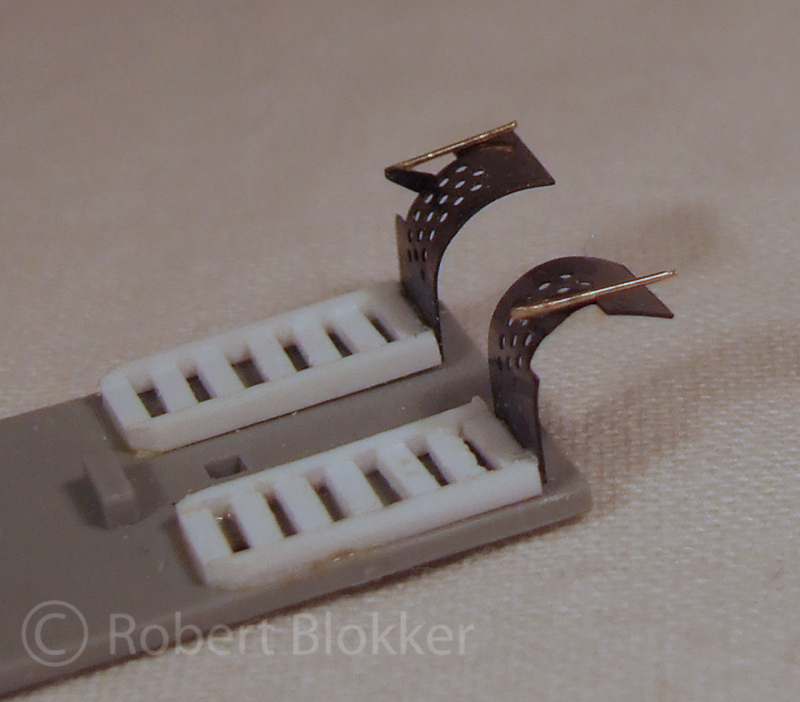
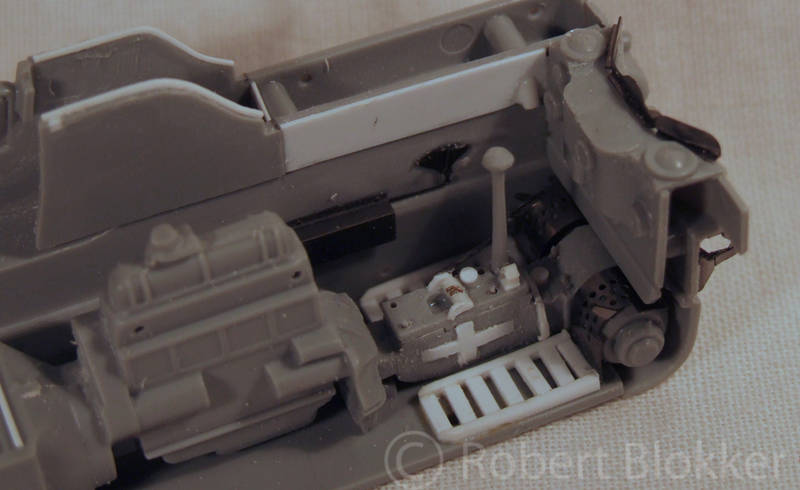
Most of the work so far has been done in detailing the transmission area and the driversspace.
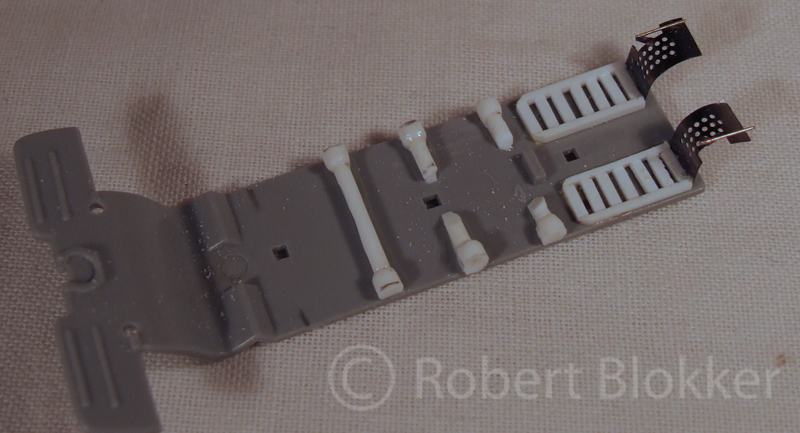
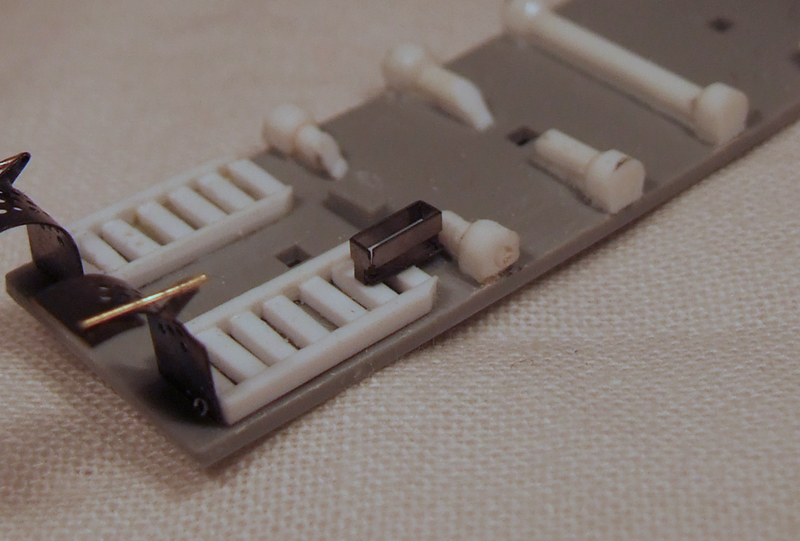
New footboards and the PE protection covers for the breakdrums.
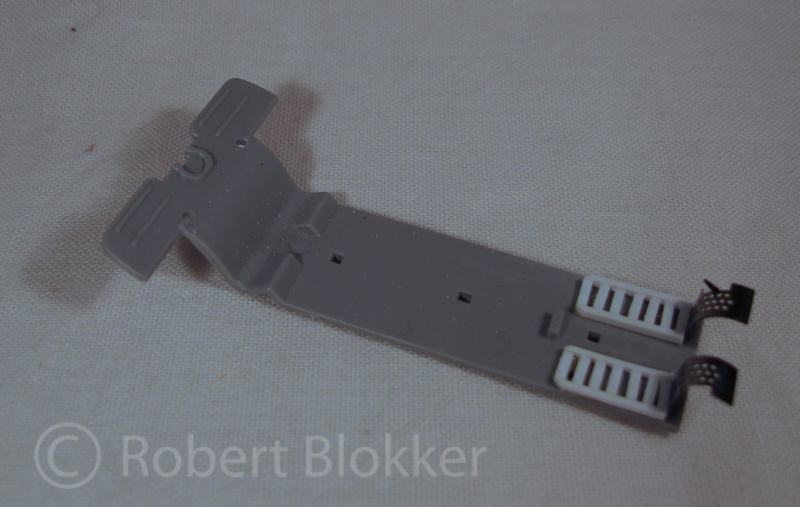
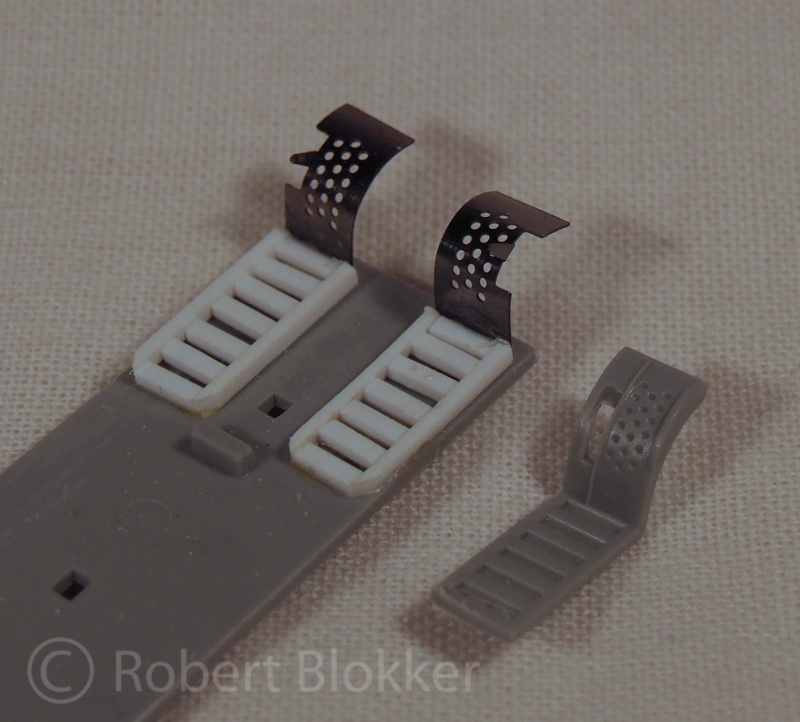

Some detailwork on the transmission itself.
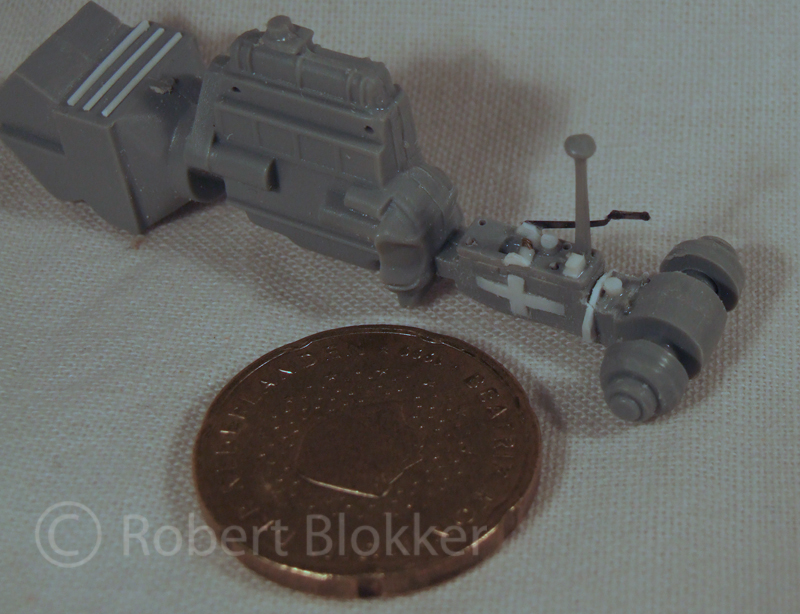


Transmission in it's place in the vehicle. Still some cleaning to do. And the thing not sitting straight in the footboard is already repaired.
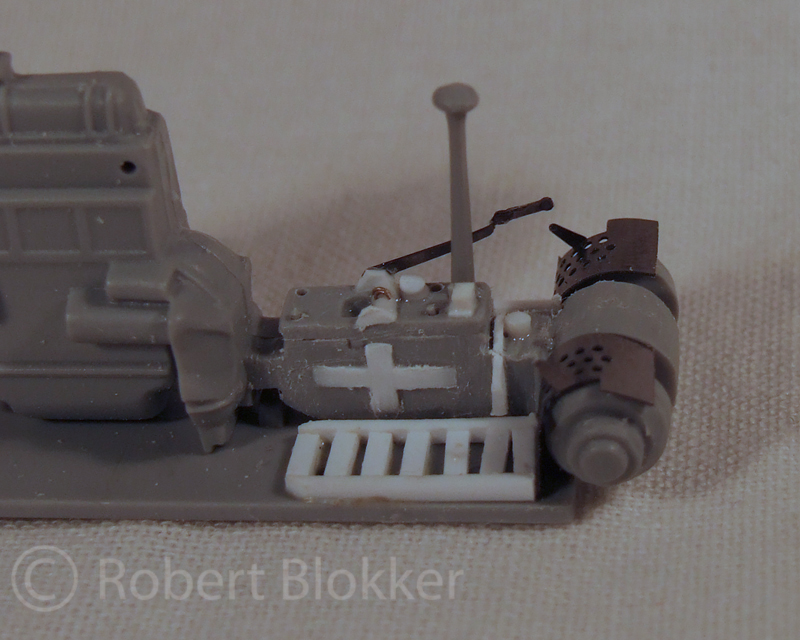
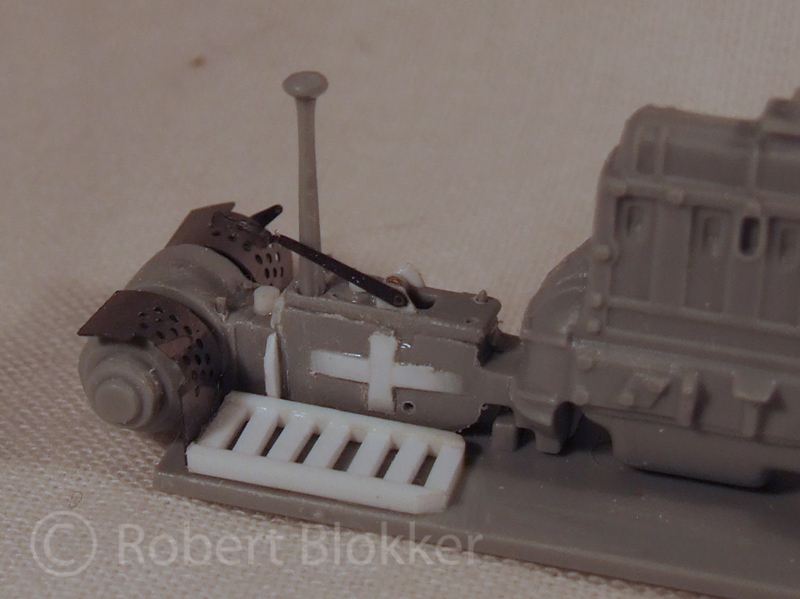

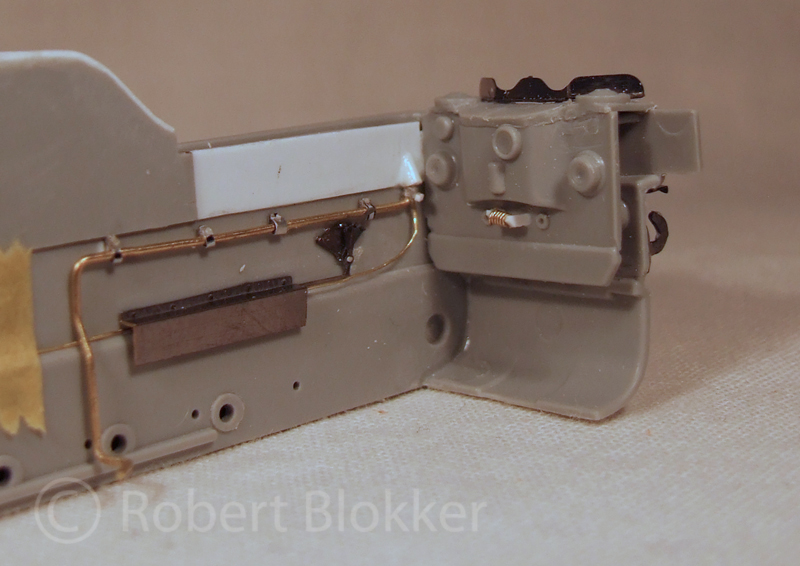
Some PE work at the front of the vehicle. Again also some cleanup required
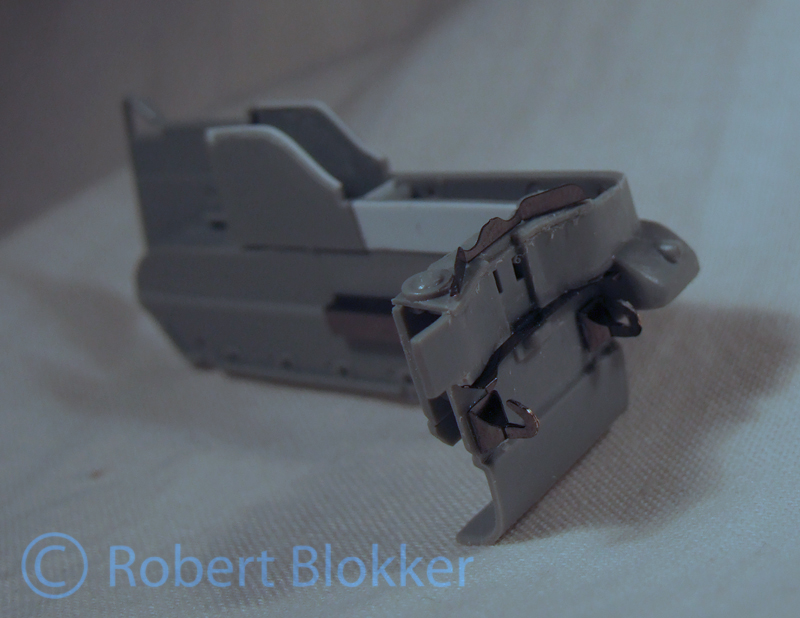

Side of the left fueltank made to the correct thickness with some evergreen and created the tube from which the fuelline runs. Also added the mechanism that allows the driver to open up the hatch at the back of the vehicle so the engine gets better cooling.
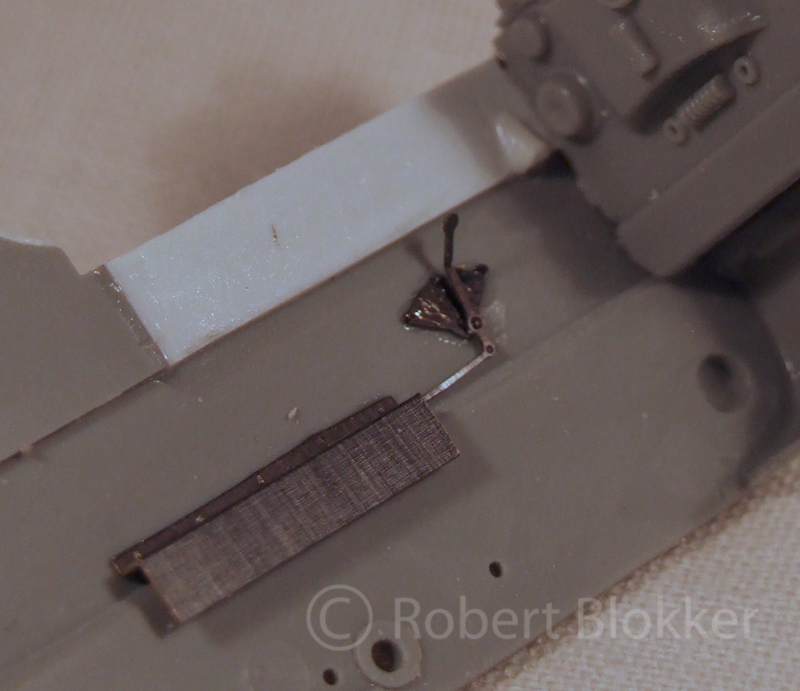

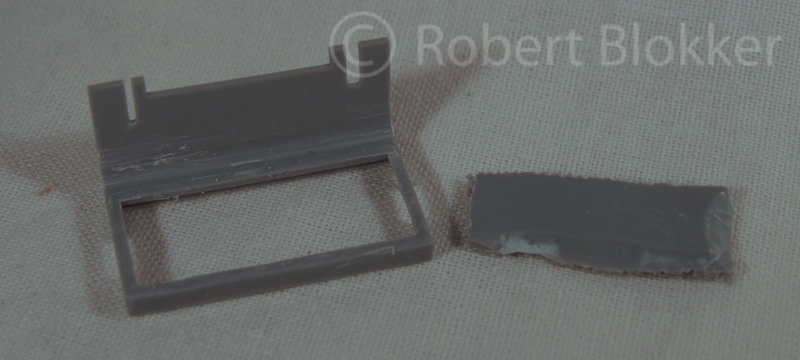
The left storage box will be open in the dio eventually so some cutting and scratching had to be done. Cut the lid of the storage box off the top of the left fueltank. Did a lot of sanding. Sanded down the tops of the storagebox' sidewalls and created a lip on the sidewalls and lid with evergreen. Only some PE bits and the hinge and this is ready.
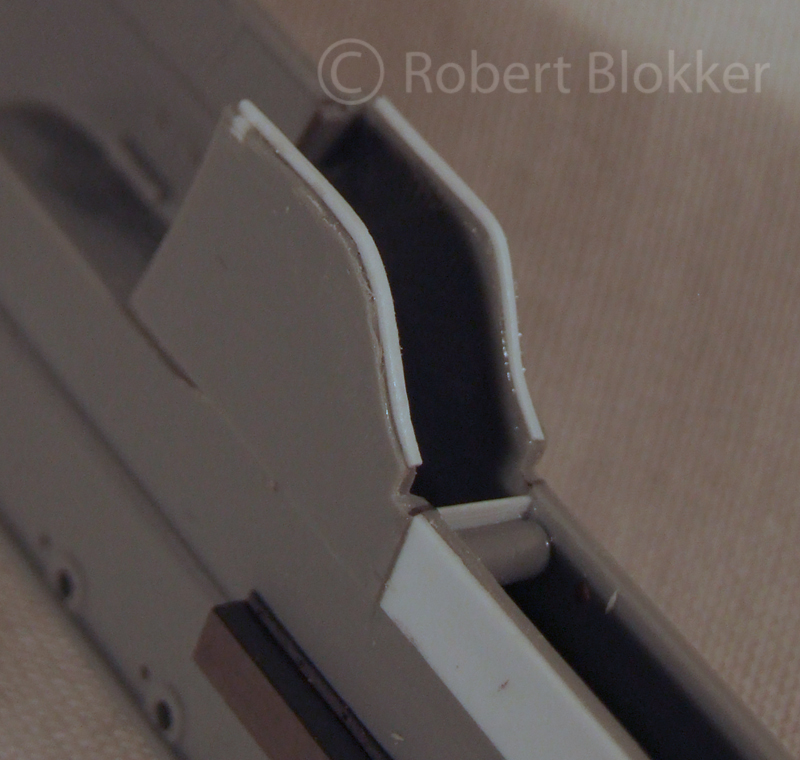
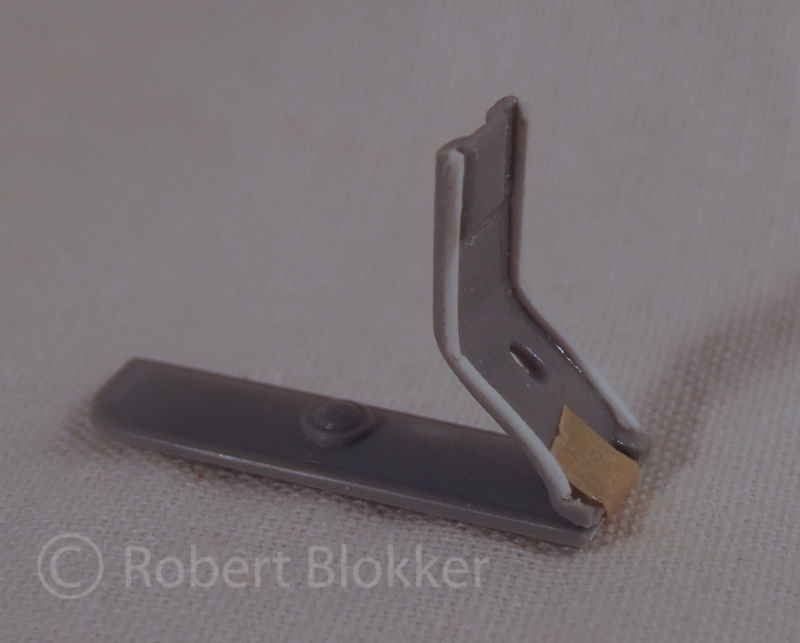

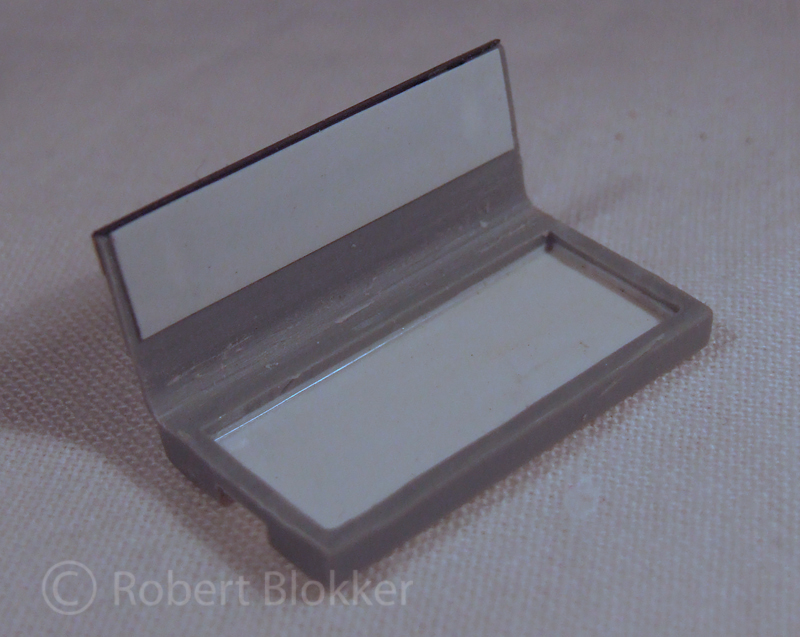
I also attacked the backseat. The cushion part of the kit was way too thick. And not good looking at all. Aside from that I wanted to show the toolrack under the seatcushion because of the dio I am going to make with it. So I cut off the cushion. I sadly have no pics of the bench before the vicious attack.

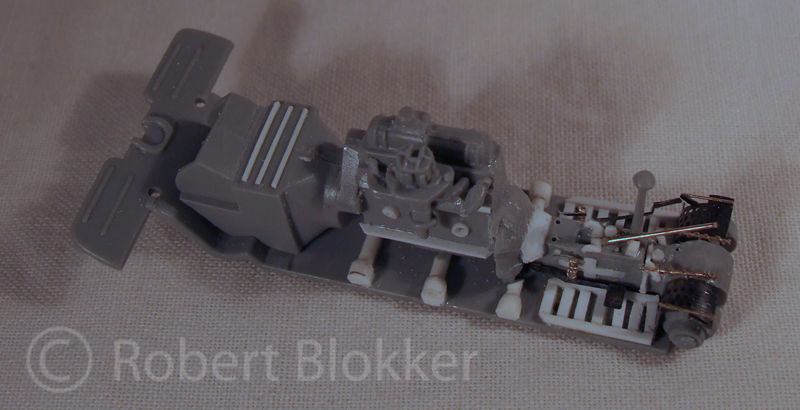
And a overall shot of all the work done so far.

More to come

As usual I'm curious to any feedback

With friendly greetz

Robert Blokker
Grumpyoldman
Staff MemberConsigliere
KITMAKER NETWORK
Visit this Community
Florida, United States
Joined: October 17, 2003
KitMaker: 15,338 posts
Armorama: 7,297 posts
Posted: Saturday, October 29, 2011 - 12:35 AM UTC
Nice work so far Robert.
PantherF
Visit this Community
Indiana, United States
Joined: June 10, 2005
KitMaker: 6,188 posts
Armorama: 5,960 posts
Posted: Saturday, October 29, 2011 - 12:46 AM UTC
Looks very neat and my hats off to you! I'd go blind working on such a small vehicle and your attention to detail is fantastic.

Nice to see something besides a tank build too.


~ Jeff
FAUST
#130
Visit this Community
Noord-Holland, Netherlands
Joined: June 07, 2002
KitMaker: 8,797 posts
Armorama: 4,190 posts
Posted: Saturday, October 29, 2011 - 05:25 AM UTC
Ola Guys

@ Dave
Thanks for the kind words.

@Jeff
Thanks for the kind words. As for the smallness of everything.. I approach it just like Johnny Cash.... One piece at a time. And it works quite well that way. I'm lucky enough to still do this kind of stuff without glasses. After the vehicle I probably need a pair
And I have been wanting to built one of these since I got to ride along with one of these.

New day new update

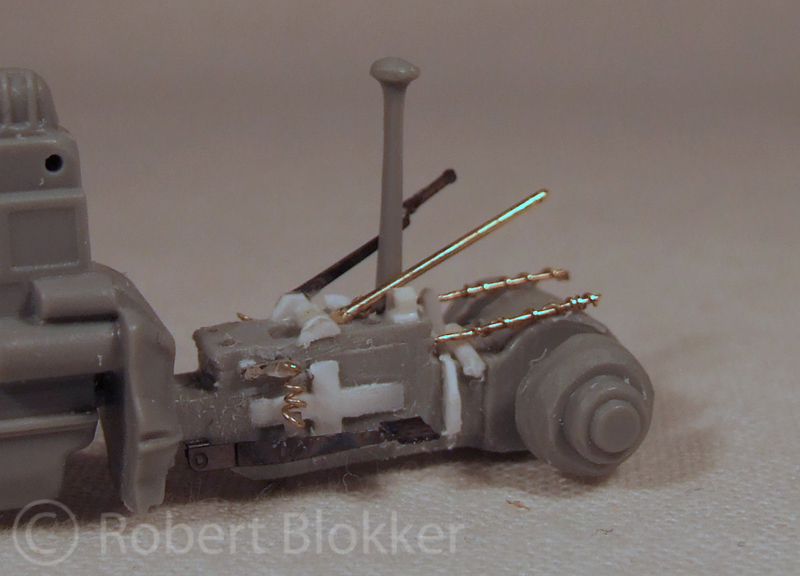
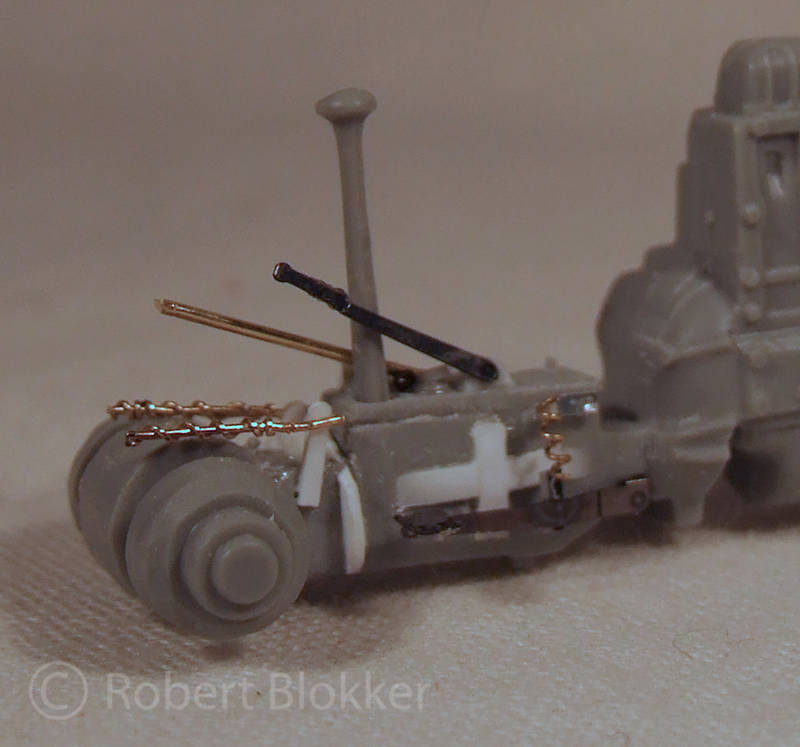
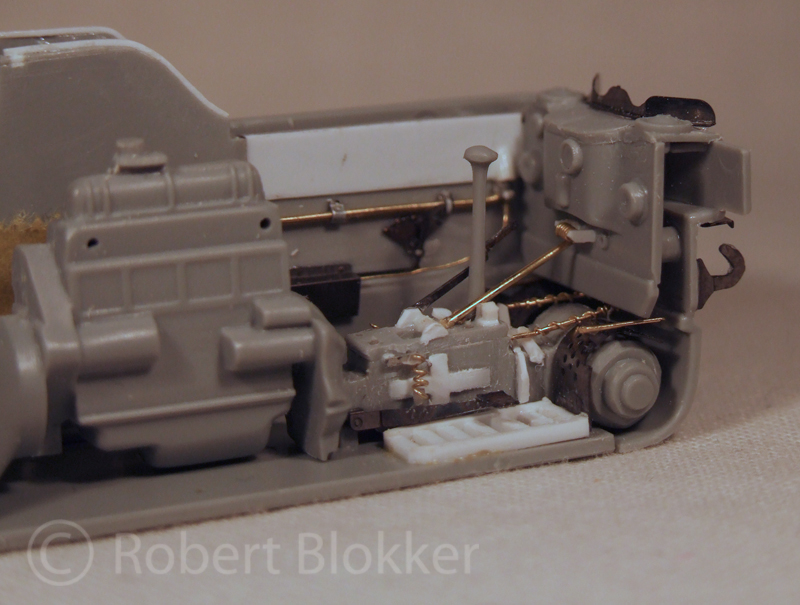
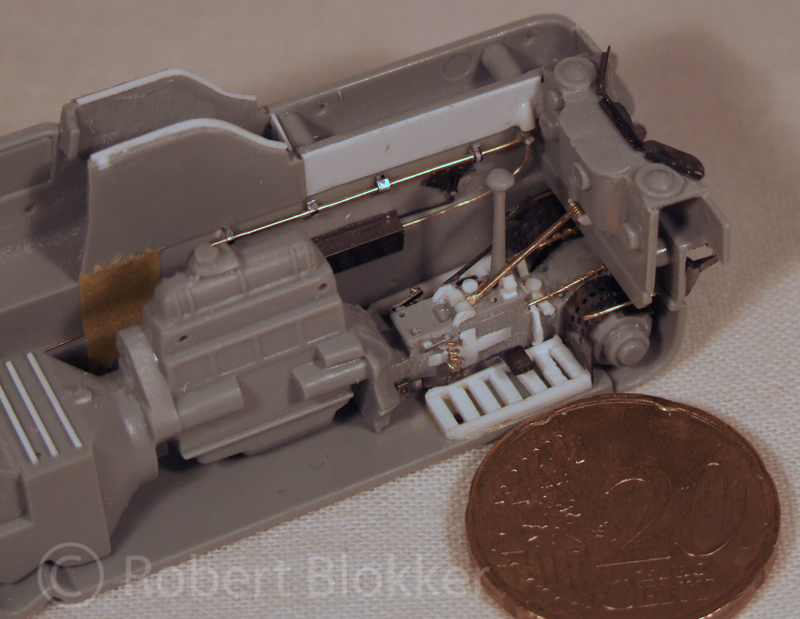
Since last update I did some morfe scratching in the drivers compartment mostly brasswork. And metal from an energydrink can (great tin metal)
Rods going to the transmission and breakdrums. Fuelline from the left fueltank with crane, some springs and other doo dads


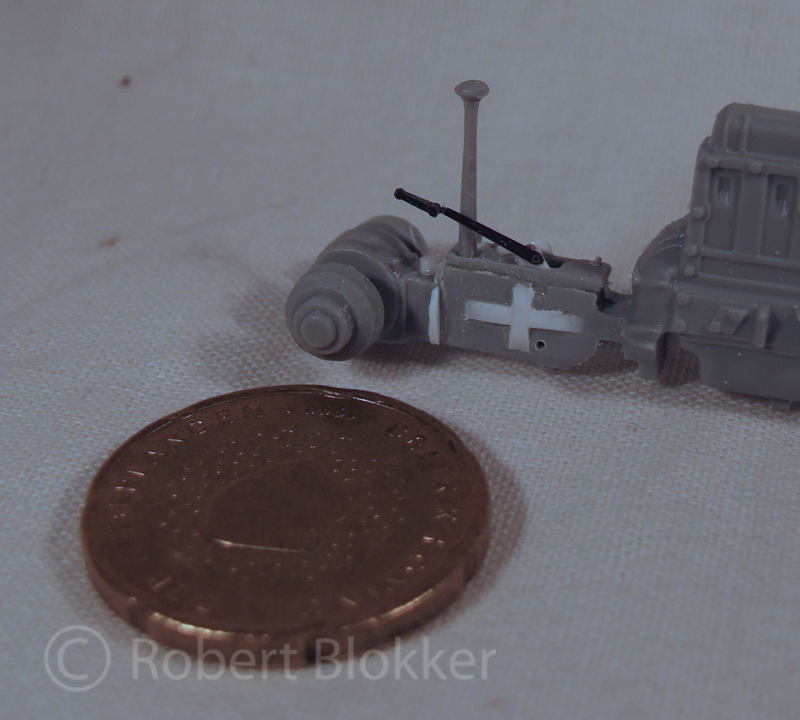
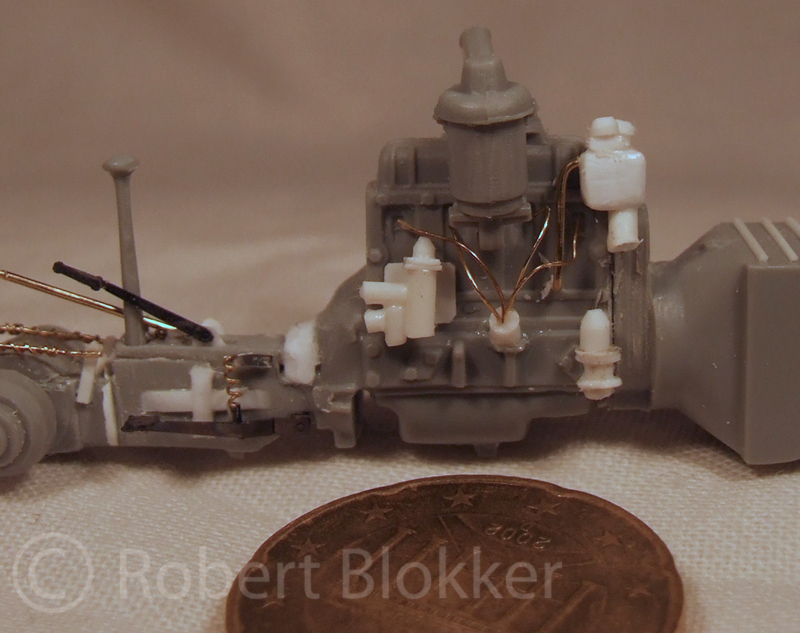
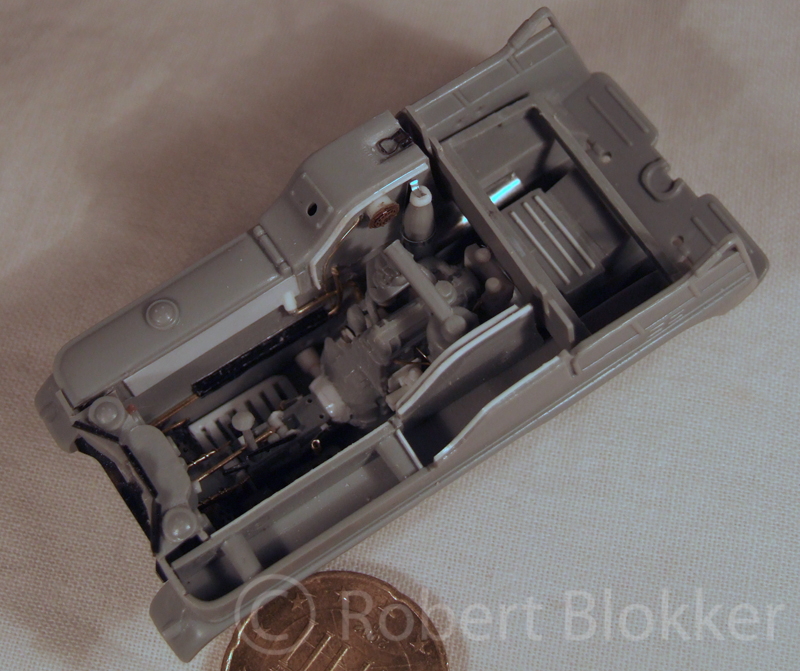
And for those who are not known to this kit and the scale of the work involved I have a comparison with a coin


with friendly greetz

Robert Blokker
FAUST
#130
Visit this Community
Noord-Holland, Netherlands
Joined: June 07, 2002
KitMaker: 8,797 posts
Armorama: 4,190 posts
Posted: Wednesday, November 02, 2011 - 07:39 AM UTC
Ola Guys
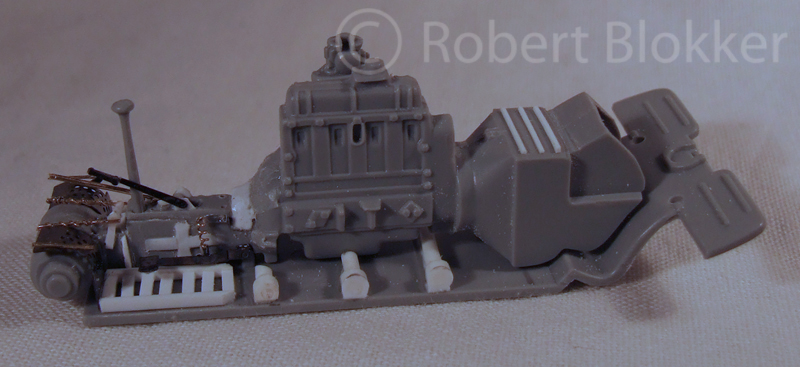
Time for another update allthough that is not the right word for it. It is basically a view in between the progress.. As the works on this part are not finished yet.
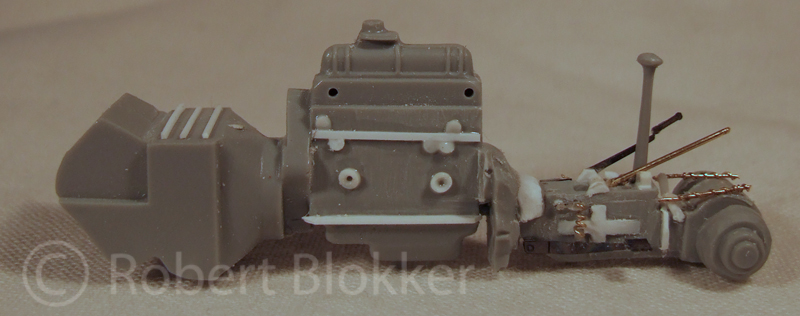
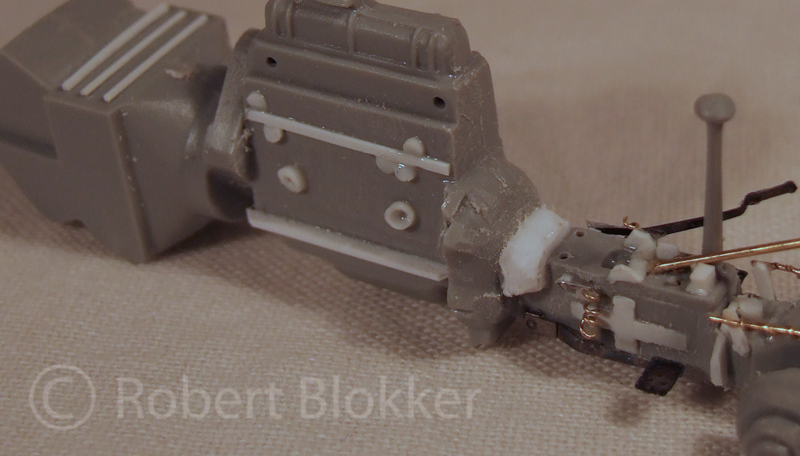
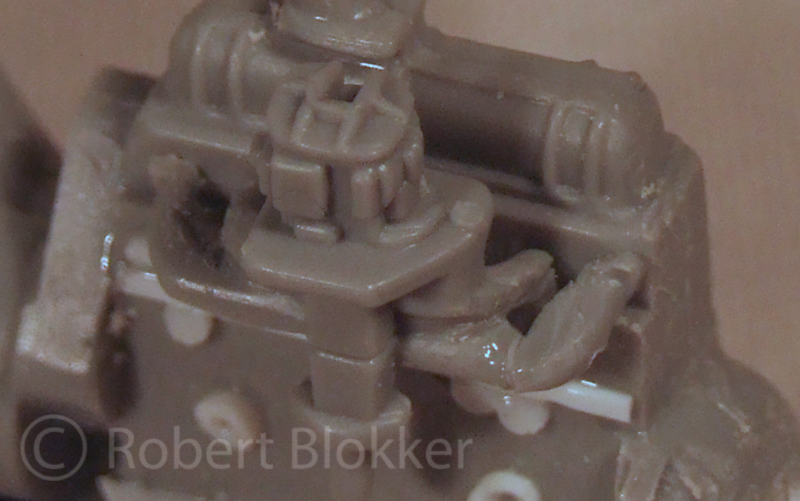
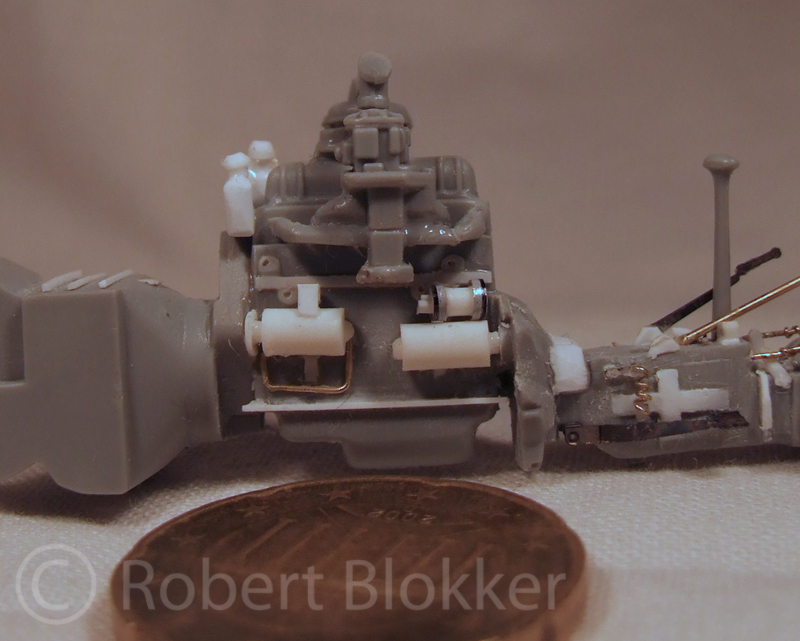
Started on detailling the Engineblock. For now the left side of it. Still a lot to be done and to refine. I also lengthened the part where the transmission attaches to the block. Still have to add the ribs to that.


Next up are the torsionbarhousings. Normally they run under the block which means that the engine should go up a bit. But the Dragon kit doesn't have thave that much space and I did not want to scratch the whole engine. Since they only will be seen from above I am happy with the illusion that they are running under the engine.


I also did some work on the exhaust manifold on the side of the engine. In the dragon kit the 4 pipes neatly went to two before going into the engine. So I scribed and cut a lot untill I had four pipes going into the engine as is the case with a 4 cilinder block


The work on the Block is not even halfway. But since I document this whole built pretty much step by step I decided to do a real in between update so you can see the built up of certain areas. Still it is pretty rough.. and a lot of refining and adding of details are to be done guided by good photo's and drawings of the block.
FAUST
#130
Visit this Community
Noord-Holland, Netherlands
Joined: June 07, 2002
KitMaker: 8,797 posts
Armorama: 4,190 posts
Posted: Thursday, November 17, 2011 - 10:19 AM UTC
Ola Guys
Back to this builtmonologue with another update.

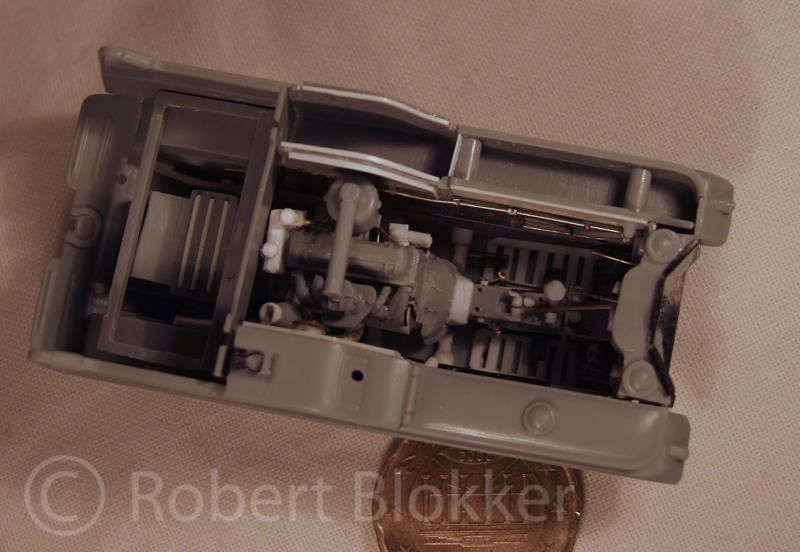
Spend some time at the bench. And worked further on updating the engineblock on which I started work earlier. All is pretty much done bar some small details and cables.


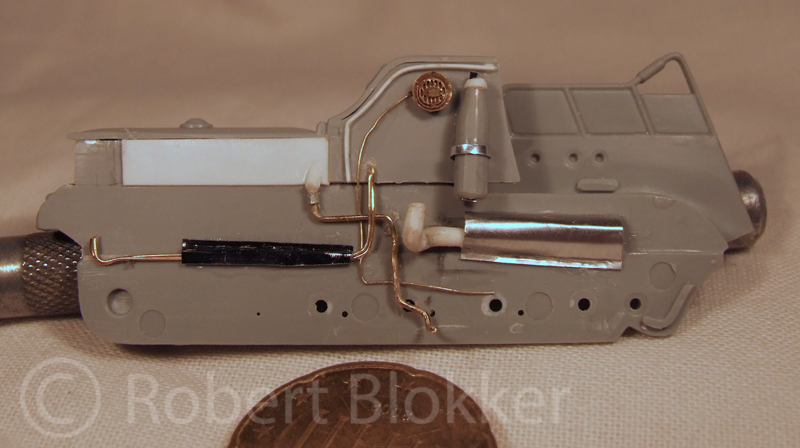
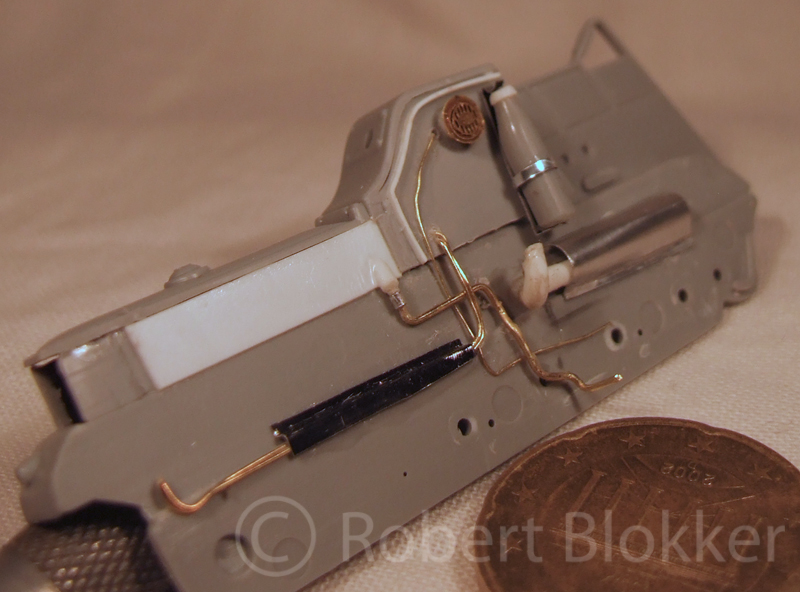
Also did the detailing on the left sidewall. The gasttank with spout and fuelline, wiring, Wiring protector, horn, oilbottle with it's holder, exhaustpipe with heatshield.


And still it all fits together as well


As usual very curious to any feedback

With friendly greetz

Robert Blokker
panamadan
Visit this Community
Minnesota, United States
Joined: July 20, 2004
KitMaker: 1,513 posts
Armorama: 1,449 posts
Posted: Thursday, November 17, 2011 - 02:04 PM UTC
Robert,
Great attention to detail-I didn't know so much was missing in the Dargon kit. Hope to see Bronco do one one day.
Dan
FAUST
#130
Visit this Community
Noord-Holland, Netherlands
Joined: June 07, 2002
KitMaker: 8,797 posts
Armorama: 4,190 posts
Posted: Thursday, November 17, 2011 - 09:36 PM UTC
@ Dan
Thanks for the kind words
Well the DML kit is without doubt a very nice and quite complete kit. Certainly with the engine bay closed. Even with the enginehatch open you have a decent kit.

I decided to go the extra route after seeing the PE set, a few beautifully restored examples and some browsing through my library. It is actually a bit crazy and some of it will not be visible but I'm planning to have the engine hatch open so it will show a lot of the added stuff
FAUST
#130
Visit this Community
Noord-Holland, Netherlands
Joined: June 07, 2002
KitMaker: 8,797 posts
Armorama: 4,190 posts
Posted: Wednesday, November 30, 2011 - 08:18 AM UTC
I have a question and I'm reaching out to the Kettenkrad experts here.

I'm looking for info on the battery placement inside the Kettenkrad. I know how the thing looks like but I have no clue where it was in the vehicle. Pictures from a manual would be very welcome but a good description would suffice.

Anybody able to answer this question?
dioman13
Visit this Community
Indiana, United States
Joined: August 19, 2007
KitMaker: 2,184 posts
Armorama: 1,468 posts
Posted: Wednesday, November 30, 2011 - 08:57 AM UTC
Hey Robert, looks real good so far. As I'm not sure of the coin you put by it do I asume that it is 1/35th. If it is, it's more detail in such a small area than I could see or work with. You going to run around your scrap yard in this . Real sharp looking job you are doing.
FAUST
#130
Visit this Community
Noord-Holland, Netherlands
Joined: June 07, 2002
KitMaker: 8,797 posts
Armorama: 4,190 posts
Posted: Wednesday, November 30, 2011 - 10:43 AM UTC
Ola Bob

To tell you the truth it never crossed my mind to use the vehicle in my scrapyard diorama. As this was meant to be the centrepiece of a small dio where two soldiers were trying to repair the little vehicle. But I might fix it lightly onto that base to get it apart easily and transfer it to the scrapyard dio eventually.
The coin is a 20 eurocent piece and is around 2 cm in diameter. The vehicle is indeed 1:35. And it is the most detail I ever put in a kit to date. But it is still fun to do.

On a sidenote returning to the scrapyard dio. I got a great idea for one of the yard vehicles. Being a motorcycle with sidecar where the sidecar is taken off and a metal box is welded in place holding acetylene gear and tools.
Plasticbattle
#003
Visit this Community
Donegal, Ireland
Joined: May 14, 2002
KitMaker: 9,763 posts
Armorama: 7,444 posts
Posted: Wednesday, November 30, 2011 - 12:01 PM UTC
Great work on this Robert. All those details will add so much to the finished model. Will be following!
FAUST
#130
Visit this Community
Noord-Holland, Netherlands
Joined: June 07, 2002
KitMaker: 8,797 posts
Armorama: 4,190 posts
Posted: Wednesday, November 30, 2011 - 09:53 PM UTC
@ Frank
Thanks for the compliments. I did some test fitting yesterday concerning the rearbench of the vehicle and so far it all seems to fit allthough quite tightly here and there.
Of course after that I dropped a side of the vehicle and I have to do some restoring first before I can continue.
FAUST
#130
Visit this Community
Noord-Holland, Netherlands
Joined: June 07, 2002
KitMaker: 8,797 posts
Armorama: 4,190 posts
Posted: Tuesday, December 06, 2011 - 03:35 AM UTC
Ola guys

Time for another update. I actually wanted to show these pics a few days ago when made them but then the whole trouble with the crash and the migration started. Which is solved brilliantly by Jim. Thanks a lot for the great work. But it was a little test of my patience.

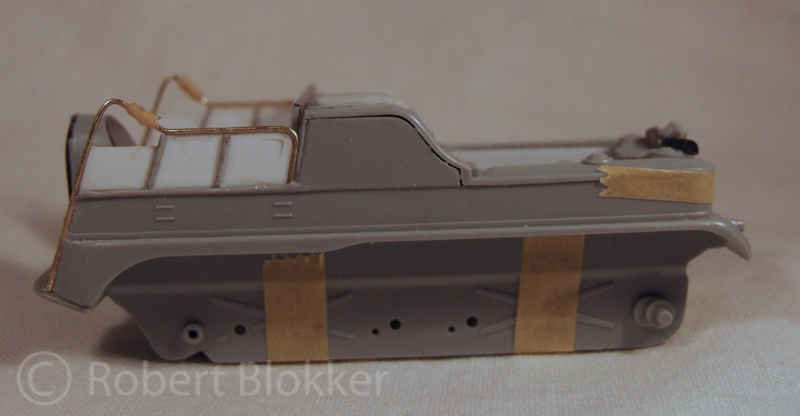
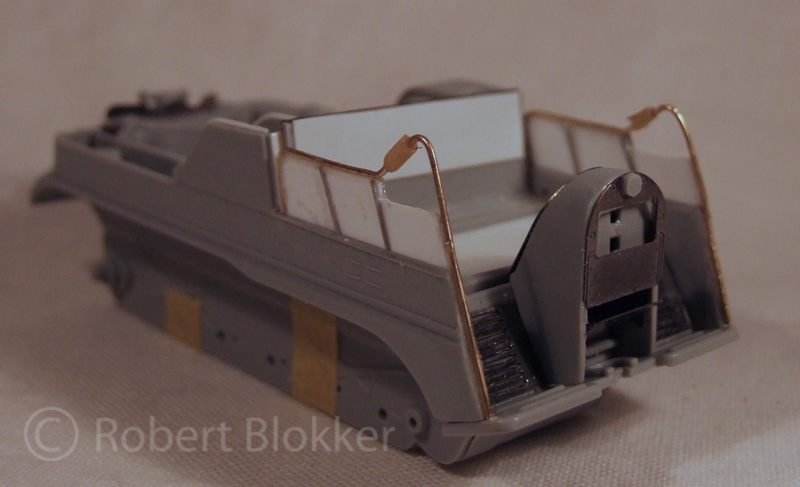
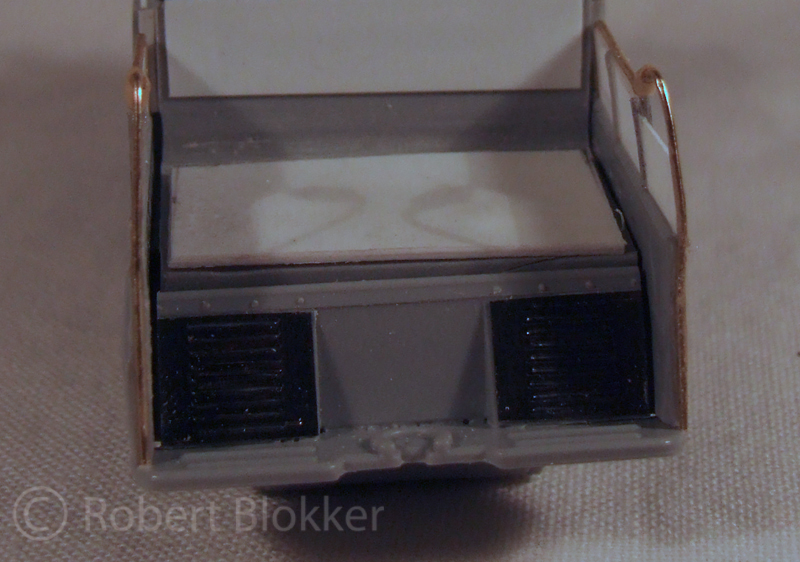
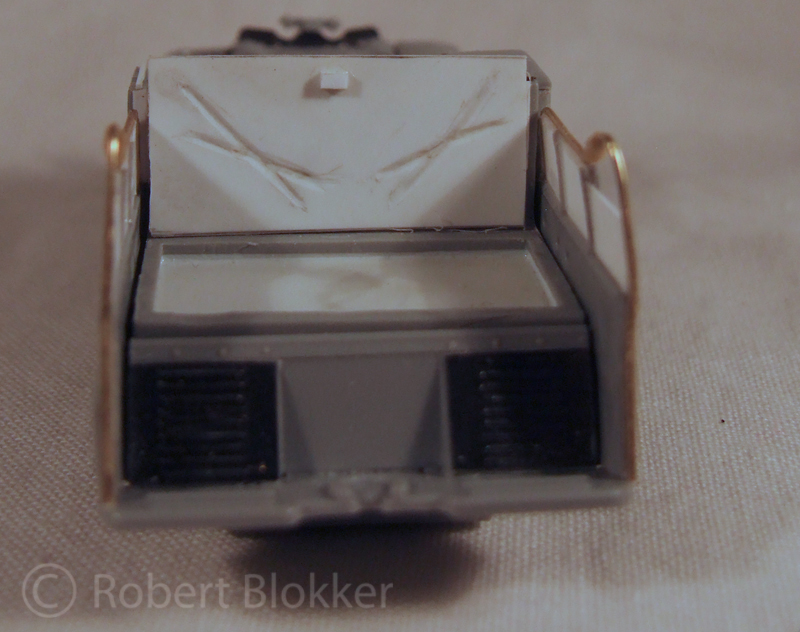
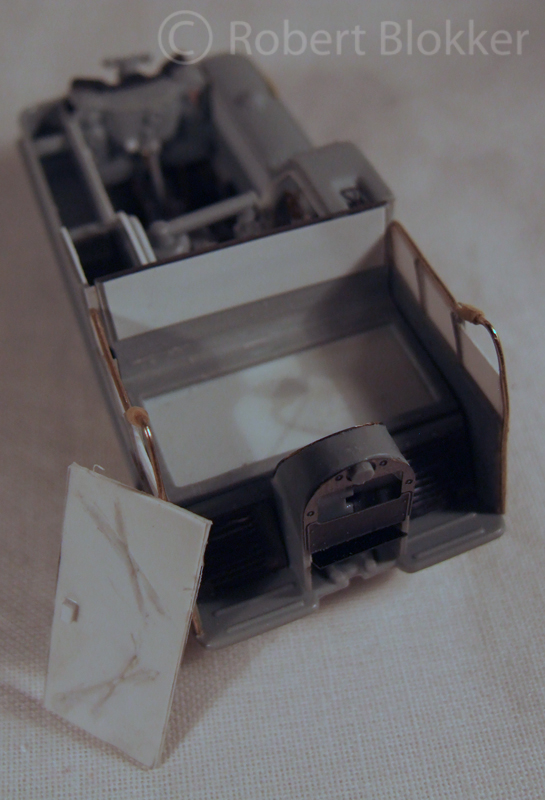
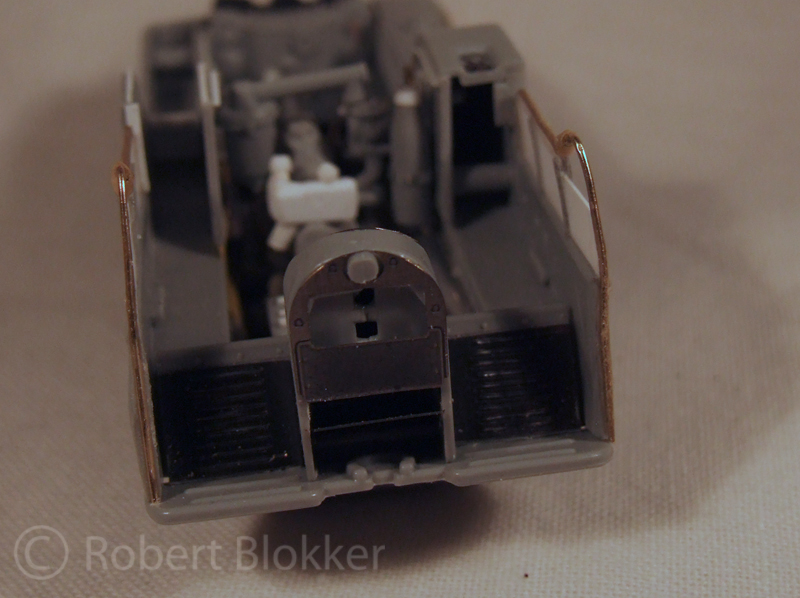
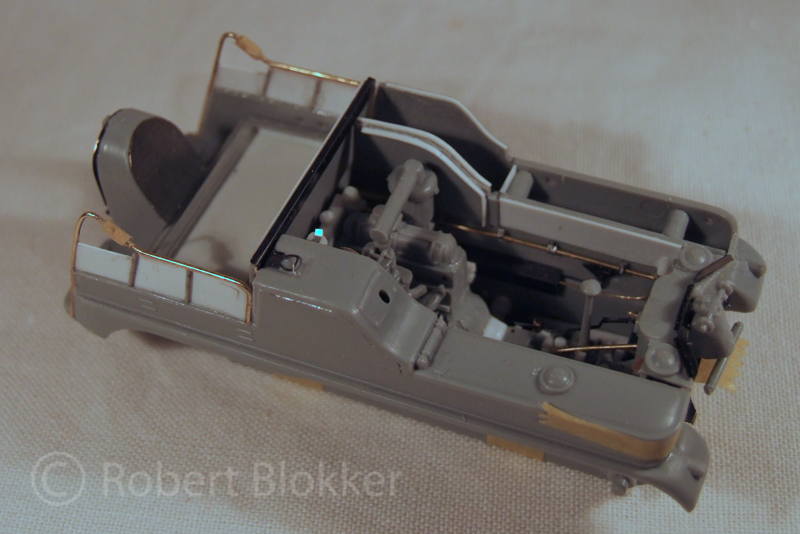
Ok here we go. I decided to tackle the backpart of the vehicle. The sidewalls of the backseat area were not really correct in size so I cut them off and remade them from Copperwire, Styrene, some stretched sprue and tamiya Masking tape.


I also started work on the tool box under the rearseat. Complete with the lid.


Some additional PE work


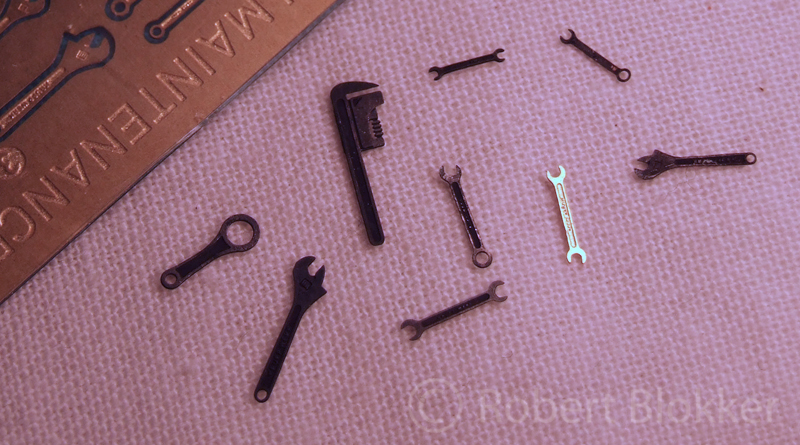
And the first tool received a chemical bath to darken them and some polishing and they no longer look like Brass etchings. The one that is still brasscolored was one that got away but he will get baptised as well.. eventually.


As always curious to any feedback

With friendly greetz

Robert Blokker
FAUST
#130
Visit this Community
Noord-Holland, Netherlands
Joined: June 07, 2002
KitMaker: 8,797 posts
Armorama: 4,190 posts
Posted: Tuesday, December 06, 2011 - 02:36 PM UTC
Still looking for the location of the battery inside the vehicle.

Anybody who can shed some light on this would be greatly appreciated.
alanmac
Visit this Community
United Kingdom
Joined: February 25, 2007
KitMaker: 3,033 posts
Armorama: 2,953 posts
Posted: Tuesday, December 06, 2011 - 10:57 PM UTC
Hi Robert

Nice work on one of my all time favourites. I have the same kit plus just purchased the latest one from Dragon so will be watching for tips etc.

You probably know of this site already but I though posting a link might be of help anyway. It does show the battery with some explanation but not its location. Maybe an email to a restorer will give you the required info. Sprung mounted to help survive the vibration from the tracks apparently.

See home page here with info on various links.

http://www.kettenkrad.de/index_e.htm

Alan
SchoeniR6
Visit this Community
Germany
Joined: November 21, 2010
KitMaker: 189 posts
Armorama: 189 posts
Posted: Tuesday, December 06, 2011 - 11:02 PM UTC
Great work!!!!!
jargonking
Visit this Community
United Kingdom
Joined: May 08, 2006
KitMaker: 269 posts
Armorama: 247 posts
Posted: Wednesday, December 07, 2011 - 12:42 AM UTC
The battery compartment is the small locker to the rear of the driver on the right side of the vehicle above the tracks.
See this link....

http://www.lonesentry.com/articles/ttt07/kettenkrad.html

I have the 1/6 Dragon kit and this is where it is located on that.
pdelsoglio
Visit this Community
Mendoza, Argentina
Joined: November 13, 2005
KitMaker: 561 posts
Armorama: 553 posts
Posted: Wednesday, December 07, 2011 - 12:46 AM UTC
Hi there!

I am truly amazed with the detail level you have achieved!
And those little tools really look the part after the chemical treatment!
Congrats on a superb job thus far!

Cheers.
Pablo
pvtfritz
Visit this Community
Alabama, United States
Joined: August 30, 2006
KitMaker: 22 posts
Armorama: 23 posts
Posted: Wednesday, December 07, 2011 - 01:12 AM UTC
FAUST, the battery is indeed mounted to the right of the driver in the tool compartment along with the fuse panel. if you can get ahold of wwp kettenkrad in detail or somebody could scan page 39 for you that would do fine. hth. pvtfritz
FAUST
#130
Visit this Community
Noord-Holland, Netherlands
Joined: June 07, 2002
KitMaker: 8,797 posts
Armorama: 4,190 posts
Posted: Wednesday, December 07, 2011 - 03:20 AM UTC
Ola Guys
Thanks for the replies.

@ Alan
It is a brilliant little kit already OOTB but with a bit of extra work you can get an even better result. Looking forward to your results with it. I have been looking into the new kit of the Kettenkrad but that has more to do with my love for the Pak36.

@ Daniel
Thanks for the compliments.

@ Pablo
Thanks for the kind words too. Adding this kind of detail is not hard when you take your time. So far I have spend over a month on it and the end is not yet in sight. And the chemical stuff is great... Expensive but the result makes it worth it,.

@ Alan, Iain and Fred
Re: the Battery box. As I understand it correctly the battery is placed in the locker that already has it's lid closed on my model. As I know the Fuse box is indeed located there. Well that at least sorts one problem out. As I don't have to scratch the Battery now. I was under the impression it was located somewhere at the bottom of the vehicle close to the engine.
It only makes the next update come quicker.
mzaborsk
Visit this Community
Rhode Island, United States
Joined: June 21, 2008
KitMaker: 116 posts
Armorama: 78 posts
Posted: Wednesday, December 07, 2011 - 05:58 AM UTC
hello

Nice build. Lots of details! What chemical did you use to etc the tools to give them that life like color?


Michael
FAUST
#130
Visit this Community
Noord-Holland, Netherlands
Joined: June 07, 2002
KitMaker: 8,797 posts
Armorama: 4,190 posts
Posted: Wednesday, December 07, 2011 - 03:36 PM UTC
@ Micheal
The chemical is Brass Black from Birchwood Casey. It is normally used by Gunsmiths to make gun parts out of Brass and copper look antique. It is expensive for such a small bottle but in the way I use it I can probably stretch out buying a new one for years. It is really chemical as it corrodes the metal within 30 seconds. SO it's advisable to work with gloves. But after a bit of polish with some toiletpaper the result is really neat.
FAUST
#130
Visit this Community
Noord-Holland, Netherlands
Joined: June 07, 2002
KitMaker: 8,797 posts
Armorama: 4,190 posts
Posted: Wednesday, December 07, 2011 - 11:11 PM UTC
To add to my explanation

This is the stuff. Works like a treat.
FAUST
#130
Visit this Community
Noord-Holland, Netherlands
Joined: June 07, 2002
KitMaker: 8,797 posts
Armorama: 4,190 posts
Posted: Thursday, January 05, 2012 - 07:03 AM UTC
Ola People.

The man who builts with the speed of continental drift returns. between all the holidays, countless birthdays, family visits, work etc I have managed to do some small thingies to the Kettenkrad project. And slowly the end of the built comes near. I have these pics for a few days now as the gallery was not functioning right but now it's back so am I.

Ok here goes:
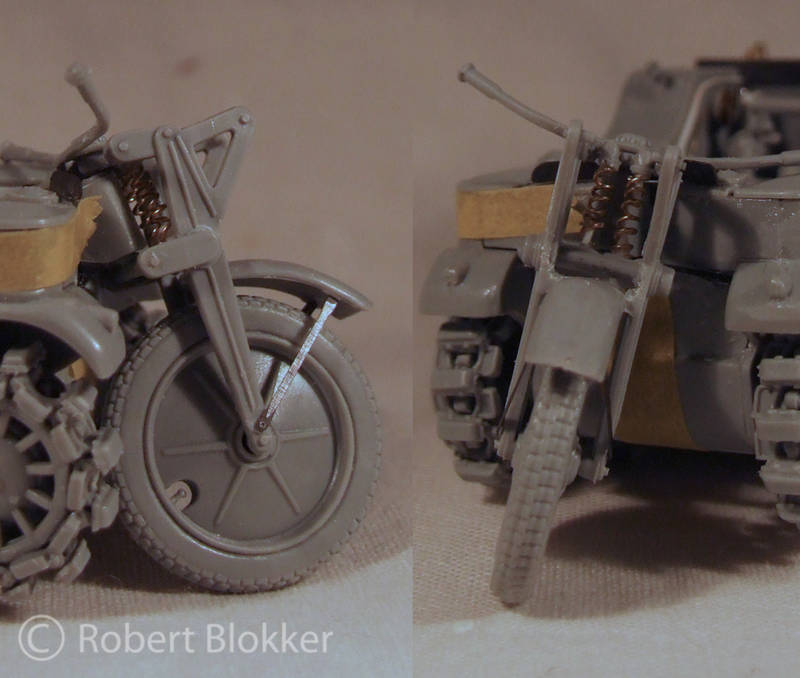
Another small bit of scratch. I replaced the molded springs in the steering column for ones I made myself from copperwire. For a moment I toyed with the idea to make the complete steering column assembly workable. Then thought I was planning to put it in a dio. Called myself an idiot and went on with building the kit.


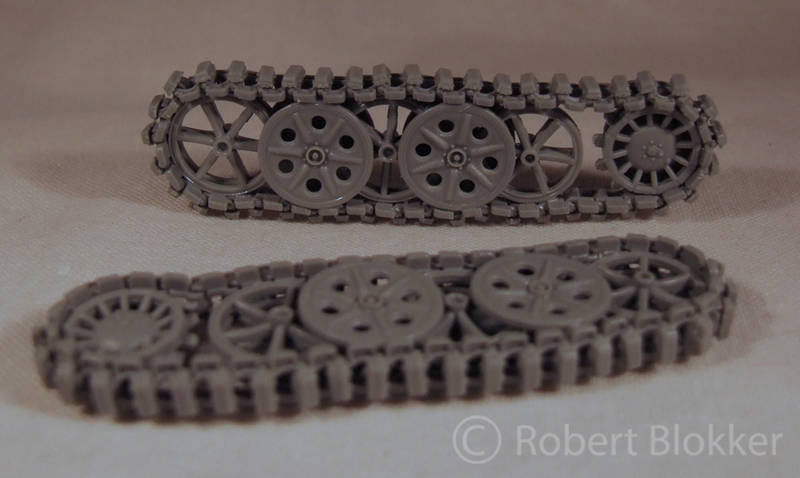
The Kettenkrads new shoes


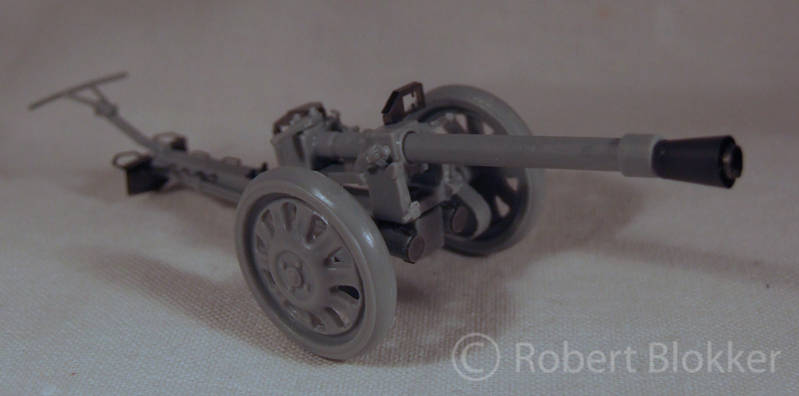
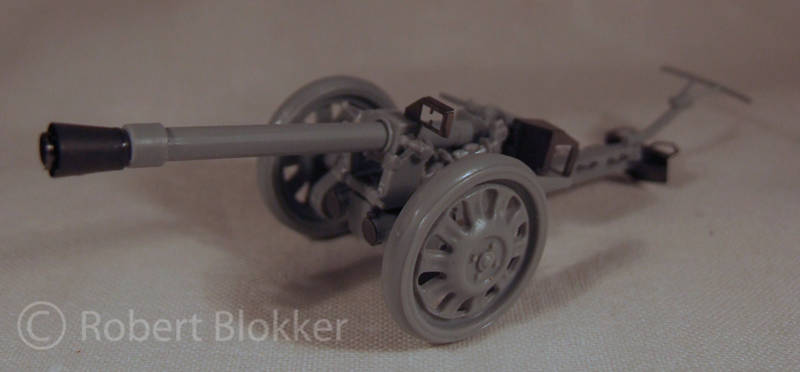
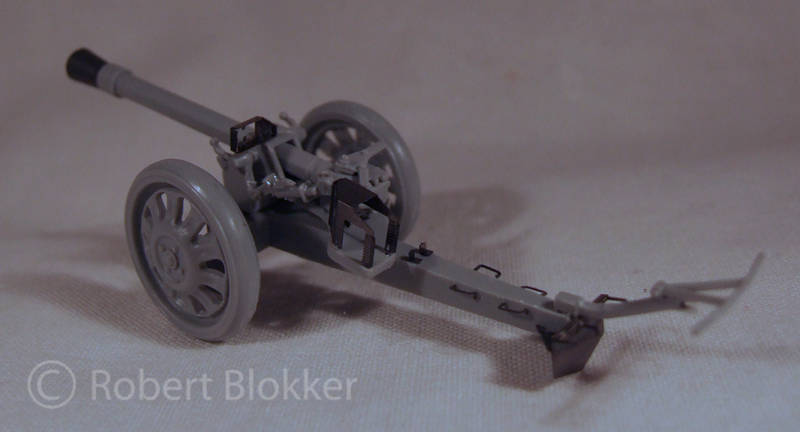
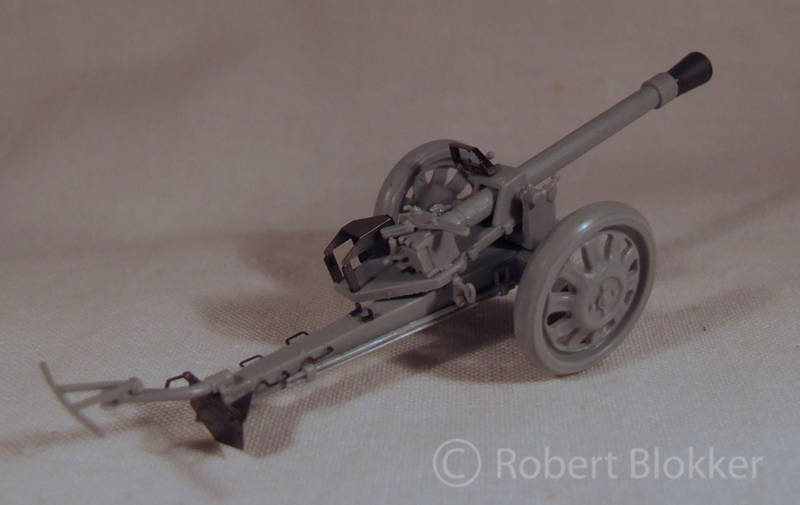
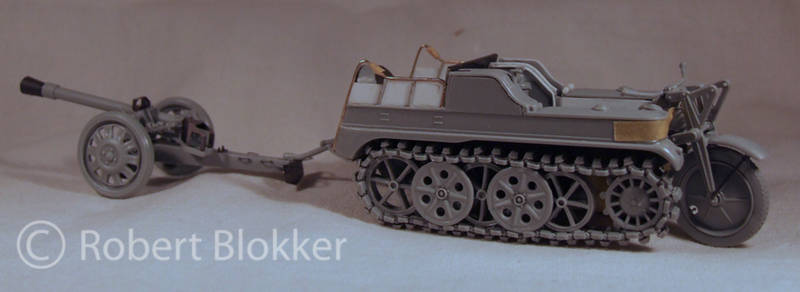
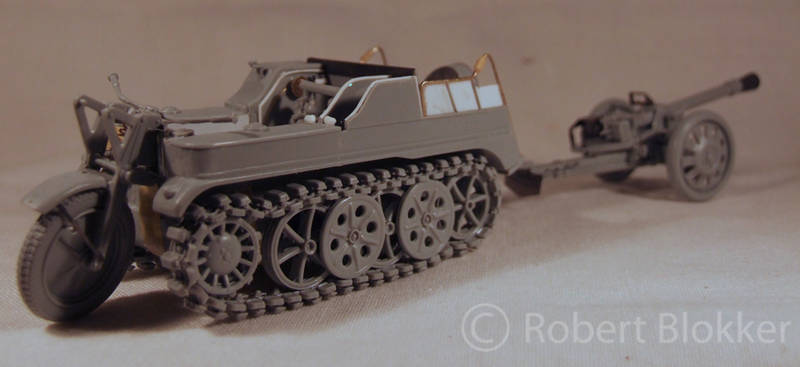
I eventually decided to add the Puppchen in the mix as well since the Eduard set came with nice additions for it


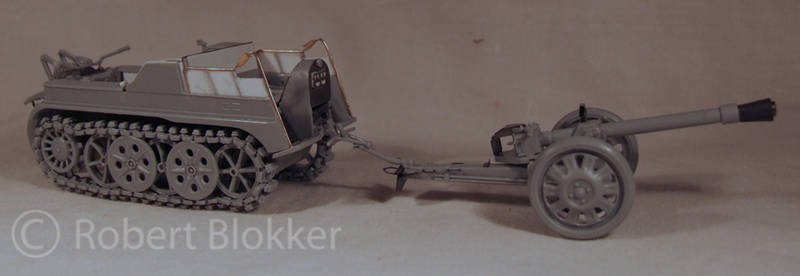
Krad with gun


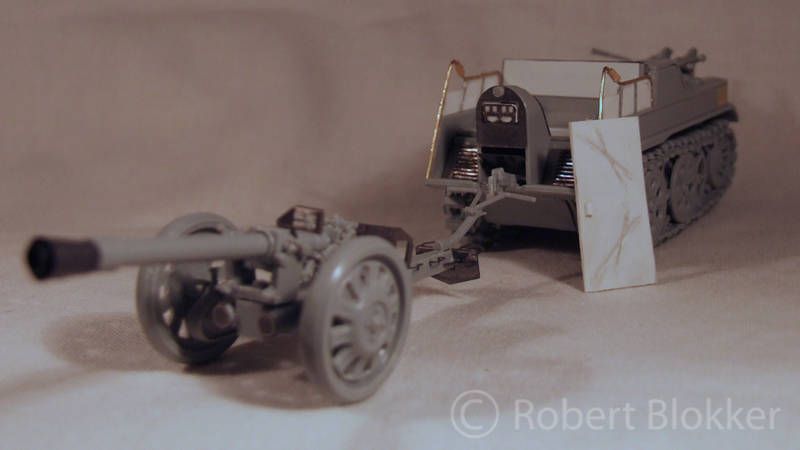
And an overall view of all the subassemblies


For those who are familiar with the Puppchen gun will have noticed there is no gunshield on it. I did not pay attention to the instructions and glued the barrel into the breech before putting it through the gunshield. And the nice multiple part Eduard Gunshield did not fit over the muzzlebrake anymore. I couldn;t get the barrel off without damaging the gun so I decided to leave it at that.

While waiting for the gallery to be opened again I made some more progress. pics of that follow later.

As usual very curious to your feedback.

With friendly greetz

Robert Blokker
 _GOTOTOP