Introduction
The M1917A4 155mm howitzer was first adopted by the US Army from the French Schneider company in 1917. The original weapon had hard spooked wheels and was used by the US in World War I.
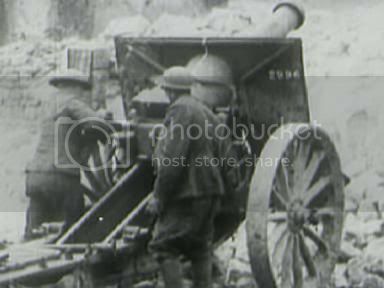
After WWI the weapon received numerous upgrades including pneumatic tires, air brake system, and new shield to name a few. The M1917A4 was in service at the start of WWII and was phased out as the newer M1A1 155mm became available in 1942. The weapon saw service with numerous countries during both World Wars and then was moved out of service in most countries thru the late 1940s.

Photo Courtesy of Prime Portal
The kit
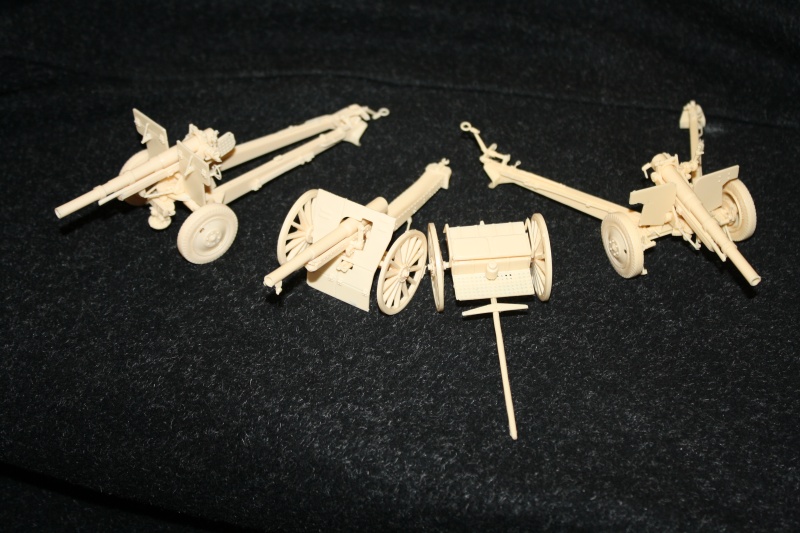
The kit is a newly released full resin kit from Commander Models. I worked with them on the research and evaluated some test pieces. The kit as you will see it assembled here is from the final parts after development of the kit. This kit is currently released by Commander Models.
The Build
This is a relatively simple kit with about 30 or so parts. The instructions are simple with 6 steps.
After separating the parts from their mold blocks, they were cleaned of any flash, a few minor air bubble holes were filled and parts were washed to remove any mold release compound
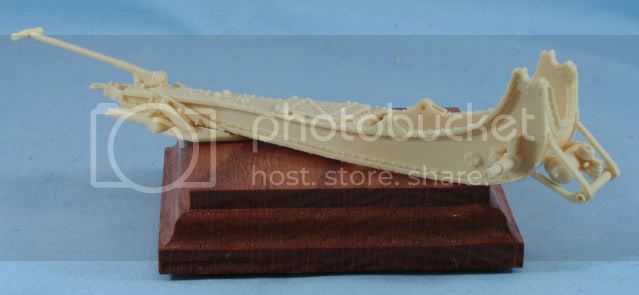
The first steps are to assemble the lower carriage. This includes the assembly to the main carriage part of the front axels, the air brake tank, shield support bar, rear spade, tool box cover (center of the carriage), elevation gear box and rear displacement bar.
All the parts fit well, I left off the elevation and traversing hand wheels to facilitate painting.
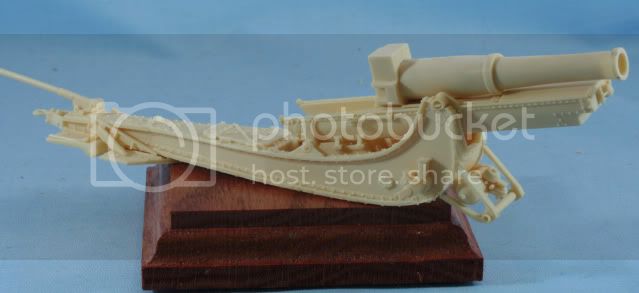
The next steps are the construction of the upper carriage and barrel. The upper carriage has the attachment of the elevation gears. The barrel assembly and breech were kept separate again to facilitate painting. There was a minor mold seam in the barrel which required some minor sanding.
Here is the test fit of the lower and upper carriages.
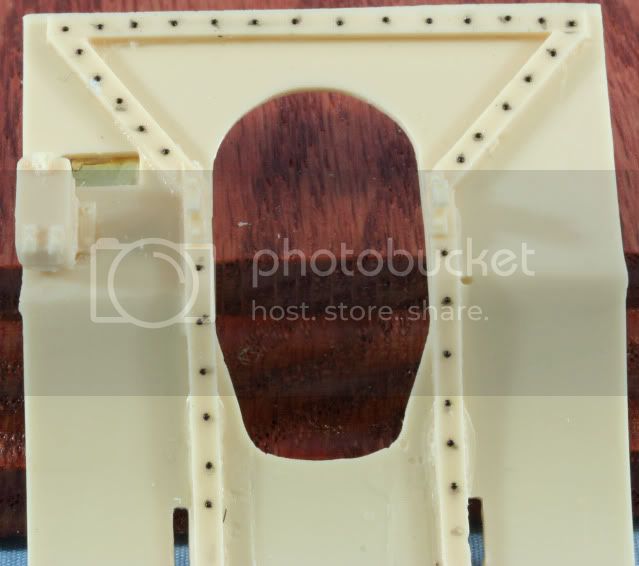
The shield like the lower carriage is nicely molded including all the rivets. The pre-production shield I had did not include the rivets on the backside. I placed those rivets using Archer rivet decals. The hole in the shield to allow the sighting of the panoramic telescope has a door. I used some leftover PE to ass the door and hinge over the hole. Also assembled onto the shield is the sight storage box to the left of the shield sight opening
Prior to final assembly, all the parts were primed using Vallejo OD primer. I just purchased a jar of this primer and have to admit it works great. This paint flows well out of the jar right to the airbrush even using a .020 needle. It covers well and gives a good base color for US or Allied painting.
After the primer coat was applied, I assembled the hand wheels onto the lower carriage. The lower carriage was then painted with Poly Scale OD. The tires were painted with a 50/50 mix of Tamiya NATO and Flat black and then the hubs and drums were also painted with the PS OD using a circle template.
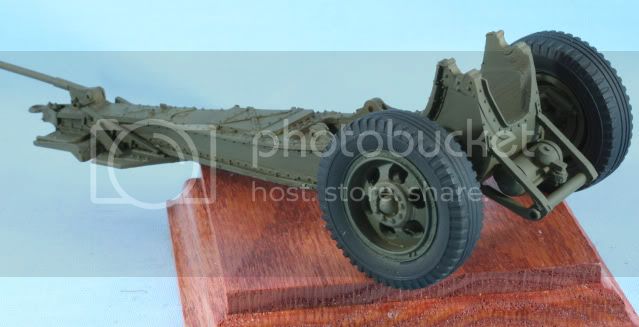
I added PE rifling to the barrel from the parts box and followed the same painting as above. The elevation gear teeth, rails for the recoil and the breech block were then painted with Alclad Steel.
Inside the tube was painted Flat Black followed by Alclad Steel on the rifling
Shown here is the test fit of the painted upper and lower carriages.
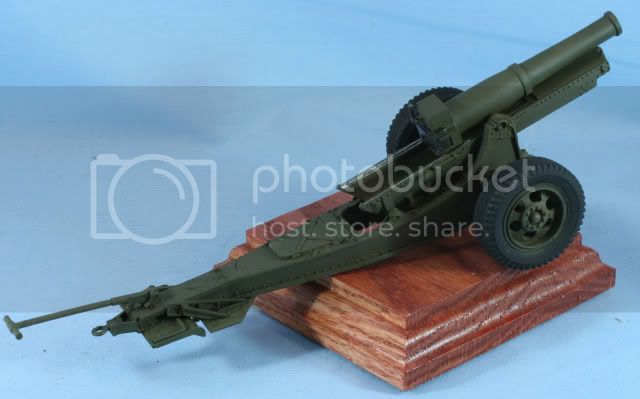
Before final assembly, I will add the air lines for the brakes and then final assemble the model. The spade is in the travel position and does not lend itself to the emplaced position, based on its molding. I will display the model as if it is in the process of being emplaced so it is correct as assembled.
Thats it for now. As always all comments are welcome
Rounds Complete!!