_GOTOBOTTOM
Armor/AFV: 48th Scale
1/48 scale discussion group hosted by Rob Gronovius
Hosted by Darren Baker
Iwo-Jima M4a3 Sherman W.I.P
lespauljames
Visit this Community
England - South West, United Kingdom
Joined: January 06, 2007
KitMaker: 3,661 posts
Armorama: 2,764 posts
Posted: Friday, December 30, 2011 - 10:12 AM UTC
So guys, here I am, after reading up on the subject I'm all GO! on my new build.
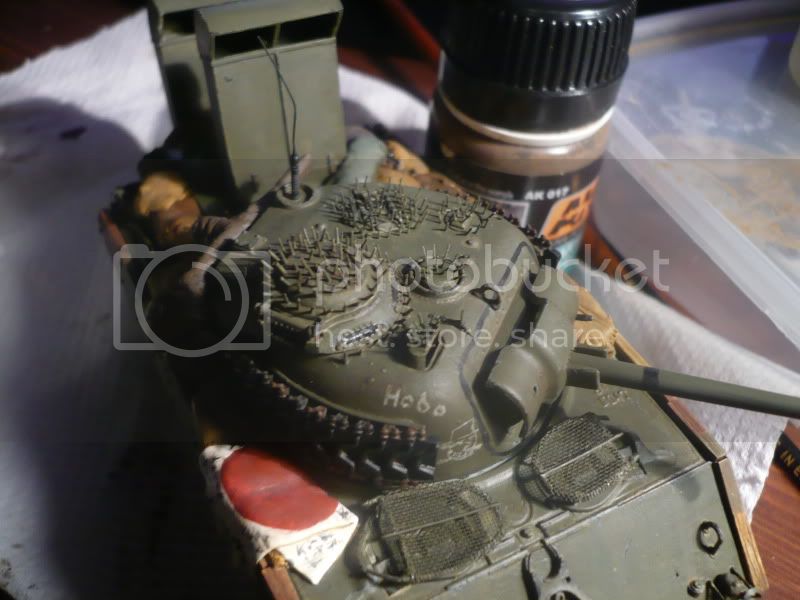
A Yet to be decided P.T.O Iwo-Jima M4a3, I am using the Hobbyboss M4a3 kit, and the Black Dog USMC tank accessory kit, and the aber barrel.
I'm depicting a vehicle that has received it's wooden armor, and has only recently come ashore ( hence the wading stacks. )

there will be two MAJOR discrepancies with this build,
1- The cupola, I cannot find, or afford An AM cupola for this kit, in reality I should be using a AAV cupola, ( with all the little viewports) I'm just gonna have to let that slide I think,
2-Duckbills, the kit tracks Do not come with duckbills, although I have posted a message on forums looking for some, and All but one or two Tanks on Iwo-Jima had duckbills. so thats another thing that I'm gonna have to let fly, I cant afford them off the bat, so Unless I find em cheap, That's another slider..

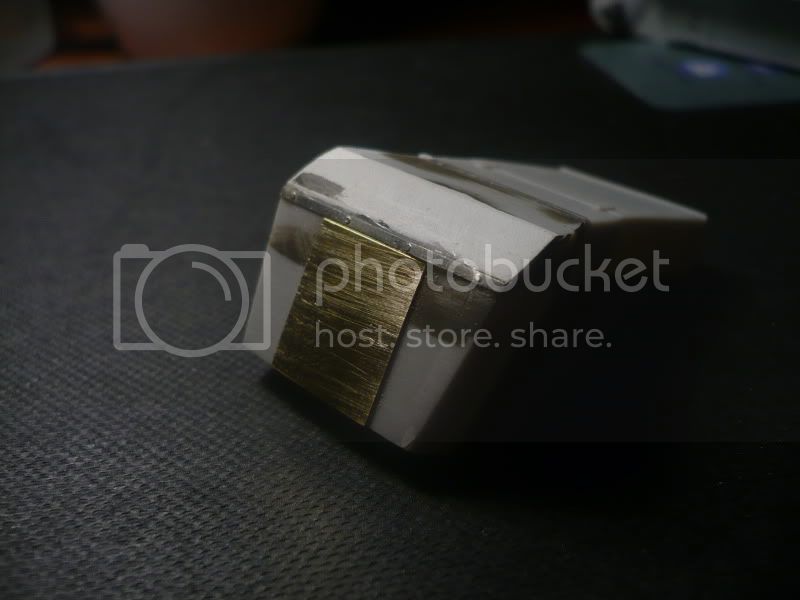
So, what could be more fun than texturing the transmission housing?!

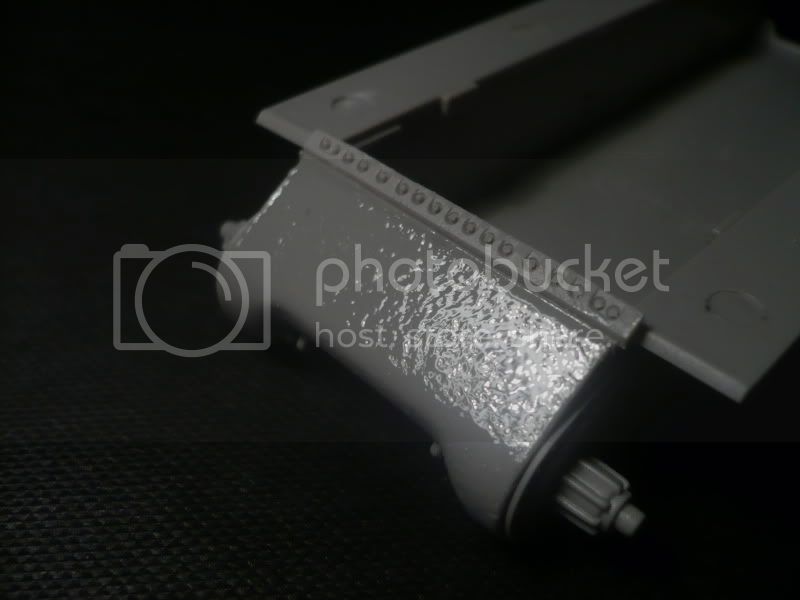
and re angling the drive housings.


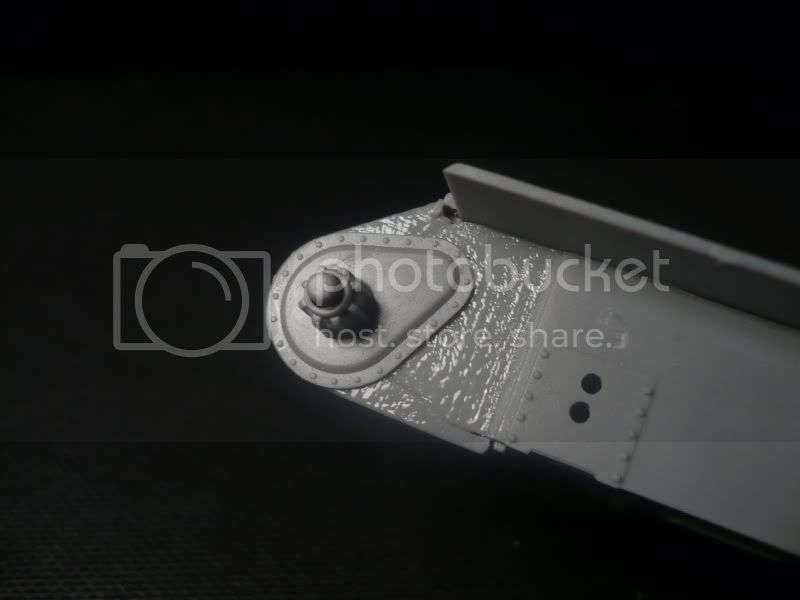
I think I may have done them a little too steep, but the end product is well hidden anyway.

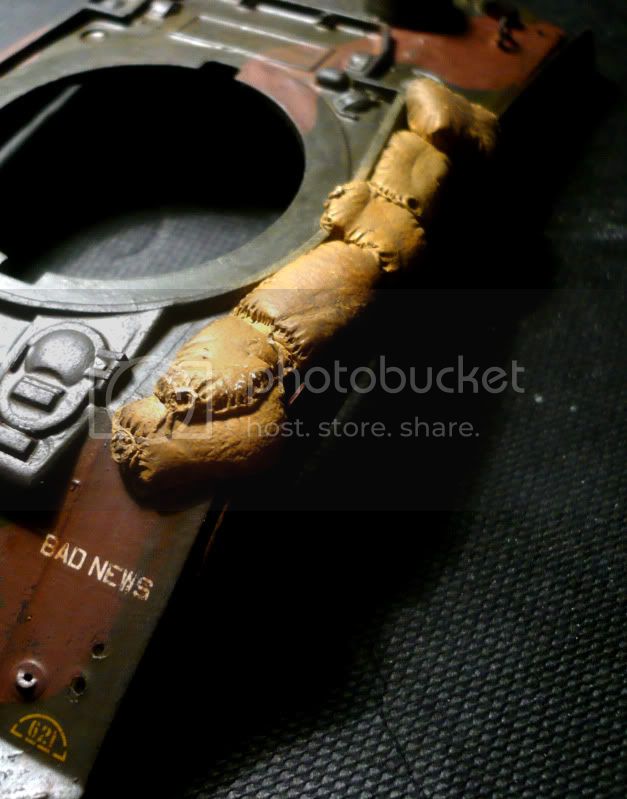
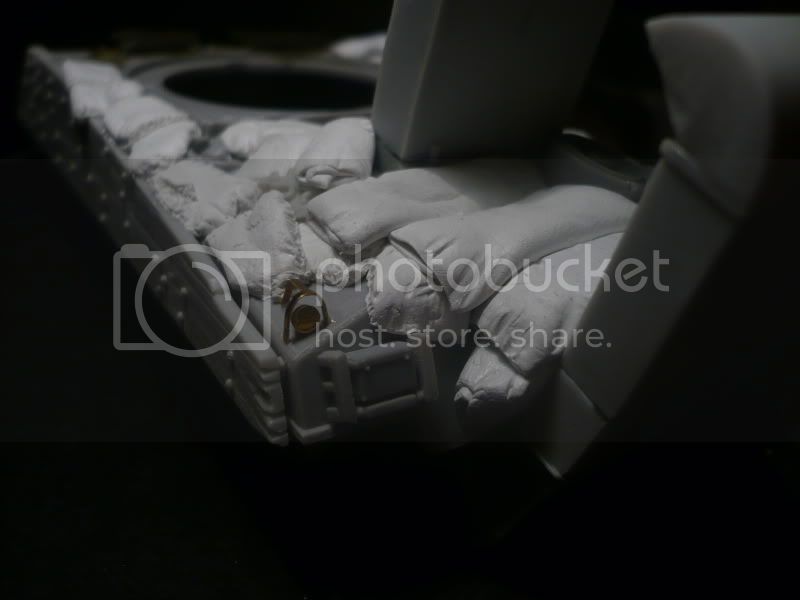
On goes the wooden armor and Middle deck Wading stack.


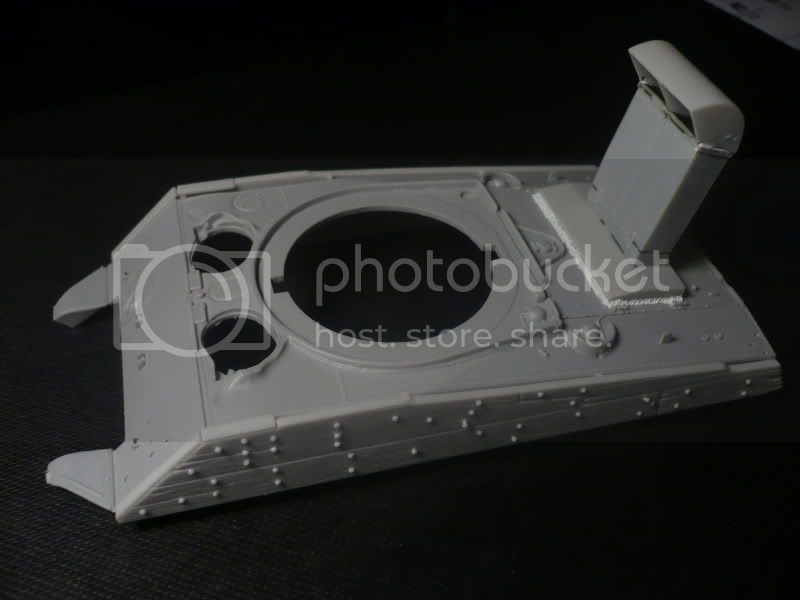
Along with a VERY annoying gap, That i ended up filling with a makeshift milliput " Seal " I'd rather a hypothetical seal than a glaring gap.


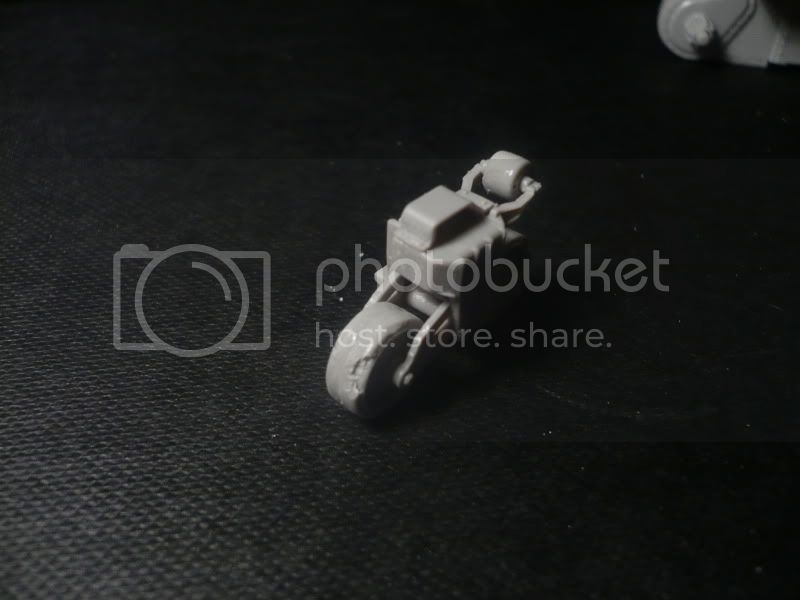
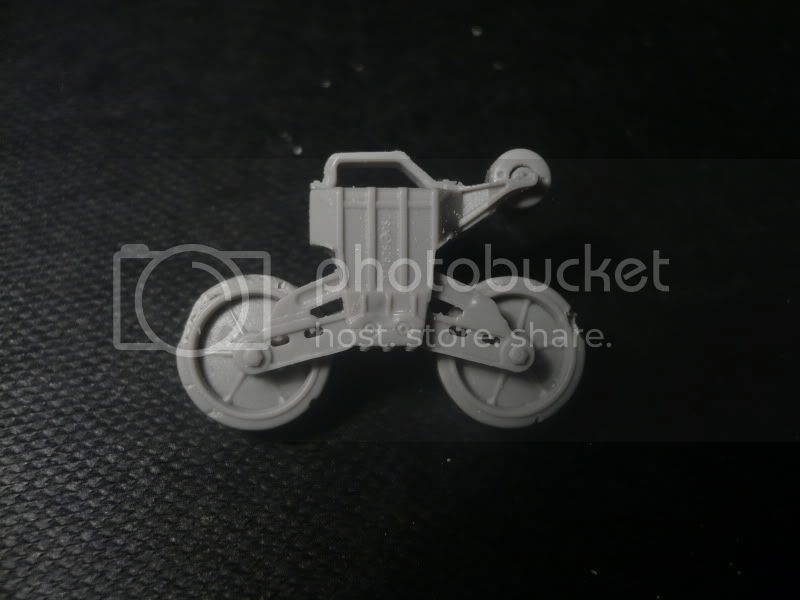
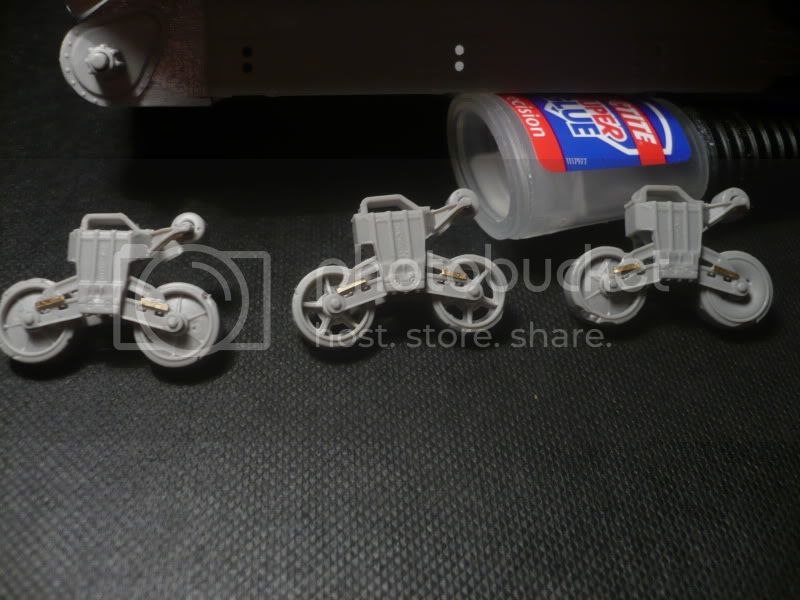
most of the main running gear elements have been done.


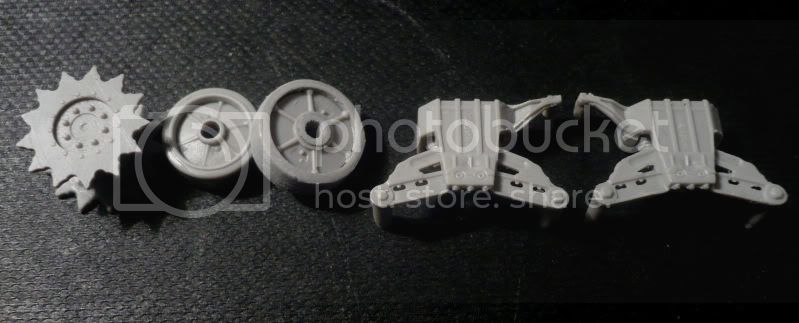
and I started showing some mild rubber wear on the Roadwheels.


And thats all for now folks.


panzerbob01
Visit this Community
Louisiana, United States
Joined: March 06, 2010
KitMaker: 3,128 posts
Armorama: 2,959 posts
Posted: Friday, December 30, 2011 - 11:35 AM UTC
James;

Hi!

It's another Iwo Shermie build! "'Tis the Season" I guess! I'm just starting one to support a local Iwo vets event in Feb '12. I'm doing an M4A2 based on the Dragon "Tarawa" kit - I'll scratch on the drum-stacks, some applique armor plates, a rebar railing, and call it a build (I'm no Shermaholic - first Allied anything I've ever built!).

So it looks like you are off to a bang-up start! How is the HB kit (aside, apparently, from the cupola...!)? Did the wood "armor" come with it? And the trunks? That's pretty cool!

The cast texturing... looks OK by me - actually looks pretty good! And your wear on those tires - that looks sharp! There are plenty of pics showing that those got pretty chewed-up and you have captured a well-chewed look! My late dog couldn't have done better were these rubber balls! They DO look great!

A suggestion about that "seal" around your upper wading trunk... best of my knowledge, the USMC guys used either liberal doses of tar and/OR oil-cloth canvas folded and placed as a "gasket" when the trunk was bolted on. Alternatively, they may have welded some on, in which case a slather of tar would likely be the case. So, maybe you could better capture the smoother texture of the tar by running some Mr. Surfacer or maybe middle-thick cement over your curently "sharp and toothy-looking" seals? Get something more like the "rounded-rough" look you have on your casting surface.

I'm watching!

Bob
lespauljames
Visit this Community
England - South West, United Kingdom
Joined: January 06, 2007
KitMaker: 3,661 posts
Armorama: 2,764 posts
Posted: Friday, December 30, 2011 - 11:44 AM UTC
Hey Bob, Rodger on the seal, I'll run some smoother milliput over the top. thanks for the input there,
I have noticed an influx of Pacific Sherman here too, Been trawling the pages for inspiration and got a lot. !
The wheel was inspired by I think a picture from the book Tank warfare on Iwo-Jima, I guess its nice to see more allied armor. the forums are a lot more balanced than a few years ago.
the trunks and wood were from the black dog set.

the waders in the pictures i have seen have been smooth on the sides, but there is a lip on these, that without some crazy surgery skills is a shame.


Scratching the oil drum stacks should be good fun! i like the less involved scratch work. although i see a liberal amount of sandbags on the back of this kit soon. haha.

thanks for the input.

J
lespauljames
Visit this Community
England - South West, United Kingdom
Joined: January 06, 2007
KitMaker: 3,661 posts
Armorama: 2,764 posts
Posted: Saturday, December 31, 2011 - 05:23 AM UTC
Hey Guys, a little update..

I have added some BASIC Details to the base of the rear Wading Apparatus, and a Sheet of basic radiator armor.


lespauljames
Visit this Community
England - South West, United Kingdom
Joined: January 06, 2007
KitMaker: 3,661 posts
Armorama: 2,764 posts
Posted: Saturday, December 31, 2011 - 10:36 AM UTC
what does the ventilator between the hatches look without its cover?
lespauljames
Visit this Community
England - South West, United Kingdom
Joined: January 06, 2007
KitMaker: 3,661 posts
Armorama: 2,764 posts
Posted: Sunday, January 01, 2012 - 01:13 AM UTC
Triple post!!
the above question still stands.

and some updates.

Do you think these sandbags would look ok, i practiced making some out of putty on a spare hulk.


the left hand running gear is done. The crazy wheel selection is based on a photo


i added some gibberish casting numbers.


and scratched some hatch covers, Based on the vehicle Hobo.


and added a wheel based on the same vehicle.


hope you enjoy and happy new year


retiredyank
Visit this Community
Arkansas, United States
Joined: June 29, 2009
KitMaker: 11,610 posts
Armorama: 7,843 posts
Posted: Sunday, January 01, 2012 - 01:23 AM UTC
I don't even want to know what the od mess is about. Looking really nice. I'll try and keep a eye on this one. The only issue I see is the strap securing the spare road wheel to the tank. Unless it is metal, I don't think that there would be any slack in it. The belt and buckle do look quite good. Build on.
AlanL
Visit this Community
England - East Anglia, United Kingdom
Joined: August 12, 2005
KitMaker: 14,499 posts
Armorama: 11,675 posts
Posted: Sunday, January 01, 2012 - 01:37 AM UTC
Nice work James, don't know much about American Shermans but if you need some sealant for around the stack use some PVA clue and paint it watery black before it dries.

Look forward to developments.

Al
lespauljames
Visit this Community
England - South West, United Kingdom
Joined: January 06, 2007
KitMaker: 3,661 posts
Armorama: 2,764 posts
Posted: Sunday, January 01, 2012 - 09:22 AM UTC
Matt, the strap looks a lot more taught now. yay for superglue

Alan, thanks, ill bear that in mind for when paint goes on, There is only about 1cm of the seal left visible now. would it work with a clear paint?

okay call the hull NEARLY done. blankets, a flag, sandbags, bullet tears. larger sheets. some tools, and a knife that has been stabbed into a sandbag. " how dare they interrupt my meal!" i also added a jerrycan, and the feild modded marine "Phone" box on the rear left.

#

the flag is going to be one of the Japanese flags with characters on them, it is only really a decorative item to make the tank look busier, from my refernce material, everything and anything could be found on one of these shermans.


all the fabric items were milliput textured lightly with a paper towel.
lespauljames
Visit this Community
England - South West, United Kingdom
Joined: January 06, 2007
KitMaker: 3,661 posts
Armorama: 2,764 posts
Posted: Monday, January 02, 2012 - 03:47 AM UTC
some work on the turret including covered 50 cal


lespauljames
Visit this Community
England - South West, United Kingdom
Joined: January 06, 2007
KitMaker: 3,661 posts
Armorama: 2,764 posts
Posted: Tuesday, January 03, 2012 - 02:13 AM UTC
Hey Guys, were the chevron tracks metal or rubber?
pseudorealityx
Visit this Community
Georgia, United States
Joined: January 31, 2010
KitMaker: 2,191 posts
Armorama: 1,814 posts
Posted: Tuesday, January 03, 2012 - 02:59 AM UTC
The entire block was rubber. The end connectors were metal.
lespauljames
Visit this Community
England - South West, United Kingdom
Joined: January 06, 2007
KitMaker: 3,661 posts
Armorama: 2,764 posts
Posted: Wednesday, January 04, 2012 - 02:32 AM UTC
thanks Jesse!

Okay Lads, I have finished the turret untill the second kit arrives. !


and then i can get round to putting it on, and doing another hudered or so ?Nails. !


LPJ out
lespauljames
Visit this Community
England - South West, United Kingdom
Joined: January 06, 2007
KitMaker: 3,661 posts
Armorama: 2,764 posts
Posted: Thursday, January 05, 2012 - 06:14 AM UTC
Okay fellas. Got some more progress..

Construction is 100% complete
the wood paint is lifecolour Ral8020, Elfbien and Ral8000 Gelbbraun. in very thin coats.
there will be camo on the wood. A little brown, and a little green with bare wood.


pseudorealityx
Visit this Community
Georgia, United States
Joined: January 31, 2010
KitMaker: 2,191 posts
Armorama: 1,814 posts
Posted: Thursday, January 05, 2012 - 06:30 AM UTC
If I may James...

There seems to still be a good bit of grey showing through the wood color. I think that may become pretty obvious once the rest of the paint is painted in the various camo colors.
lespauljames
Visit this Community
England - South West, United Kingdom
Joined: January 06, 2007
KitMaker: 3,661 posts
Armorama: 2,764 posts
Posted: Thursday, January 05, 2012 - 07:23 AM UTC
the paint was very thin, I have re done it now. with a thicker base coat. should all be good now.

Thanks for looking in

LPJ
lespauljames
Visit this Community
England - South West, United Kingdom
Joined: January 06, 2007
KitMaker: 3,661 posts
Armorama: 2,764 posts
Posted: Friday, January 06, 2012 - 03:46 AM UTC
Started on the chipping. Everything will tone down once i attack it with oils!
AgentG
Visit this Community
Nevada, United States
Joined: December 21, 2008
KitMaker: 1,109 posts
Armorama: 1,095 posts
Posted: Friday, January 06, 2012 - 08:50 AM UTC
I don't know how I missed this ! Super build, Hobo is a favorite of mine as well. One note, Marine armor mostly used T54E1 tracks late in the war which were all metal. The thin grouser is a dead giveaway, rubber tracks, T48, had the thicker grouser.

http://web.inter.nl.net/users/spoelstra/g104/track_vvss.htm

G
pseudorealityx
Visit this Community
Georgia, United States
Joined: January 31, 2010
KitMaker: 2,191 posts
Armorama: 1,814 posts
Posted: Friday, January 06, 2012 - 12:19 PM UTC

Quoted Text

I don't know how I missed this ! Super build, Hobo is a favorite of mine as well. One note, Marine armor mostly used T54E1 tracks late in the war which were all metal. The thin grouser is a dead giveaway, rubber tracks, T48, had the thicker grouser.

http://web.inter.nl.net/users/spoelstra/g104/track_vvss.htm

G


This is my fault. I read James' post asking about it too quickly, and was thinking T-48 chevrons, not T54E1's!

Sorry James!
chefchris
Visit this Community
North Carolina, United States
Joined: February 06, 2006
KitMaker: 1,544 posts
Armorama: 1,464 posts
Posted: Friday, January 06, 2012 - 01:13 PM UTC
James,
Nice work, I especially like your sand bags! The track skids are the wrong type. The kits parts are for an earlier intermediate skid design that was much shorter... you need the longer later ones for this to be an accurate depiction of an Iwo Sherman...

Chris
GregCloseCombat
Visit this Community
California, United States
Joined: June 30, 2008
KitMaker: 2,408 posts
Armorama: 2,394 posts
Posted: Friday, January 06, 2012 - 06:27 PM UTC
I really like the artwork and flag!


Here's a pic of the T54E1 track


lespauljames
Visit this Community
England - South West, United Kingdom
Joined: January 06, 2007
KitMaker: 3,661 posts
Armorama: 2,764 posts
Posted: Friday, January 06, 2012 - 10:27 PM UTC
Hey Guys thanks for the input.
Im going to go over the rubber on the tracks and add a bit of metallising to the return wheel Wayne thanks for the point out!
Jesse Dont worry. (I'm not )
Greg Thanks! The Roundel on the flag is wayyy to big, but the text is from a googled photo, with one character missing ( ran out of room)
Hey Chris Thanks, they took 2 Indiana Jones Movies to make.
as for the tracks, do you mean the actual Pads? or the duckbills.I'm not hot on track terminology. I have some photos here from squadrons " Tank battles on iwo jima" For Discussion Only! Showing what appears to be a track a little narrower than the others ( ON Davy Jones.)


and 2 Photos of shermans from the 3rd and 4th without duckbills.


I Have added the remenants of the Seal on the turret and gun. and am not sure about how it looks.

more later


Lpj out.


chefchris
Visit this Community
North Carolina, United States
Joined: February 06, 2006
KitMaker: 1,544 posts
Armorama: 1,464 posts
Posted: Saturday, January 07, 2012 - 08:02 AM UTC
I was referring to the "skid" part that is on top of the bogie truck itself......Its mounted by 4 blots each. It what the bottom/inside of the track run hits.

AgentG
Visit this Community
Nevada, United States
Joined: December 21, 2008
KitMaker: 1,109 posts
Armorama: 1,095 posts
Posted: Saturday, January 07, 2012 - 09:15 AM UTC
It's nobodies fault! LOL

It's just I've become a Shermaholic with all the Pacific Shermans I've built now. In fact I just built Davy Jones!

Heck just slather dirt/rust over everything and it'll look perfect.

Hobo is just grand the way he is!

G
lespauljames
Visit this Community
England - South West, United Kingdom
Joined: January 06, 2007
KitMaker: 3,661 posts
Armorama: 2,764 posts
Posted: Saturday, January 07, 2012 - 09:41 AM UTC
Chris! i think the parts were probably included. i get three types of those too late now.! if it was an earlier spot i would have sorted it! hehe Ill bear it in mind next time!
Wayne, your build was One of my influences . I was going to Davy jones, but if I hand painted whole body camo, it would have gone down the toilet! Your Trio of pto shermans was very influential!


I have started basic weathering with oils now.! and the tracks have a little metallic on them too.
 _GOTOTOP