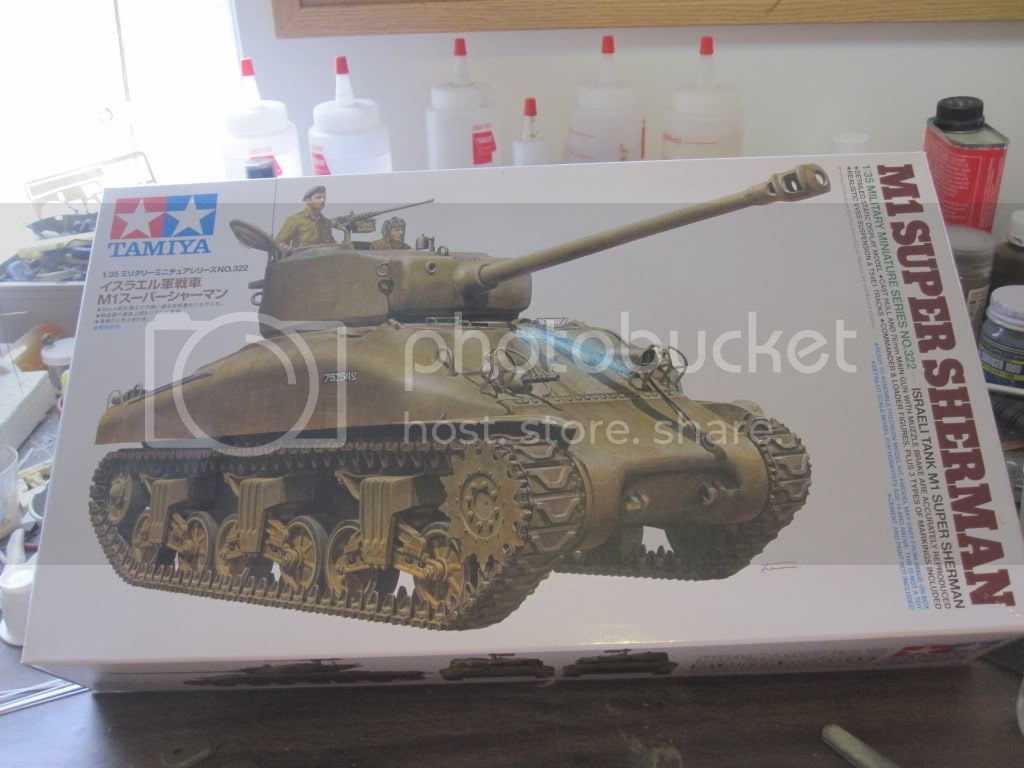
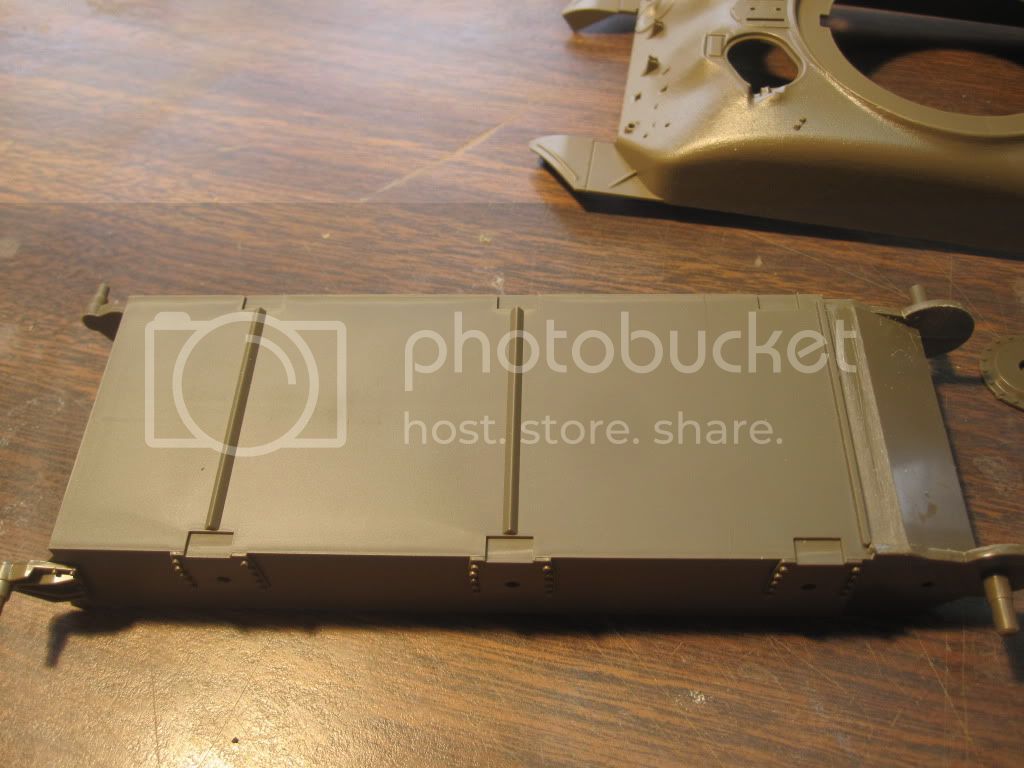
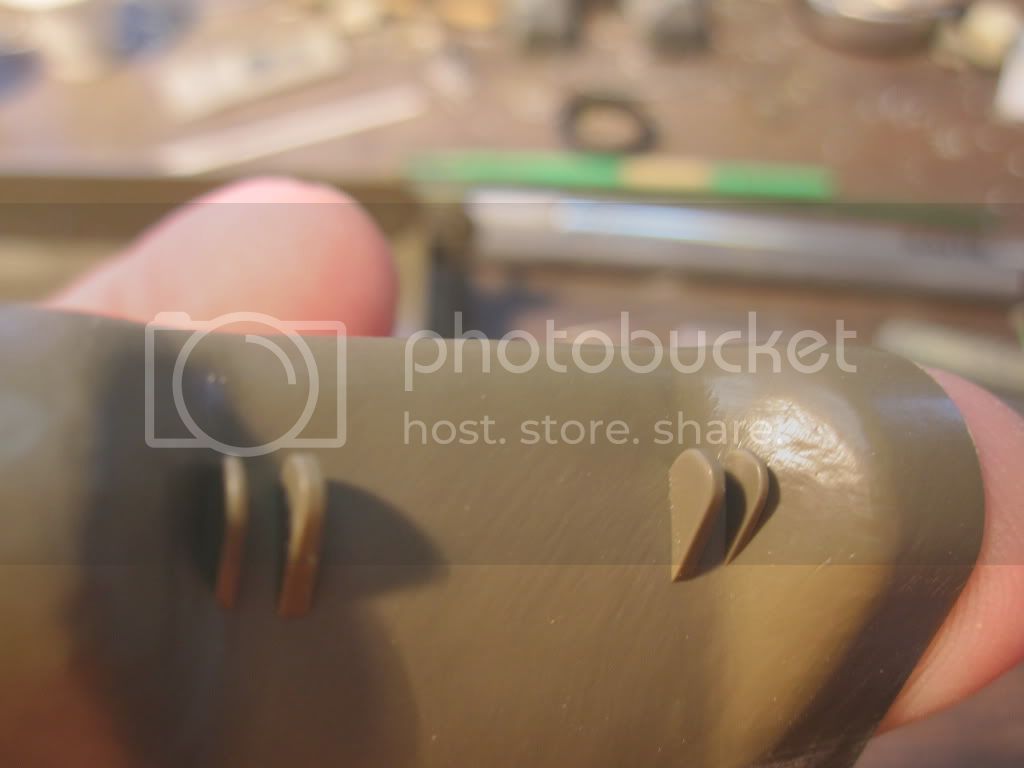
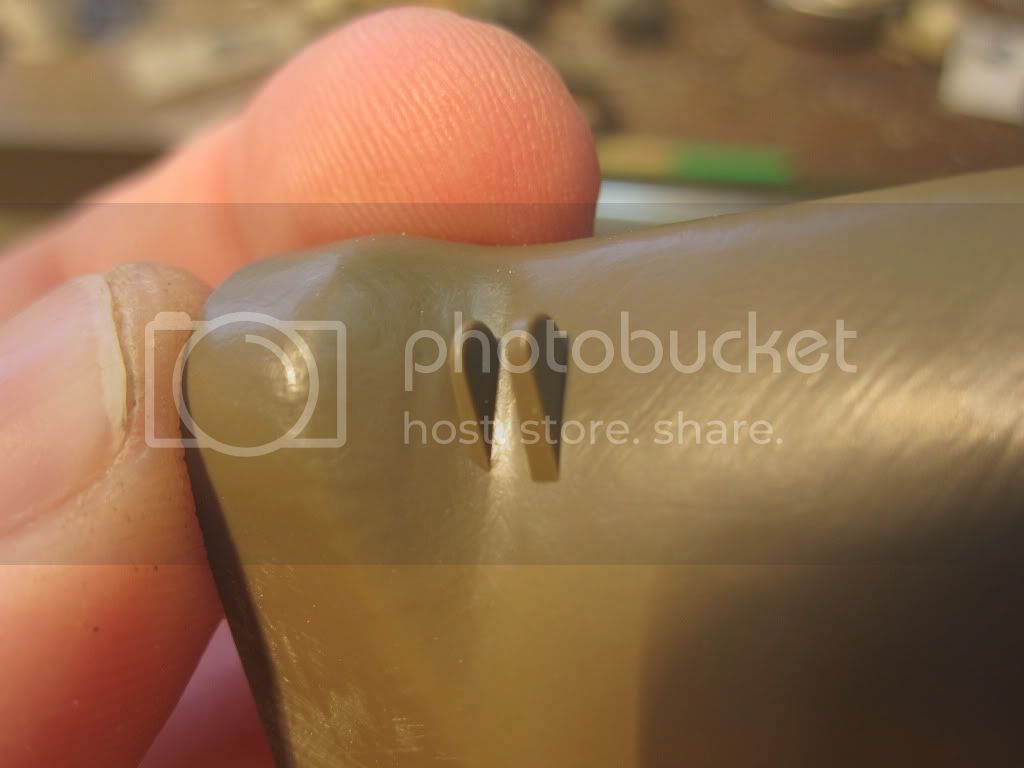
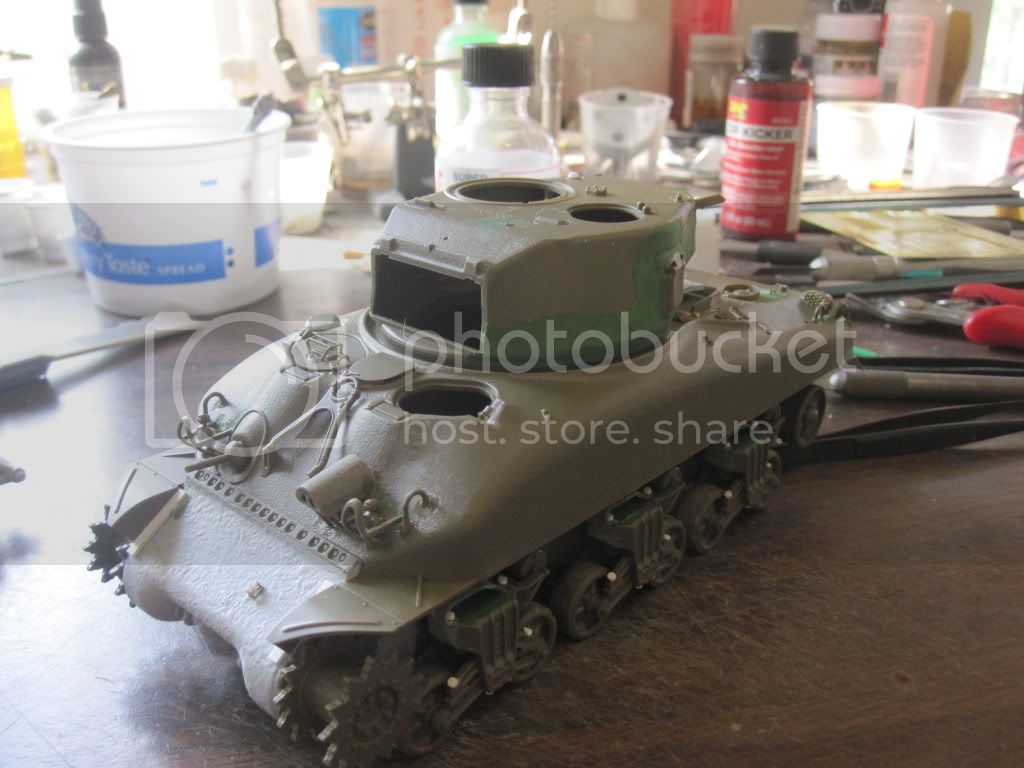
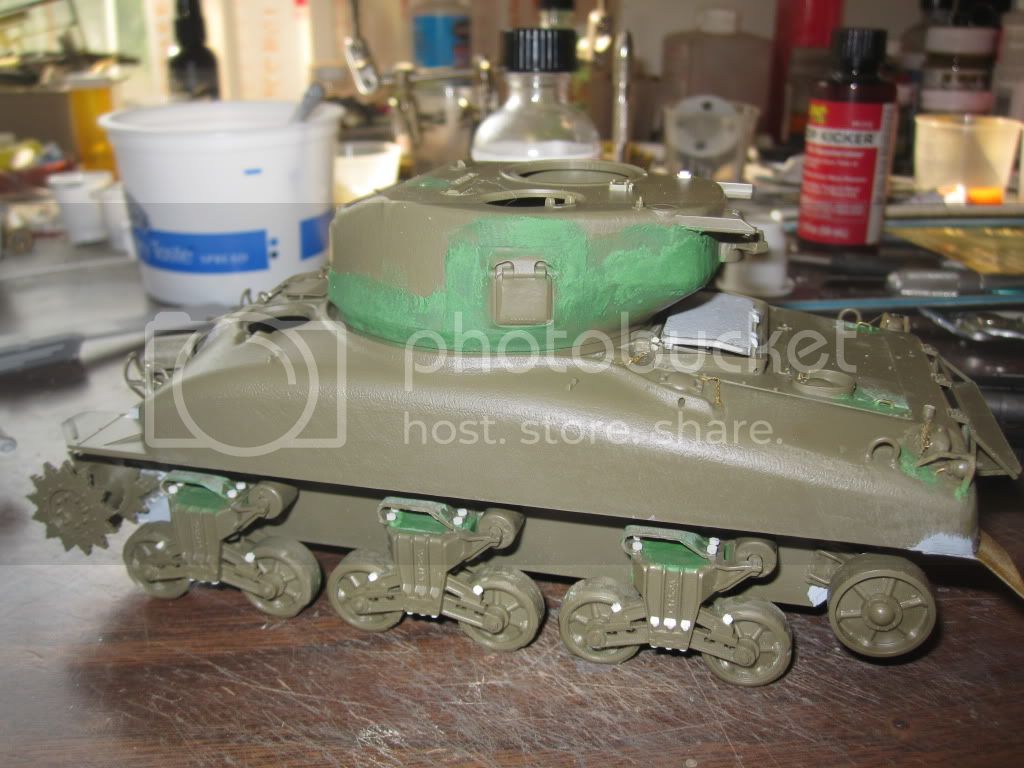
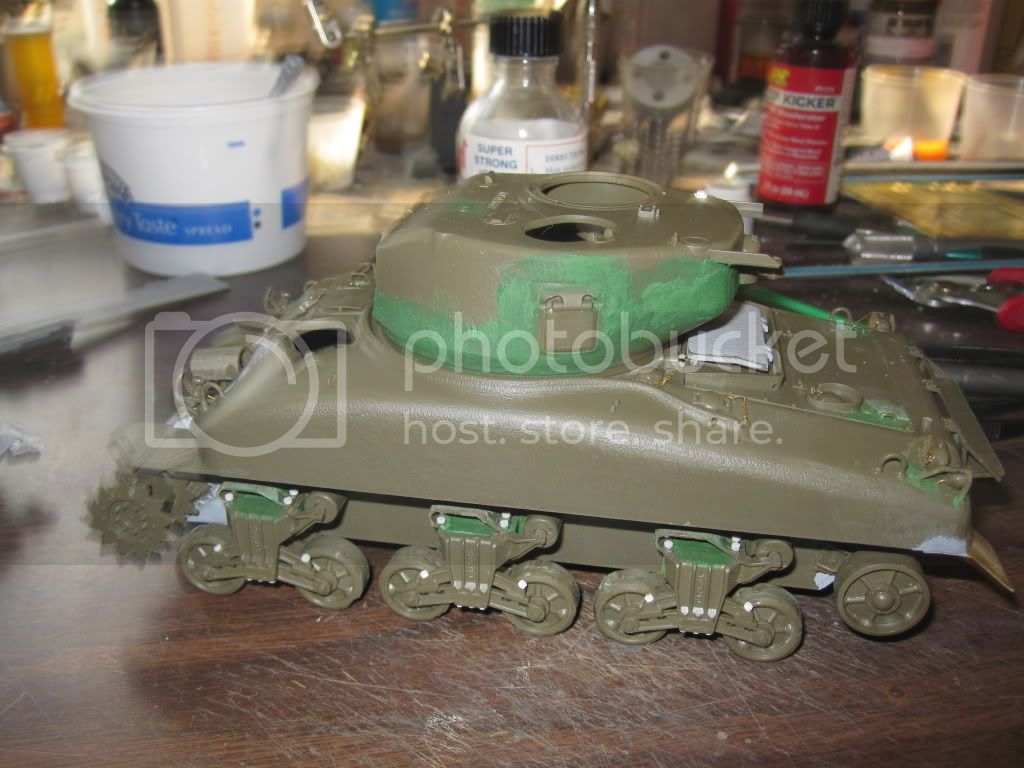
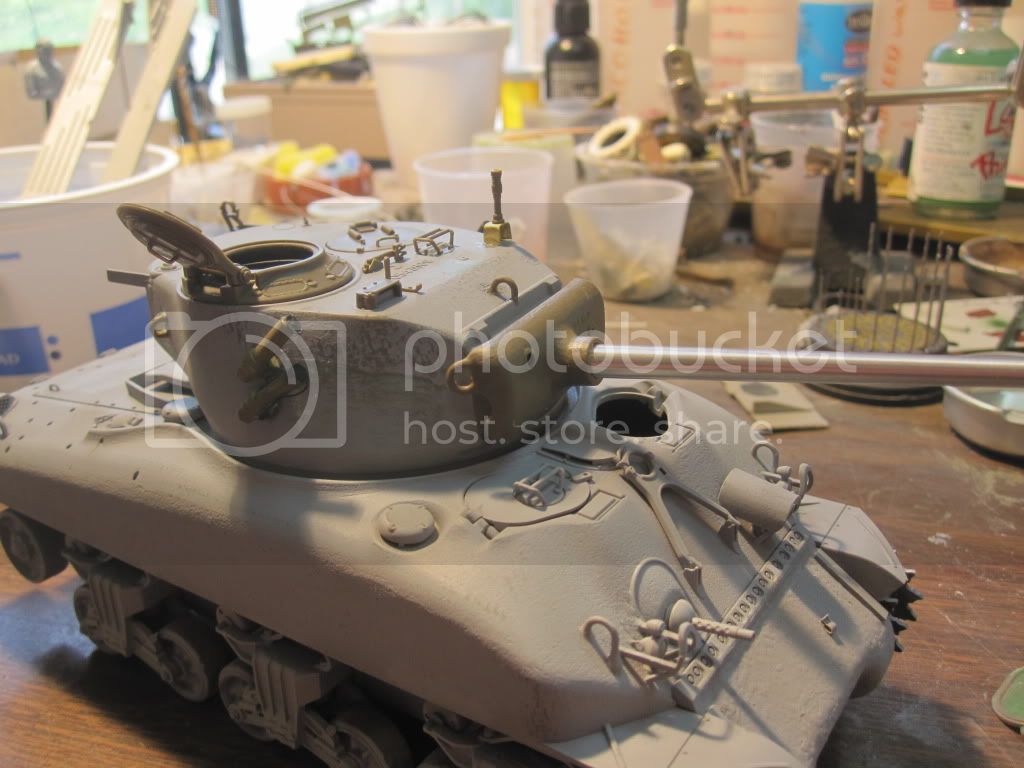
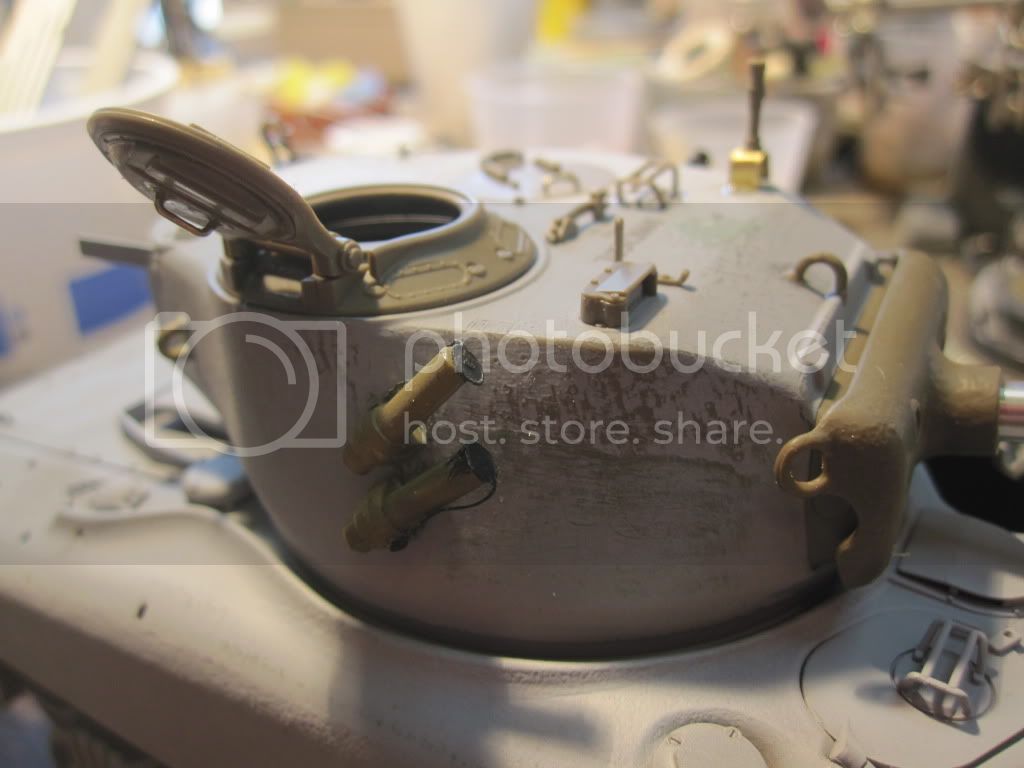
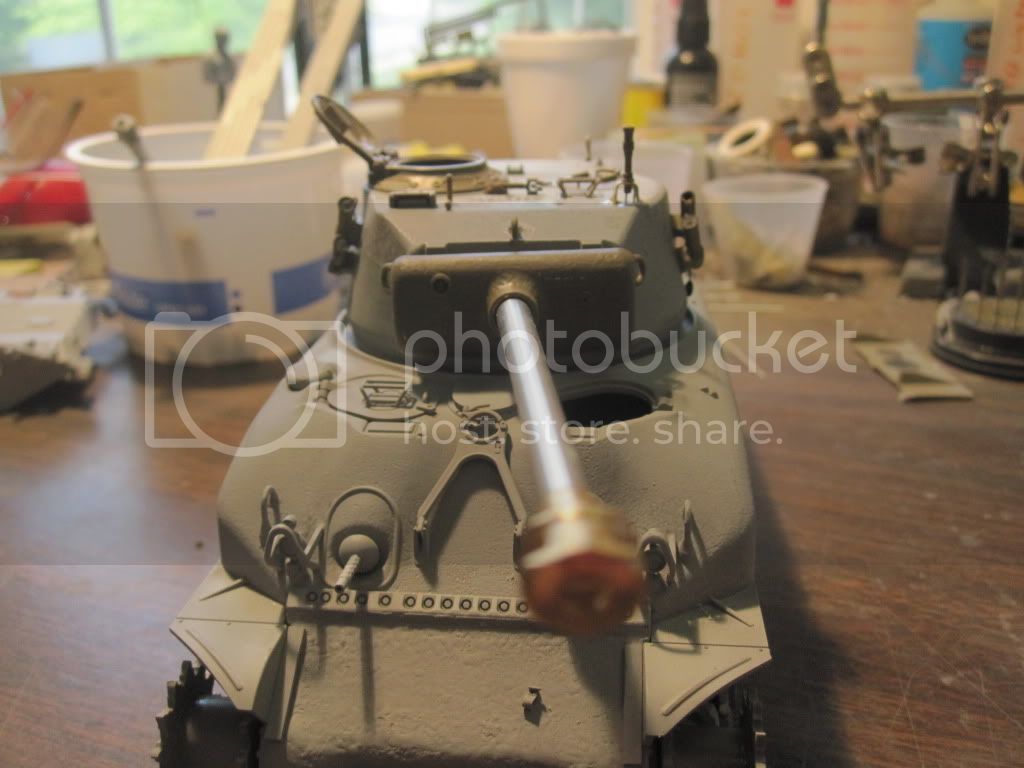
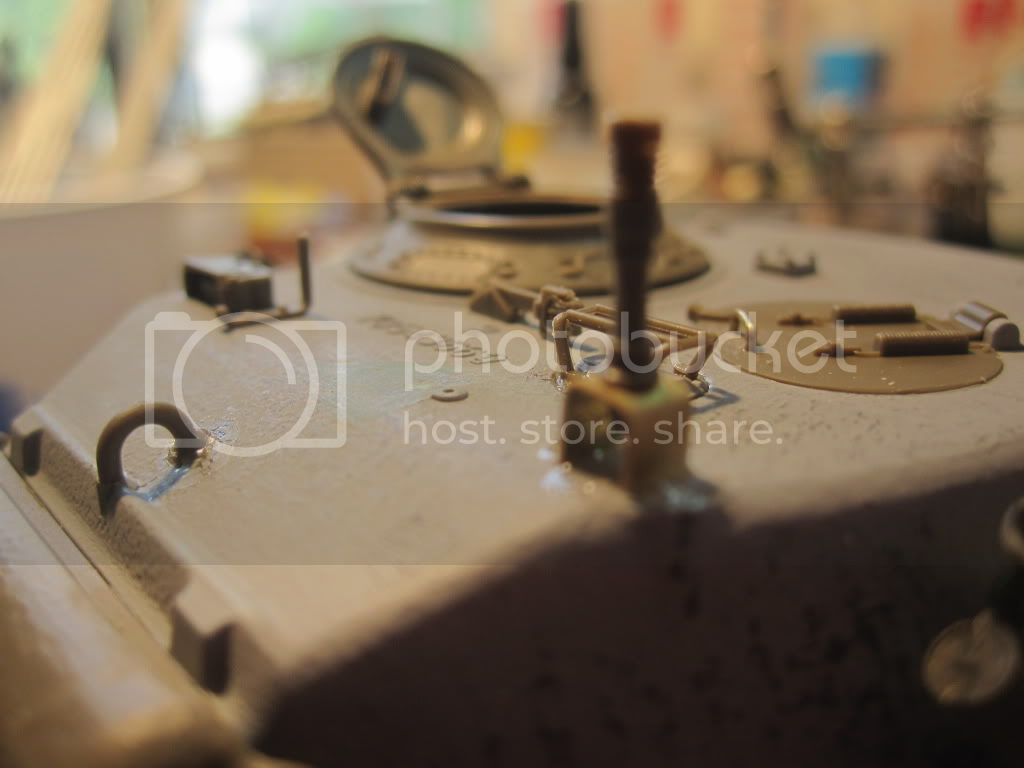
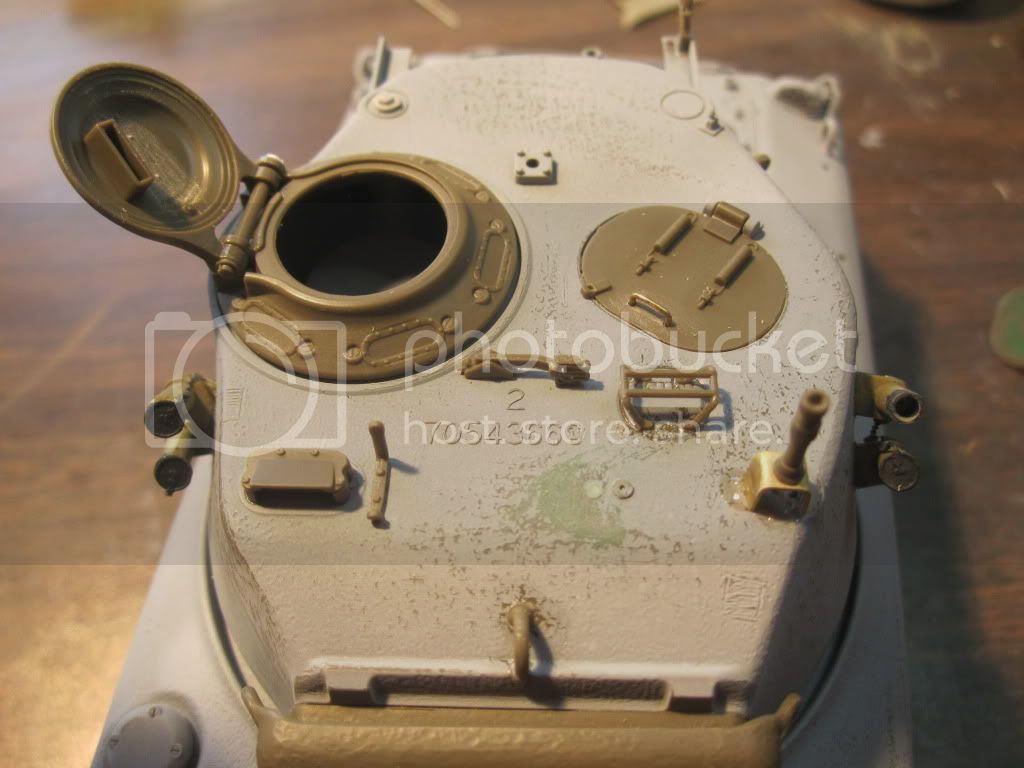
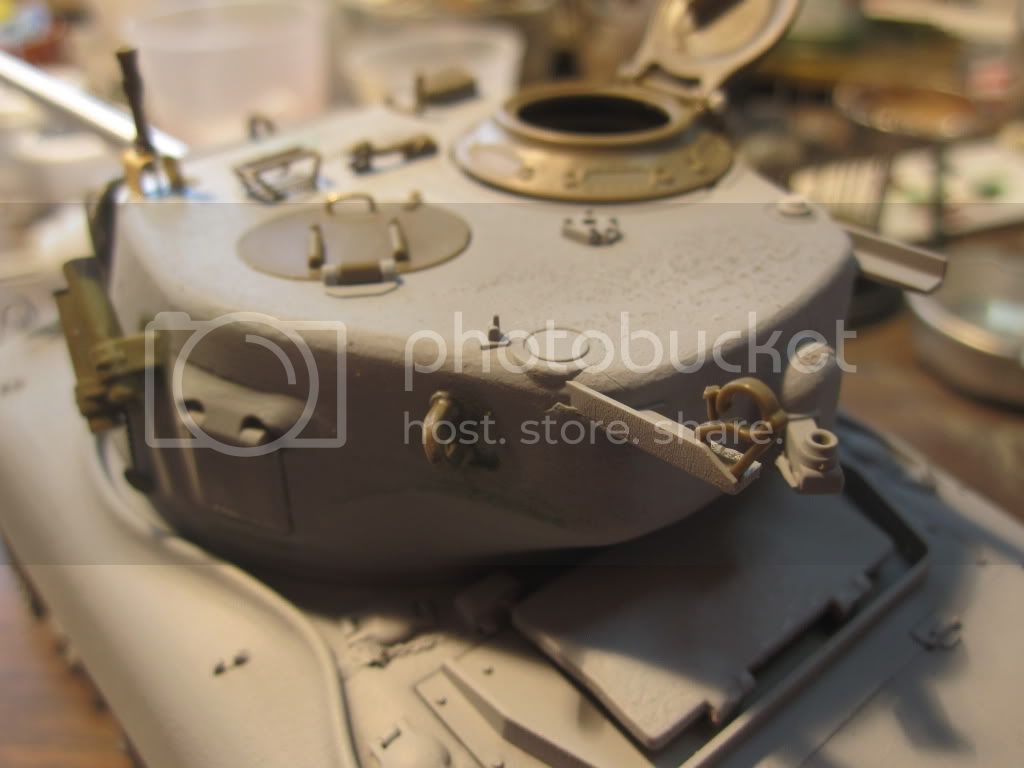
Ugandan M4A1(76)W / M1 Sherman the build
South Carolina, United States
Joined: September 28, 2005
KitMaker: 778 posts
Armorama: 763 posts
Posted: Thursday, March 01, 2012 - 04:15 AM UTC
North Carolina, United States
Joined: June 06, 2006
KitMaker: 4,691 posts
Armorama: 3,509 posts
Posted: Thursday, March 01, 2012 - 04:41 AM UTC
Looking forward to an interesting build

#284
Northern Ireland, United Kingdom
Joined: October 04, 2006
KitMaker: 3,094 posts
Armorama: 2,942 posts
Posted: Thursday, March 01, 2012 - 05:56 AM UTC
Great to see this build off to a flying start- good luck with it Dave!
On The Bench:
Ethiopian BMP-1 (Trumpeter 1/35)
AMX-13/75 (Takom 1/35)
United Kingdom
Joined: March 04, 2011
KitMaker: 99 posts
Armorama: 99 posts
Posted: Thursday, March 01, 2012 - 06:06 AM UTC
I will definitely be watching this one with interest.
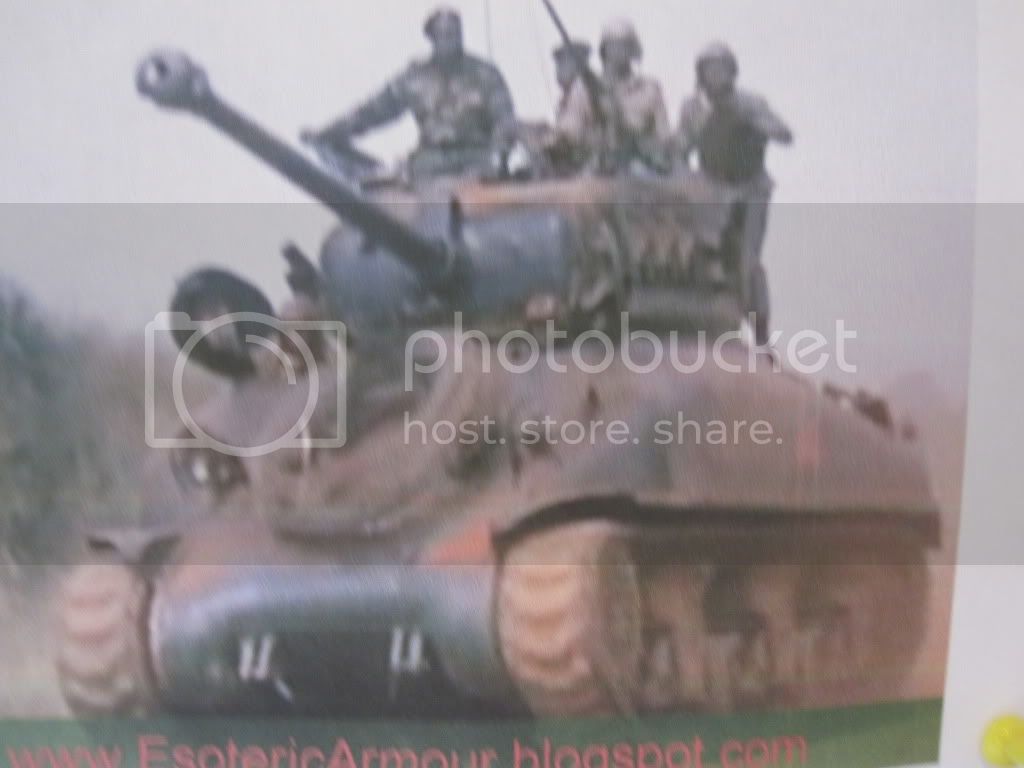
Very happy my site has inspired someone to build a model of one of the subjects.
Here is a copy of the video I used for the screen grabs, that might help:
http://www.youtube.com/watch?v=RrmvwxRDZdsRegards,
Mandrake
www.esotericarmour.blogspot.com
Georgia, United States
Joined: January 31, 2010
KitMaker: 2,191 posts
Armorama: 1,814 posts
Posted: Thursday, March 01, 2012 - 06:32 AM UTC
Looking forward to this one...
The M4A1 in the photo has the earlier turret with the split hatch copula for the loader. Don't know if you want to find a replacement or just use the Tamiya one.
You may not know since you're a modern guy, but Tasca sells their sprues individually @
http://www.tasca-modellismo.com/english/parts-1.htmlThe turret you want is here:
http://www.tasca-modellismo.com/seihin/parts/35019-ht.jpgThis sprue has the hatches, as well as some other bits that are likely nicer than the Tamiya pieces.
http://www.tasca-modellismo.com/seihin/parts/35010-c.jpgThe prices are really cheap too. The turret is like less than $4 before shipping. The other sprue is like $6.
Join AMPS.
http://www.amps-armor.org/ampssite
South Carolina, United States
Joined: September 28, 2005
KitMaker: 778 posts
Armorama: 763 posts
Posted: Friday, March 02, 2012 - 03:02 AM UTC
thanks jess and Mandrake i quess that i'm going to if a replacement for the kit
dave

Minnesota, United States
Joined: February 20, 2007
KitMaker: 339 posts
Armorama: 325 posts
Posted: Friday, March 02, 2012 - 06:38 PM UTC
Hey, this is a great idea for a rather uncommon subject! I really like it so far and look forward to seeing the completed model and crew.
As for the turret, if you are willing to spend a bit more, you might also consider getting it in resin from Tiger Models. I just received a replacement split loaders hatch from them and the level of detail is pretty amazing.
You would need the later 76mm turret (part number
AR-0328 ) and one one of the low profile split hatches (either
AR-0343 or
AR-0344. You could just use the Tamiya kit part for the commander's cupola.
Unfortunately your reference photos don't clearly show which version of the split hatch is used. Most are too blurry to make out the details and the one that isn't (image #5) has the spring mounts obscured by the smoke launchers. If I had to guess, I might say it was the earlier of the two (AR-0343) since the rather prominent hatch lock knuckles don't appear to be visible...I would think they might be partially visible peeking out from behind the smoke launcher. But again, it's just a guess.
Good luck with this project whatever you decide to do. I'll be following this one.
Cheers.
"Seems like a lot of work for only a small amount which will actually be visible...but hey, I'll know it's there!" -- Rallying cry of anal-retentive modelers everywhere!
South Carolina, United States
Joined: September 28, 2005
KitMaker: 778 posts
Armorama: 763 posts
Posted: Friday, March 02, 2012 - 07:49 PM UTC
don thanks tigermodels prices are not that bad i got the turent and the low profile split hatches that you had suggested and got the 76mm late mantlet w/ dustcover as well for juset under $40 can't bet that thats for you help hope to have some pic up later this weekend
dave


Texas, United States
Joined: March 08, 2010
KitMaker: 2,465 posts
Armorama: 2,383 posts
Posted: Saturday, March 03, 2012 - 02:35 AM UTC
Hi David,
im realy looking forward to this build.

Gary
South Carolina, United States
Joined: May 07, 2010
KitMaker: 2,238 posts
Armorama: 2,158 posts
Posted: Saturday, March 03, 2012 - 03:07 AM UTC
This is a great subject, Dave!
Big guady and colorful markings along with some good opportunity for camo crew uniforms and tropical foliage on a base should make it very interesting.
I'm glad that you were able to resolve the turret issue. (That was a good catch by Jessie, BTW).
I'll be looking forward to seeing it in person at our next meeting.
Happy modeling!
Mike Roof
AMPS #1632
Chapter Contact
AMPS Central SC
Visit us at http://www.ampscentralsouthcarolina.org
South Carolina, United States
Joined: September 28, 2005
KitMaker: 778 posts
Armorama: 763 posts
Posted: Monday, March 05, 2012 - 02:44 AM UTC
Georgia, United States
Joined: January 31, 2010
KitMaker: 2,191 posts
Armorama: 1,814 posts
Posted: Monday, March 05, 2012 - 03:44 AM UTC
Looking good. Keep it up.
Join AMPS.
http://www.amps-armor.org/ampssite
South Carolina, United States
Joined: September 28, 2005
KitMaker: 778 posts
Armorama: 763 posts
Posted: Tuesday, March 06, 2012 - 07:15 PM UTC
Georgia, United States
Joined: January 31, 2010
KitMaker: 2,191 posts
Armorama: 1,814 posts
Posted: Wednesday, March 07, 2012 - 02:05 AM UTC
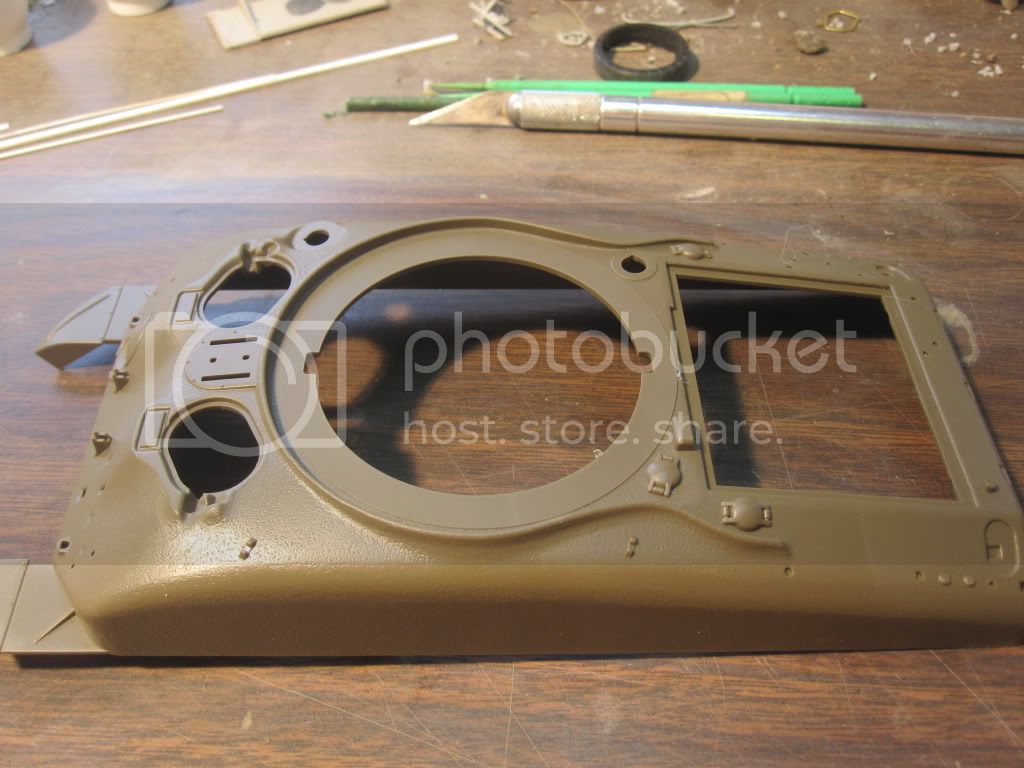
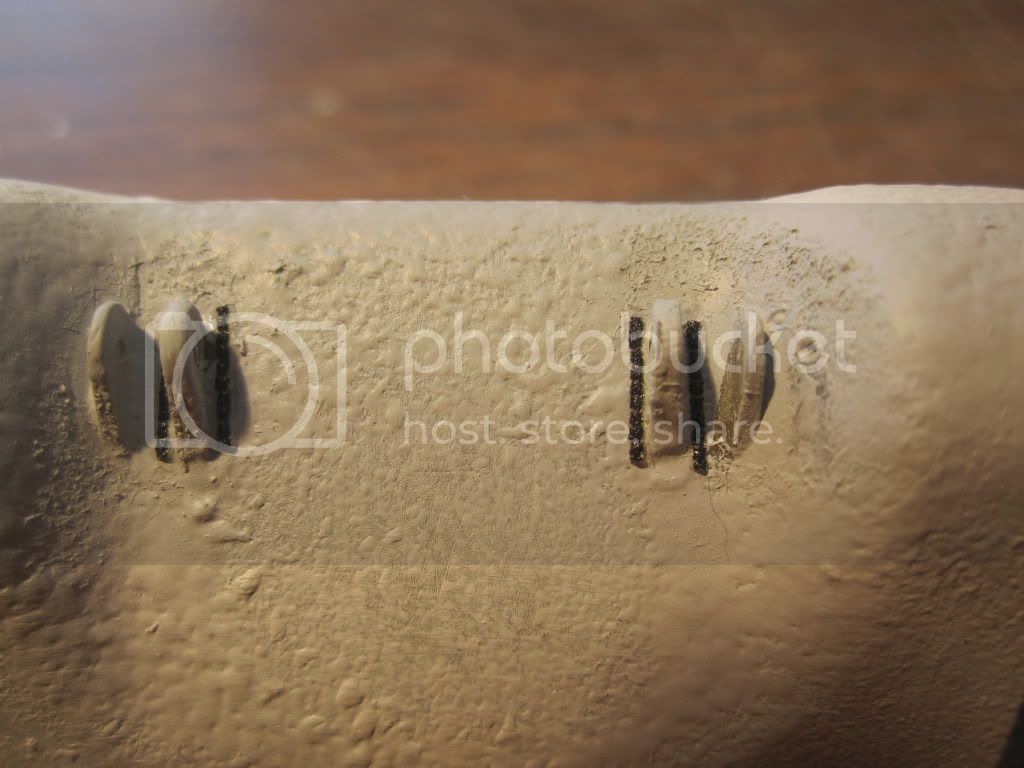
Dave, remember the drain holes for the splash guards.
For instance...
http://data.primeportal.net/tanks/don_pics/m4a1/m4a1_02_of_82.jpgJoin AMPS.
http://www.amps-armor.org/ampssite
South Carolina, United States
Joined: May 07, 2010
KitMaker: 2,238 posts
Armorama: 2,158 posts
Posted: Wednesday, March 07, 2012 - 02:41 AM UTC
Moving right along Dave!
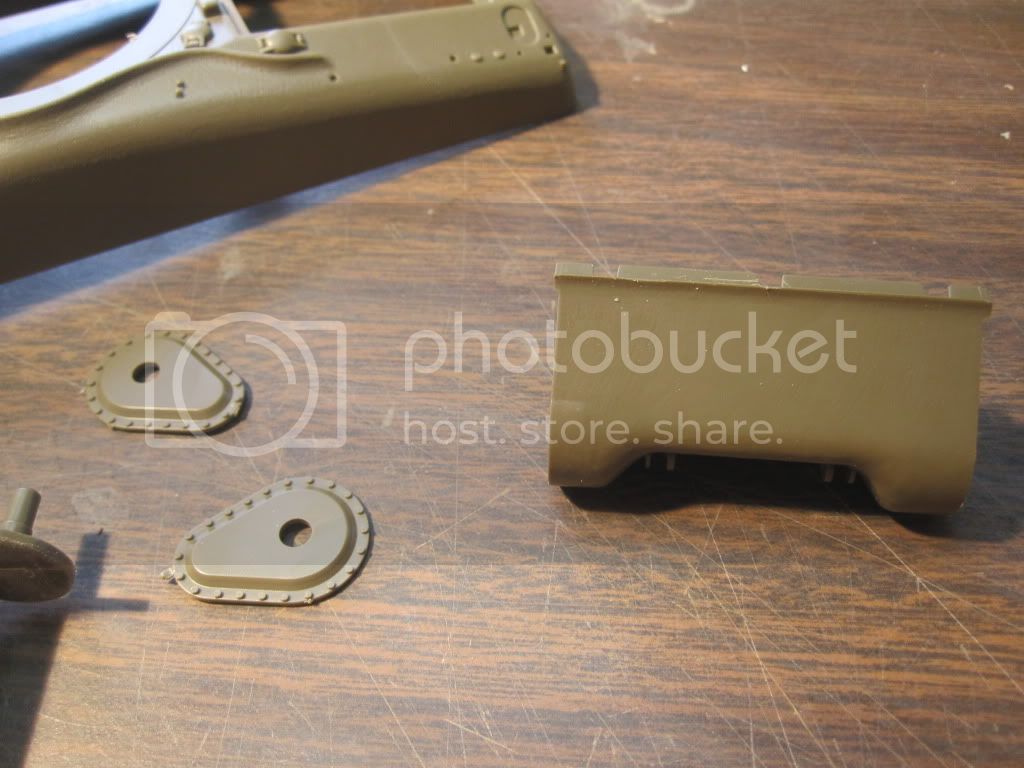
The rear mud flaps attach at bottom edges of the overhang on the rear hull. There is a bracket piece with bolt holes that is welded to the hull, and the fender is bolted to that. The kit part might be designed to glue to the bottom edge of the overhang. (IIRC, that's how DML does it. I assume Tamiya is similar.)
The outside edge of the mud flap is about even with the outside edge of the hull side (standard manufacture position) unless, of course, your reference shows a post-war repair or modification with different alignment.
HTH,
Mike Roof
AMPS #1632
Chapter Contact
AMPS Central SC
Visit us at http://www.ampscentralsouthcarolina.org
South Carolina, United States
Joined: September 28, 2005
KitMaker: 778 posts
Armorama: 763 posts
Posted: Saturday, March 10, 2012 - 08:31 PM UTC
thanks mike the problem is that the kit dose not have rear mud flaps so I'm going to have to build them no biggy jesse thnks man i did put the drain holes in but looking at some pic i think i nead to make them larger thanks hope to have some more pic up later this week
dave


South Carolina, United States
Joined: September 28, 2005
KitMaker: 778 posts
Armorama: 763 posts
Posted: Friday, March 16, 2012 - 12:40 PM UTC
Georgia, United States
Joined: January 31, 2010
KitMaker: 2,191 posts
Armorama: 1,814 posts
Posted: Friday, March 23, 2012 - 01:47 AM UTC
Alright, been a week.... what's going on over there?

Join AMPS.
http://www.amps-armor.org/ampssite
Texas, United States
Joined: March 08, 2010
KitMaker: 2,465 posts
Armorama: 2,383 posts
Posted: Friday, March 23, 2012 - 03:05 AM UTC
Hi David,
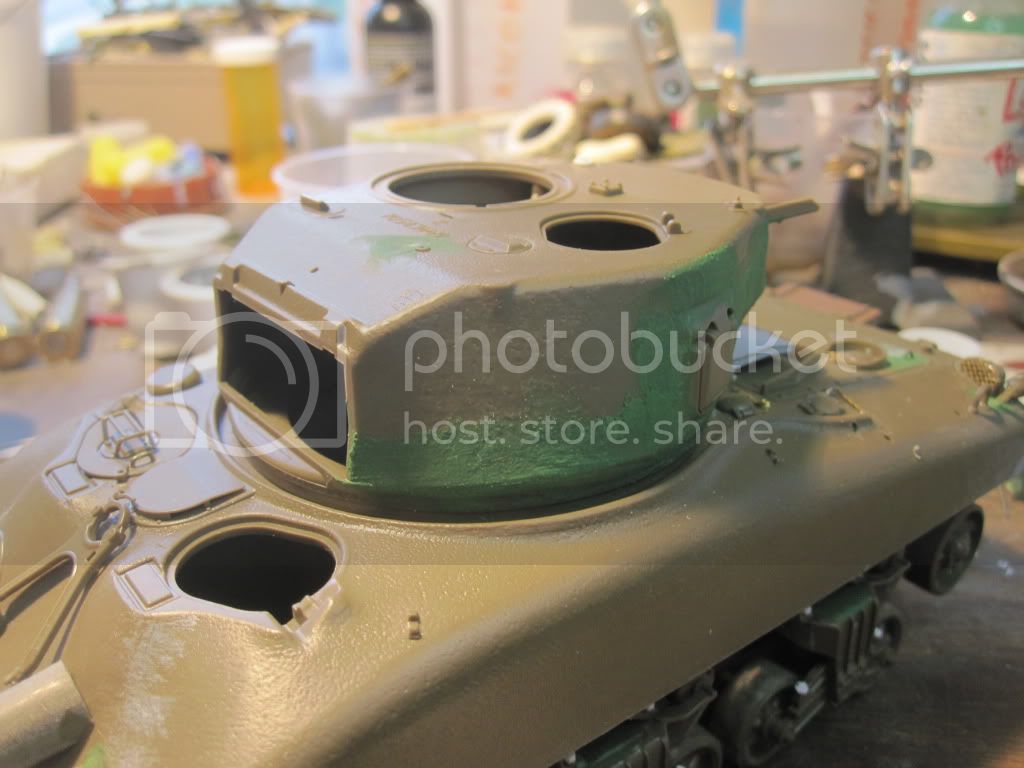
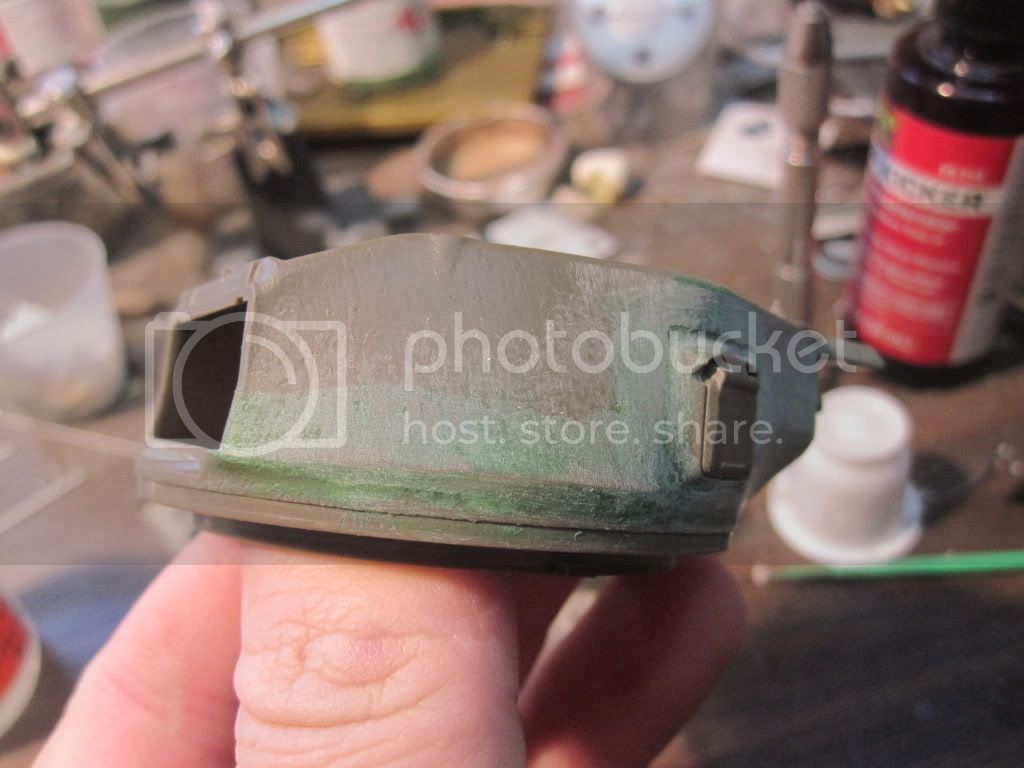
Every thing is looking very nice. Nice touch on the fenders man. What type of putty is the green your useing? Well done David!

Gary

South Carolina, United States
Joined: September 28, 2005
KitMaker: 778 posts
Armorama: 763 posts
Posted: Friday, March 23, 2012 - 03:45 AM UTC
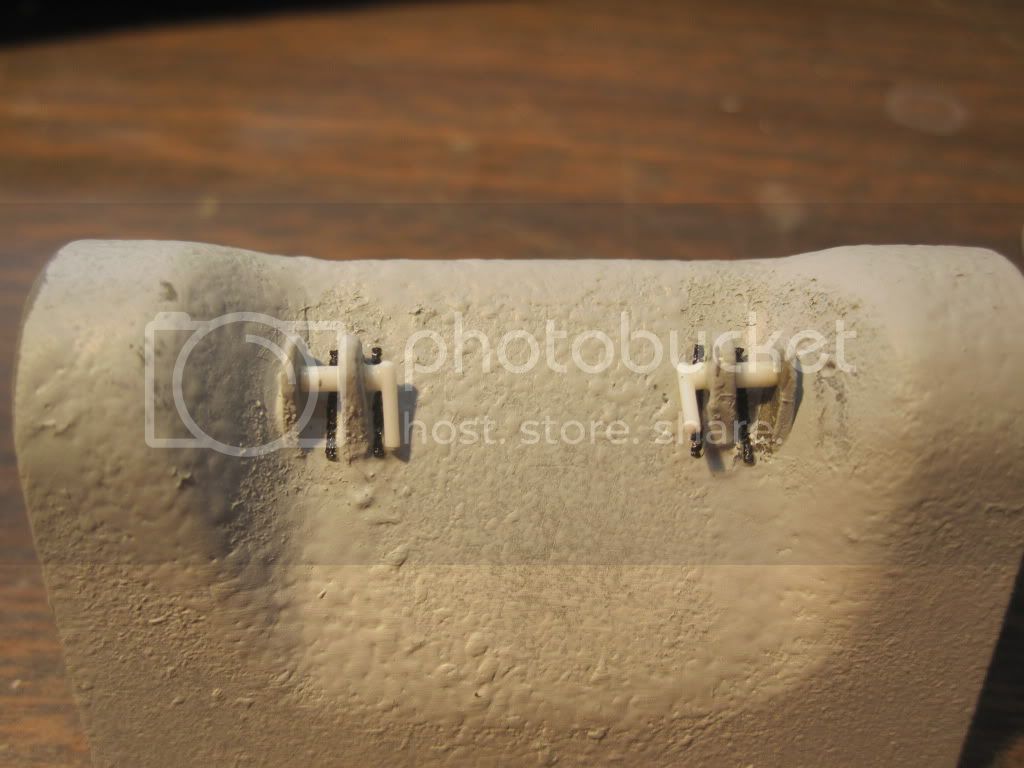
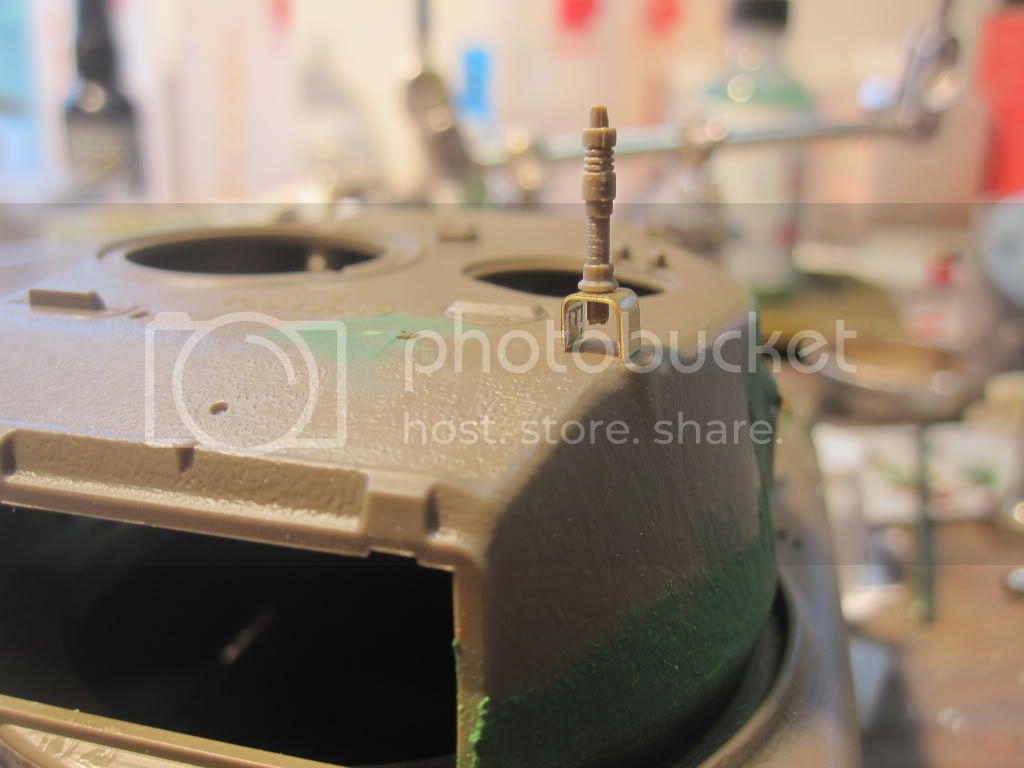
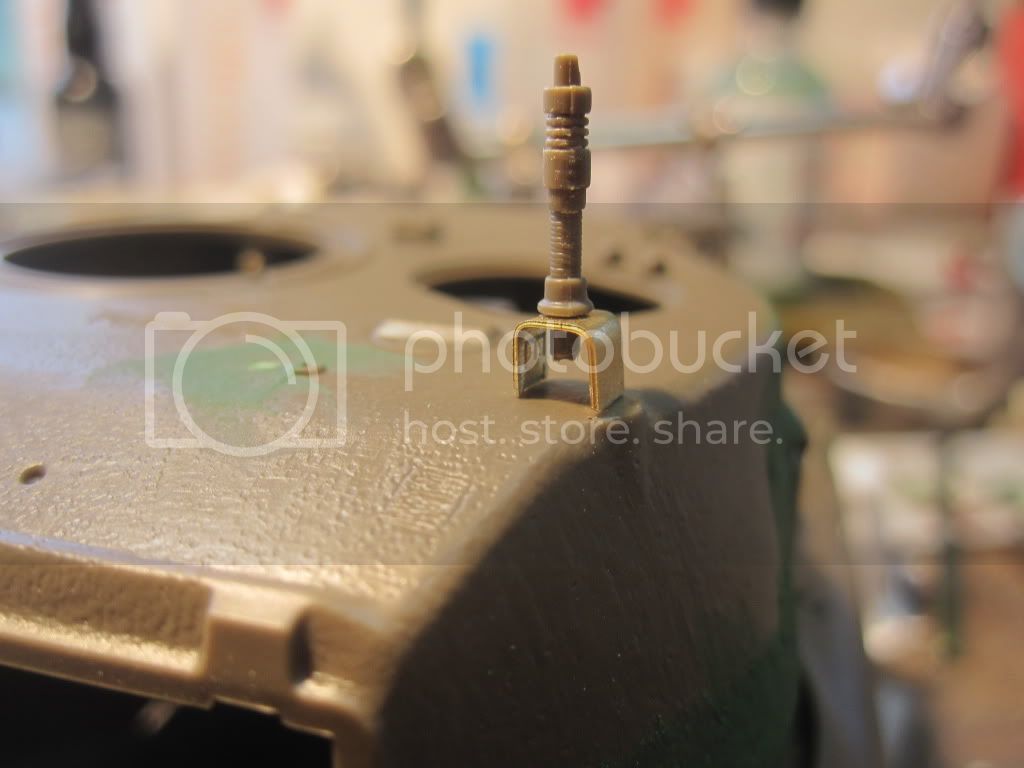
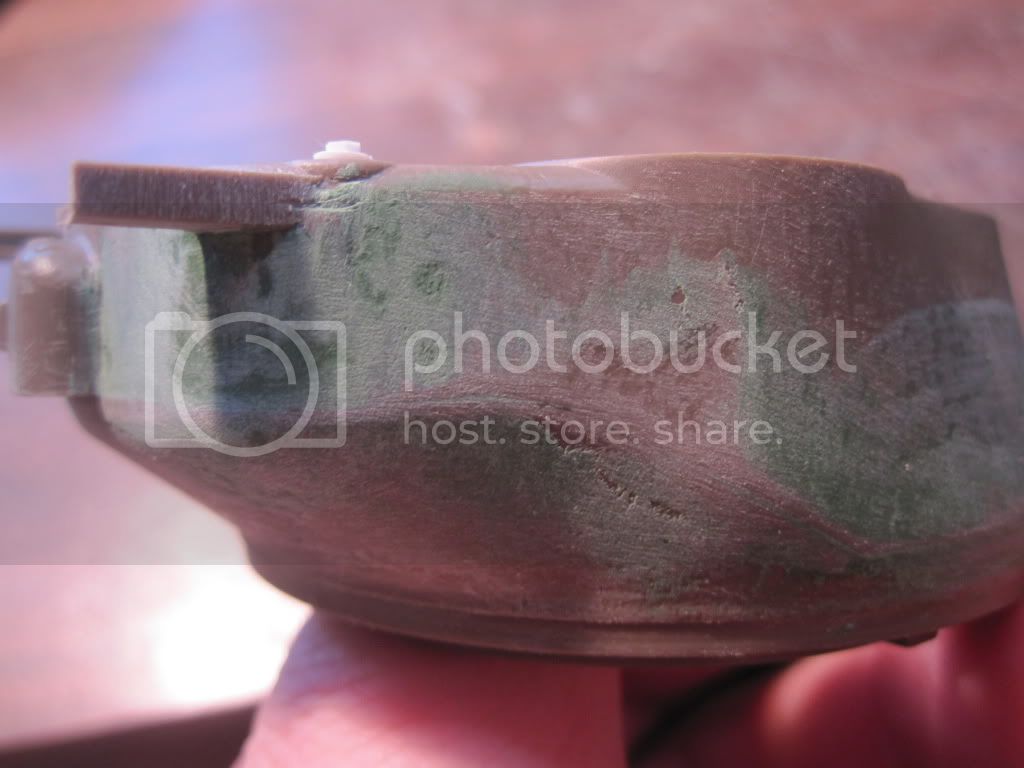
thay all sorry been working this week hope to get moveing next week and soom pics as well still waiting for the part from tiger. hope to get them this week ????? it would help gary i'm using Squadron Green Putty it is thined with tester glue the liquid stuff and some thiner to make a past works great mike use it
dave

Texas, United States
Joined: March 08, 2010
KitMaker: 2,465 posts
Armorama: 2,383 posts
Posted: Friday, March 23, 2012 - 04:11 AM UTC
Quoted Text
i'm using Squadron Green Putty it is thined with tester glue the liquid stuff and some thiner to make a past works great mike use it
dave 
David,
does the putty sand well after it dries? i would like to try that method. Thanks!
Gary

South Carolina, United States
Joined: September 28, 2005
KitMaker: 778 posts
Armorama: 763 posts
Posted: Saturday, March 24, 2012 - 03:38 PM UTC
gary i have no probles sanding it the great think is that you can us it to make weld seams as well
dave


Texas, United States
Joined: March 08, 2010
KitMaker: 2,465 posts
Armorama: 2,383 posts
Posted: Saturday, March 24, 2012 - 03:43 PM UTC
Sweet!!! Im definatley gonna try doing a weld seam with it. Thanks David!

Gary
South Carolina, United States
Joined: September 28, 2005
KitMaker: 778 posts
Armorama: 763 posts
Posted: Friday, March 30, 2012 - 11:20 PM UTC
South Carolina, United States
Joined: September 28, 2005
KitMaker: 778 posts
Armorama: 763 posts
Posted: Tuesday, April 03, 2012 - 08:00 AM UTC
