Campaigns
Where Armorama group builds can be discussed, organized, and updates posted.
Tank Destroyer/SPG Campaign
WARDUKWNZ
Visit this Community
Auckland, New Zealand
Joined: June 01, 2011
KitMaker: 1,716 posts
Armorama: 1,638 posts
Posted: Thursday, October 18, 2012 - 10:34 PM UTC
Jeff .. Oh you damn skippy dude .. eyes like a hawk ,,when i have my glasses on that is
This T34 project sounds very cool so as you can bet i can't wait to see how that tuns out ..very cool i will bet

Rob ,, Dude thats so clean ... fix that will ya remember ,, clean is not good ..nice building so far buddy .

Phill
retiredyank
Visit this Community
Arkansas, United States
Joined: June 29, 2009
KitMaker: 11,610 posts
Armorama: 7,843 posts
Posted: Thursday, October 18, 2012 - 11:51 PM UTC
Some progress. Many hours of building up pigments. The tracks are ready to be attached. I will be concentrating on the gun and front wheels, today. I will finish the kit with stowage and move on to the surprise. Just waiting on parts, for that.


Tojo72
Visit this Community
North Carolina, United States
Joined: June 06, 2006
KitMaker: 4,691 posts
Armorama: 3,509 posts
Posted: Friday, October 19, 2012 - 01:13 AM UTC
Nice work on that detailing,the under fender buildup looks real good
Dragon164
#226
Visit this Community
British Columbia, Canada
Joined: February 20, 2012
KitMaker: 1,909 posts
Armorama: 1,066 posts
Posted: Friday, October 19, 2012 - 05:18 AM UTC
Thanks Phil!

Matt,
I have to agree that mud buildup looks great!

Cheers Rob.
retiredyank
Visit this Community
Arkansas, United States
Joined: June 29, 2009
KitMaker: 11,610 posts
Armorama: 7,843 posts
Posted: Friday, October 19, 2012 - 09:57 AM UTC
Thank you for all the kind compliments. If you liked the fenders, you are going to love the wheels. So, I finished the wheels today. I will attach and weather the tracks, this evening. I also managed to get the jerry can rack painted, just need to add the filters. I will be posting updates, tomorrow. Were German jerry cans marked as to which were fuel, water, etc.?


I think the mud and dirt build up mask the seams on the wheels quite well.
Cam
#275
Visit this Community
Alberta, Canada
Joined: March 01, 2006
KitMaker: 174 posts
Armorama: 141 posts
Posted: Friday, October 19, 2012 - 02:30 PM UTC
Back after some time off this build but a Stug IV and a Victor III needed finishing. The multitude of photo etched parts ate up some time and increased the kit part count but at least half of them did not add anything to the kit that molding the details into the plastic would have.
I used clear coat to attach the small nuts and retainers that hold on the fenders. After brushing it on where the detail is to go you can position the detail easily as the clear coat is slightly sticky. After the clear dies another coat can be brushed on to ensure that nothing falls off. The rest of the brass was attached with super glue or 5 min epoxy.
Bronco give you spares of the smallest parts (20% of the smallest parts) and there is a plastic backing to the etched sheet so parts do not fly when being cut off. I used brass beading wire to form an electrical cable for the horn.
One thing that I would do differently if I made this kit again is install the drivers hatch covers before adding all the detail to the hull as they do not fit well in the closed position.
PvtMutt
Visit this Community
Missouri, United States
Joined: July 01, 2006
KitMaker: 614 posts
Armorama: 601 posts
Posted: Friday, October 19, 2012 - 03:23 PM UTC

Better late than never.

Sparse interior is better than nothing right?


You start with the 105mm


Then the suspension


Return rollers


All the wheels and suspension parts are ready to paint so
I started the lower hull today. The top half is just sitting there for a look see.


Have a GREAT weekend all
Tony lee
retiredyank
Visit this Community
Arkansas, United States
Joined: June 29, 2009
KitMaker: 11,610 posts
Armorama: 7,843 posts
Posted: Saturday, October 20, 2012 - 04:45 AM UTC
Tracks on. All that is left is to re-attache the passenger side mirror and add a filter to the gun.


The tracks were a nightmare. I took me four hours just to line them up and glue them on. The instructions call for a length of seven individual links near the front on the driver's side, but only five fit. Took seven links on the passenger's side. The pigments were relatively simple.
Petro
Visit this Community
Connecticut, United States
Joined: November 02, 2003
KitMaker: 984 posts
Armorama: 846 posts
Posted: Saturday, October 20, 2012 - 05:11 AM UTC
looking good Matt
PantherF
Visit this Community
Indiana, United States
Joined: June 10, 2005
KitMaker: 6,188 posts
Armorama: 5,960 posts
Posted: Saturday, October 20, 2012 - 05:15 AM UTC
I have some catchin' up to do I see!

Tony! I want one of those real bad. You're off to a fast start!


~ Jeff
PvtMutt
Visit this Community
Missouri, United States
Joined: July 01, 2006
KitMaker: 614 posts
Armorama: 601 posts
Posted: Saturday, October 20, 2012 - 08:37 AM UTC
I know Jeff it's a crying shame to be retired and all you've got to do is work on models everyday.

More construction today


Bronco gives those huge rear deck doors and NO ENGINE

Later Folks
Tony lee
Tojo72
Visit this Community
North Carolina, United States
Joined: June 06, 2006
KitMaker: 4,691 posts
Armorama: 3,509 posts
Posted: Saturday, October 20, 2012 - 08:40 AM UTC
Another SPG from Tony,lookin real good buddy.
Braille
#135
Visit this Community
California, United States
Joined: August 05, 2007
KitMaker: 1,501 posts
Armorama: 1,485 posts
Posted: Saturday, October 20, 2012 - 09:08 AM UTC
Here’s my once in 3 months update.

I had intended to quickly build this kit OOTB to bring me out of a modeling slump and get back into the swing of things again. But ‘NO’ – I had to go and add a complete interior and take forever to get this far on the build! So I sincerly apologize to everyone here for the long delay in posting an update for my campaign contribution. Anyhow, here it is . . . proof that I’ve been slaving away on this project.


I scratch made the transmission access hatch hinges from both styrene sheet and rod because these molded items as rendered in the kit are incorrect in size and are far to small in comparison to any of the hatch hinges as seen that I could find on any of the available photographs and drawings on my references and on the Internet of Ausf.C – D StuG. III’s.


This is the engine deck assembled per step 9 with a few part label corrections. The photo-etch parts for the lifting hooks are not called out and are shaded as not for use on the instruction sheet but could have been included as an option as this type of lifting hook are found on some early StuG. III’s. The plastic molded lifting hooks will need to be modified to use the photo-etch parts.


Holes were added to the solid molded cable clamps. A rectangular piece of sheet styrene was added to the engine deck opening along with pieces of styrene rod for the weld seams on each of the air intake vent housings where they mate up with the engine deck. I did this last step only because I’m going to display the model with an interior.


The exhaust mufflers and kit supplied photo-etch engine deck deflector plate have been added per step 4. I also deepened and enlarged the exhaust pipe openings to better represent the pipes metal thickness. The rear fenders were also added along with their appropriate photo-etch parts. The kit provides you with single piece molded rear fenders without the need for the photo-etch parts however these parts are shaded as not for use but could have been called out as an option if you’re going to leave the fenders in the folded down position. With the two-piece fenders you could place them in the hung open position with a little modification, I chose to leave mine in the closed position. I also thinned the fenders down to get a better scale thickness, but I didn’t thin them enough. The opening for the rear tail lamp and distance indicator on the fenders were moved to represent the earlier StuG. III Ausf. A – D fenders.


Dragon has done a splendid job on rendering the fenders with complete detail on both sides but forgot to add the separation lines for the individual panels on the bottom side so I scribed them in.

The Interior

There is currently enough photographic evidence, both in reference books and online to conclude that these vehicles were manufactured from overhauled early StuG. III’s using on one of the five Ausf. B - F chassis. There are a few known photographs of the interior for these conversion vehicles that exist, to my knowledge, and these photographs don’t show much of the interior and there is nothing in the way of drawings either so my rendition of the fighting compartment is unfortunately not going to be accurate. In spite of the lack of information on the complete interior for these vehicles they all shared an early model StuG. III chassis and the interiors for those vehicles, for the most part, are all well documented and photographed. Knowing that these vehicles were made from these overhauled early StuG. III chassis gives a good possible idea of what the lower hulls interior could have looked like.

All twenty-four of the s.IG 33’s were converted over using the same manufacturing prints and all work was preformed by the same contractor and at the same location all within a few short months. This will aid me when I go and start work on the casemate, as that portion of the vehicle would all be the same for all of these vehicles. There were chassis interior changes between the different early StuG. III series production models so I was careful to find photographs for the version I selected to model.

The kit provides you with portions of an interior for supporting the main gun, which includes the flooring panels, rear wall and the main guns upper, lower and base support carriage. The main gun is very well detailed and its screaming to be displayed, I thought that it would be a terrible shame not to create a complete interior to show off the gun and to show where and how the crews managed operations in such small and cramped quarters. The above mentioned kit interior components are actually retooled parts from Dragon’s Ausf. G StuG. III kits. The basis for my interior would be that of a StuG. III Ausf. C – D.

The proceeding photographs are my attempt at an interior for a vehicle using an Ausf. C – D chassis.


Styrene bolts where made from a punch and die set. This together with Grant Line bolts where installed to both sides of the interiors hull. Two support struts were made from a styrene I - beam and a cast resin frame for mounting the transmission were installed on the floor. Incidentally, I had gone back and painstakingly removed pieces of sheet styrene that I had initially placed over the injector pin marks on the floor prior to deciding on adding a complete interior. A styrene sheet triangle brace along with several cast resin hull braces were also added.


The reworked flooring panels with hull braces and the main gun support carriage parts along with a partially assembled cast resin transmission are temporarily placed in the hulls tub for these photographs.


Here you can see the, temporarily placed, reworked rear wall with the commander’s bicycle seat.


The flooring and main gun support carriage assembled as a module for easy of painting. Credit goes to Dario ‘panzerjager’ Risso over on PlanetArmor for this idea on a StuG. III build. Dragon got the forward carriage support beam all wrong so I reworked the kits supplied part to better represent this piece as it appears in a photograph. It is still not completely correct in that the wider outside portions of the beam should have been swapped around with the narrow inside areas. I had already reworked the kit part when I noticed this in the photograph so I just left the part it as is and negated to build a new one as it should be. I can live with that!


A group picture of all the lower hulls interior components together with the transmission inspection hatches.


I used CMK’s cast resin StuG. III Ausf.G – Driver’s set to address the needed parts on the forward portion of the lower hulls interior.

~ Eddy
PantherF
Visit this Community
Indiana, United States
Joined: June 10, 2005
KitMaker: 6,188 posts
Armorama: 5,960 posts
Posted: Saturday, October 20, 2012 - 09:12 AM UTC
It was worth waiting 3 months for Eddy.


~ Jeff
Braille
#135
Visit this Community
California, United States
Joined: August 05, 2007
KitMaker: 1,501 posts
Armorama: 1,485 posts
Posted: Saturday, October 20, 2012 - 10:27 AM UTC
@PantherF – Jeff,

Thanks Jeff, much appreciated. I need to go and check out every ones postings and leave a comment here, so I’ll be back in a bit!

~ Eddy
Tojo72
Visit this Community
North Carolina, United States
Joined: June 06, 2006
KitMaker: 4,691 posts
Armorama: 3,509 posts
Posted: Saturday, October 20, 2012 - 11:01 AM UTC
Hey Eddie,fantastic blog as usual,great detail on your blog,very informative.

Anthony
TheDiggs
Visit this Community
Illinois, United States
Joined: April 25, 2008
KitMaker: 338 posts
Armorama: 75 posts
Posted: Saturday, October 20, 2012 - 03:58 PM UTC
@Kevin, thanks for the help. I got it looking okay.

It looks quite good from my shelf. It is still rather noticeable from close up, but so are extremely slight differences in the layers of paint. There were some holes that were in the base color (green) so I simply adjusted the camo lines to cover them and viola. I am calling it a successful cover up and will post my final completion pictures in the next day or two.
Dragon164
#226
Visit this Community
British Columbia, Canada
Joined: February 20, 2012
KitMaker: 1,909 posts
Armorama: 1,066 posts
Posted: Saturday, October 20, 2012 - 07:14 PM UTC
So... I was working on my SU-85 when I found a mis-formed part part c4 of the commanders cupola. Now if I had build these in my normal order I could have just swapped out the same part from the SU-100 but I did the cupola for that a few days ago. Luckily there is an extra cupola in the kit that can be reworked to fit. I had to trim off the bottom ring with a saw and now will sand the outside to reduce the diameter, have a sanding drum arbor that will do nicely but that will have to wait till I can make noise. I also did some work on the fuel drums, carved off the straps and handles then added weld beads on the side. Finally a shot of where they are at, the other lower hull is prepared for paint.

Cheers Rob.


Plasticbattle
#003
Visit this Community
Donegal, Ireland
Joined: May 14, 2002
KitMaker: 9,763 posts
Armorama: 7,444 posts
Posted: Saturday, October 20, 2012 - 09:12 PM UTC
Some very nice builds .... great job on the interior Eddy. Fantastic details.
1721Lancers
Visit this Community
England - East Anglia, United Kingdom
Joined: March 21, 2012
KitMaker: 1,673 posts
Armorama: 1,640 posts
Posted: Sunday, October 21, 2012 - 02:12 AM UTC
@Eddy: that´s beauty of a job can´t wait to see it painted.

@Rob: nicely contered there with the cupola. Keep it up mate

@Lap Man: excellent Waffenträger, your´s was a lovely kit
compared to mine

Well here ´s some more on my "boredom projekt" :
some paint:


I hate painting road wheels at anytime but in 1/72 it´s
just rediculous


some camo:


some more camo:


Thats all for today, see you soon.
Paul
Dragon164
#226
Visit this Community
British Columbia, Canada
Joined: February 20, 2012
KitMaker: 1,909 posts
Armorama: 1,066 posts
Posted: Sunday, October 21, 2012 - 12:53 PM UTC
Thanks Paul!

Got some paint on both lower hulls and the inside of both sets of wheels.

Cheers Rob.

TheDiggs
Visit this Community
Illinois, United States
Joined: April 25, 2008
KitMaker: 338 posts
Armorama: 75 posts
Posted: Monday, October 22, 2012 - 01:45 PM UTC
Alright here is my finished picture. This kit was a blast to build, it was easy, fit together well, and has a pretty good level of detail for 1/72.
retiredyank
Visit this Community
Arkansas, United States
Joined: June 29, 2009
KitMaker: 11,610 posts
Armorama: 7,843 posts
Posted: Tuesday, October 23, 2012 - 11:17 AM UTC
I feel ashamed of my build with all of the other spectacular ones, so far. I have a few scratch items, but am hoping to really make it stand out when I put it on the base.
Braille
#135
Visit this Community
California, United States
Joined: August 05, 2007
KitMaker: 1,501 posts
Armorama: 1,485 posts
Posted: Wednesday, October 24, 2012 - 11:26 AM UTC
Ok, fellows,

Sorry that it’s taking me some time to get my comments posted, our apartment is undergoing a complete interior renovation.

First some comments for those that have completed their builds, a hardy congratulations to all of you.

@jkb_sprint – John, Nice finish on the little PanzerJäger - dirt magnet. My favorite eye-catching part of this build is the dried packed mud on the running gear – looks authentic. I’m glad you stuck to your guns and found a way to get your Jagdpanzer IV completed because otherwise we would have never been able to see the beautiful rendition you created, great camouflage and weathering.

@1721Lancers – Paul, your Waffenträger looks very convincing and in spite of the kits drawbacks (turret armor housing being one of them) you seen it through. An excellent end of war camouflage scheme! Good looking figure too, he’s got that George C. Patton – I’m totally proud to be a part of this stance. And now you’ve gone ahead and started on another build, good on you! Some speedy progress there. And thanks for posting a comment about my build, it is much appreciated. Still a ways to go before painting the vehicle, but I’m getting there.

@Nito74 – John, you’ve done a remarkably good convincing job on rendering a worn and battered weathered paint job. I also like the dried and packed mud on the running gear. Thanks for posting the items used for helping you achieve some of the more worn effects on the paint. I’m going to be adding this one to the stash of Tiger family builds.

@Tojo72 – Anthony, smacking good job on the single color paint scheme and weathering. Excellent rust effects throughout! I’m just going to have to break down and get some of those Russian vehicles in the stash – in 72nd scale that is! Thanks for your input its appreciated.

@eMan – Lap, you did an outstanding job on my favorite version of the Waffenträger. Great paint job on the German red oxide primer scheme.

@Bluestab – Alex, first time seeing or hearing about the ASU – 85. Great OOTB Build. I’m going to make an effort to build something OOTB too!

@Kruppw – Christopher, terrific job on the IT – 1. Excellent execution all the way around, especially on the varying shades of green on the single color scheme. Great job on the base and figures too!

@toinou – Antoine, Excellent job on your M -10 too. I like all of the stowage and machine guns adorning the vehicle.

@Itb073 – Sal, nice finish and build and good on you for conquering the mesh screens. Working with other mediums other than plastic are now becoming common place. I think that the camera flash has a lot to do with washing out the colors and detail. See if you can get a few small light stands and 200 watt incandescent ‘sunlight’ bulbs and try shooting the photographs of your builds that way.

@JediWookie – Gary, you did an excellent job on the paint scheme and an excellent job on the weathering, especially for it being your first attempt. I also like the netting that is wrapped around the barrel, nice touch. I also like the dark colored and rusted tracks hanging on the vehicle as this give them the effect of being extremely heavy – which they were!

@anti-hero – Bill, your making good progress on the Waffenträger. Nice tonal quality on the German red oxide primer.

@WARDUKWNZ – Phill, now that is a huge hunk of metal just waiting to take a bite out of an unsuspecting bunch of allied tanks with that, I can reach you from mars, cannon. Excellent job on the figure and on the vehicles weathering. I’m just going to have to add this one to the stash.

@TheDiggs – David, great looking camouflage pattern. You did an excellent job on the build – all of the wheels are in alignment and everything is in its place, no seams showing and the wheels are not floating above the tracks, good choice of colors. For me your vehicle looks ready for some weathering. Maybe next time?

And now for those that are still in it and making some progress . . .
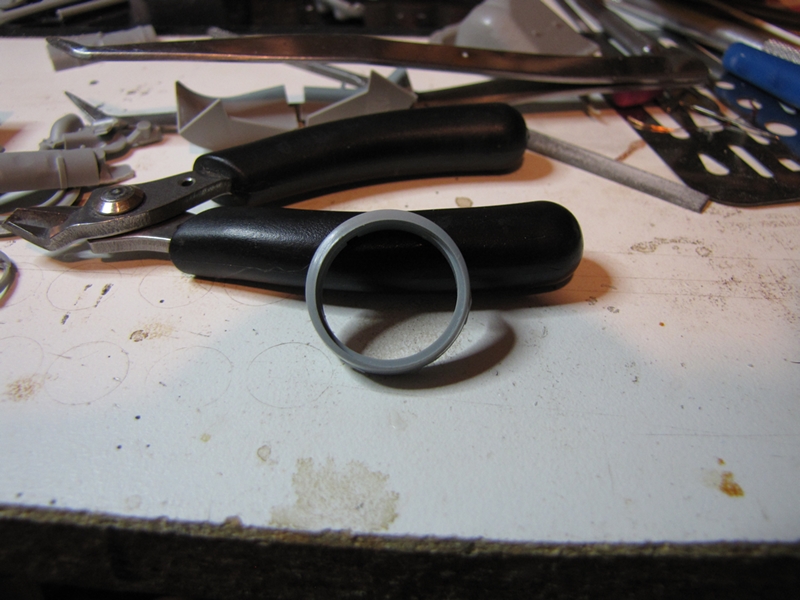
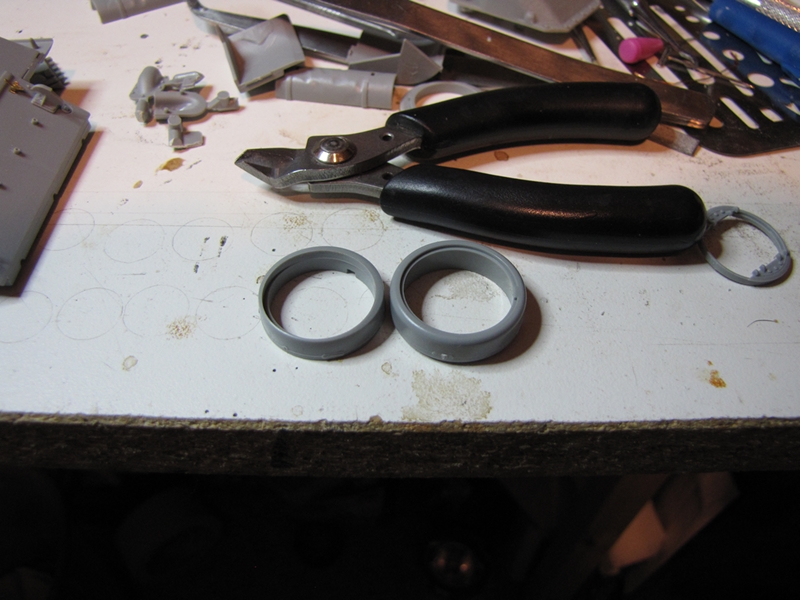
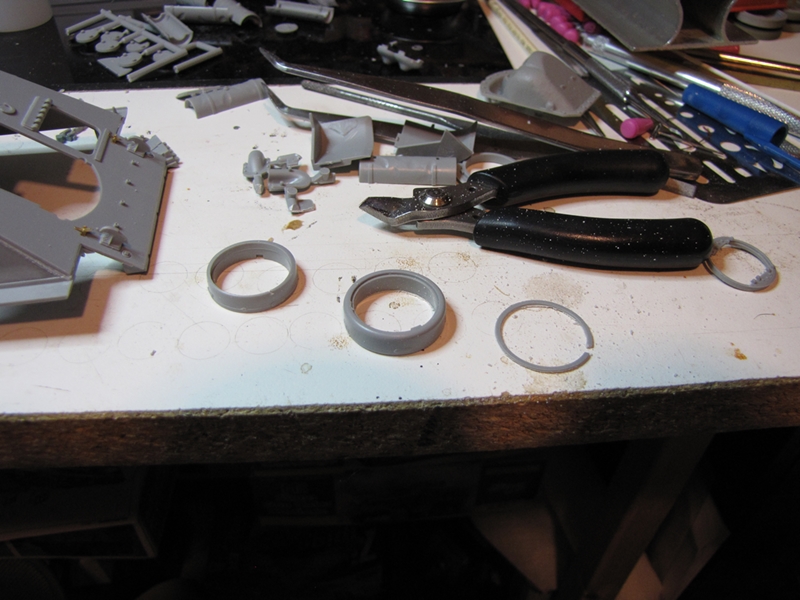
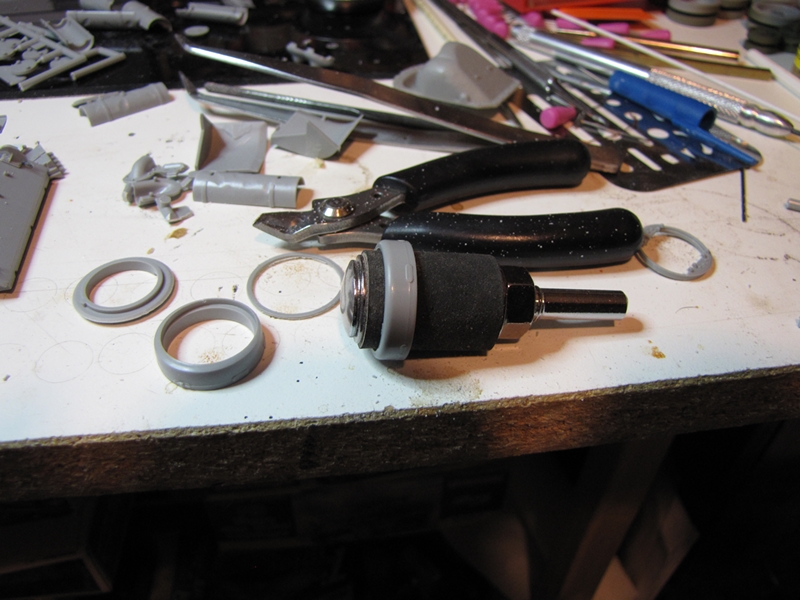
@PantherF – Jeff, you’re making good headway on the le.FH18/40/2(sf) auf G.W.Pz.Kpfw.III/IV (German for ‘our latest creation using existing Panzer IV leftover components’). John there’s no need to struggle with the sanding sticks or whatever on those tiny parts. I use a pair of stainless steel flush cutting tweezers for taking care of the excess sprue buggers. Just trim down as much of the excess plastic sprue attachment as you can with a larger set of nippers to make it easy for the cutting tweezers to finish off the job. Leaves the part ready for assembly and paint.

@BigSmitty – Matt, your making good progress on your StuG III. It’s going to look really interesting with the Verlinden figures. Thanks for the tip on using Future as an adhesive for those non-stressed items. I’m surely going to be giving this method a try on my build. BTW that an interesting helicopter you and your daughter put together, to bad for me they didn’t have those kind of toys when I was growing up and I don’t have any kids where I can use them for an excuse for getting me one of those either!

@Dragon164 – Rob, you’ve got so many kits on the workbench how do you manage to keep up with all of them and not lose any parts? Good progress on both the SU – 100 and SU – 85. Hope you are going to be able to resolve your situation with the commander’s cupola on the SU – 85. Getting paint on the builds already too!

@Hangelafette – Nathan, I saw a some progress that you had made earlier so where’s your Hetzer build at right now?

@shorty53 – John, that’s an eye-catching interior you’ve got there! Nicely weathered too. Looking forward to seeing more as you progress along.

@Cam – Cam, that is one heck of an ugly looking wheeled vehicle you have going there but I’m liking those big O’ tires.

@streetgang6 – Ian, good progress on your M1134 and on all of the photo-etch items.

@sgtsauer – Brent, good progress on the M966 TMSC. That chassis looks terrific!

@corsair924 – J, what the heck are you kitbashing, it looks menacing. Great concept vehicle.

@erhntly – Erhan, I have this little beast in the stash, so I’ll be paying close attention to your build. Nice job on the photo-etch and good progress on the build already.

@iakarch – Irvin, how you doing on the Tamiya Marder III?

@Canadiandiesel – Spencer, I remember seeing this kit in the display window of a shop when I was growing up. I remember wanting to build it but just did not have the funds for the kit. I’m happy to see it again and to see it get built up. Stick with it, I’m enjoying it and can’t wait to see it finished in all its painted glory! It’s looking good so far.

@PvtMutt – Tony, good to see one of your builds. Nice progress so far. Indecently this is the first time seeing this vehicle, looks like a cross between a British Valentine and German StuG. and that's not good, this vehicle is really ugly to the bone. But it does have a certain appeal to it, I do like all of the rivets – warts – popping out all over it. At least Bronco has provided the driver’s station in this kit!

@Plasticbattle – Frank, thanks for leaving a comment, its much appreciated and its always good to hear from you. What build(s) are you working on? Still putting in lots of time at work? I know how that can be.


Quoted Text

I feel ashamed of my build and with all of the other spectacular ones, so far.


@retiredyank – Matt, now seriously that is a very well done conceptual camouflage paint scheme. And how about that textured folded down roof you did? And the great mud effects on the inside fenders, good job on the running gear too. You have yet to add weathering to the overall vehicle and gun! Now go grab a cold one and sit down and watch a movie and come back to the build when your motivated and you’ll see things in a different light.

~ Eddy
Nito74
Visit this Community
Lisboa, Portugal
Joined: March 04, 2008
KitMaker: 5,386 posts
Armorama: 4,727 posts
Posted: Wednesday, October 24, 2012 - 01:51 PM UTC
Thanks Eddy ! Glad it helped too.
It was a very cool and fun build. I recommend the Emil w/ a metal gun.

I wish I had more time and less Campaigns, I would like to add another build to this one.