I was able to get some work done today. Not all of this was done today. I figured this would be a good time to post some progress pictures.
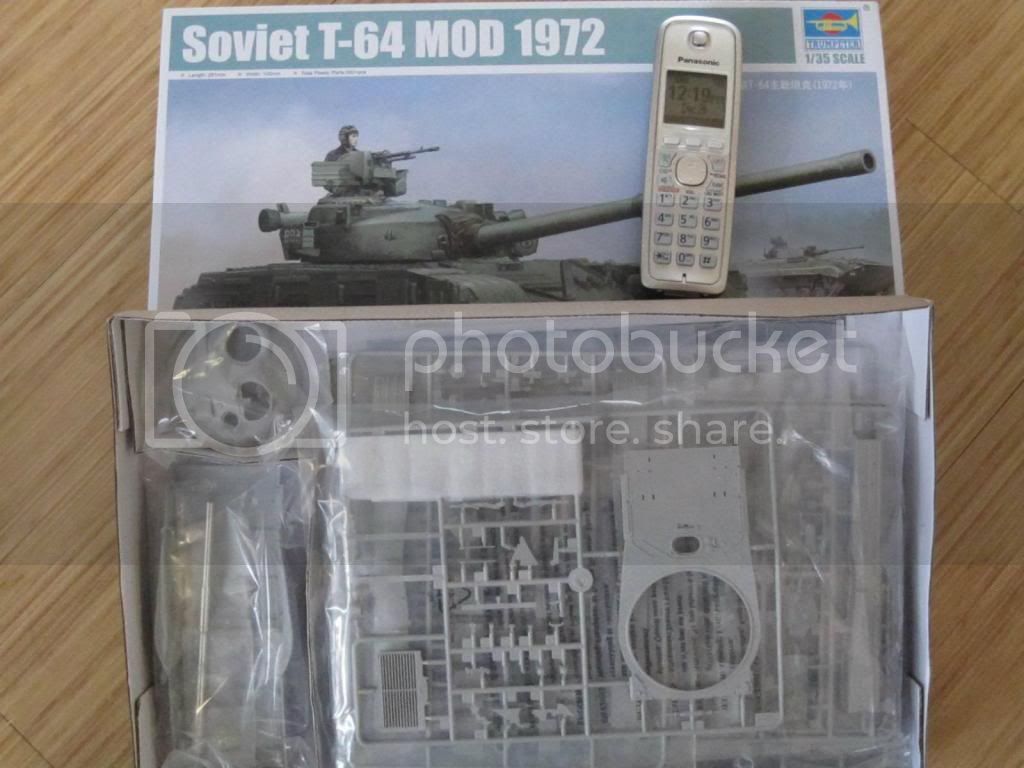
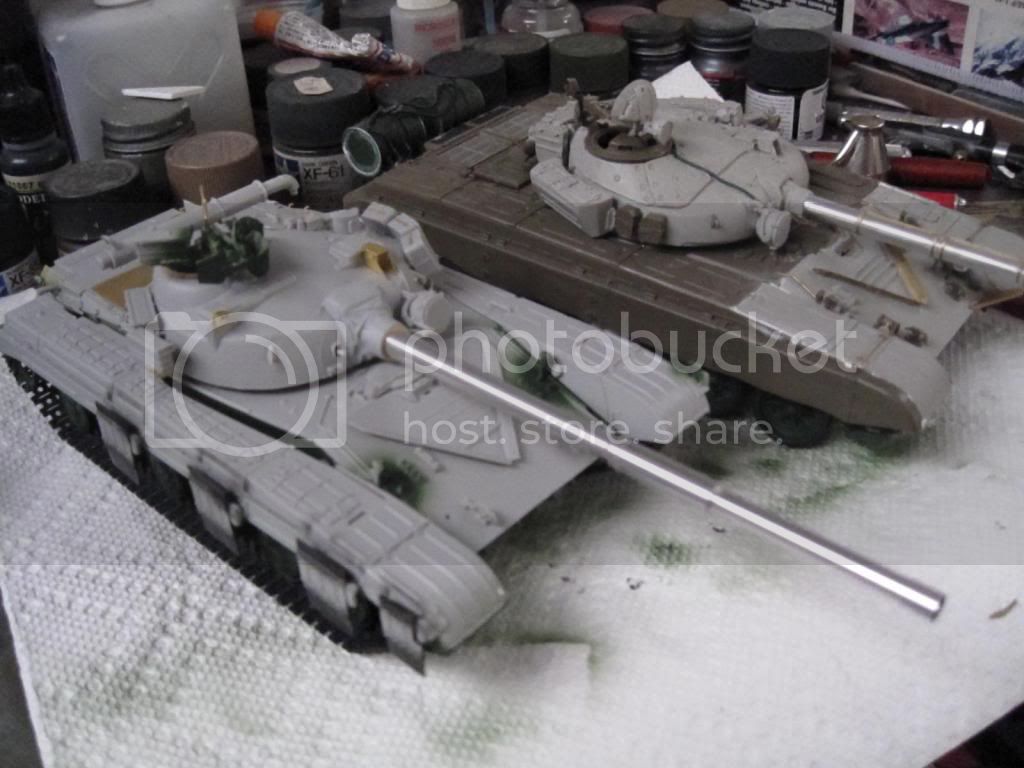
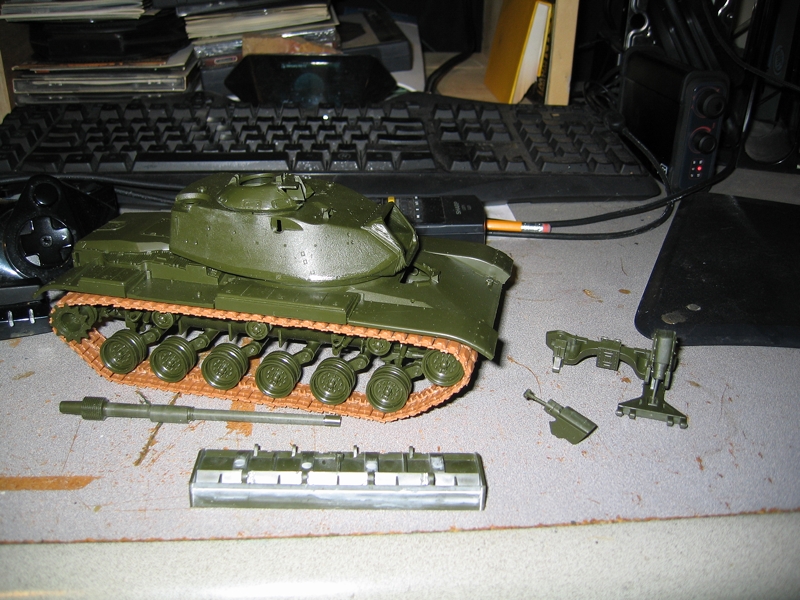
First up is the starter picture. I thought I had posted it already. So I'll take this moment to comment on it. It's an older Trumpeter kit and the molds are showing some age. Details vary from okay to soft. It appears to be a pretty straightforward build. It may just be me, but I find some of these older Trumpy kits' plastic to be weird. They take liquid cement funny.
1/35 Trumpeter Sweden Strv-103B MBT

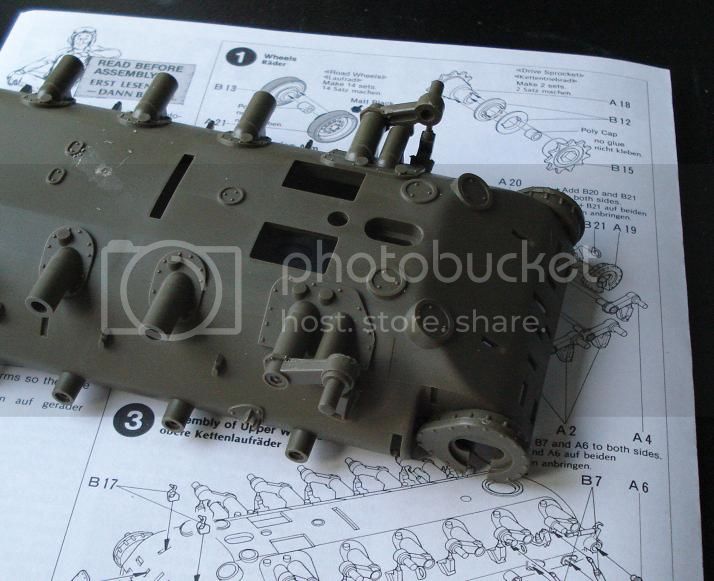
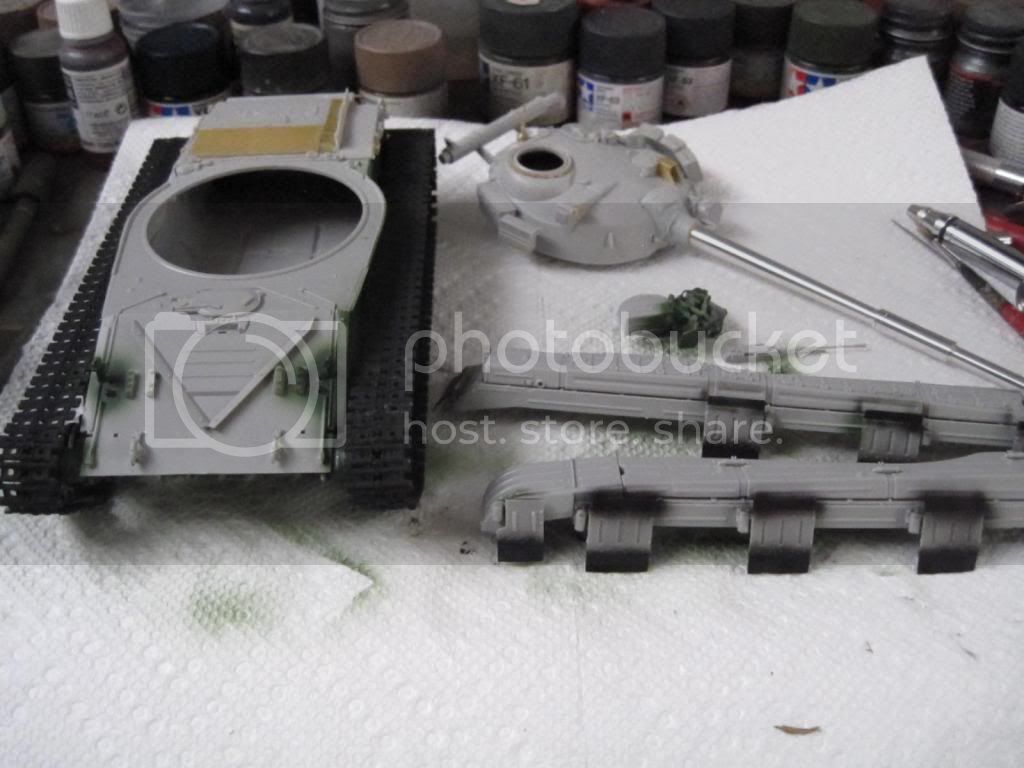
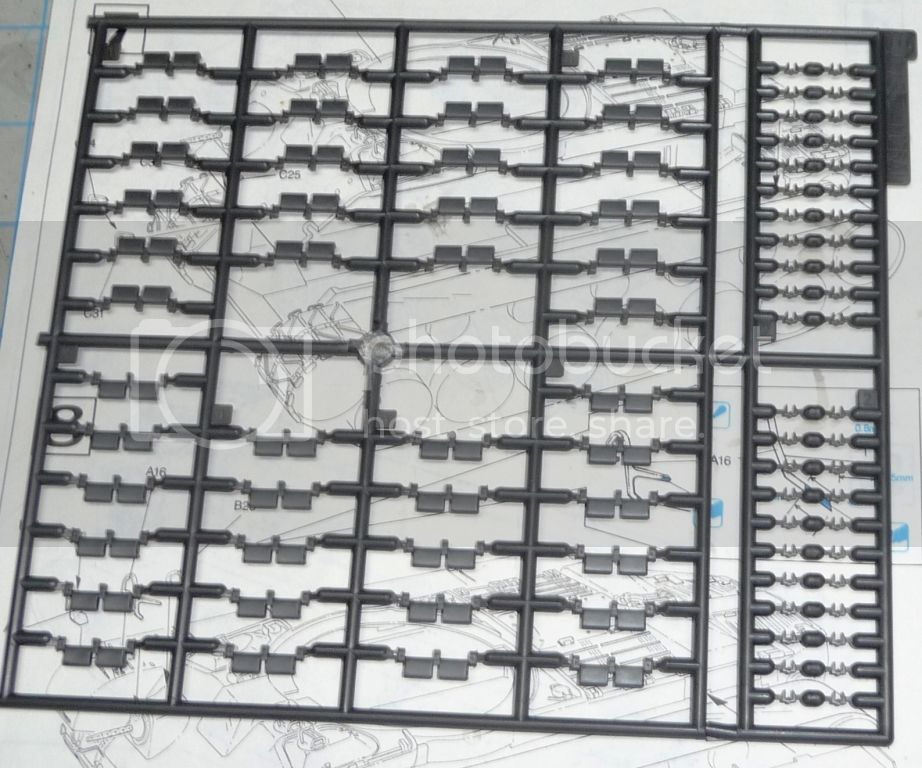
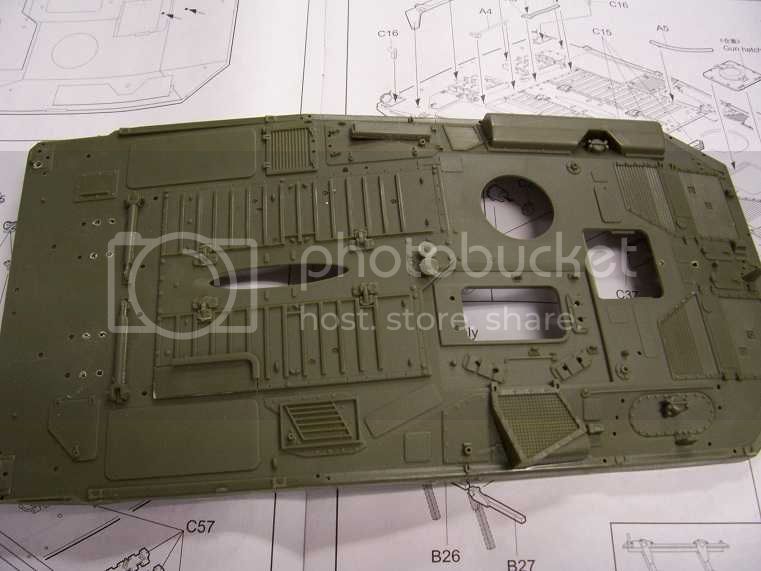
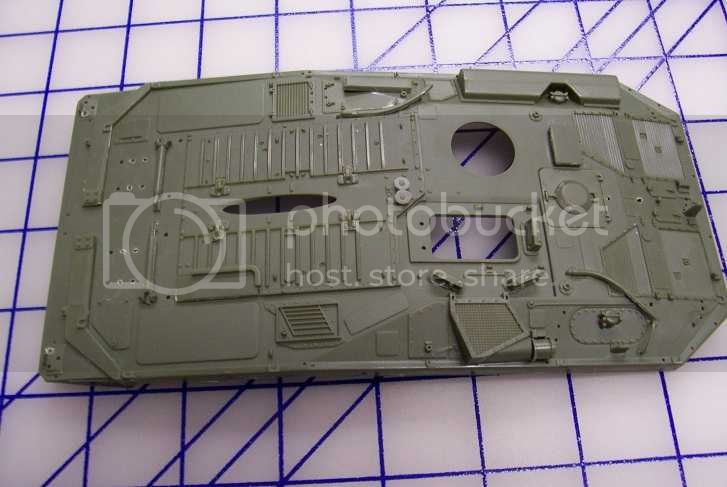
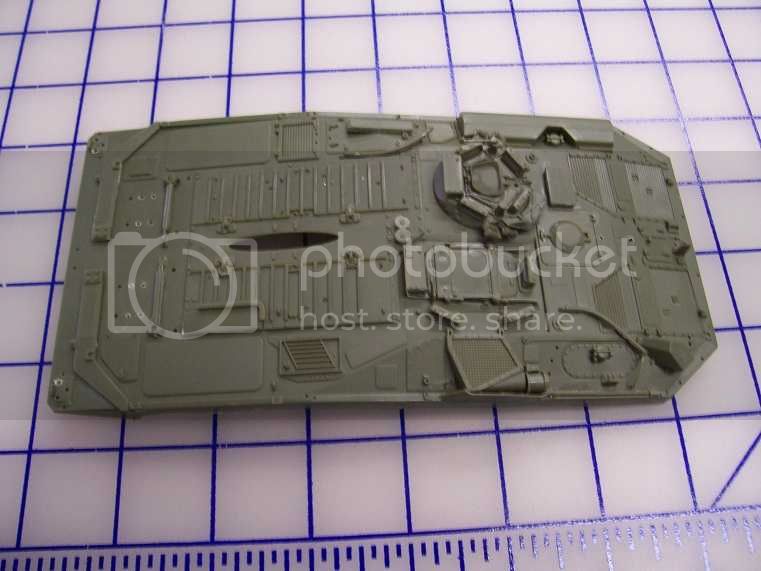
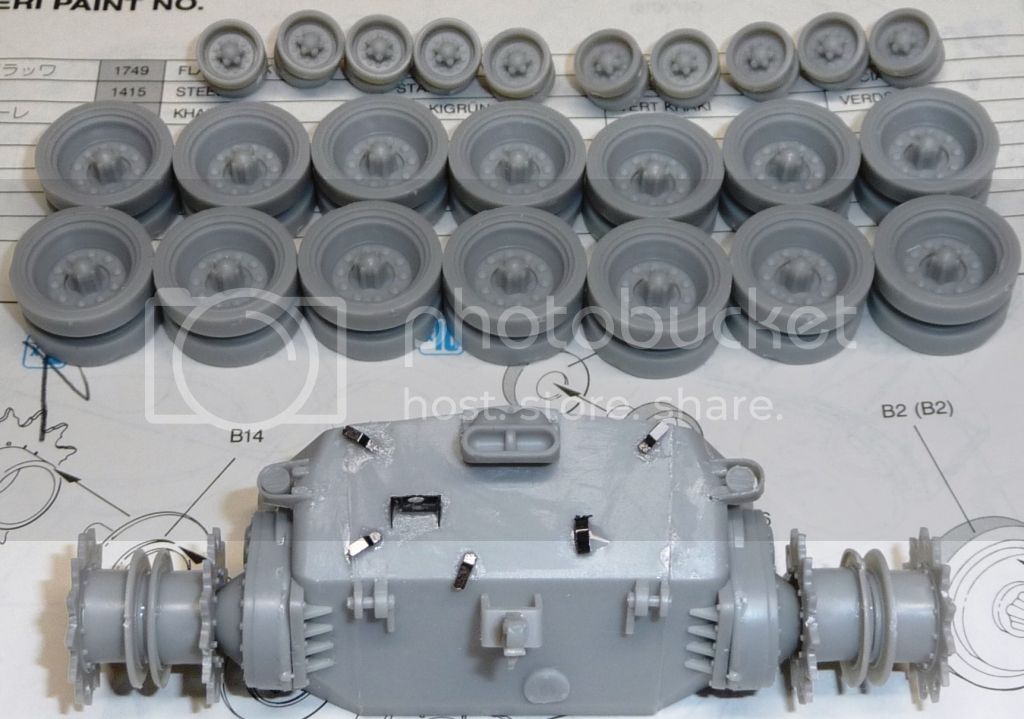
Lower hull and drive sprockets (steps 1-3). I put the roadwheels and idlers to the side for now.
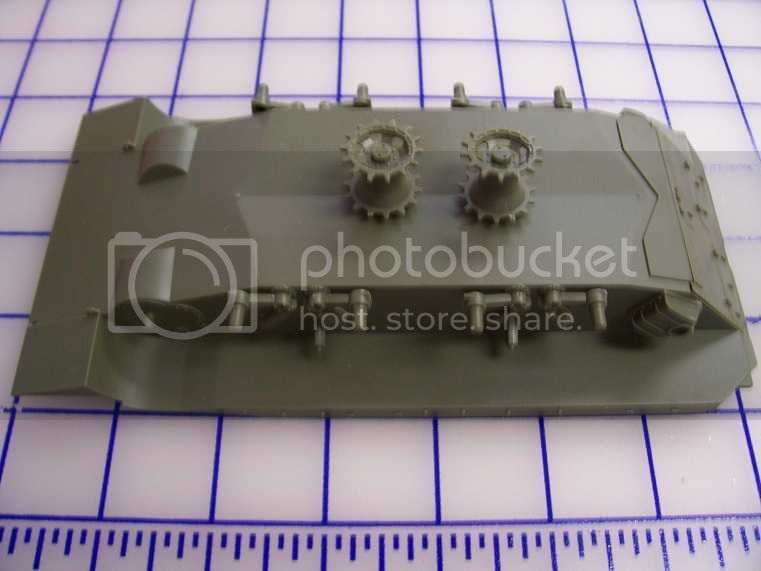
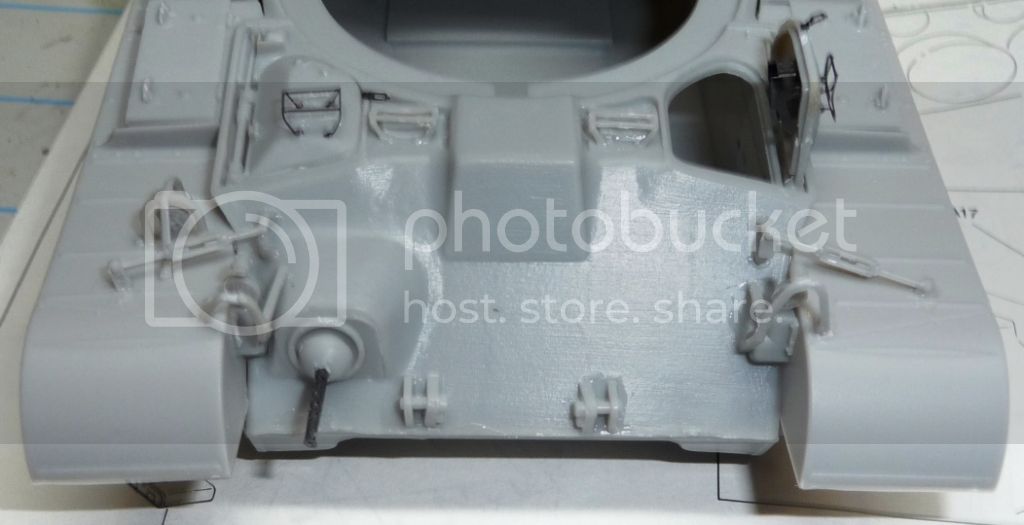
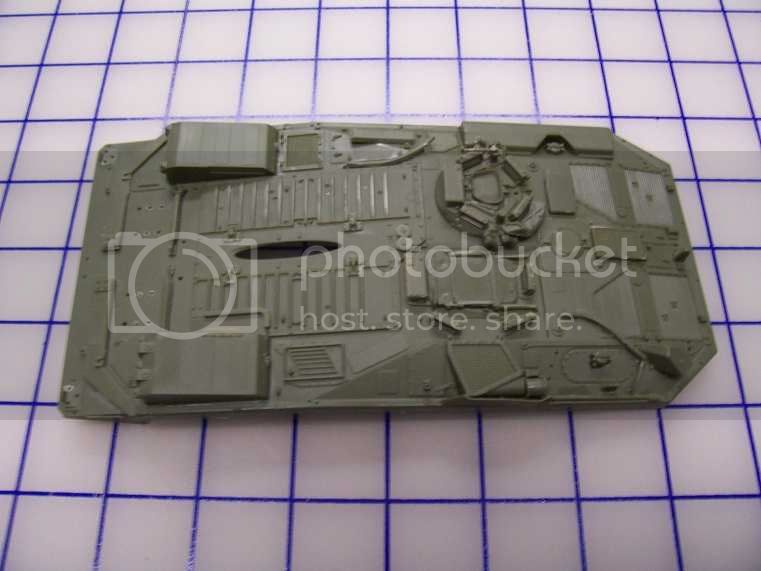
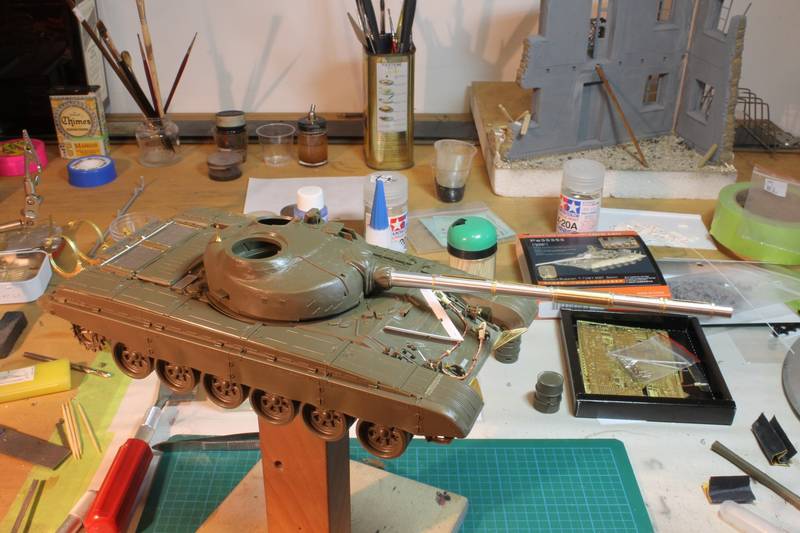
Upper Hull (steps 4-5). I opened the flashed over holes per instructions. Began assembly. I left off the headlamps for now. I'll add the spare track later as well.
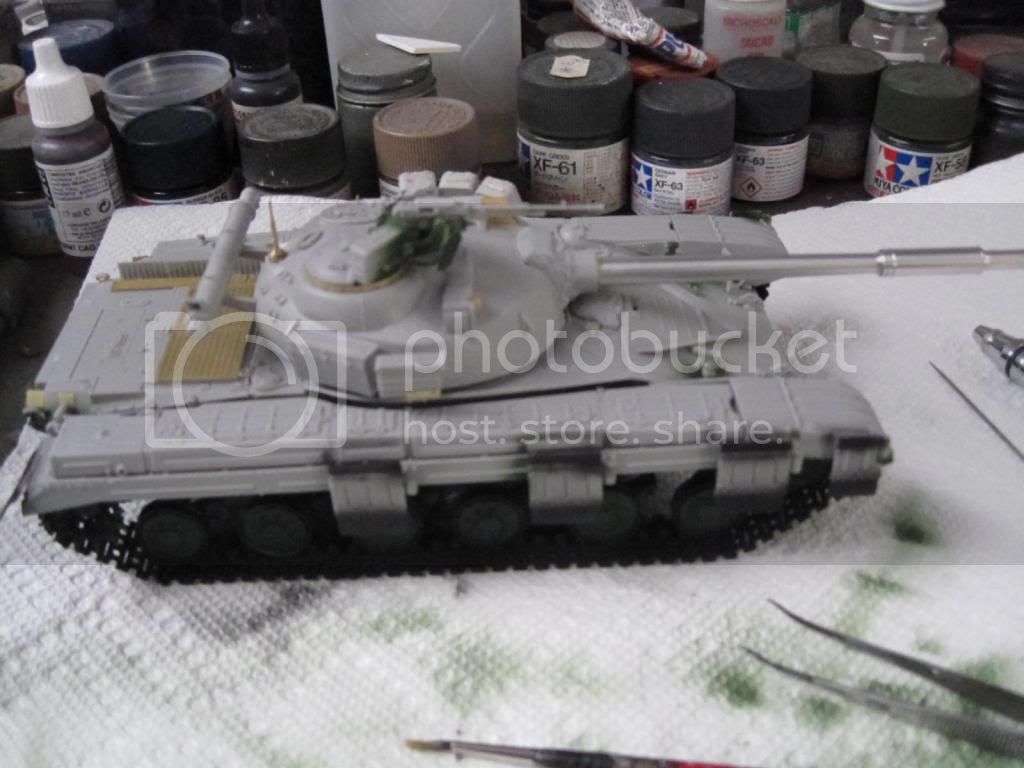
More Upper Hull (step 6)I left off the axes and sledgehammer for now, as well as additional lights.
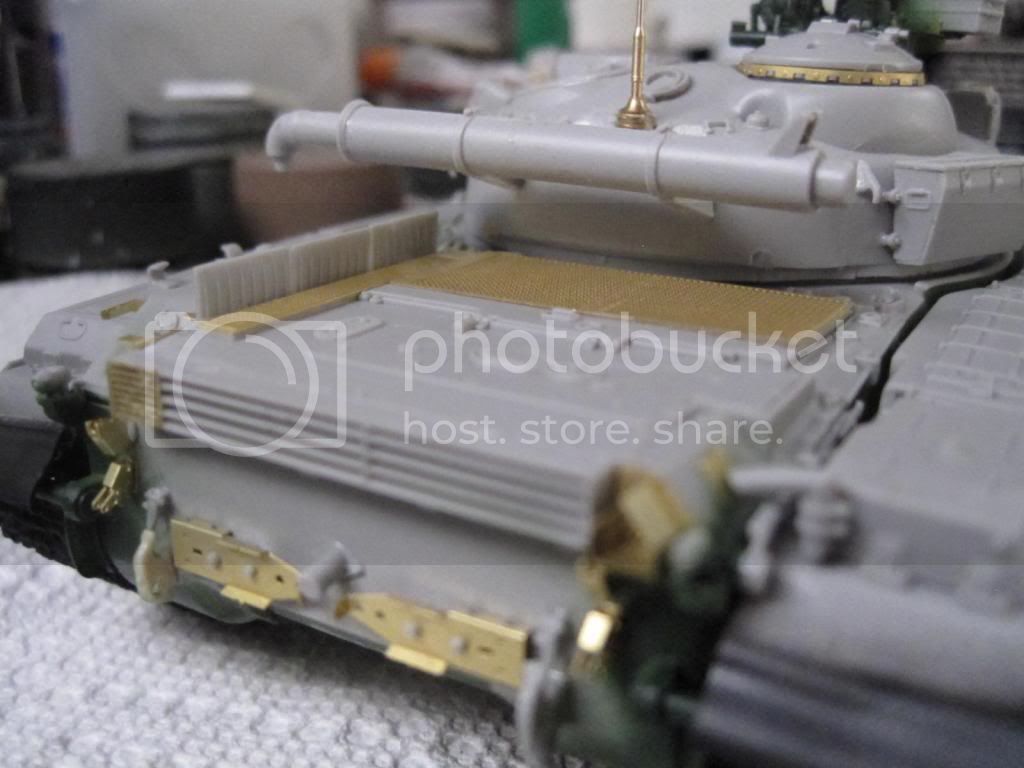
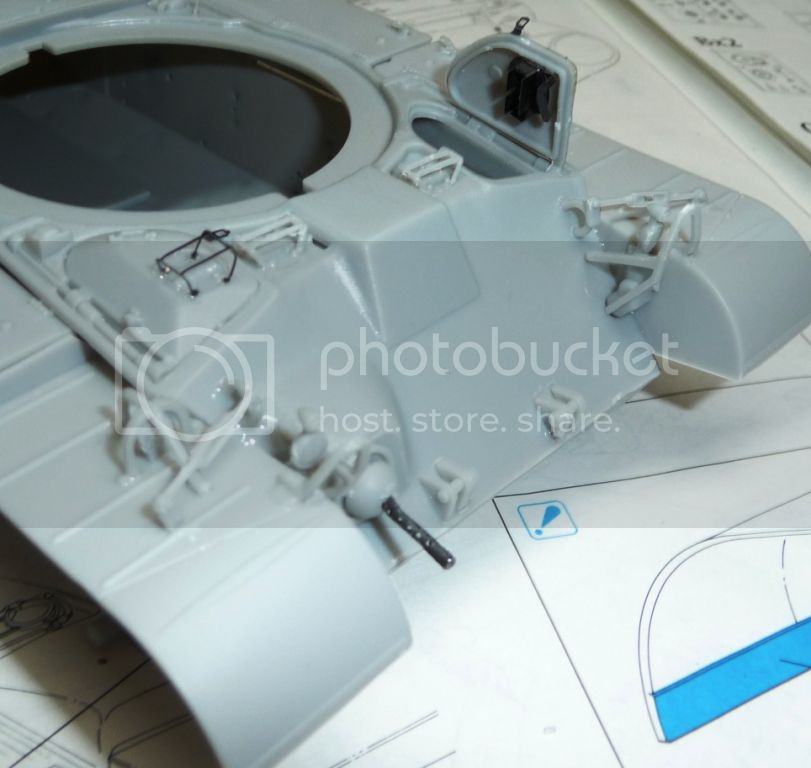
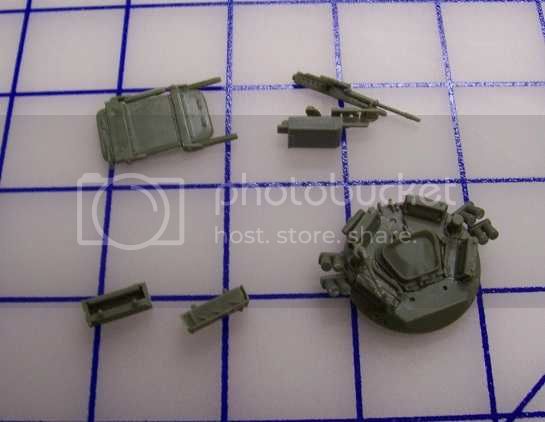
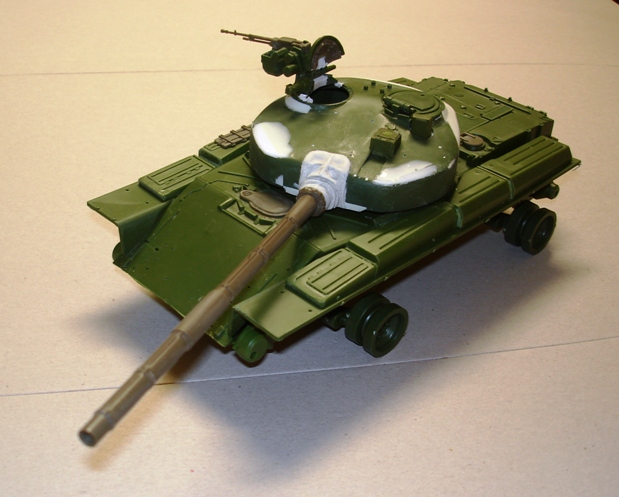
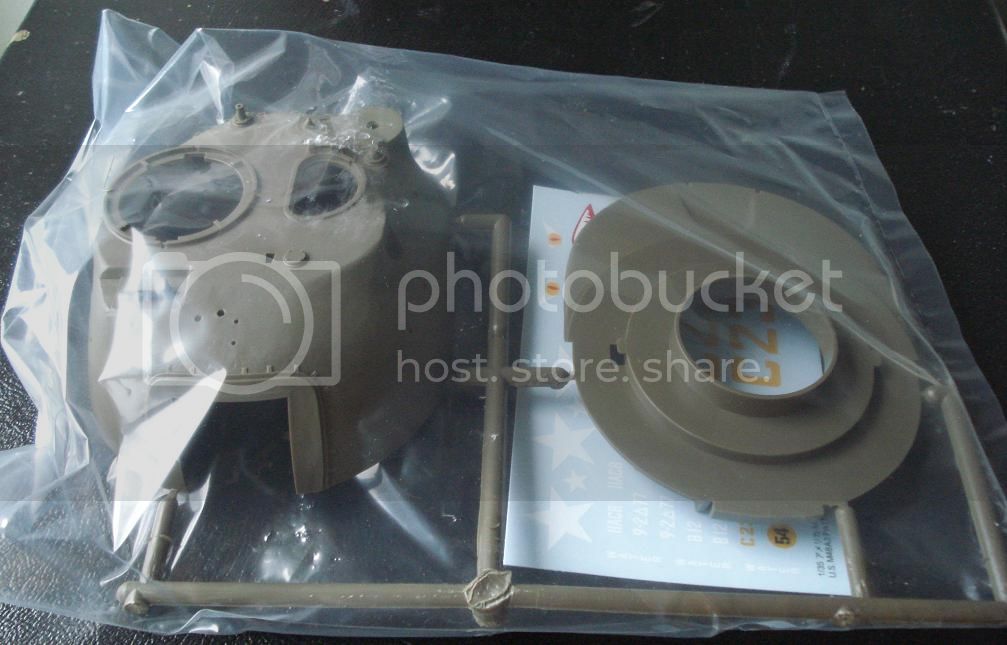
Mixed subassemblies and Upper Hull. (step 7-10). Crew hatch, a couple of sights, and the commander's MG. I kept the gun seperate from the mount and will put them aside for later. I can see me breaking the barrel off while workign on this one.
I left the light covers/guards off until I added the lights. I also left off grab handles and shovels.
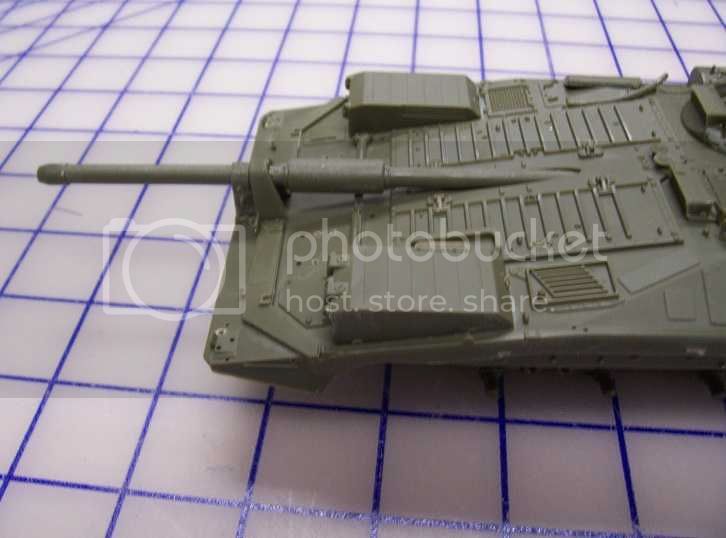
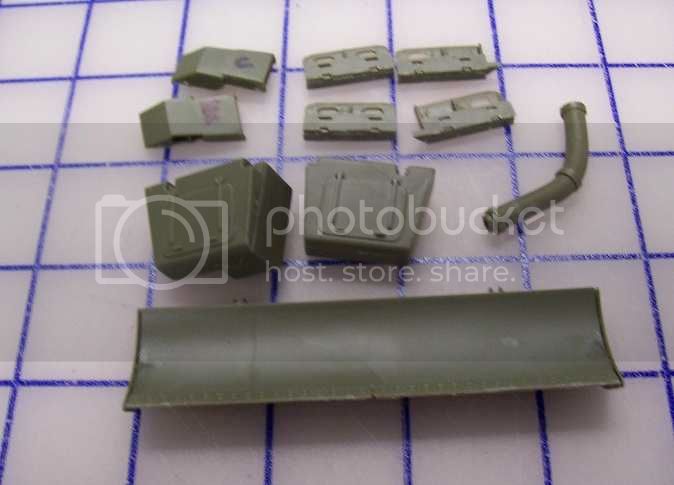
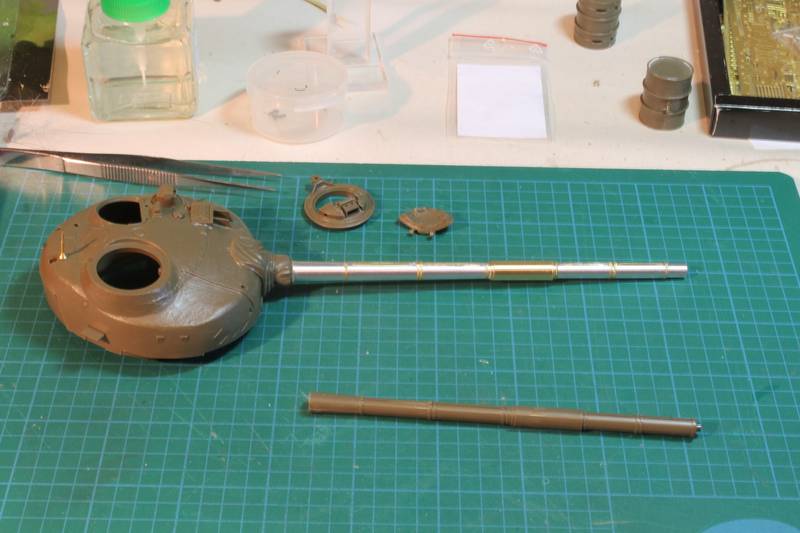
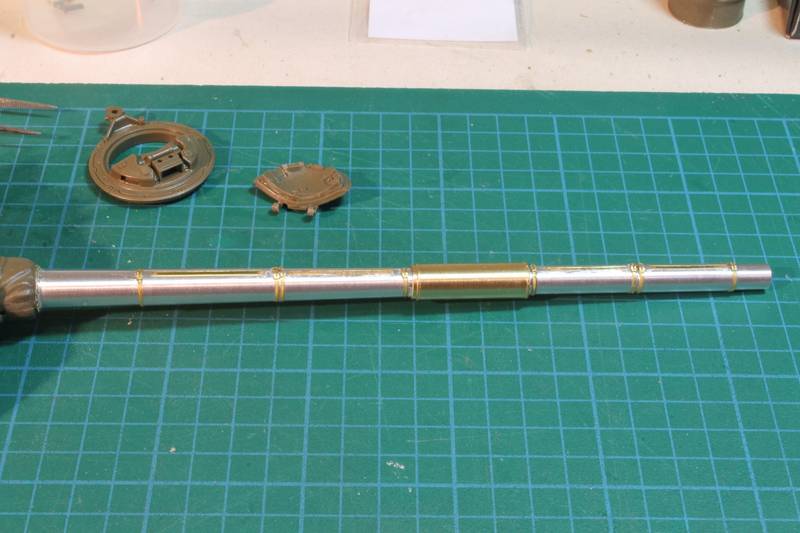
Next up is the main gun. I figured this is a good spot to take a break while the glue dries. It'll require some cleanup.
I'm probably going to go with a camo scheme, just to dodge the overall RLM 02 camo scheme.


 )
)