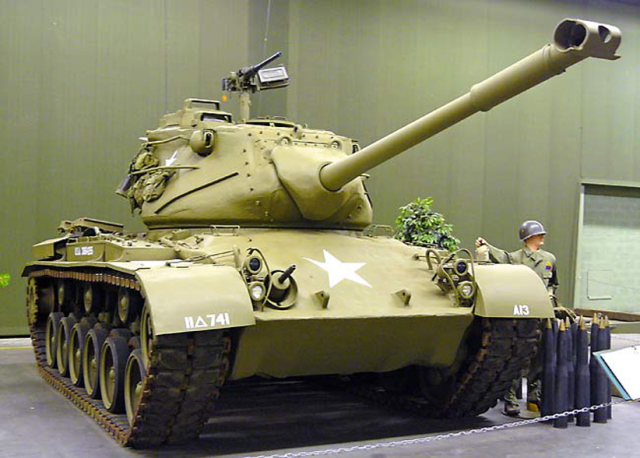
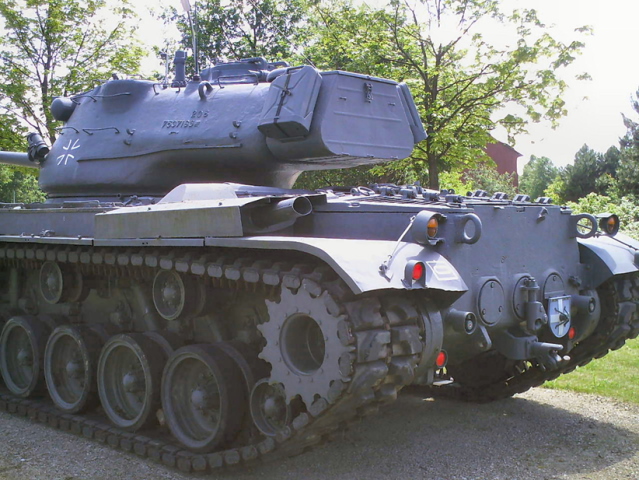
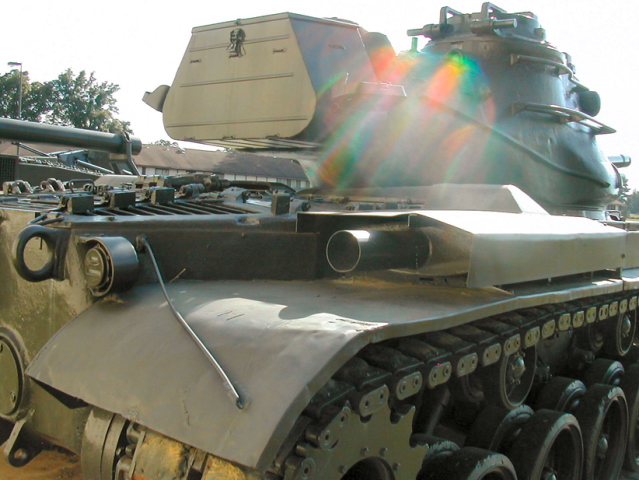
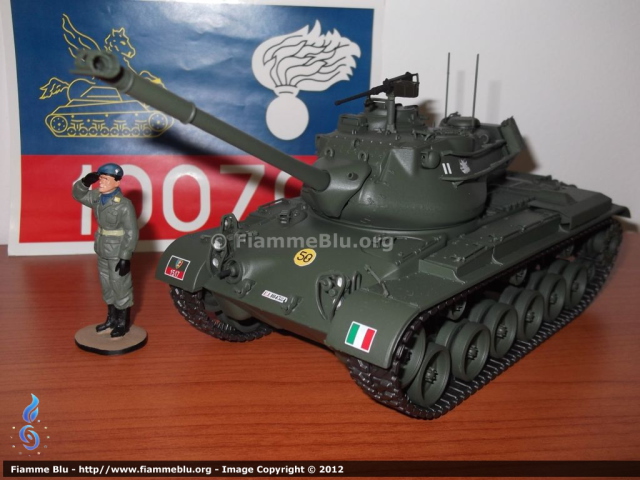
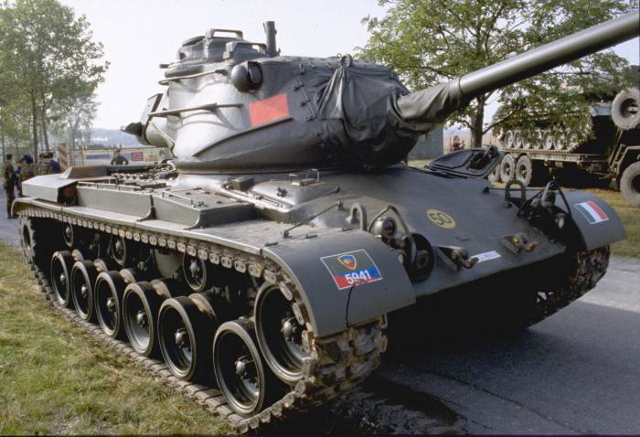
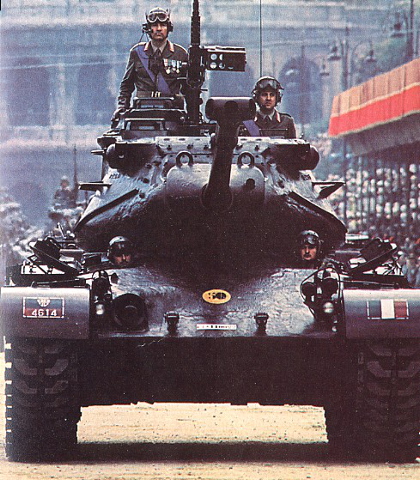
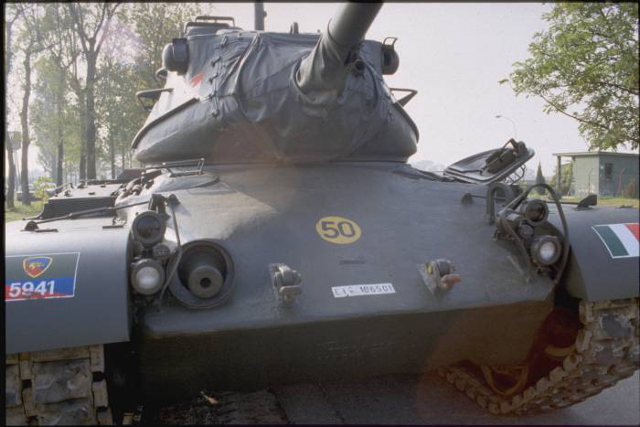
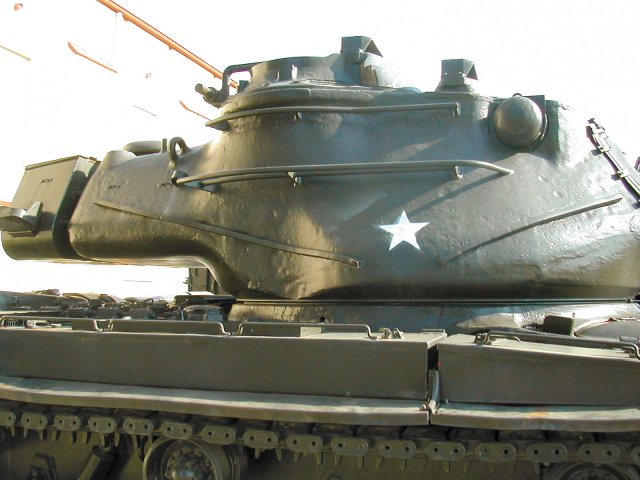
The new project that I put on my work table is the result of a promise I made to a dear girl-friend: a tank M 47 "Patton" of the 5th Tank Battalion "M.O. Chiamenti" at the barracks "Forgiarini" of Tauriano (PN) in the mid-70s.
My first idea was to present the Commander of Tank Battalion ready to march in the parade and carrying both the Commander, both the ensign-bearer with the War Flag.
But, for reasons of lack of time, I will'll be obliged to present the model on a simple base with varied terrain, but much more operative.

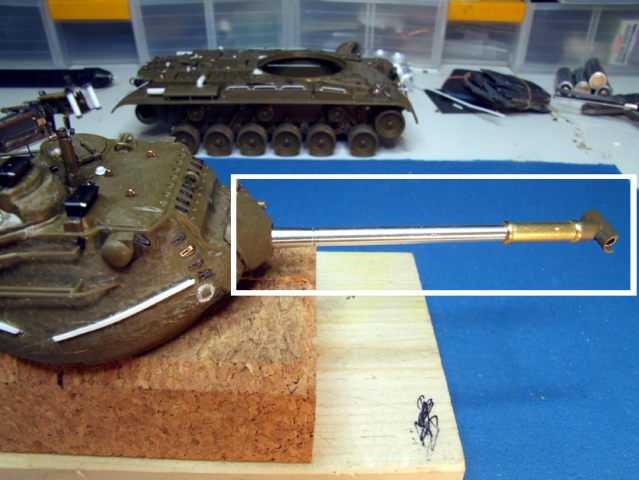
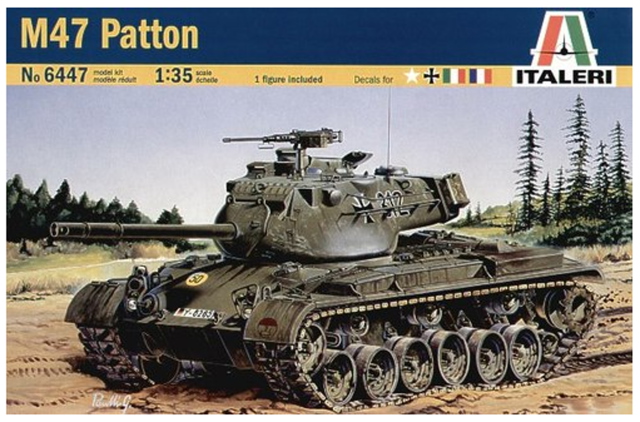
For this project I used the model of M47, manufactured by ITALERI, catalog # 6447, kit that has been corrected and reprinted better than the first product, to which I added a set of photo-etchings of EDUARD, catalog # 35718, the set of single tracks "all rubber " of AFV CLUB, catalog # 35037 and the turned aluminum barrel caliber 90/50 (for the M26 "Pershing" and so to modify) of JORDI RUBIO, catalog # JDR TG-34.
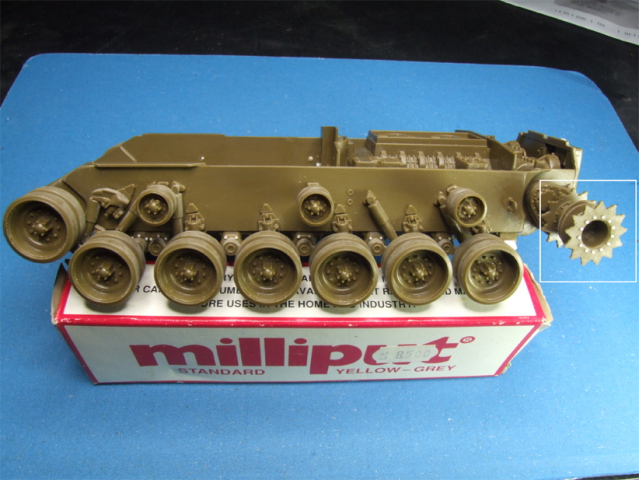
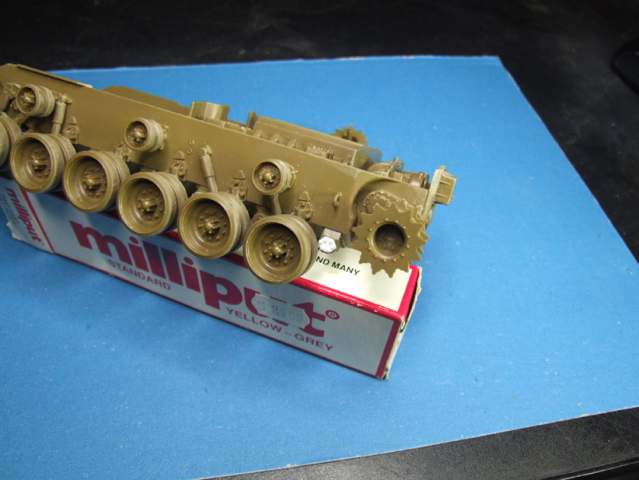
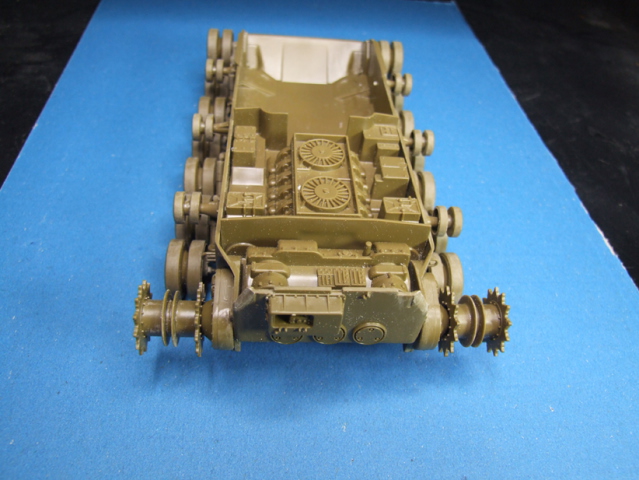
First, after eliminating both the few burrs of molding, both the very few signs of extractors, I assembled the bottom of the hull and the rolling train.
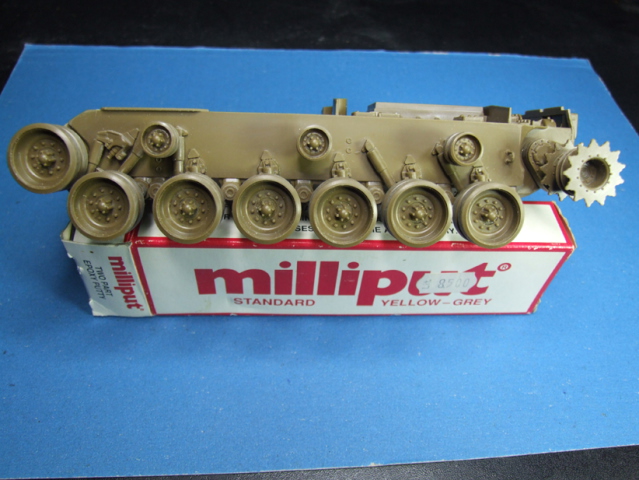
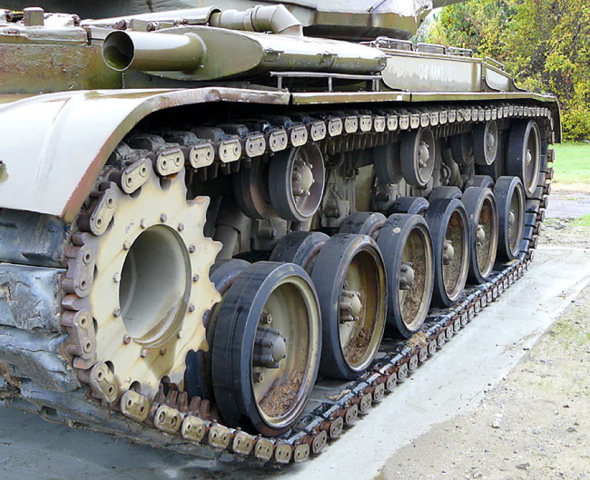
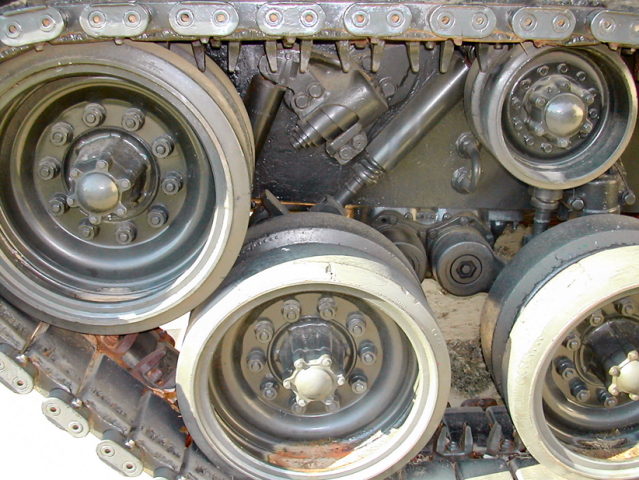
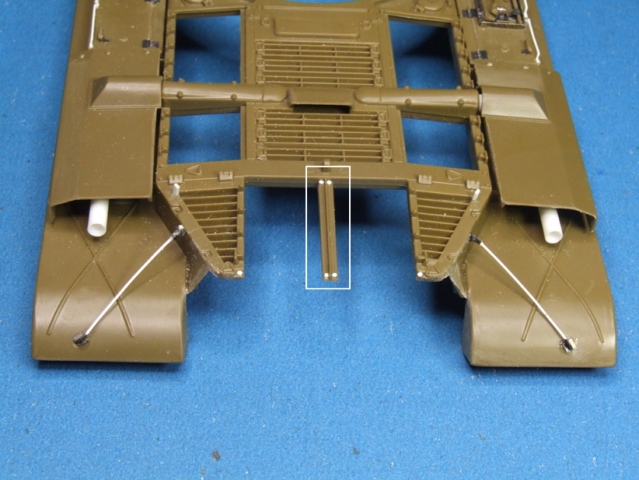
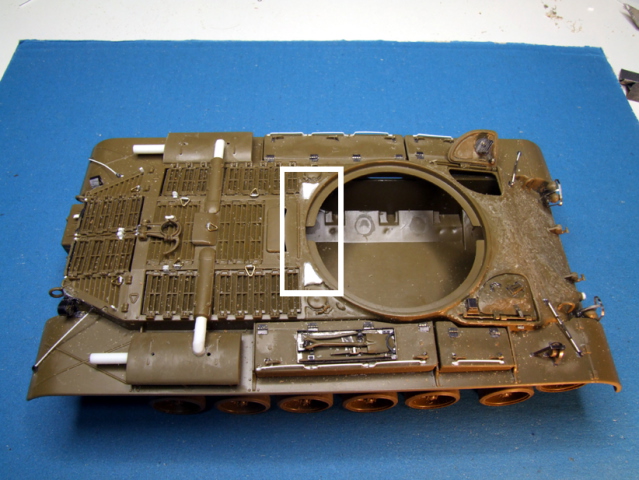
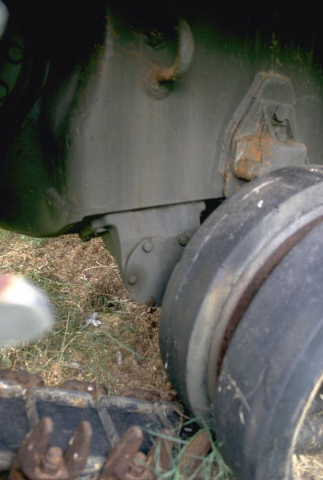
Particularly, I haven't mounted the track tensioner wheels because most of the Italian exemplaries don't had them.
I therefore closed the hole with a little slab made in Plasticard and fixed with bolts obtained with punch & die.
After, I fixed the reproduction of the engine, indeed a lot simplified (and that I will provide to improve as I always do, since it is the thing that I like to do more ;o))). These details, however, I will do it later, before assembling the two parts of the hull.
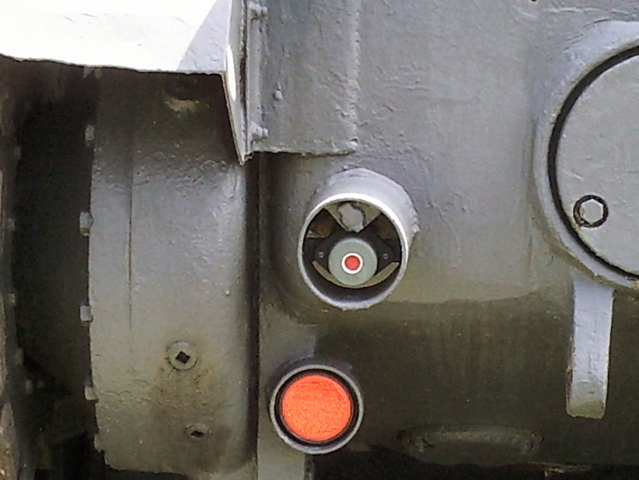
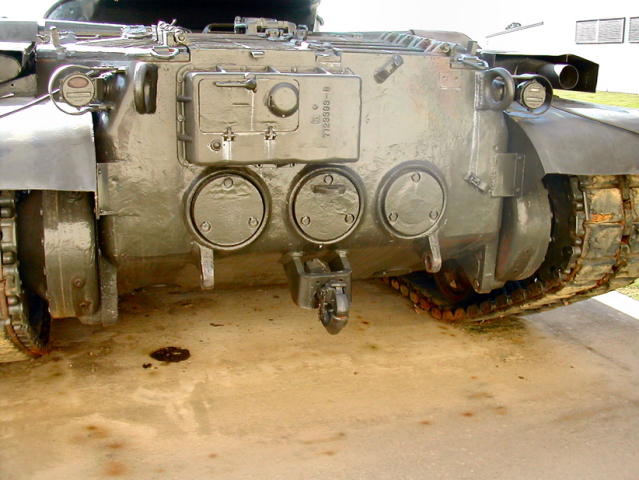
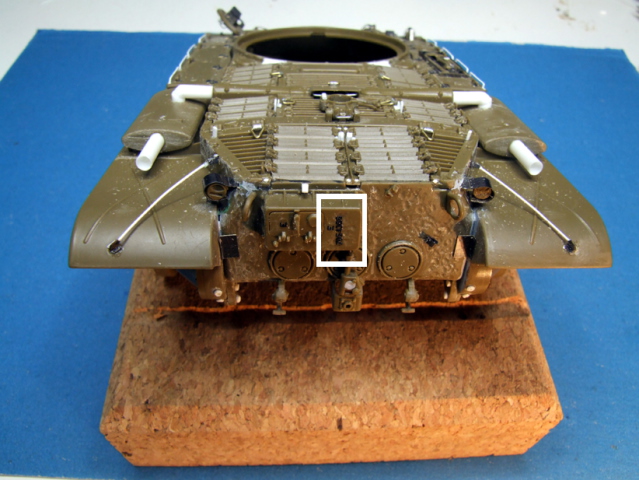
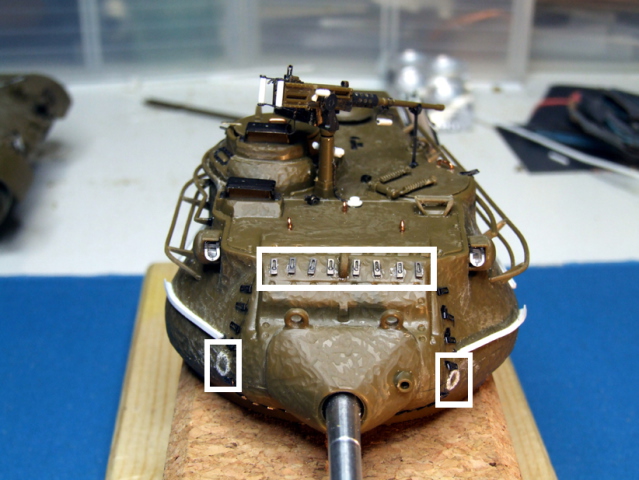
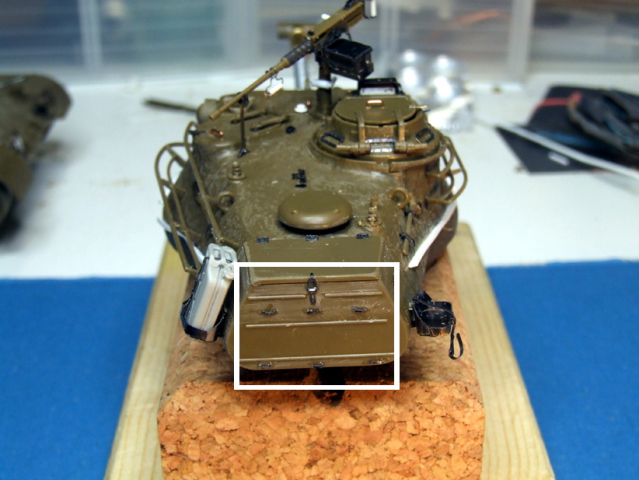
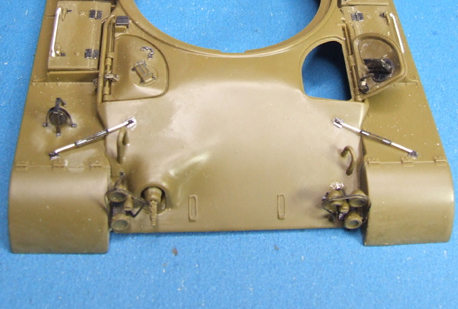
To conclude the work on the hull, I fixed the rear plate, removing from it the lights and their protections. These plastic details will be replaced later with ones in photoetching.
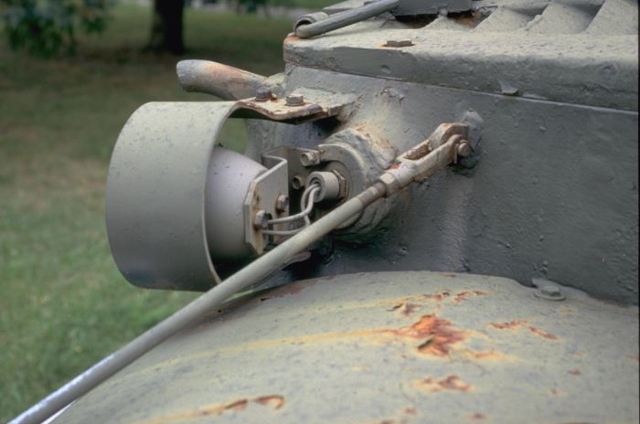
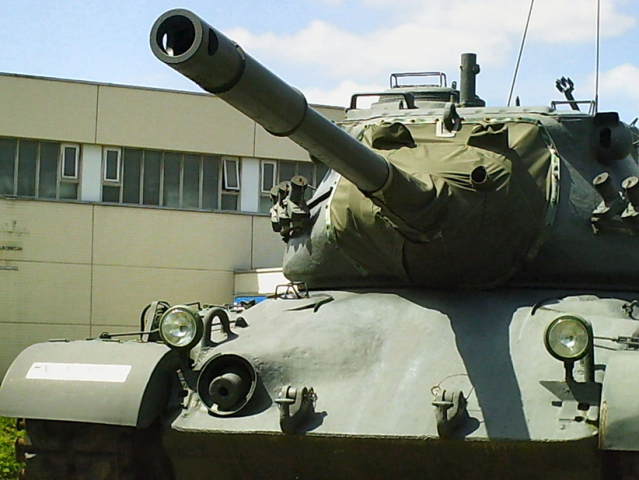
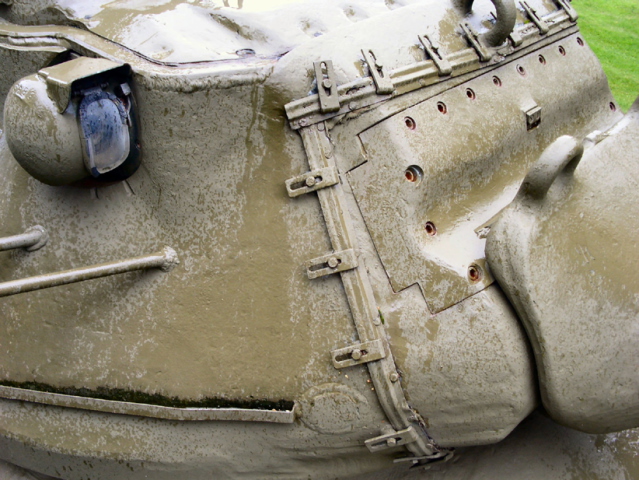
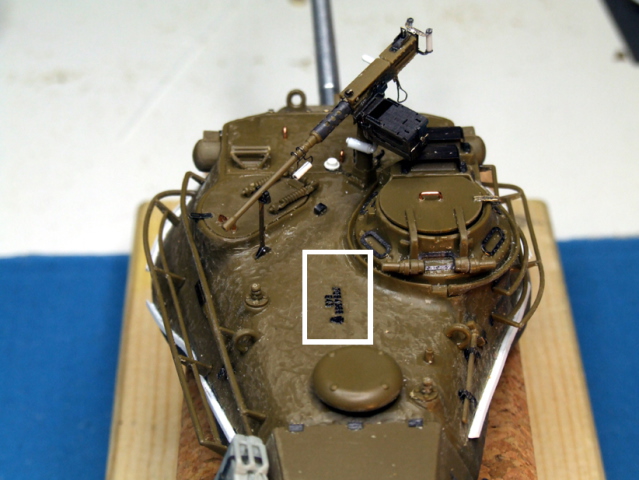
Then I started working on the top of the hull with the first installation of the machine gun into casemate and the two sets of headlights, replacing the supports with those in photo-etching (their correct folding was revealed to be an half drama ...).
Fortunately, in reality these metallic profiles were very prone to warping from the blows that they took when the tanks were moving on varied terrain and they jostled obstacles
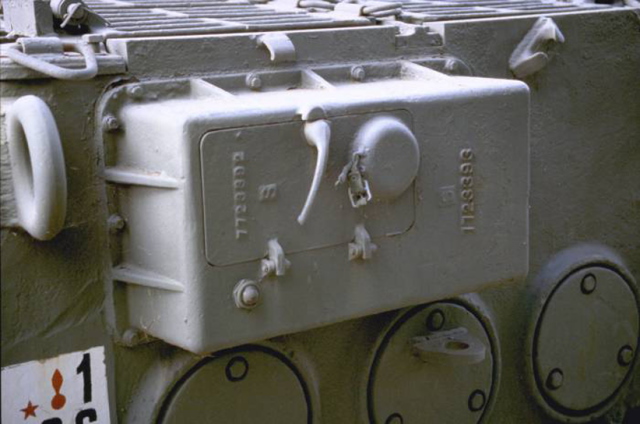
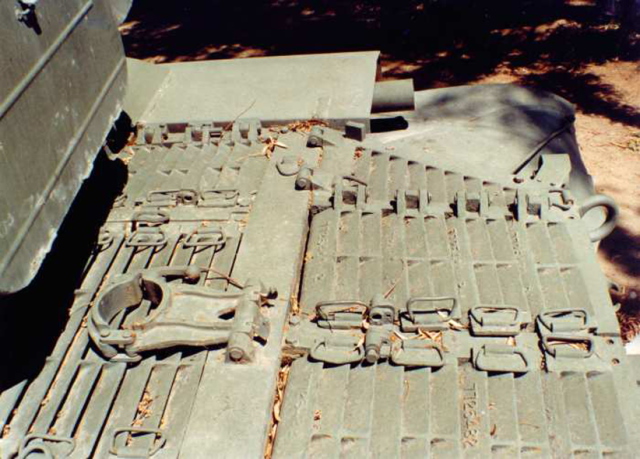
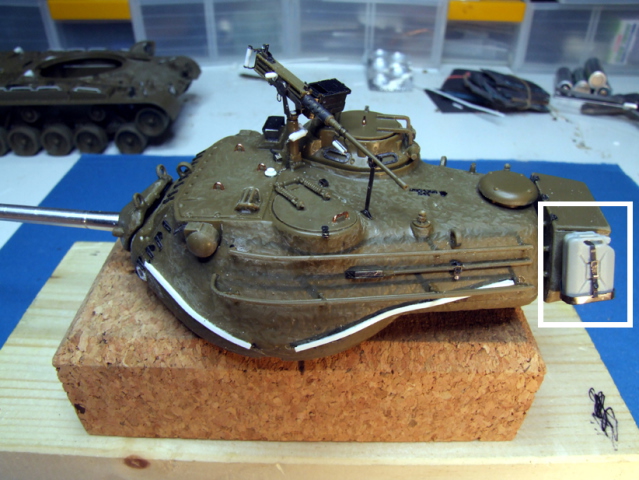
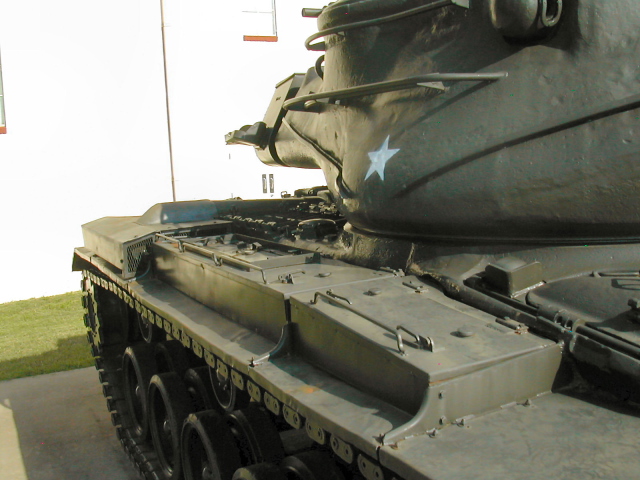
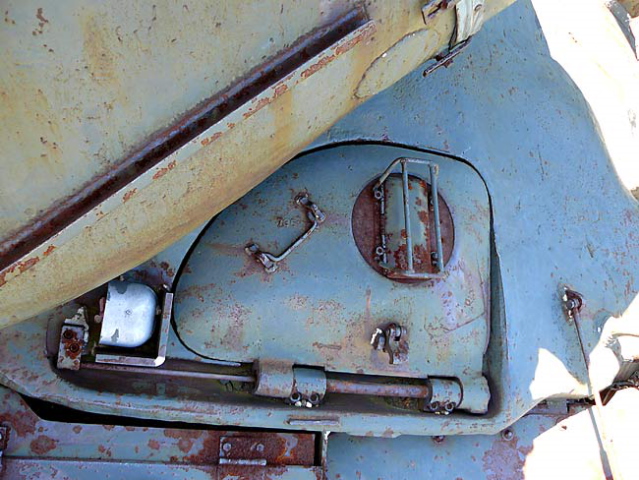
After that, I clean the molding residue in plastic material from the cassettes for equipments positioned on the fenders, in which I have replaced the handrails provided by the company - which I consider to be too thick - with some plasticard rods of 0.3 mm diameter bent suitably at cold around the tips of a little forceps, it used also as a reference template.
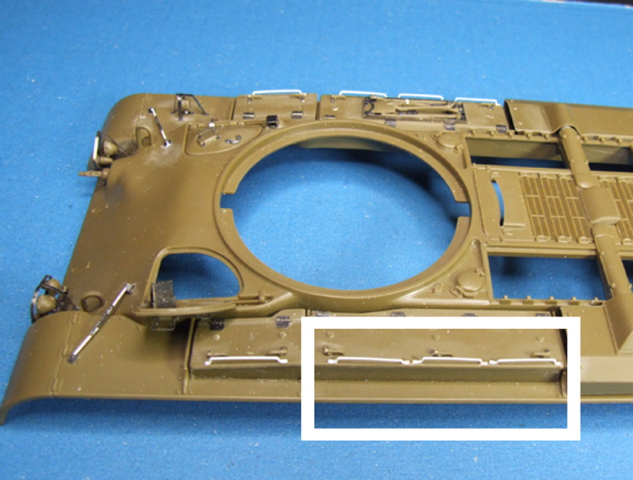
I went on replacing also their plastic hinges printed on its with the correct ones and very realistic in photogravure, while I have not replaced the plastic handles of the locks provided by the company, because those in photoengraving are too "flat" and unrealistic.
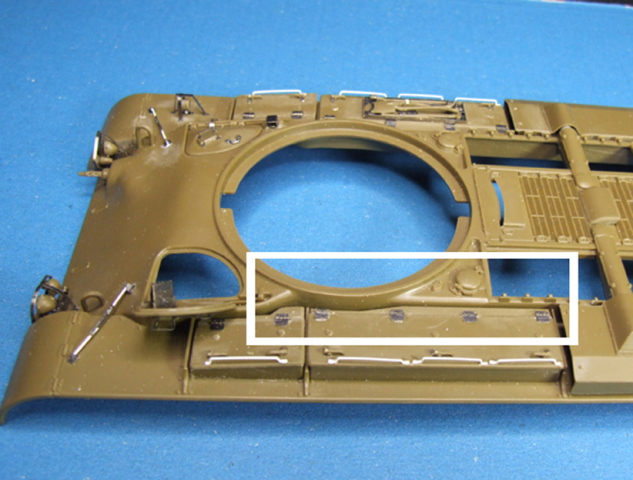
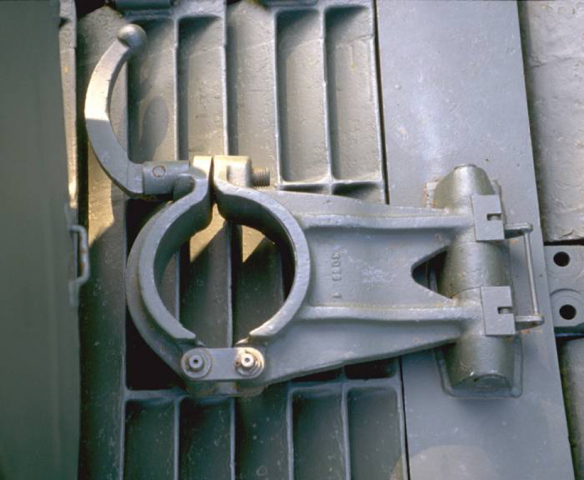
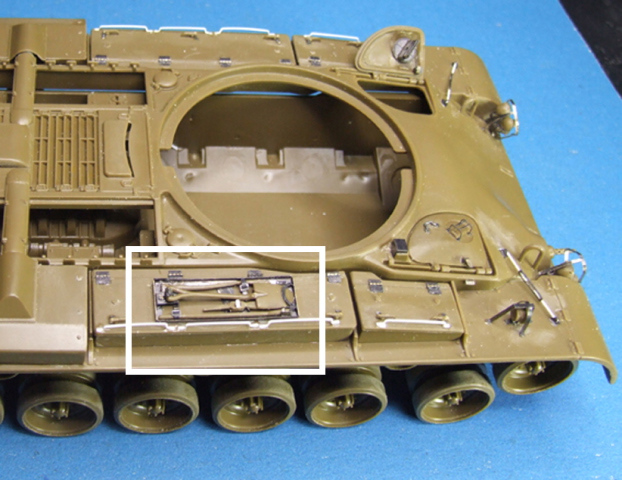
Finally, I replaced the support for the external tools, placed on the the cassettes for equipments, with those in photogravure and I equipped it with all the tools they removing the plastic straps and the mounting brackets pre-printed on them and replacing them with ones very nice by set of EDUARD.
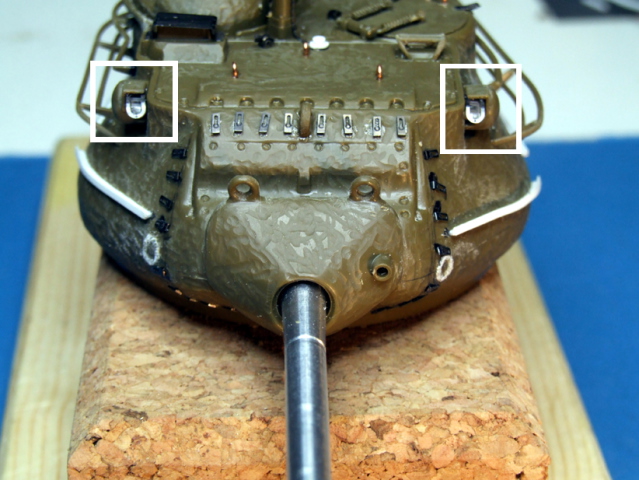
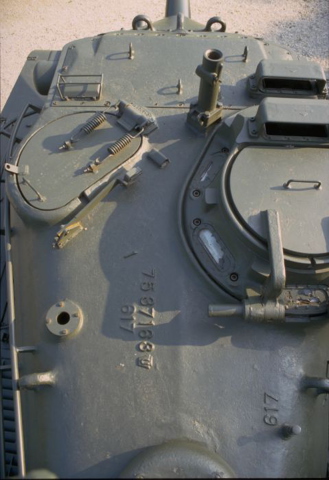
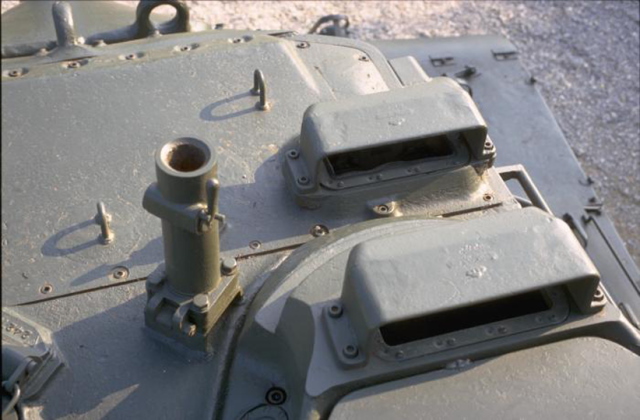
I have detailed both the driver's hatch, both that of the radio operator-gunner, replacing the plastic parts of the episcopes, the door handles and the locking levers with those in photoetched.
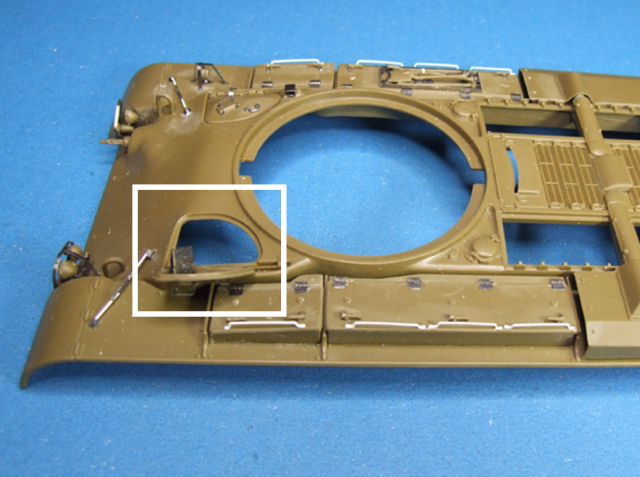
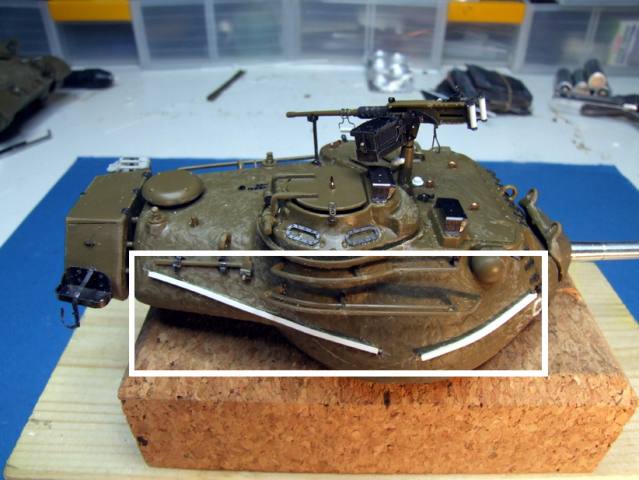
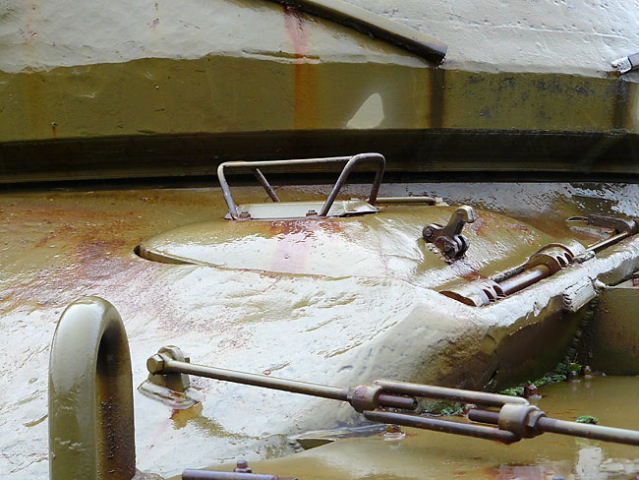
I replaced the tie rods of supports of the front fenders with plasticard rods of 0.3 mm - thinner than those provided by the company - and its blocks and turnbuckles tensioning with photoetched ones, much more realistic.
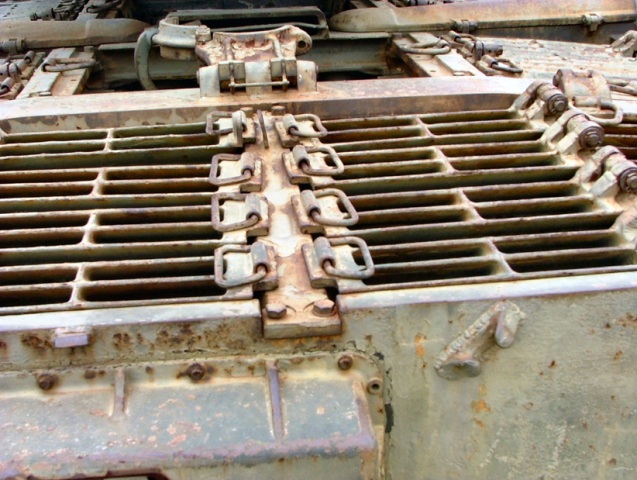
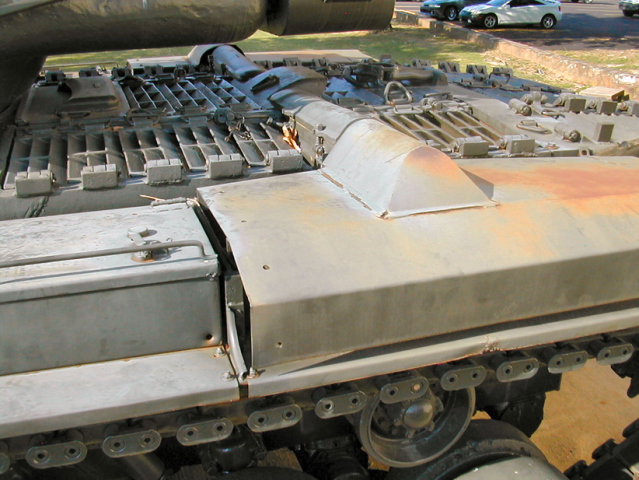
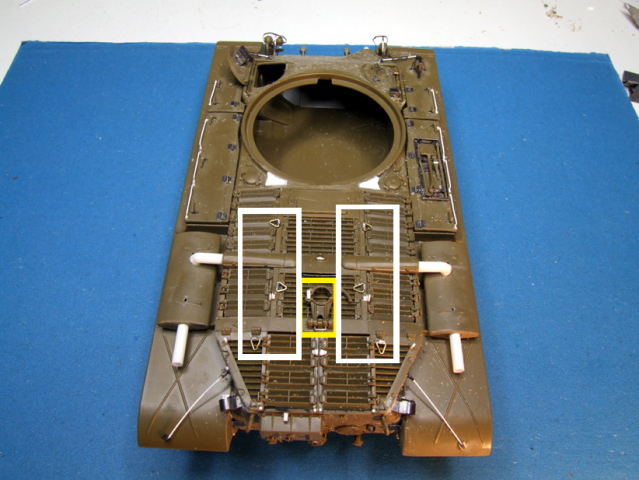
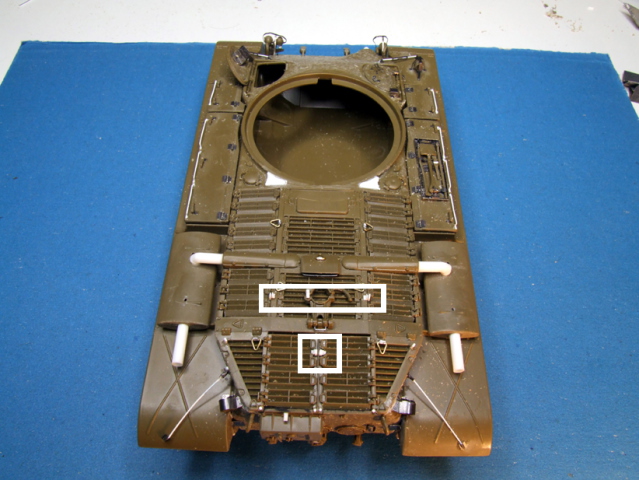
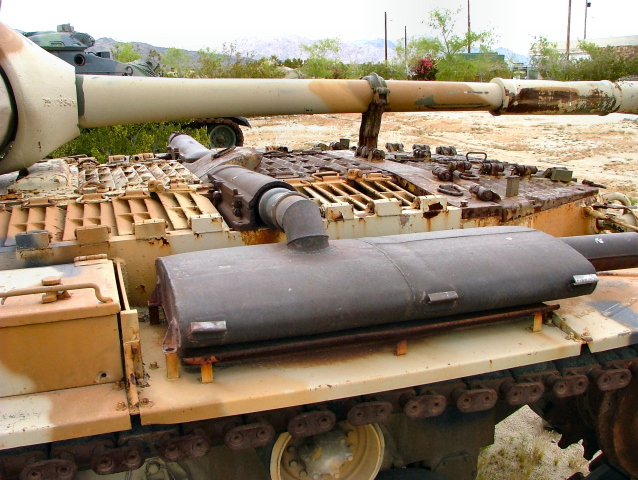
Despite the mufflers for exhaust gas are covered by their protective casing, after having assembled them, I have completed them with the building in scratch of the tubes that goes from the engine to them and replacing also the tubes of exhaust, (unfortunately, I have the syndrome "super detail"... I are very sick, I know this... but I cannot help it...)

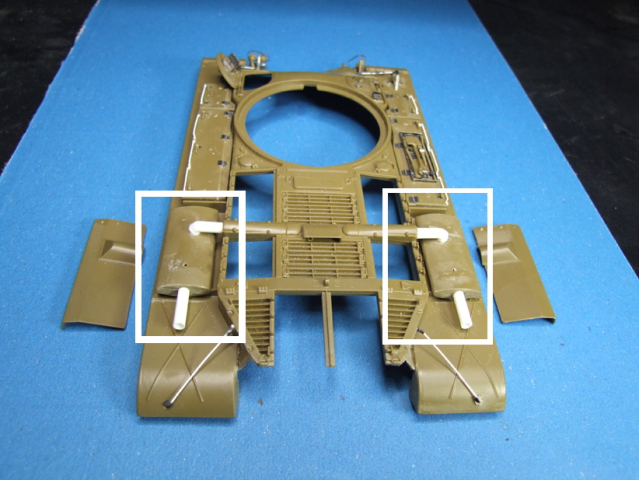
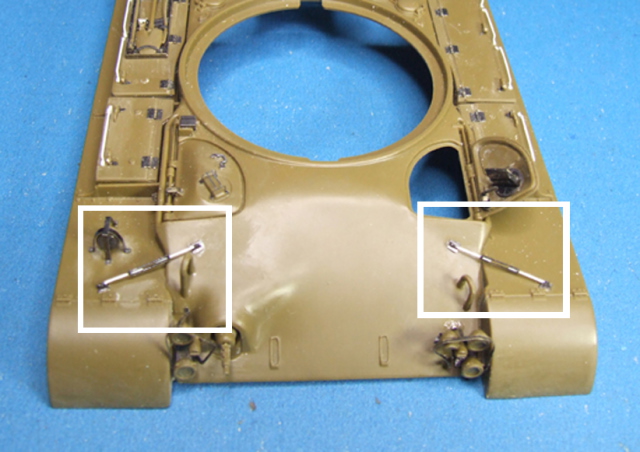
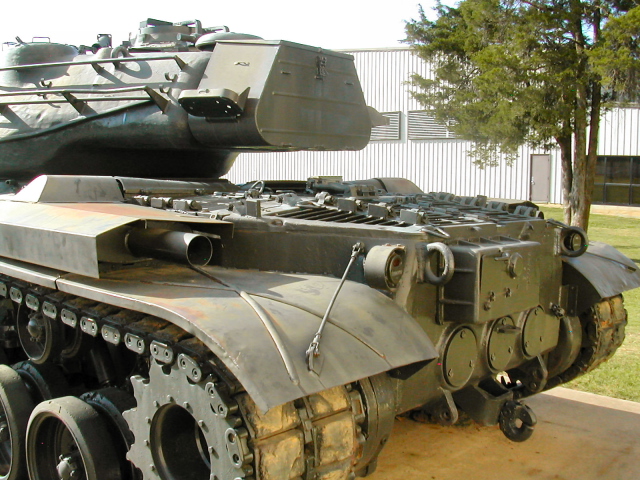
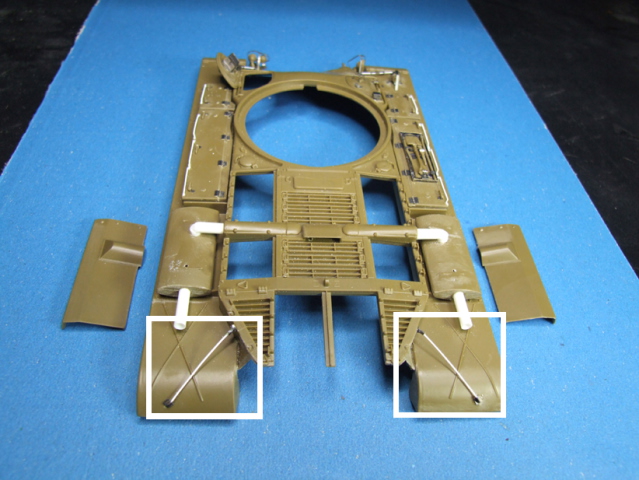
Finally, as I have already done to the front hull, I replaced the tie rods, blocks and the turnbuckles tensioning of the rear fenders with plasticard rods and with the same details photoetched.
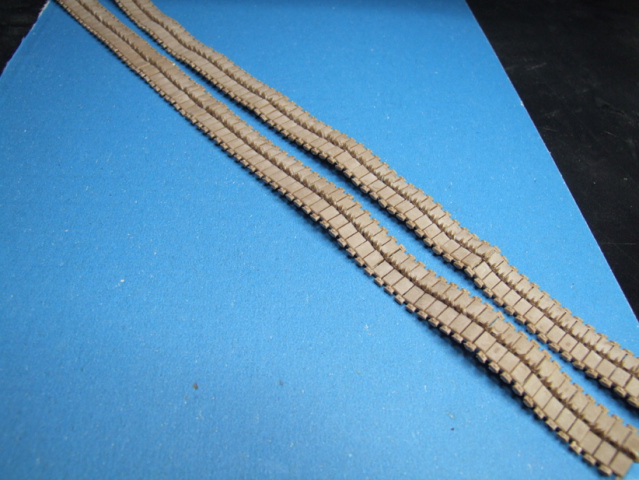
I then mounted the track links by the AFV CLUB company, T84E1t ype named "all rubber", comparing as their length with those provided by the company. In waiting for those in metal, maybe produced by Friulmodel, these are really good but they are rather delicate because the pins are very thin and break easily. In addition, the connectors come off quickly from the pins, making it difficult for them to use if do not have to paste them immediately on the train rolling. Sadly, I have been forced to sand the surface one by one to eliminate the signs of the extractors present on the inner face (182 links...)

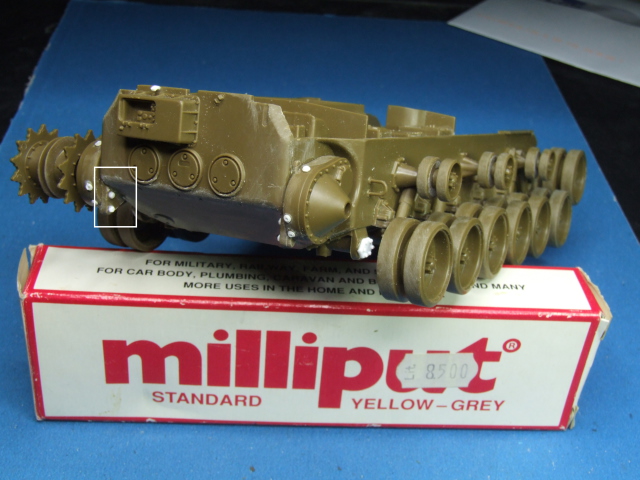
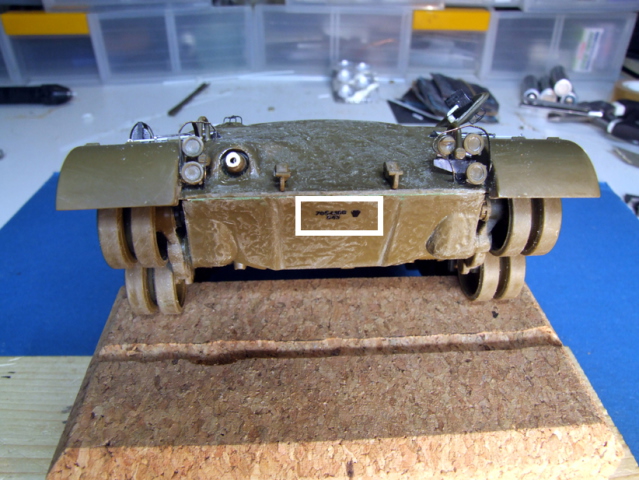
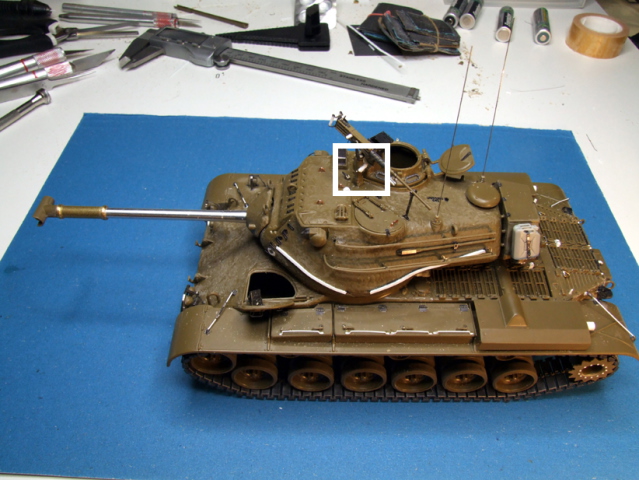
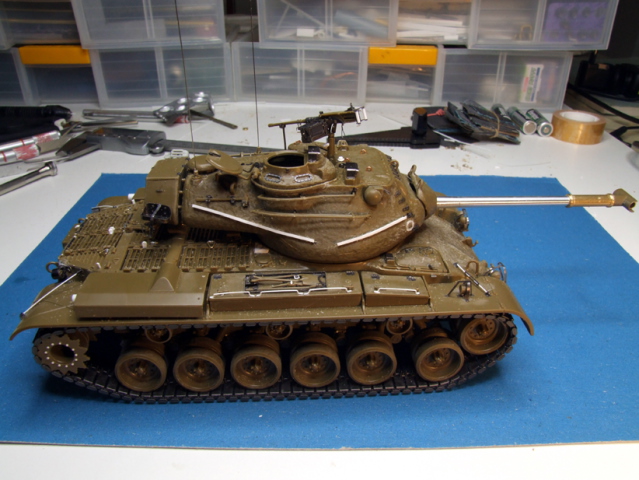
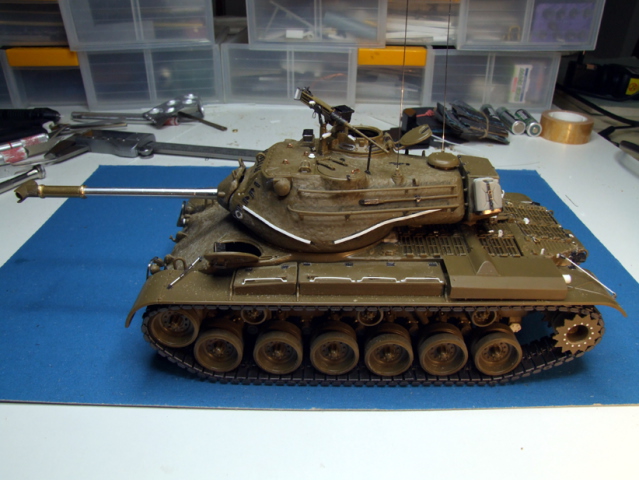
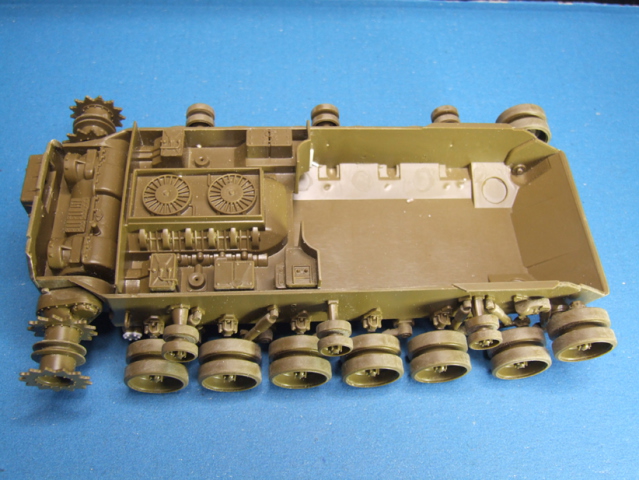
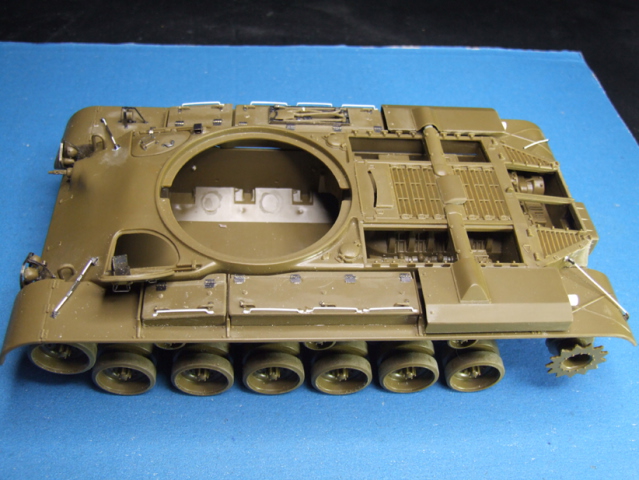
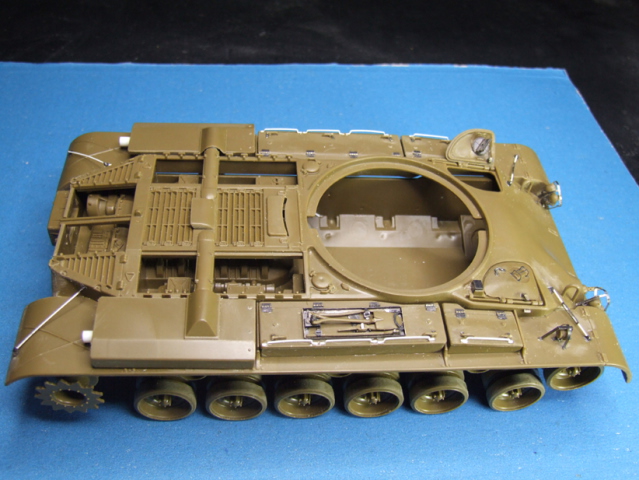
Finally, here a test of the dry assembly of the two upper and lower hulls to control both the alignment of the wheels, both the space available for the tracks. The effect does not seem too bad...
For now I'll stop here. The earth continues to tremble here and finally much less and with minor shock, but the fear and discomfort are still present.
Now I need to do to reorder both my home and both my small workbench, with the hope that I and my wife we should not feel so bad more...
Greetings to all friends of Armorama and thanks again for your support.
Gianfranco
PS: In the coming days I want to devote a little of time to my other ongoing project - my Leopard - and finish at least the interior of the combat compartment. Then I'll see you soon on the other thread...
At the next time ...
Cheers