Hi People !
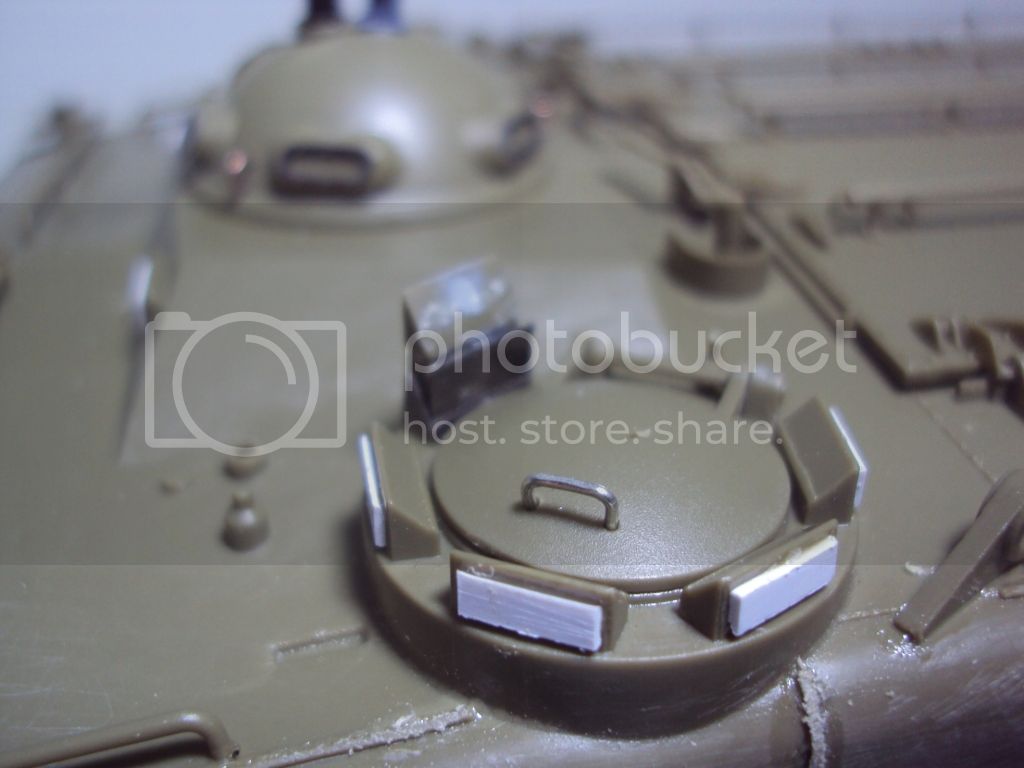
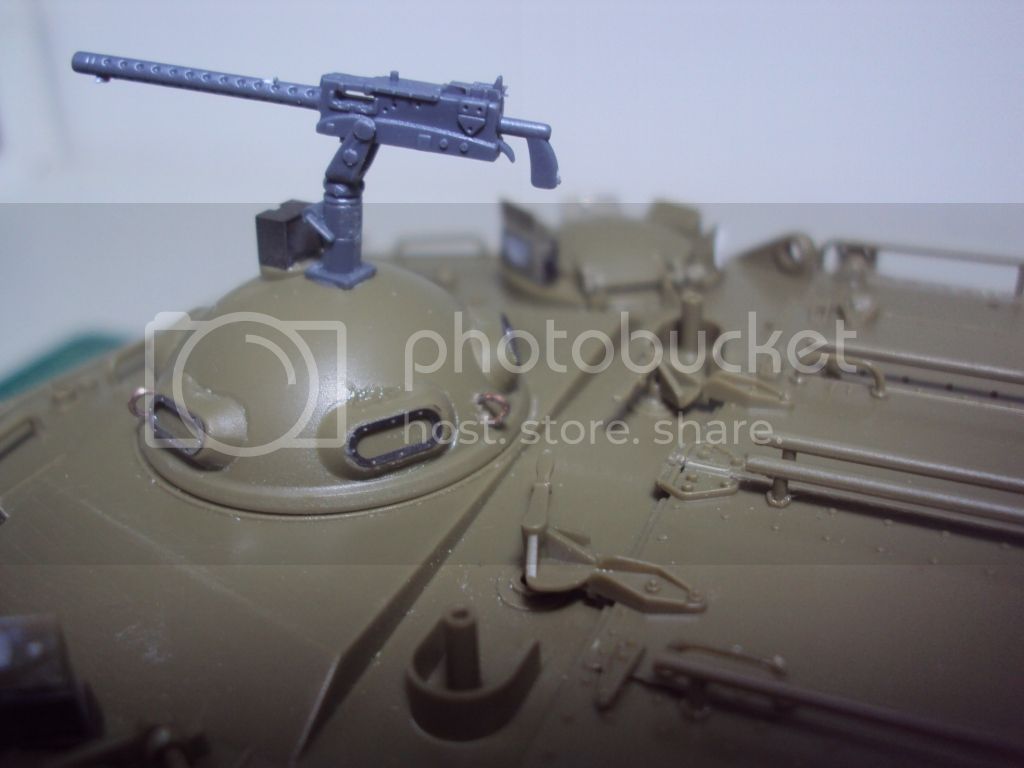
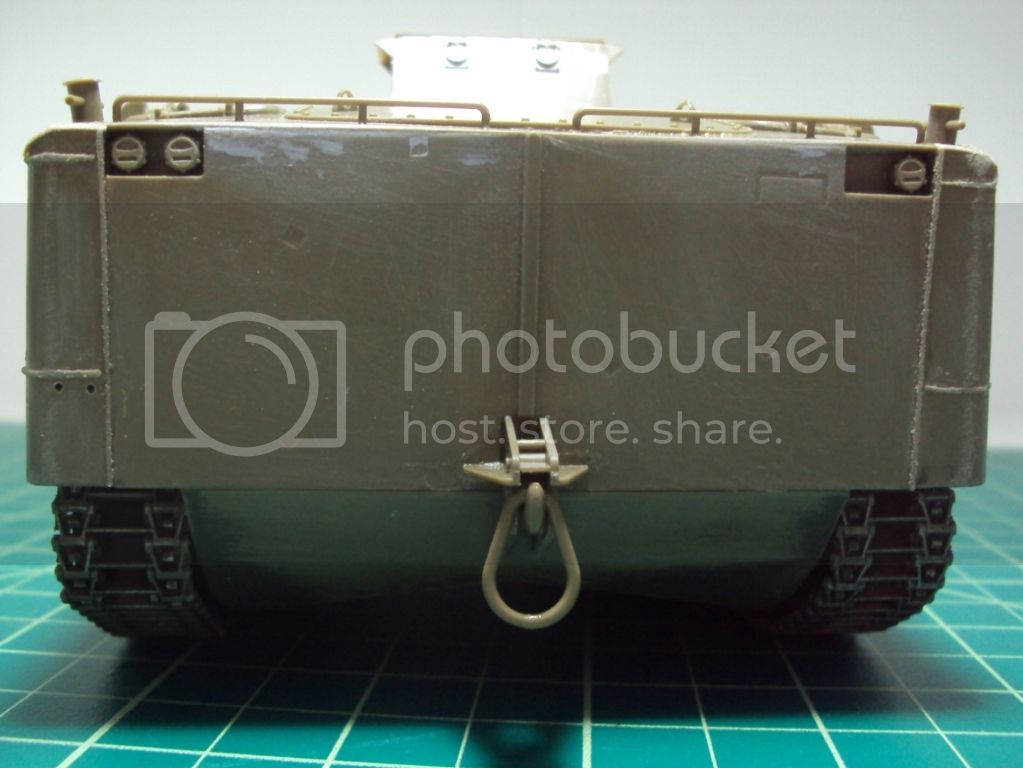
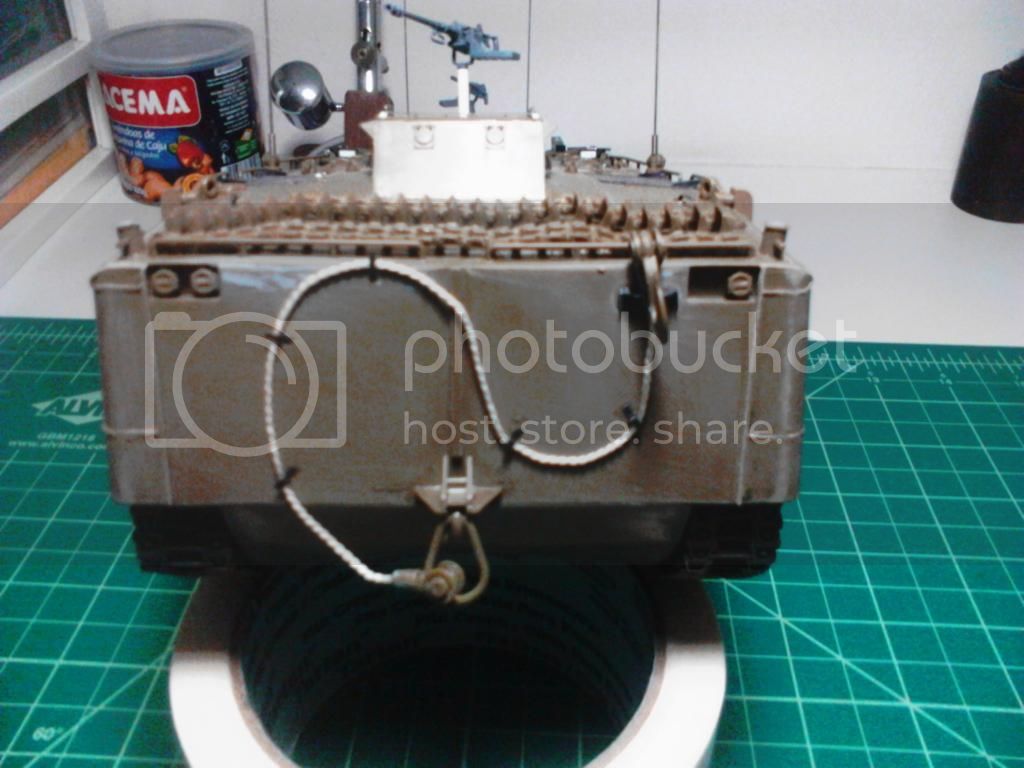
New project: AFV’s LVTP5
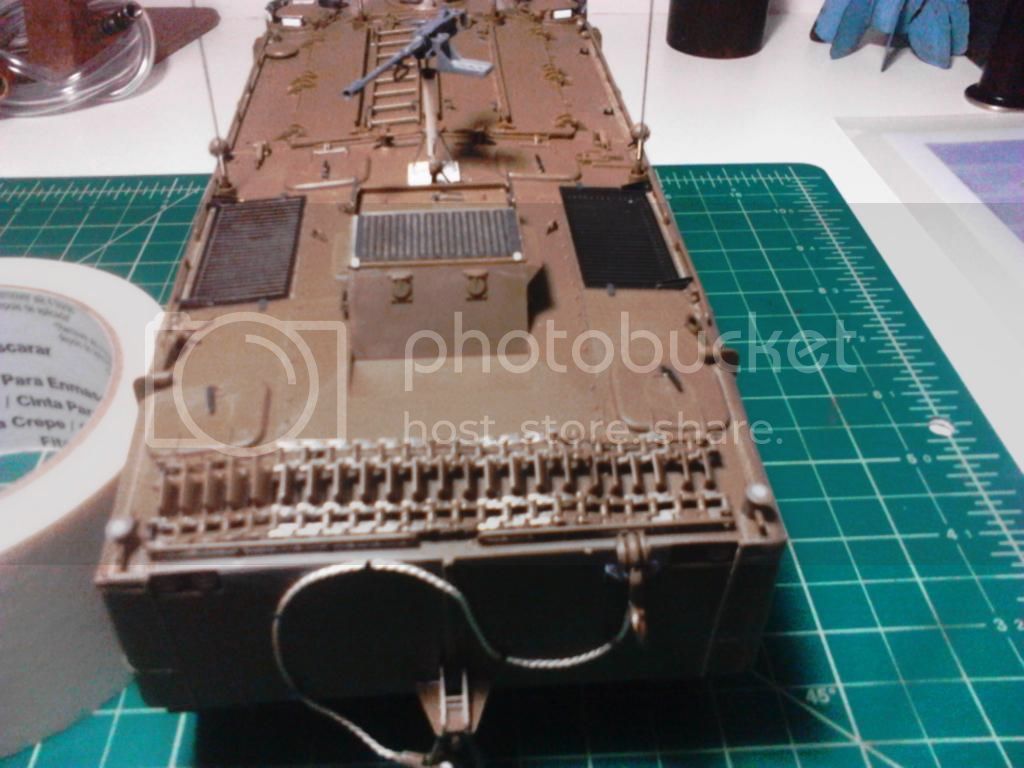
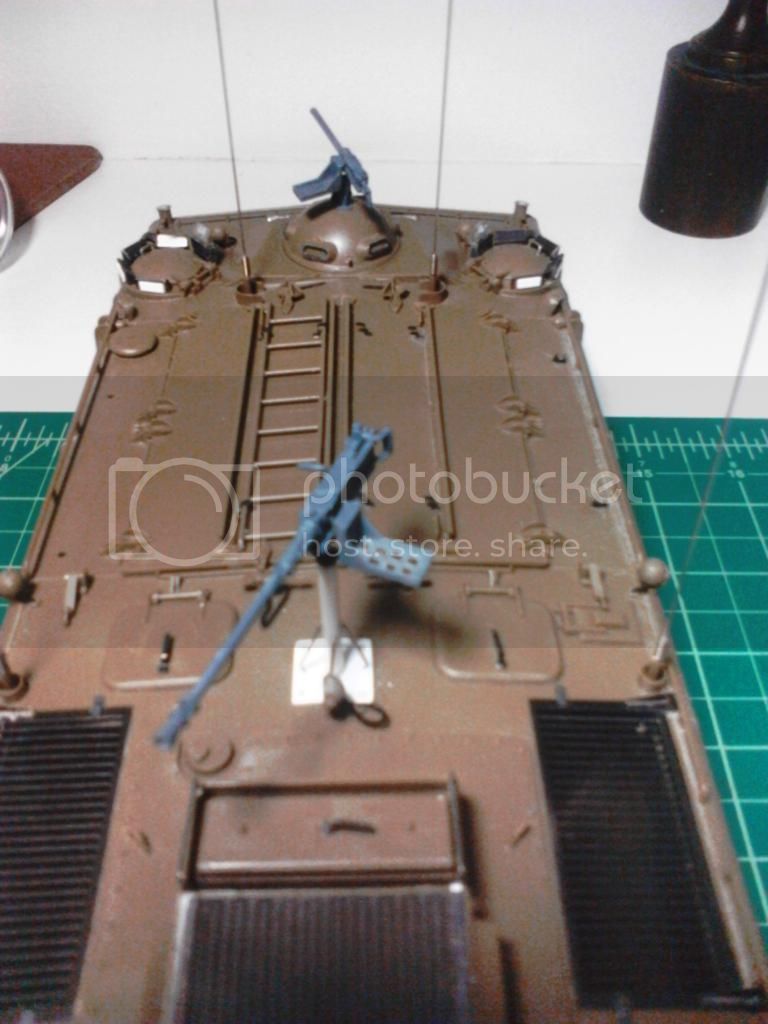
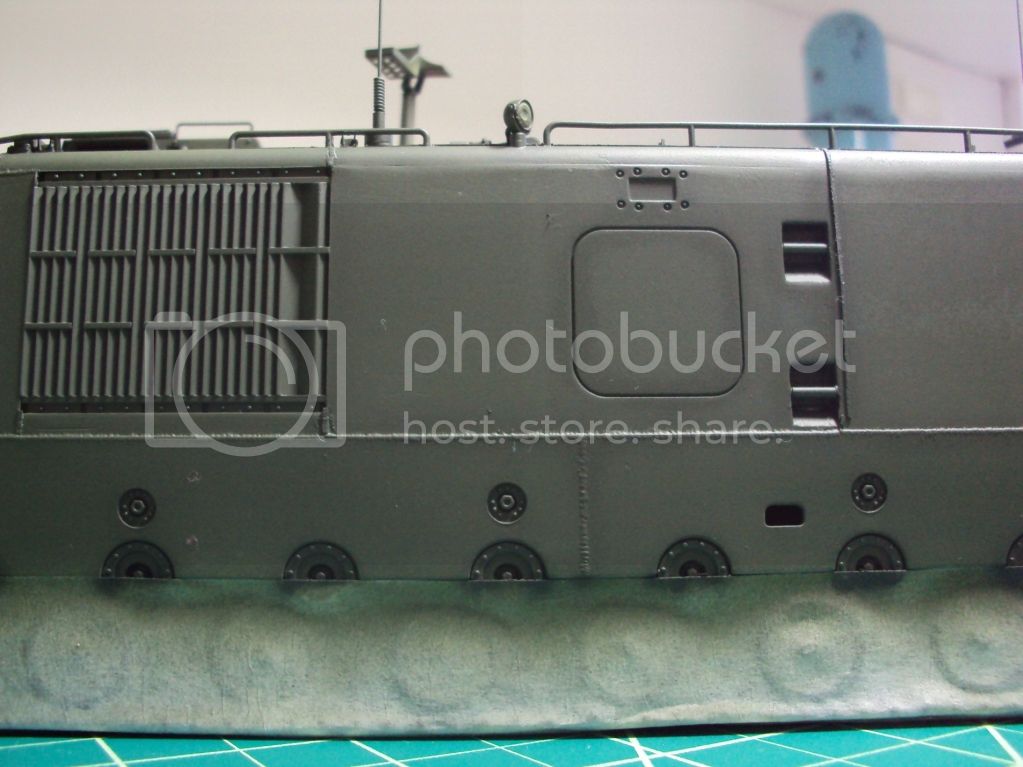
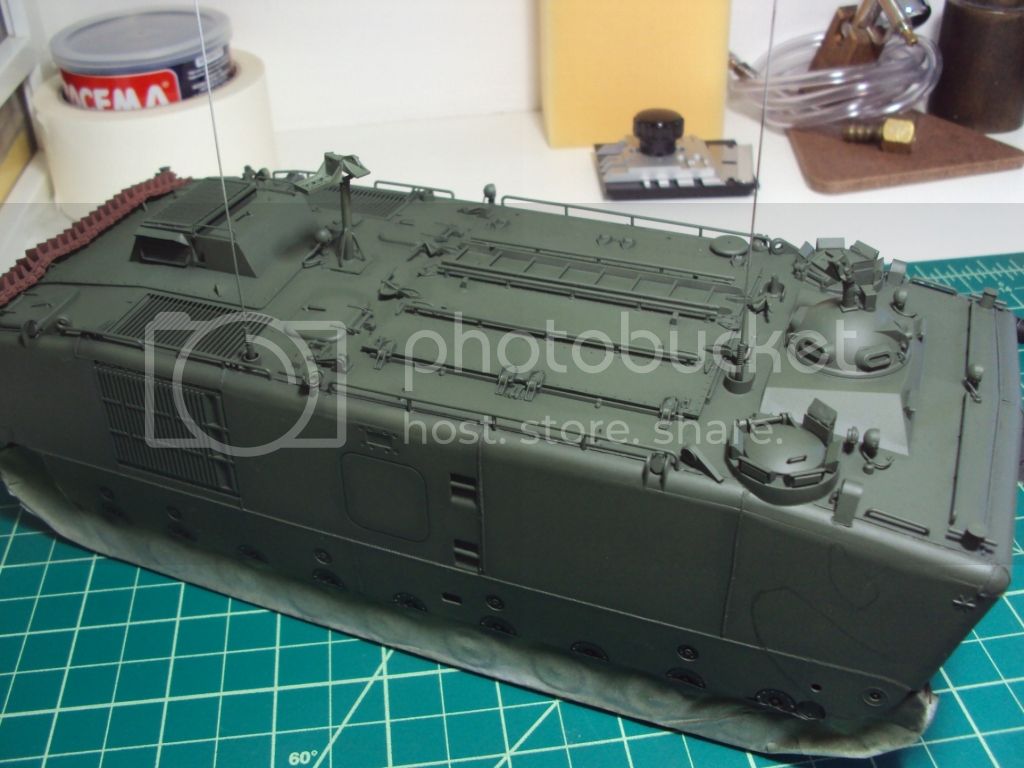
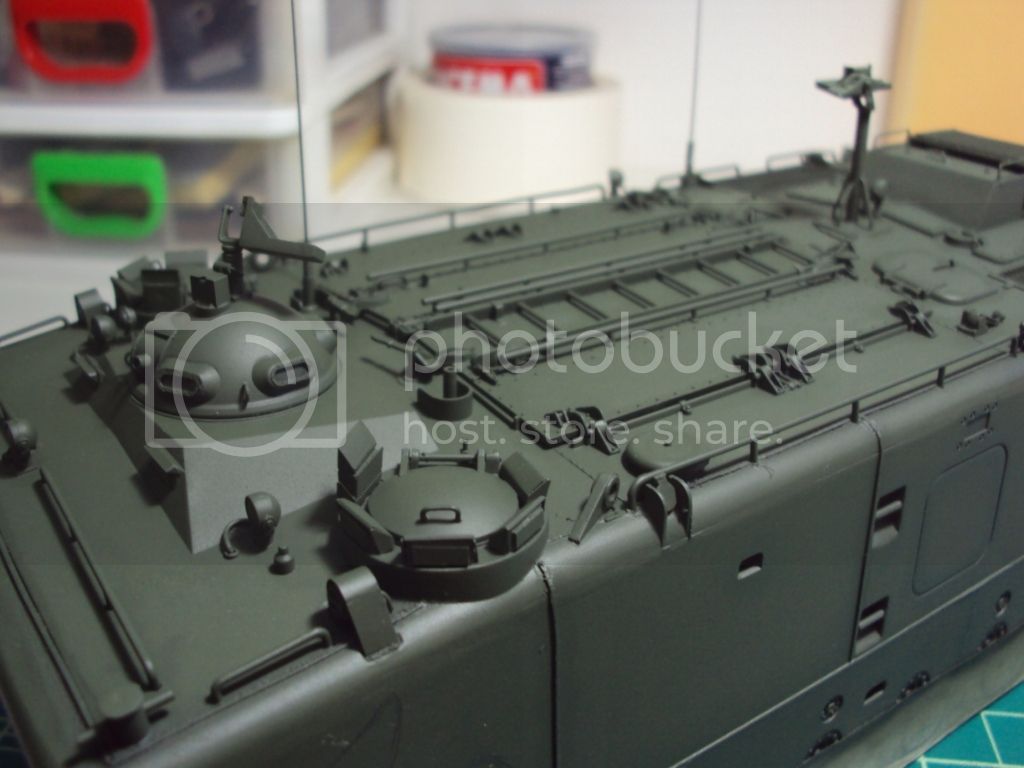
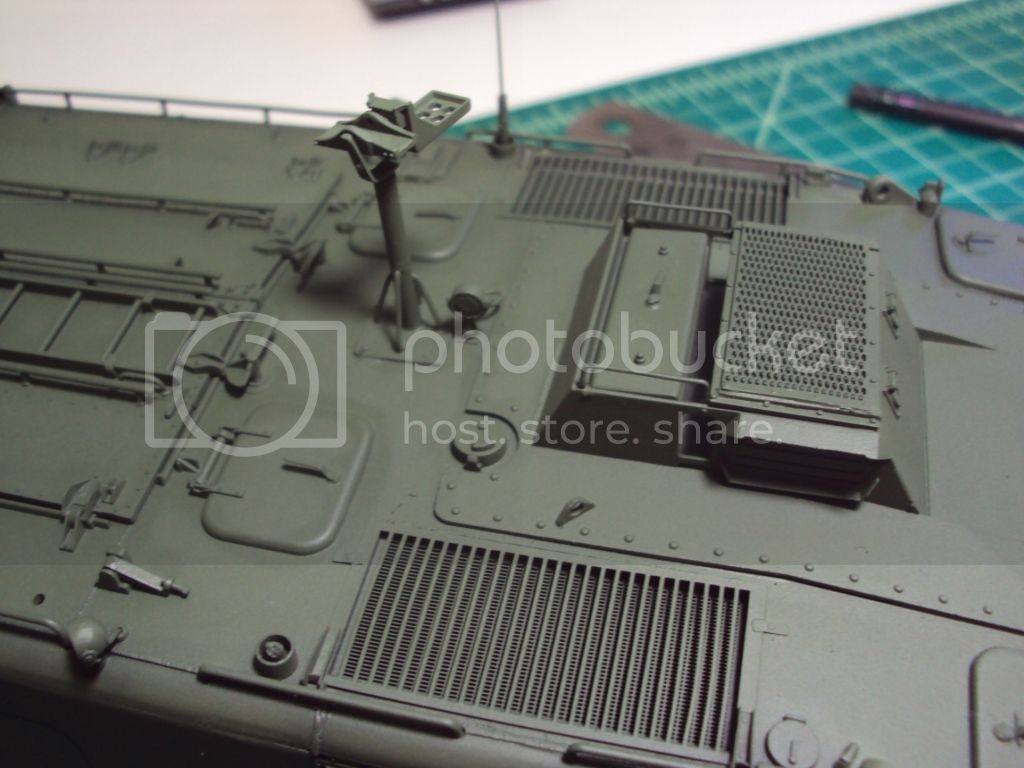
It’s a good model, with minimal problems during construction.
I’m using the small Eduard PE Set and some MGs from Academy.
I did the weld beads too.
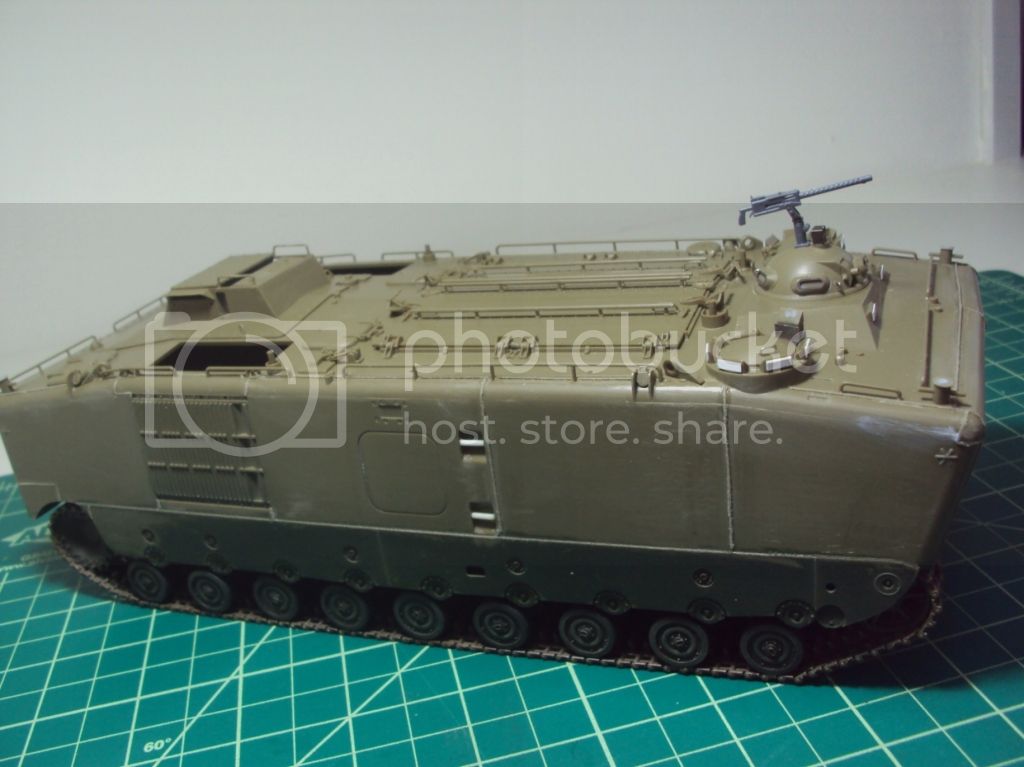
So far, so good. I hope you enjoy as I’m.
Thanks for view !
Marco
Constructive Feedback
For in-progress or completed build photos. Give and get contructive feedback!
Hosted by Darren Baker, Dave O'Meara
LVTP-5 Vietnam
mvaiano
Sao Paulo, Brazil
Joined: January 24, 2012
KitMaker: 1,054 posts
Armorama: 1,050 posts
Joined: January 24, 2012
KitMaker: 1,054 posts
Armorama: 1,050 posts
Posted: Thursday, July 05, 2012 - 08:07 AM UTC
HEINE-07
Ohio, United States
Joined: February 28, 2007
KitMaker: 392 posts
Armorama: 198 posts
Joined: February 28, 2007
KitMaker: 392 posts
Armorama: 198 posts
Posted: Saturday, July 07, 2012 - 04:07 PM UTC
Hi Marco. How did you make the weld beads? Please continue posting more as you proceed through the painting of this fine model.
BBD468
Texas, United States
Joined: March 08, 2010
KitMaker: 2,465 posts
Armorama: 2,383 posts
Joined: March 08, 2010
KitMaker: 2,465 posts
Armorama: 2,383 posts
Posted: Sunday, July 08, 2012 - 04:45 PM UTC
Hi Marco,
I like this big build of yours. Im not familiar with this type but its cool looking! Id like to see some more.
Gary
I like this big build of yours. Im not familiar with this type but its cool looking! Id like to see some more.
Gary
mother
New York, United States
Joined: January 29, 2004
KitMaker: 3,836 posts
Armorama: 1,370 posts
Joined: January 29, 2004
KitMaker: 3,836 posts
Armorama: 1,370 posts
Posted: Sunday, July 08, 2012 - 06:12 PM UTC
Great work Marco, weld beads are nicely done. Will you be adding sitting figures riding a top. I have this kit in the stash and been wanting to build it...I juust hate the plastic track links.
Keep us posted!
Joe
Keep us posted!
Joe
mvaiano
Sao Paulo, Brazil
Joined: January 24, 2012
KitMaker: 1,054 posts
Armorama: 1,050 posts
Joined: January 24, 2012
KitMaker: 1,054 posts
Armorama: 1,050 posts
Posted: Monday, July 09, 2012 - 09:41 AM UTC
Hi guys!
Thank you for your comments!
Rick, I made the weld beads using stretched sprue glued with liquid cement. Then I did the texture with a coarse sand paper.
Gary, I will post new pics ASAP.
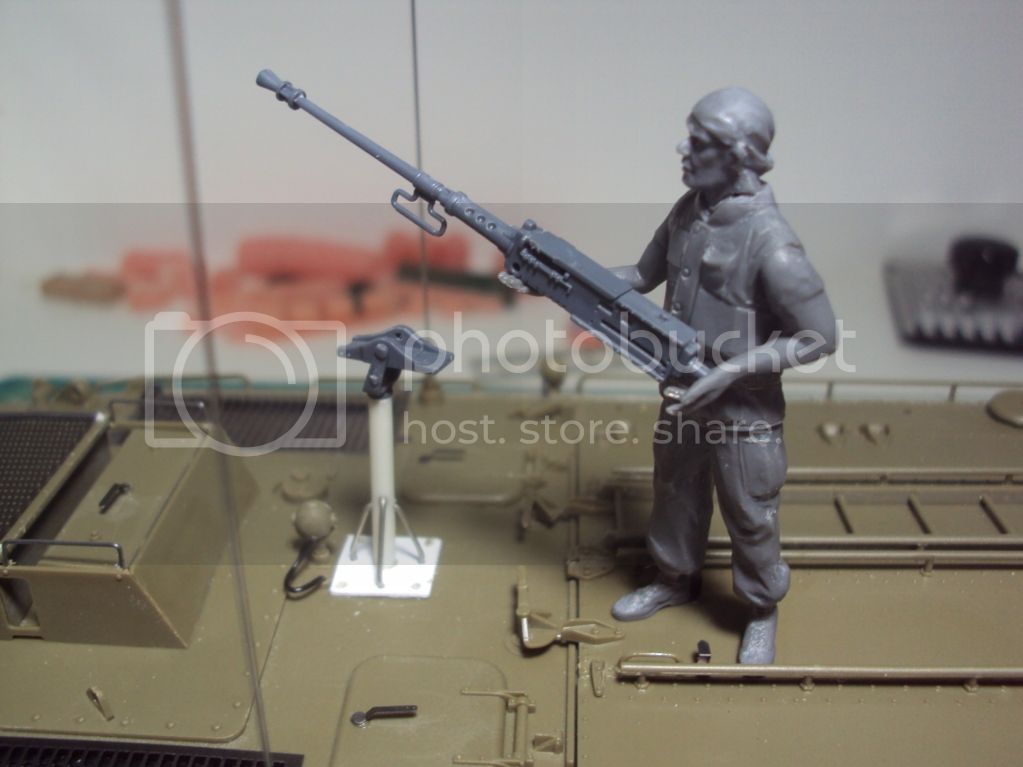
Joe, I'll be placing a single figure: The one from Academy's Ontos who's wearing a bandana. He will be carring a .50 MG to the pintle mount welded in the rear upper hull of the monster.
About the tracks, they are not as bad as you think. They are quite easy to work with.
Thank you again !
Marco
mvaiano
Sao Paulo, Brazil
Joined: January 24, 2012
KitMaker: 1,054 posts
Armorama: 1,050 posts
Joined: January 24, 2012
KitMaker: 1,054 posts
Armorama: 1,050 posts
Posted: Tuesday, July 24, 2012 - 05:00 AM UTC
Hi guys!
Some new pics. Now I just need to paint the beast.
I will use Vallejo Yellow Olive.
Sorry about the poor quality of the photos.
Any comments are welcome.
Thanks for viewing!
Marco
Some new pics. Now I just need to paint the beast.
I will use Vallejo Yellow Olive.
Sorry about the poor quality of the photos.
Any comments are welcome.
Thanks for viewing!
Marco
PantherF
Indiana, United States
Joined: June 10, 2005
KitMaker: 6,188 posts
Armorama: 5,960 posts
Joined: June 10, 2005
KitMaker: 6,188 posts
Armorama: 5,960 posts
Posted: Tuesday, July 24, 2012 - 07:15 AM UTC
Hi Marco!
Nice build and I like the weld beads too.
I couldn't imagine driving one of these back then, it must have been something else.
~ Jeff
Nice build and I like the weld beads too.
I couldn't imagine driving one of these back then, it must have been something else.
~ Jeff
Scouteyes
New York, United States
Joined: November 07, 2010
KitMaker: 247 posts
Armorama: 208 posts
Joined: November 07, 2010
KitMaker: 247 posts
Armorama: 208 posts
Posted: Tuesday, July 24, 2012 - 10:16 AM UTC
If you look at the history of USMC Amtracs, this variant, which started life in the 50s,and soldiered on into the 60s, is unique. The models before and after it were much more streamlined, and boat-like. This one is like a big green bar of soap, but it has so much character!Your build looks great, and my hat's off to you for your patience in working in those much- needed weld seams.
mvaiano
Sao Paulo, Brazil
Joined: January 24, 2012
KitMaker: 1,054 posts
Armorama: 1,050 posts
Joined: January 24, 2012
KitMaker: 1,054 posts
Armorama: 1,050 posts
Posted: Tuesday, July 24, 2012 - 11:45 PM UTC
Thank you guys!
I like amphibian vehicles. This “big green bar of soap” is one of the most interesting models.
I think that driving one of this will be great. No one stay in front of you!
The weld beads gives a touch to its big side walls and I hope it will be very good after wash, filter and dry brush.
Let’s start the paint. New pics soon.
Marco
Il_Colonnello
Modena, Italy
Joined: March 08, 2012
KitMaker: 140 posts
Armorama: 140 posts
Joined: March 08, 2012
KitMaker: 140 posts
Armorama: 140 posts
Posted: Wednesday, July 25, 2012 - 10:50 PM UTC
Great model, Marco. BRAVO!!
The models that seem "simple" are usually the hardest to build well and, above all, to paint well.
I cannot wait to see it finished ...
Gianfranco
The models that seem "simple" are usually the hardest to build well and, above all, to paint well.
I cannot wait to see it finished ...
Gianfranco
Frenchy
Rhone, France
Joined: December 02, 2002
KitMaker: 12,719 posts
Armorama: 12,507 posts
Joined: December 02, 2002
KitMaker: 12,719 posts
Armorama: 12,507 posts
Posted: Wednesday, July 25, 2012 - 11:57 PM UTC
Nice work Marco. In case you still haven't decided about the decals to use, two of Mec Models Vietnam sheets include LVTP-5 colorful markings...
http://www.mecmodels.com/E_frame.html?http://www.mecmodels.com/E_home.html
HTH
Frenchy
http://www.mecmodels.com/E_frame.html?http://www.mecmodels.com/E_home.html
HTH
Frenchy
mvaiano
Sao Paulo, Brazil
Joined: January 24, 2012
KitMaker: 1,054 posts
Armorama: 1,050 posts
Joined: January 24, 2012
KitMaker: 1,054 posts
Armorama: 1,050 posts
Posted: Thursday, July 26, 2012 - 04:42 AM UTC
Grazie Gianfranco!
Merci Frenchy!
For me is very important get your feedback.
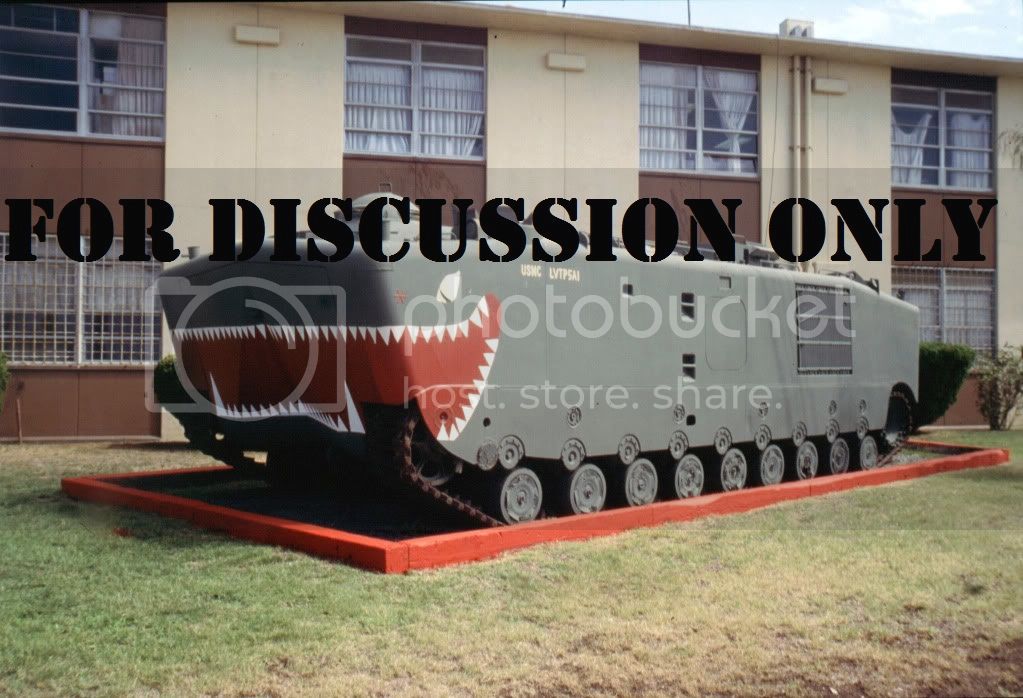
Frenchy, the decals are amazing, but now I’m thinking about do something like that:
What do you, guys, think about ?
Thanks
Marco
Merci Frenchy!
For me is very important get your feedback.
Frenchy, the decals are amazing, but now I’m thinking about do something like that:
What do you, guys, think about ?
Thanks
Marco
Il_Colonnello
Modena, Italy
Joined: March 08, 2012
KitMaker: 140 posts
Armorama: 140 posts
Joined: March 08, 2012
KitMaker: 140 posts
Armorama: 140 posts
Posted: Sunday, July 29, 2012 - 09:10 PM UTC
Quoted Text
Frenchy, the decals are amazing, but now I’m thinking about do something like that:
What do you, guys, think about ?
Thanks
Marco
Hi Marco, if you cannot find the correct decals for the version you want to do and if you don't want to paint them free hand, why not print the ones you need by using the sheets of support for “decals do-it-yourself”, produced by various companies?
I have done precisely that for my M47 "Patton", because they were not commercially produced the decals with the STANAG, the insigna and the plate of the tank unit that I wanted to reproduce.
To do this, I used the sheets of support for decals with a white background, printable with my ink-jet printer and produced by BARE-METAIL FOIL Co.
I had to use the ones with the white background because I don’t own a printer that prints also the white color (these printers are professional and very expensive), otherwise I would have used a sheet with the transparent support because that it’s a bit thinner.
Furthermore, these decals sheets for "decals do-it-yourself" can be both for ink-jet printers or laser printers and for both are very good and simply to use.
I hope to have been of help to you.
Cheers - Gianfranco
mvaiano
Sao Paulo, Brazil
Joined: January 24, 2012
KitMaker: 1,054 posts
Armorama: 1,050 posts
Joined: January 24, 2012
KitMaker: 1,054 posts
Armorama: 1,050 posts
Posted: Monday, July 30, 2012 - 12:19 AM UTC
Hi Gianfranco !
Great idea ! Thank you !
Here in Brasil is hard to find this, but I will try to import some sheets.
I really don't know if exactly this mouth was used in Vietnam, but I like to see the big box with this "face".
Thanks again !
Marco
Great idea ! Thank you !
Here in Brasil is hard to find this, but I will try to import some sheets.
I really don't know if exactly this mouth was used in Vietnam, but I like to see the big box with this "face".
Thanks again !
Marco
Frenchy
Rhone, France
Joined: December 02, 2002
KitMaker: 12,719 posts
Armorama: 12,507 posts
Joined: December 02, 2002
KitMaker: 12,719 posts
Armorama: 12,507 posts
Posted: Monday, July 30, 2012 - 02:11 AM UTC
mvaiano
Sao Paulo, Brazil
Joined: January 24, 2012
KitMaker: 1,054 posts
Armorama: 1,050 posts
Joined: January 24, 2012
KitMaker: 1,054 posts
Armorama: 1,050 posts
Posted: Monday, July 30, 2012 - 04:38 AM UTC
Wow !
Frenchy, you are "the guy" when we talk about pictures !
Fantastic, and now I “need" to finish the model.
My tripulation "up gunned" the C-21
Now I will remove two antennas and print the flag and USMC pennant (?)
Thank ou a lot !
Marco
Frenchy, you are "the guy" when we talk about pictures !
Fantastic, and now I “need" to finish the model.
My tripulation "up gunned" the C-21
Now I will remove two antennas and print the flag and USMC pennant (?)
Thank ou a lot !
Marco
Il_Colonnello
Modena, Italy
Joined: March 08, 2012
KitMaker: 140 posts
Armorama: 140 posts
Joined: March 08, 2012
KitMaker: 140 posts
Armorama: 140 posts
Posted: Monday, July 30, 2012 - 09:36 PM UTC
Quoted Text
Now I will remove two antennas and print the flag and USMC pennant (?)
Thank ou a lot !
Marco
Hi Marco,
I use a little trick, that I've always been helpful, to reproduce well all of the flags I need.
I mold in double-sided, with my ink-jet photo printer and in high resolution, the flag that I want to reproduce on a sheet of glossy paper for photos.
After the paint has thoroughly dried well, I clipping exactly the flag and then, with the cutter blade new and very sharpened, I literally flip through the various layers of paper until it remain only the thin film on it's printed on the flag.
After doing this, I fall back the two sides of the flag and I glue them with a thin layer of white glue (it, drying it becomes transparent) putting also the rope for the yardarm that will hold it.
While the glue isn't dried completely, I folded the flag to make it take the shape that I think is more just or more beautiful.
Finally, I lay a layer of transparent paint matt on it.
In this way I don't use the flags of the decals, because they're too delicate and cannot bend well because they break easily.
I hope to have been more help to you.
Cheers - Gianfranco
PS: Another little tip: you print more than a flag that you want to achieve because it's very easy to ruin them while you separate the layers of paper with the cutter...
Il_Colonnello
Modena, Italy
Joined: March 08, 2012
KitMaker: 140 posts
Armorama: 140 posts
Joined: March 08, 2012
KitMaker: 140 posts
Armorama: 140 posts
Posted: Monday, July 30, 2012 - 09:44 PM UTC
An example of one of "my" flags is in this model.
http://www.masterminiatures.it/gal/pibber.php
I've done the American flag with my system (and I think it came natural and well ...)
Cheers - Gianfranco
http://www.masterminiatures.it/gal/pibber.php
I've done the American flag with my system (and I think it came natural and well ...)
Cheers - Gianfranco
mvaiano
Sao Paulo, Brazil
Joined: January 24, 2012
KitMaker: 1,054 posts
Armorama: 1,050 posts
Joined: January 24, 2012
KitMaker: 1,054 posts
Armorama: 1,050 posts
Posted: Tuesday, July 31, 2012 - 12:06 AM UTC
Hi Gianfranco!
Thank you for the advice, but you are a very wise and patient man, I'm not.
The flag looks fantastic and the effect is convincing, congratulations!
I do not know if I will try this technique, my hands are very heavy.
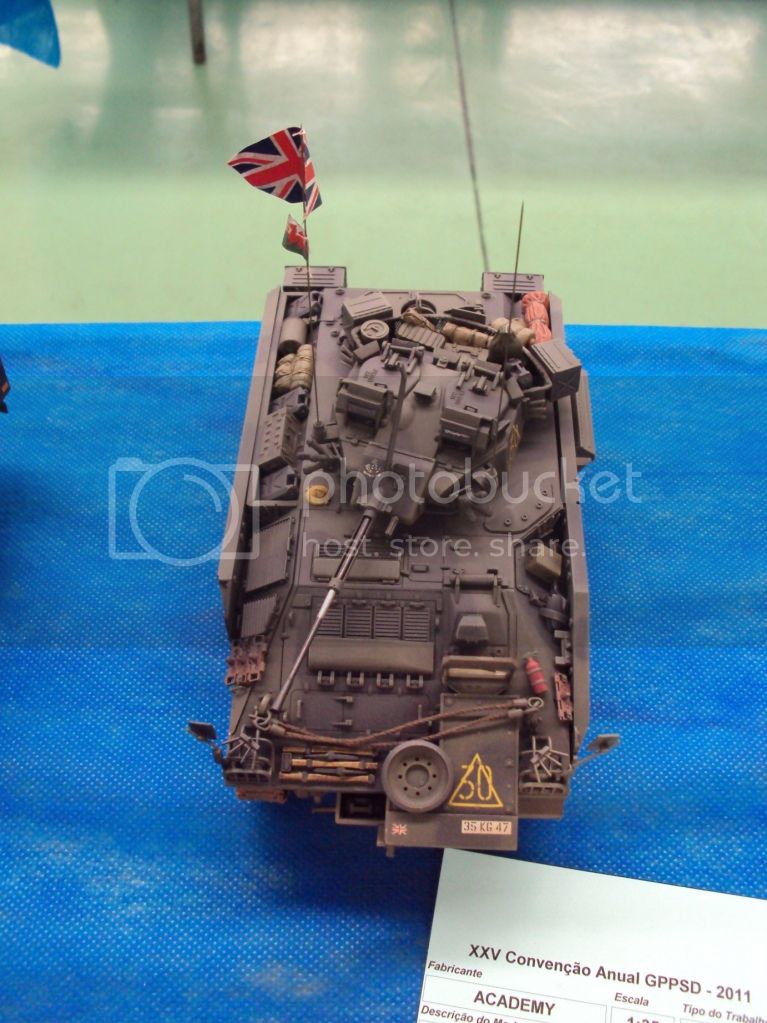
BTW, look one of my flags. I just use "normal" paper and laser jet printer. Is good to represent "flying flags":
Cheers!
Marco
Il_Colonnello
Modena, Italy
Joined: March 08, 2012
KitMaker: 140 posts
Armorama: 140 posts
Joined: March 08, 2012
KitMaker: 140 posts
Armorama: 140 posts
Posted: Tuesday, July 31, 2012 - 07:45 PM UTC
Quoted Text
Hi Gianfranco!
Thank you for the advice, but you are a very wise and patient man, I'm not.
The flag looks fantastic and the effect is convincing, congratulations!
I do not know if I will try this technique, my hands are very heavy.
BTW, look one of my flags. I just use "normal" paper and laser jet printer. Is good to represent "flying flags":
Cheers!
Marco
Hi Marco!
very good... very good... very nice!!!
Excellent model with a very natural painting and a good weathering!!!
Bravo!!! Chapeau!!
Excellent it's also the flag.
I use my method because i not have a laser color printer (too expensive) but a simple ink-jet photo color printer. To reproduce in Hi-Res the designs of some flags, pennants or insigna, for me is indispensable to use a photo paper and this special paper in this case is too thick for a good result when it's folded and glued.
That's why I literally flip through the layers of the photo paper until I arrive at the thin film on which the image is printed.
Then, with calm and patience, I pass lightly this thin film on the sand paper number 800 to eliminate the last few scraps of paper (this is the most dangerous operation for the image... calm, patience and lightness...).
If you exit well of this last operation, a good result is assured.
Cheers - Gianfranco
PS: also my hands are heavy. My weight is 154 kilos... and my hands are proportionated.... I am desperate... ;o((
mvaiano
Sao Paulo, Brazil
Joined: January 24, 2012
KitMaker: 1,054 posts
Armorama: 1,050 posts
Joined: January 24, 2012
KitMaker: 1,054 posts
Armorama: 1,050 posts
Posted: Tuesday, July 31, 2012 - 11:32 PM UTC
Hey Gianfranco !
Heavy hands, great works !
I use my office's laser print.
Thank you for your opinion about my work.
Next weekend I will start to painting the LVTP.
Cheers !
Marco
Heavy hands, great works !
I use my office's laser print.
Thank you for your opinion about my work.
Next weekend I will start to painting the LVTP.
Cheers !
Marco
mvaiano
Sao Paulo, Brazil
Joined: January 24, 2012
KitMaker: 1,054 posts
Armorama: 1,050 posts
Joined: January 24, 2012
KitMaker: 1,054 posts
Armorama: 1,050 posts
Posted: Tuesday, August 14, 2012 - 04:56 AM UTC
New photos.
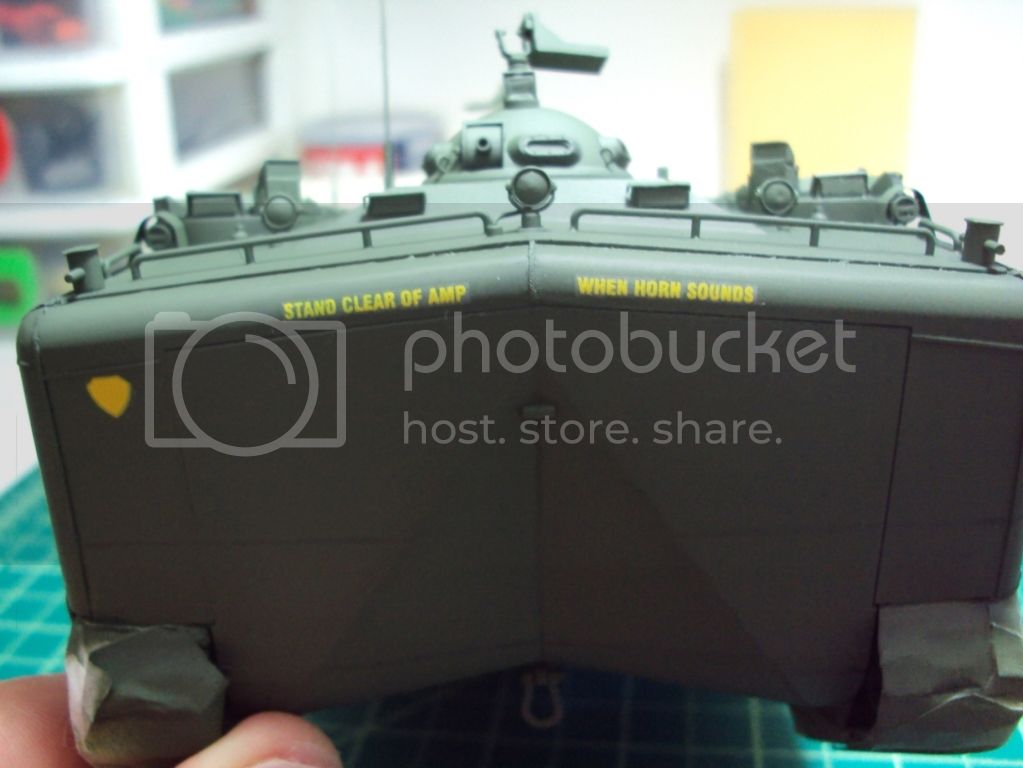
I did the paint job using automotive acrylic primer, automotive nitrocellulose flat black paint to "pre-shade" and Vallejo acrylics (9 parts olive yellow, 1 part White).
Them I used the some kit’s decals but when I mask the front of the LVTP to paint the mouth, I destroyed it. !
I’d liked worked with these acrylics, but I still prefer the automotive nitrocellulose paint.
And this is my idea about the one crew member (What do you think ?):
Thank you for viewing!
Soon, photos of the mouth and eyes.
Cheers !
Marco
dioman13
Indiana, United States
Joined: August 19, 2007
KitMaker: 2,184 posts
Armorama: 1,468 posts
Joined: August 19, 2007
KitMaker: 2,184 posts
Armorama: 1,468 posts
Posted: Tuesday, August 14, 2012 - 05:45 AM UTC
You better give him bigger arms to carry a full .50 like that. Maybe Hulk Hogan could but I know that it takes normally 2 guys to carry it assembled.
M2Armr
England - East Anglia, United Kingdom
Joined: April 09, 2011
KitMaker: 3 posts
Armorama: 3 posts
Joined: April 09, 2011
KitMaker: 3 posts
Armorama: 3 posts
Posted: Tuesday, August 14, 2012 - 05:50 AM UTC
Quoted Text
You better give him bigger arms to carry a full .50 like that. Maybe Hulk Hogan could but I know that it takes normally 2 guys to carry it assembled.
Agree with that, M2 receiver and barrel weigh in at 84 lbs - 38 kgs!
mvaiano
Sao Paulo, Brazil
Joined: January 24, 2012
KitMaker: 1,054 posts
Armorama: 1,050 posts
Joined: January 24, 2012
KitMaker: 1,054 posts
Armorama: 1,050 posts
Posted: Tuesday, August 14, 2012 - 06:04 AM UTC
Ops!
I think it will better change the M2 (thats looks beautiful in the mount)for an M60 or will not use this figure.
Thank you!
Cheers!
Marco
I think it will better change the M2 (thats looks beautiful in the mount)for an M60 or will not use this figure.
Thank you!
Cheers!
Marco