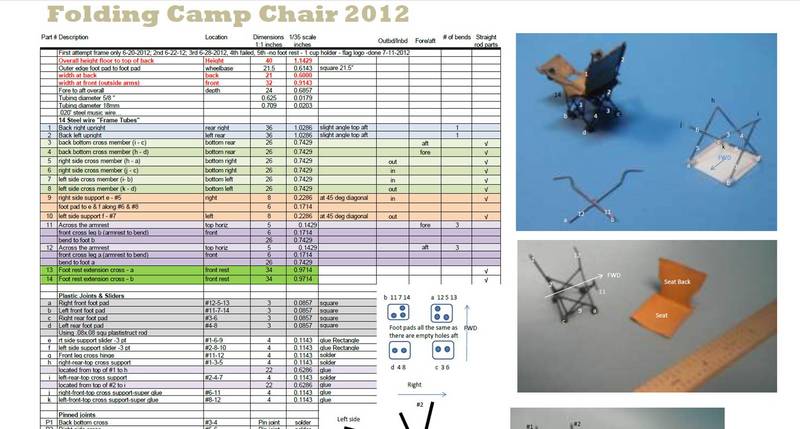
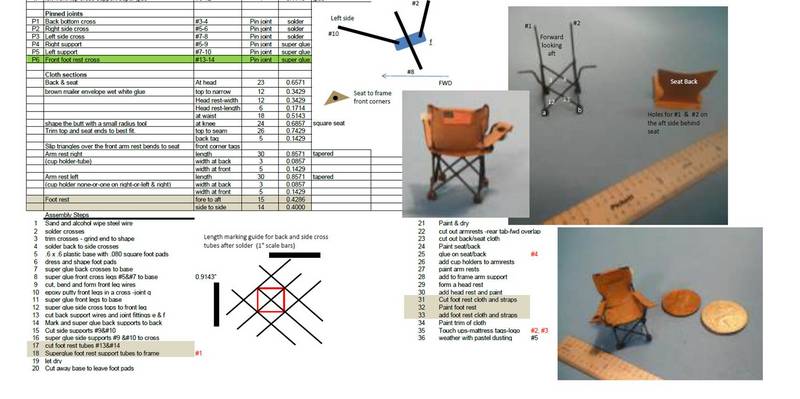
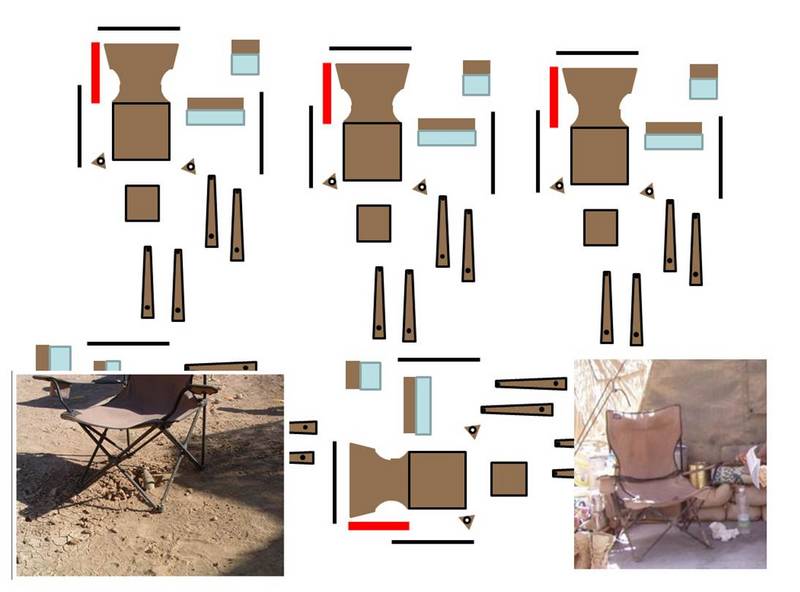
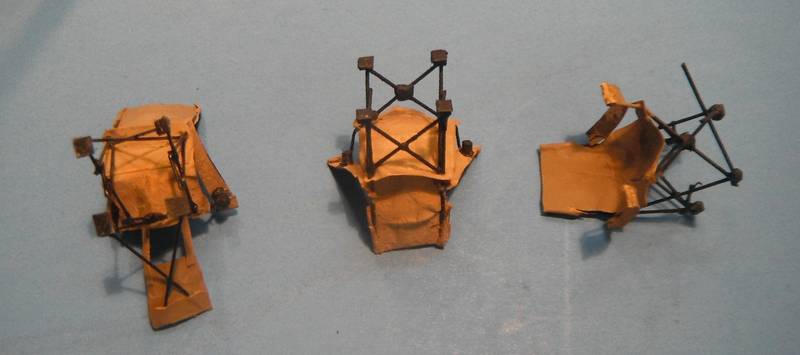
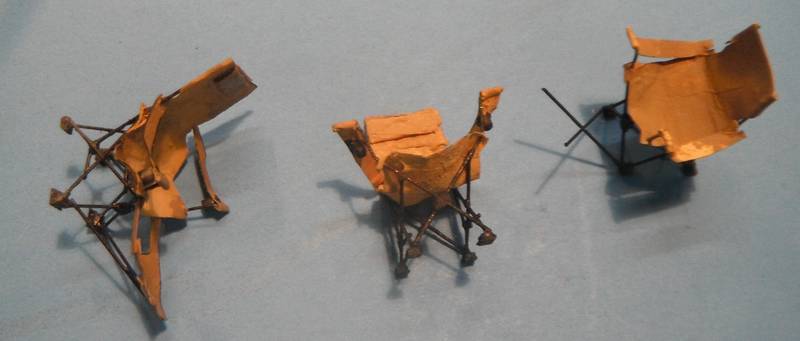
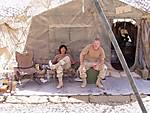
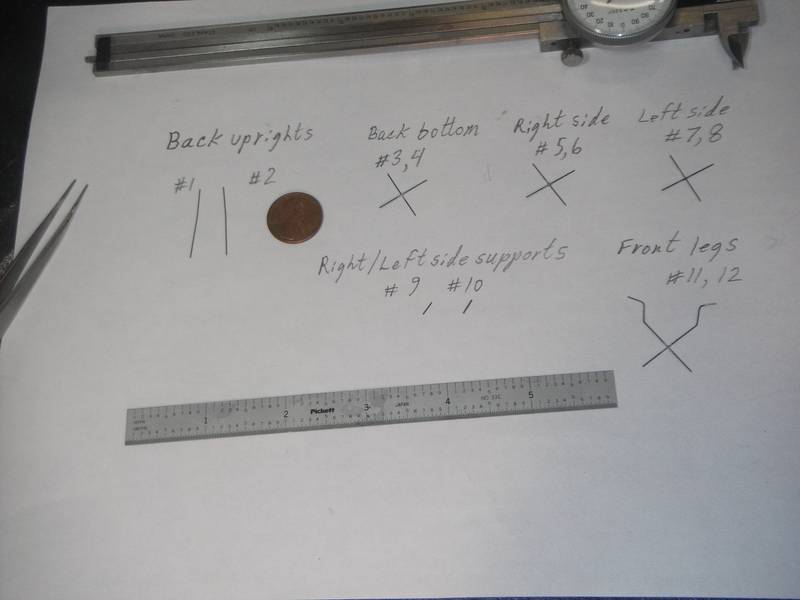
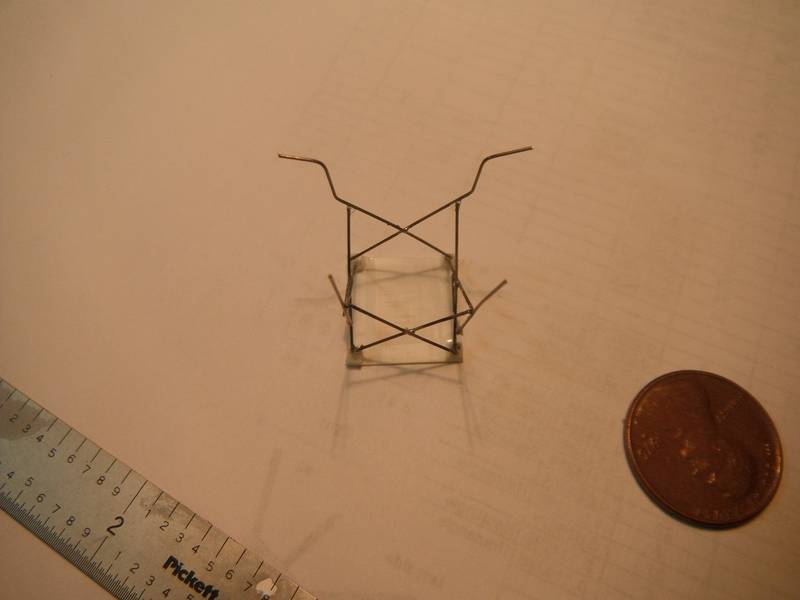
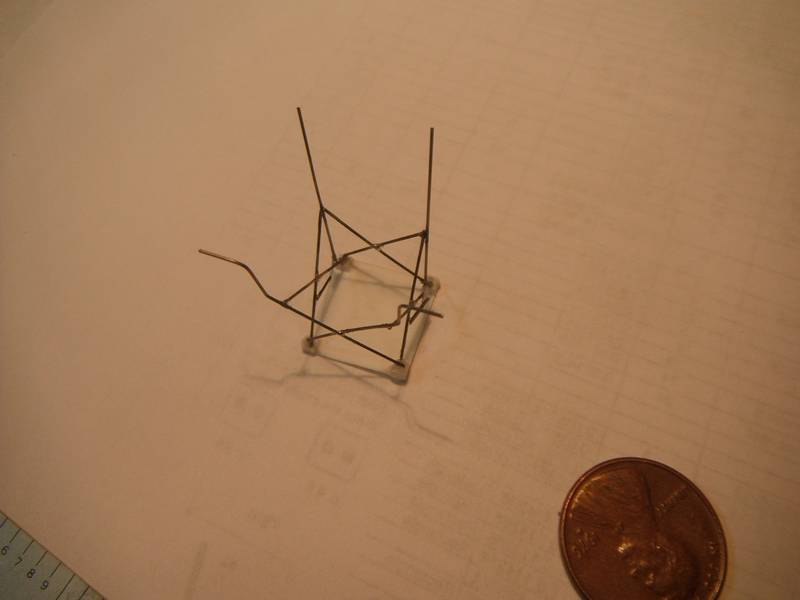
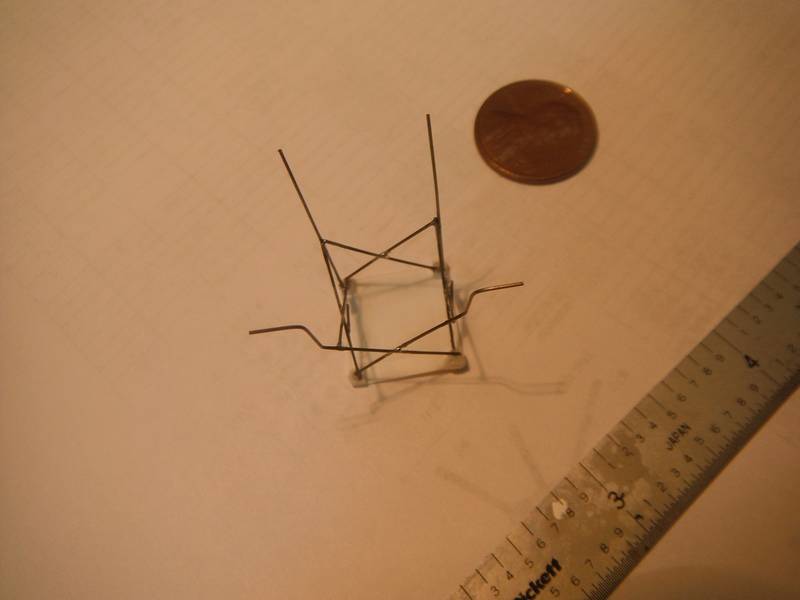
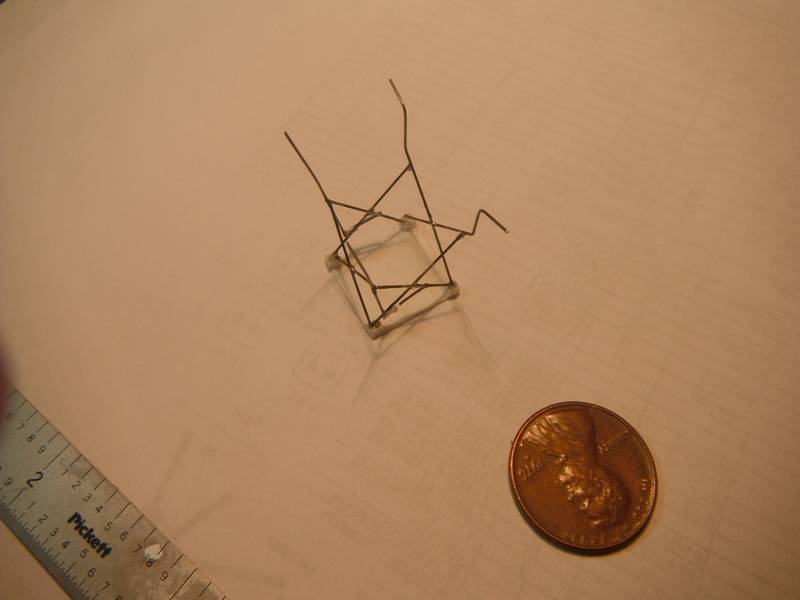
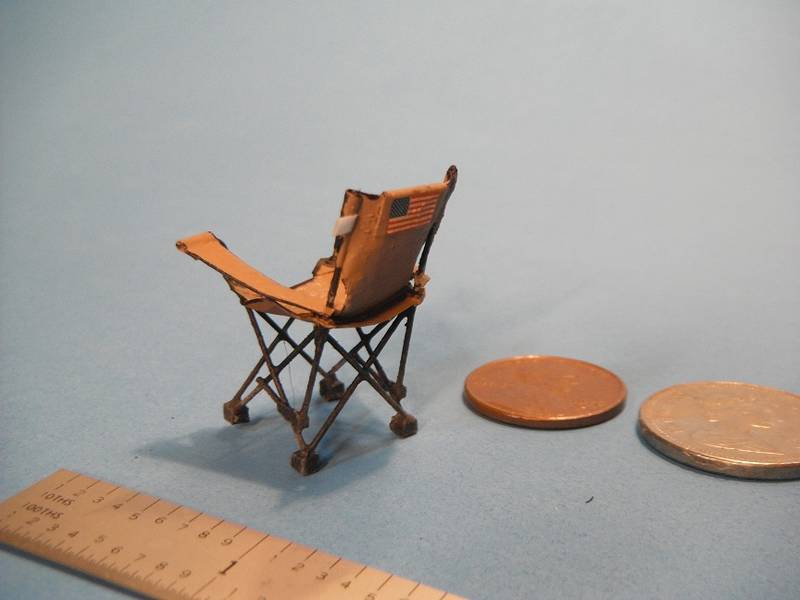
Hi! Hope this is the appropriate location for this in the forums. Wanted to share with you a recent effort to create a modern umbrella type camp chair. Actual field photos come from Prime Portal for 200th Engineers of SDNG 2003. My photos and measurements offered here. This chair is simply .02" wire and mailing envelope paper mixed with fun. I would be pleased to provide better copies of material shown here as requested. Wishing you much success. Enjoy! [img]
Hosted by Darren Baker
Camp chair plans for your enjoyment
Posted: Wednesday, July 25, 2012 - 03:02 PM UTC
Removed by original poster on 07/26/12 - 03:04:17 (GMT).
Posted: Wednesday, July 25, 2012 - 03:08 PM UTC
Wow sorry as that spread sheet is difficult to read! Please see this link on the Gallery for a slightly better copy. https://gallery.kitmaker.net/showphoto.php/photo/379213
Posted: Wednesday, July 25, 2012 - 03:14 PM UTC
Great looking chairs.
Anyone know of any plans for WW2 era furniture, would love to fill some of those bombed out buildings
Posted: Wednesday, July 25, 2012 - 03:34 PM UTC
Thank you sir for kind words
bat-213
Canada
Joined: December 30, 2011
KitMaker: 902 posts
Armorama: 788 posts
Joined: December 30, 2011
KitMaker: 902 posts
Armorama: 788 posts
Posted: Wednesday, July 25, 2012 - 04:17 PM UTC
those charse are cool thanks for shareing.
Posted: Wednesday, July 25, 2012 - 04:39 PM UTC
Thank you Roy
retiredyank
Arkansas, United States
Joined: June 29, 2009
KitMaker: 11,610 posts
Armorama: 7,843 posts
Joined: June 29, 2009
KitMaker: 11,610 posts
Armorama: 7,843 posts
Posted: Wednesday, July 25, 2012 - 04:52 PM UTC
Nice chairs. Can you send me a larger version of the photos with the spreadsheets? I'm going blind trying to read them.
Posted: Wednesday, July 25, 2012 - 05:13 PM UTC
Hi Matt. Thank you for the kind words. I would be happy to send better files. Please see my PM message and we can trade email. All the best. Stuart
Posted: Wednesday, July 25, 2012 - 05:37 PM UTC
More info on the seat covers
jashby
Queensland, Australia
Joined: July 01, 2009
KitMaker: 278 posts
Armorama: 248 posts
Joined: July 01, 2009
KitMaker: 278 posts
Armorama: 248 posts
Posted: Wednesday, July 25, 2012 - 07:31 PM UTC
What perfect 'chairs millionaire'. The first thing we would buy once we got in country and something that I have tried to replicate before and failed miserably. I'm the same as Matt. Any chance I could get a copy of your files as well.
Cheers, John
Cheers, John
Posted: Wednesday, July 25, 2012 - 11:13 PM UTC
Greetings John! Thank you for your words and interest. Yes I would be more than happy to send more information. This was a fun distraction for me. I would suggest a good measuring tool (micrometer), some needle nose pliers or way to bend .020" wire and lots of experimenting. Please check for the PM I sent with my email address. I am wishing you much success and will share anything helpful that I can.
asmodeuss
Quebec, Canada
Joined: November 19, 2011
KitMaker: 1,389 posts
Armorama: 1,388 posts
Joined: November 19, 2011
KitMaker: 1,389 posts
Armorama: 1,388 posts
Posted: Thursday, July 26, 2012 - 12:38 AM UTC
Very interesting topic! I'm saving this one for my m2a2 ods rebuild.
Phil
Phil
Posted: Thursday, July 26, 2012 - 01:46 AM UTC
Thank you for your interest and kind words Phil. Still trying to get better images up that would be more useful. Looking forward to seeing your Bradley effort! All the best
Posted: Saturday, July 28, 2012 - 02:20 AM UTC
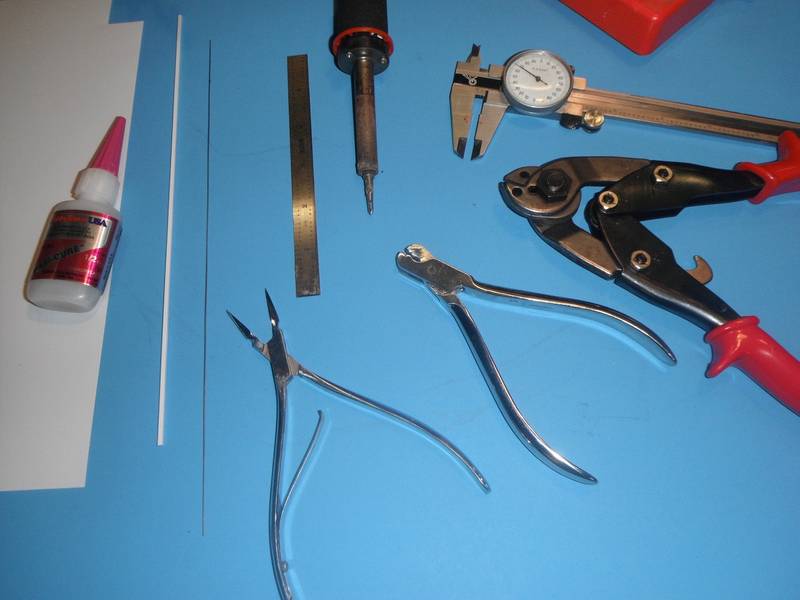
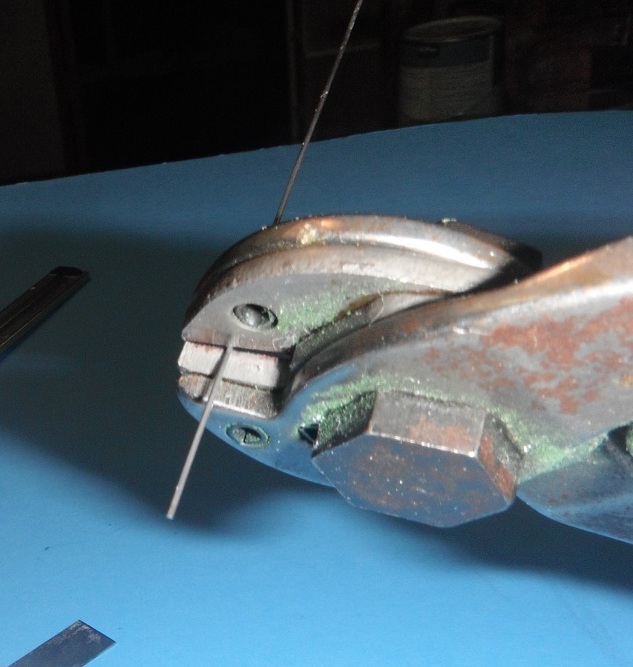
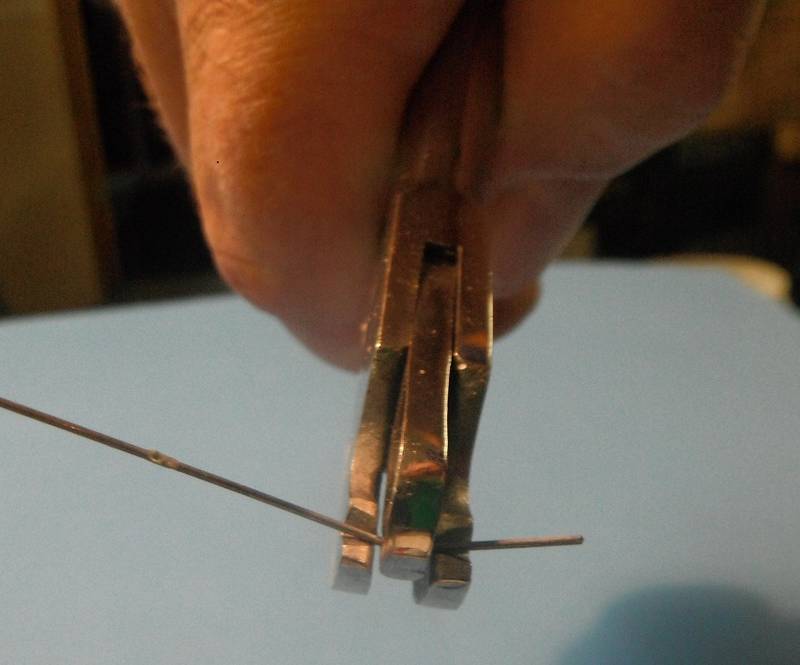
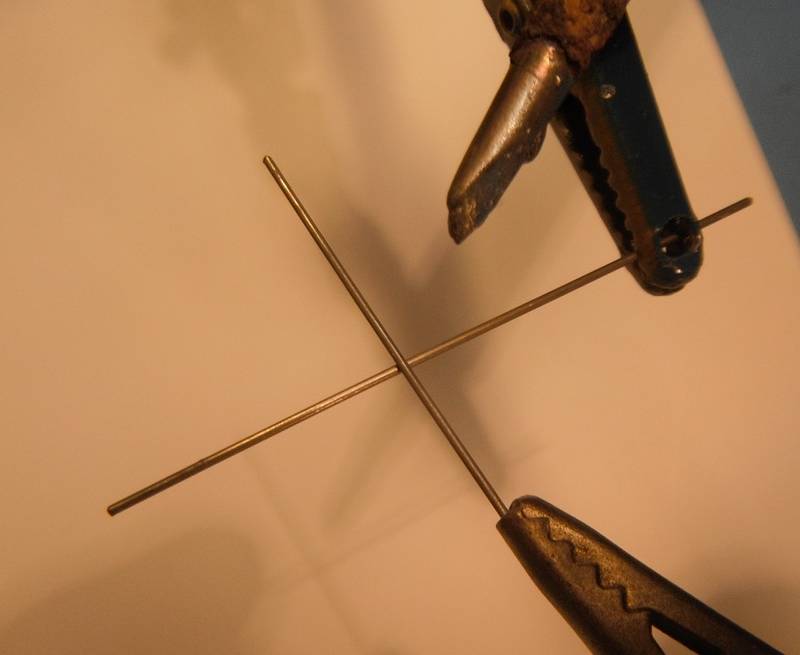
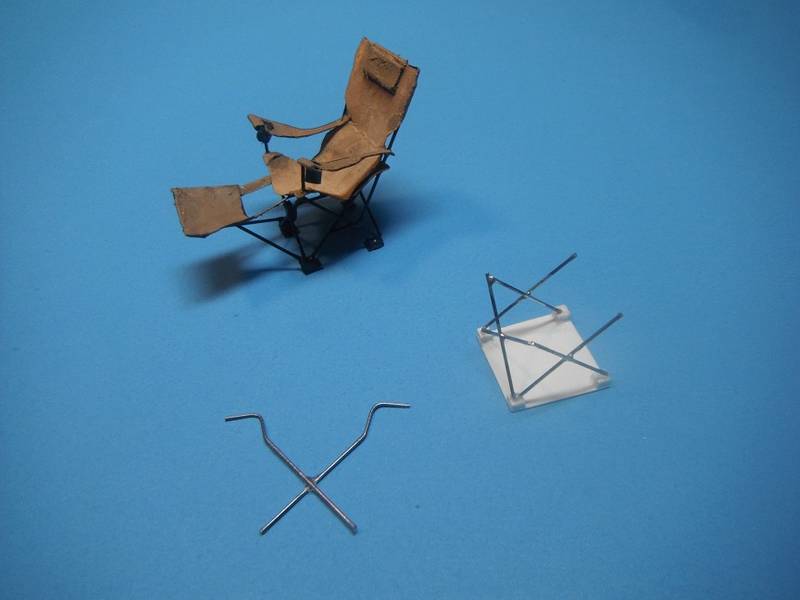
Thank you to all for the interest and kind words here. I wanted to follow up with some more details of tools that I found useful to work up the chair frames...oh yes and not shown the wife's little scissors for cutting the paper helped as well... These shears made it easy to control the length of cut... and of course tight repeatable bends...
Posted: Saturday, July 28, 2012 - 02:23 AM UTC
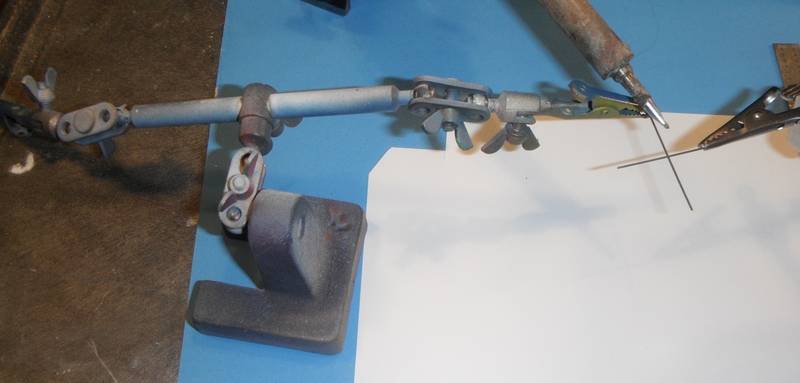
Helping hands during the glue set or for soldering are ...well...helpful!
Posted: Saturday, July 28, 2012 - 02:32 AM UTC
of course as we all know... the most useful tool is trial and error! “This is not the end. It is not even the beginning of the end. But it is, perhaps, the end of the beginning.” Sir Winston Spencer Churchill
Posted: Saturday, July 28, 2012 - 02:50 AM UTC
From Prime Portal Website 200th Engineers SDNG 2003
SdAufKla
South Carolina, United States
Joined: May 07, 2010
KitMaker: 2,238 posts
Armorama: 2,158 posts
Joined: May 07, 2010
KitMaker: 2,238 posts
Armorama: 2,158 posts
Posted: Saturday, July 28, 2012 - 03:40 AM UTC
Hey, very cool project!
These chairs are now available in "tactical" colors, but when we crossed the LD during OIF, all of ours were in "holiday" colors! Every guy in my team had his own folding chair, and everyone of them was a different color and a slightly different design.
In this pic, you can see the folded sea-foam blue and yellow chair in the fore ground sitting on the corner of the 3/4 ton trailer.
Another bit of trivia: That trailer was delivered new to our unit just before we deployed, and so to camouflage it we painted it with rattle-can spray paint from the local Walmart! I wonder what the Tamiya paint match is for that?!
(It was also equiped with farm-type pick-up truck bed fuel tank - the kind used to re-fuel farm tractors - to extend the range of our team. We purchased that from a local farm supply store in bright polished aluminum, the only color available, and after hand sanding it, also painted it with the same rattle-can paints.)
So, depending on the time period you're modeling, you can use these chairs to add a splash of color to a model or scene. Inscriptions and names written in marker on the chair backs were also very common.
Thanks for sharing your build technique!
BTW: Don't forget the cup holders on the arm rests!
Posted: Saturday, July 28, 2012 - 05:11 AM UTC
Great stuff Mike! Please post more photos as the bright colors are awesome. I do suggest plastic tube stock to make cup holders, but what to put in them? Only water bottles and non alcoholic beers, right?
Posted: Sunday, July 29, 2012 - 08:05 AM UTC
One thing I noted on the actual chairs I own is how the frame tubes are off set to make room for folding. These are pinned joints that I tried to model by solding. When finished I had to keep up with which tube was on top, or fore vs aft, or outboard vs inboard of the connected tube.
The spread sheet here numbers 14 different tubes (or 12 tubes if you leave off the foot rest) and listing of fore/aft/in/out. Hope this helps as it was a surprise to me all the parts and "engineering" that goes into the design of a simple thing like a common camp chair. Trust this post will motivate others to try their hand at more scratch building. I always enjoy seeing what the talented folks on this site come up with. All the best
Posted: Monday, July 30, 2012 - 05:04 AM UTC
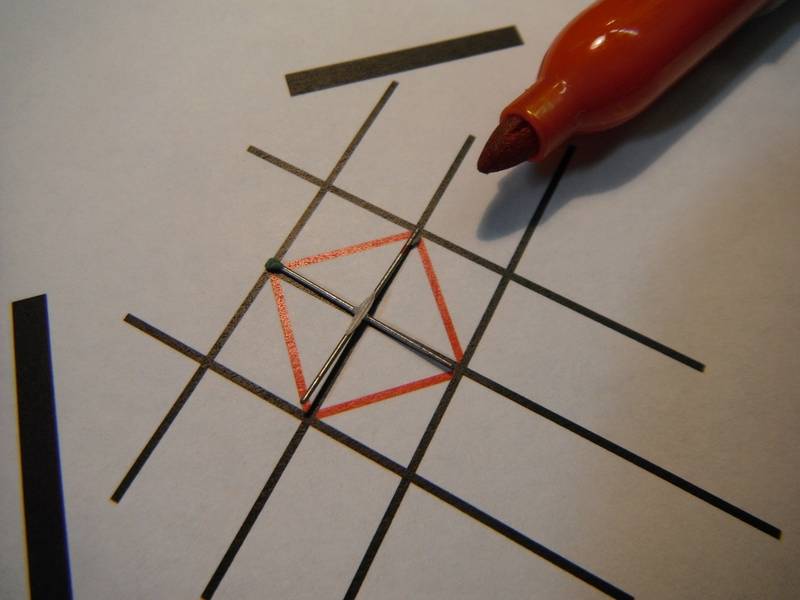
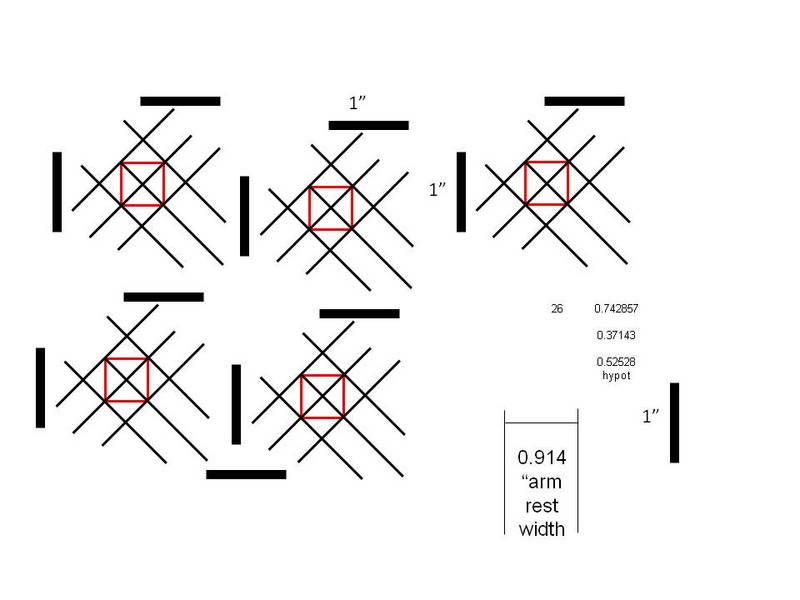
Decided to include here a little marking guide that I found helpful made up on PowerPoint. I used a marker (red as I could see the mark on the wire) and then used the edge of the mark for a cut line. Typically I would shear a little long and then adjust with the grind wheel. as this allowed some bevel to the end for fit. Hope this helps and looking for your improvements. Cheers!
air-aset
Ecuador
Joined: March 25, 2004
KitMaker: 84 posts
Armorama: 36 posts
Joined: March 25, 2004
KitMaker: 84 posts
Armorama: 36 posts
Posted: Monday, July 30, 2012 - 12:33 PM UTC
Beautiful work, congratulations.
Posted: Monday, July 30, 2012 - 01:42 PM UTC
Thank you Gonzalo! I have seen your Merkava MkIII photos, so your words hold special meaning for me.
Posted: Tuesday, September 11, 2012 - 12:02 AM UTC
Thanks to recent interest in these camp chairs, I tried another frame with some thinner wire stock, .015 rather than the original .020 inch. I think after a coat of paint this might look less "chunky" than the .020 frame. Have not painted yet, but wanted to offer something to think about for comparison. I think the thinner wire is also easier to work with when making up for my sloppy cuts as it bends to fit. More to come soon after paint and seat cover. Thanks for looking. Enjoy!