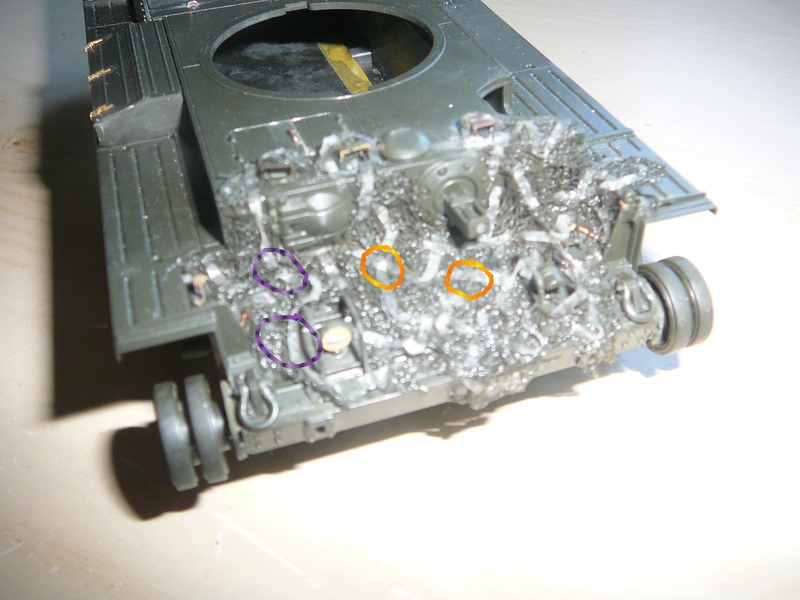
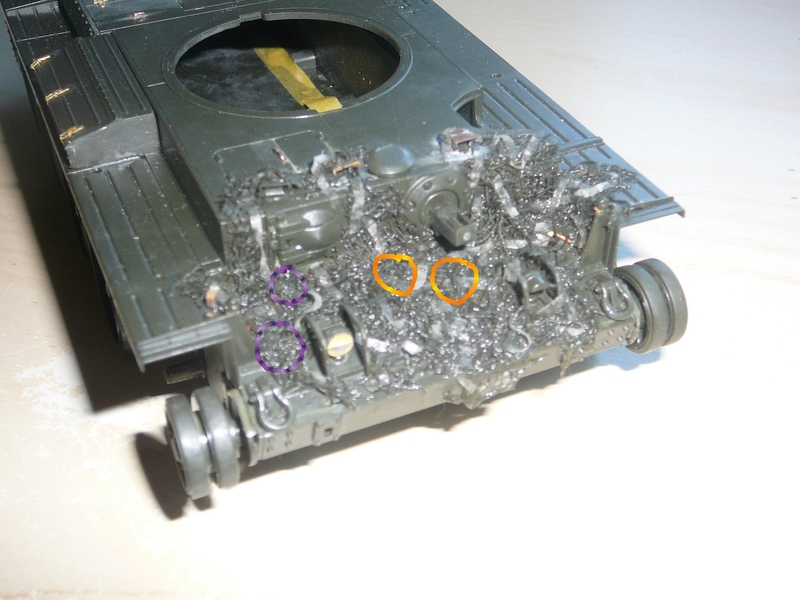
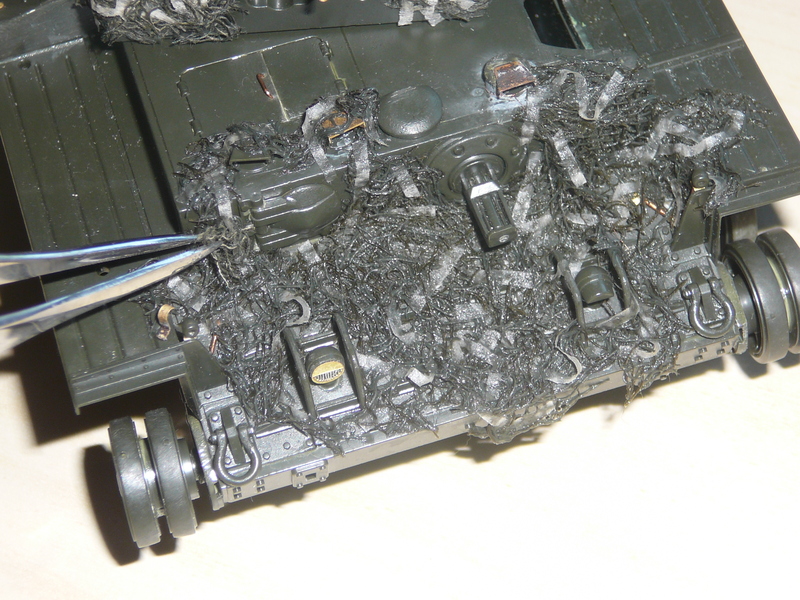
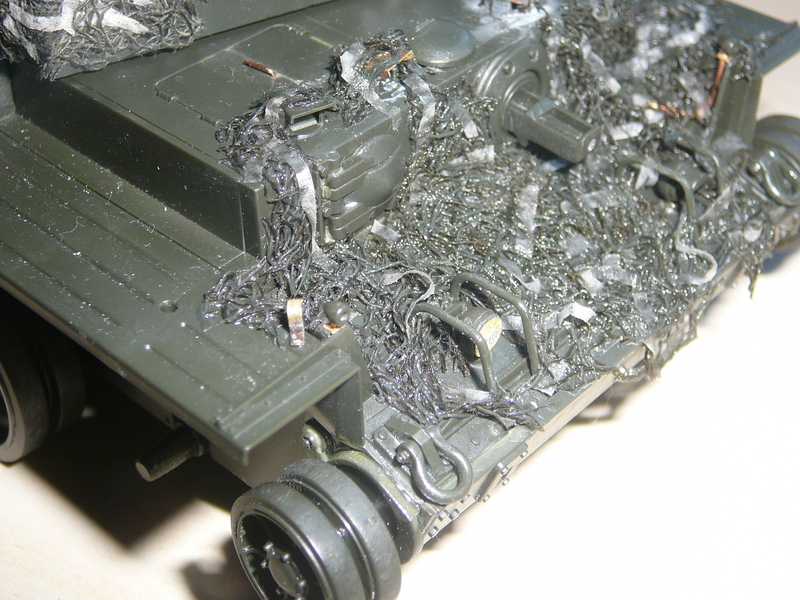
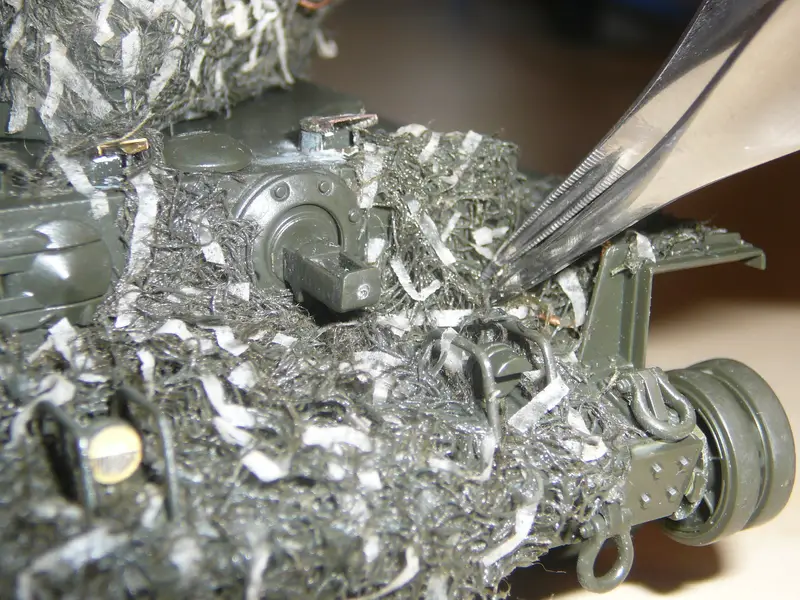
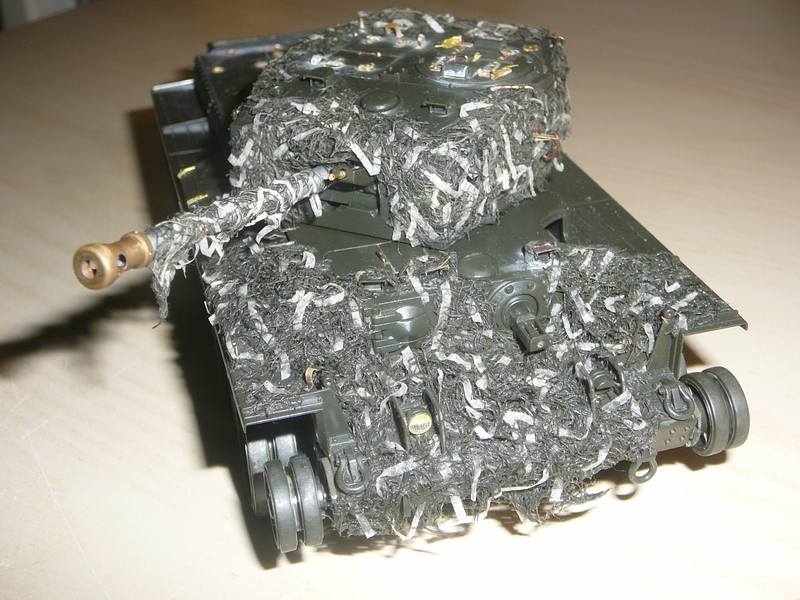
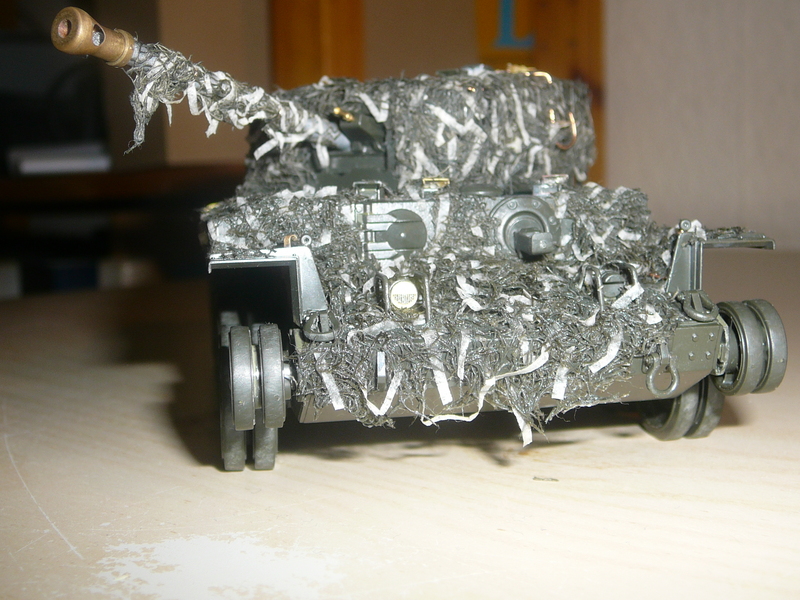
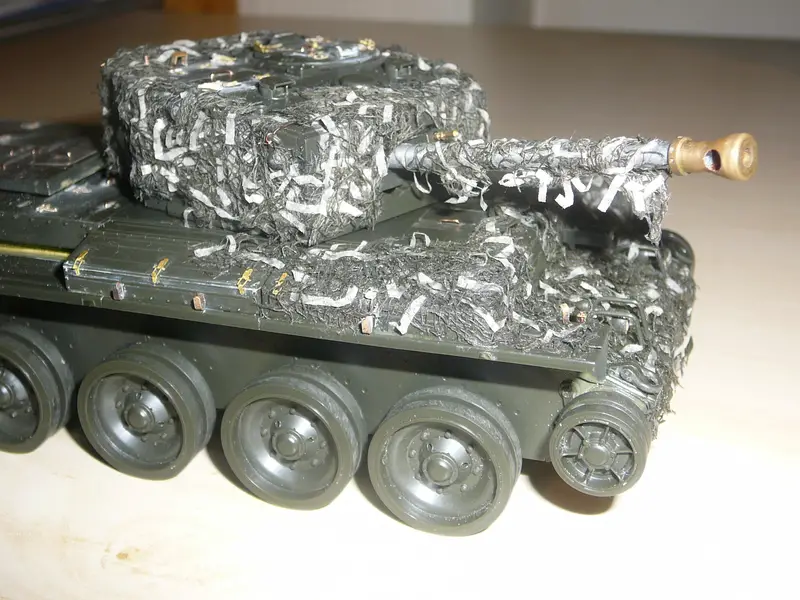
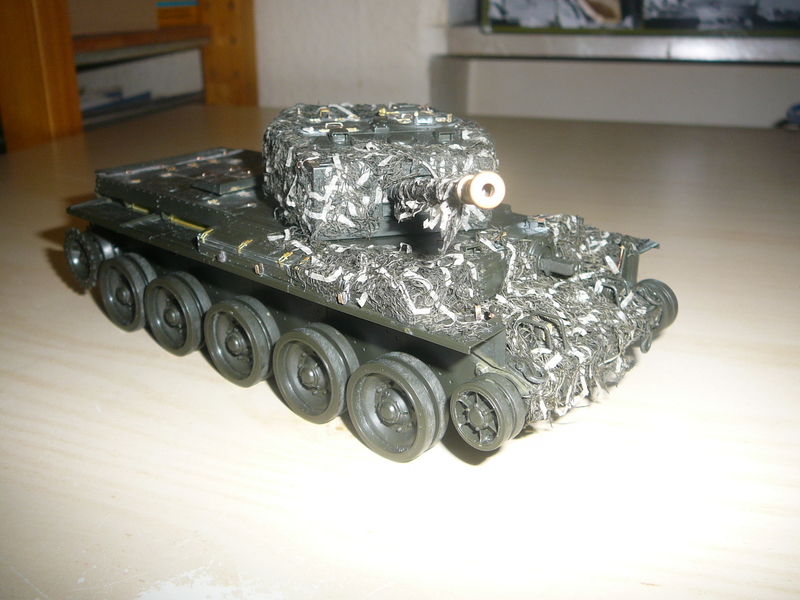
As perhaps some of you have noticed, I have tried to replicate the so-called “Hessian Tape”-Camouflage netting, which has been used by british armed forces during WWII on their vehicles. Because I was pleased by the result and perhaps others have tried to replicate this netting as well but have not found a convincing way of doing so, I made a short "How-To" which I want to present you here. I would be happy if some sort of discussion and of course ways to improve this method could emerge.Unfortunately, due to a little mishap with my camera, 2 or 3 pictures are out of focus. I do apologise, but because I didn` notice this early enough and counstruction progressed, we have to live with that. I have numbered the pictures so for reasons of easy understanding, one should mention the number if questions are to be asked.One thing in andvance: I am not an native english speaker, so, if you are not able to understand at a certain point because of my grammar or spelling, just please ask or drop me an PM.
Let`s go!

Pic 1: We need: olive green army wound bandage, in this case german army ones. I think that other armys supply these as well so this should not be a problem, water-soluble ehite/wood/PVA-glue, some tea filters (as big as possible and square-shaped for easier work, ), a pair of scissors, a soft brush with long hair (avoid hard brushes as you can easily ruin your work with these), some toothpicks, a pair of tweezers with a fine tip, some wire (use a diameter you like, depending on the model), some tissue paper or handkerchiefs,a small pot to mix something in and of course: a model. I strongly recommend NOT to use white wound bandages. You are risking to complicate things because these will leave white fluffy, well, fluffs which are hard to wipe of and it is likely that you will leave some white spots where you can`t reach with the airbrush. Just don`t risk it.

Pic 2: The first step: take a minute and have a look on your model to decide on which parts of your model no camouflage net should be applied. There`s no sense in hiding your models outstanding details. You also should, for reasons of reality, avoid adding camouflage netting to
- muzzles and optical equipment ofweapons
- rotating or moving parts like the lower part of the turret and hatches
- vision ports
- ventilators, fans and(on the real thing probably hot) exhaust pipes and air outlets
- lamps, reflectors and headlamps
- tracks and wheels or places, where the net could easily be torn apart by these
Sounds simple, but you should invest 2 minutes for this Now we will finally start with the fun part: the construction.
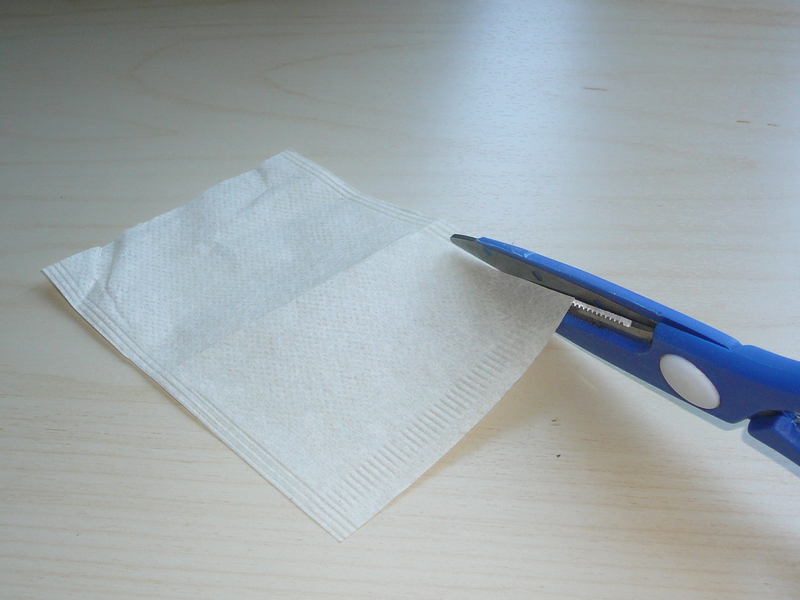
Pic 3: First thing is to get a tea filter and cut of the fold left and right. Keep the fold on the bottom where it is.
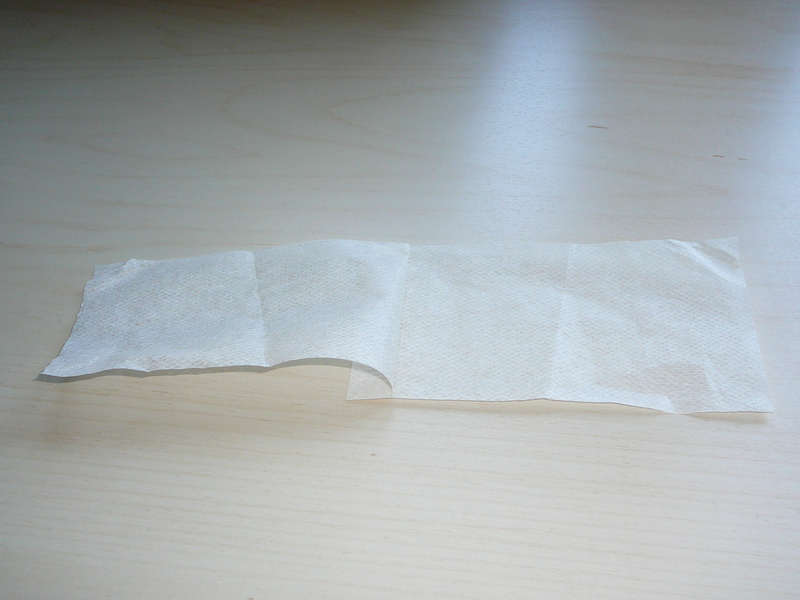
Pic 4: Now you have a double layer of tea filter which is held by the bottom fold.
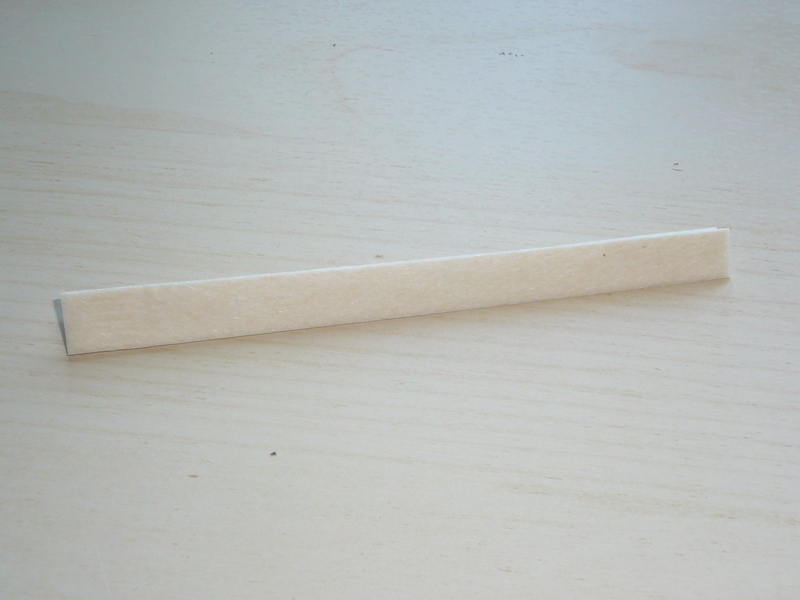
Bild 5: Fold back the double layer (or just leave it, as it is. I`ve just unfold these for illustration), then bend it, that the bottom fold is eather on the right or left side. Bend it as often, as you can.
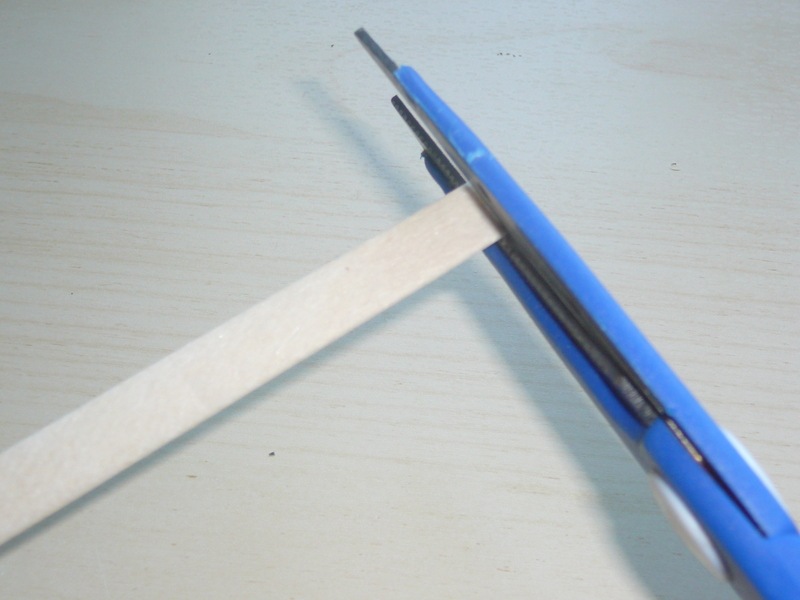
Bild 6: Now cut of small strips of the folded tea filter. for 1/35 scale i`ve tried to get strips with a width of aprox 2mm. You only need a minute to figure out, how to cut these best. If you like you can of course vary in width, regarding your taste and the scale of your model.
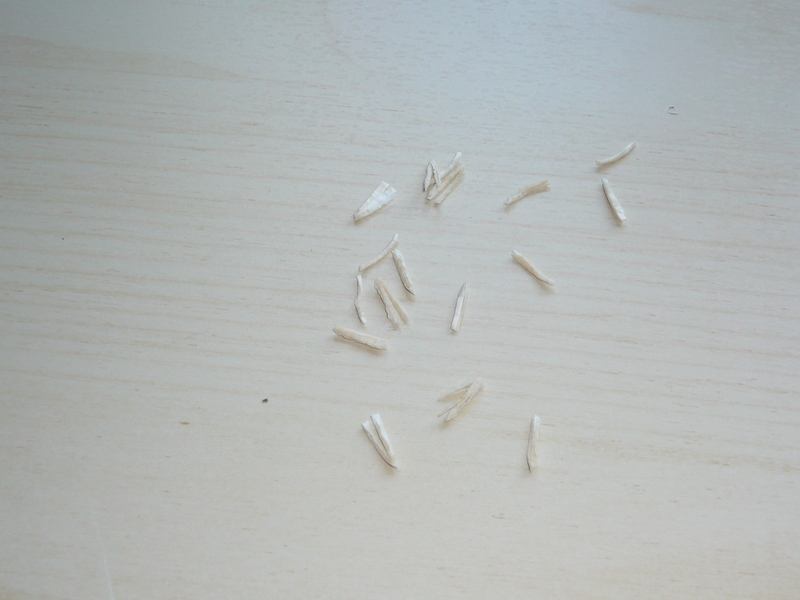
Pic 7: After some minutes you have plenty of these "strip-packages".
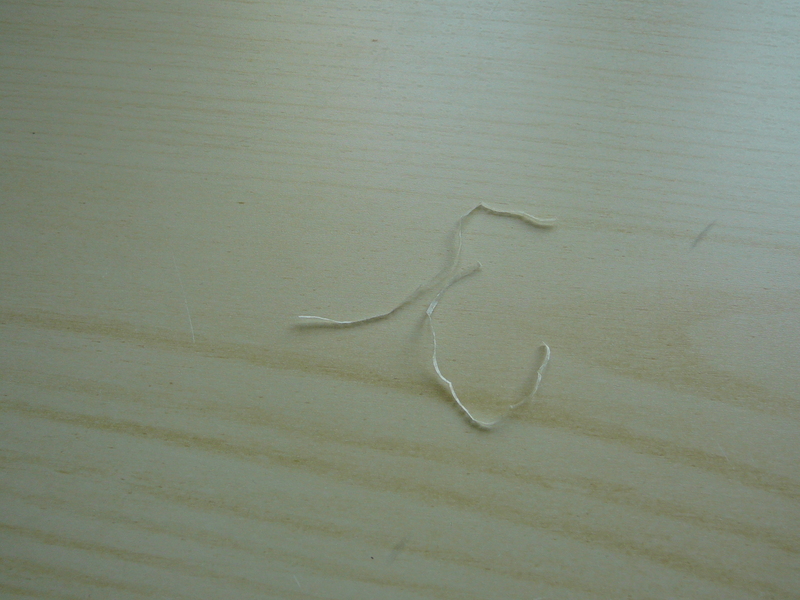
Pic 8: Now open these with the tweezers and pull out the single strips.
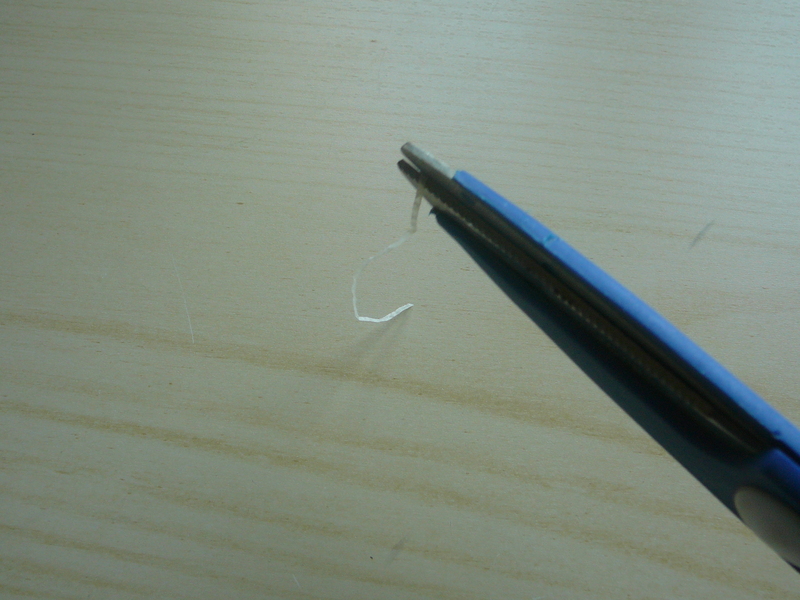
Pic 9: Now cut the strips in individual pieces variing in lenght.
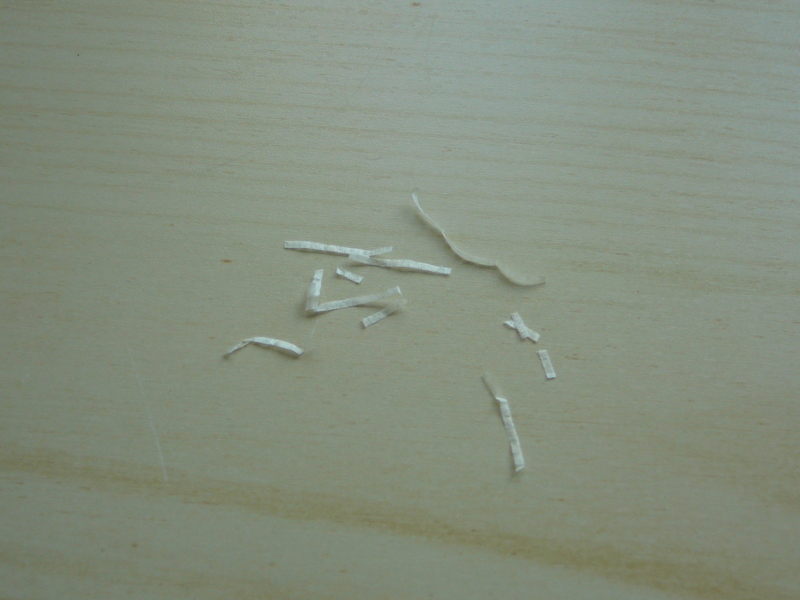
Pic 10: I tried to gather an assortment of strips ranging in length from aprox. from 5mm to 5cm.
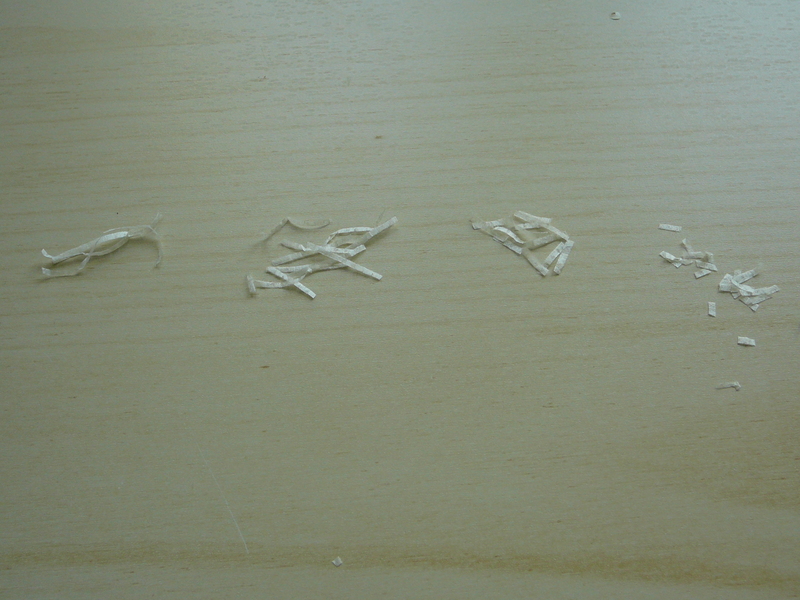
Pic 11: After some minutes I have quite a lot of strips, which I sorted for easier access while modelling the net.

Pic 12: Next step is to cut some strips of wound bandage, also differing in width.

Pic 13:Next step is to unroll your wound bandage an to cut it in little pieces, whereat you can tear apart the smaller ones easily with the tweezers. The biggest pieces of wound bandage which can bee seen in the picture are perhaps 1cm², the smallest ones consist just of few strings.
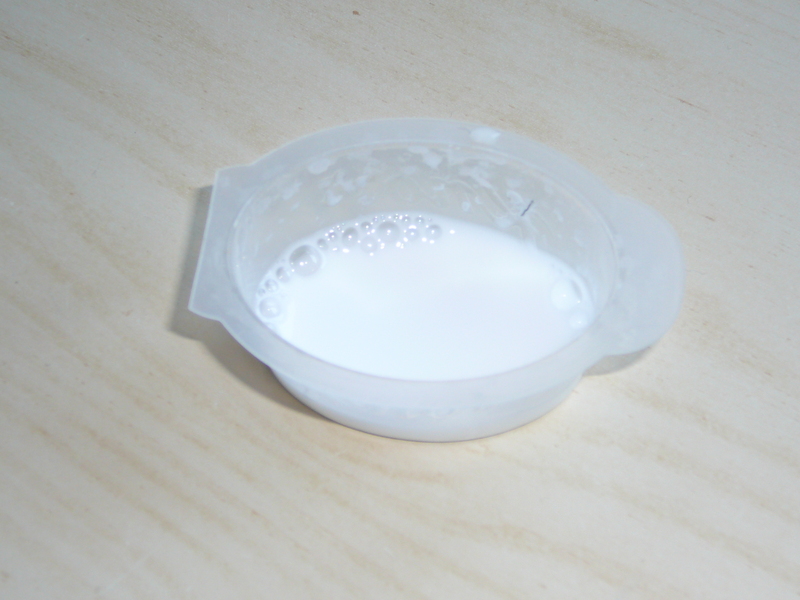
Bild 14: Afterwards you need to mix some PVA-glue with water. Not the biggest challenge for sure, but you have at least to avoid the mixture getting to thick or to thin. . If the mixture is to thinn, the tea filters and the bandage wont harden out properly, if the mixture is to thick, the bandage will not get soaked with the mixture; only some thick glue drops will form on the surface of the bandage. Just try before you applie the mixture on the bandage.
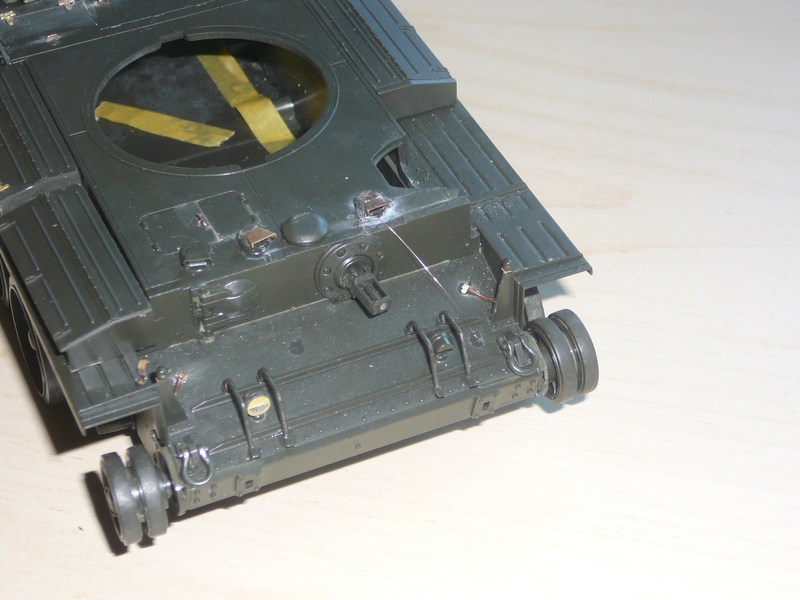
Pic 15: If you like to do so, you can use some thin wire to replicate strings holding the netting. I tried this with some wire, which is only knotted around the armour ring of the drivers periscopes and fixed with a small drop af instant glue.
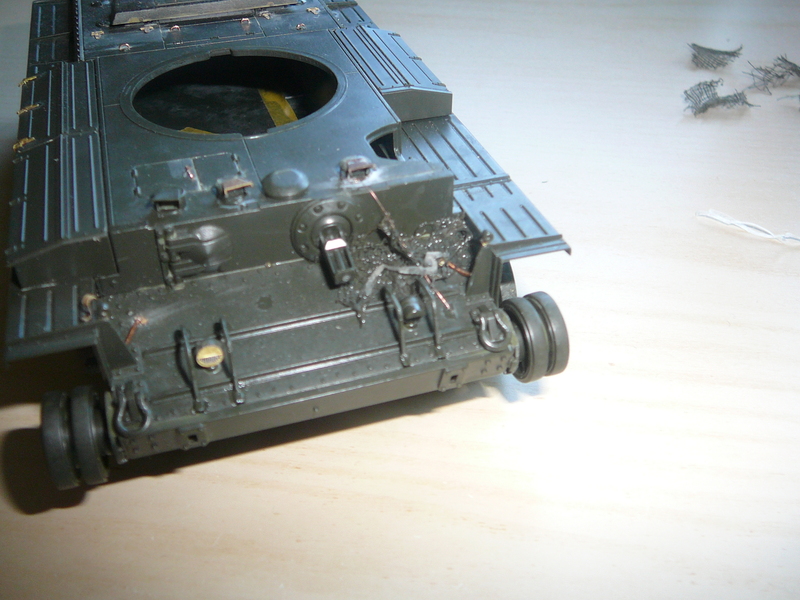
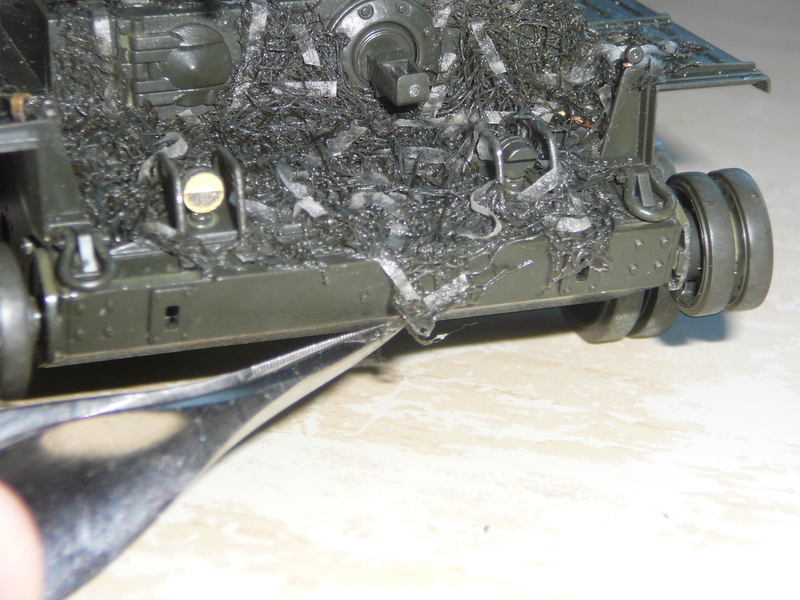
Pic 16: Now you can apply some netting on the model for the first time and fix it with the water/glue-mixture. I prefer using smaller pieces of bandage instead of one big net, because I am able to work forward step for step to achieve the result I desire. So I am able to put each small part on the exact location. The excess of work to cut the bandage is manageable. Now you can also apply the first strips of tea filters. In this stage of the process you are free to use some longer strips, as these will be covered with netting later. So, nobody will see, that these are in fact real long strips. Thus will save you some work, cutting the strips. The main advantage of using longer strips is in fact that it is much more easier to give some effects to them like curves, bends, sharp bends, knots and els than it would be with shorter strips.

Bild 17: During the whole process, I am repeatedly touching the netting with some tissue paper to soak excess glue of the model. Otherwise the glue could settle as a kind of film, destroying the structure of the netting. You also minimize the risk of glue running over your model. It is posible to add more glue, if necessary, perhaps if the netting is not going to harden properly. Removing excess glue is much more difficult, so you should not use to much at once. Adding glue at a later time is, as mentioned, possible everytime.
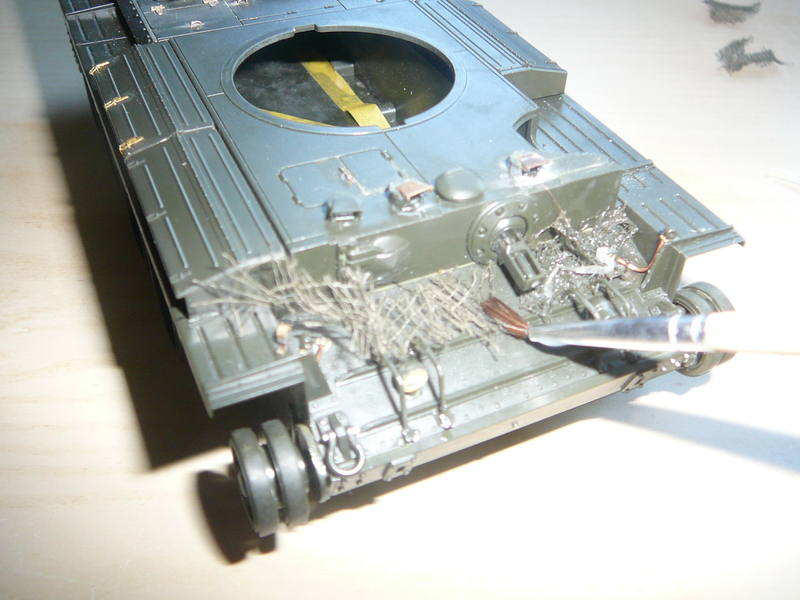
Pic 18: The easiest way to apply the net is to give a small amount of the glue/water-mixture on the model, apply the net, wait until it sticks to the surface and than to dab the net with a soft brush and the mixture. So the net cann settle on the model and you can now use the brush, tweezers and toothpicks to push and pull it the way you like..
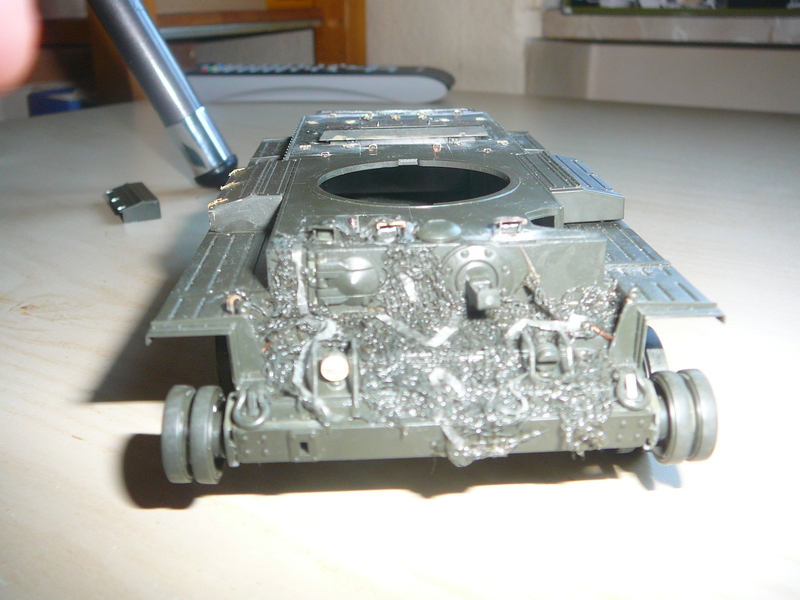
Pic 19: Now you can, step after step and piece after piece, cover the area you want to be furnished with the net. In this stage you should add holding strings and some tea filter strips until you have coverd your model with a basic layer of net and strips.

Pic 20: While appliing the base coat of net and strips you can already add some effects to your model. In my example, Tamiya`s Cromwell i left some parts of the turret and the holding strings uncovered to replicate the effect of a camouflage net slipped of the turret and hanging down the side. So you can achieve a nice contrast between the straight turret side and the woven net. The strings showing through the net are also some nice details.


