Turret Part IIOnwards and upwards with the T-80s turret:
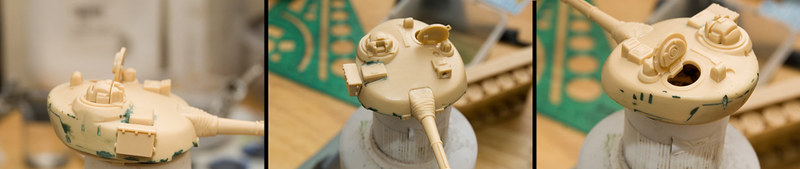
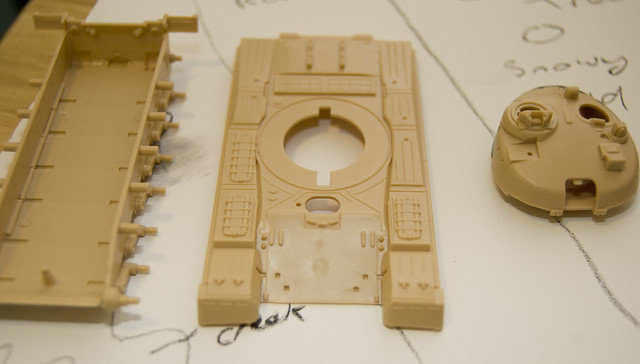
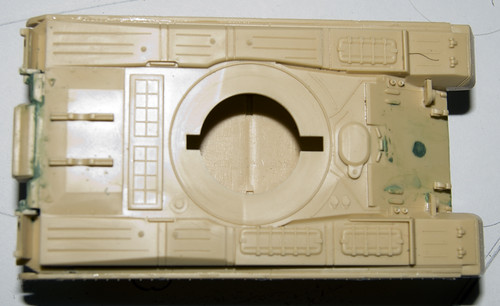
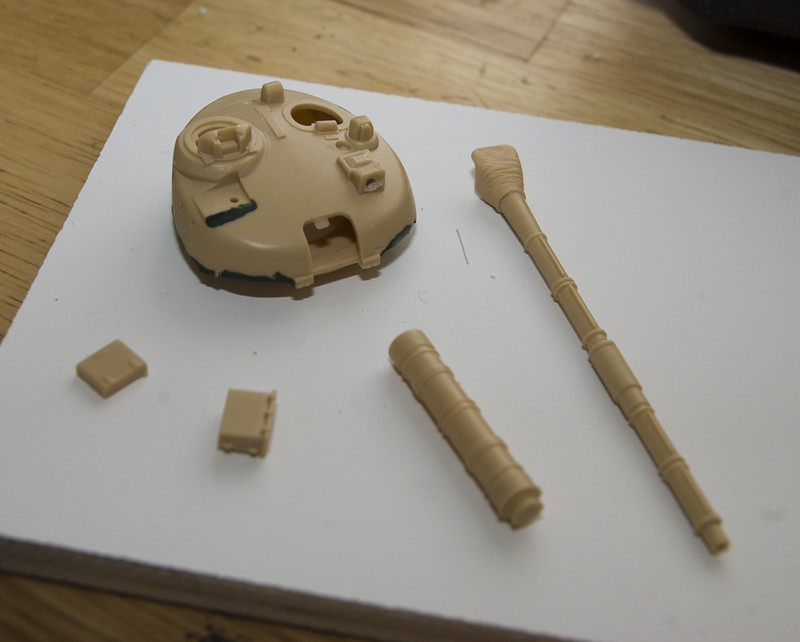
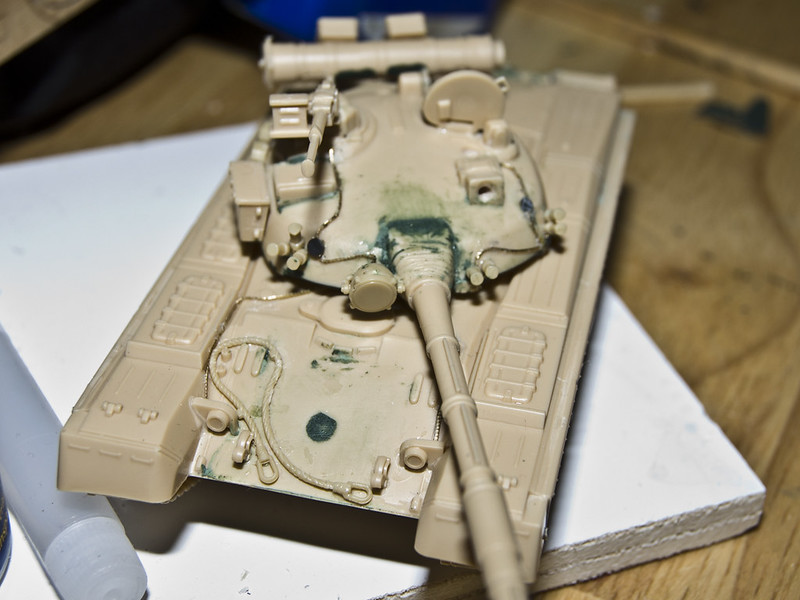
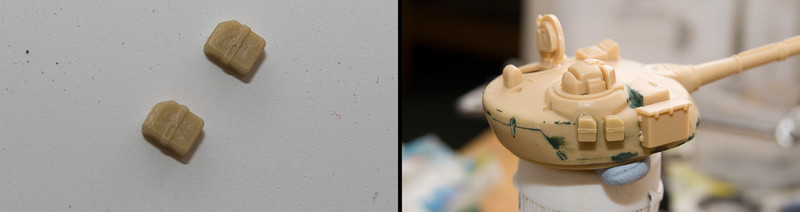
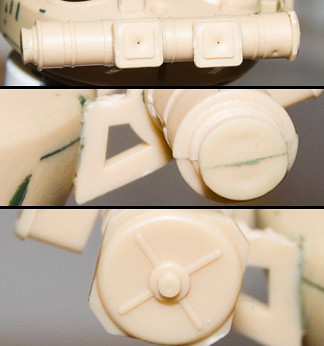
In the above set of pictures youre pretty much looking at everything provided in the kit for the turret
minus the snorkel and machine gun. I think you would agree that it is pretty bare looking. Its not totally without merit though; the gunners hatch can be posed open and the interior detail is nice for this scale. Also the various vision blocks around the turret also look pretty nice.
I suppose it is worth clarifying the different T-80s available from Revell. I have the old
T-80 from 1995 which is a direct copy of a Matchbox kit from what Ive read. This is the kit to be
avoided if you want a more faithful rendition of the turret. Revell have two other T-80 kits on the market including a
T-80B and a
T-80BV. Both of these kits have an extra sprue that includes all of the missing detail on the turret and I think Revell redesigned the machine gun as well. As far as Im aware the T-80B is the main production model at the moment, the T-80BV has been discontinued for the time being but I bet you can still find them.
For 1/35th scale modellers Revell also have a
T-80UD but, honestly, I know absolutely nothing about the kit.
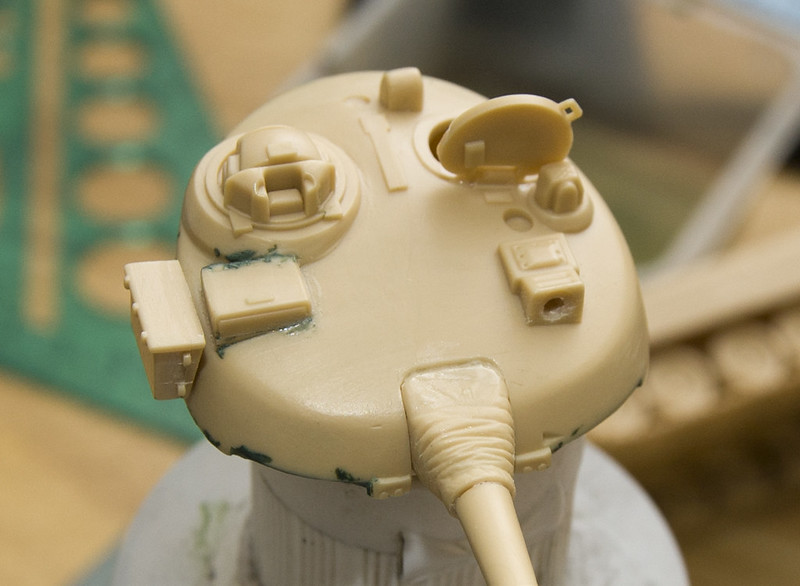
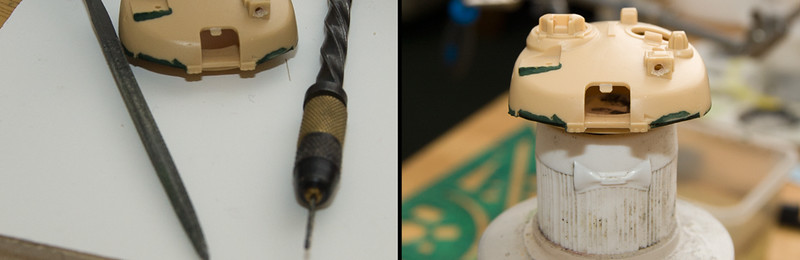
Ive also mounted the cannon to the turret. It sits onto a very small tab jutting out from the top of the turret. When I fitted the cannon on I noticed it was canting to one side so I applied a little pressure to help if sit flat and the tab gave way; too much pressure and tad bit too much glue I reckon. No big deal though, I got the cannon fitted into place though I was left with that step between the canvas and the hull that you can see in the picture above. Thatll be sorted out with Liquid Green Stuff in another set of pictures later on.
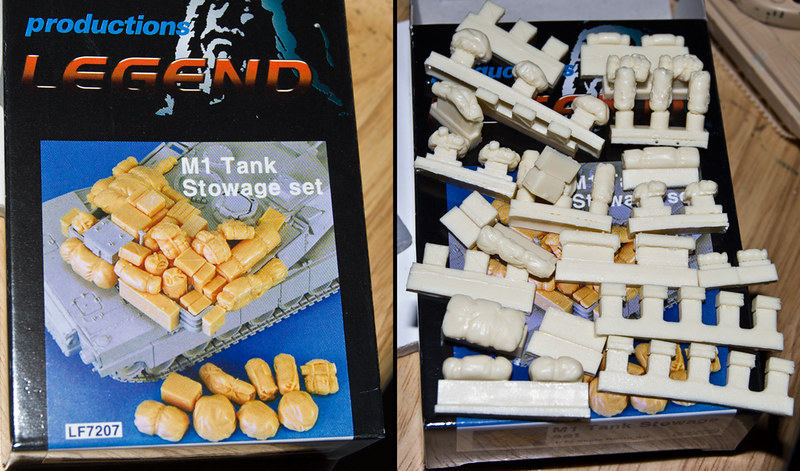
Cannibalising the T-72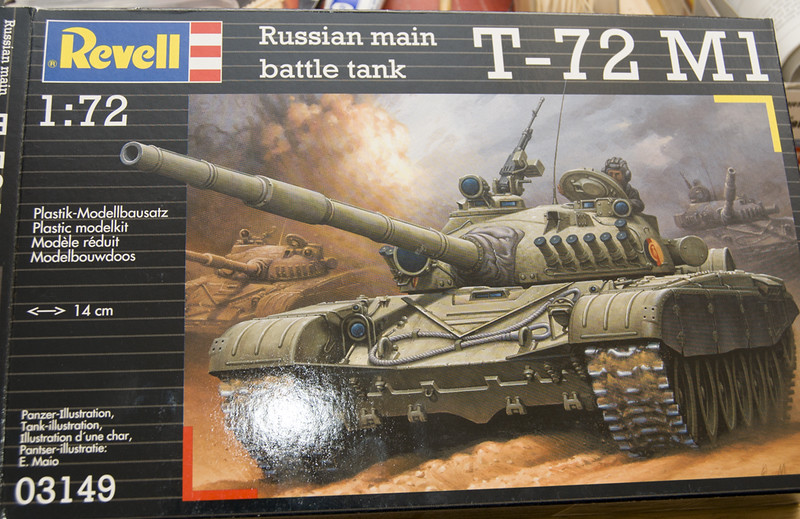
When youre short on cash its always a good plan to start your projects around your birthday, well assuming you have a supportive partner that is. The T-72M1 from Revell is a really nice kit bursting with details. It also includes decals for East Germany, Finland and Iraq.
Now as it happens one of the other diorama ideas I have floating around involves an abandoned Iraqi T-72. I wont be getting around to doing that until sometime later this year or perhaps next. In the meantime I can happily take some gear from the T-72 for the T-80; the Iraqis wont be needing it.
I should probably state at this point that the accuracy of my T-80 versus the real deal is about the take a nosedive. To create a more complete looking take Im using my artistic license in taking these parts and adding them to the T-80. If I was working on a 1/35th scale tank Id give some series thought to scratch building items from styrene and Id give more credence to how accurate the tank looks. But in 1/72nd scale I just couldnt scratch build this stuff, the smoke launchers are tiny and I couldnt make them myself. Im sure someone can though and fair play to that person for doing it. Anyway, on with the build.

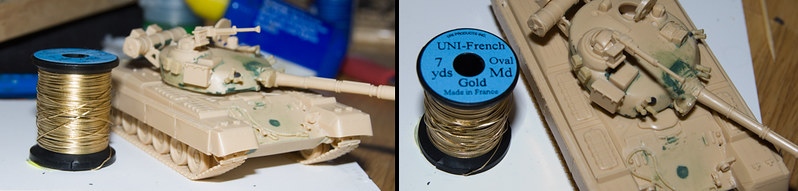
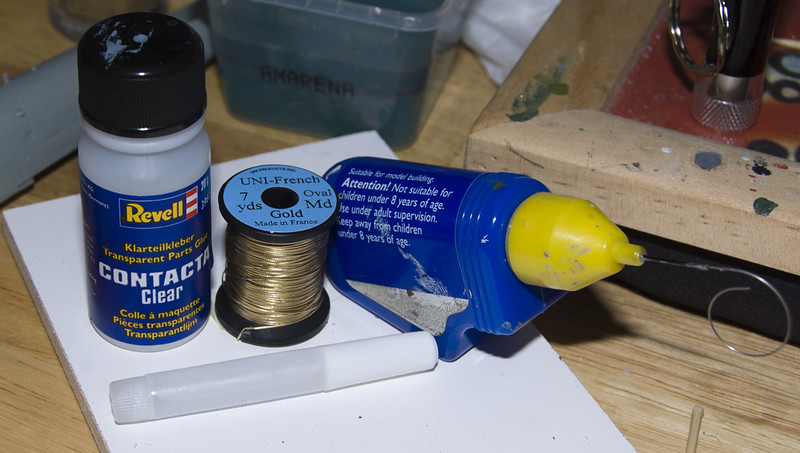
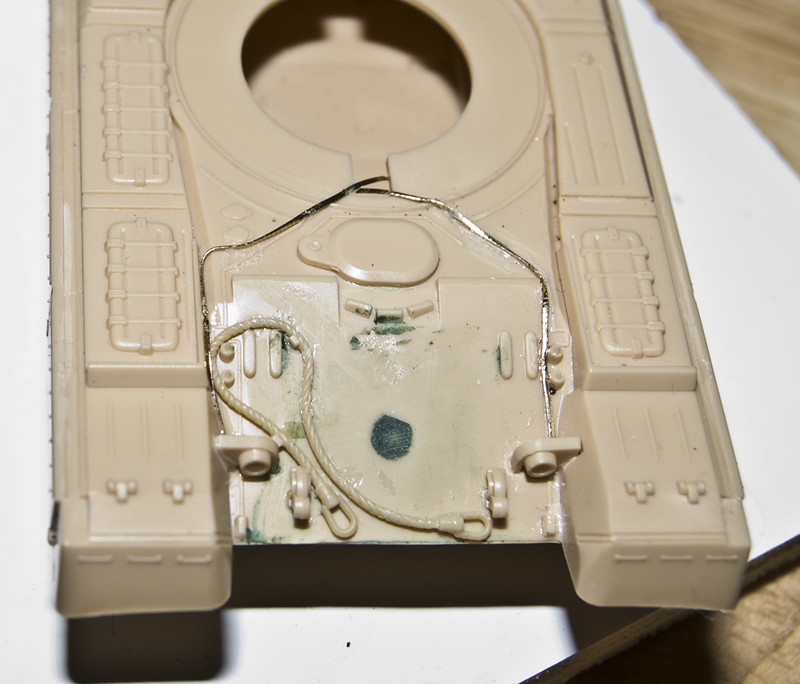
First of all Ill be taking a tow cable. The T-72 kit comes with two tow cables, one for the front of the tank and one for the back. The T-80 kit comes with none despite the fact that the box art clearly displays one. Box art can be misleading at times.
The tow cable needs to be handled delicately as it can break pretty easily. There were a few times when I was cutting off the excess plastic left over from the sprue tabs that I thought it was about the snap. I think it adds some nice extra detail to the front of the tank and it should add some extra colour and weathering possibilities once I get to that stage.
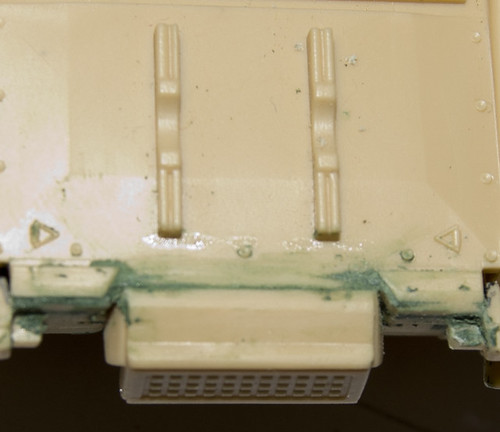
Next Im adding these two little storage boxes. I think these are supposed to ammo cans for the machine gun on the T-72 or they might be something else entirely. Either way, they look quite nice sitting on the side of the T-80 and frankly I think the T-80 needs a little busying up.

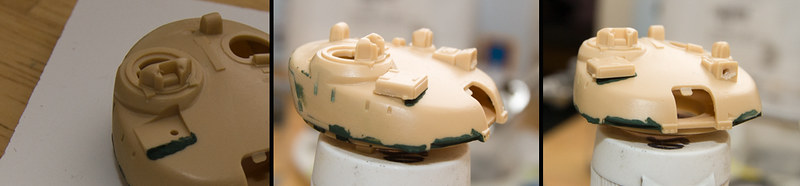
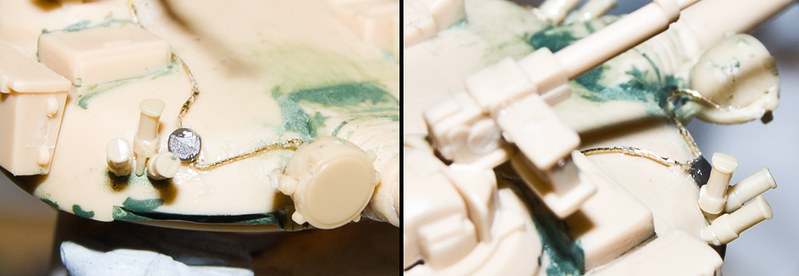
Now we come to one of the main reasons I decided to part out the T-72, the Infra-Red Searchlight. The searchlight goes together pretty easily and only needs a little modification to be transferred over to the T-80. Coming out the back of the searchlight is a long arm that I cut down into a much smaller stub as otherwise it would be sticking out from the T-80 is a strange way; the T-80 and T-72 have differently slopes to the front of their turrets.
Beside the searchlight in the first picture above is the guide arm that fits onto the searchlight and then hooks into the mantlet. Presumably the guide arm pulls the searchlight along when the cannon elevates. Unfortunately the guide arm didnt survive removal from the sprue, it was just too small, too delicate and it broke it half pretty easily.
So I cheated. I was having trouble getting the searchlight to sit still on the front of turret as the glue was setting so I actually attached the side of the searching to the mantlet cover. The searchlight should probably be off to the left a little more but it doesnt look terribly out of place and I doubt anyone is going to notice. In fact, forget I said anything.
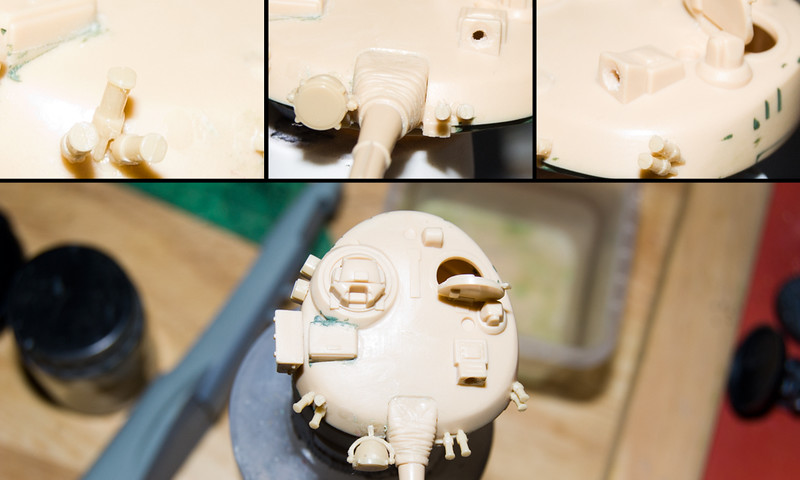
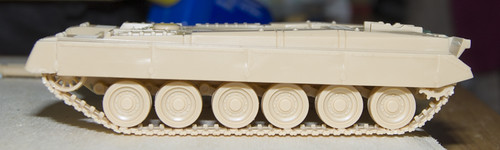
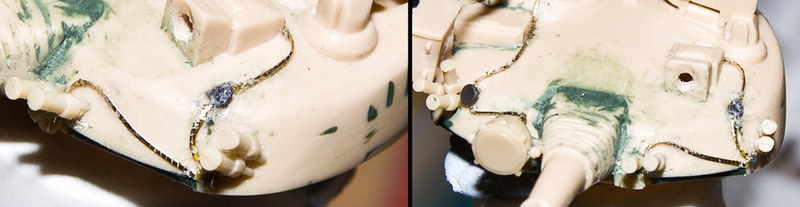
The second reason I decided to part out the T-72 was the lack of smoke grenade launchers with this version of the T-80 kit. When placing the T-72s smoke launchers I carefully looked over a copy of the instructions from the T-80B and tried to match them in placement and position with those on a T-80. I think I got them fairly close. I mean theyre not perfect but they look the part and that is what is important to me in this build. As you can see from the bottommost picture the T-80s turret is starting to look much busier and dare I say proper.
Turret Part III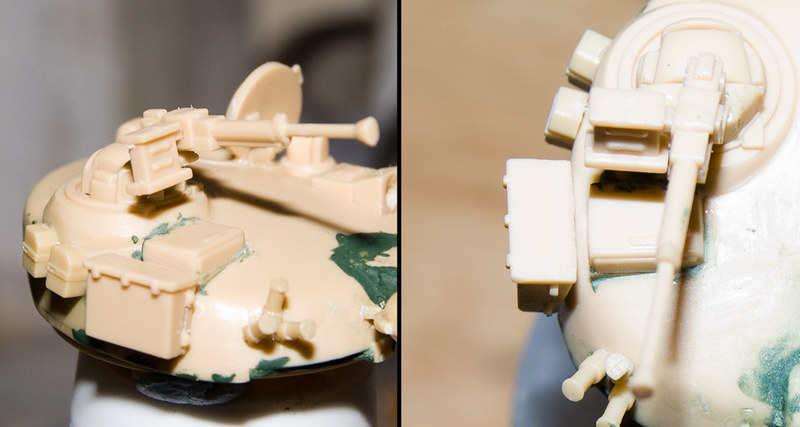
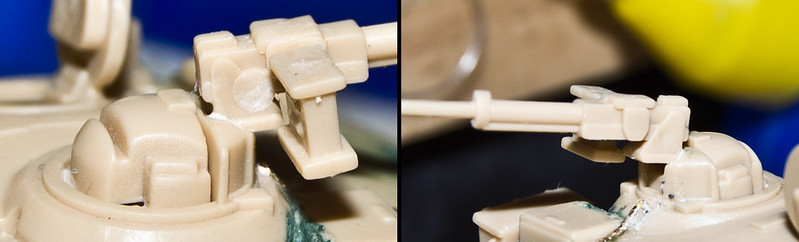
Next up is the kit supplied machine gun and this threw me for loop for quite a while. I just couldnt figure out how it was supposed to attach to the commanders cupola. In the end I just glued it into place in the vague hope that Id gotten it right. The machine gun is lacking a fair bit in detail and I believe in the other two Revell kits it was redesigned.
The round dome shape of the commanders cupola and the lack of any obvious trigger mechanism on the gun have lead me to suspect it might be remotely operated from inside the vehicle. The T-80 was certainly supposed to have been fitted with enough advanced technology that the Russians decided to not to export it. Then again it could just be laziness and poor moulding on behalf of Matchbox. Perhaps someone with better knowledge in SovietRussian armour would know?
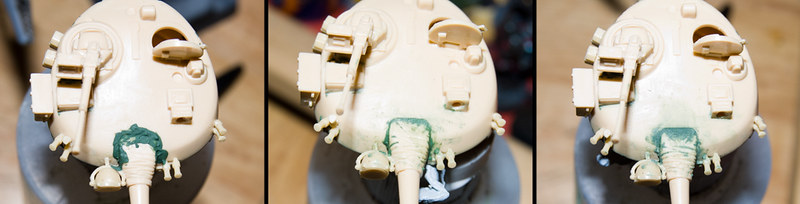
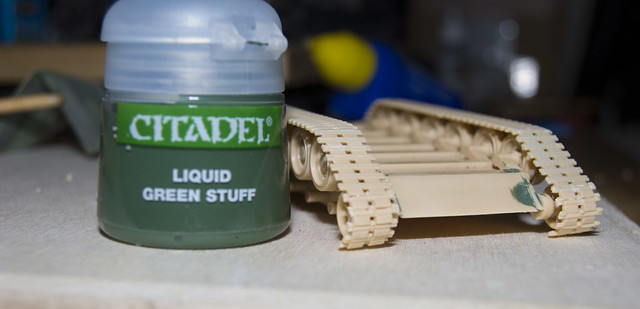
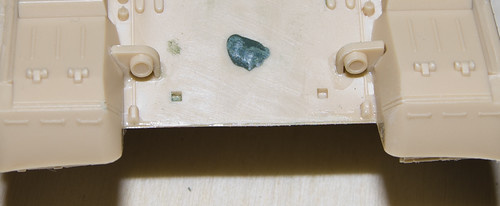
Earlier I said I would fix the step in between the cannon and the turret hull. The first thing I did was brush on a generous amount of
Liquid Green Stuff around the area and gave it a while to dry. For the next step I didnt really want to whip out the sandpaper because I was afraid of sanding off the texture of the canvas mantlet cover. Instead I took a wide flat paint brush, a No. 4 I think, heavily laden with water and went after the green stuff.
By pressing hard into the green stuff I was able to pull it off where I didnt want it. With some pressure and plenty of water itll just dissolve away. Some tissue is handy for removing excess water. By gently brushing over the green stuff I was gradually able to smooth it down where I did want it. The idea was to fill in the step creating a bit of ramp between the turret and canvas. It takes patience but works quite well. The green stuff will wash very easily out the brush as well.
The final piece of the turret puzzle, as far as the kit goes, is the
damn snorkel. I say damn snorkel because I found the entire fit and feel of the thing to be very disappointing. The snorkel comes in two semi circle halves that fit together, exactly like the fuel drums, and of course they dont line up properly. You get seams and misaligned banding once again.
Then two boxes fit into the back of the snorkel and they seemed to fit in a little wonky for me. That is to say there didnt seem to be a way to fit them flat and flush to the snorkel. Finally a plate fits in one side and that fit fine. Unfortunately the other side of the snorkel doesnt look so fine.
That its alright, for I have a cunning plan. One that should add some colour variation to the finished build.
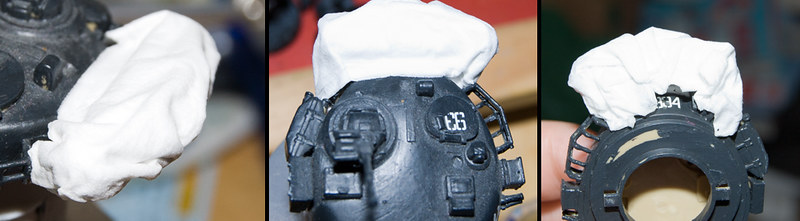
About two years ago when I got back into modelling my girlfriend dallied around with a couple 1/72nd scale armour kits. It was a passing phase really but during that time she built Revells T-80B and Ive been using it to check the fit of various things.
Now it is serving as a test bed for my plan to deal with the snorkel; Im going to throw a tarp over it. A nice and simple, plain old water and PVA glue tissue paper tarp. It looks quite good when it dries too.
Ill add one to mine after the painting stage and before the weathering stage. Itll provide a nice bit of colour to back of the tank and cover up the awful looking snorkel.
So thats about it for now. The tank is more or less built to the kits specifications. Im toying around with the idea of adding in some extra detailing so that might very well be my next update.