Quoted Text
My English is very bad and I hope you don't missunderstand me.
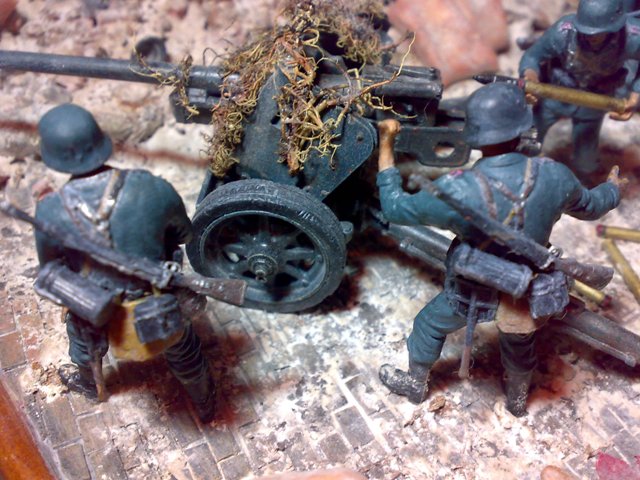
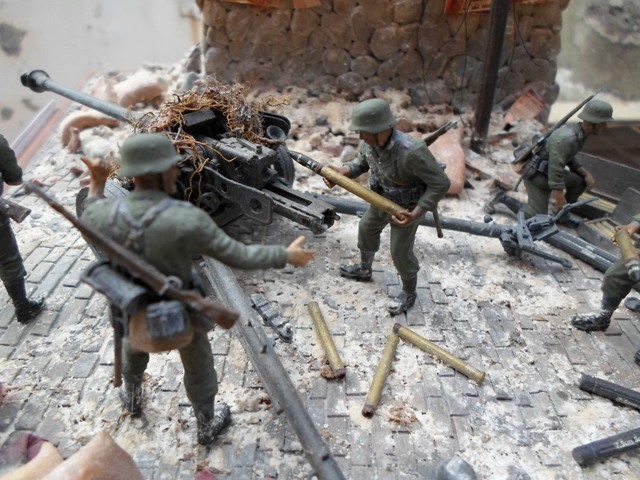
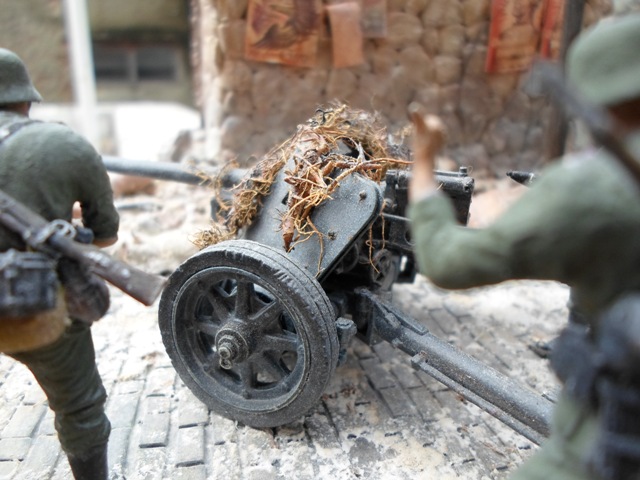
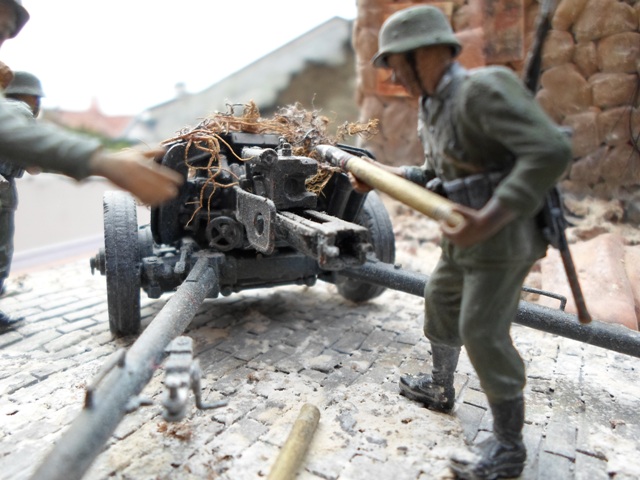
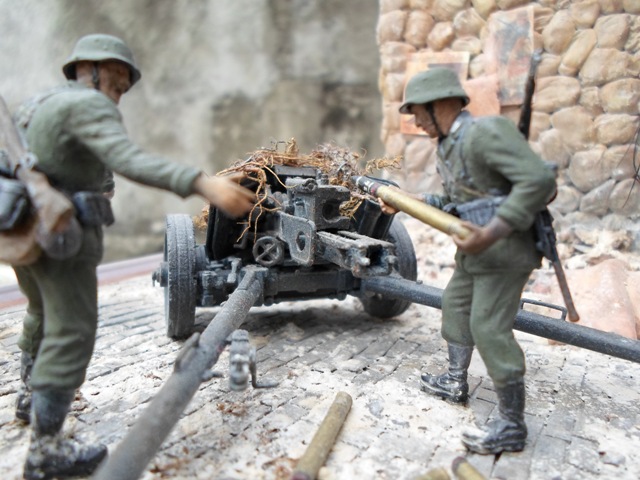
The kit of the PAK 40 is very old - the figures are not good proportioned and very bad detailled - this is not your mistake but the effect of the dio is disturbed.
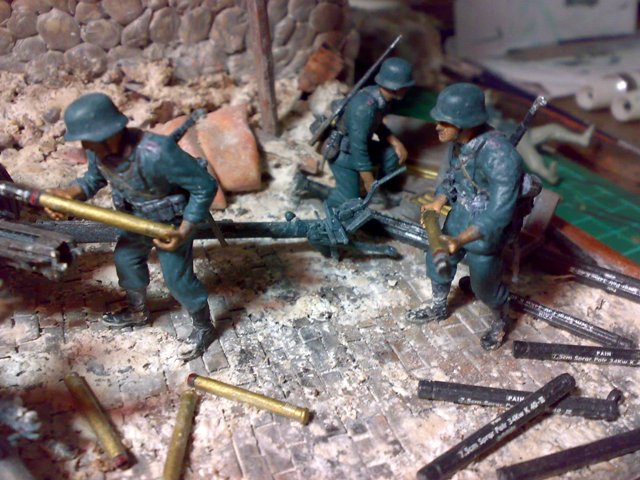
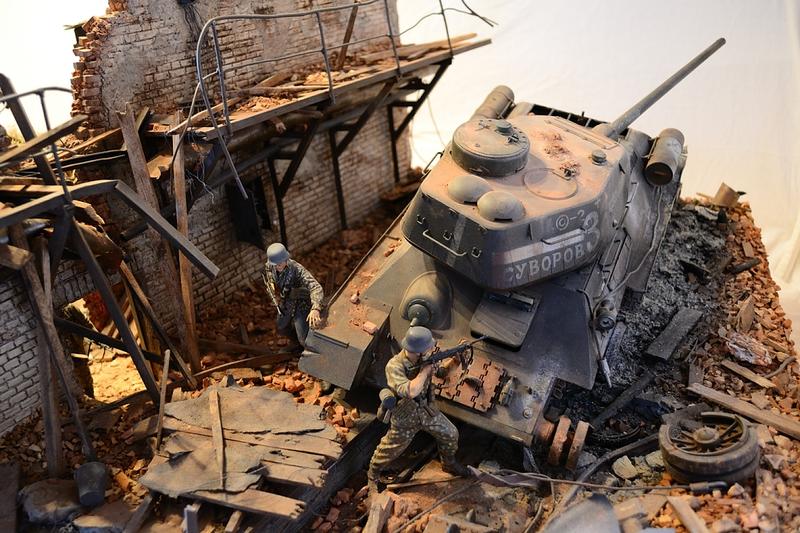
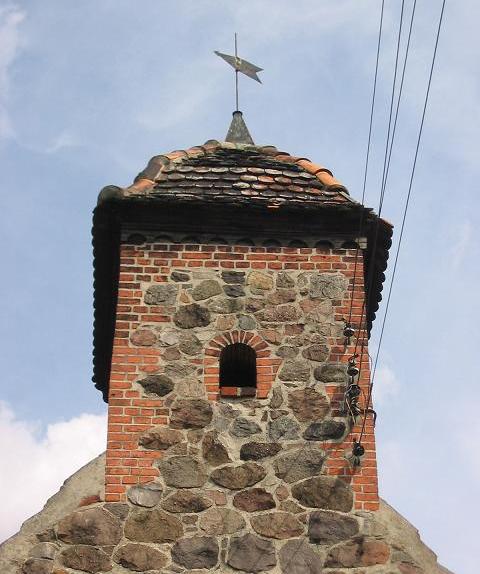
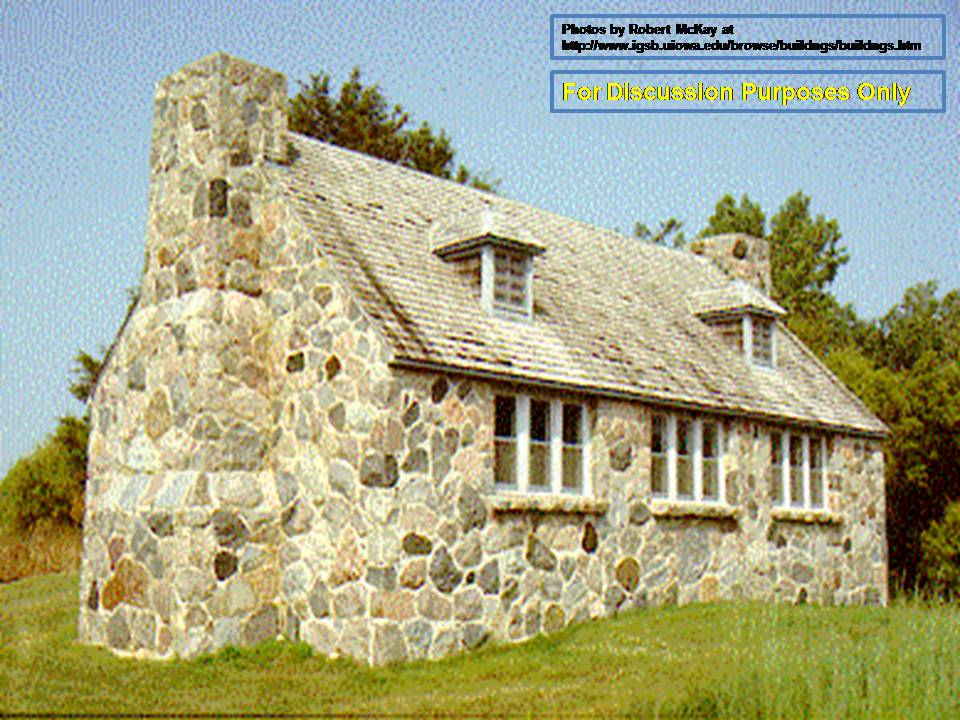
The wall is illogical for me - it looks like a mixture of bricks and broken stone. The wall is too thick.
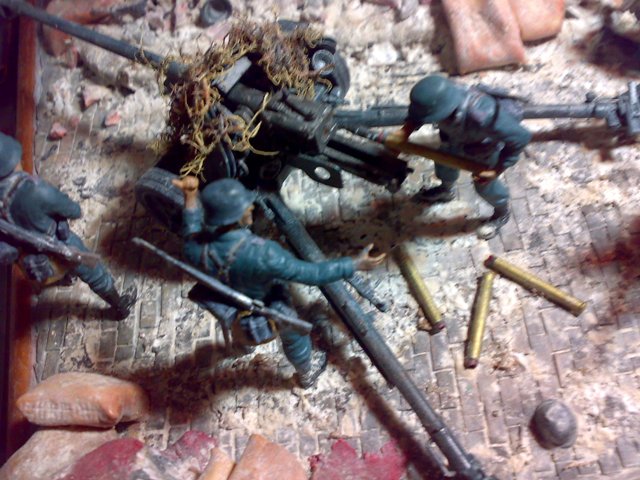
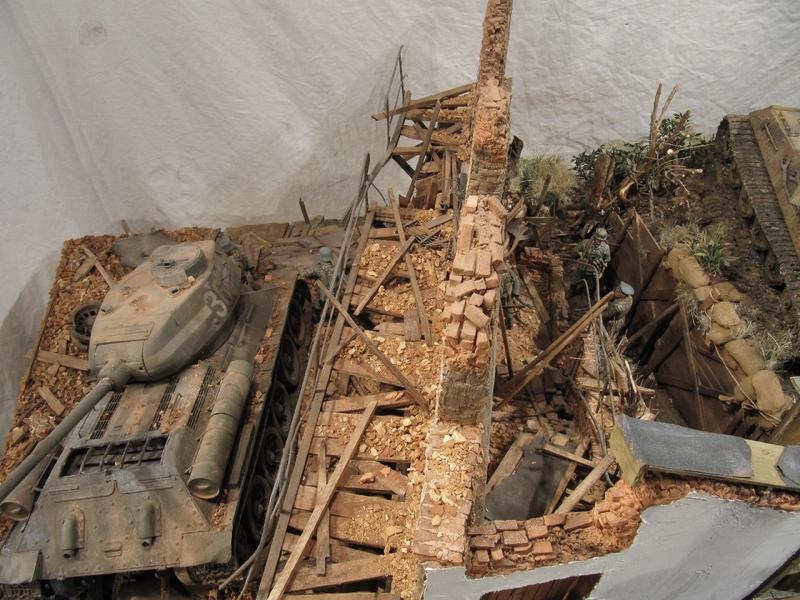
The rubble and the dirt on the street is ok.
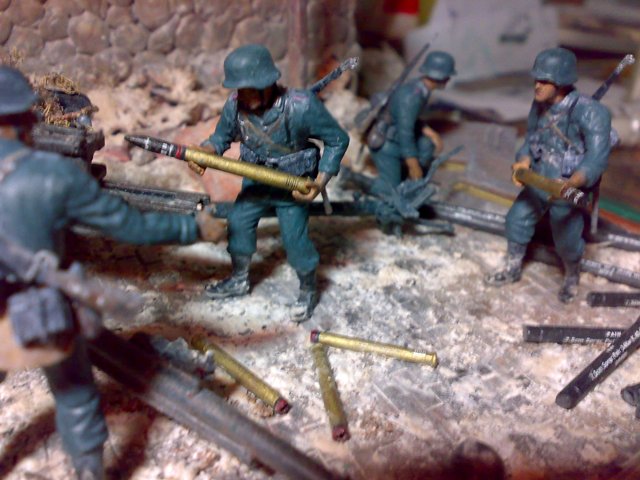
The painting of the figures is too unvaried.
Don't be angry but this is my opinion.
I'm certainly not perfect also.
I'm sure, you have done your best, but you wish a constructive criticism.
Best regards
Frank
Great!

Never mind Frank, don't feel guilty about your comment and glad to know you. Don't feel sorry also about your English, since I feel the similar condition

I really like your criticsm since this is my second diorama project. Lots of trial & error I applied there. Let allow me to create some arguments related to your comments:
1. a. This is my second deal with WWII German AT-gun (the first is PAK 35/36) & assembled with no scratchbuild or any form of additions or modifications (the term is "straightly from the box", isn't it? CMIIW). The kit offers an option to use PE gun shield, but I decided to not use it since I don't know how to assembly that at the time when the diorama was constructed.
1.b. For the figures, I tried my best effort when creating details, especially when I put my attention on the colour of shoulder board, since many references told that the WWII Heer tank & antitank gun crews get pink on it. Other details are the rifle slings, bread bag, water canteen, gas mask, and the ammo pouches. Maybe the quality of the photos attached since I used 3,2 Megapixels cellphone camera when capturing the images of this diorama

2. I have the sample image of such wall, but since I forget where the location of it in my computer local harddisk, I have to find it first. Let us discuss it, ASAP

3. Thanks for your appreciation of the rubble construction and dirt effect, glad to hear that I already on the right track.

4. The painting of the figures maybe unvaried, because I intentionally made that, since lots of images that show WWII Heer crews of AT-gun during their field duty wear similar uniforms (field tunics & trousers, also the composition of tools & gears, e.g. field bayonets, bread bag, water canteen, etc.). During internet search, it was really rare for me to find them with various uniforms wore in the field duty. For several weeks I got confused how to perform it

and such condition did not give me any confidence to paint them variously. Finally, I found the best decision for me is to paint them with very-low level variation

Once again, your criticsm are very useful and can't wait any longer for your next reply. Anyway, your project is awesome & really outstanding, congratulations! Sure, I will also learn a lot from your project.
Oops, I almost forget, if you don't mind, would you please also to write your suggestions and/or any constructive comments on my another project by following this link:
http://armorama.kitmaker.net/forums/196393&page=1Thank you Frank!

Best Regards,
Garry