_GOTOBOTTOM
Constructive Feedback
For in-progress or completed build photos. Give and get contructive feedback!
Dragon Imperial series Stug III Ausf.G 10.5cm
Antoon3103
Visit this Community
Antwerpen, Belgium
Joined: March 31, 2012
KitMaker: 224 posts
Armorama: 67 posts
Posted: Sunday, November 04, 2012 - 01:03 AM UTC
Hello,

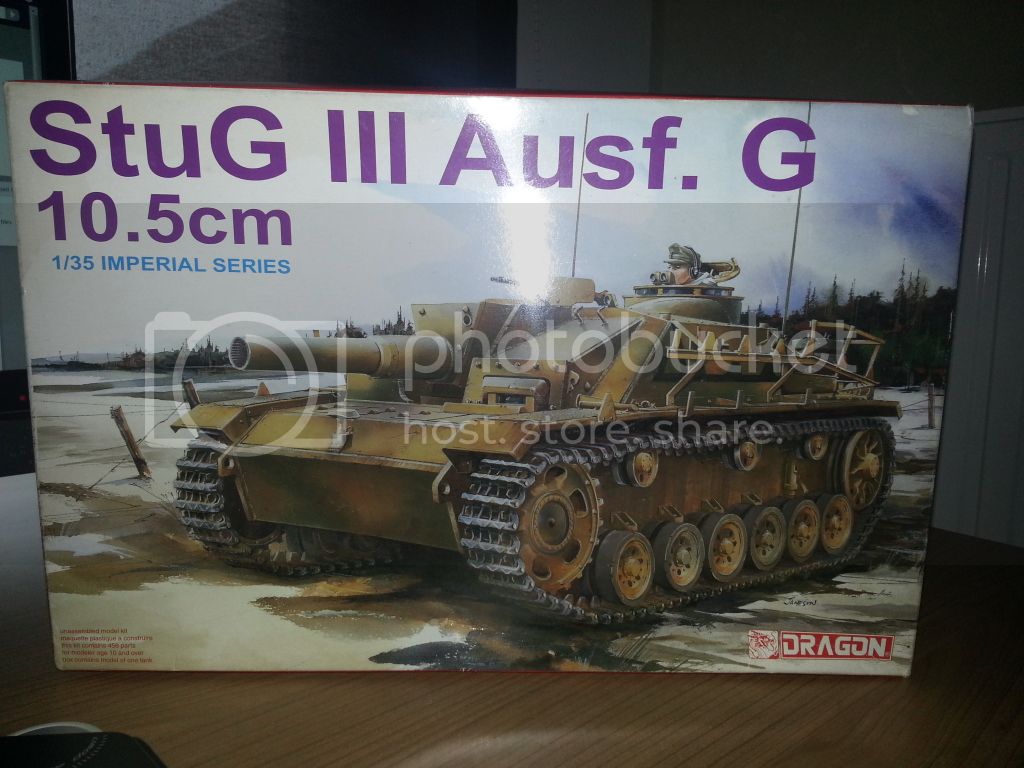
Last evening I started on this kit:


As always, work started on the wheels:
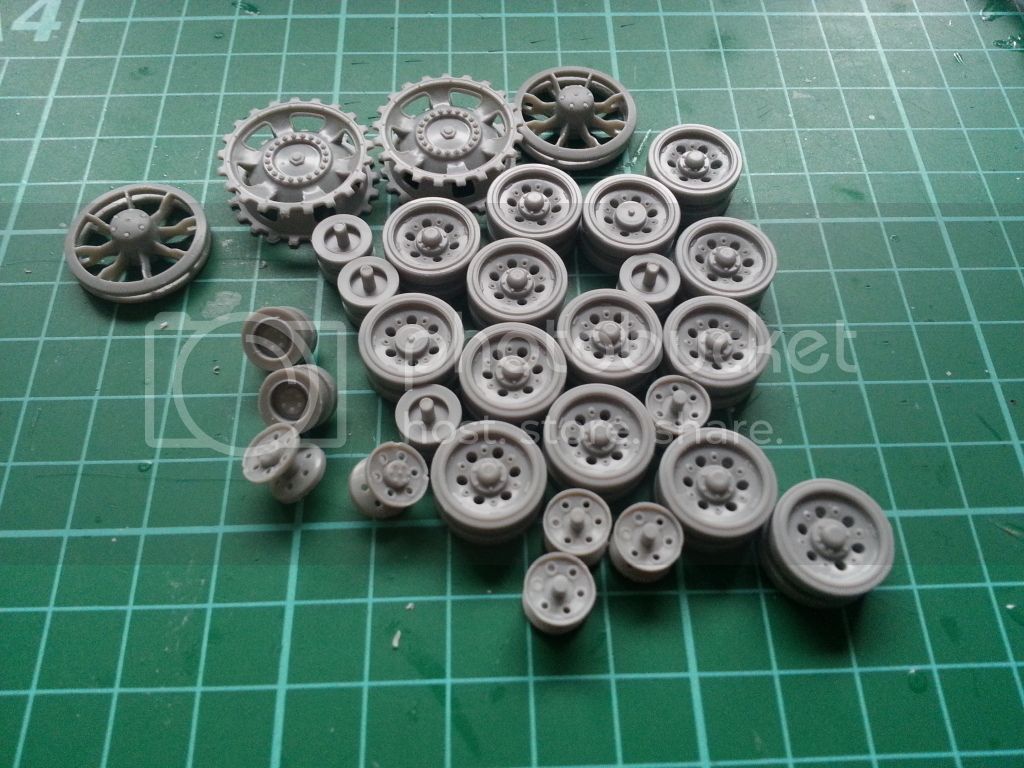


With this kit U het 3 complete sets of return rollers and two different drive sprocket options.

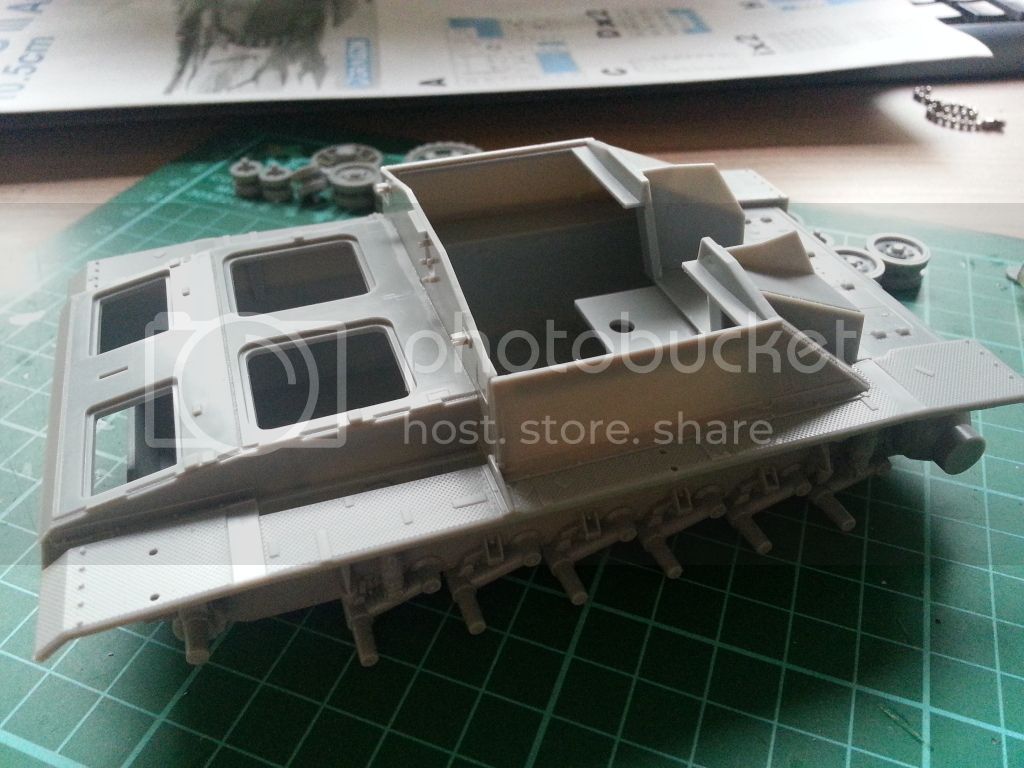
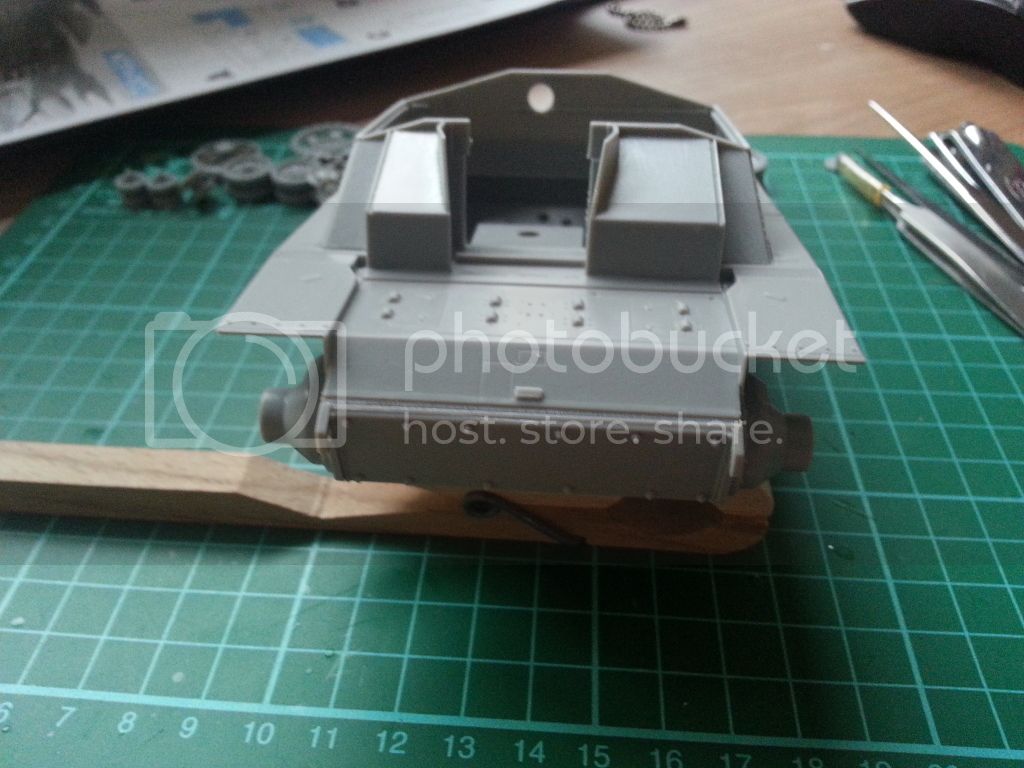
Some basic hull work done:
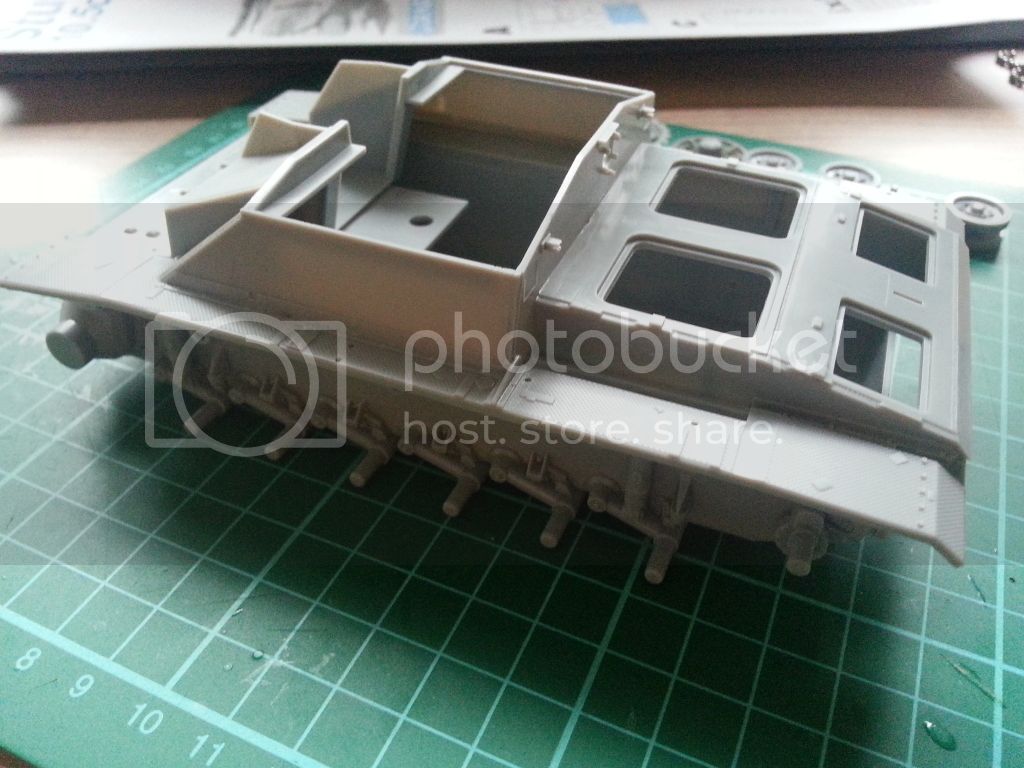


Here also there are options for the lower front hull plate.
U can either get the bolted on armor, as i choose, or opt for the one peace 80mm front plate.

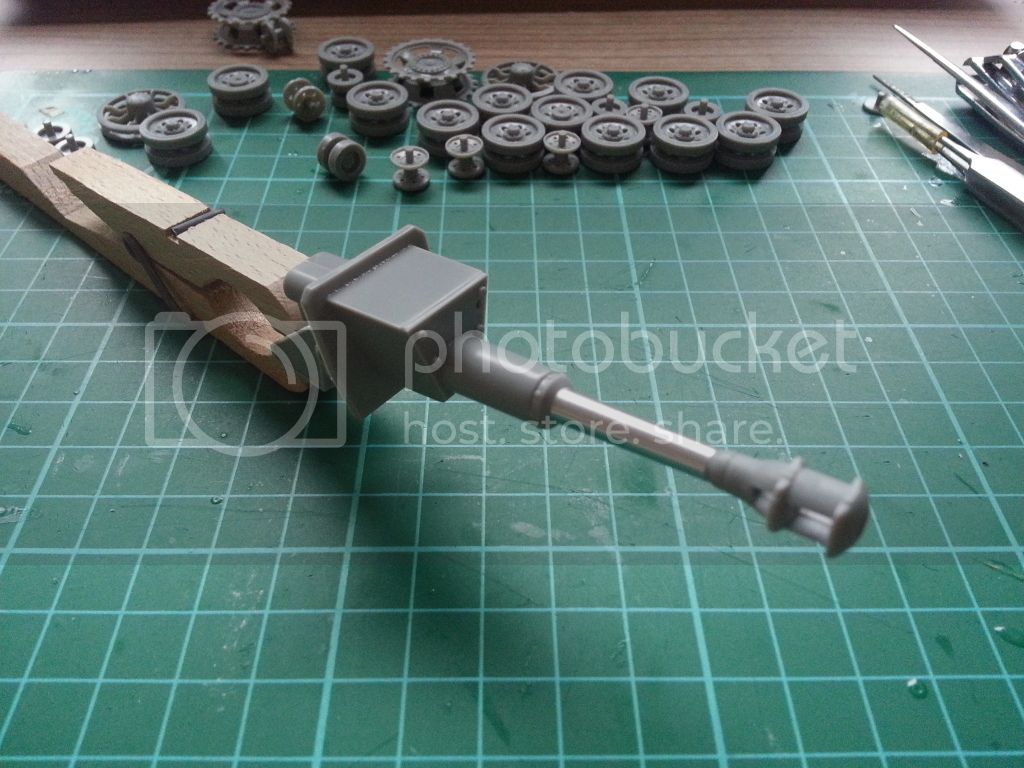
Gun assembled:
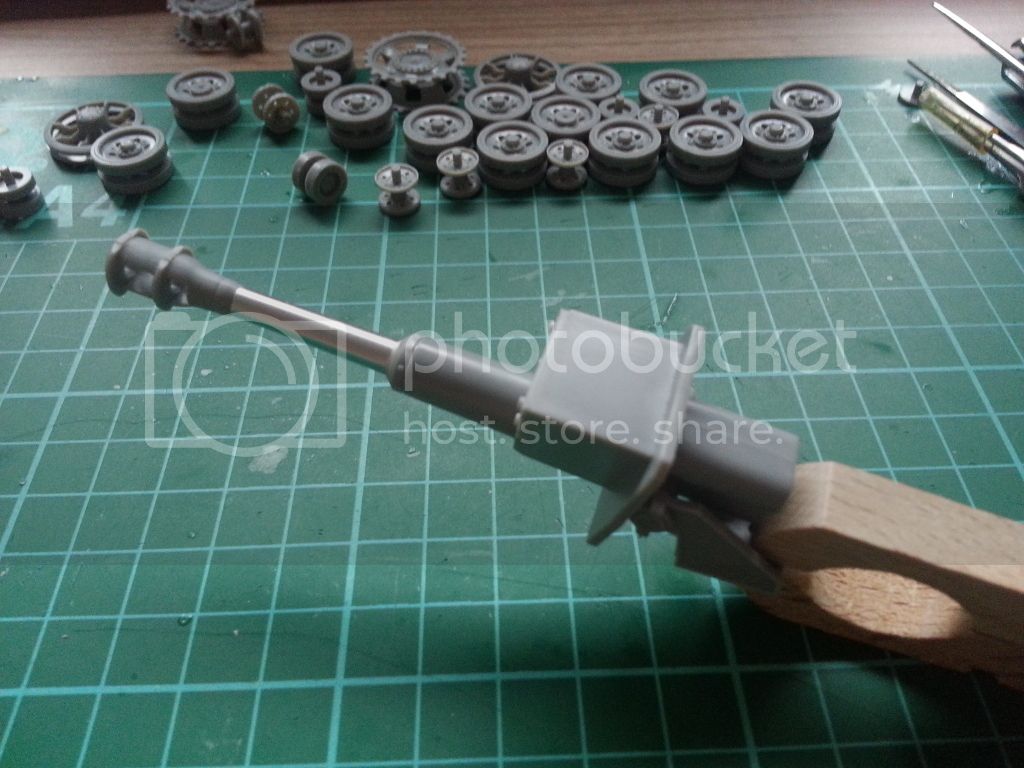


Again, al lot of options here. U can use the regular 7.5cm StuK gun (2 piece assembly) or use the 10.5cm StuH gun, either in metal (as I used) or a one piece plastic barrel.
Furhter, U can choose out of 2 different muzzle brakes, a normal one, or the oversized one as I choosed. Or, U can leave the muzzle break off. Both muzzle breaks comes as one piece castings, very nicely done.
On to the gun mantlet. Here also, U get the choice of 3 different mantlets. 2 saukopfblende with MG hole, or the rectangular one, also with MG hole as I used.

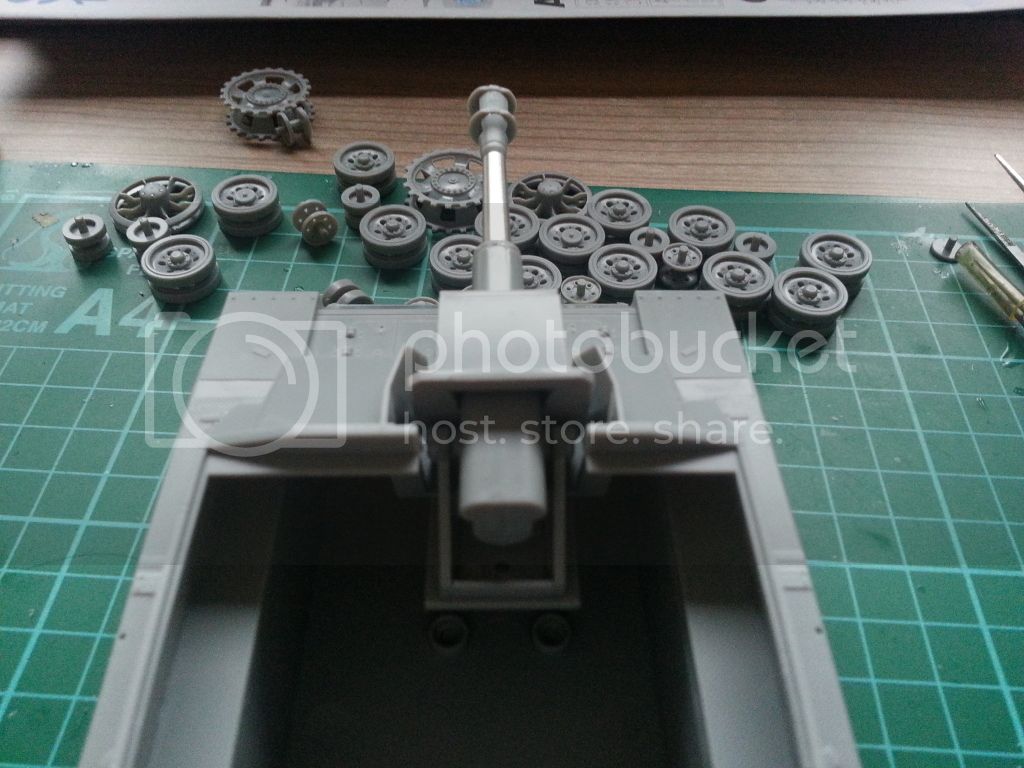
Here the gun dryfitted in the fighting compartment:
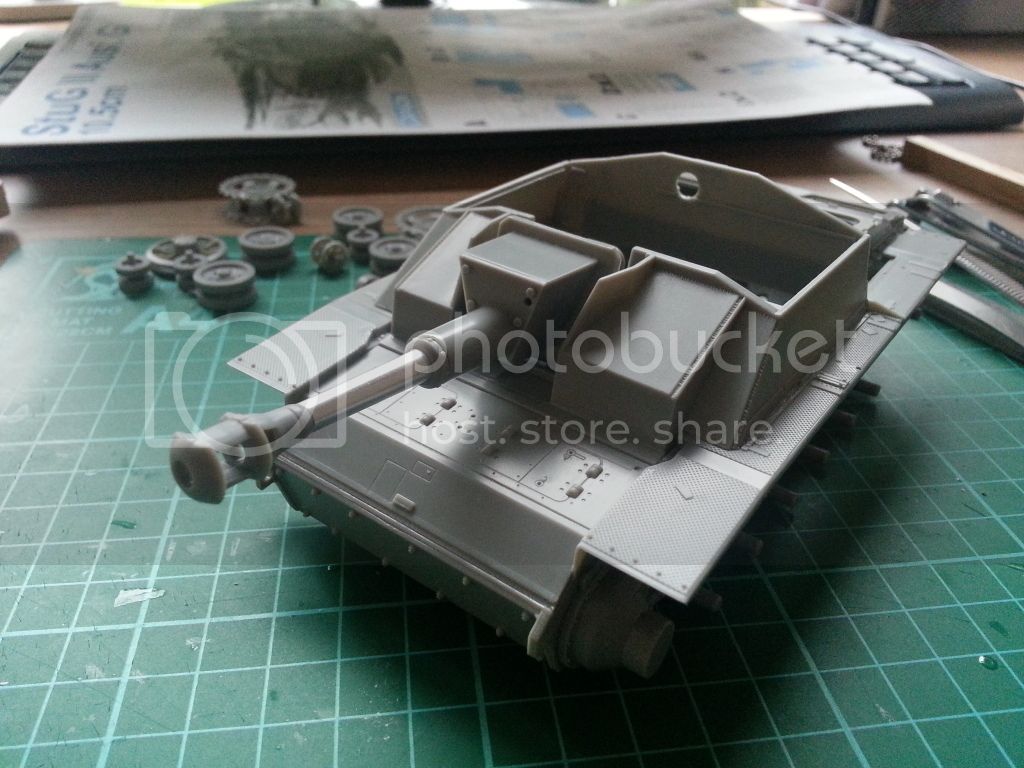


And a shot of the roof plate (not glued)
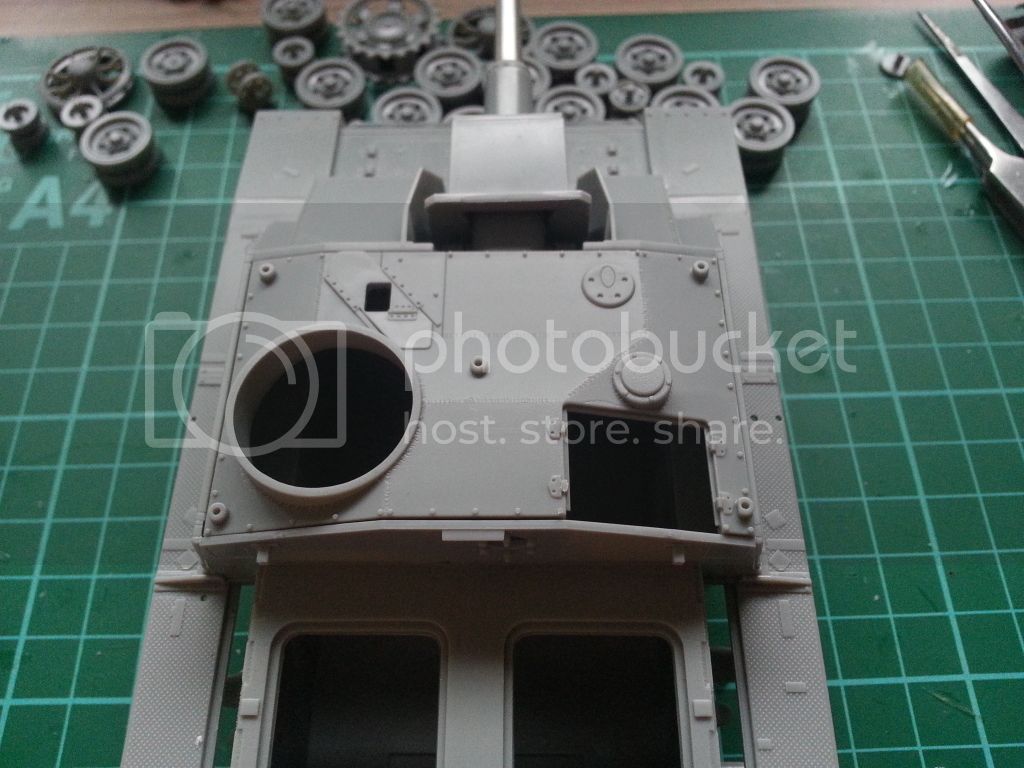


Thats all for now.

Greet
Tony
PantherF
Visit this Community
Indiana, United States
Joined: June 10, 2005
KitMaker: 6,188 posts
Armorama: 5,960 posts
Posted: Sunday, November 04, 2012 - 02:18 AM UTC
A favorite of mine and will be keeping an eye on this as it gets along on the build.


~ Jeff
Antoon3103
Visit this Community
Antwerpen, Belgium
Joined: March 31, 2012
KitMaker: 224 posts
Armorama: 67 posts
Posted: Tuesday, November 06, 2012 - 02:33 AM UTC
Hello,

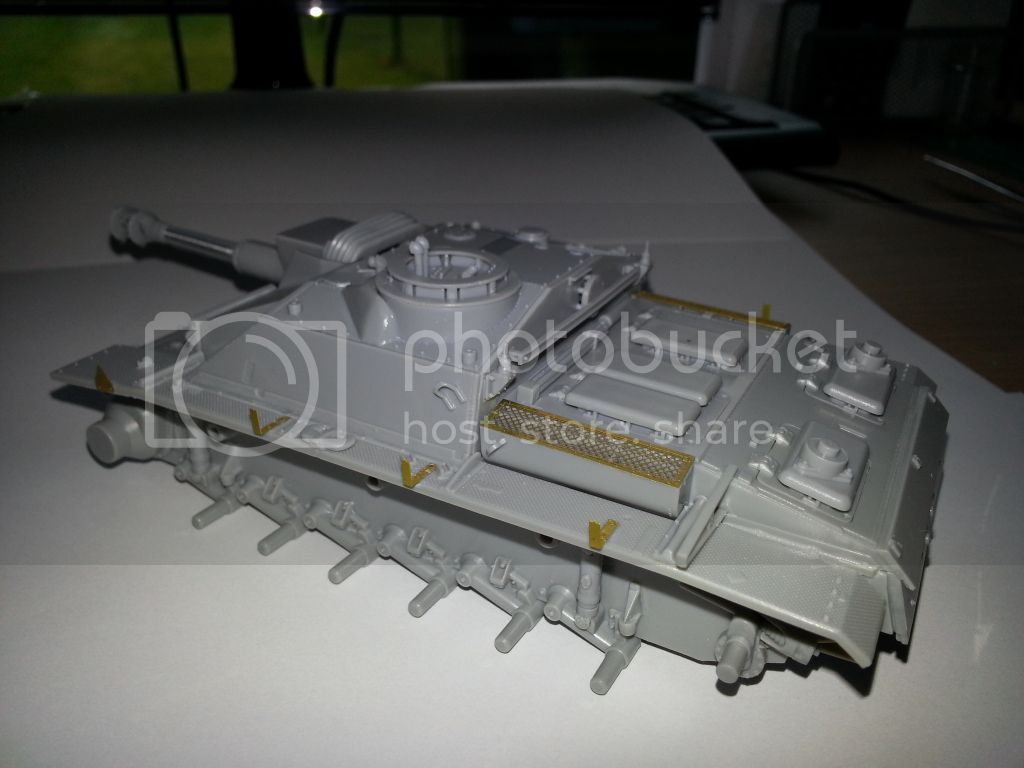
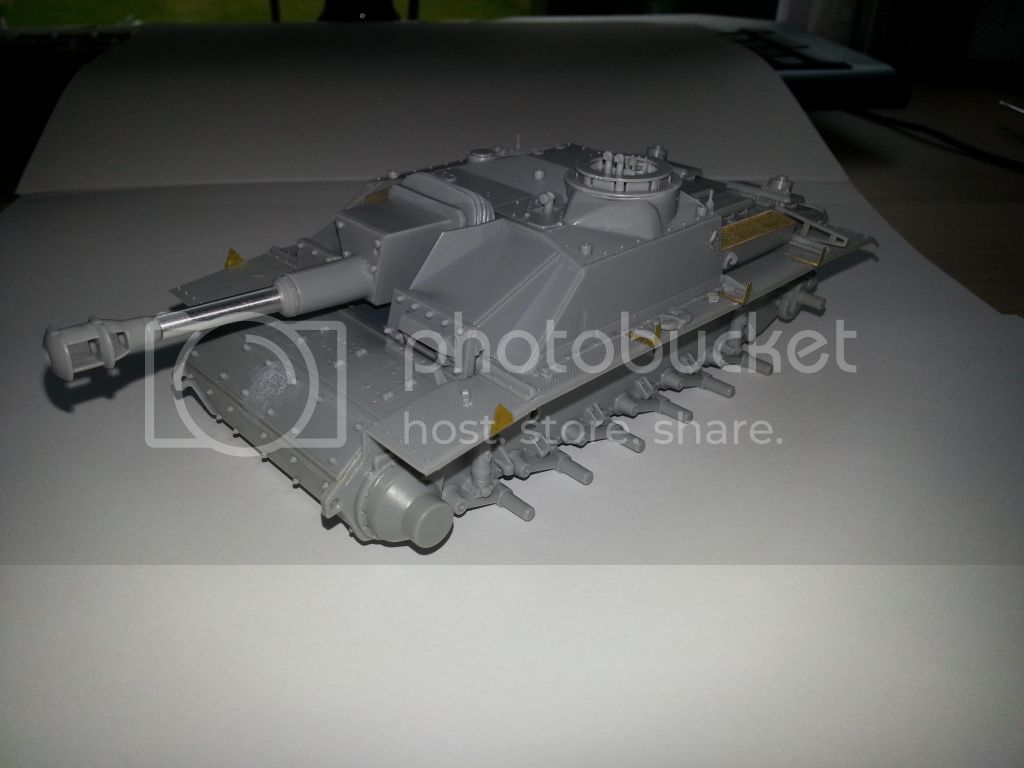
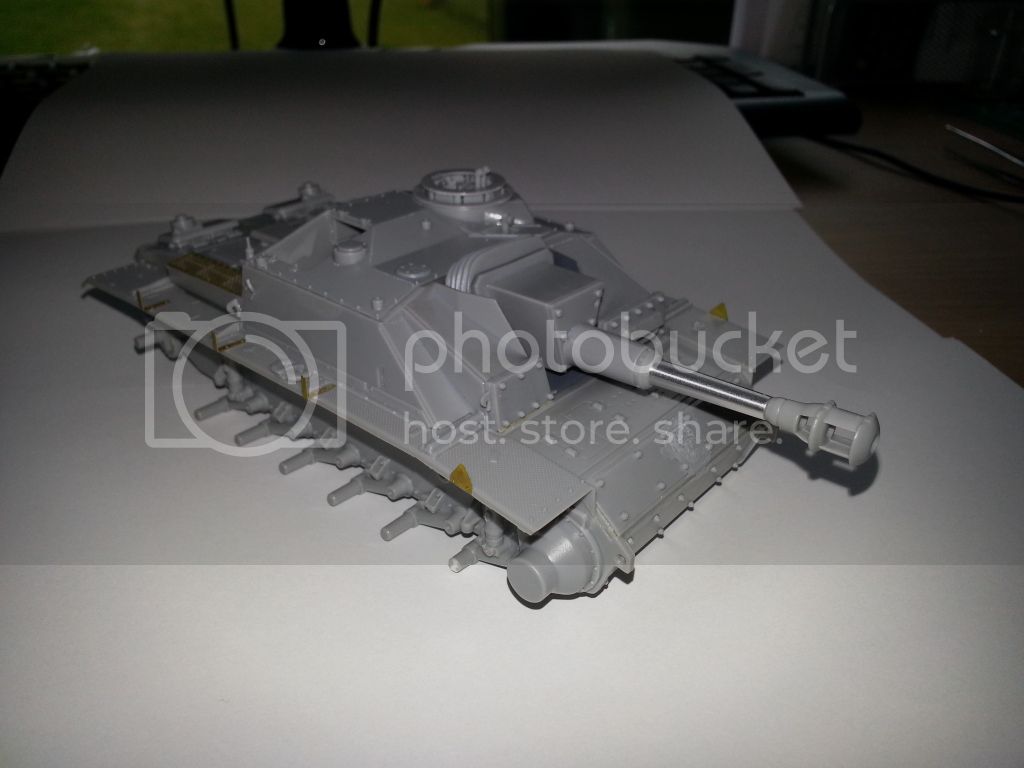
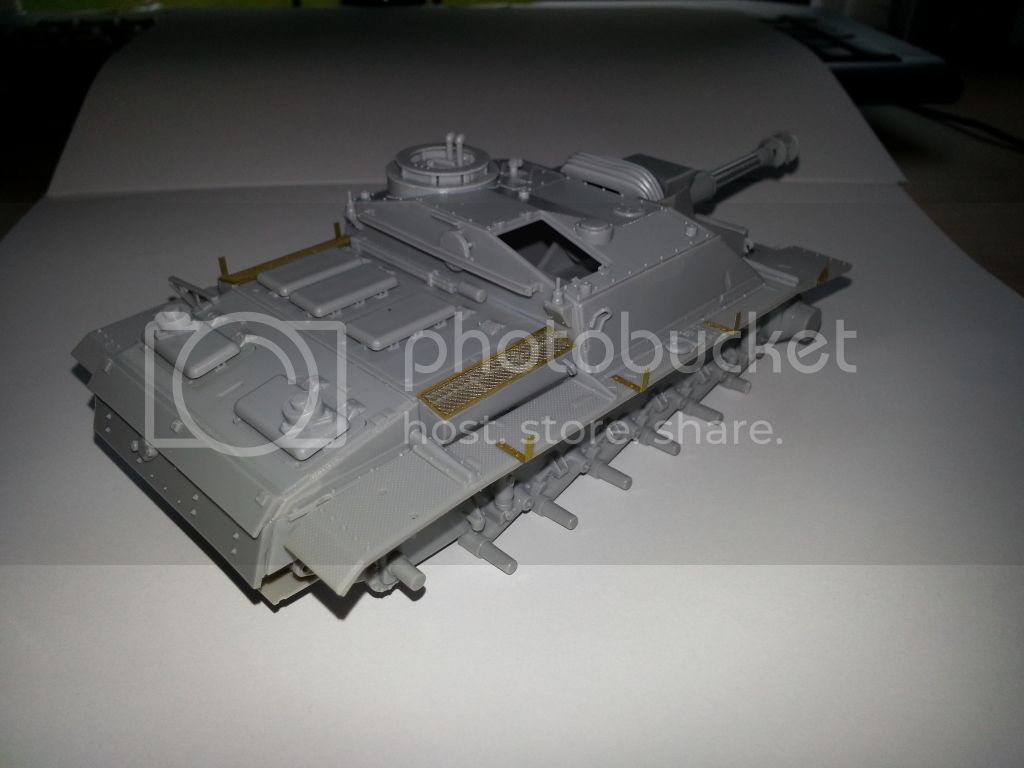
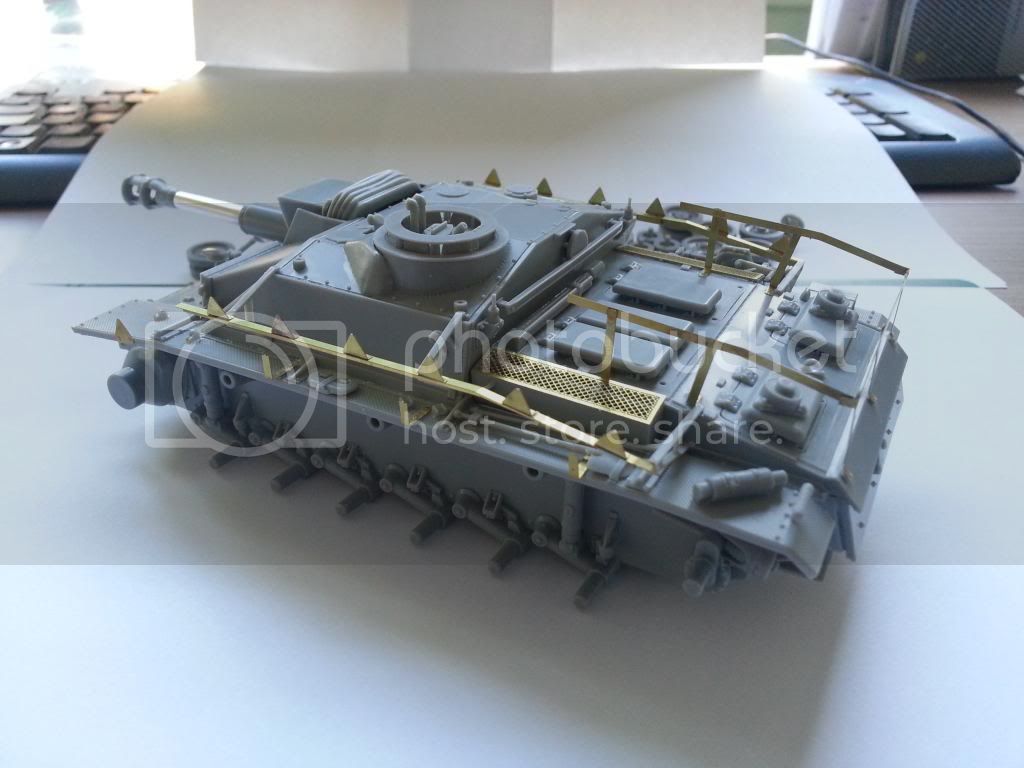
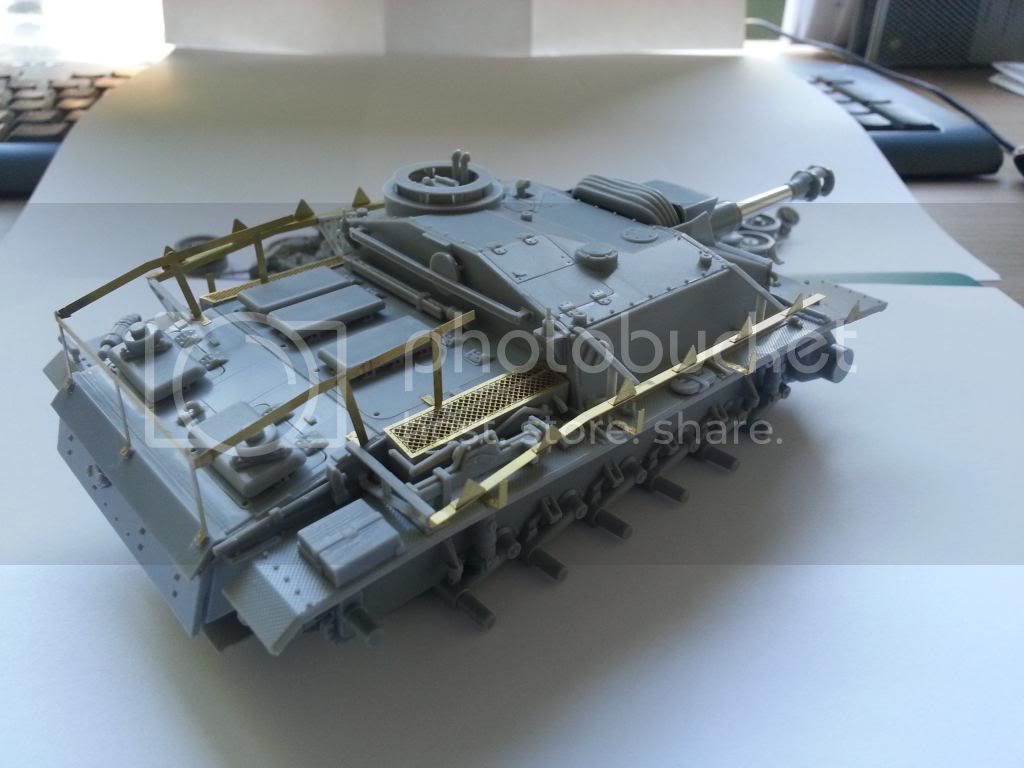
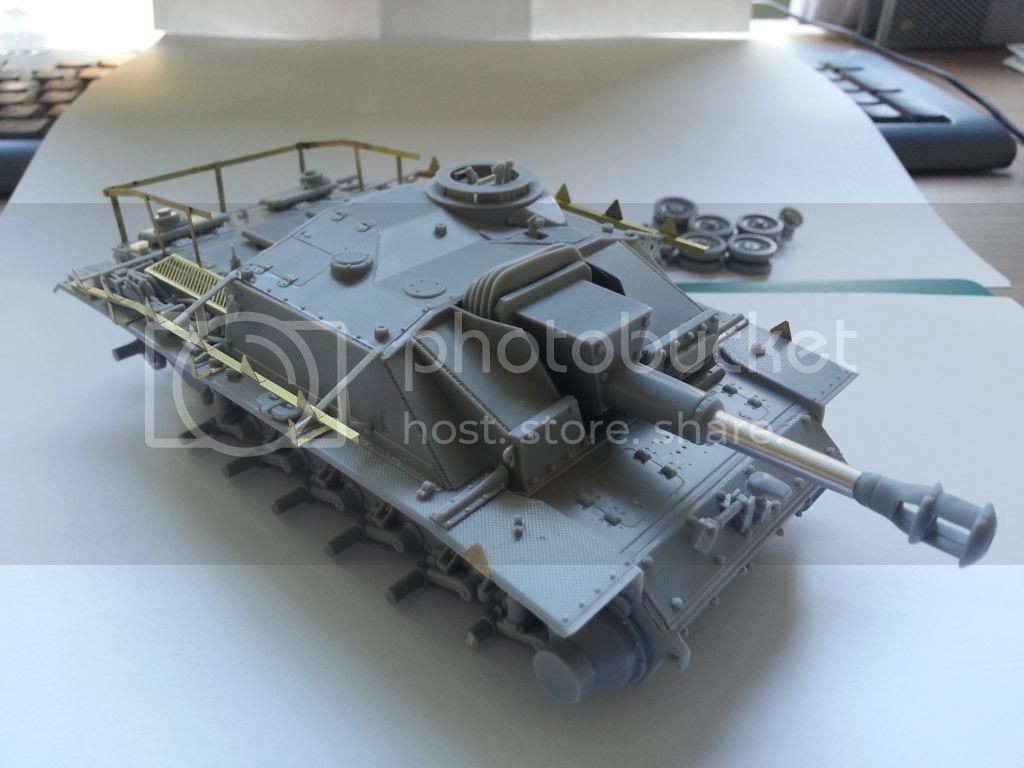
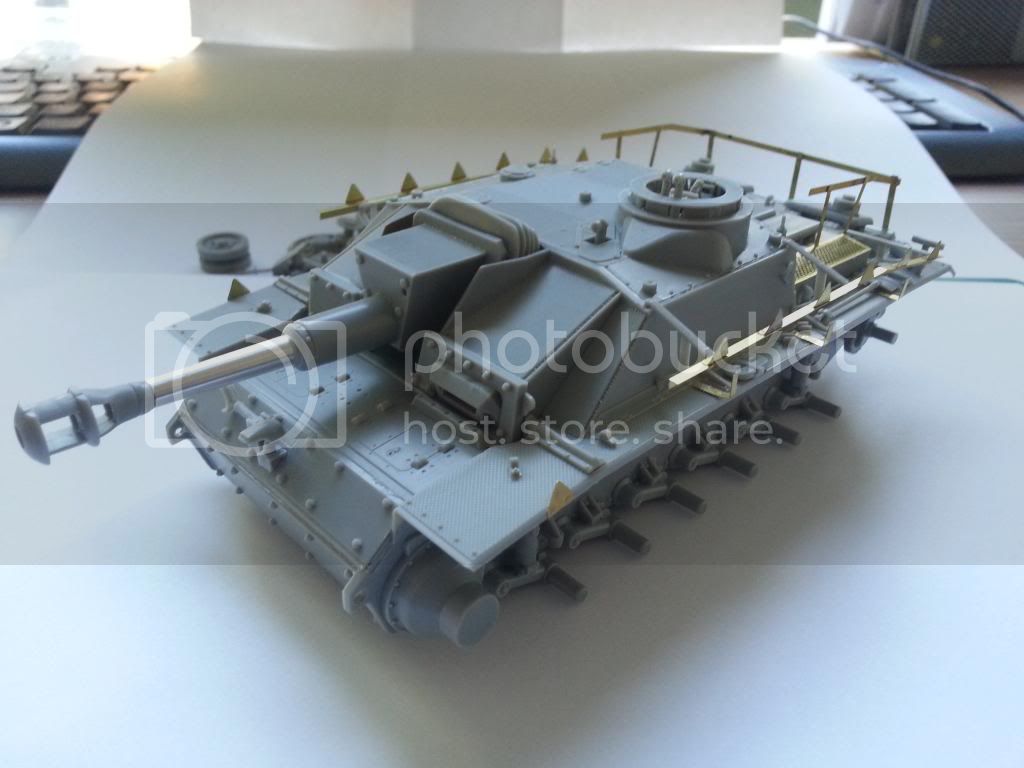
Here some more pics of the StuH
I started adding the hull details, and the first PE parts.
This is how she looks like now.


Greetz
Tony
Antoon3103
Visit this Community
Antwerpen, Belgium
Joined: March 31, 2012
KitMaker: 224 posts
Armorama: 67 posts
Posted: Sunday, November 11, 2012 - 12:57 AM UTC
Hello,

I am back with an update.
I completed the building phase of the StuH


Next up is the painting stage.

Greetz
Tony
PantherF
Visit this Community
Indiana, United States
Joined: June 10, 2005
KitMaker: 6,188 posts
Armorama: 5,960 posts
Posted: Sunday, November 11, 2012 - 02:23 AM UTC
And don't forget to add these great pics to the Sturmgeschütz Brigade Build since you have enlisted.

Nice work so far!


~ Jeff
Antoon3103
Visit this Community
Antwerpen, Belgium
Joined: March 31, 2012
KitMaker: 224 posts
Armorama: 67 posts
Posted: Sunday, November 11, 2012 - 03:07 AM UTC
Jeff,

I totally forgot about that.
I will post them over there also.
Thanks for reminding me.

Greetz
Tony
Antoon3103
Visit this Community
Antwerpen, Belgium
Joined: March 31, 2012
KitMaker: 224 posts
Armorama: 67 posts
Posted: Friday, November 16, 2012 - 12:21 AM UTC
Hello,

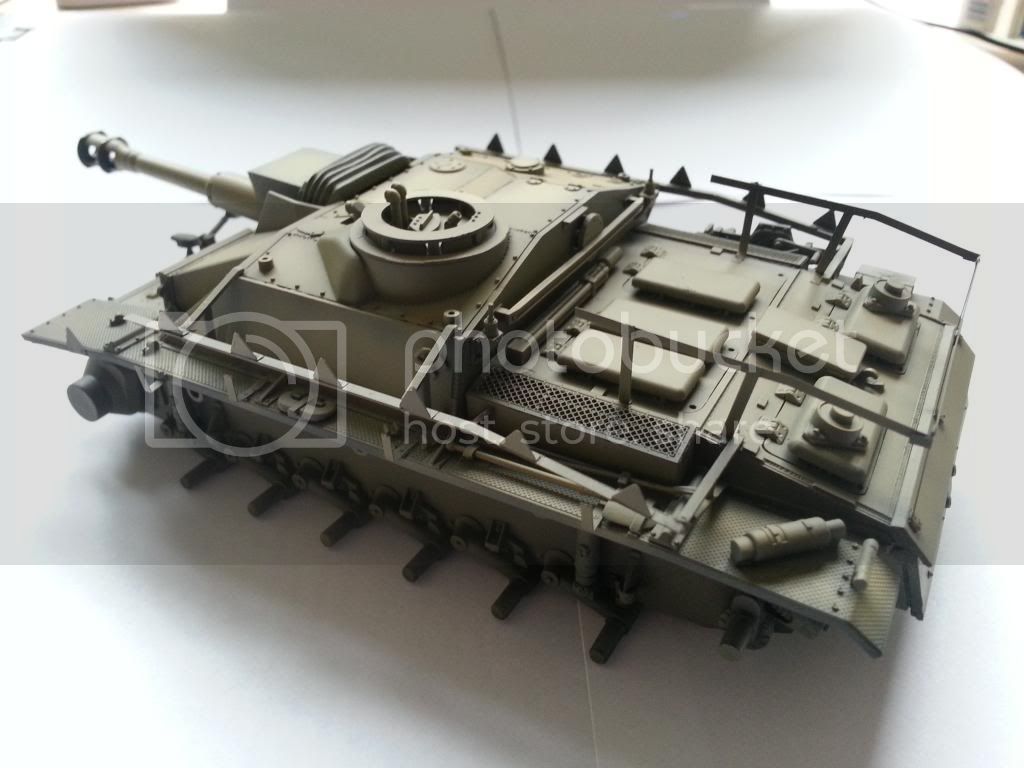
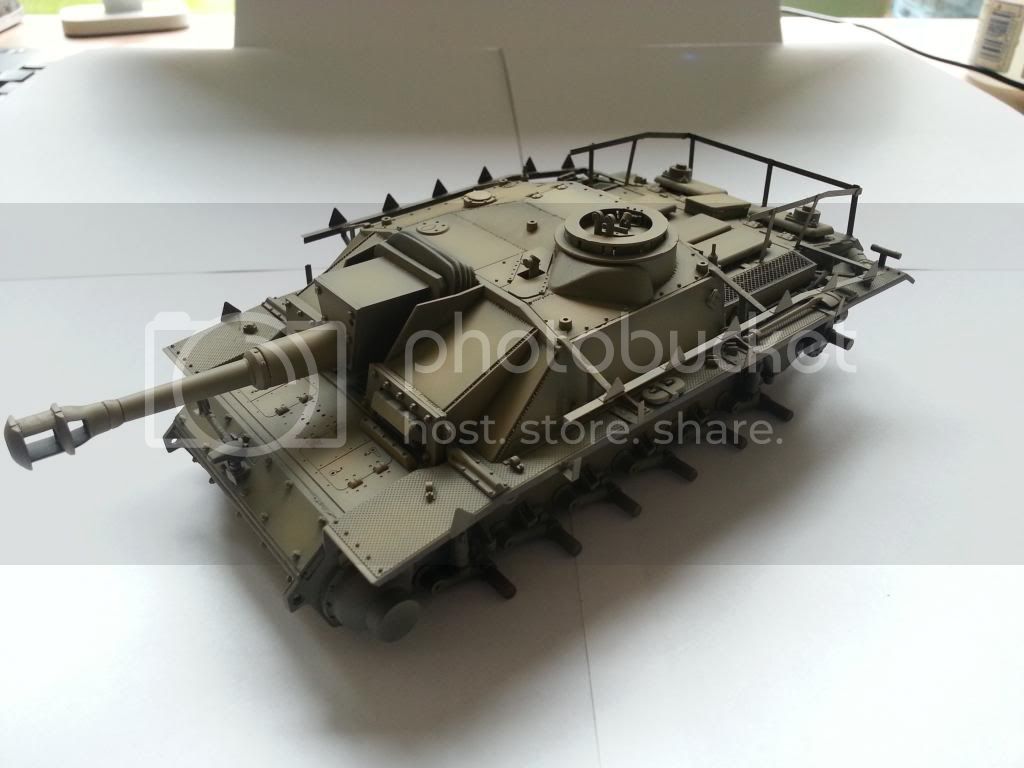
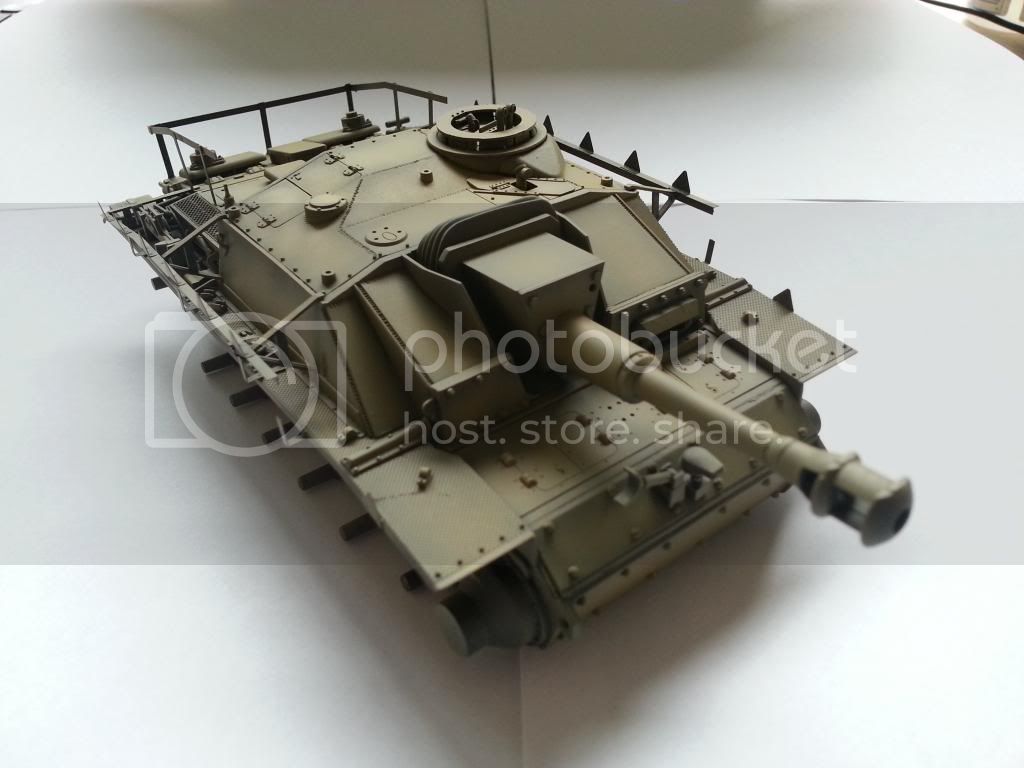
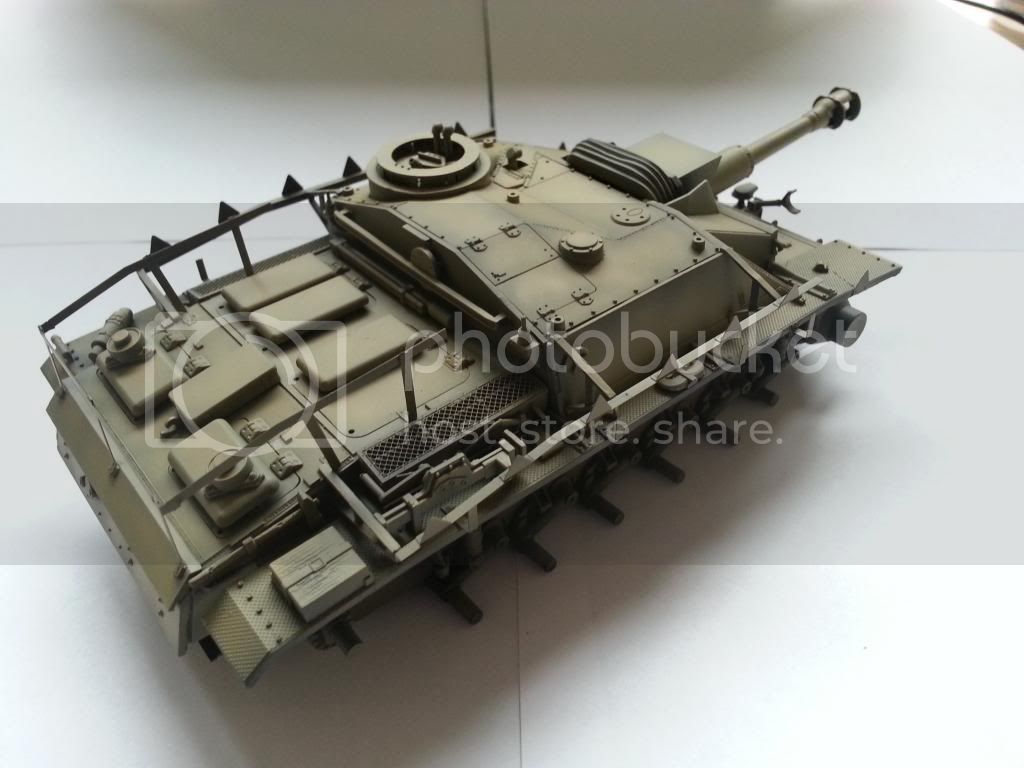
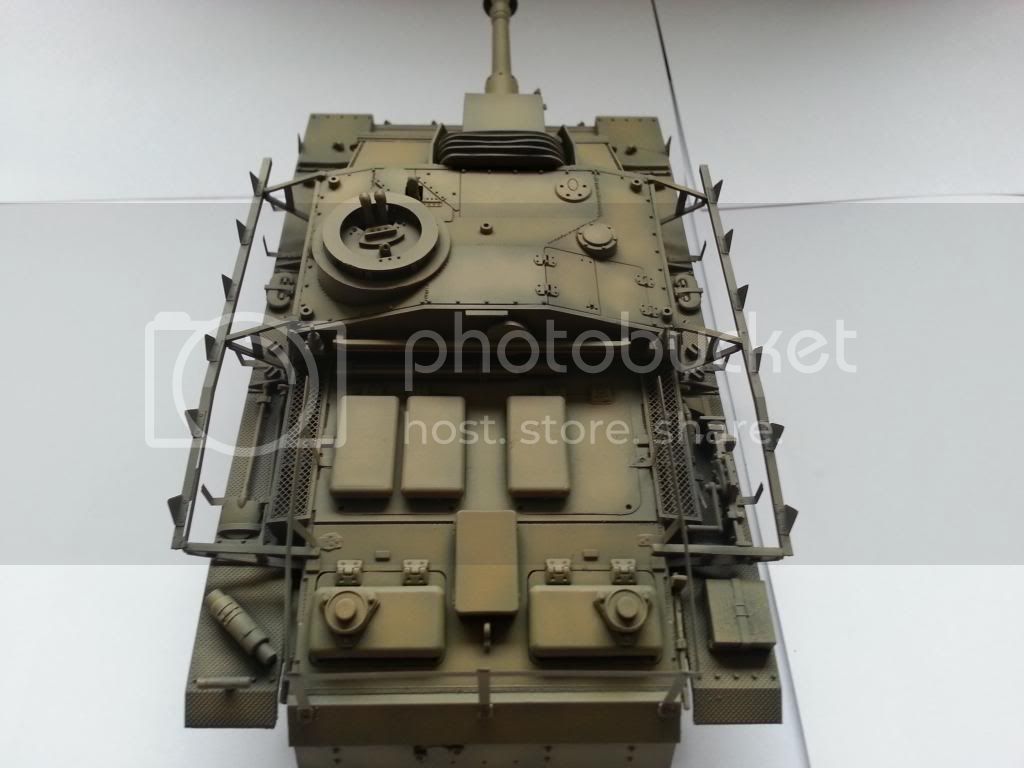
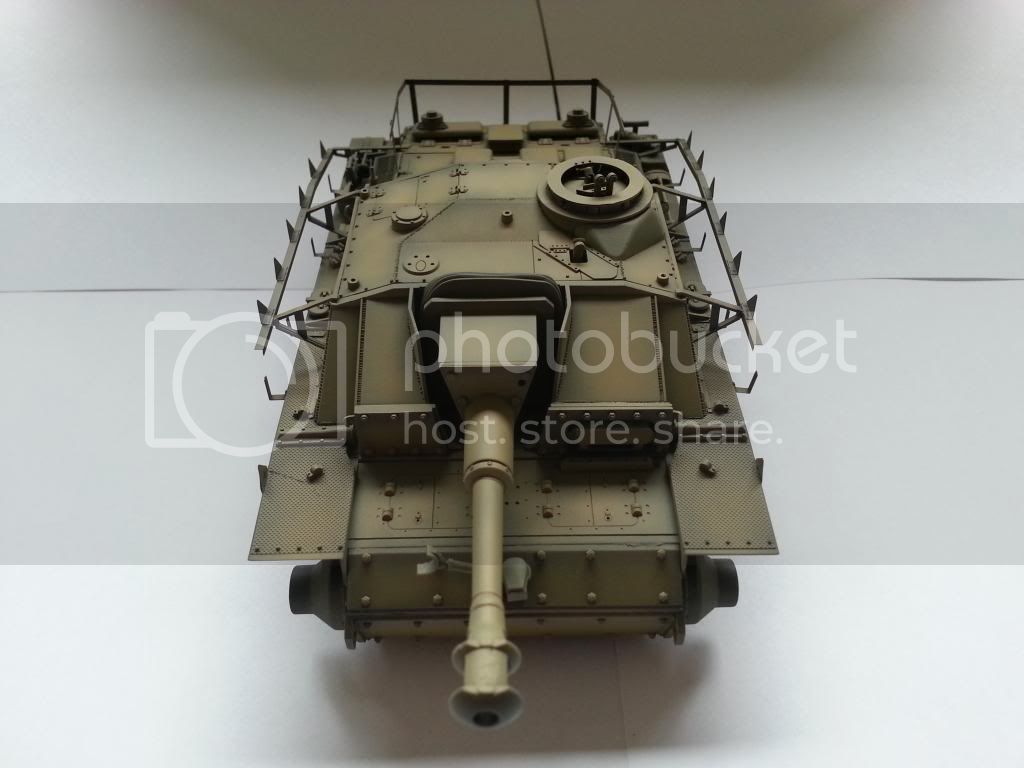
Here are the first pics of the StuH in his base coat.
I first undercoated the StuH with Gunze panzer grey.
Next i sprayed several layers of very dituted Tamiya dark yellow over the grey, till i got the look i was after.
Thats on these pics.


Next up is a faded green camo.

Greetz
Tony
Blackstoat
Visit this Community
England - East Anglia, United Kingdom
Joined: October 15, 2012
KitMaker: 568 posts
Armorama: 561 posts
Posted: Friday, November 16, 2012 - 11:06 AM UTC
Looking good bud. Roughly how dilute did you have the dark yellow? How many coats did you apply to get that look? I imagine they're very light coats?

I'm about to start a DAK panzer iii. I was going to do a 3 colour modulation across the panels but after seeing yours I'm not sure I want to do that now. I might see how yours progresses - no pressure!

What's next bud

Antoon3103
Visit this Community
Antwerpen, Belgium
Joined: March 31, 2012
KitMaker: 224 posts
Armorama: 67 posts
Posted: Saturday, November 17, 2012 - 10:06 AM UTC
Andy,

I diluted the Tamiya paint about 50/50 with their lacquer thinner.
I sprayed 2 to 6 layers, depending on the panel and look i was after.
Next is the green camo.
Its already on, but due to photobucket issues, i cant load the pics for now.
I try again in the next few days.

Greetz
Tony
Blackstoat
Visit this Community
England - East Anglia, United Kingdom
Joined: October 15, 2012
KitMaker: 568 posts
Armorama: 561 posts
Posted: Friday, November 30, 2012 - 11:01 AM UTC
Still waiting dude ;-)
Thundergrunt
Visit this Community
California, United States
Joined: November 01, 2009
KitMaker: 657 posts
Armorama: 481 posts
Posted: Wednesday, January 02, 2013 - 02:04 AM UTC
Tony

any updates! I am following this as I have the same kit.

E
 _GOTOTOP