Trust me when I tell you that there isn't much in the "office end" (or anywhere else) that differs too much from the 1/35 version. I saw a Blog on a French site that I used as reference during this build but I'll be darned if I can't find it now!

As for other versions of the PaK 40 in Braille scale, I can only comment on the ones that I've built. I'll try to dig up my ESCI version from the "archive" storage and see about a photo with the three kits together. From what I've read and seen, the Dragon kit is the only one with the multi piece shield. The others all have the rather thick one piece kind.
You'll have to be careful with the macro filters. My set came with a 1X, 2X and 4X but I generally use the 4X for detail shots. You can "stack" them in combinations so you have magnification from 1X up to 7X. Due to their optics you will get some distortion on the extreme outer edges of the picture. Also note that the higher the magnification, the closer the end of the lens needs to be to the subject.
==============================================================================
With this instalment I'm just about ready for paint on the gun. There is a bit of clean-up to do on some light seams and in the pictures, the wheels and gun/cradle are still not attached (glued) as this will make it easier to paint.
The last part to be attached was the lower carriage shield. If the gun is posed in the firing position, this part should be attached vertically. If you want to display the gun in the towed orientation, it should be attached Horizontally. The instructions don't make this clear in the least.
In my case the shield needed to be "dropped" but I found that the pins in the upper carriage shield were too long and the slots/cuts in the lower were too shallow. This resulted in the separation between these two parts having a significant and noticeable gap on the order of or greater than .6mm where ideally it should be no more than about .15 to .2mm. Trimming, deepening and getting everything even took the better part of two hours.
One quick note before the pictures. As luck would have it my camera battery exhausted as I wanted to take these last images. I used (with permission) my SWMBO's DSLR. As my camera is usually set for taking model pictures, her settings and mine differ quite a bit.


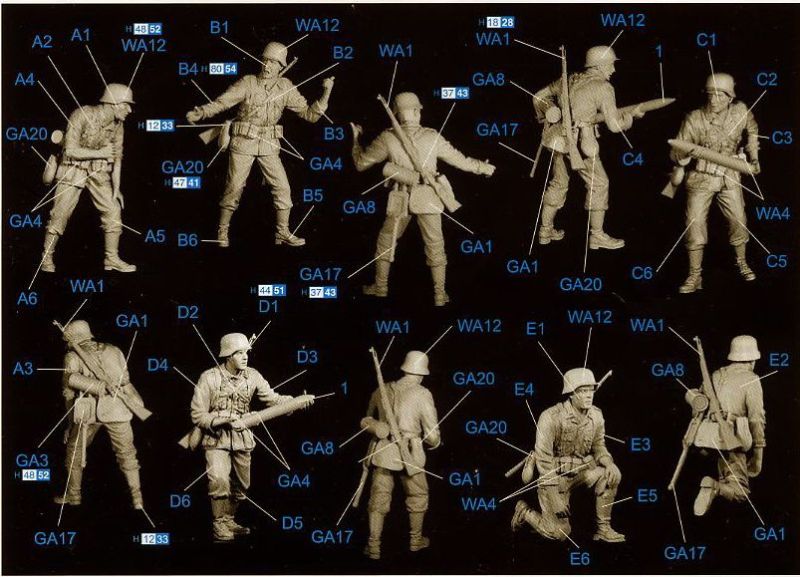
That's it for now and I hope to have at least a base coat on this gun in a day or so. Might also start on a figure or two if there is interest!

Cheers,
Jan