Quoted Text
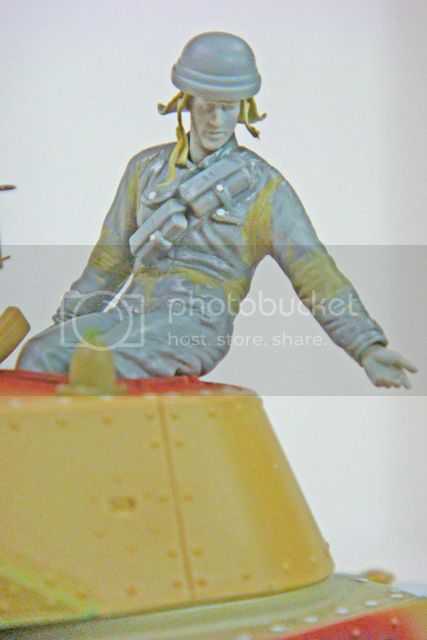
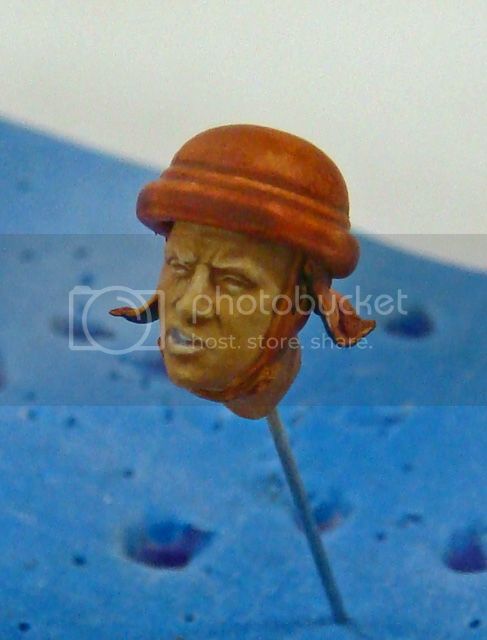
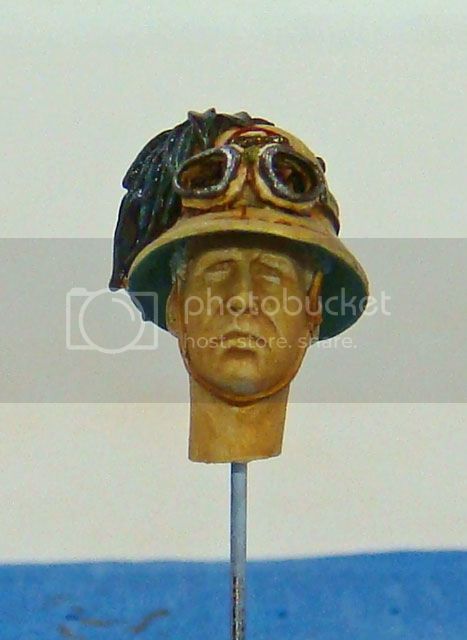
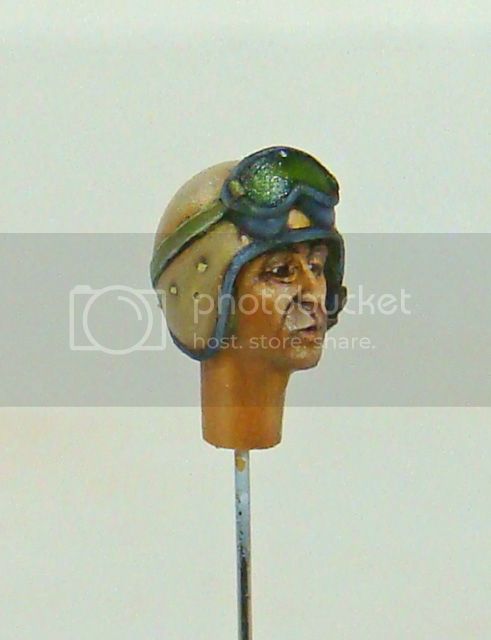
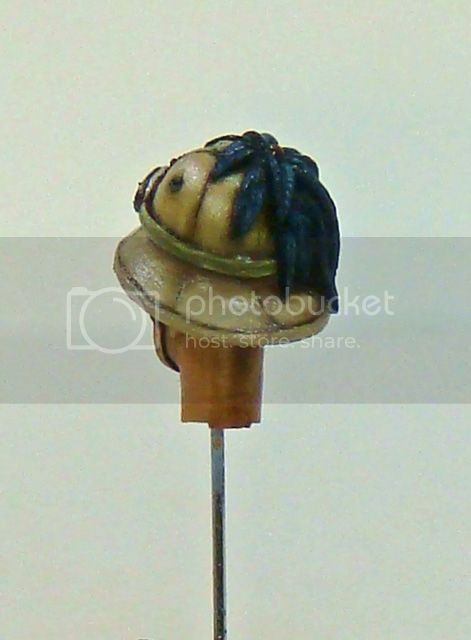
Looks great! Really like the putty chinstraps. Any tips on making those?
Well, I'm still trying to develop a technique myself and am learning as I go.
However, here's what I'm doing now.
Mix the Milliput as normal. Then roll it out into a thin sheet.
I do that by first rolling the putty into a small "worm" with my fingers and then using a piece of styrene tube as a "rolling pin." To keep the putty from sticking to the flat surface or the tube, I use ordinary talcum powder. (This is absorbed by the putty and does no harm to it.)
I then let the thin sheet of putty "set up" for a while. This timing just takes some practice and experimenting. What I'm aiming for is still flexible, but not too flexible to work with.
I then cut the strap that I want from this sheet. I generally use more of a chopping motion than a scoring motion to avoid distorting the putty as much as possible.
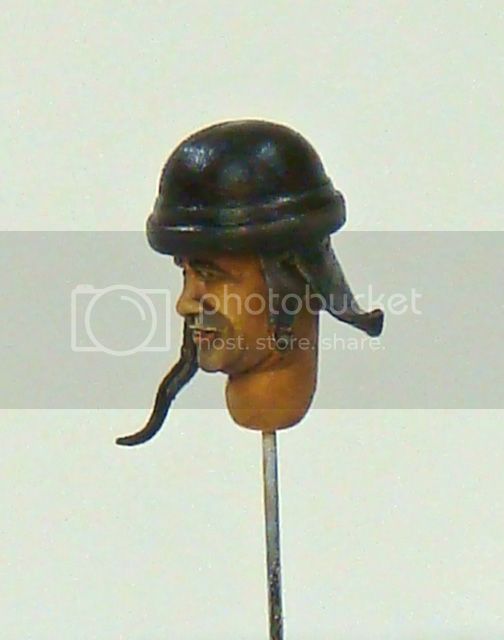
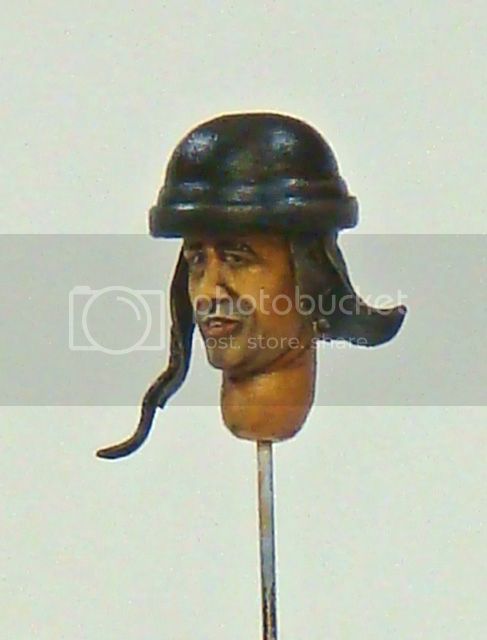
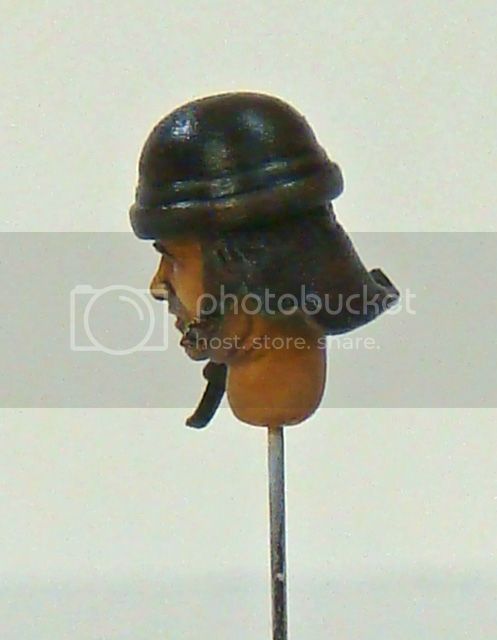
I attach one end of the soft putty strap to the figure using a small drop of CA glue. I've found that the CA reacts almost instantly with the putty, so I try to use a little as possible.
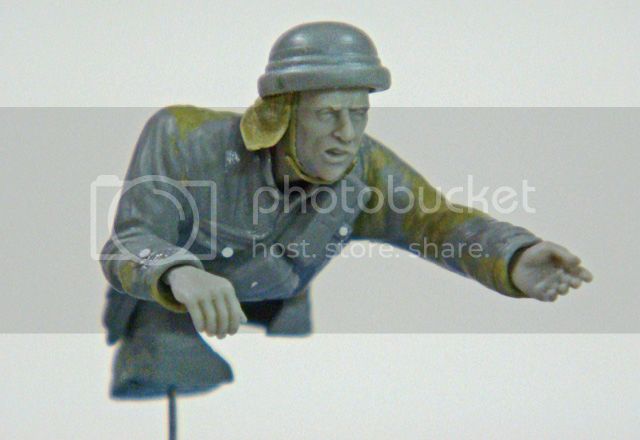
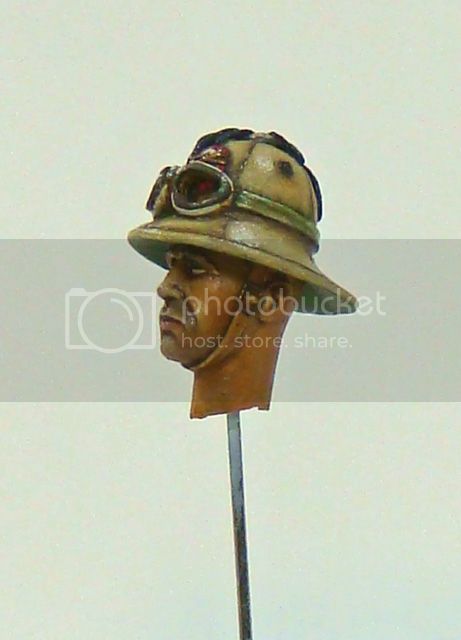
I then form the the strap and if necessary, attach the other end also using CA glue. I allow the strap to set over night and then use super-thin CA (in the case of the straps under the chins on two of the figures) under the length of the strap to fix its entire length.
I've found that patience is the key to all of this and I get the best results doing only one or two putty parts at a time and then allowing them to set up hard before trying to add to them.
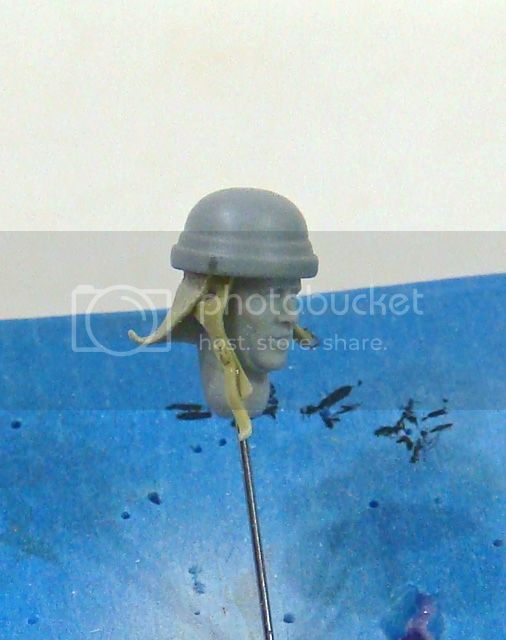
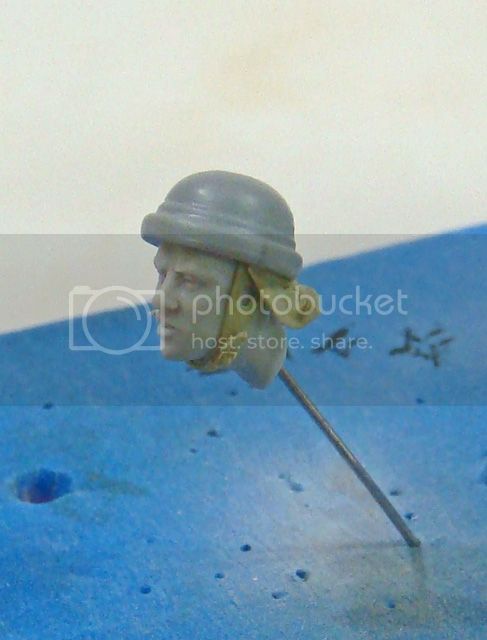
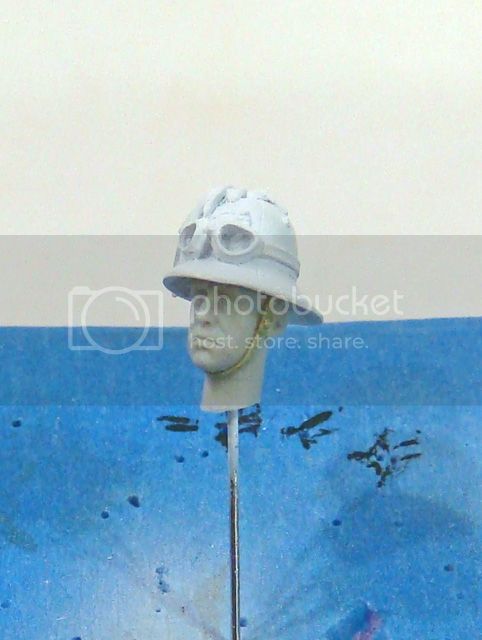
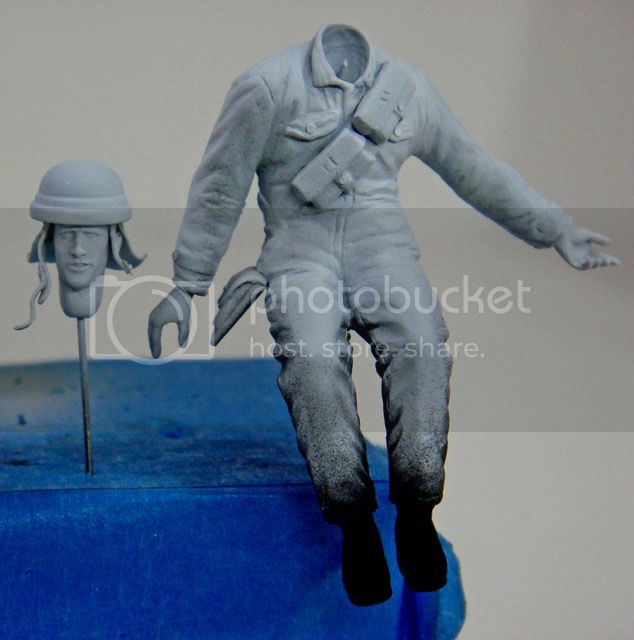
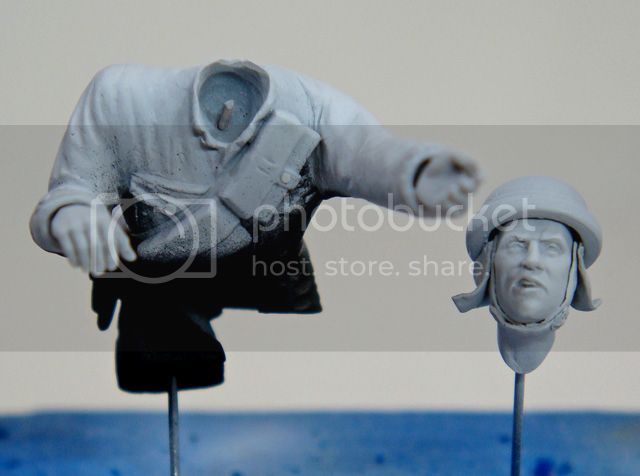
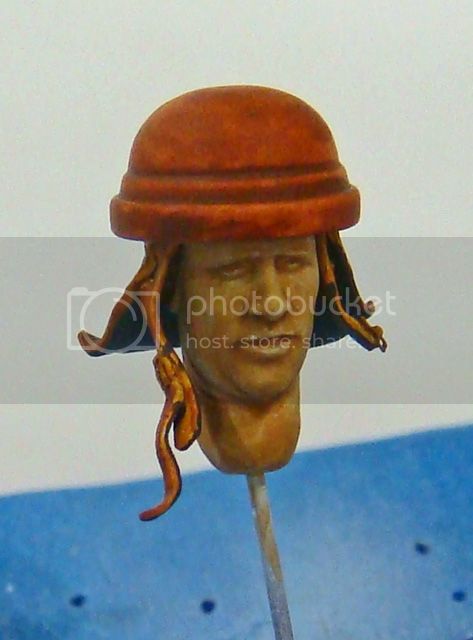
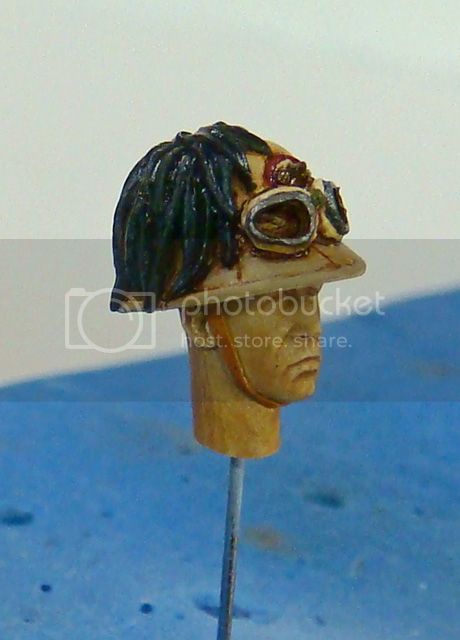
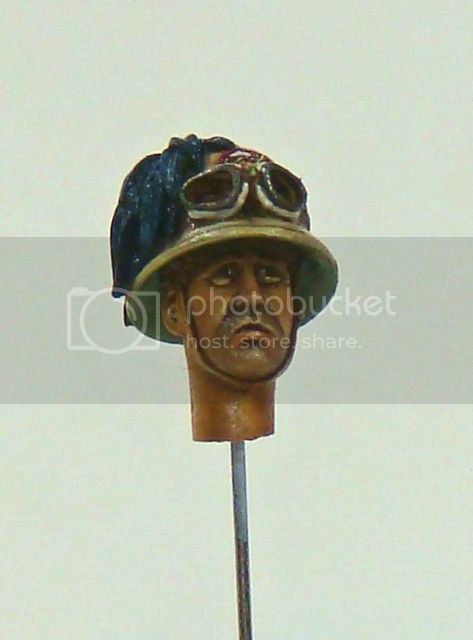
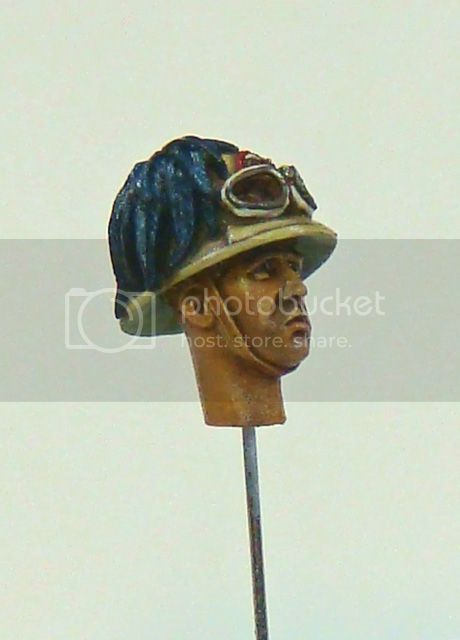
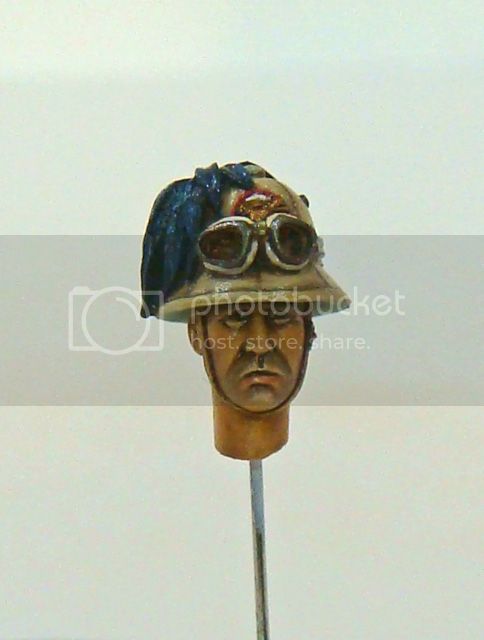
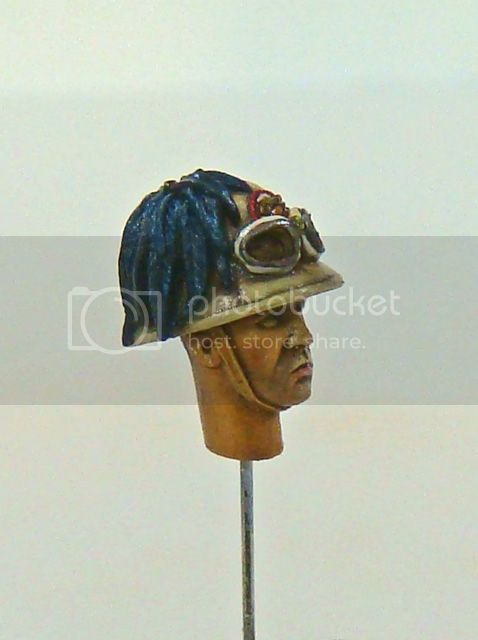
So, for example, the commander's head took four days to do - one for the ear pieces; one for the small strap on the right ear piece; and one for the neck flap and attaching the helmet to the head; and one final session to add the PE buckle and its center putty "bump" to the end of the left ear piece / strap.
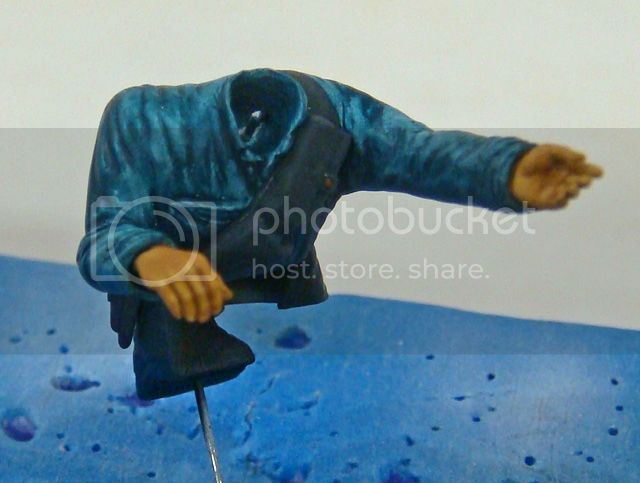
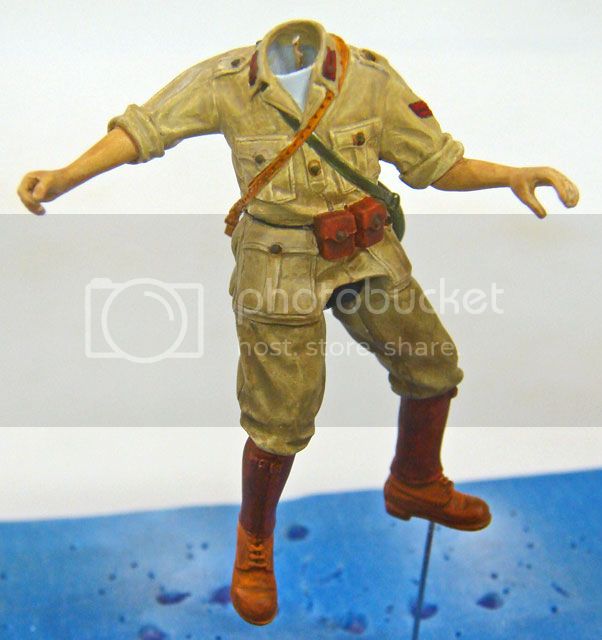
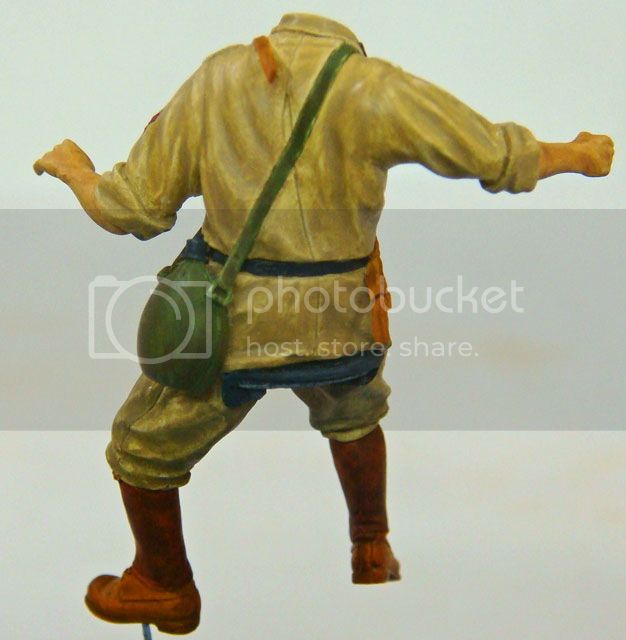
Of course, I worked on all three heads at once, so that I was done with all of them at the same time. I also did the putty work on their body part joints concurrently too, so although the set-up / drying time does seem long, you can still get a lot of work done.
I think that next time I do this sort of work, I'll use Green Stuff two-part epoxy instead of the Milliput for any straps and things. The Milliput is brittle once it sets, but the Green Stuff retains some flexibility and so it should be a little more durable.
But as I understand from reading explanations by several (much!) more advanced sculptors, the Green Stuff is better suited for the purpose of making straps, etc, than the Milliput.
Taking my time and not trying to do too much at once seems to be the most important tips, though.
@Karl N. Hoy:Thanks for the props, Karl.
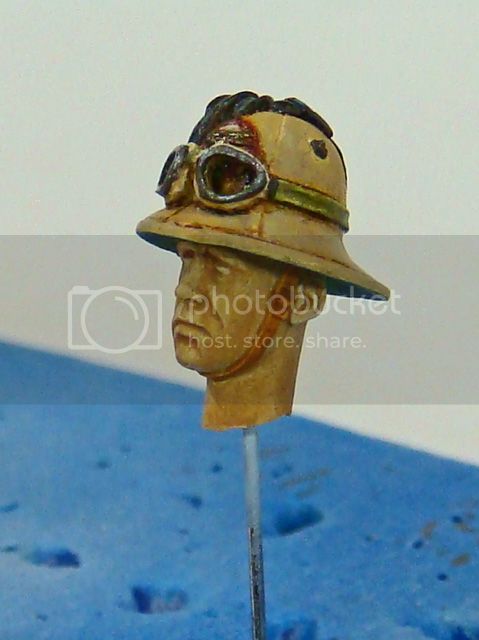
I've always loved the Hornet heads and my figure modeling has really progressed since I started using them. As my good friend Jerry mentioned above, I was never much of a figure modeler and much of that was because I couldn't find the kind of detail that I want in my models with most figures.
However, with the advent of the internet making shopping for specialized items so much easier, I found a good source for the Hornet figures and parts and have been using them on most of my figures for the last 15-20 years. Although there are now several figure lines that are sculpted as nicely as Hornet (Alpine, for instance), Hornet are still my "go-to guys."
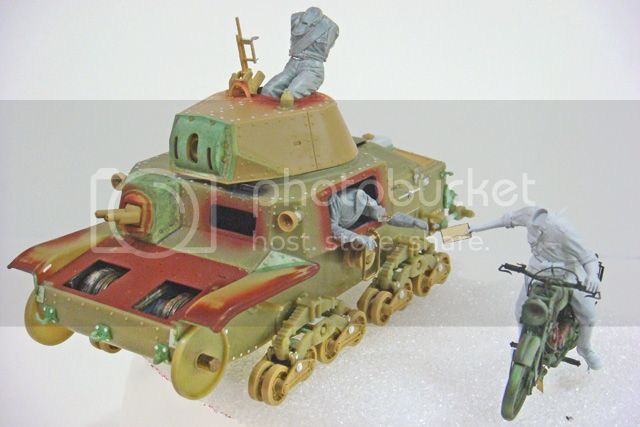
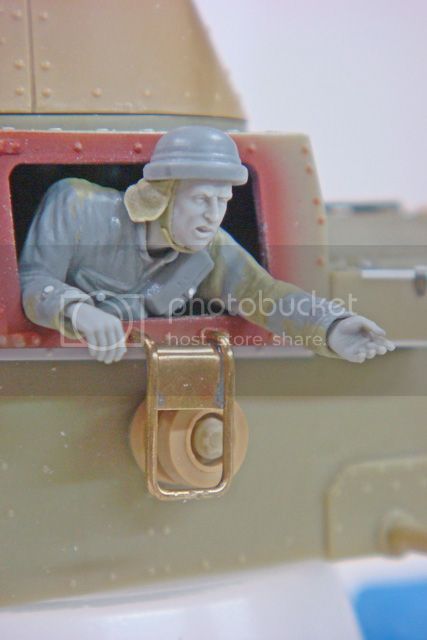
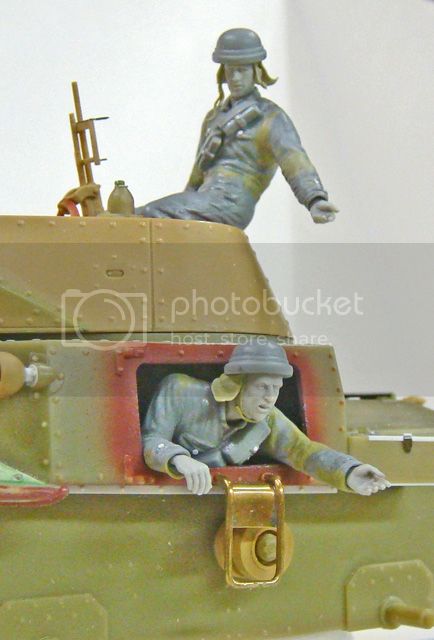
For this project, I really needed figure heads that were looking down and up for the commander and crewman, and once again, Hornet has come through.
Happy modeling!