Hi everyone, this is my first build blog ever, and its based around my Trumpeter T-64 that i have 97% complete after a month of building. I would like to point out that Trumpeter has come a very long way in its kit manufacturing process in recent years. This T-64 is Fantastic! detail is second to none and light years ahead of the Skif kit, and fits almost like a Tamiya kit. My pics are not great but i will make up for that by explaining where the very few fit issues etc are so here goes...
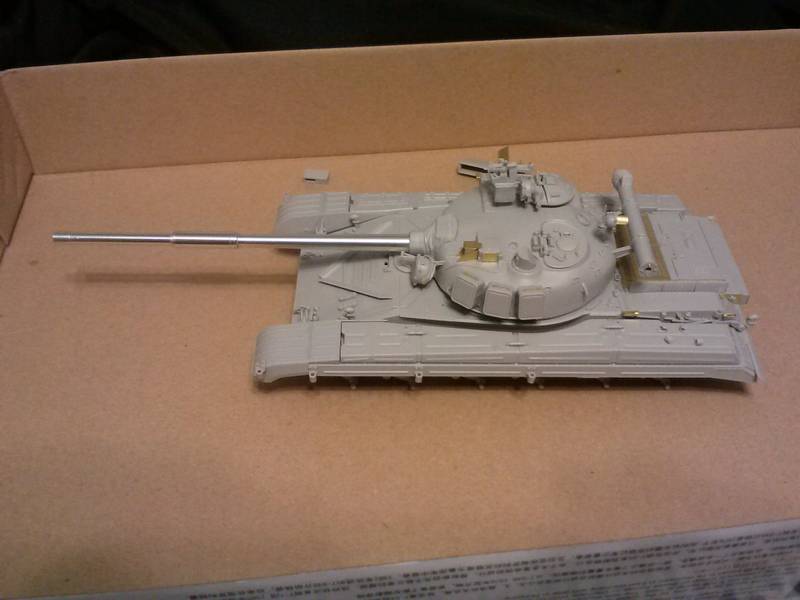
this first pic shows how the sub assemblies look together without glue, suspension is complete as are the fenders, turret, engine deck and so on
more tomorrow
Constructive Feedback
For in-progress or completed build photos. Give and get contructive feedback!
Hosted by Darren Baker, Dave O'Meara
Trumpeter T-64 Model 1972 First Posting!
JCB8116
United States
Joined: October 22, 2012
KitMaker: 9 posts
Armorama: 8 posts
Joined: October 22, 2012
KitMaker: 9 posts
Armorama: 8 posts
Posted: Tuesday, December 04, 2012 - 06:16 PM UTC
JCB8116
United States
Joined: October 22, 2012
KitMaker: 9 posts
Armorama: 8 posts
Joined: October 22, 2012
KitMaker: 9 posts
Armorama: 8 posts
Posted: Wednesday, December 05, 2012 - 01:50 PM UTC
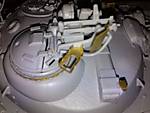
This view shows the complex gun mount for the NSVT AA MG, the mount builds up nicely consisting of 21 plastic parts and 5 photo etch. parts L14 and L15 have ejector pin marks on the inside that should be filled, the spent casing bag is made of DS plastic thats nicely detailed. Photo Etch part PE-B9 does not fit well at the top of the bag, and the ammo box holder part PE-A15 must be folded VERY CAREFULLY! preferably with a photo etch bending tool like mister fold it. Under the gun mount and hatch is photo etch part PE-A9, its a long detail strip that wraps around the cupola ring part E8, its a tad bit longer than necessary and causes a slight overlap, not very noticable but file it or trim it shorter for a perfect fit
JCB8116
United States
Joined: October 22, 2012
KitMaker: 9 posts
Armorama: 8 posts
Joined: October 22, 2012
KitMaker: 9 posts
Armorama: 8 posts
Posted: Wednesday, December 05, 2012 - 02:04 PM UTC
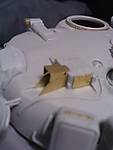
here is the worst fitting part of this kit, PE-C9, PE-C10, and PE-C5 for the range finder. PE-C9 and 10 fit fine, but if you do as the instructions say and attach PE-C5 the way it shows, PE-C9 and 10 will not fit because PE-C5 is too wide. cut along the diagonal lines on PE-C5 then glue it on for a perfect fit.
JCB8116
United States
Joined: October 22, 2012
KitMaker: 9 posts
Armorama: 8 posts
Joined: October 22, 2012
KitMaker: 9 posts
Armorama: 8 posts
Posted: Wednesday, December 05, 2012 - 02:14 PM UTC
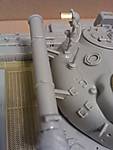
This view shows the snorkel assembly; again very nice and made of 9 pieces. parts fit perfectly, but the instructions show the snorkel mounts but no part numbers! its ok i found them, to mount the snorkel just locate parts M20 and 21. The searchlight at the turrets rear has a photo etch shroud, i got a perfect fit by bending it around a paint brush handle, this has a clear lens and is best left off until painting and weathering is completed.
Coming up: tracks, running gear, priming and painting!
Jurjen
Groningen, Netherlands
Joined: September 21, 2003
KitMaker: 3,040 posts
Armorama: 1,016 posts
Joined: September 21, 2003
KitMaker: 3,040 posts
Armorama: 1,016 posts
Posted: Wednesday, December 12, 2012 - 07:33 AM UTC
Hi Jonathan!
Good build sofar, you also may want to share your build on the russian forum?
acroyear
New York, United States
Joined: December 10, 2012
KitMaker: 19 posts
Armorama: 17 posts
Joined: December 10, 2012
KitMaker: 19 posts
Armorama: 17 posts
Posted: Wednesday, December 12, 2012 - 02:38 PM UTC
Hi Jonathan. This looks sweet! Makes me want this kit. Awesome work.
Trey.
Trey.