This model was reason for some serius work but in the begining i made lot mistakes and this project went by side.
After some time i made descion and start agan.
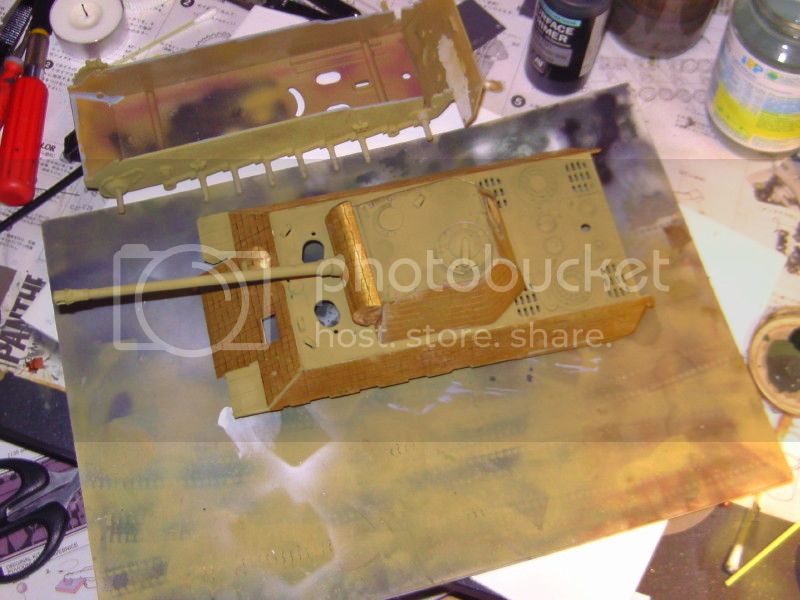
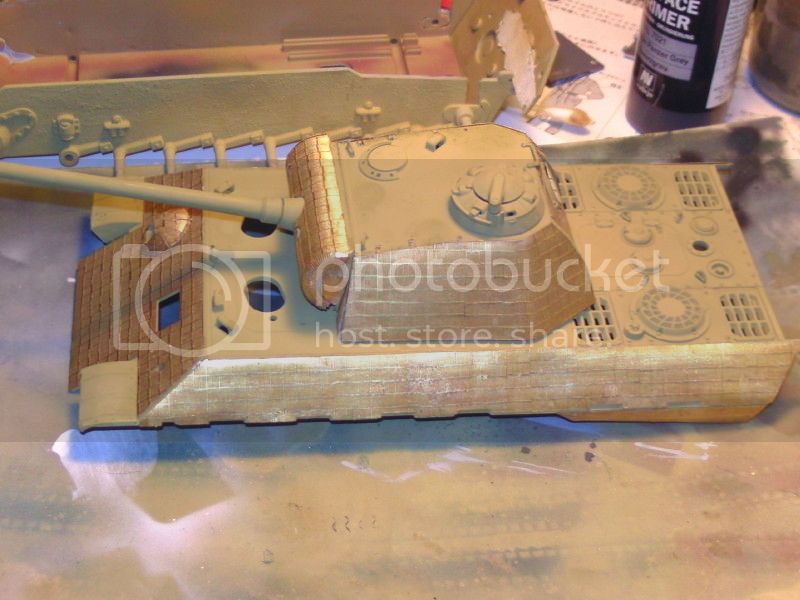
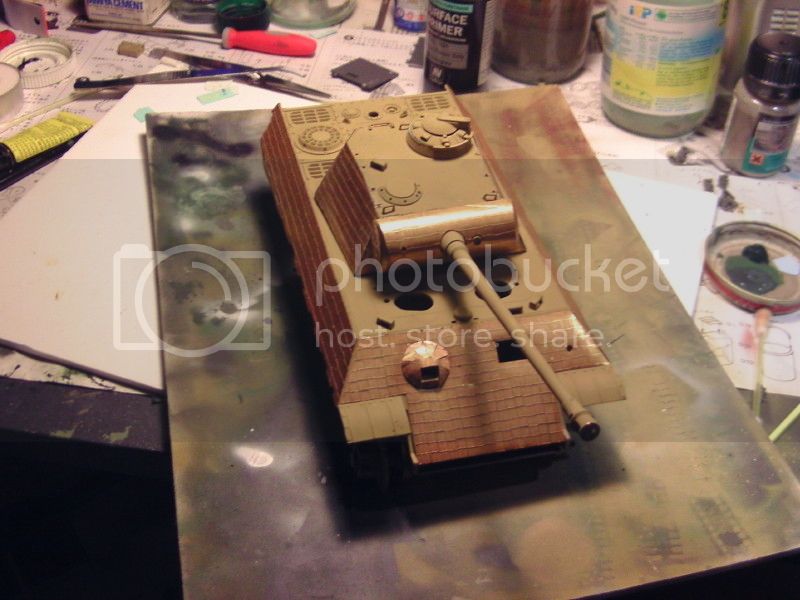
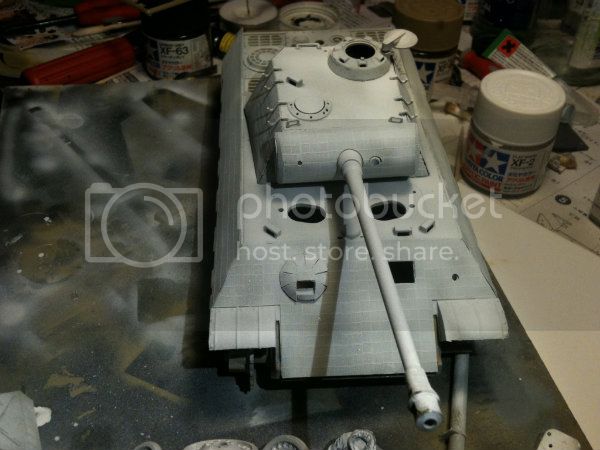
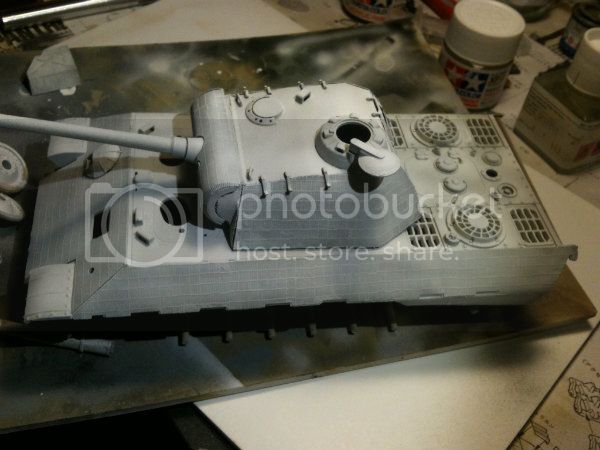
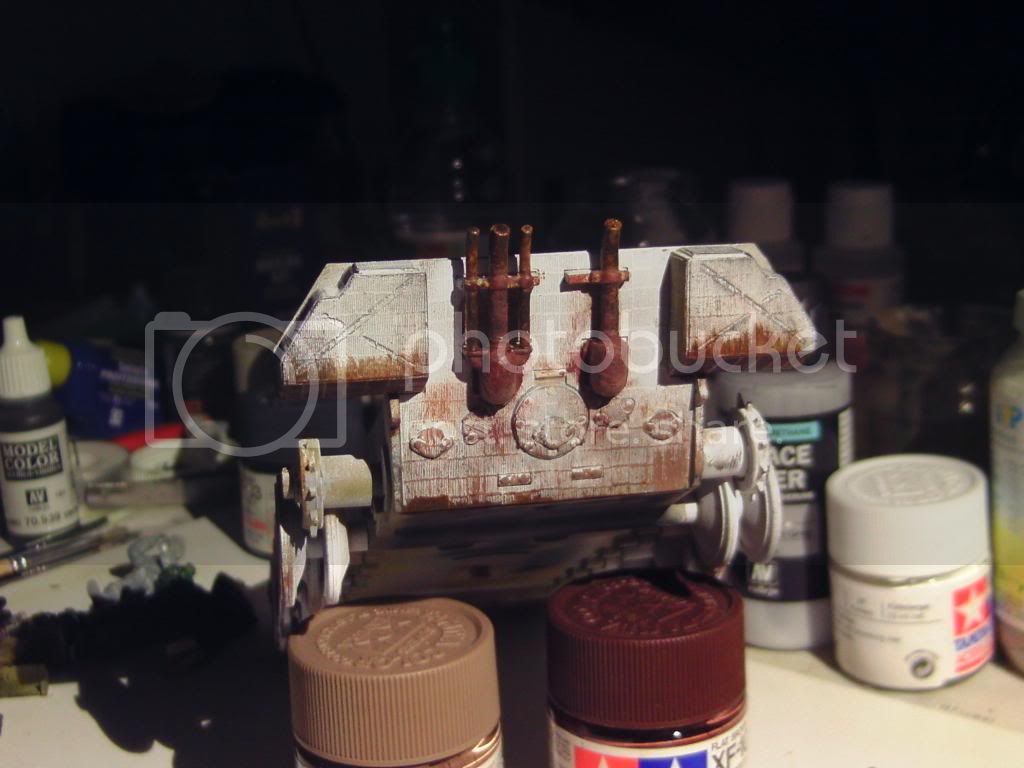
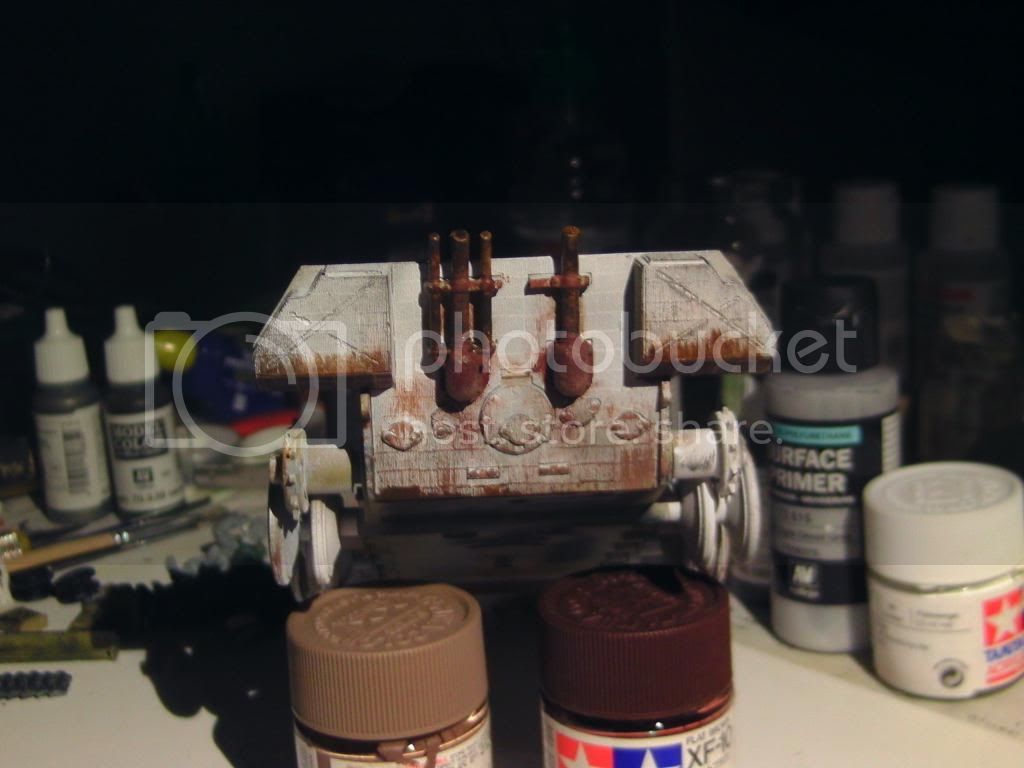
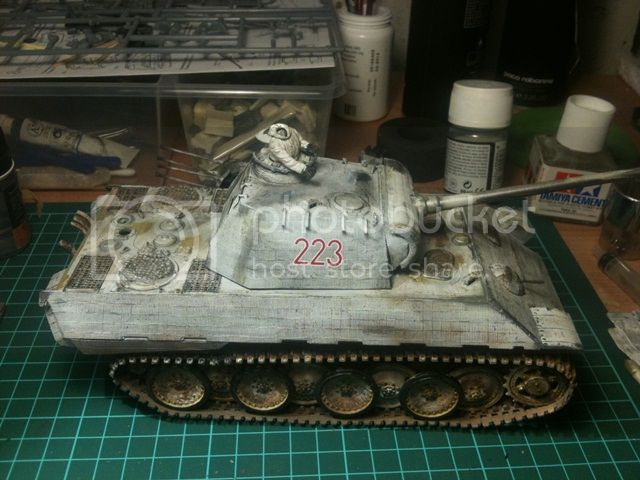
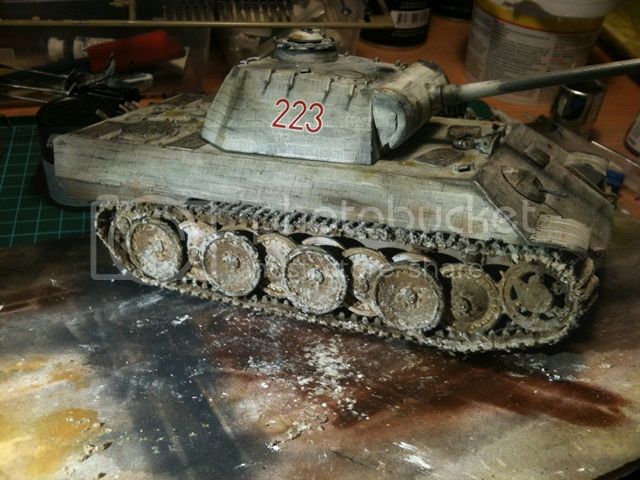
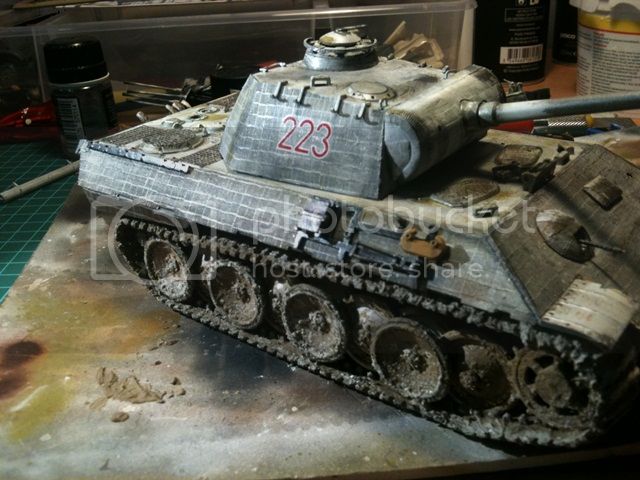
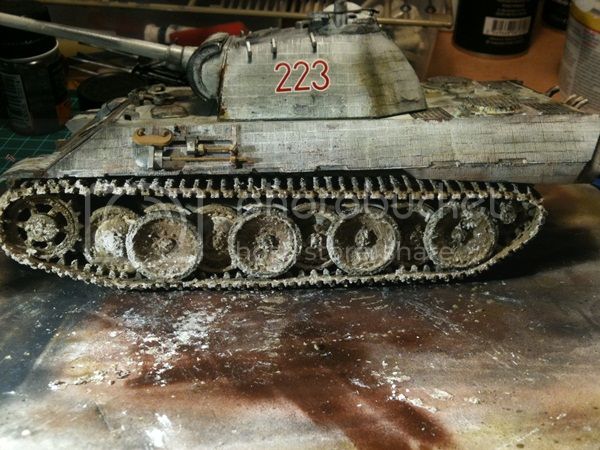
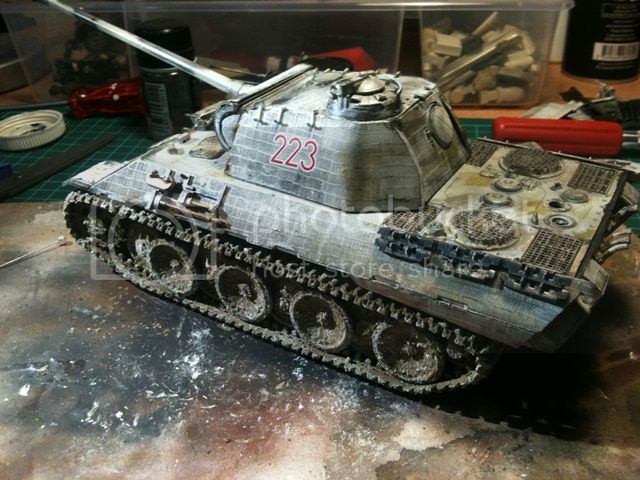
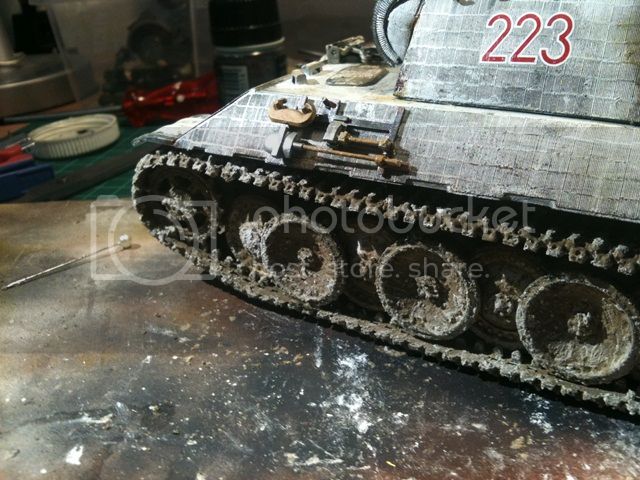
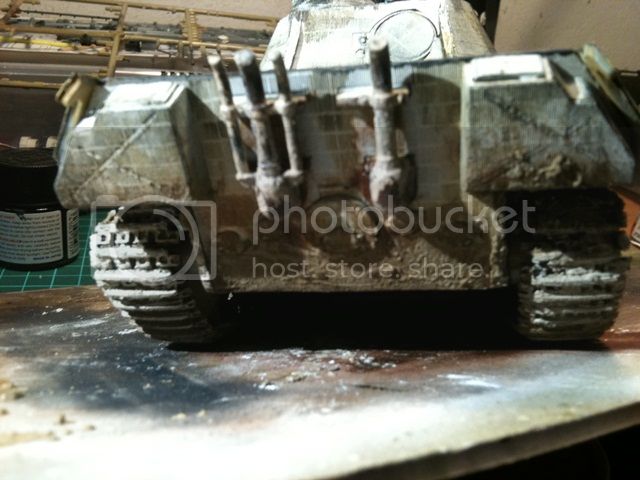
Model is Tamiy 1/35 Panther ausf. A 1/35 Winter 1943/1944 it is not clear now but it will be part of PZ Regiment Wiking
Primer Vallejo Dark Yellow ( 1. step )
Primer Valleyo German Grey ( 2.Step )
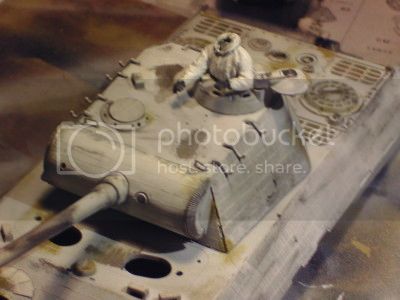
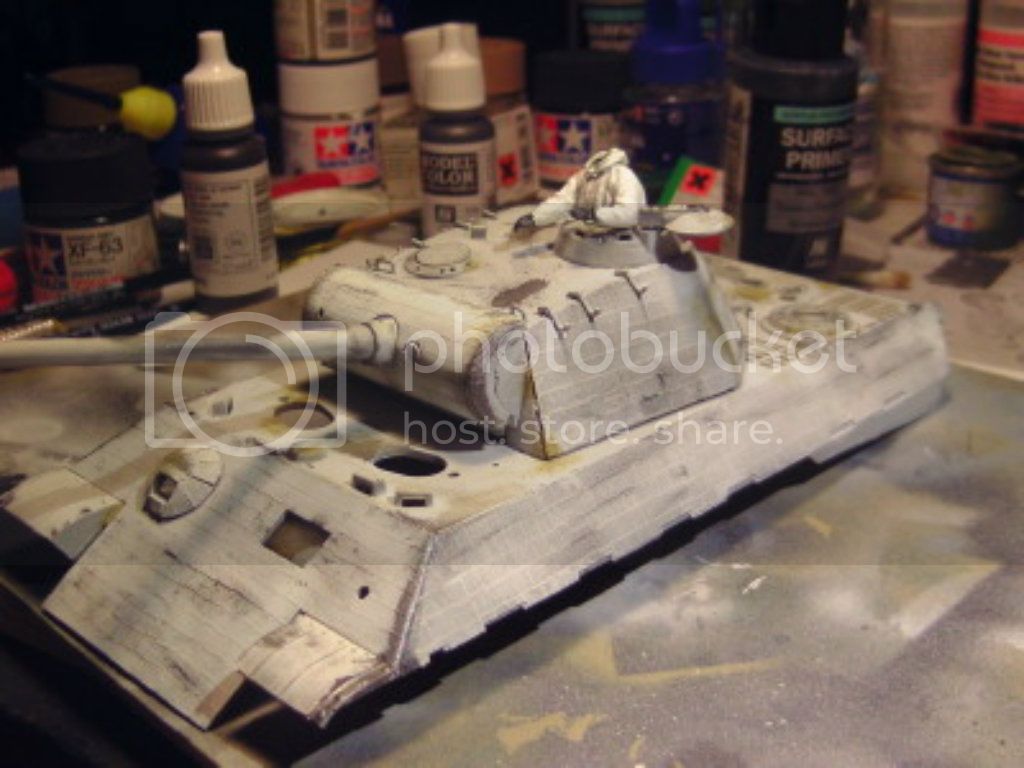
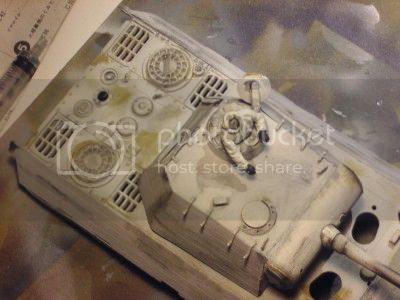
Color - Tamiya Dark Yellow (Base)
Tamiy Flat White
Zimmerit - Eduard
Dry Brush
Tamiya Deck Tan
Valleyo Ivory
Valleyo Gunmetal Grey
Tamiy Dark Yellow
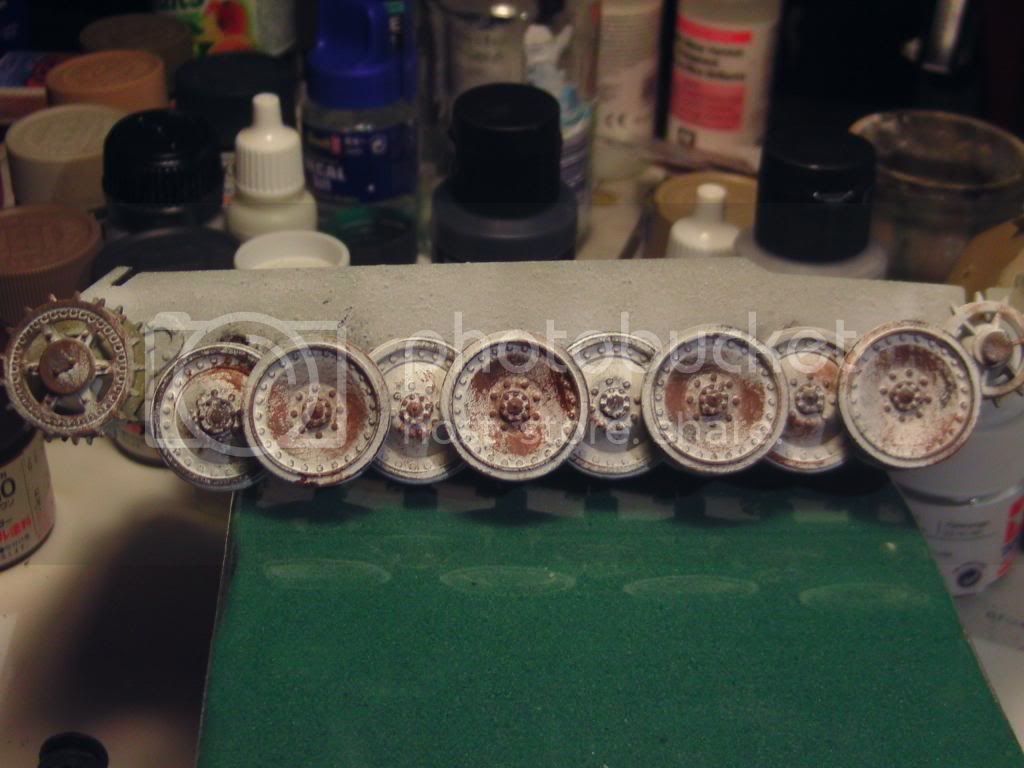
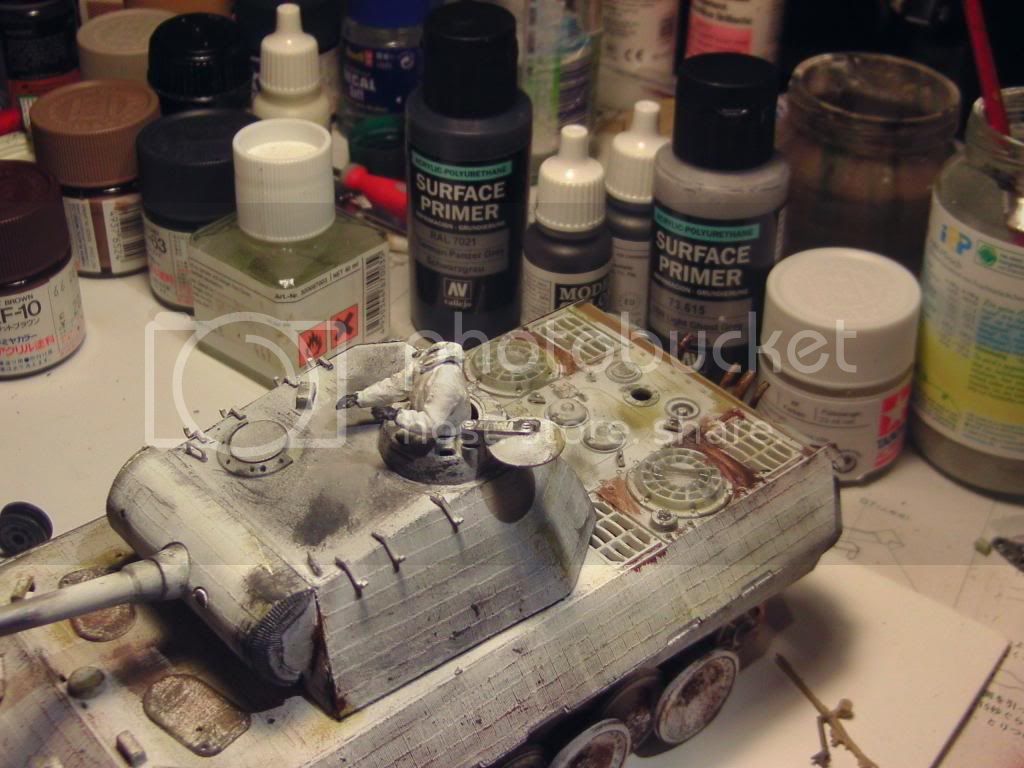
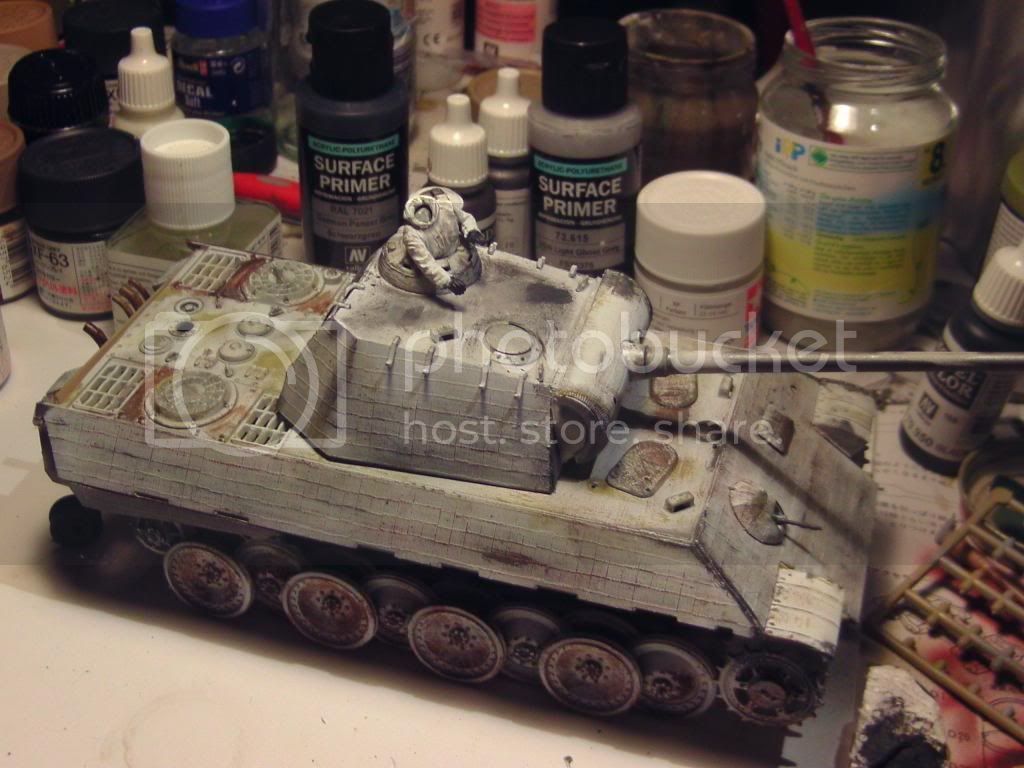
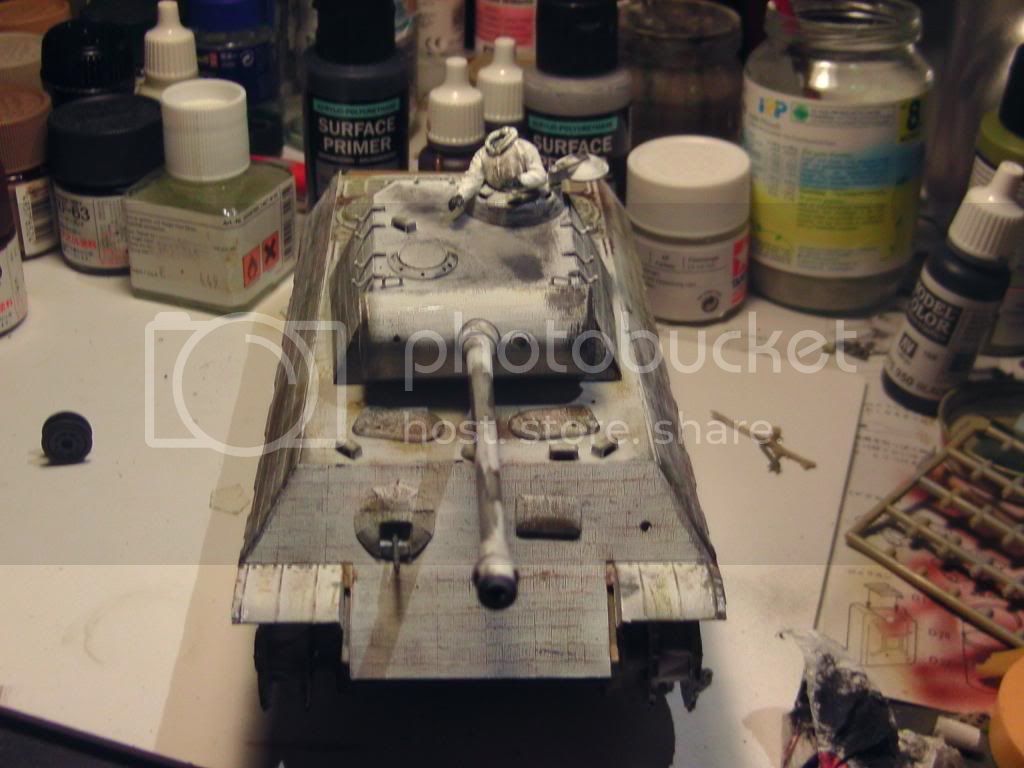
on the top Glanzer (1. Hand )
Next step ( upcomming ) Glnzer, AK Witer Wash and Winter streaking grime and Vallejo Snow Pigmnet.
 age.file[/img]
  image.file[/img]
  mage.file[/img]
  age.file[/img]
  ge.file[/img]
  image.file[/img]
  age.file[/img]
 Soon new update
Regards


 g]http://put.url.here/image.file[/img]
  mg]http://put.url.here/image.file[/img]
  mg]http://put.url.here/image.file[/img]
  img]http://put.url.here/image.file[/img]
  mg]http://put.url.here/image.file[/img]
  mg]http://put.url.here/image.file[/img]
  img]http://put.url.here/image.file[/img]
  mg]http://put.url.here/image.file[/img]
  g]http://put.url.here/image.file[/img]
  g]http://put.url.here/image.file[/img]


 mg]http://put.url.here/image.file[/img]
  mg]http://put.url.here/image.file[/img]
  g]http://put.url.here/image.file[/img]
  img]http://put.url.here/image.file[/img]
  g]http://put.url.here/image.file[/img]
  g]http://put.url.here/image.file[/img]
 g]http://put.url.here/image.file[/img]
  mg]http://put.url.here/image.file[/img]
 g]http://put.url.here/image.file[/img]
  g]http://put.url.here/image.file[/img]
  g]http://put.url.here/image.file[/img]
  mg]http://put.url.here/image.file[/img]
  mg]http://put.url.here/image.file[/img]


