Operation Herrick: Afghanistan
Ontario, Canada
Joined: March 01, 2002
KitMaker: 1,607 posts
Armorama: 1,581 posts
Posted: Tuesday, July 09, 2013 - 09:28 AM UTC
Ontario, Canada
Joined: March 01, 2002
KitMaker: 1,607 posts
Armorama: 1,581 posts
Posted: Friday, July 12, 2013 - 09:19 AM UTC
California, United States
Joined: June 30, 2008
KitMaker: 2,408 posts
Armorama: 2,394 posts
Posted: Friday, July 12, 2013 - 07:42 PM UTC
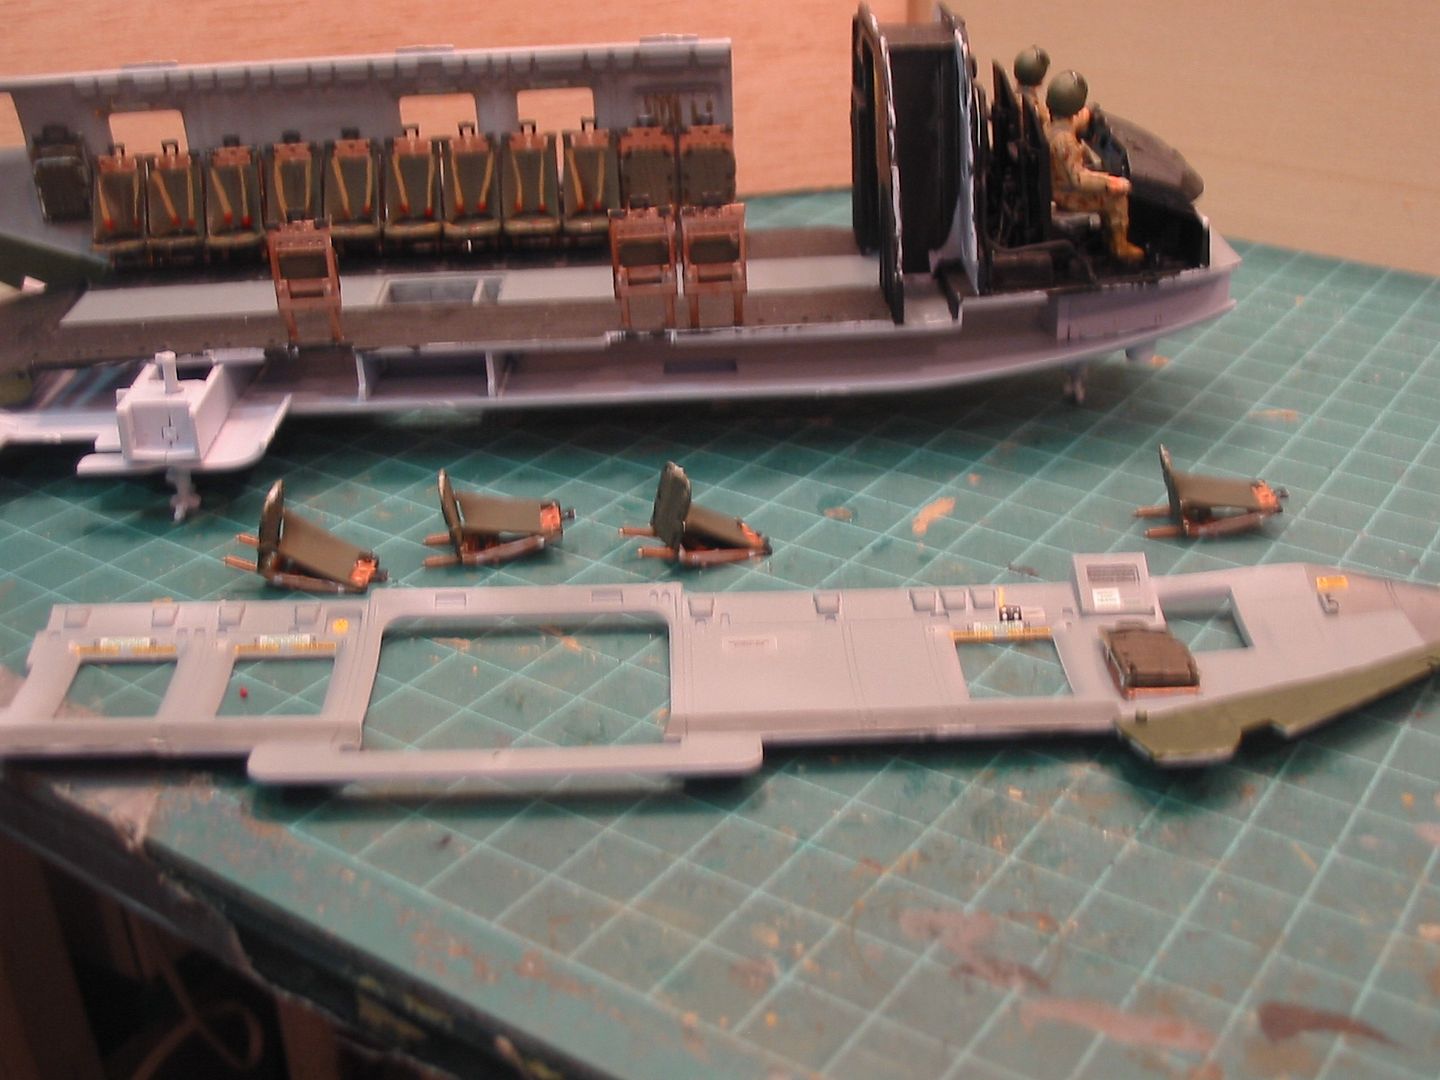
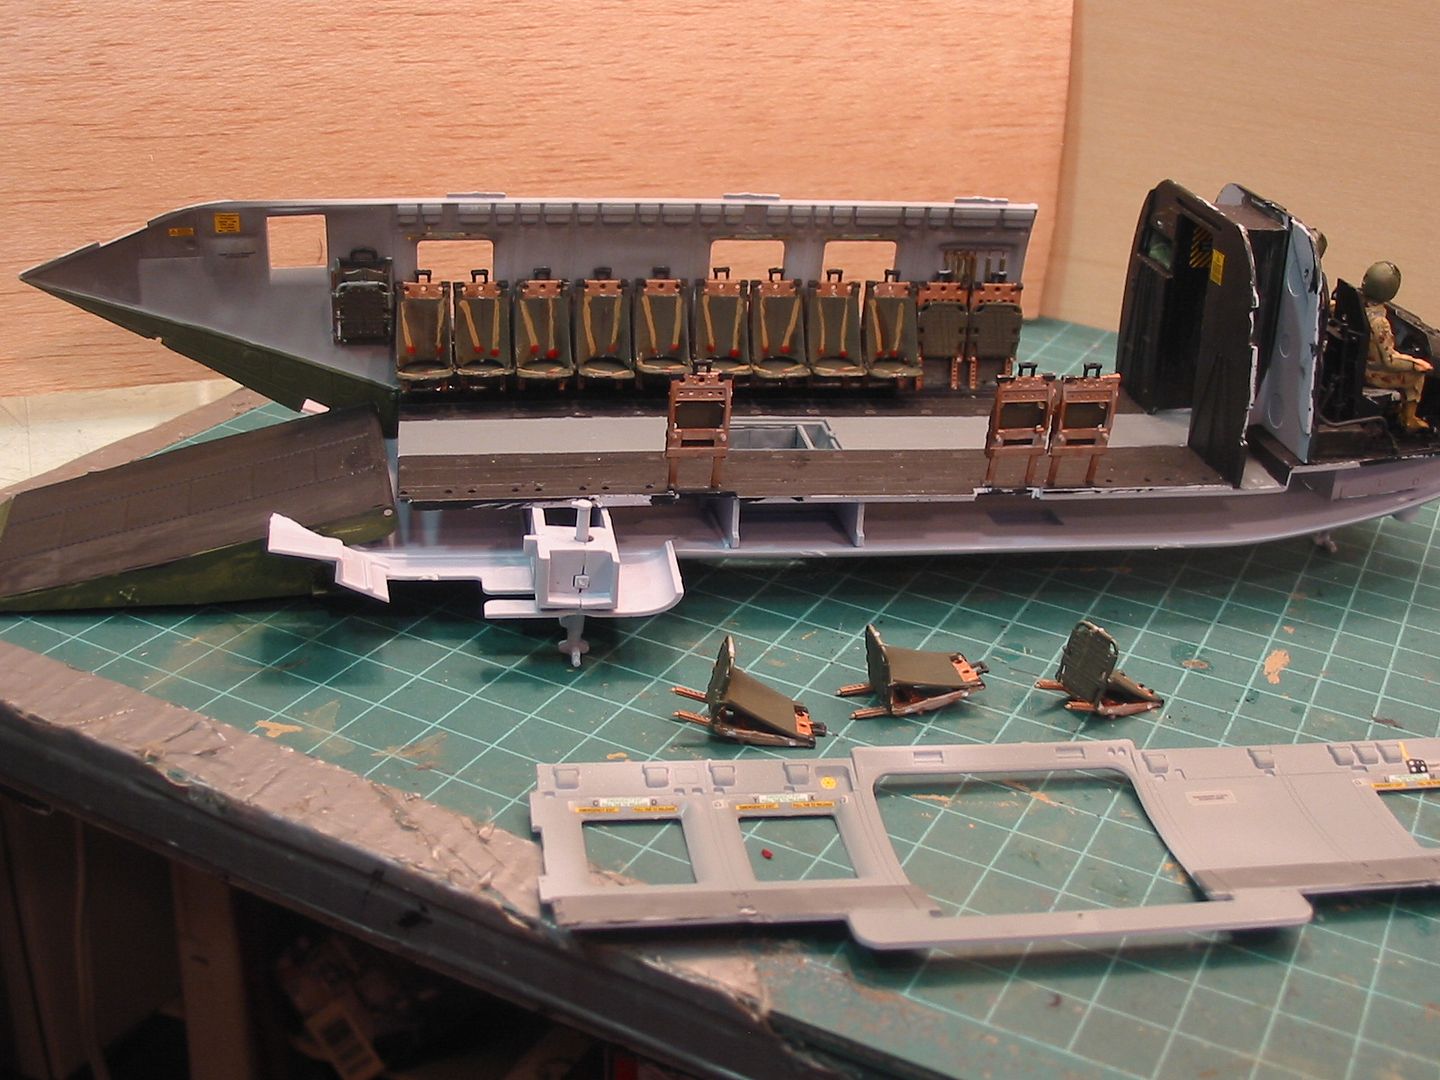
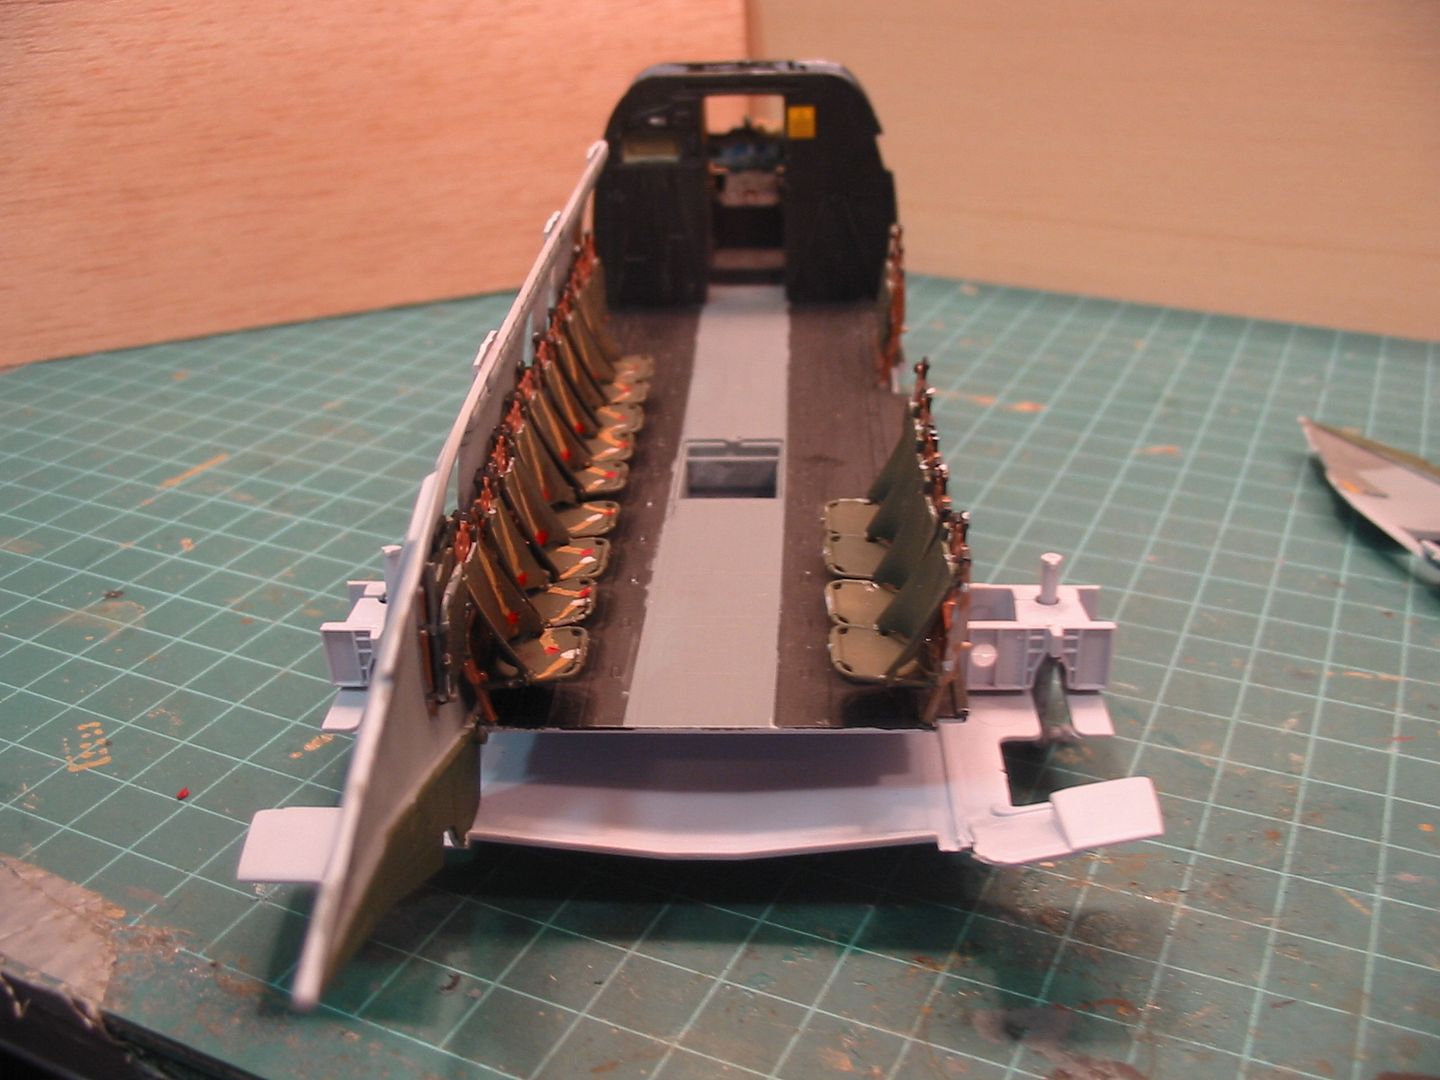
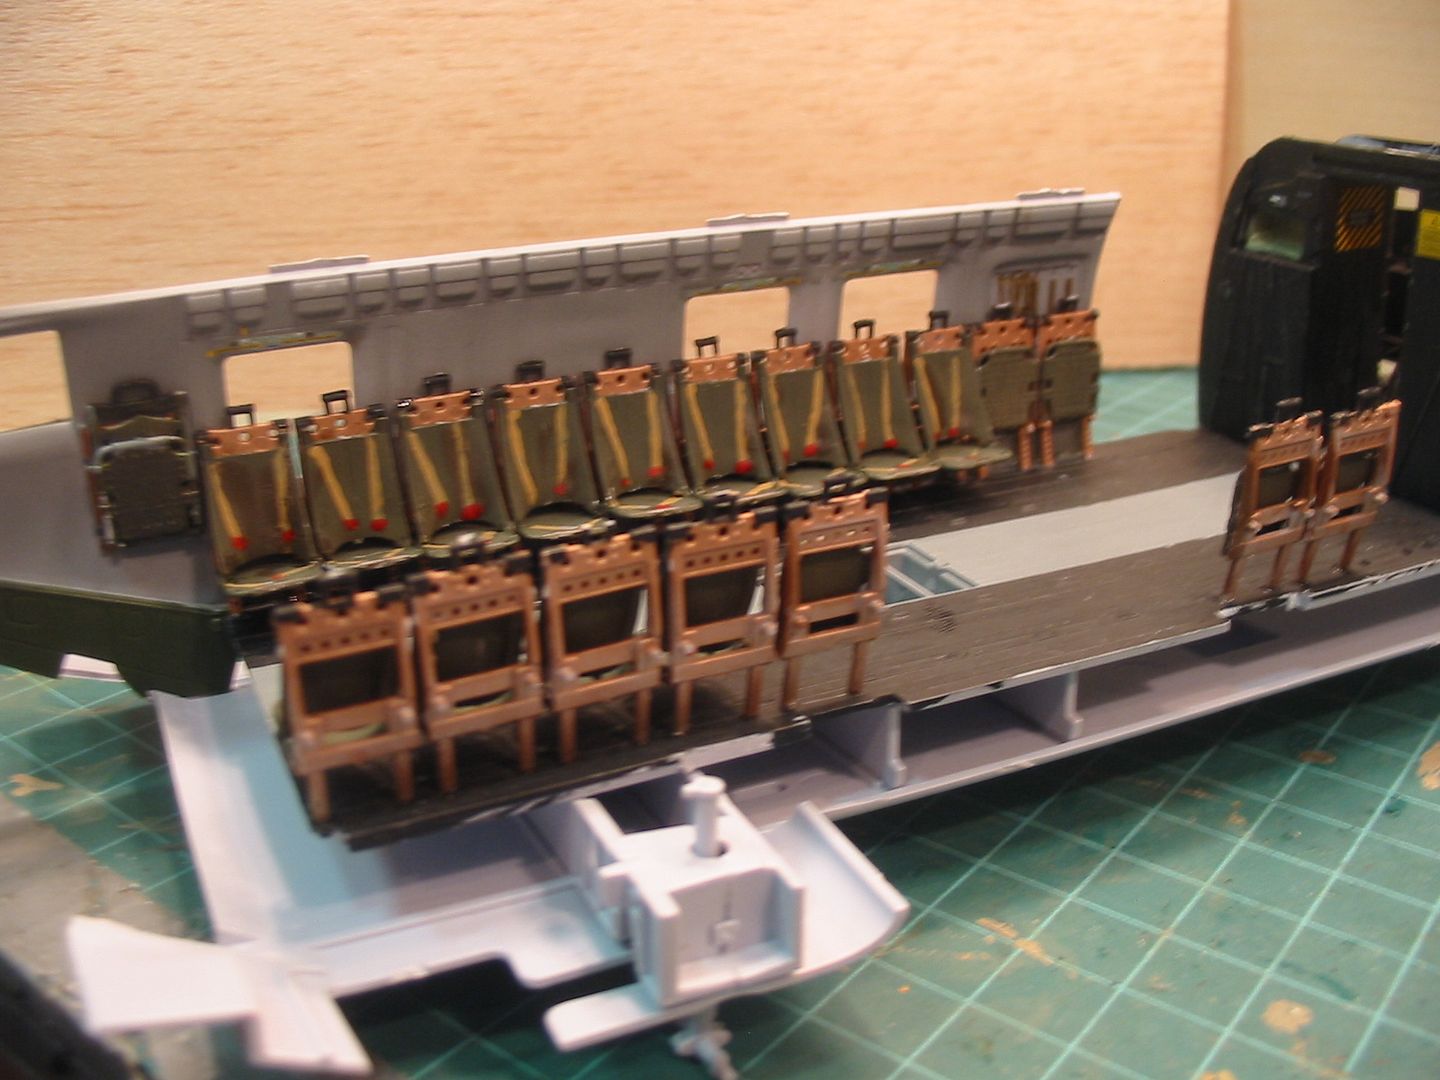
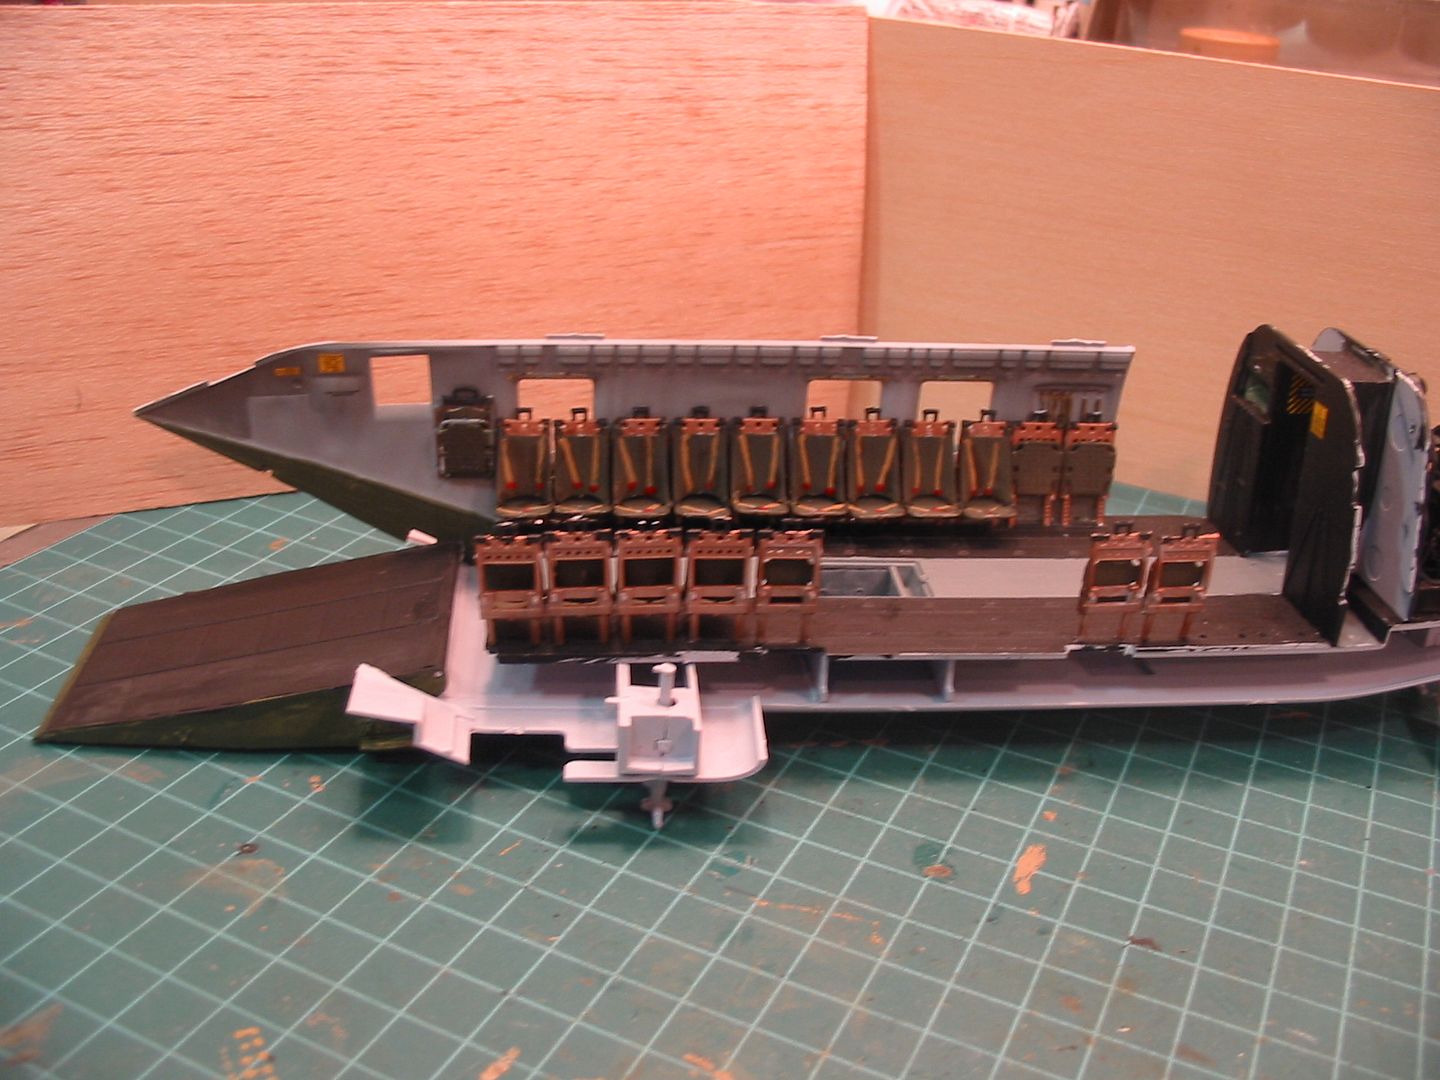
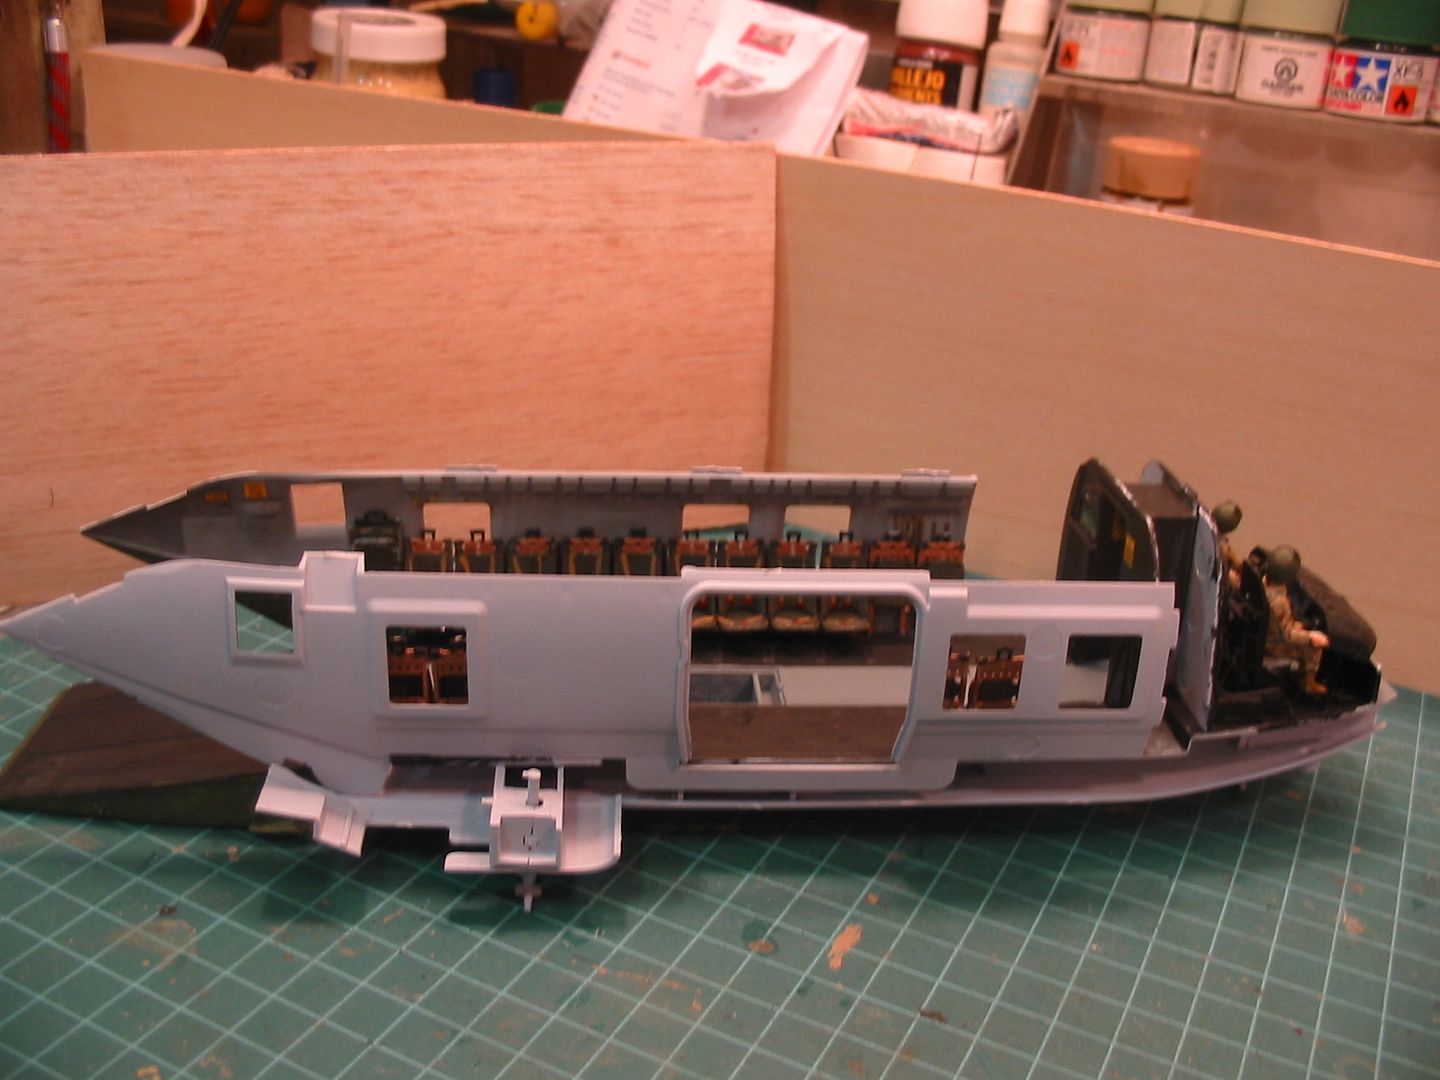
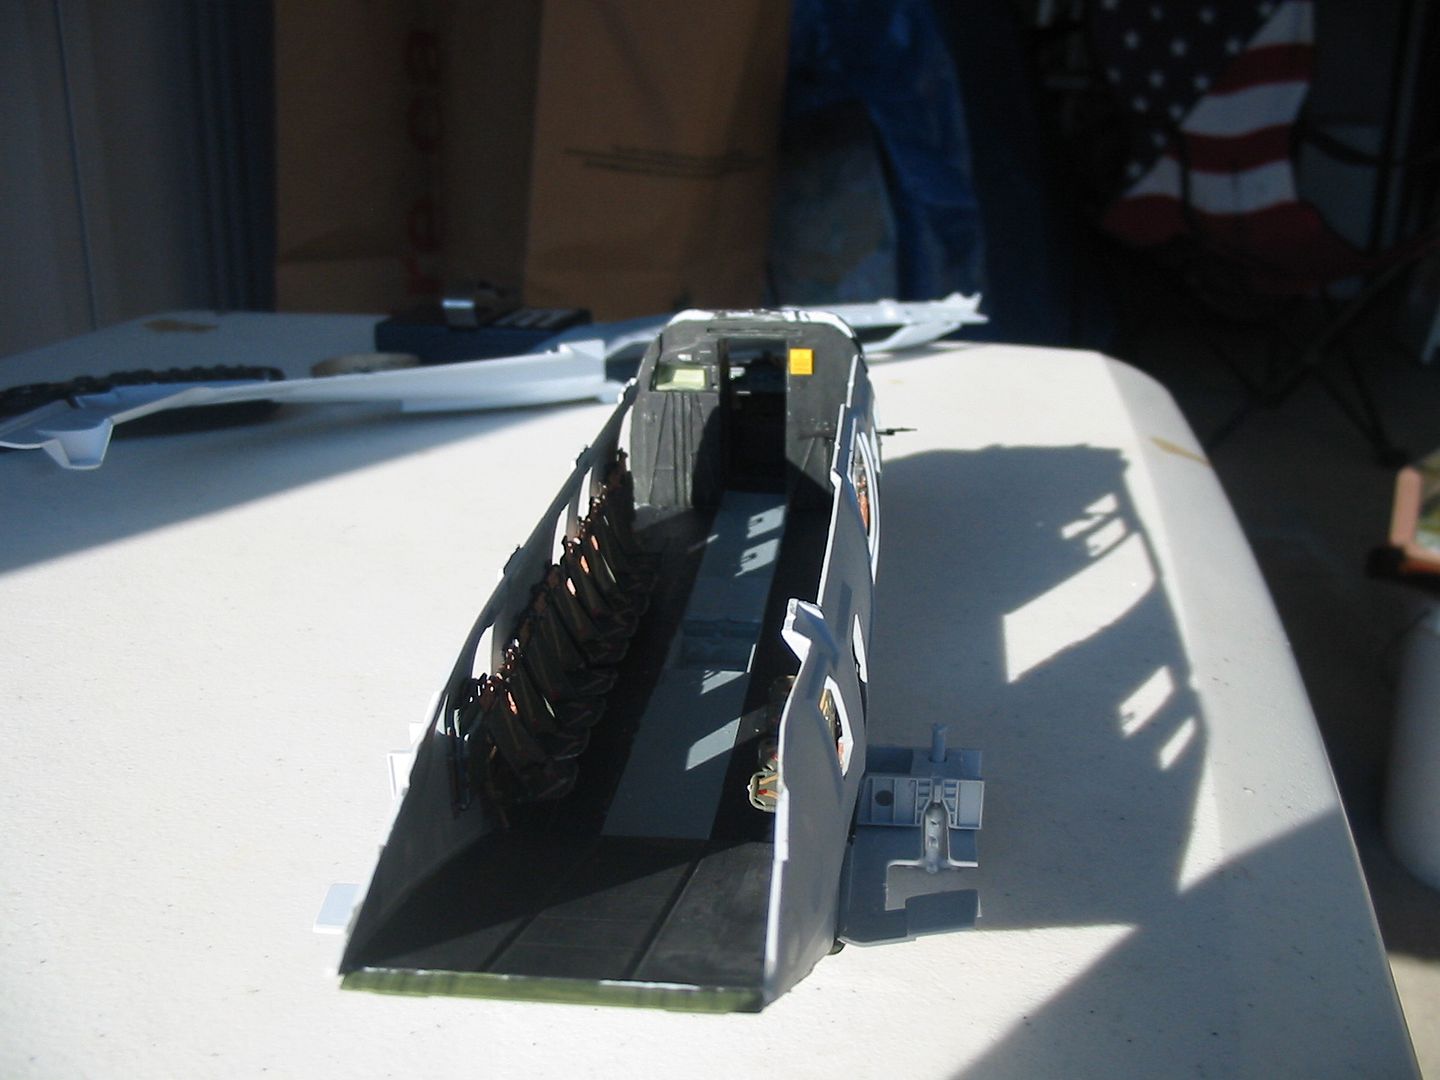
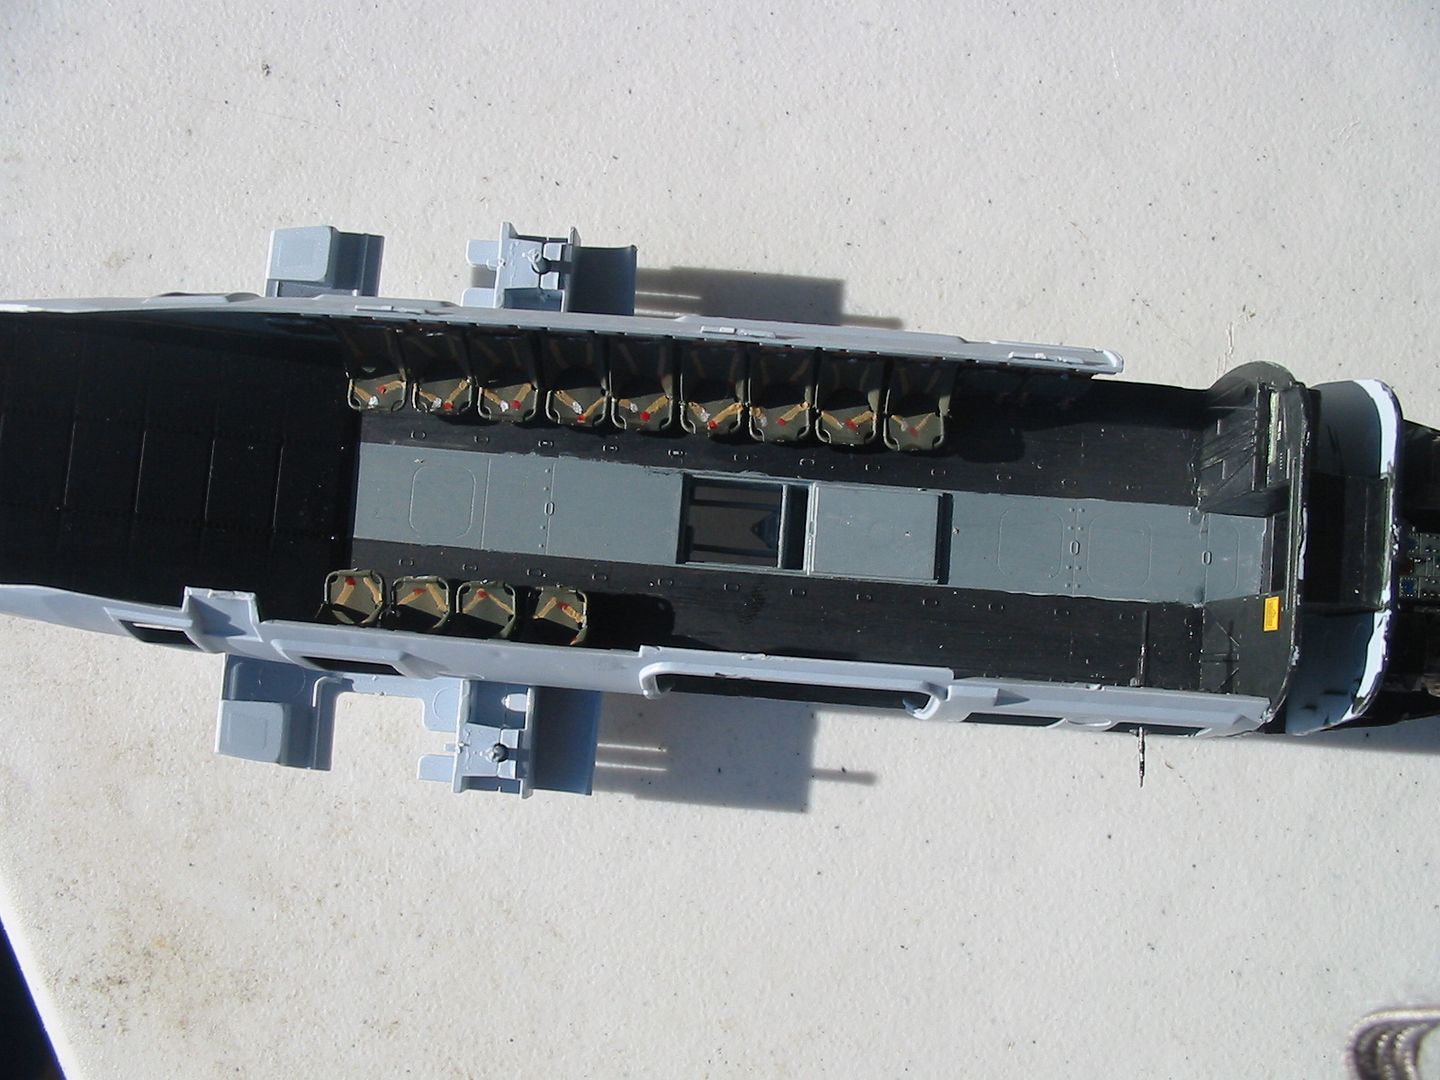
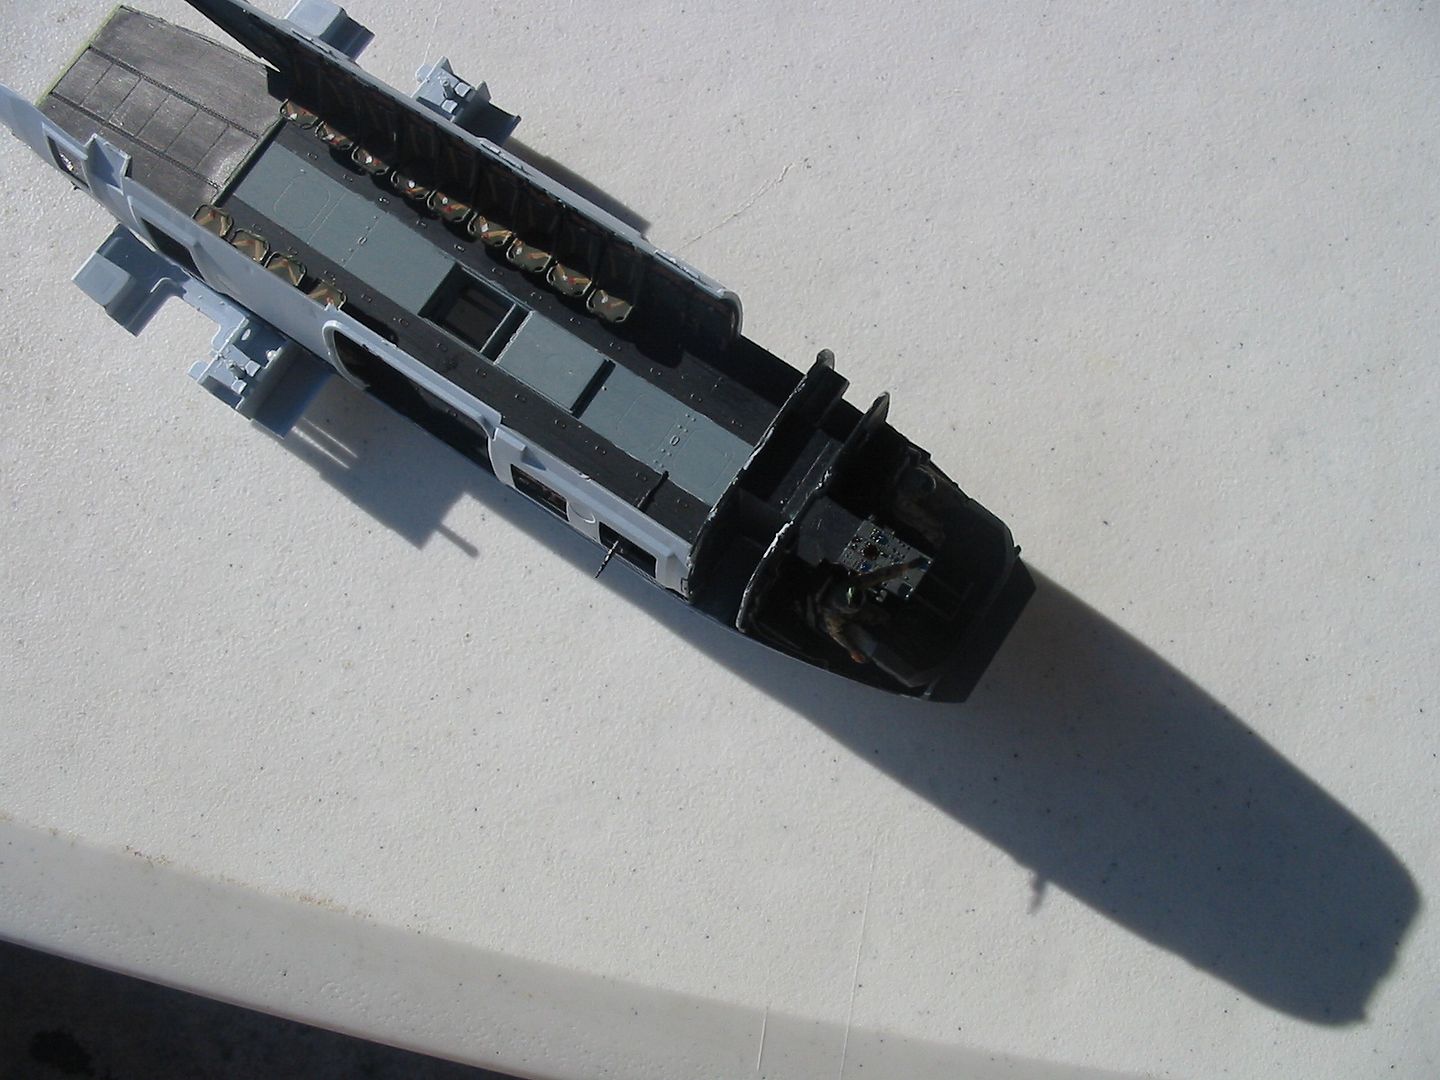
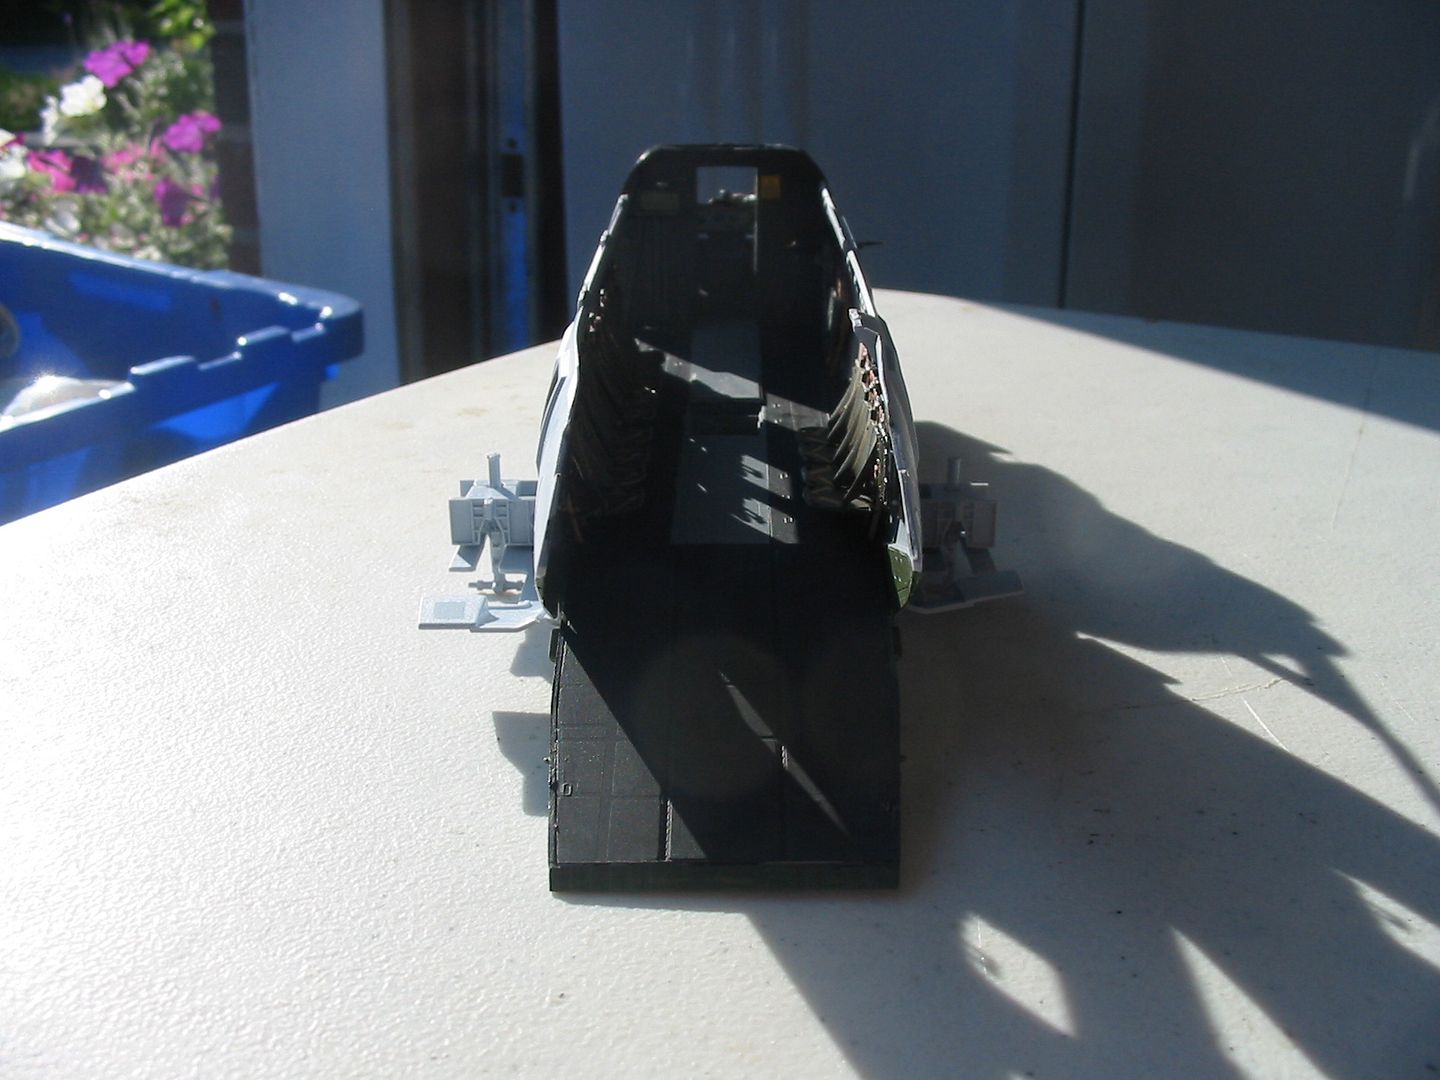
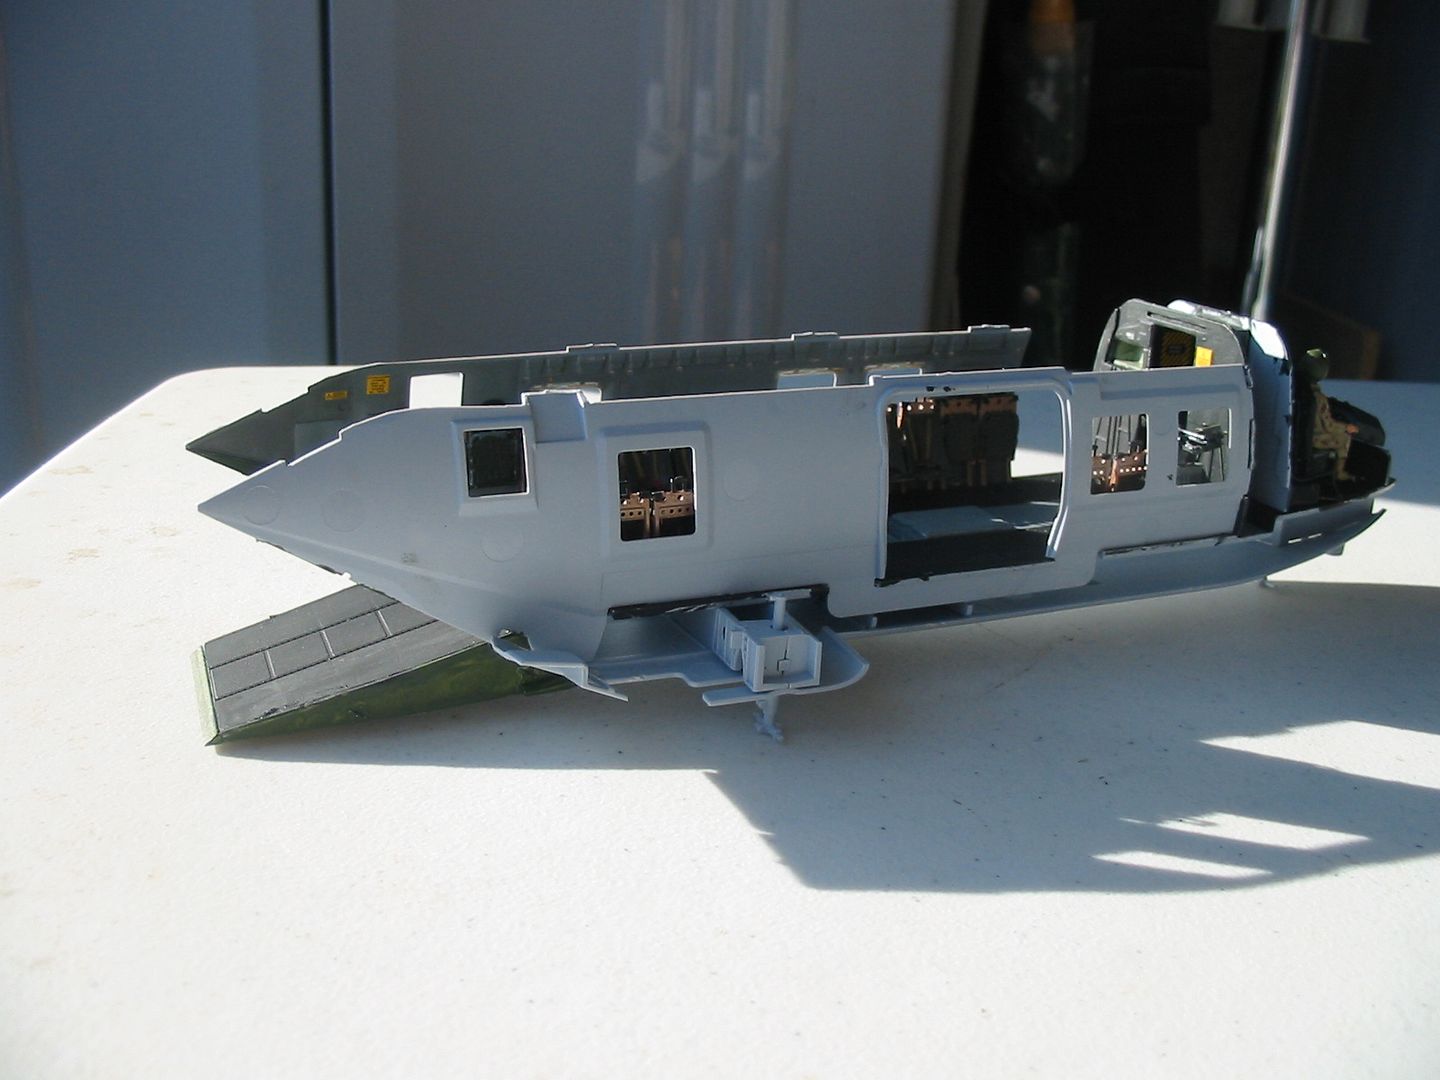
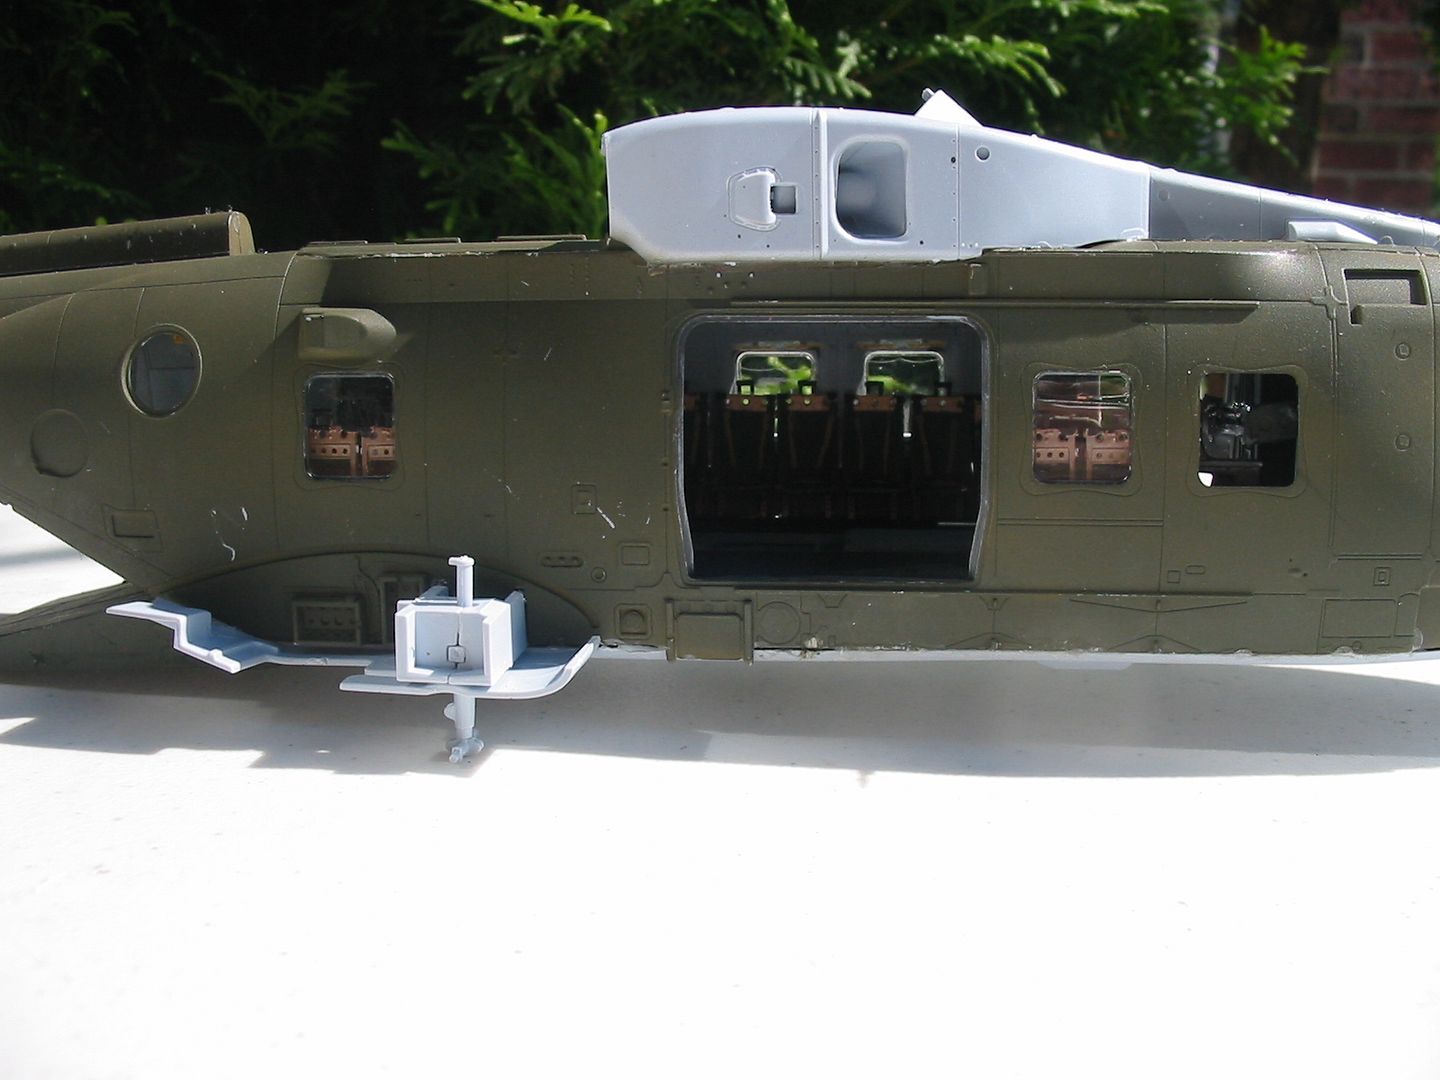
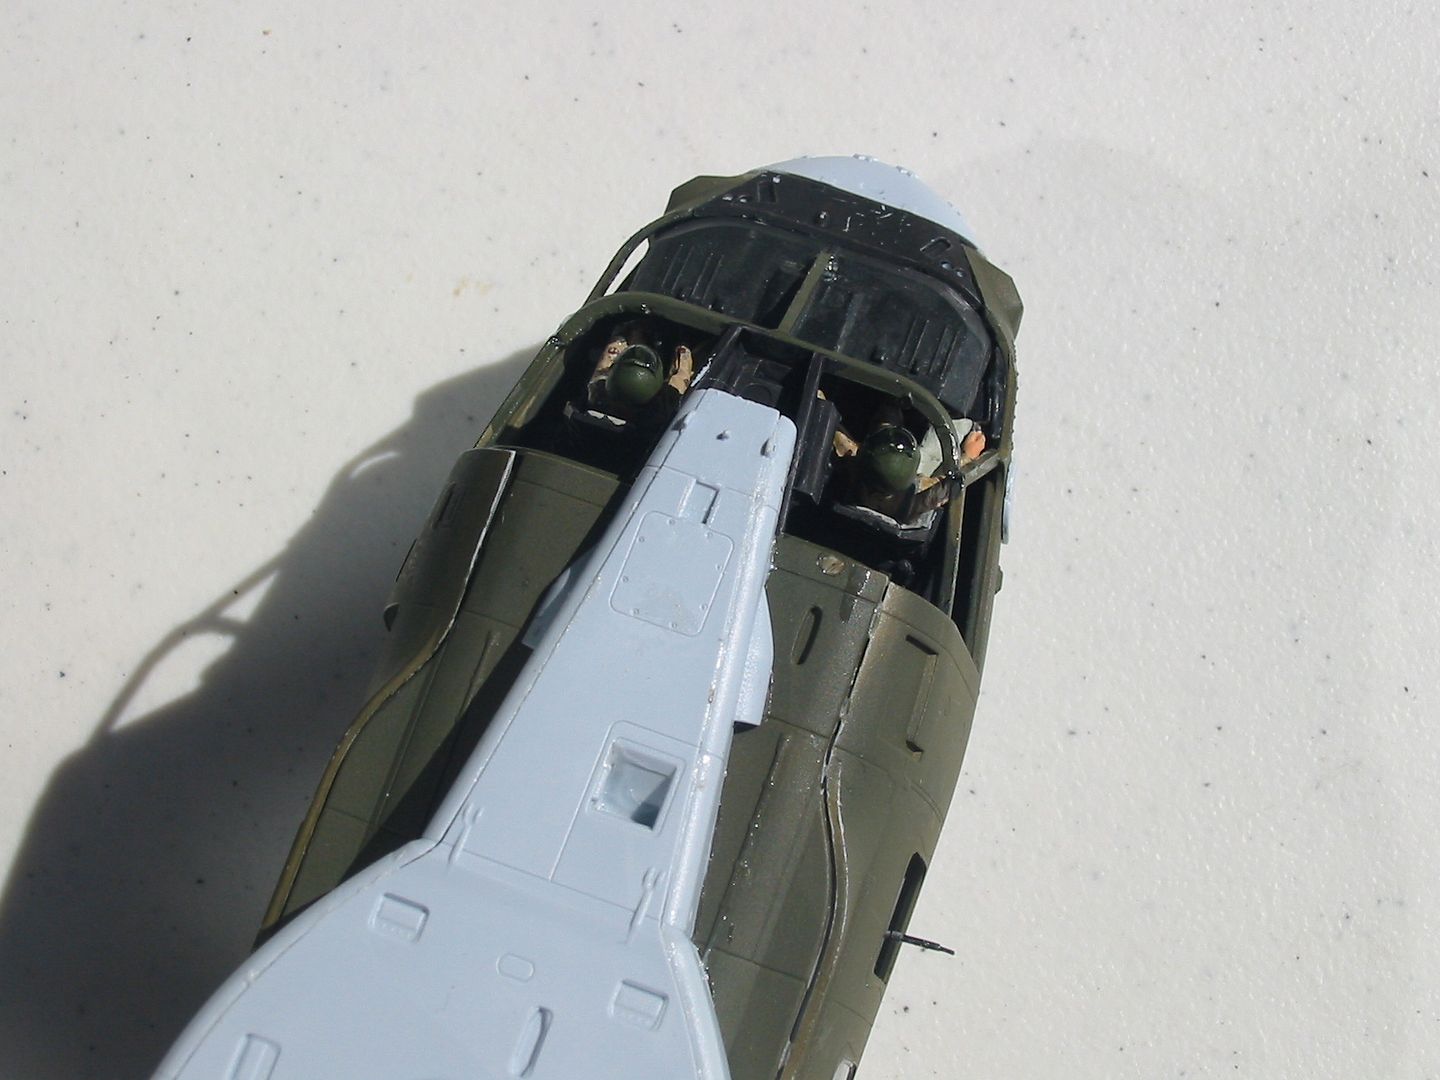
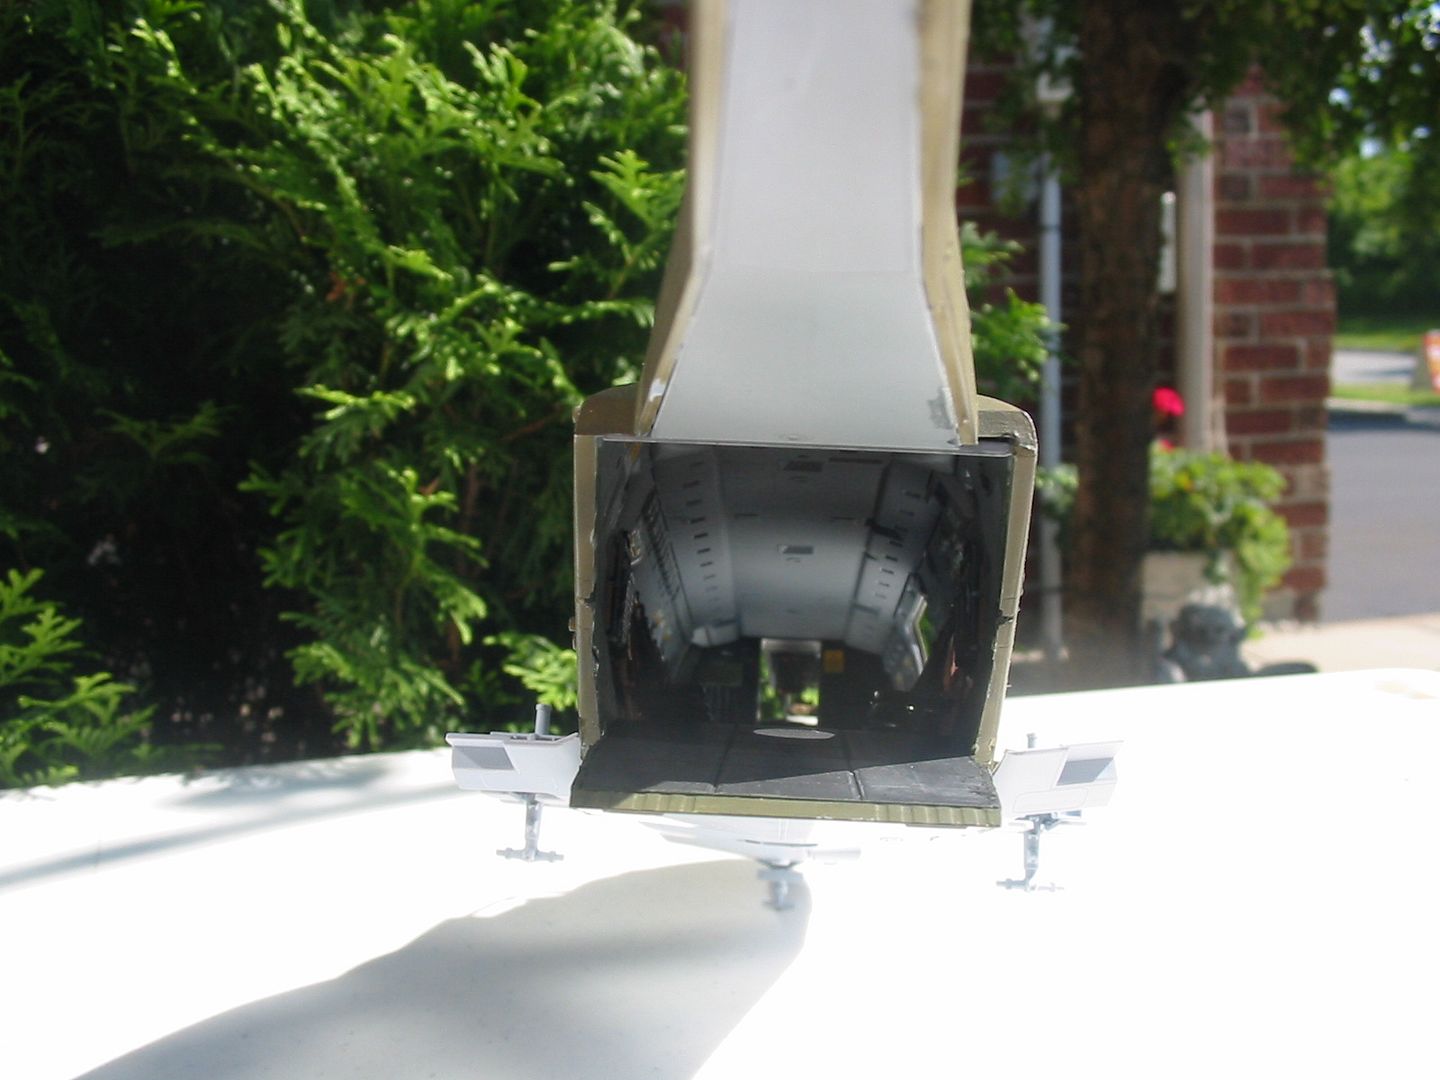
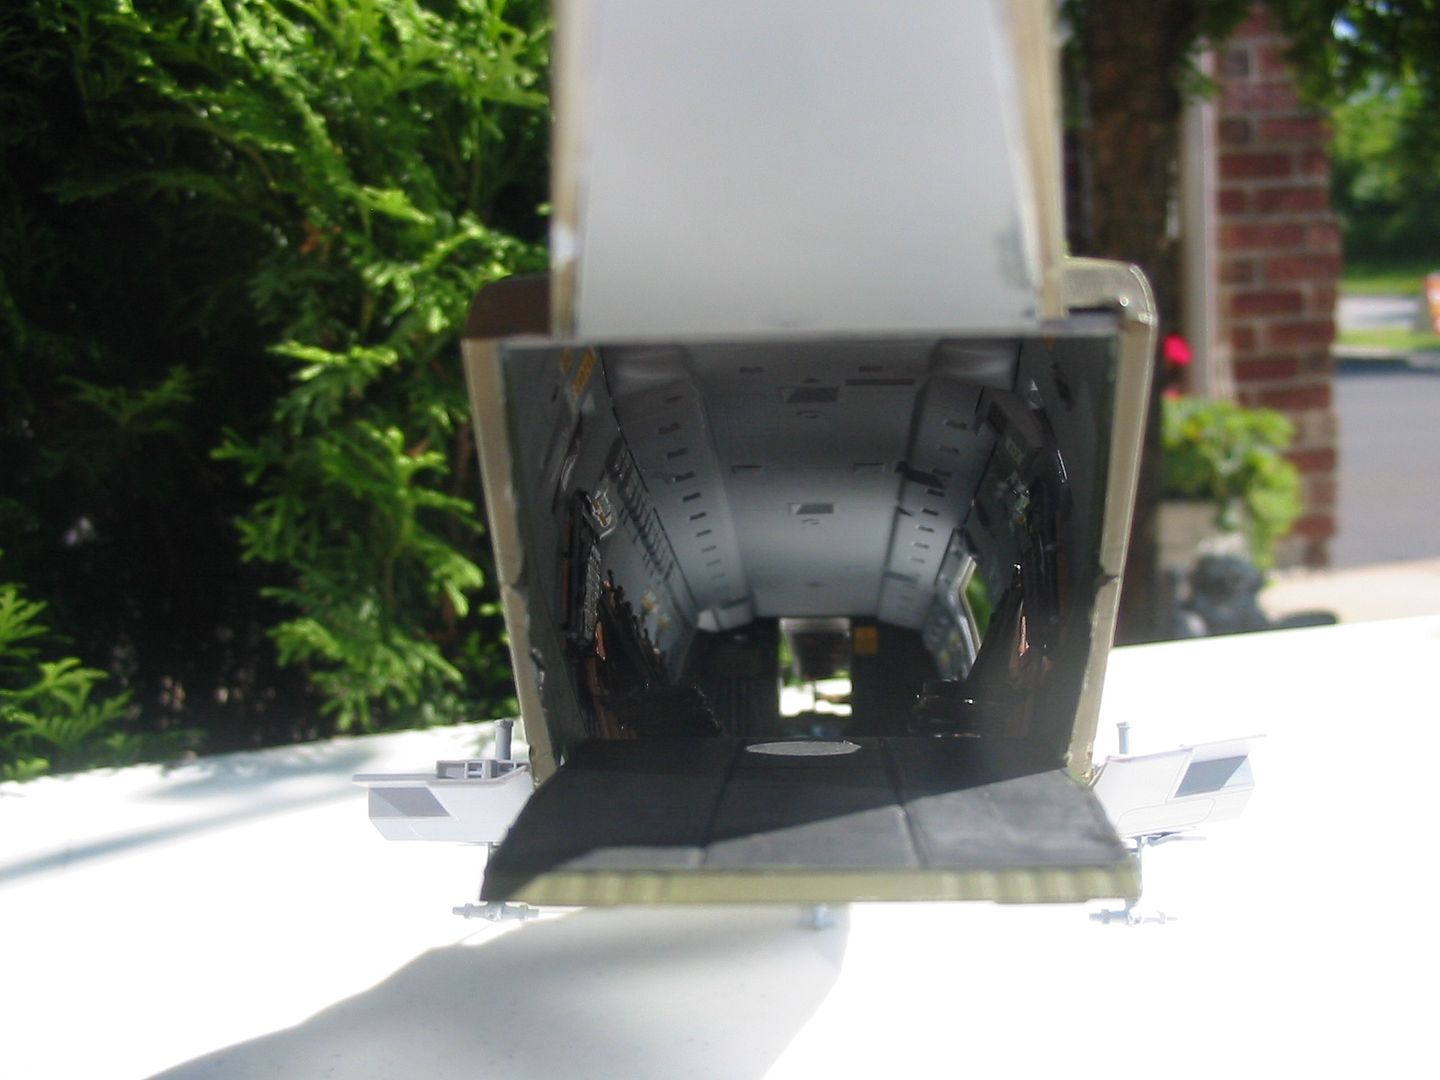
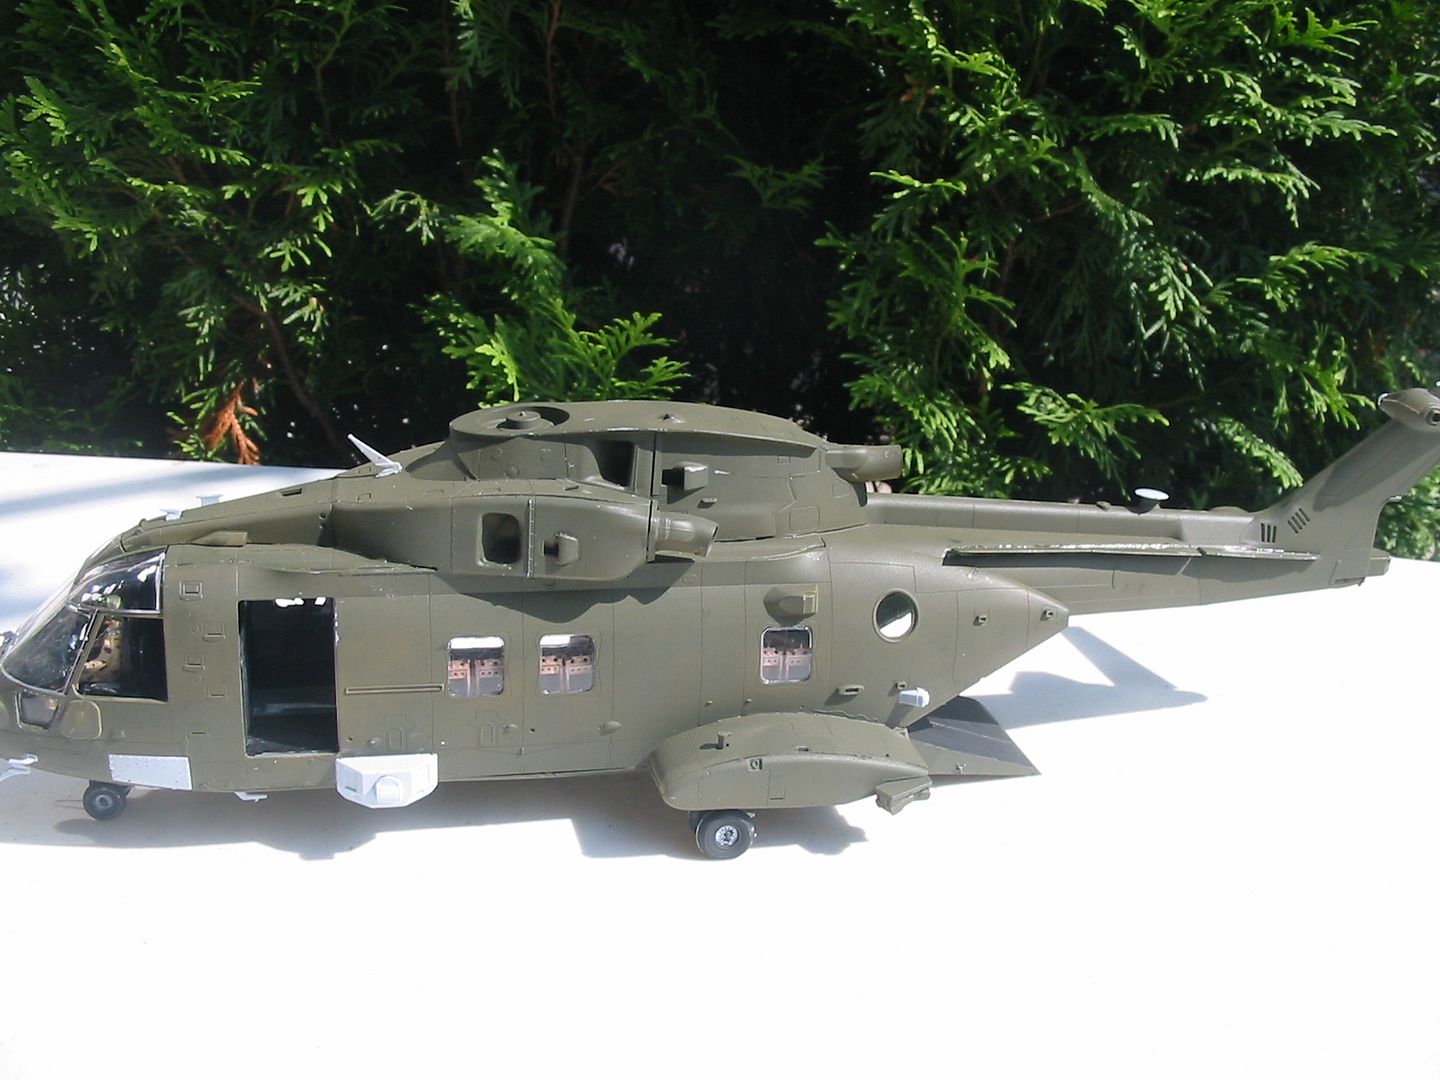
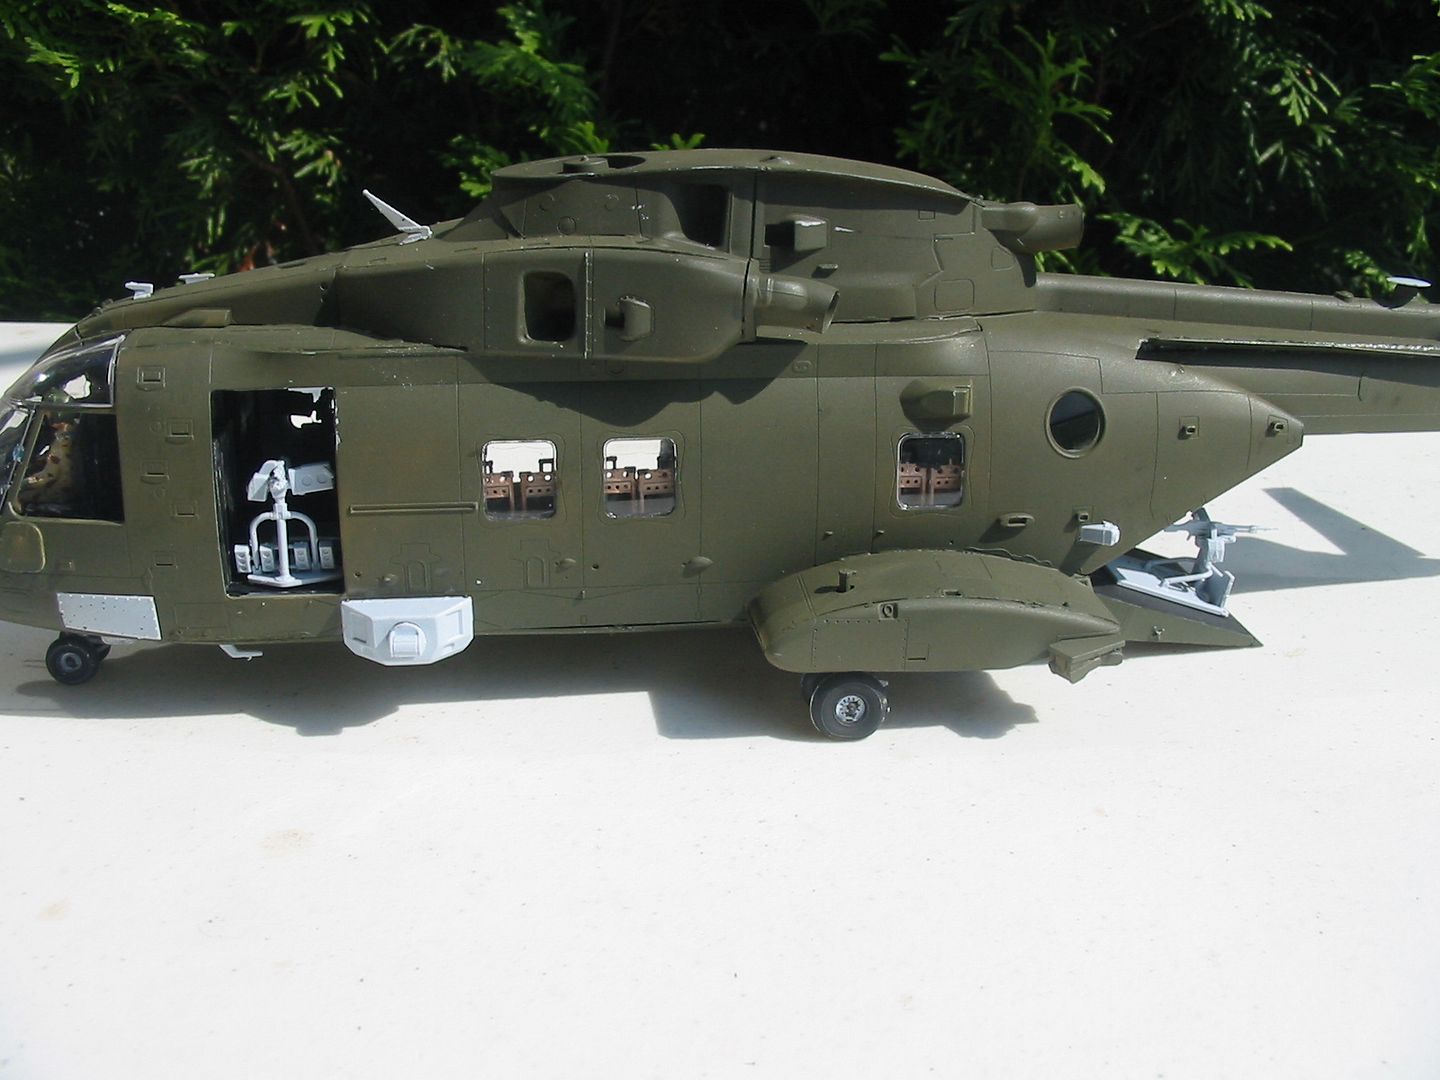
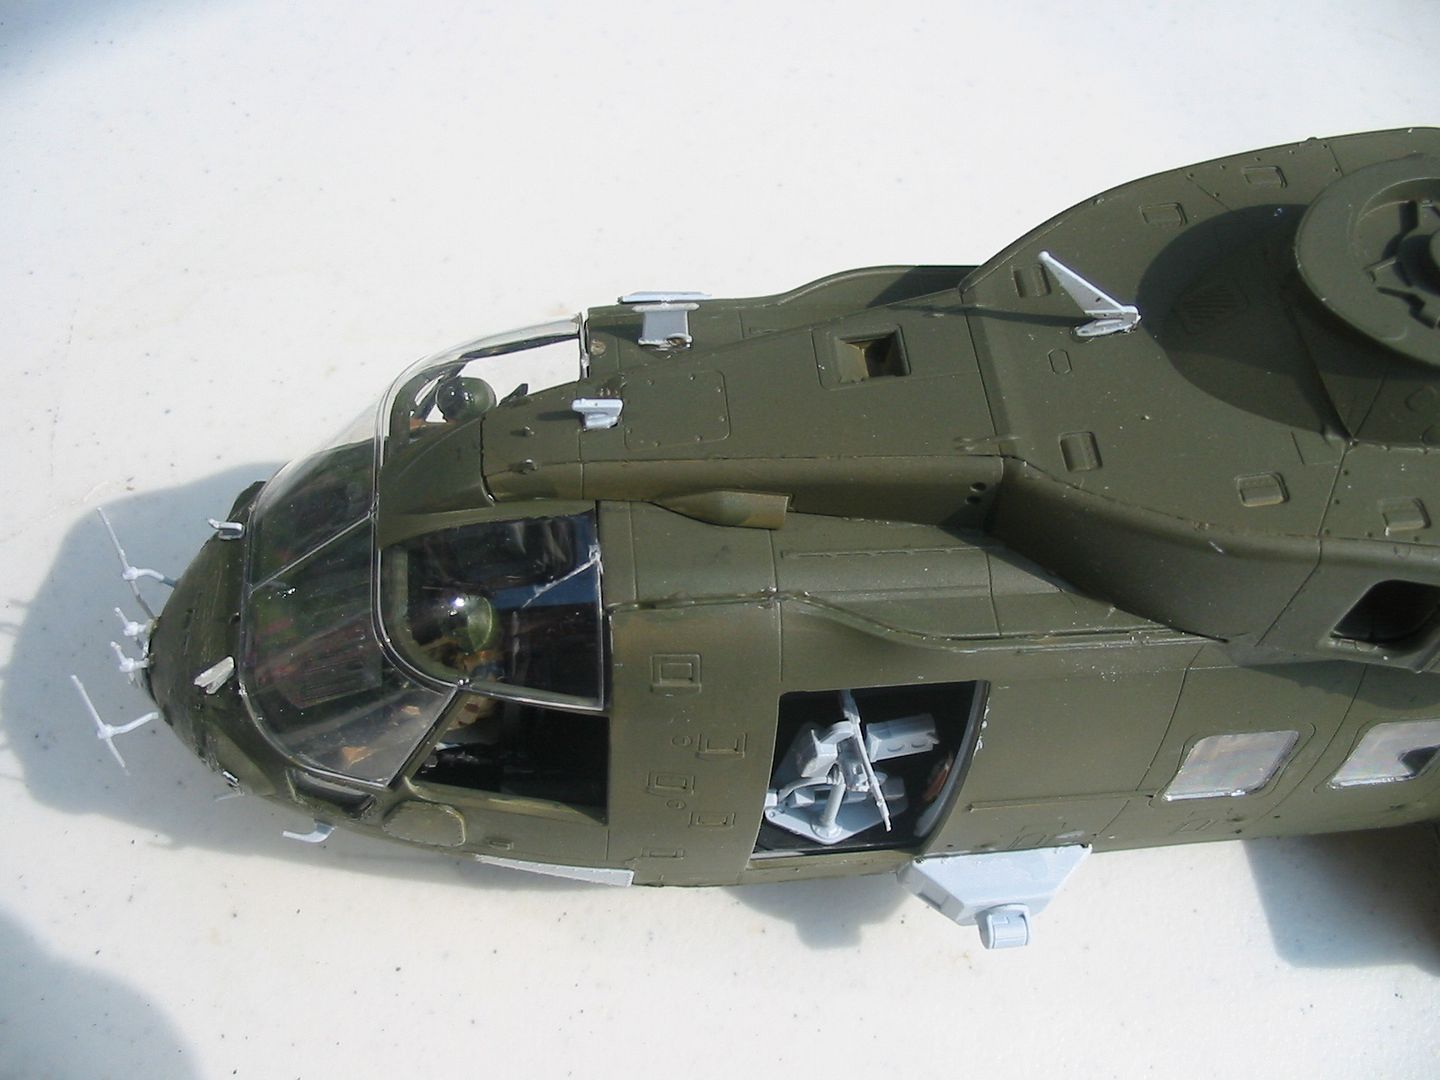
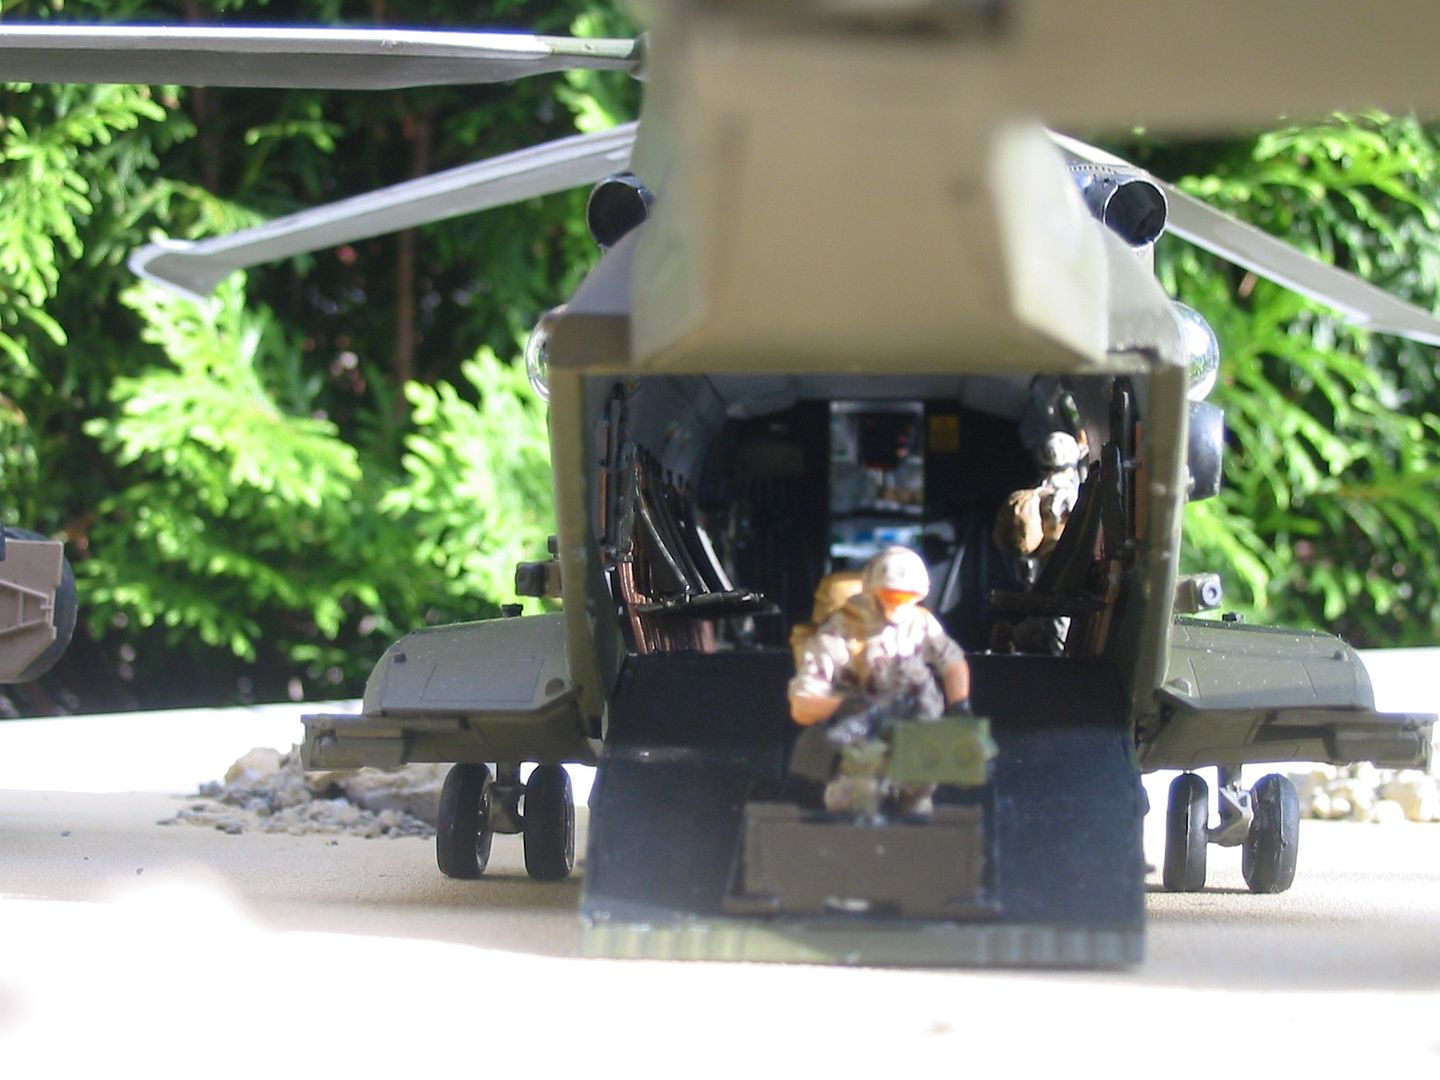
That last pic of the rear interior looks real..
England - South West, United Kingdom
Joined: September 01, 2012
KitMaker: 123 posts
Armorama: 59 posts
Posted: Saturday, July 13, 2013 - 10:52 AM UTC
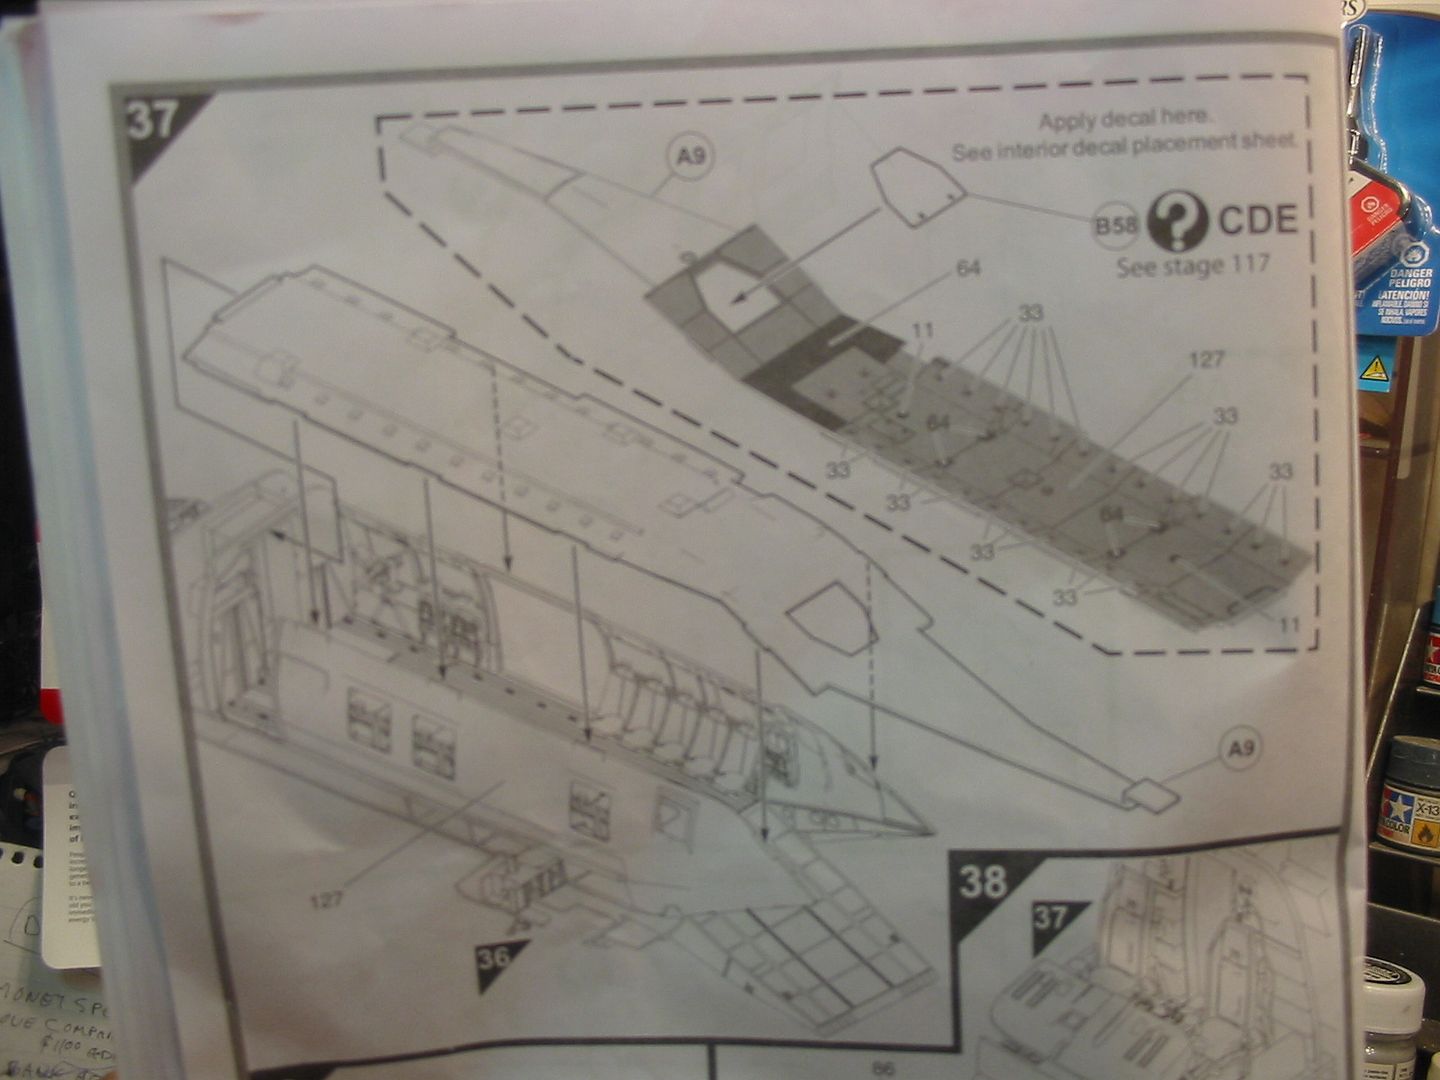
The step 117 bit refers to a decal, so maybe it is asking you to ensure the decal leaves something uncovered or whatever? Looking excellent so far mate!
Ontario, Canada
Joined: March 01, 2002
KitMaker: 1,607 posts
Armorama: 1,581 posts
Posted: Tuesday, July 16, 2013 - 12:39 AM UTC
Ontario, Canada
Joined: March 01, 2002
KitMaker: 1,607 posts
Armorama: 1,581 posts
Posted: Friday, July 19, 2013 - 07:18 AM UTC
Removed by original poster on 07/24/13 - 22:34:02 (GMT).
Ontario, Canada
Joined: March 01, 2002
KitMaker: 1,607 posts
Armorama: 1,581 posts
Posted: Wednesday, July 24, 2013 - 10:50 AM UTC
England - South West, United Kingdom
Joined: September 01, 2012
KitMaker: 123 posts
Armorama: 59 posts
Posted: Wednesday, July 24, 2013 - 11:07 AM UTC
Hey man, yeah I am sorry I have been awful with things recently. I have been up to my neck in essay resits, job hunting and house hunting

so I have had lttle or no time for building and as a result my presence here has diminished and I apologise to you all. Normal service will be resumed...at some point. I have been looking through your pics of this, and I have been getting rather jealous! This helicopter looks awesome mate, great work! Can't wait to see it finished!
Also a heads up, spotted a cheap OP Herrick job lot on Ebay earlier, so might be worth checking it out you guys who are interested in starting this very good line of models.
Cheers for you patience guys
C
California, United States
Joined: June 30, 2008
KitMaker: 2,408 posts
Armorama: 2,394 posts
Posted: Wednesday, July 24, 2013 - 12:45 PM UTC
Hey, there's some of us quietly watching.

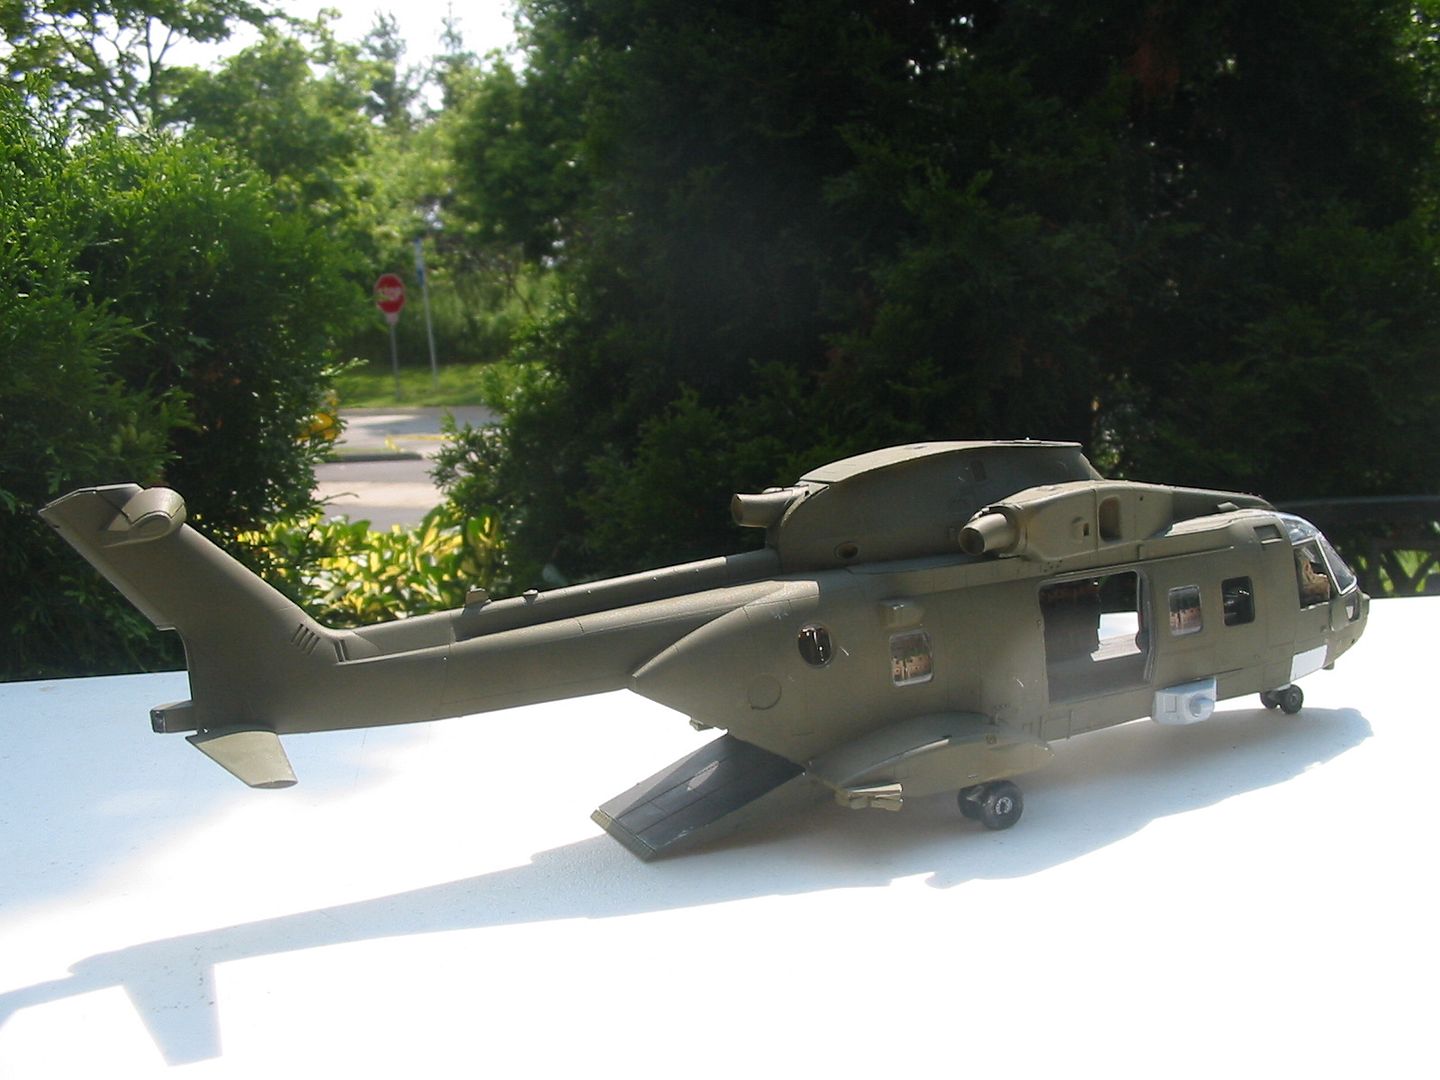
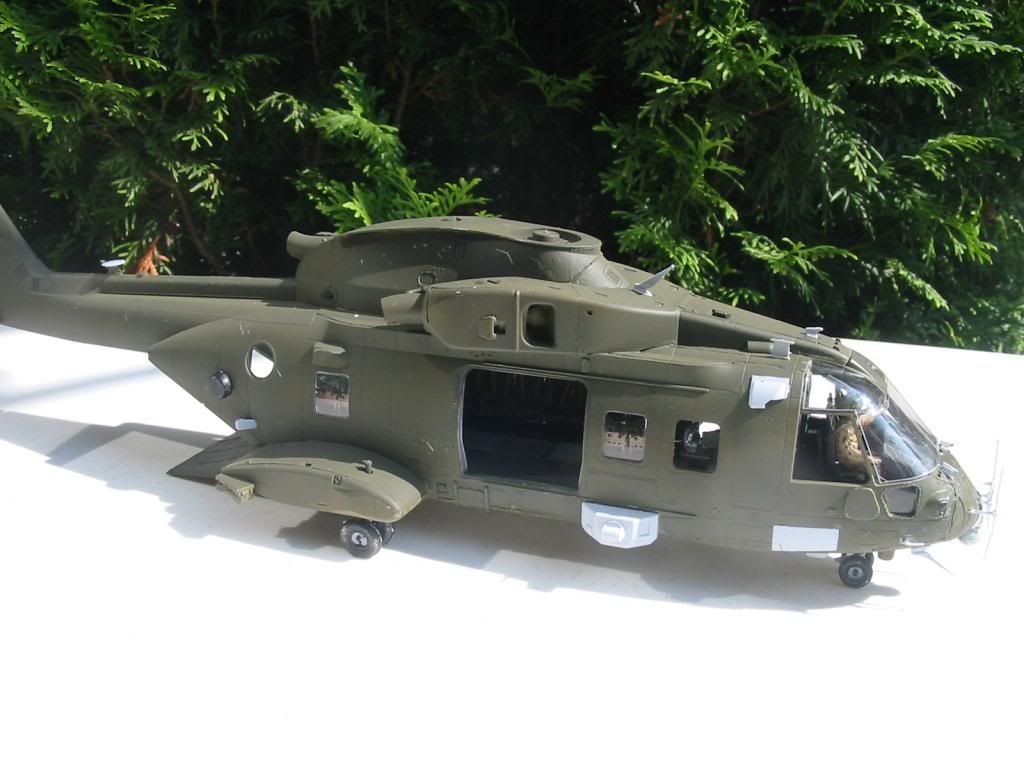
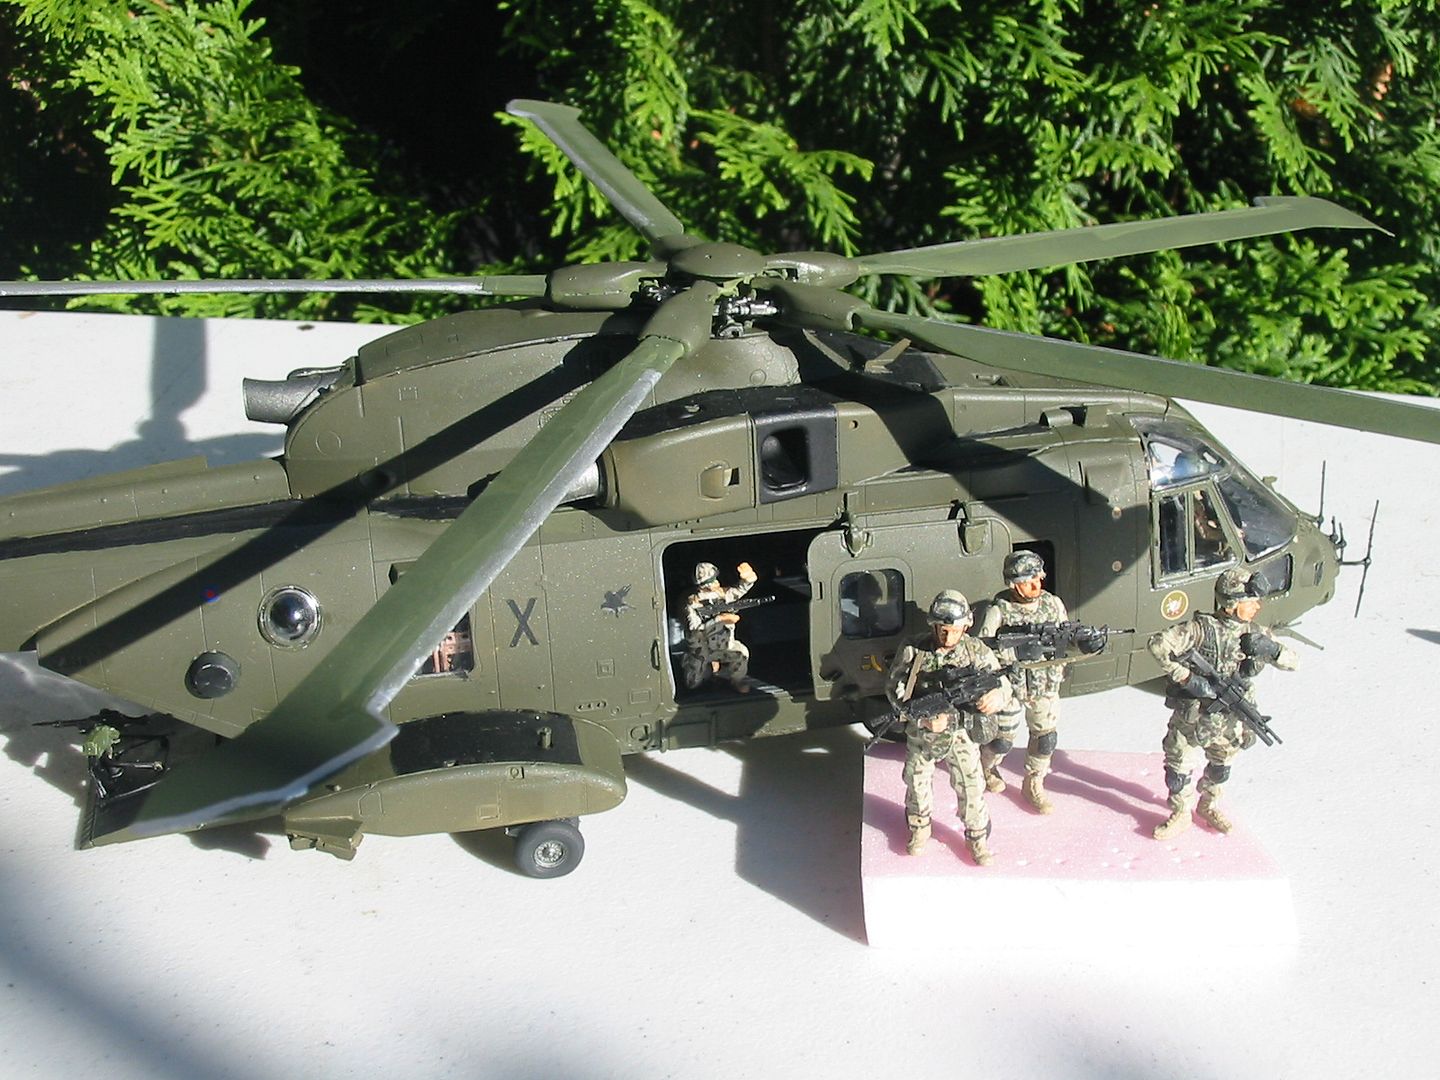
That large flying beast is coming along nicely. I think with these long threads they get passed on sometimes though. Let us see the finished bird ok

Kildare, Ireland
Joined: November 21, 2007
KitMaker: 3,212 posts
Armorama: 2,807 posts
Posted: Wednesday, July 24, 2013 - 07:50 PM UTC
Hi Tom, I've been watching, but more from a phone which makes it difficult to reply. Looks great and please share the finished build here also!
Al Qahirah, Egypt / لعربية
Joined: July 23, 2004
KitMaker: 6,856 posts
Armorama: 6,363 posts
Posted: Wednesday, July 24, 2013 - 09:04 PM UTC
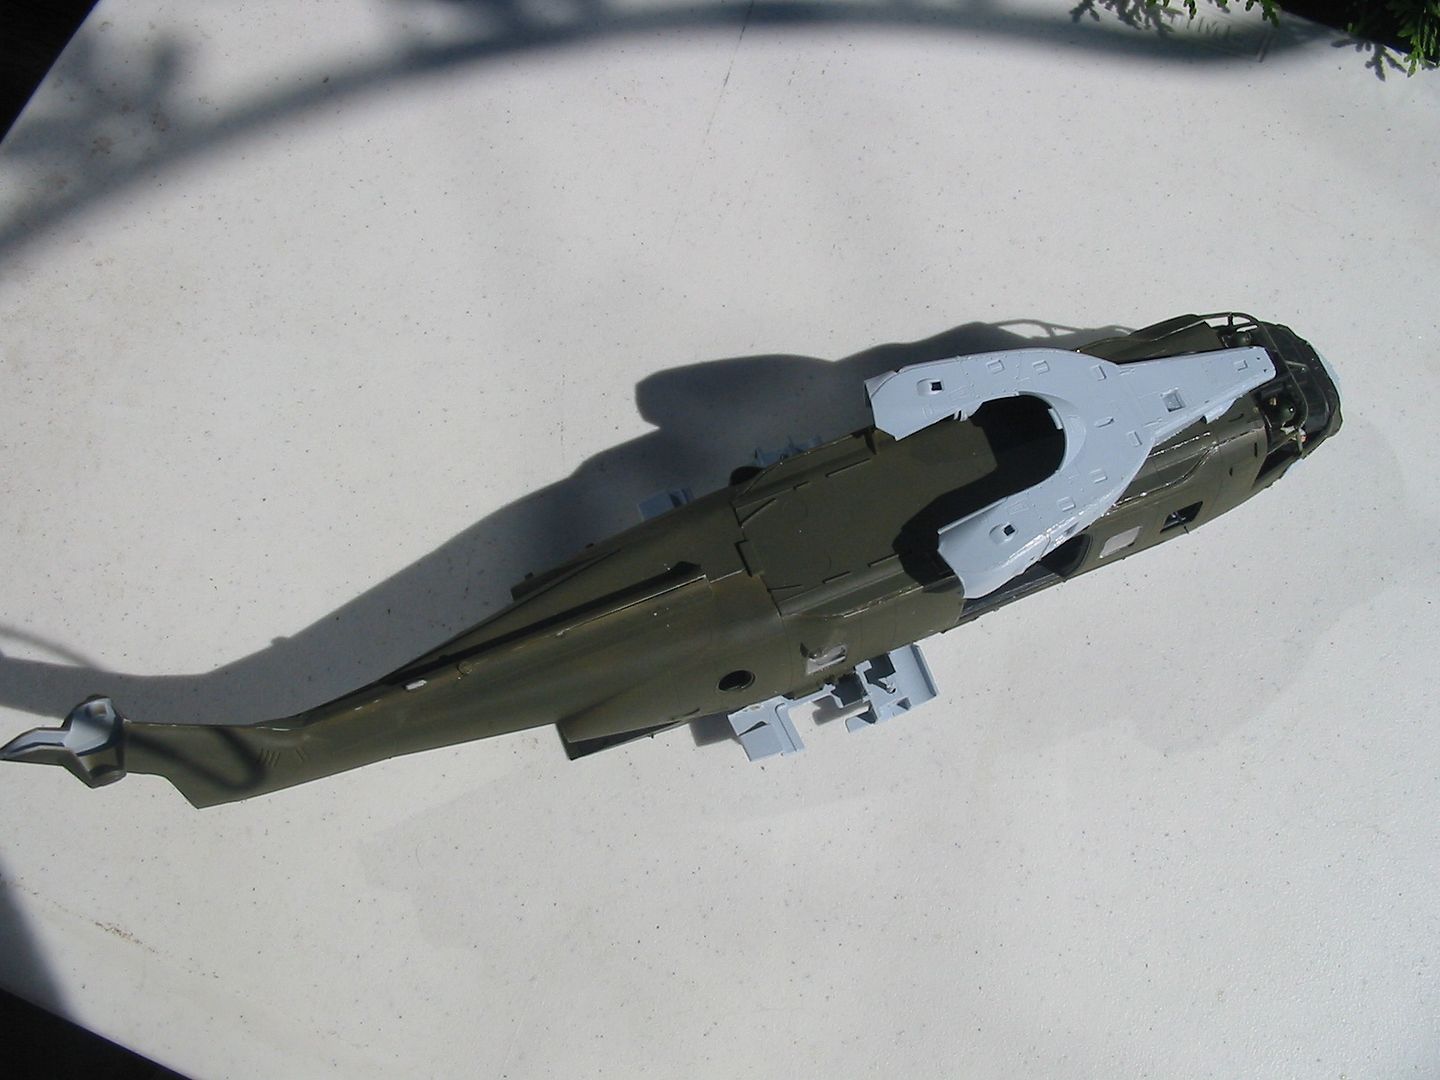
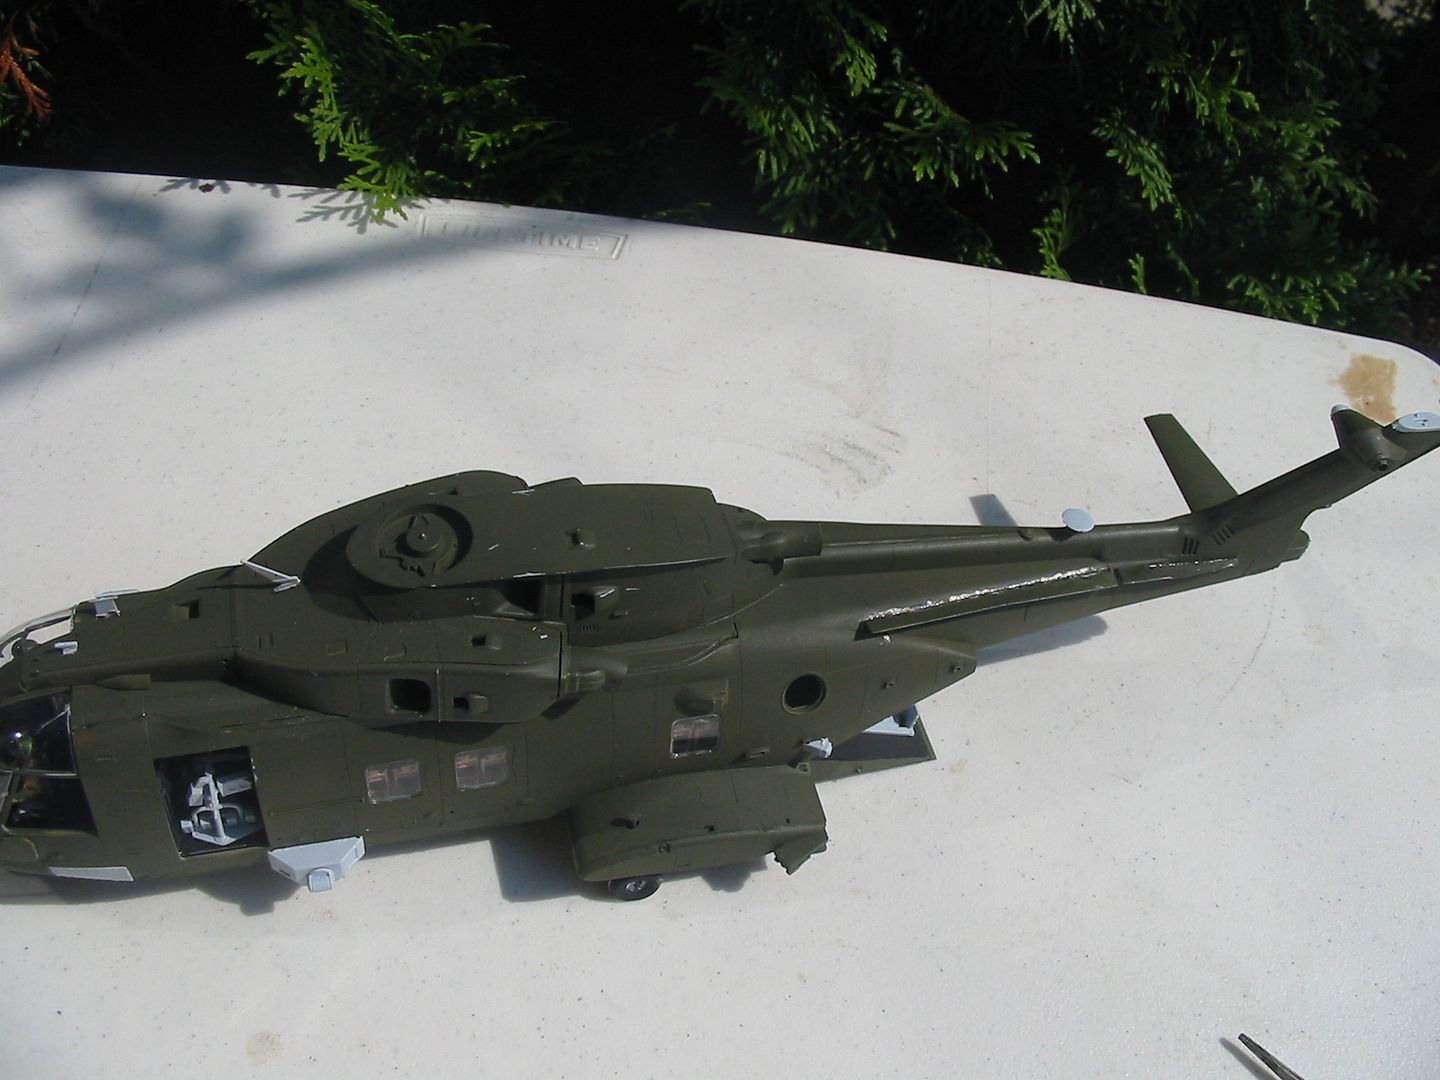
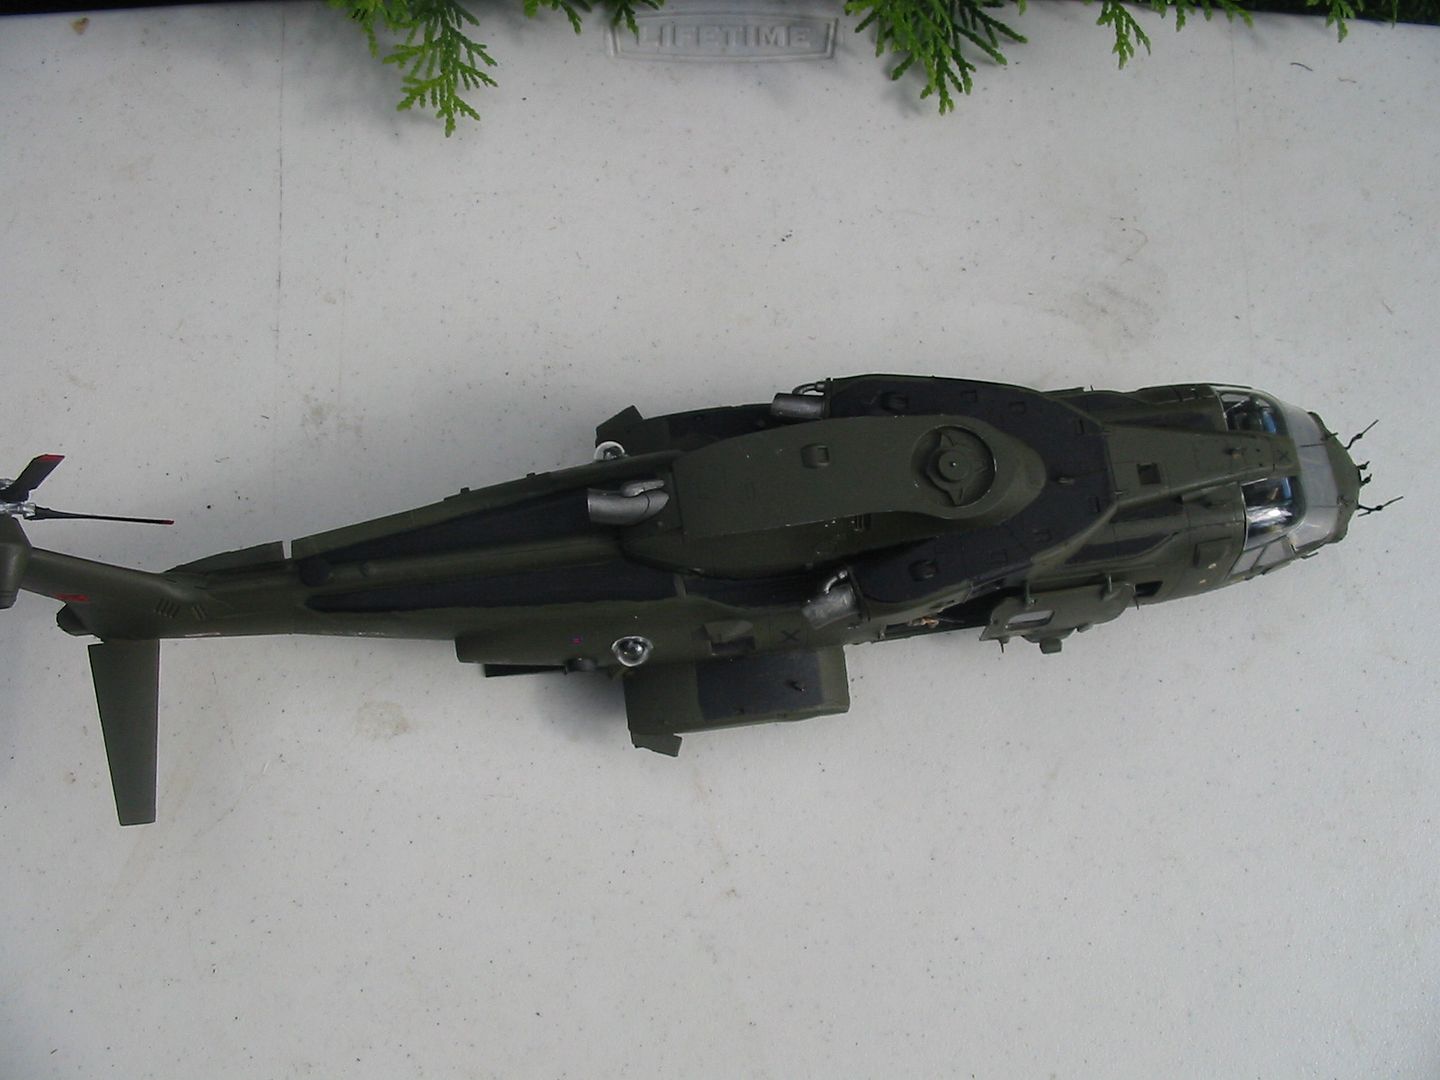
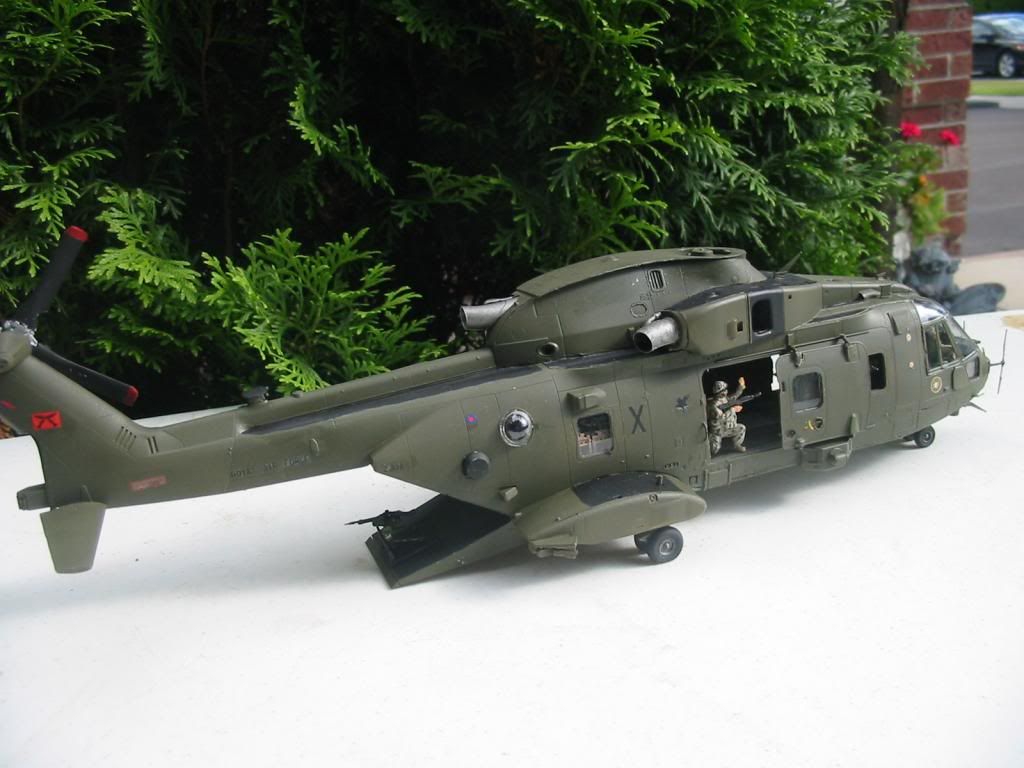
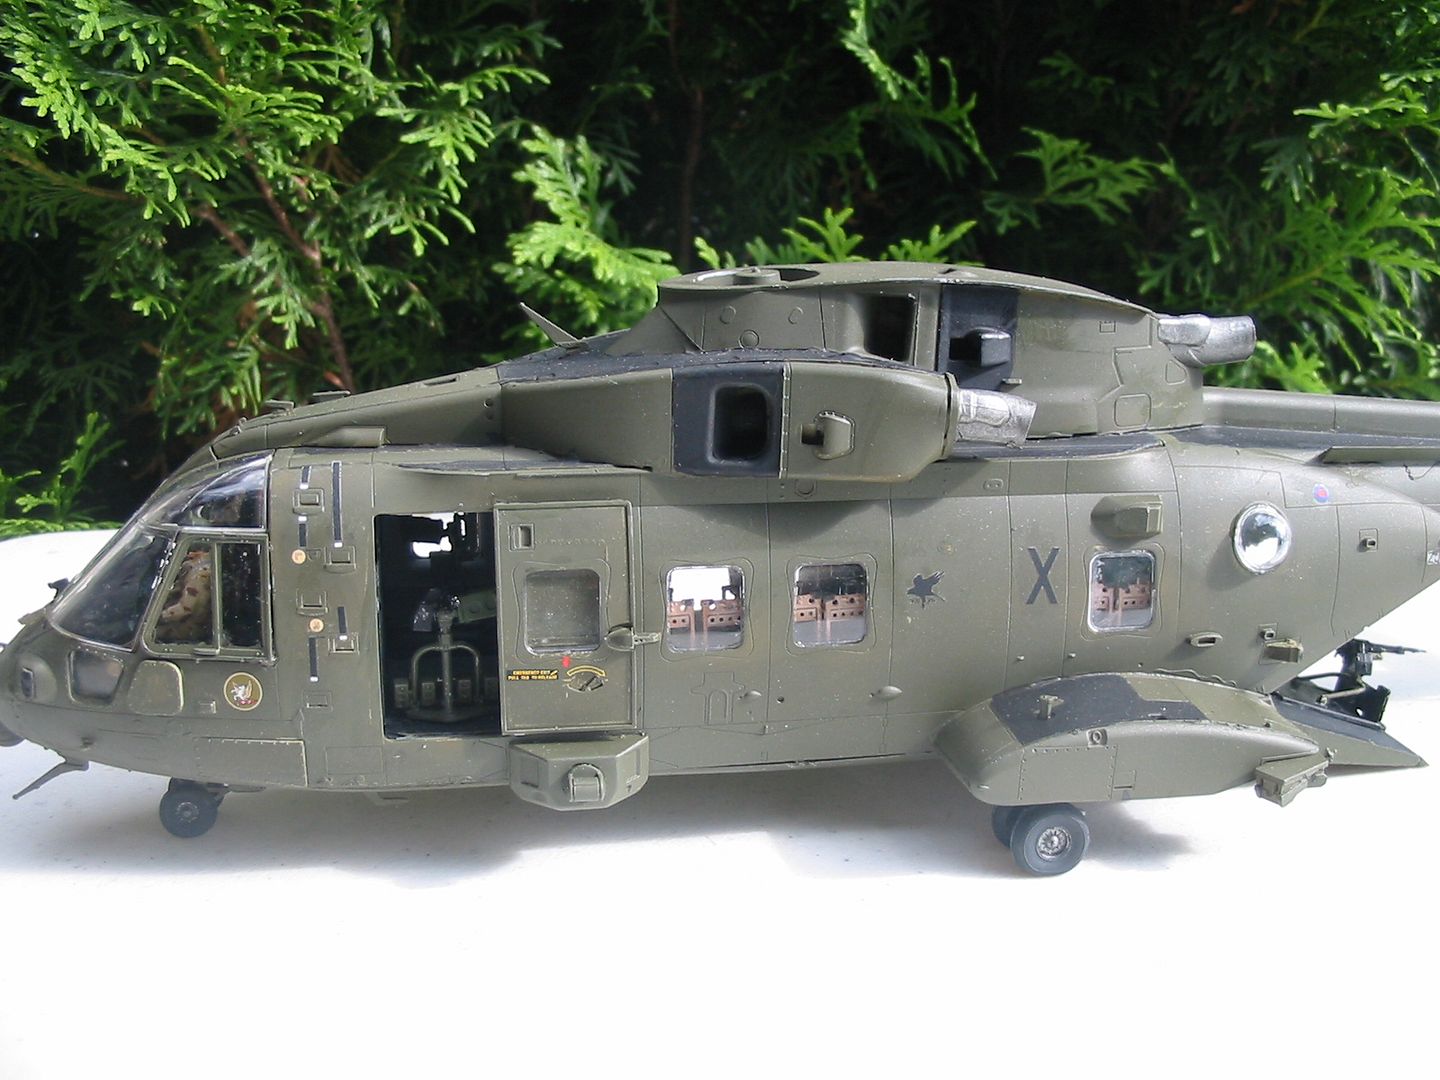
That helicopter looks absolutely awesome!! This is tempting me to get one.. but I must resist the temptation.. for now

I hope you post more pics showing more development!
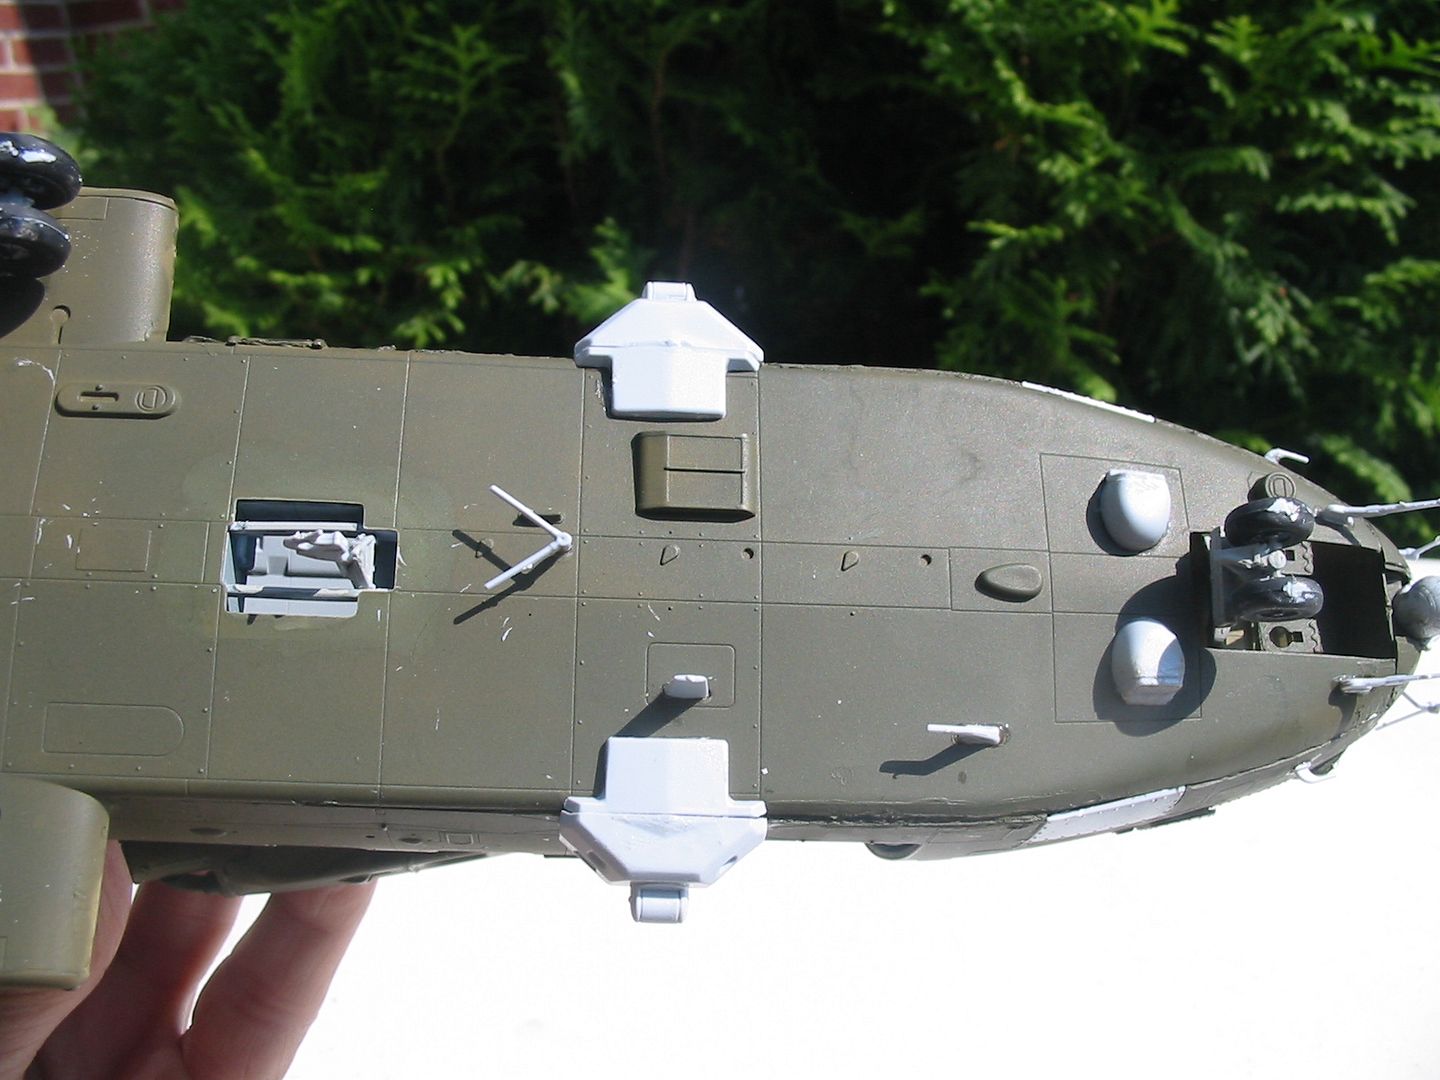
By the way, can you post a pic with maybe your hand next to it.. or anything that would give us an idea of the size?
Hisham
Scotland, United Kingdom
Joined: February 15, 2013
KitMaker: 1,273 posts
Armorama: 568 posts
Posted: Wednesday, July 24, 2013 - 11:13 PM UTC
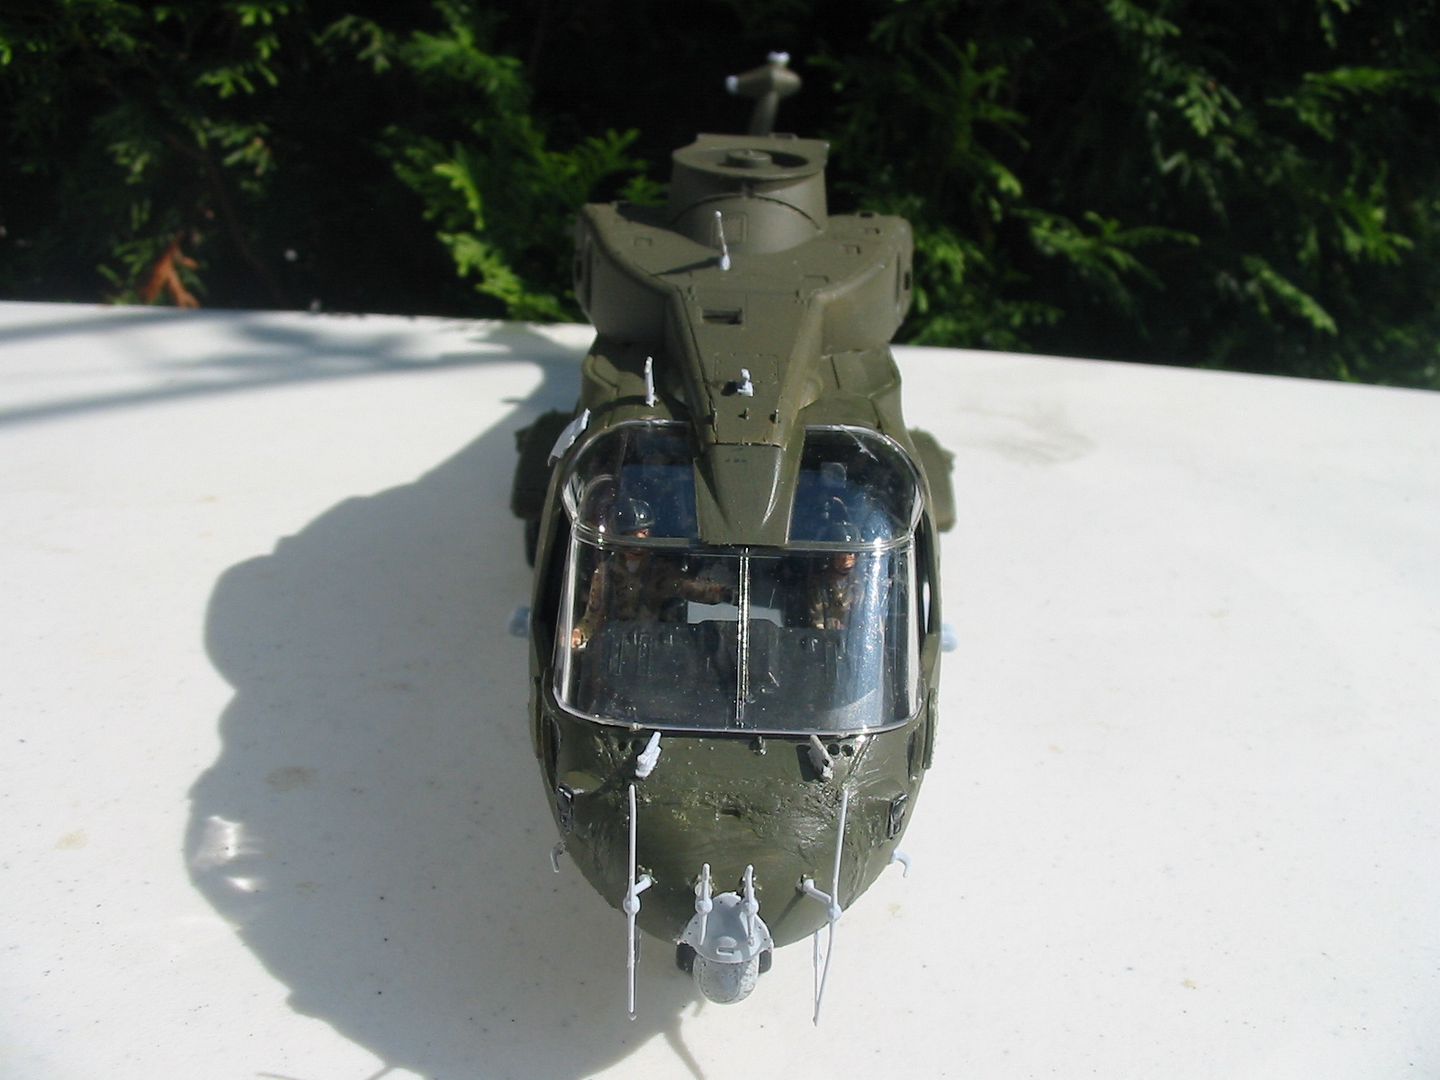
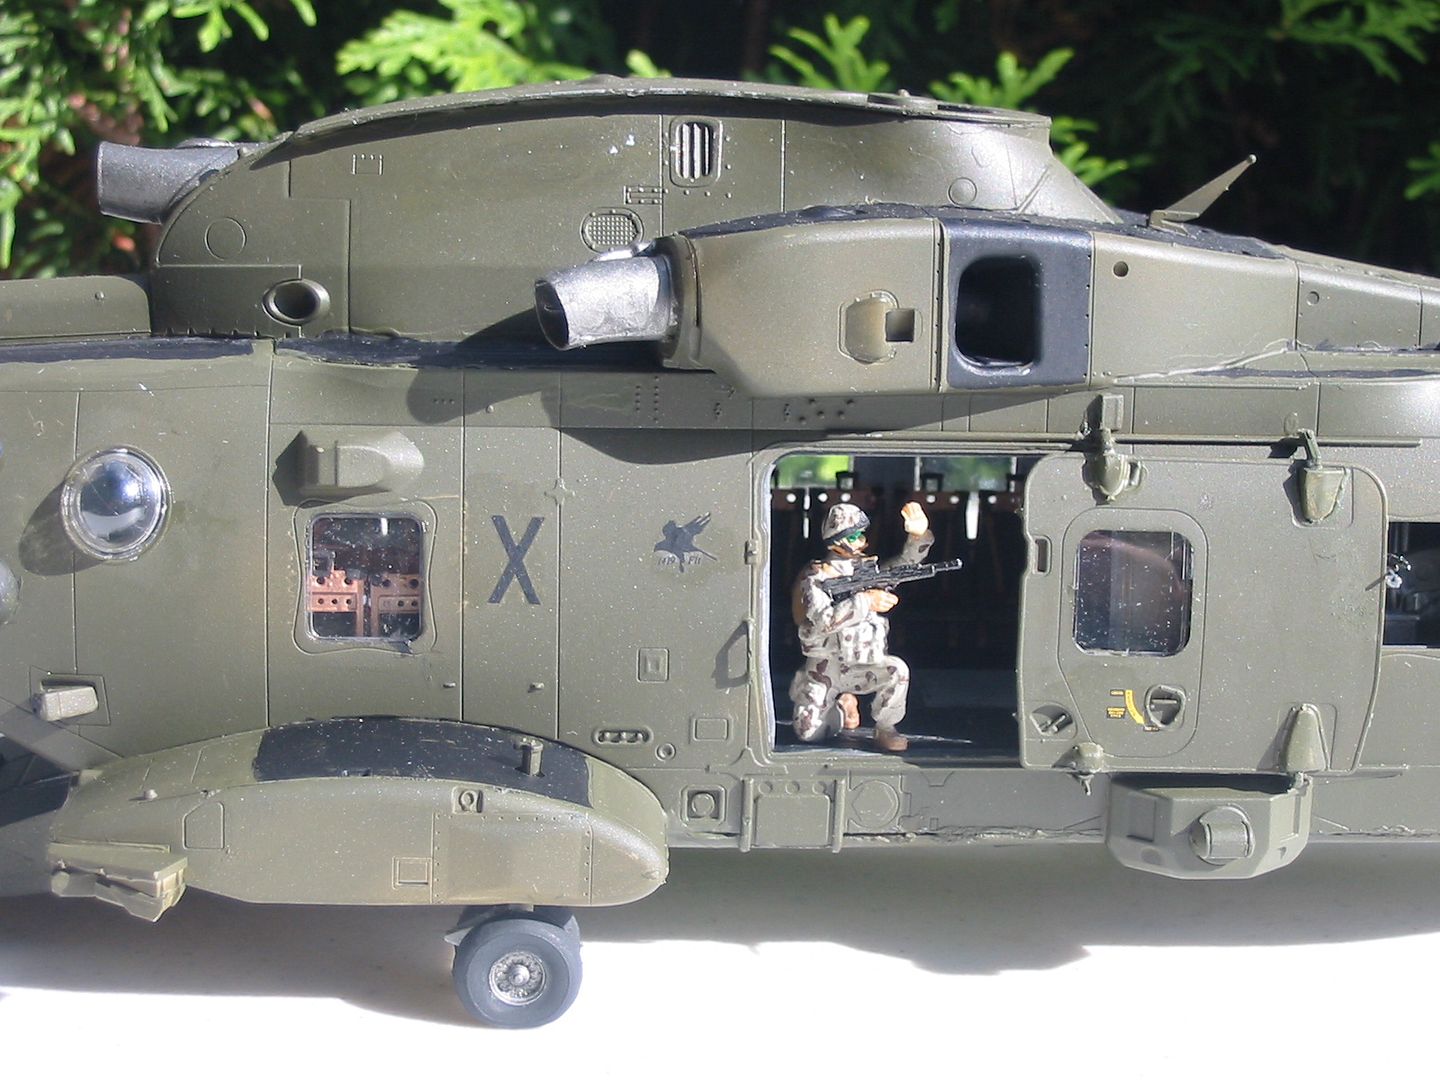
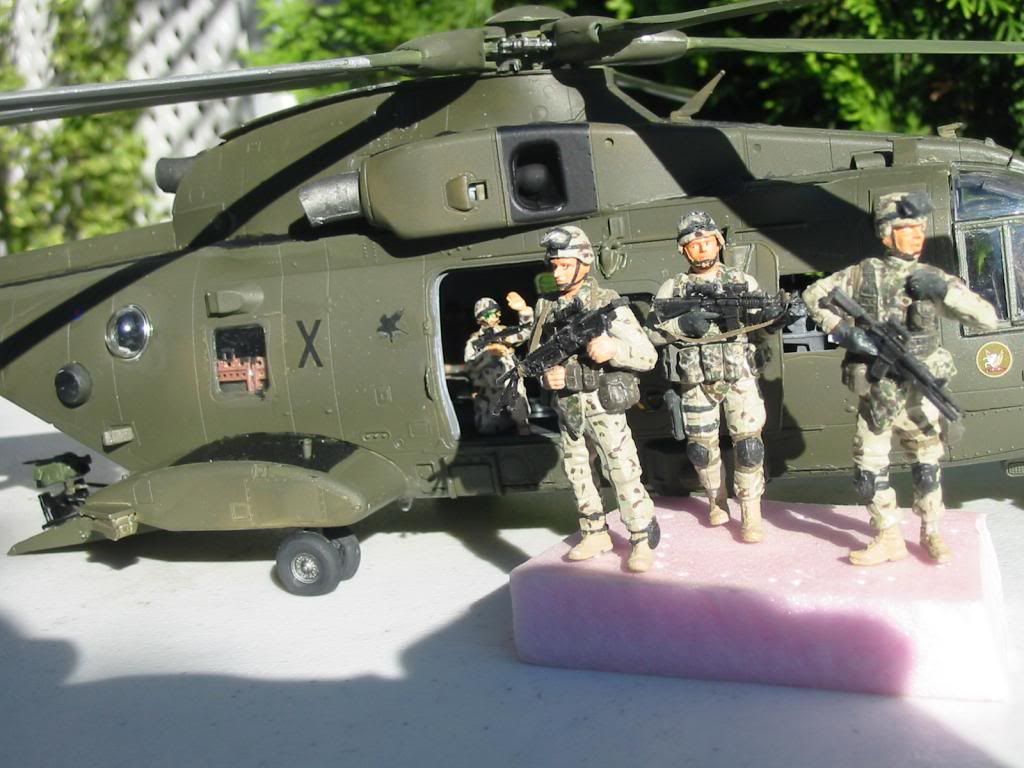
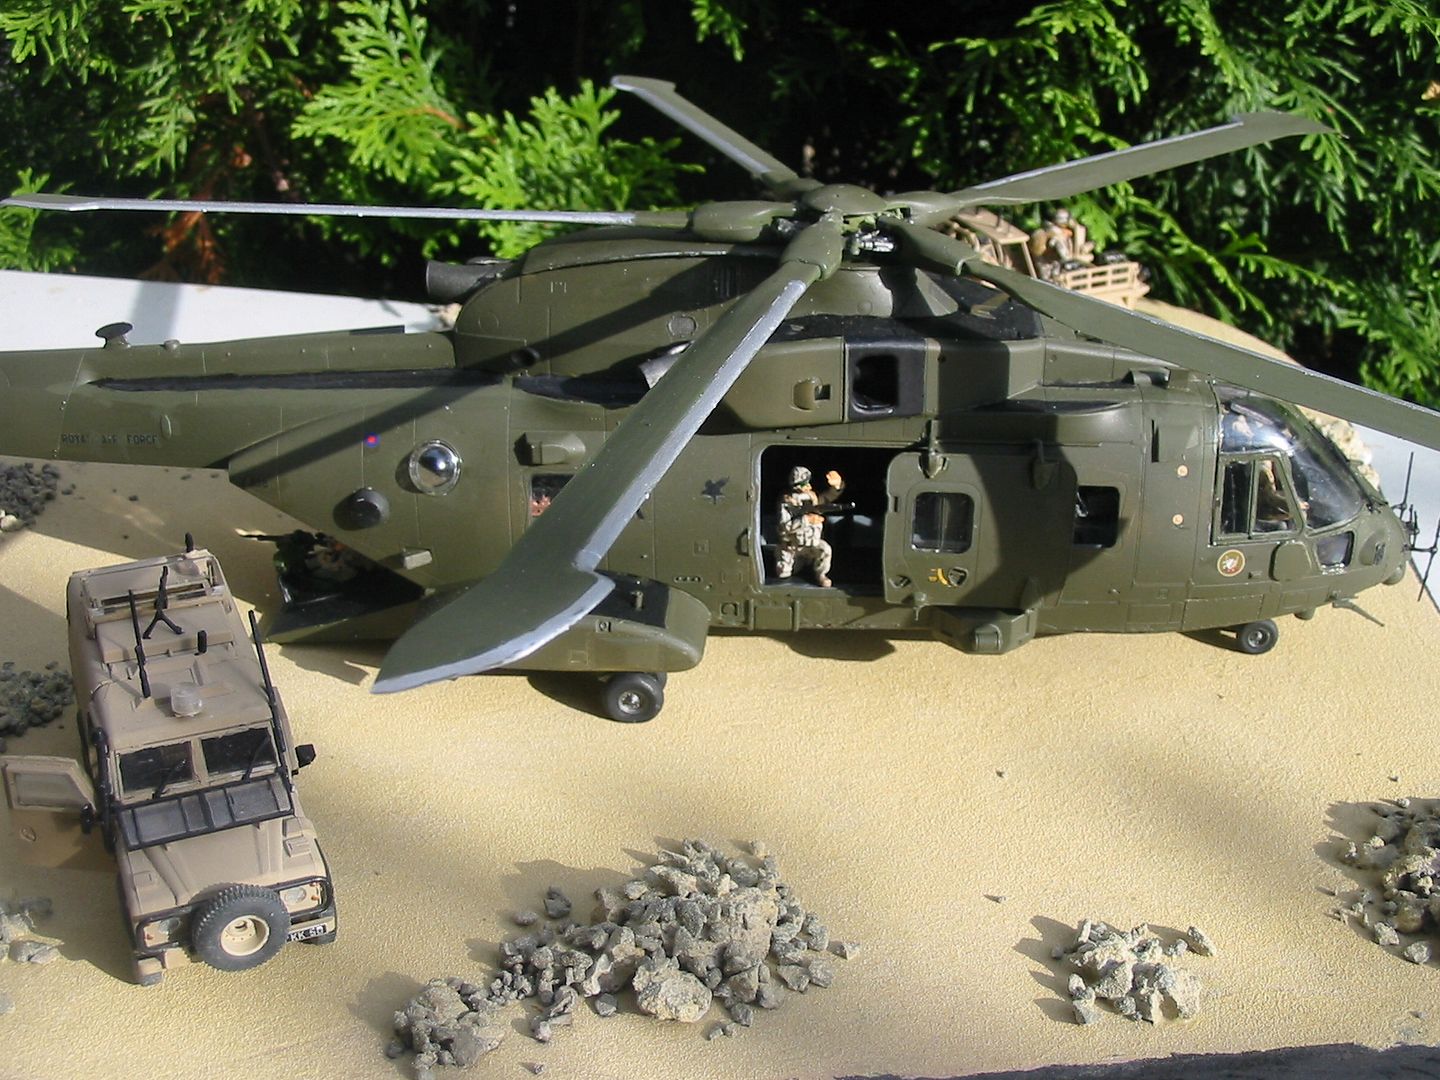
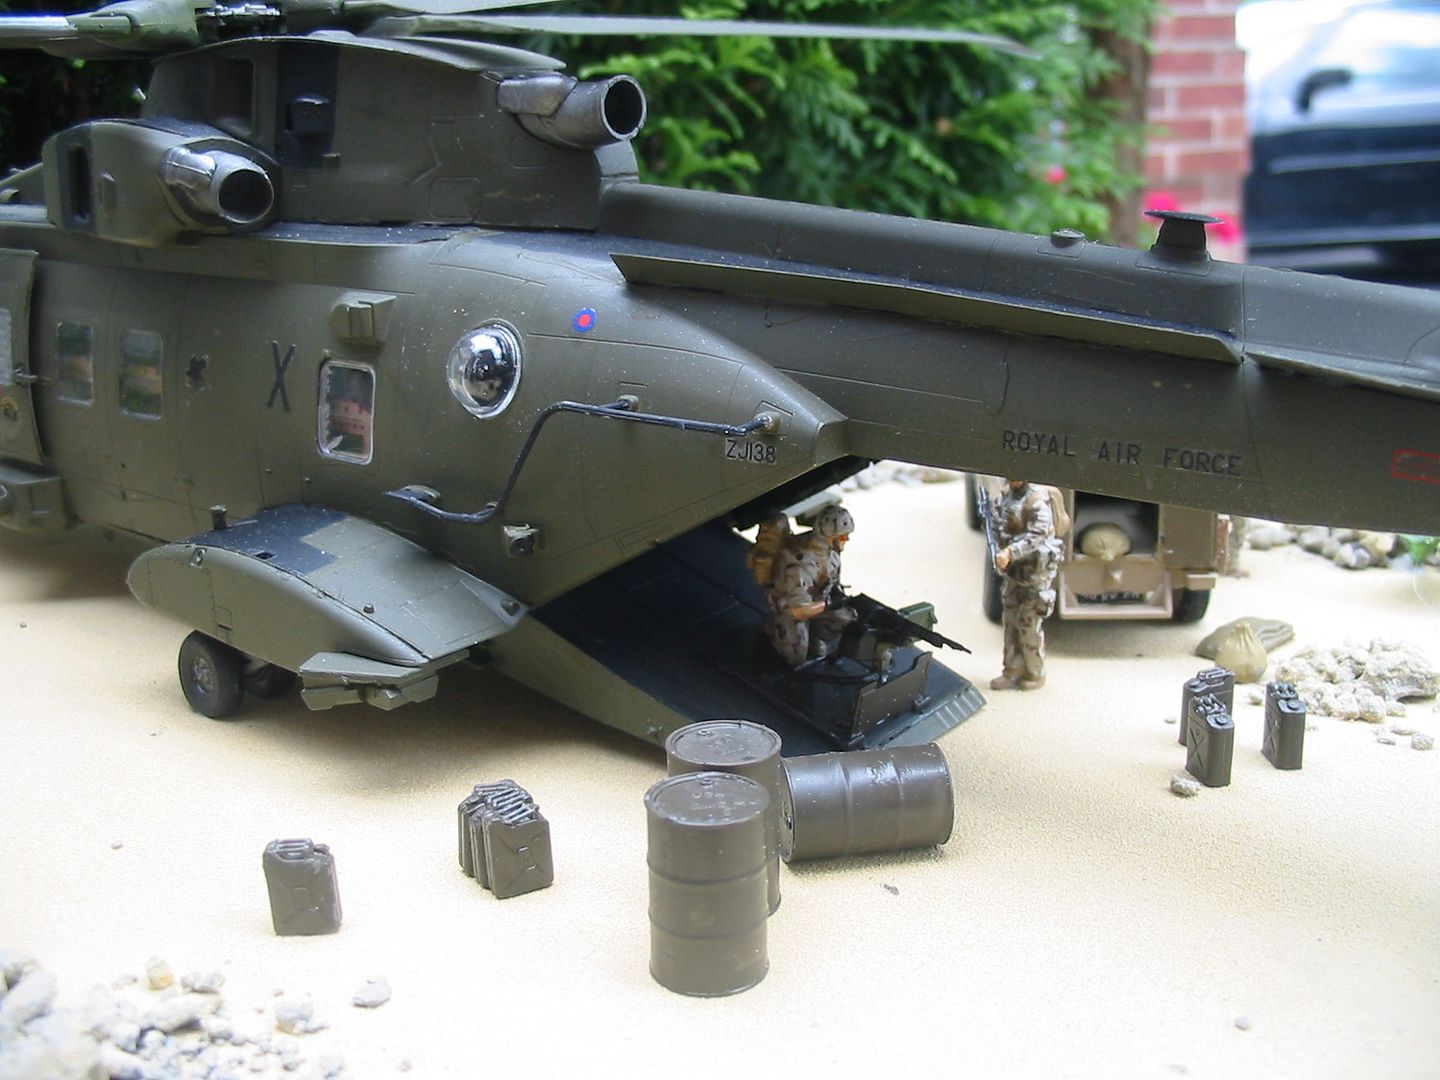
Looking good Chris, you need to keep posting them pics buddy. The squaddy in the doorway looks the part, and yeah get some pics on with a reference for size.
Cheers Pete
Ontario, Canada
Joined: March 01, 2002
KitMaker: 1,607 posts
Armorama: 1,581 posts
Posted: Friday, July 26, 2013 - 07:04 AM UTC
Maryland, United States
Joined: December 25, 2002
KitMaker: 345 posts
Armorama: 311 posts
Posted: Friday, July 26, 2013 - 07:49 AM UTC
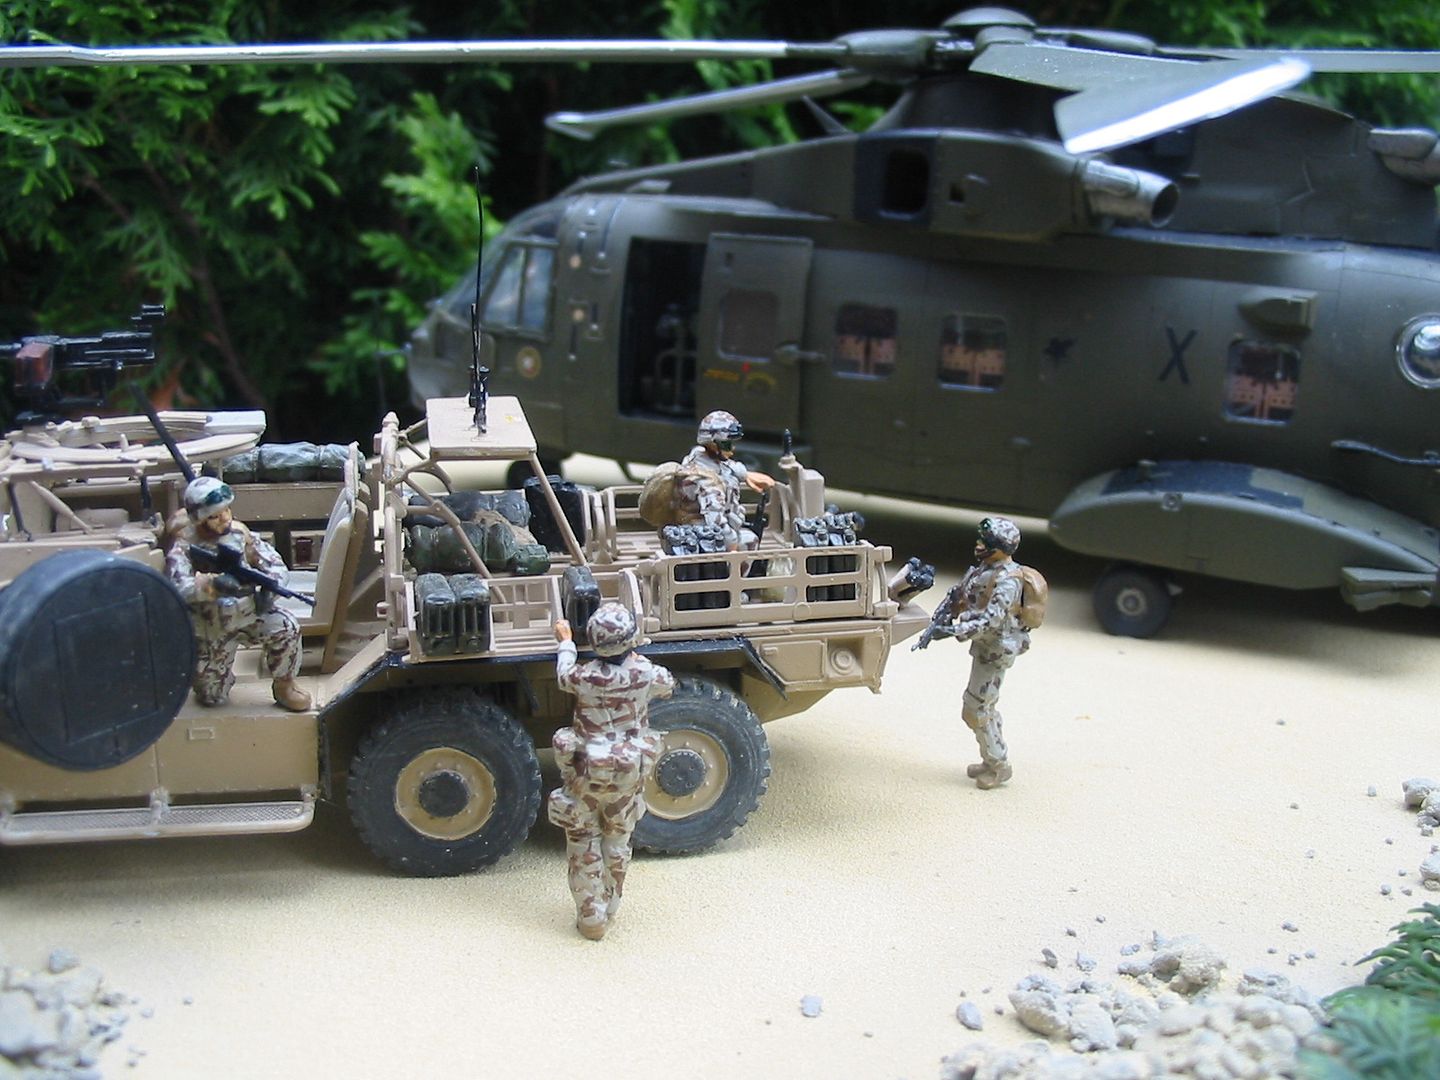
Its all looking nice. Airfix really hit it out of the ballpark with those figures.
Hope their foray into 1/48 pays off, and that they give us more modern brit armor
England - East Anglia, United Kingdom
Joined: September 13, 2006
KitMaker: 257 posts
Armorama: 168 posts
Posted: Friday, July 26, 2013 - 08:51 AM UTC
04090
Hi Tom
That is a job well done and agood build,

England - South West, United Kingdom
Joined: September 01, 2012
KitMaker: 123 posts
Armorama: 59 posts
Posted: Friday, July 26, 2013 - 08:52 AM UTC
Wow mate, they are looking great. Good job!
Yeah I know what you mean Ralph, I do plan to invest in the Warrior when it gets released!
Ontario, Canada
Joined: March 01, 2002
KitMaker: 1,607 posts
Armorama: 1,581 posts
Posted: Friday, July 26, 2013 - 11:53 AM UTC
Thanks for the comments.
Chris,how did the cew figures work out?And what is this about a Warrior realease?
Tom
England - South West, United Kingdom
Joined: September 01, 2012
KitMaker: 123 posts
Armorama: 59 posts
Posted: Friday, July 26, 2013 - 12:07 PM UTC
I am sorry to say that the crew figures are not all I hoped, as you can see from my pictures of them earlier they only look comfortable in the Jackal and Coyote (they are also slightly larger than the other figures available, but it is only noticeable under close scrutiny)But when they work they look smashing. I would give them a 75% personally. I will make some more at some point soon and get some more pics up. As for the Warrior:
http://www.airfix.com/shop/new-for-2013/military-vehicles/a07300-bae-warrior-148/ it is scheduled for release this year, probably for the Nationals, and looks dead awesome, don'cha think?

Ontario, Canada
Joined: March 01, 2002
KitMaker: 1,607 posts
Armorama: 1,581 posts
Posted: Wednesday, July 31, 2013 - 09:27 AM UTC
Kildare, Ireland
Joined: November 21, 2007
KitMaker: 3,212 posts
Armorama: 2,807 posts
Posted: Wednesday, July 31, 2013 - 07:30 PM UTC
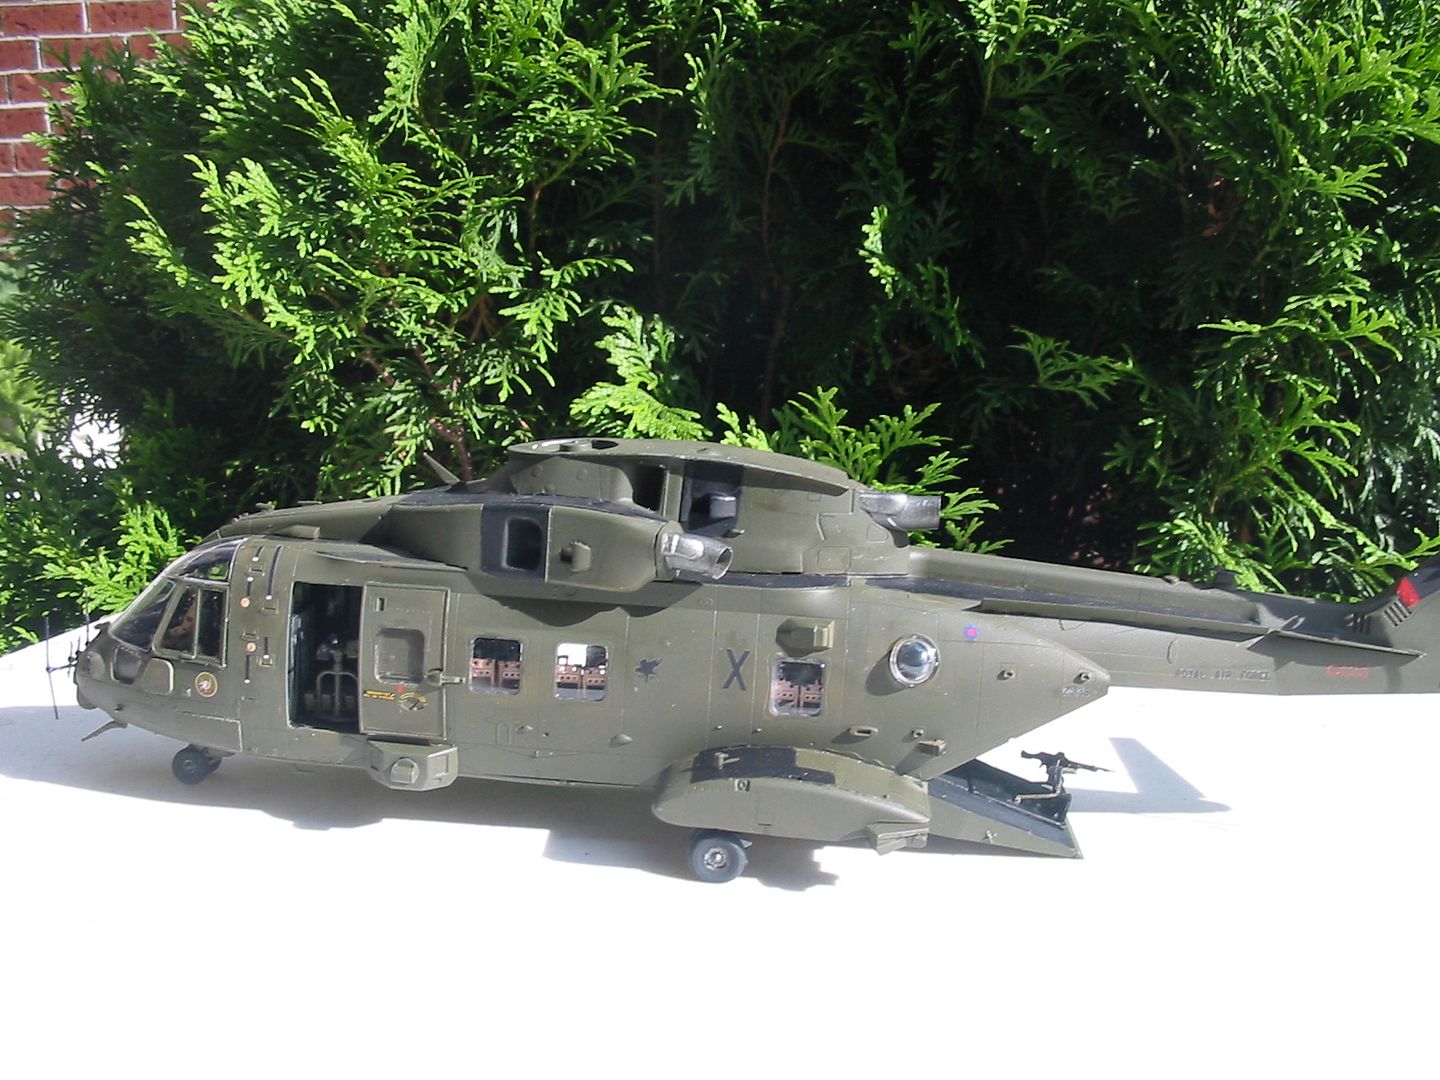
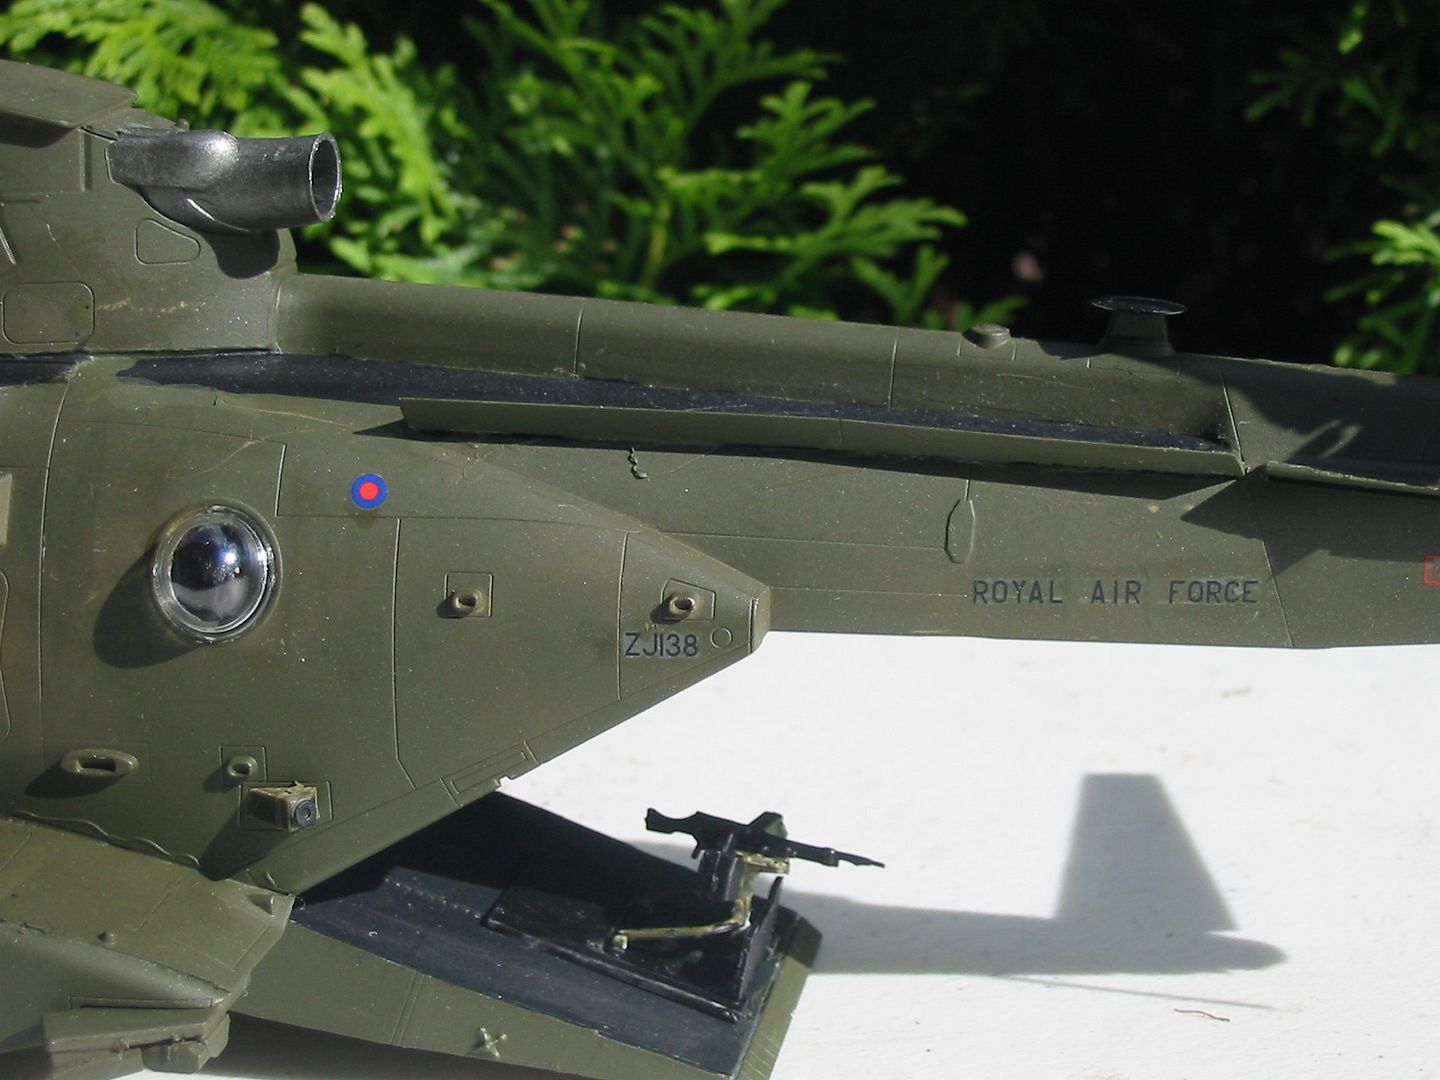
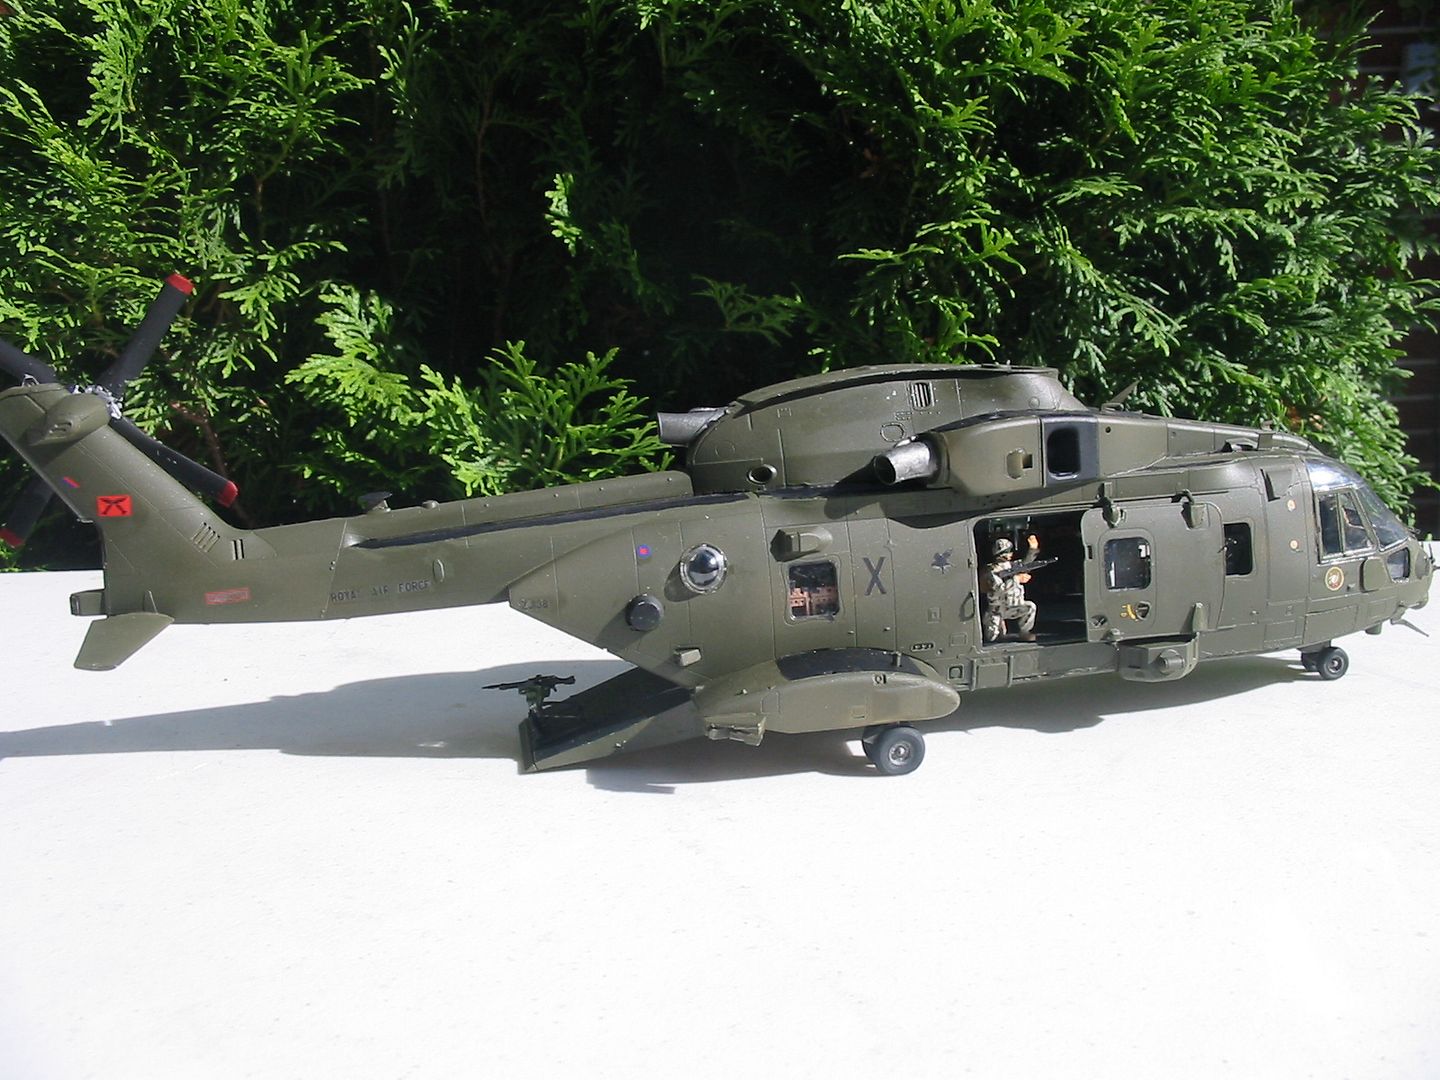
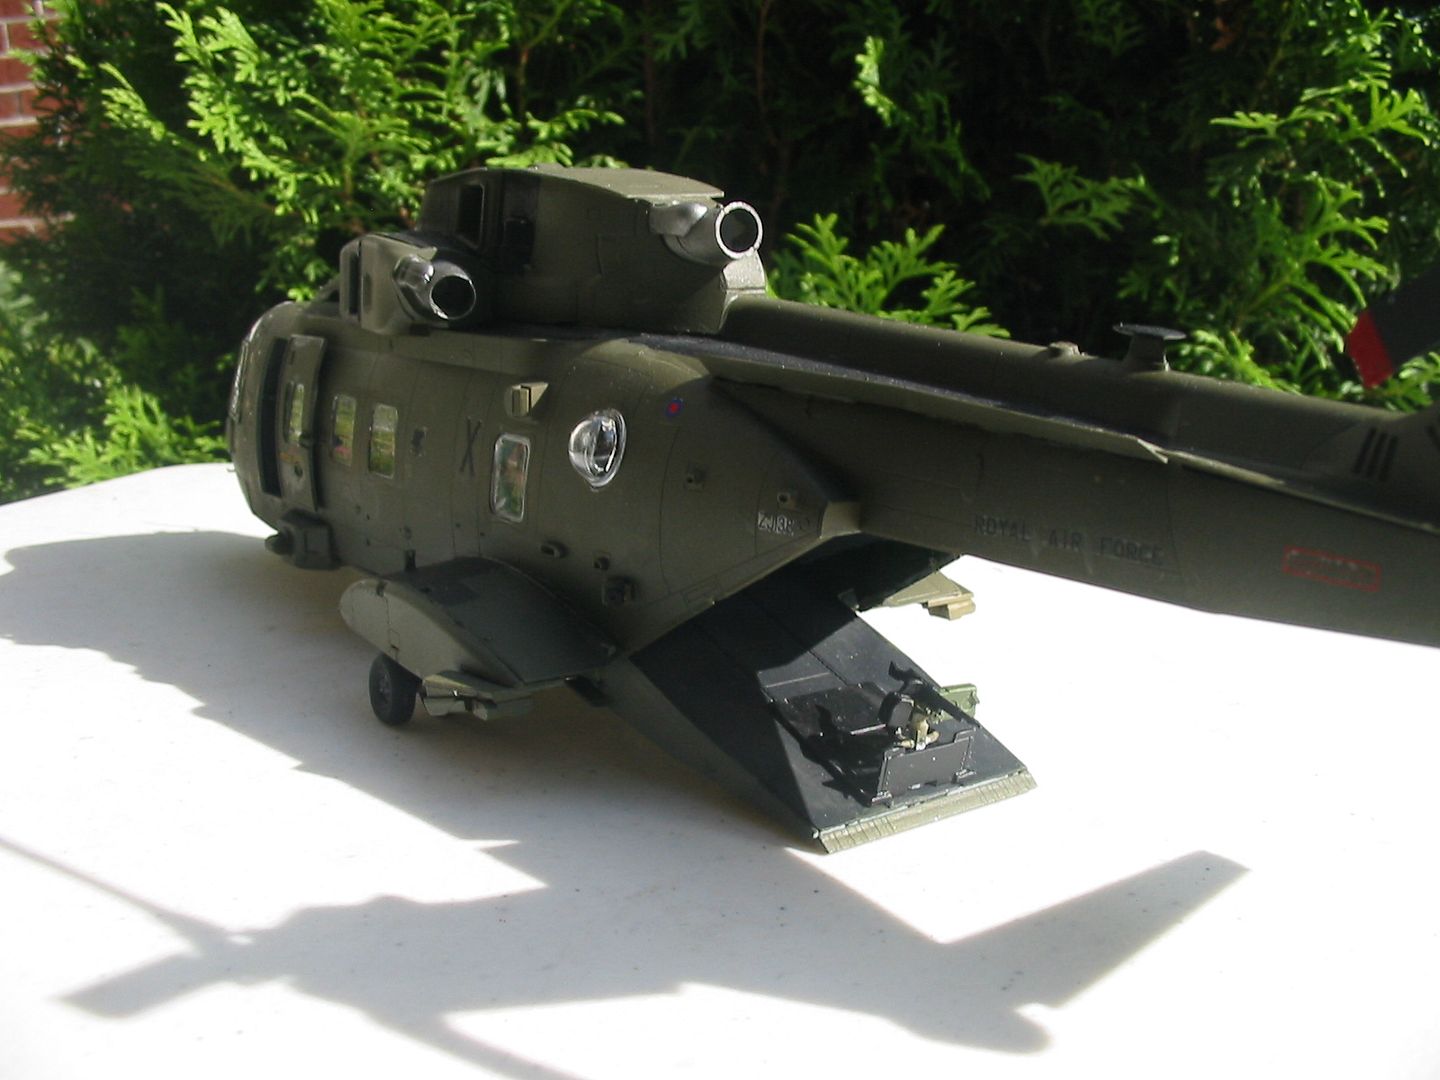
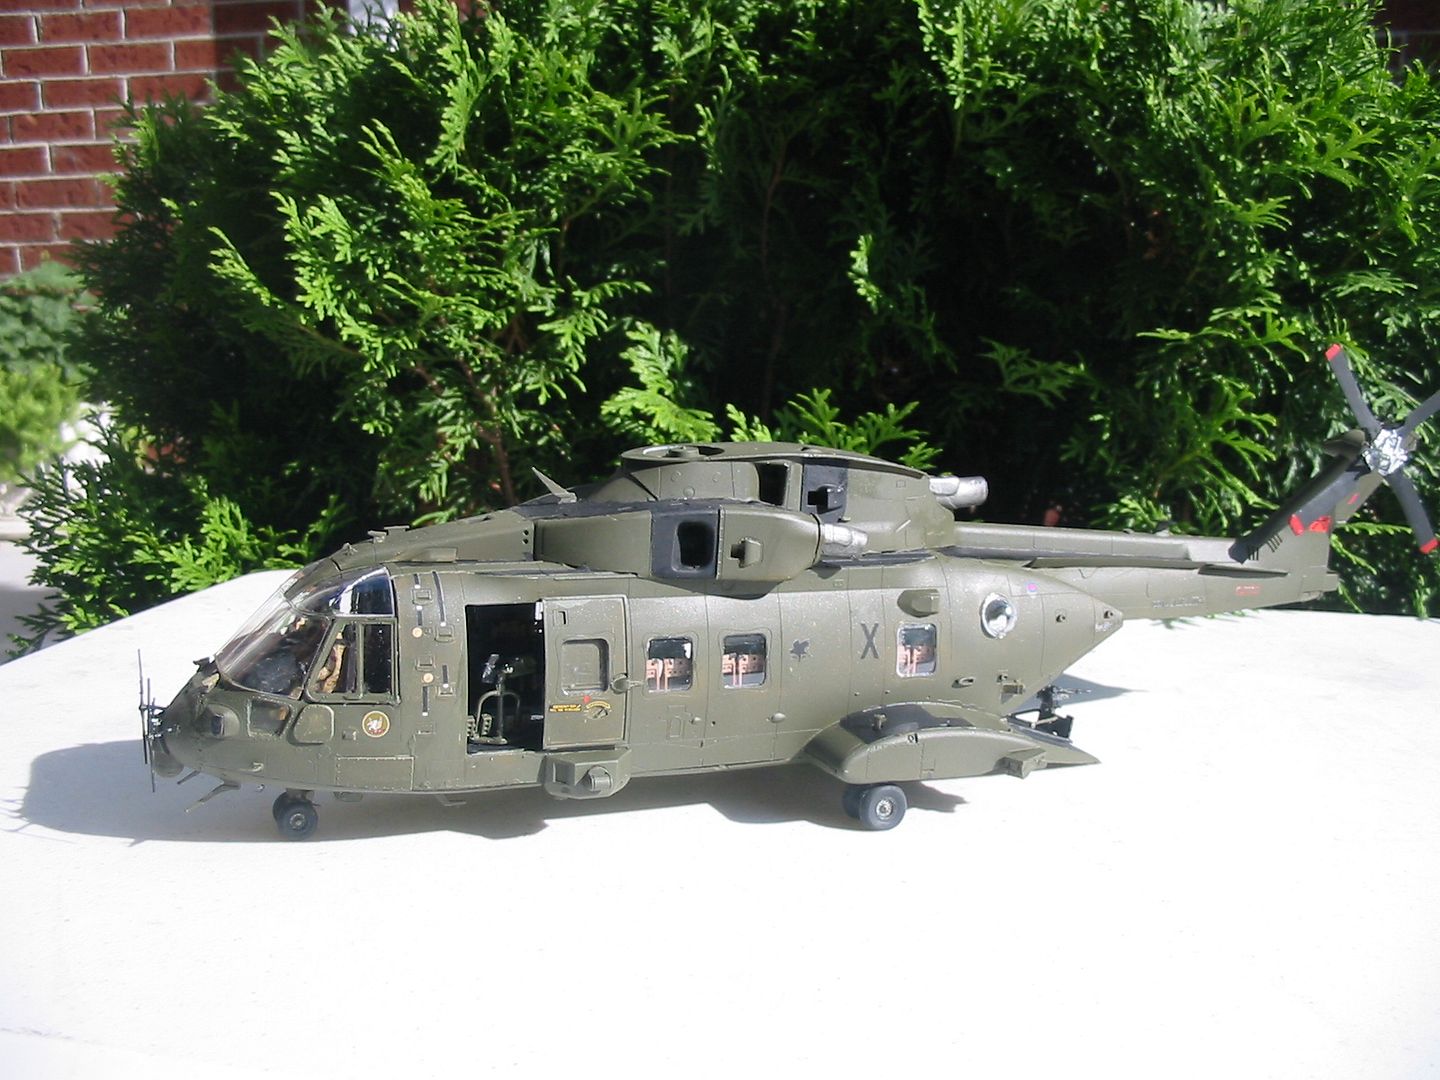
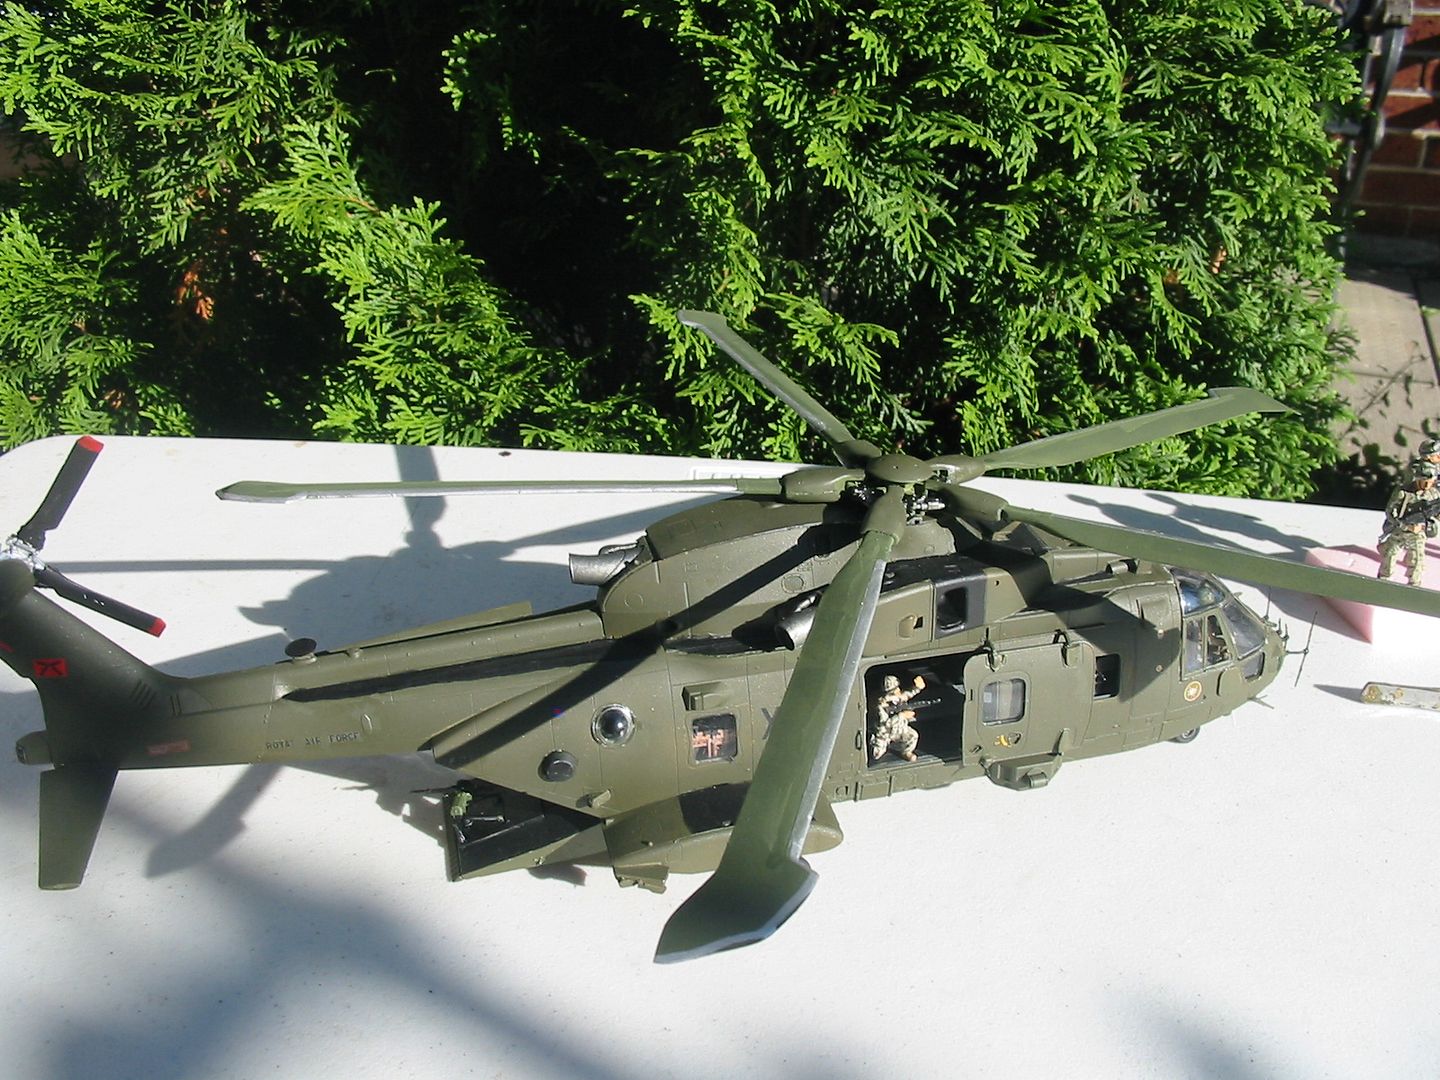
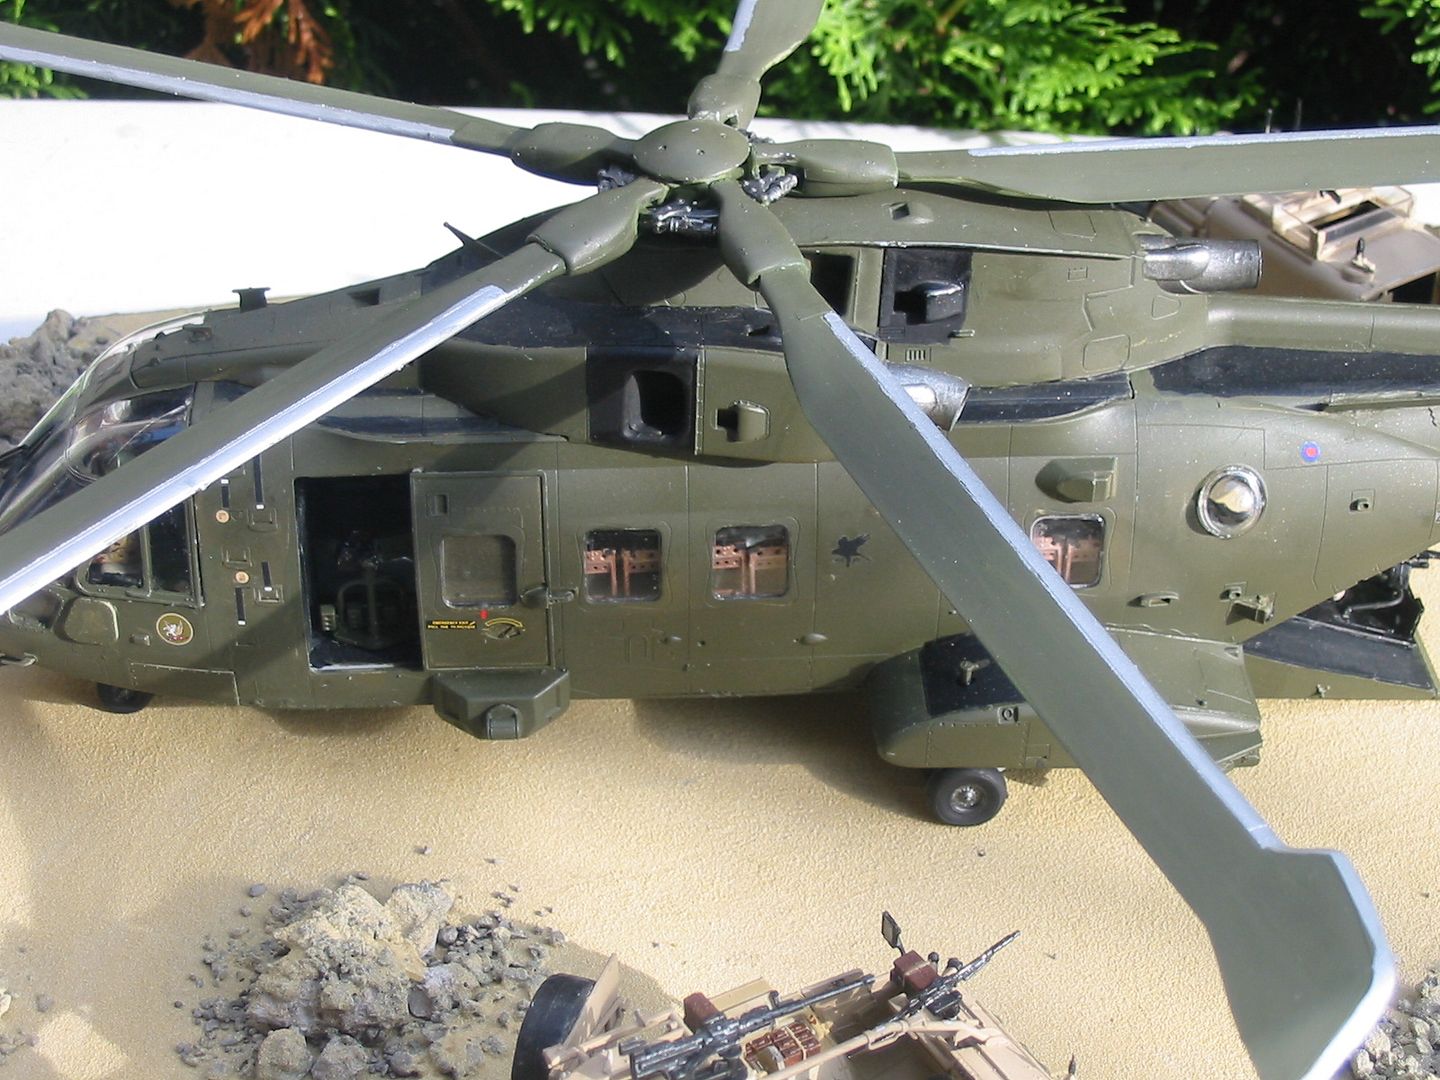
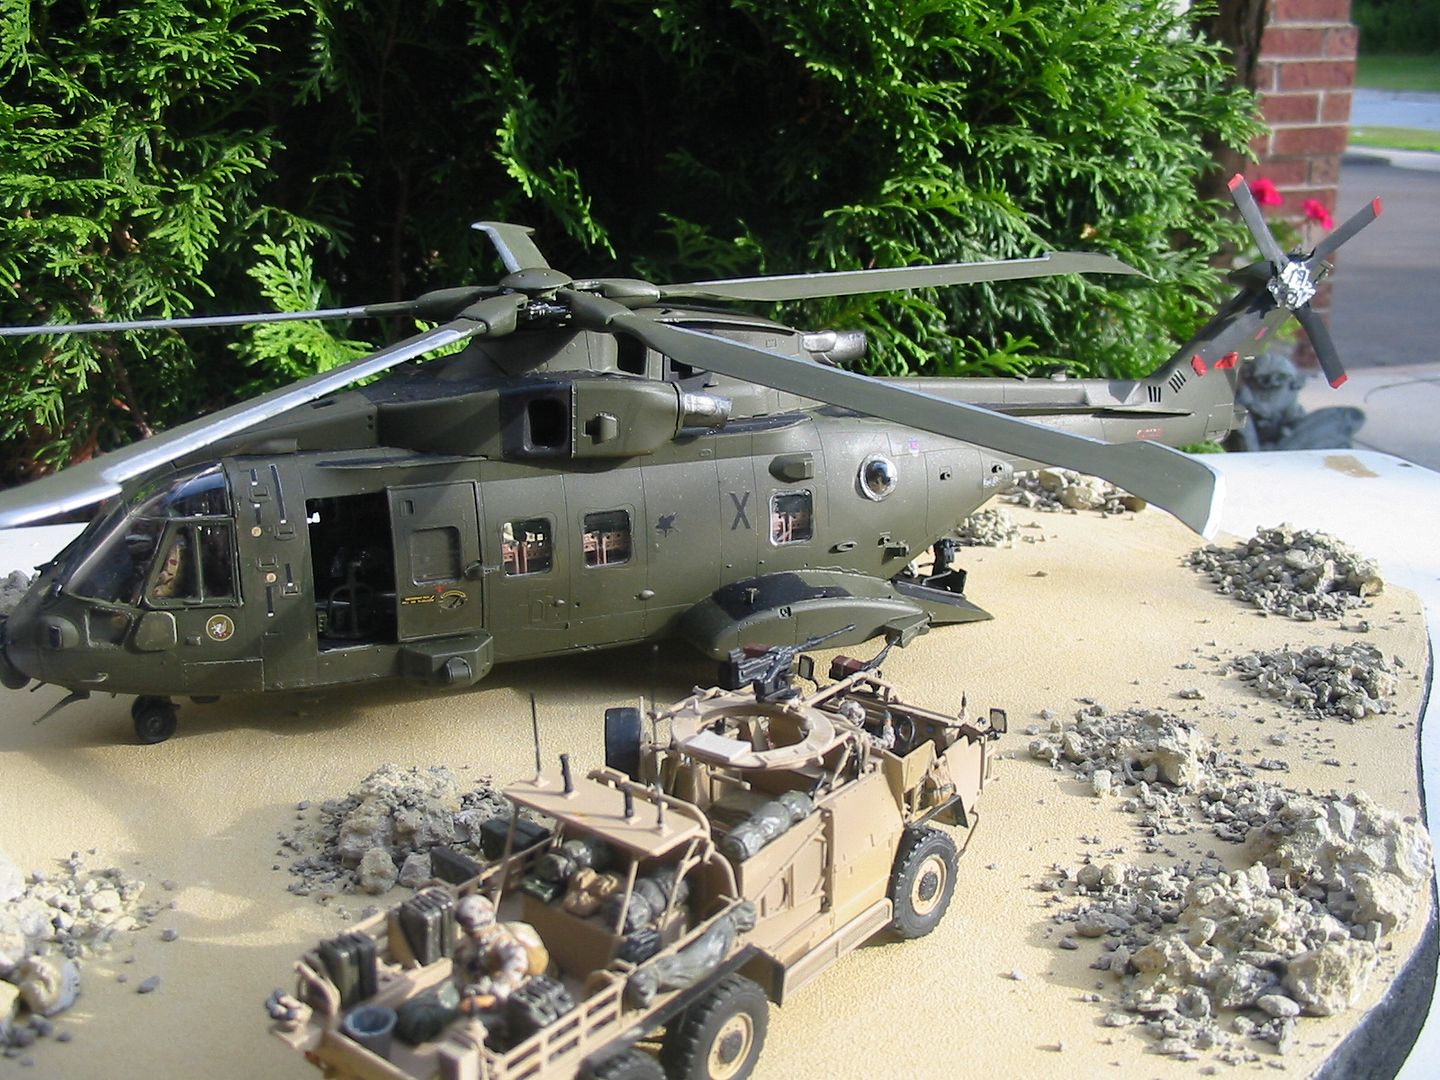
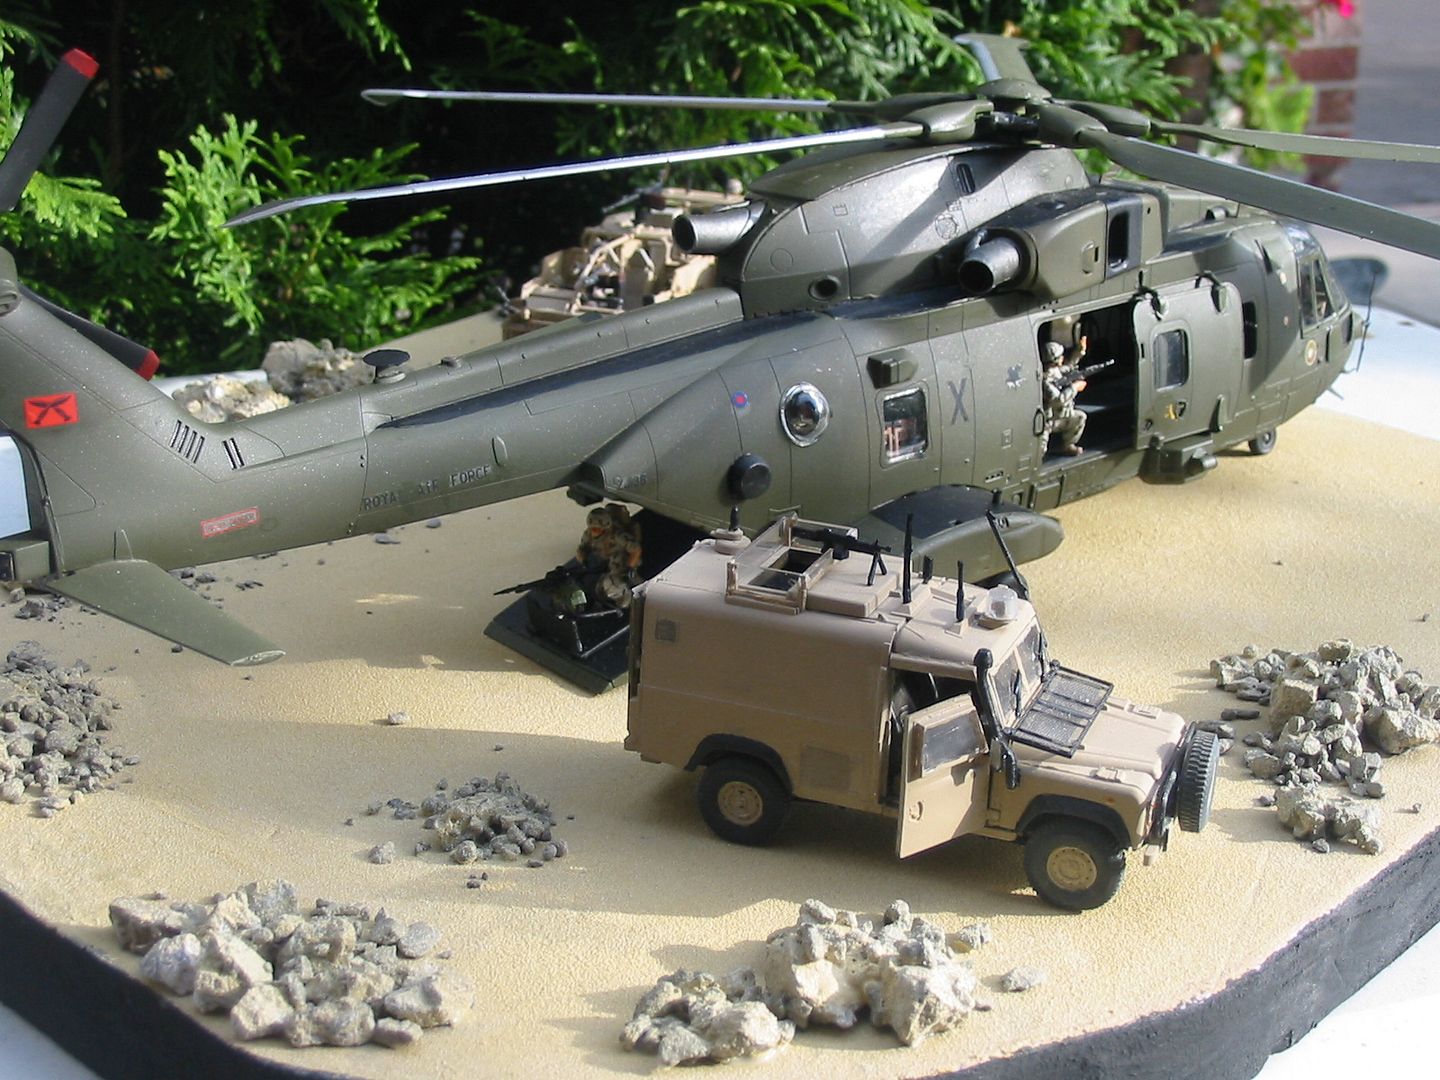
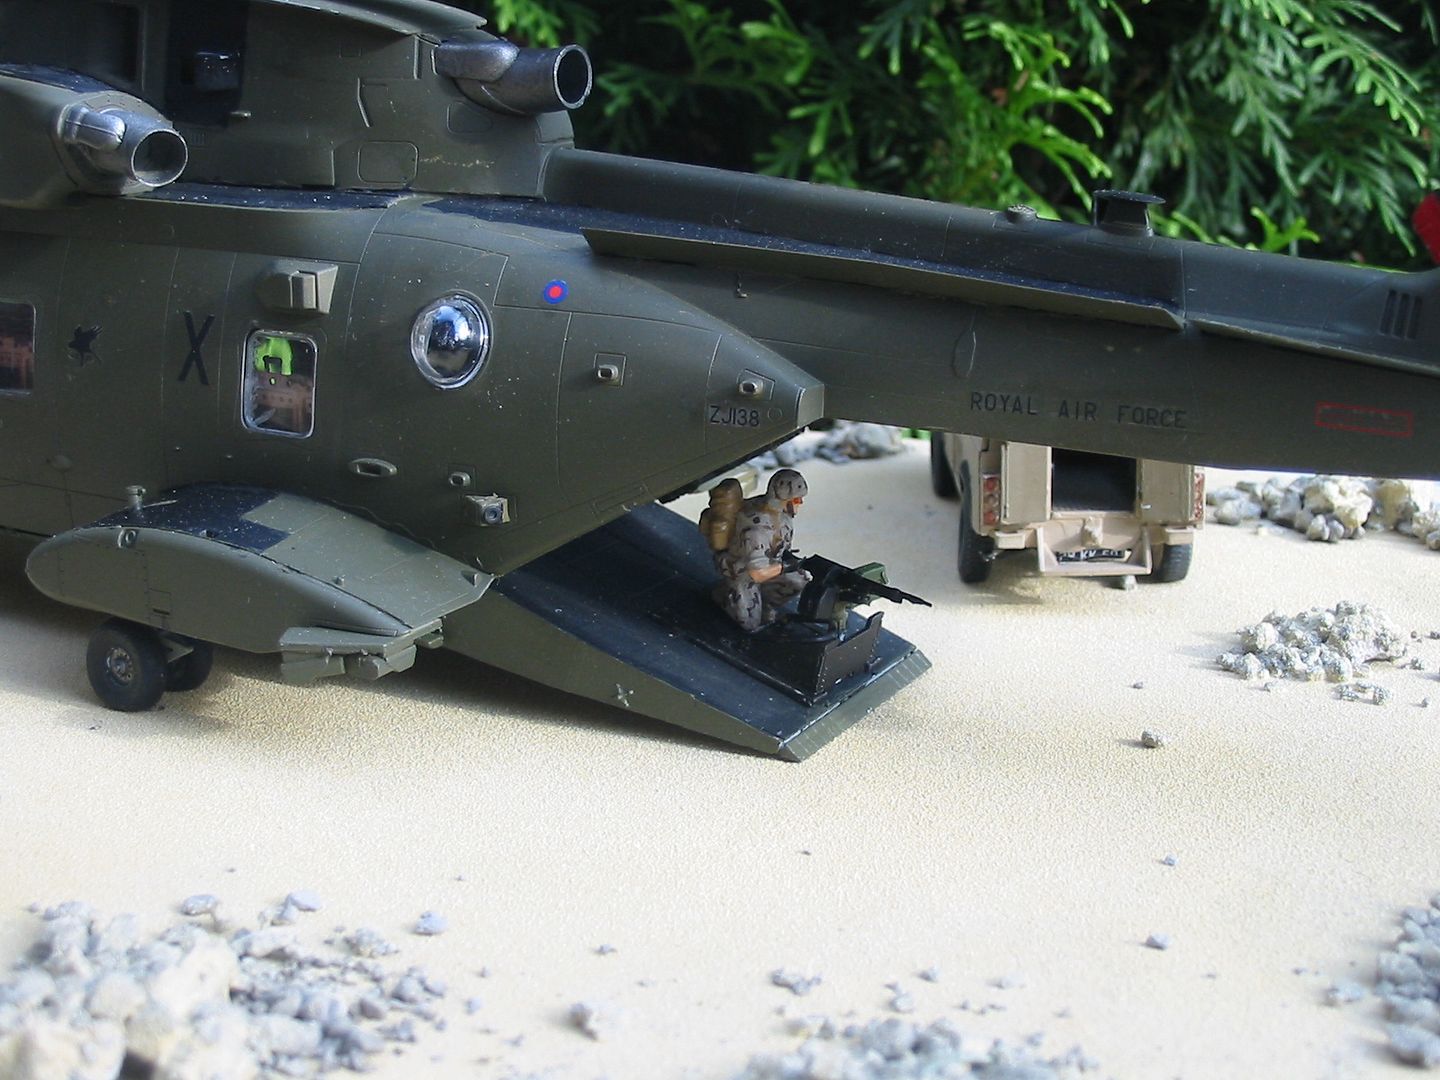
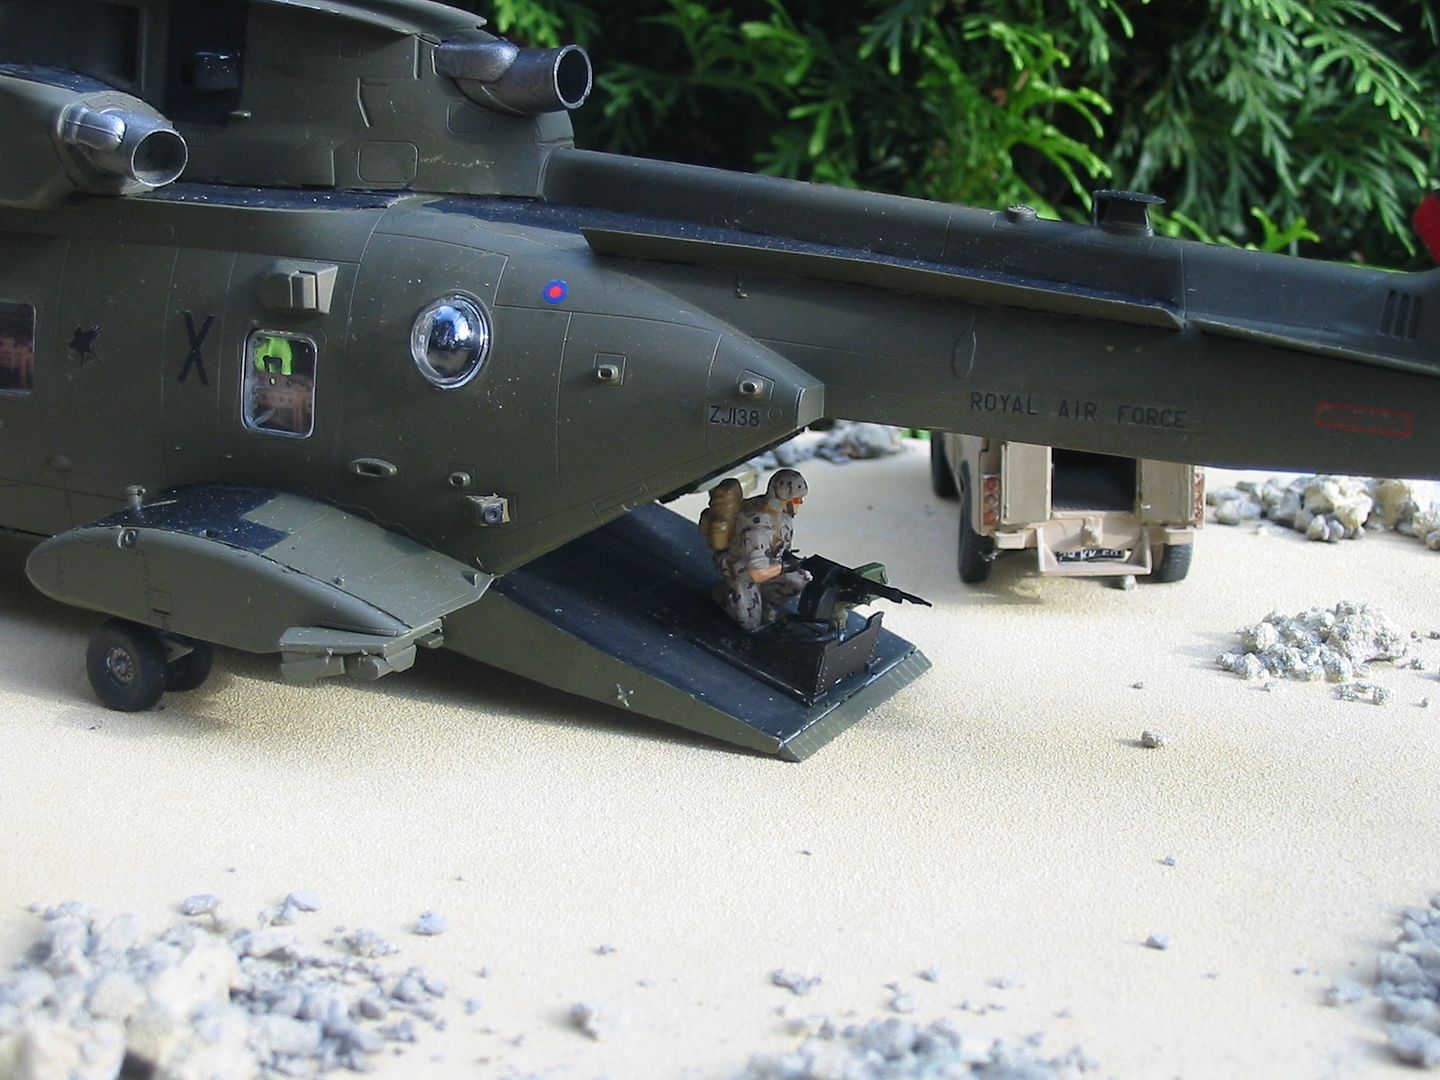
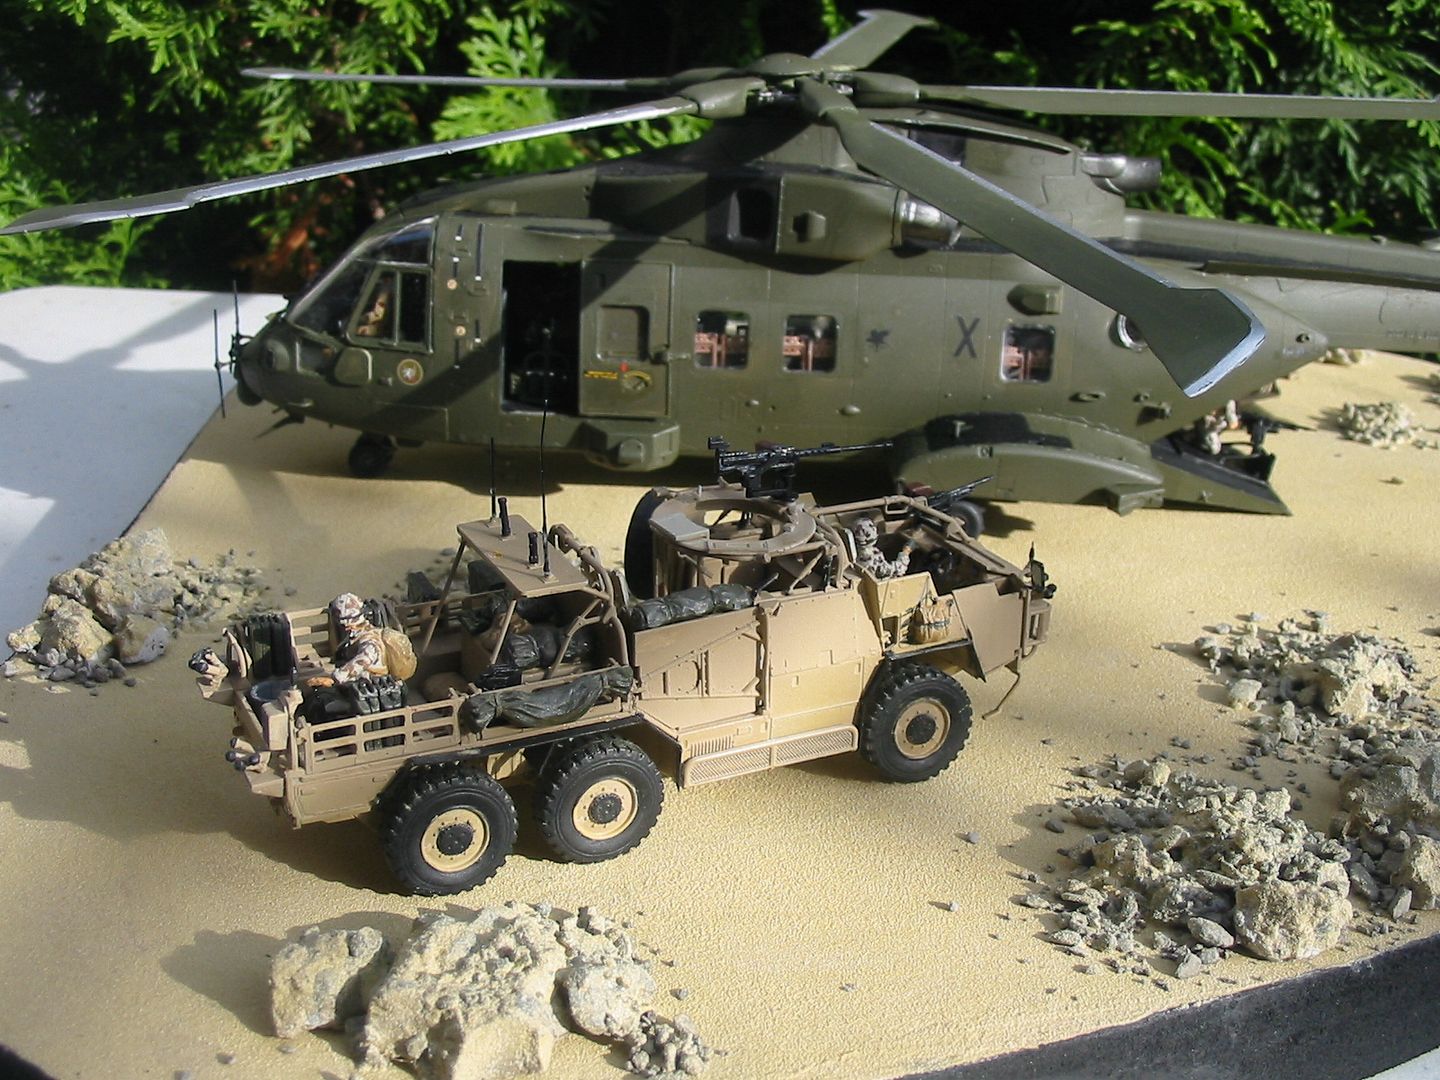
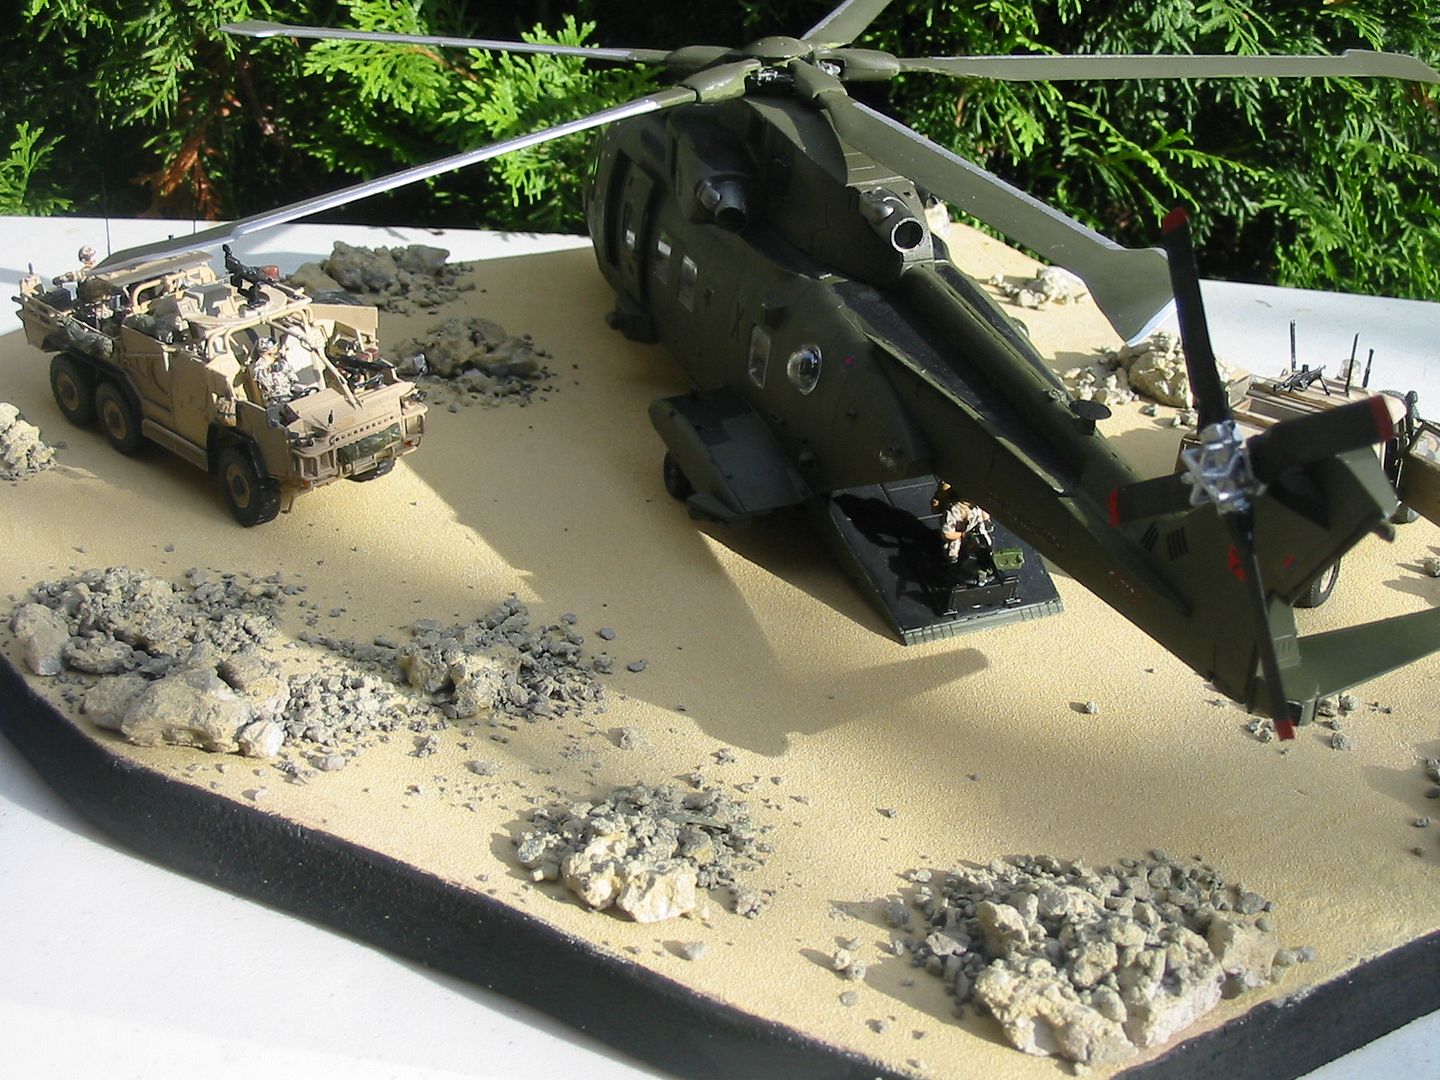
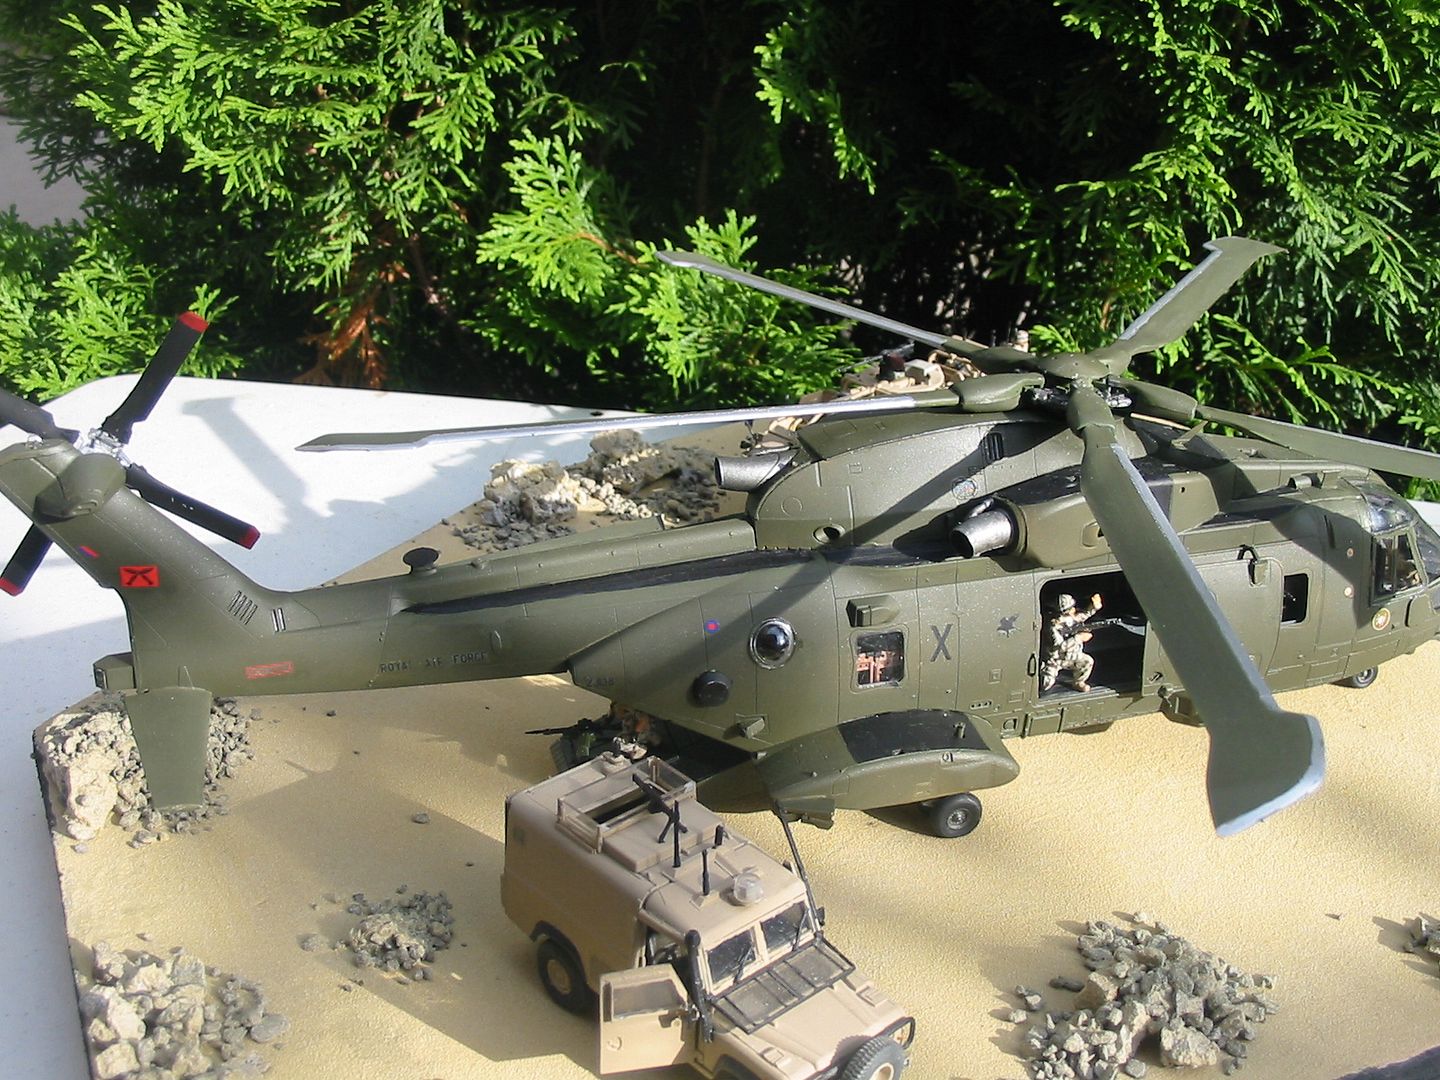
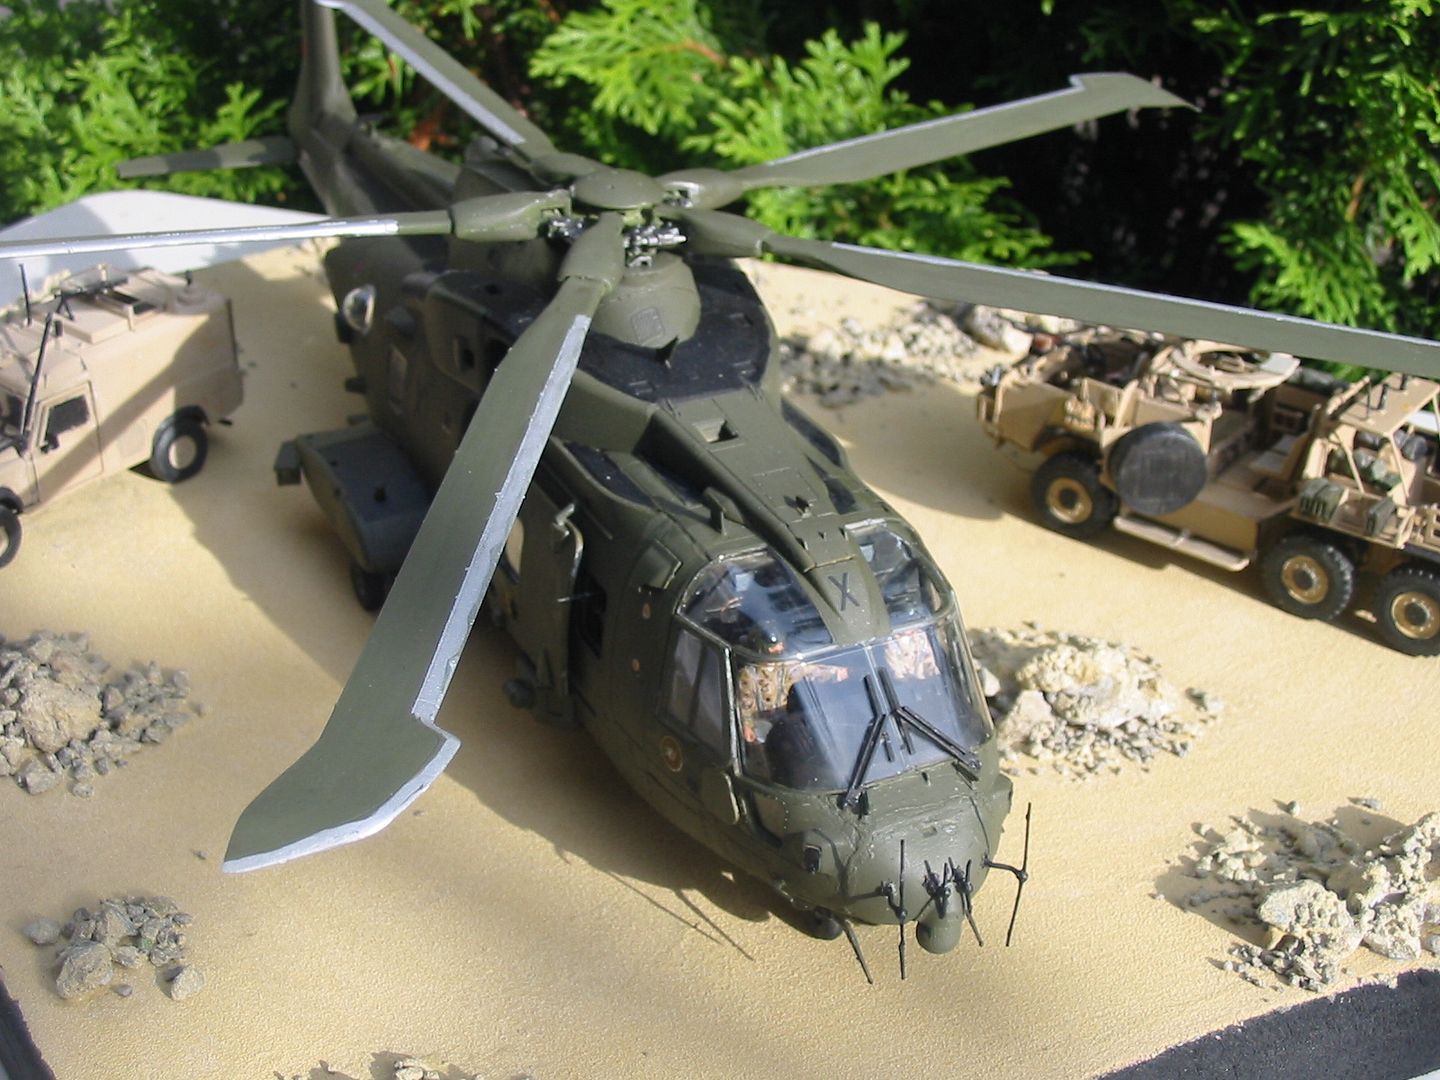
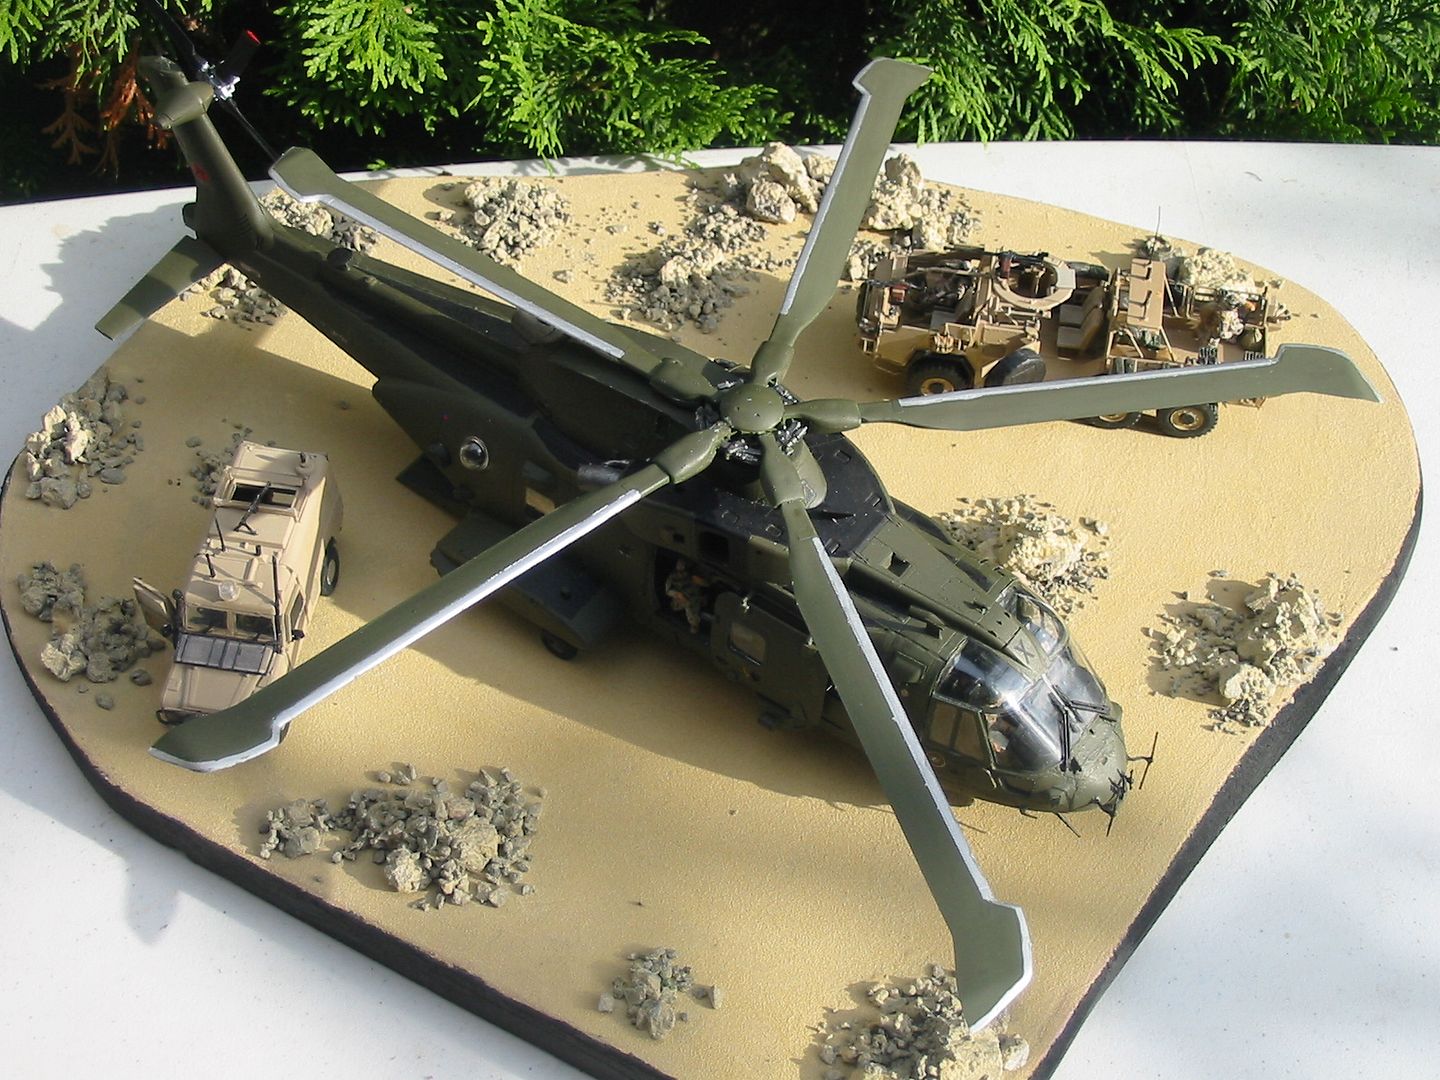
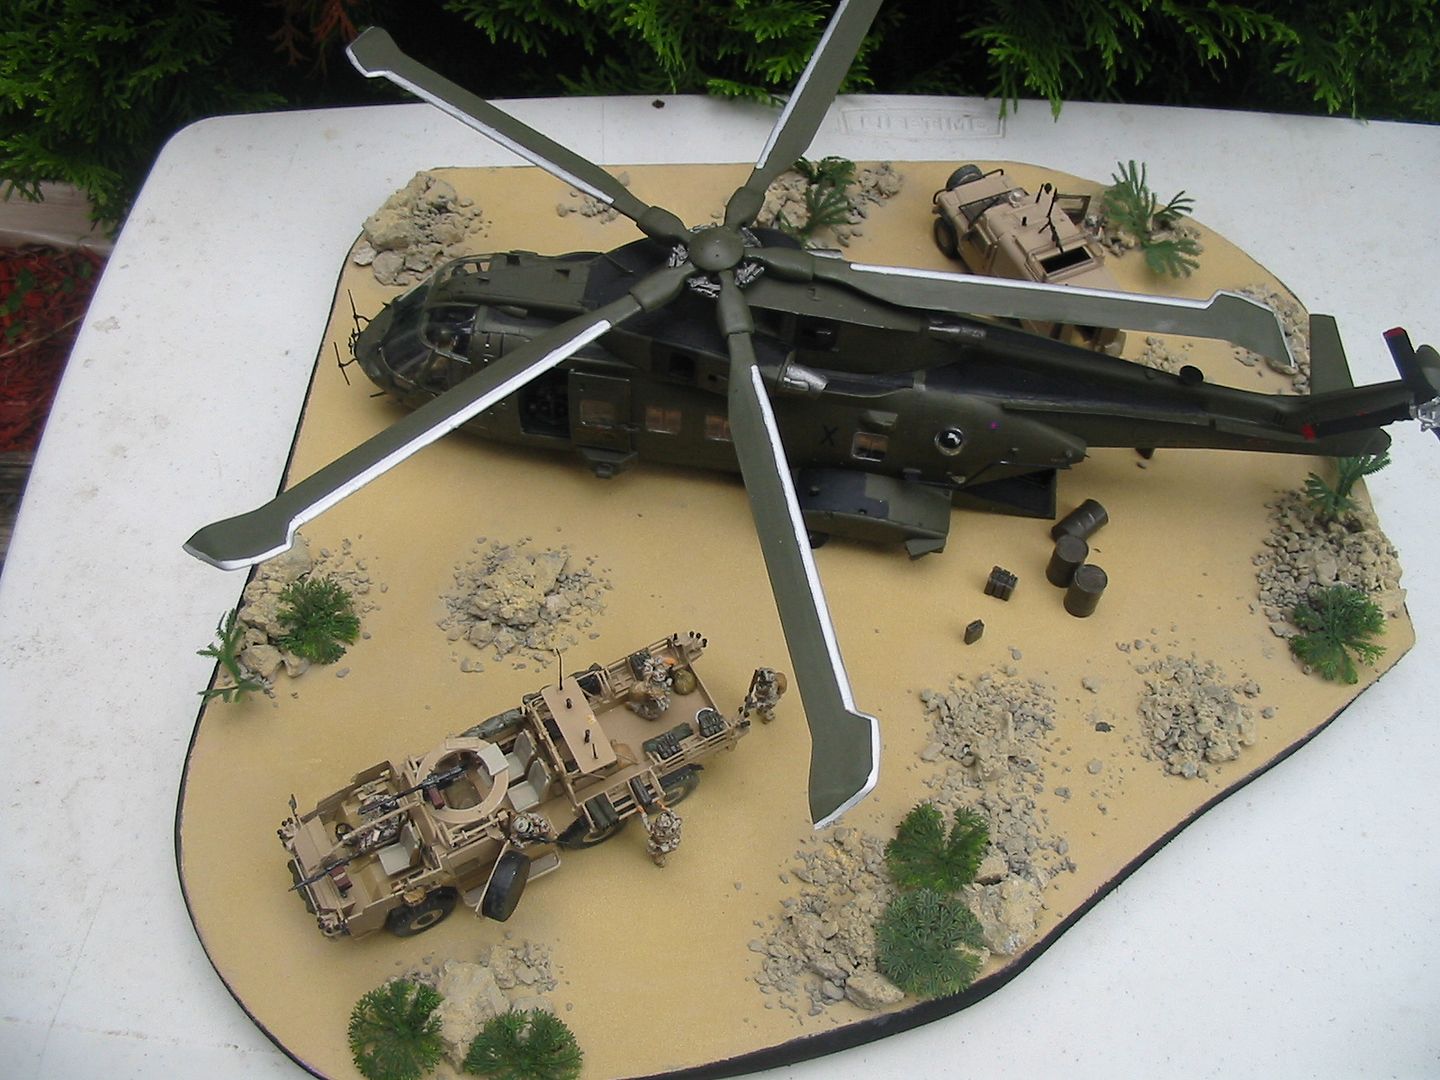
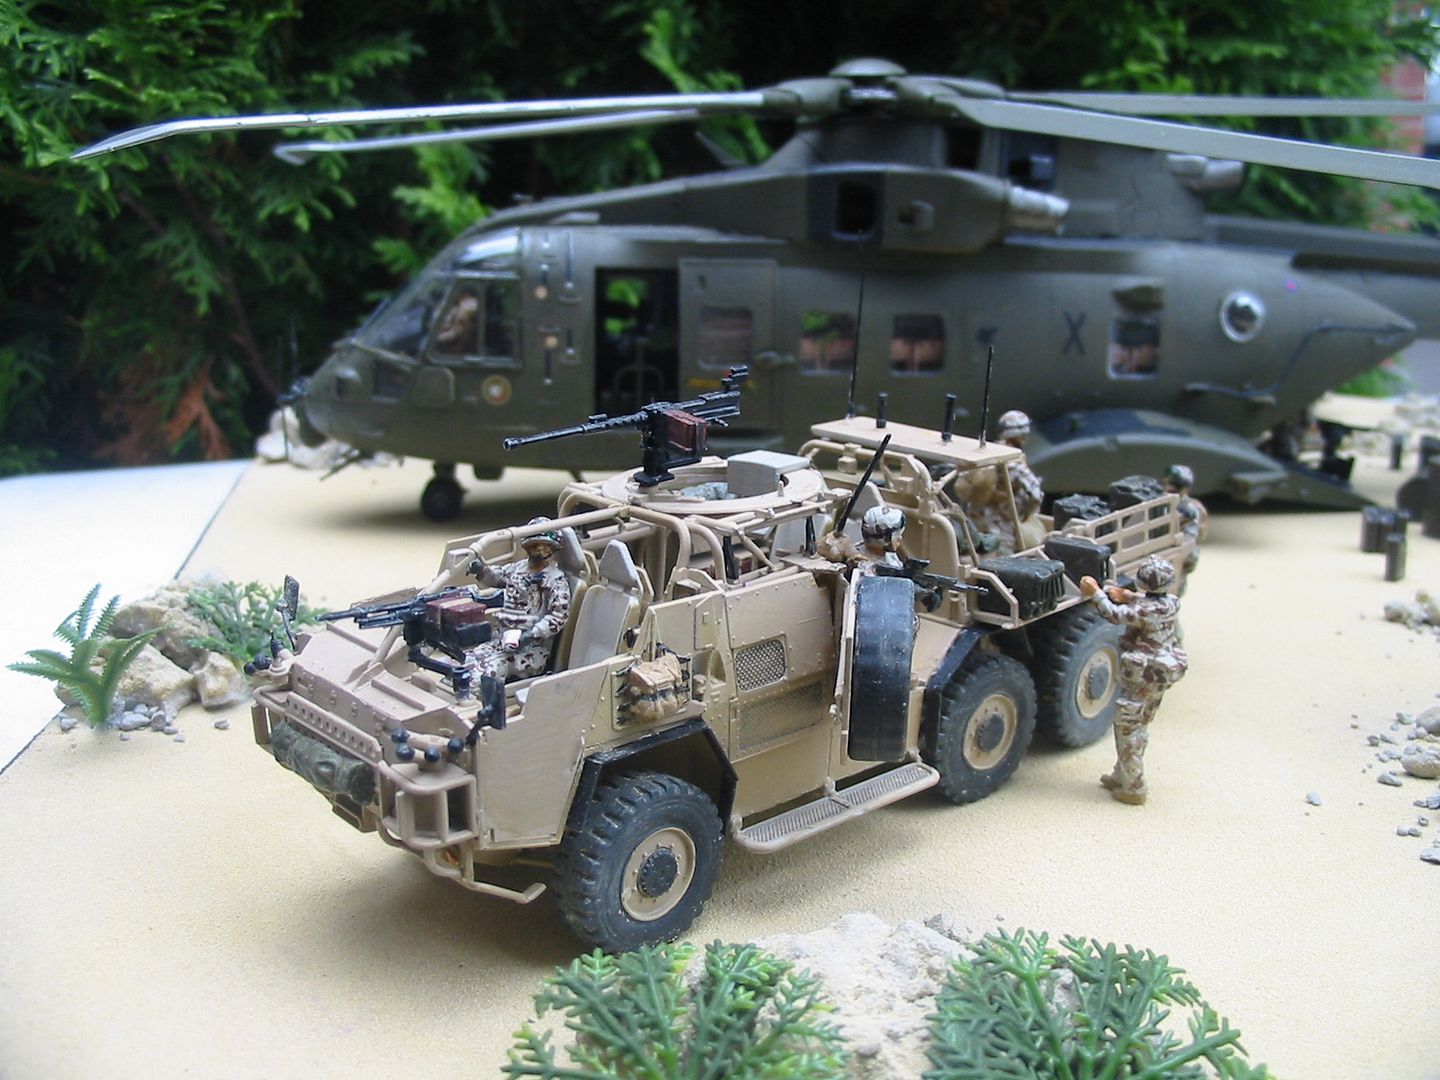
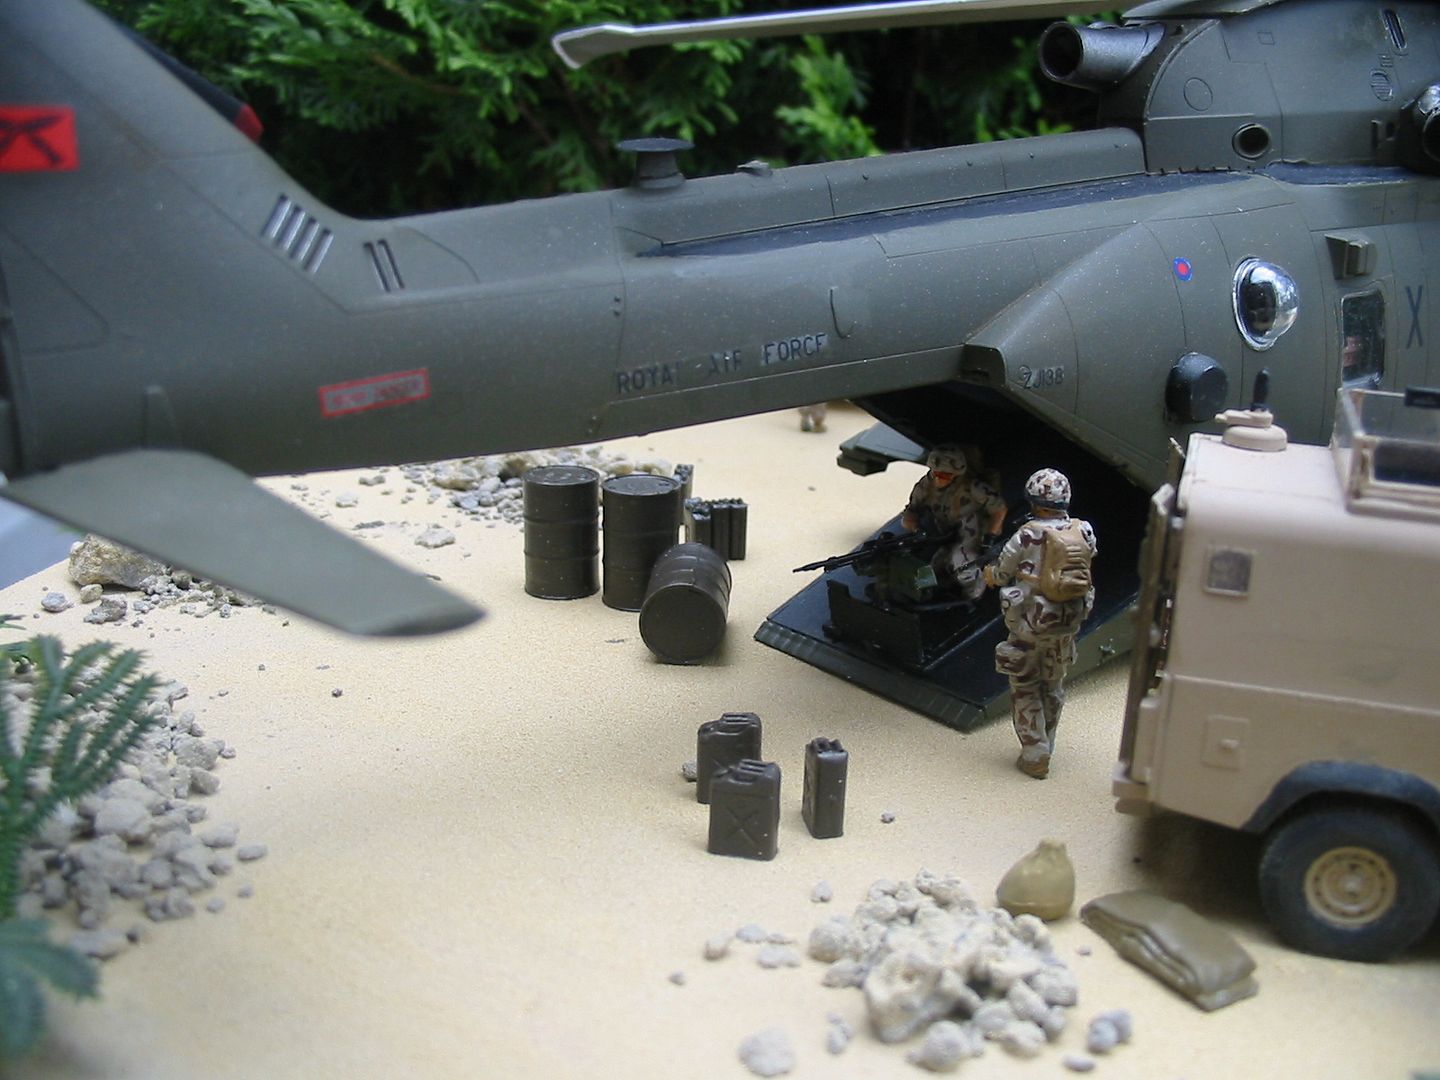
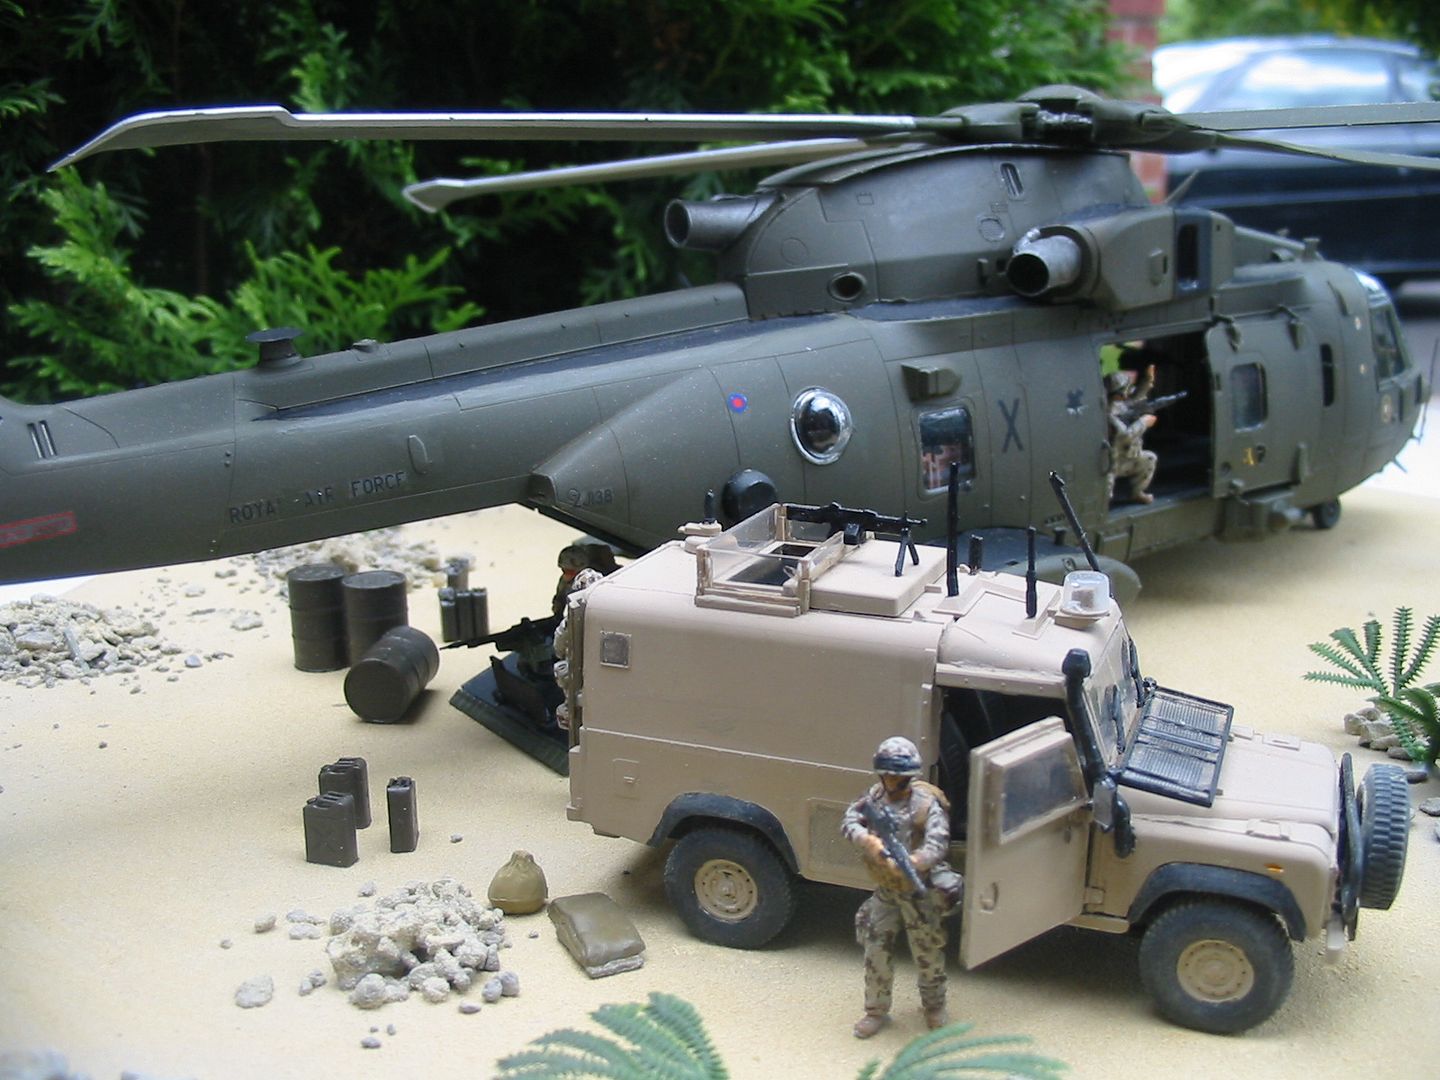
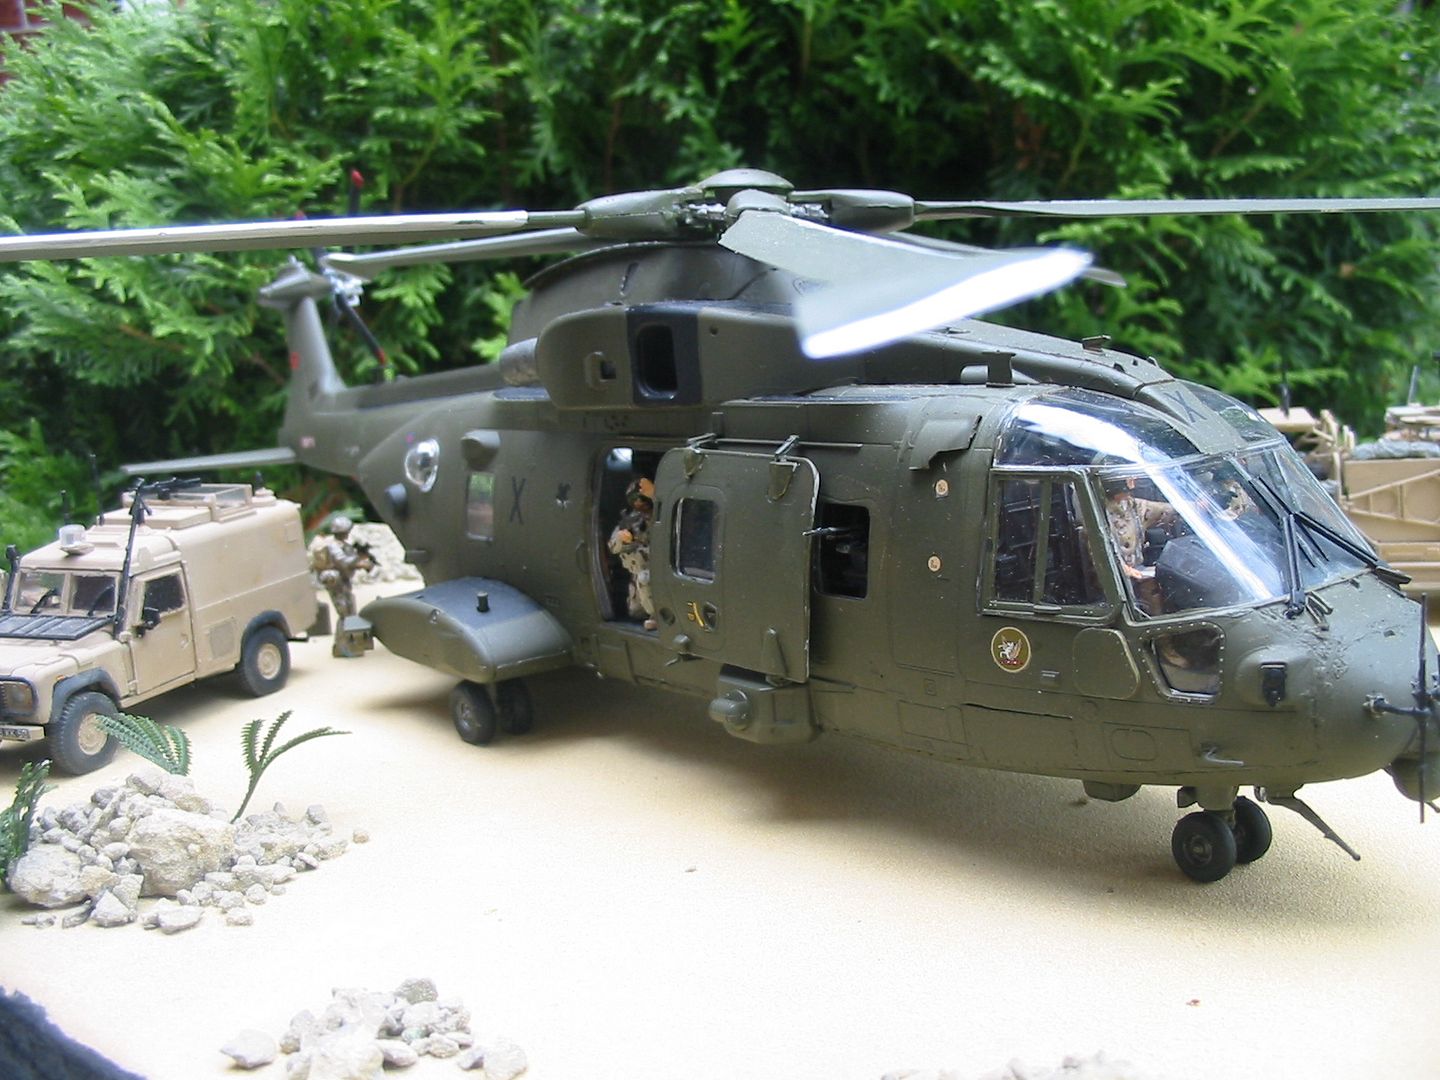
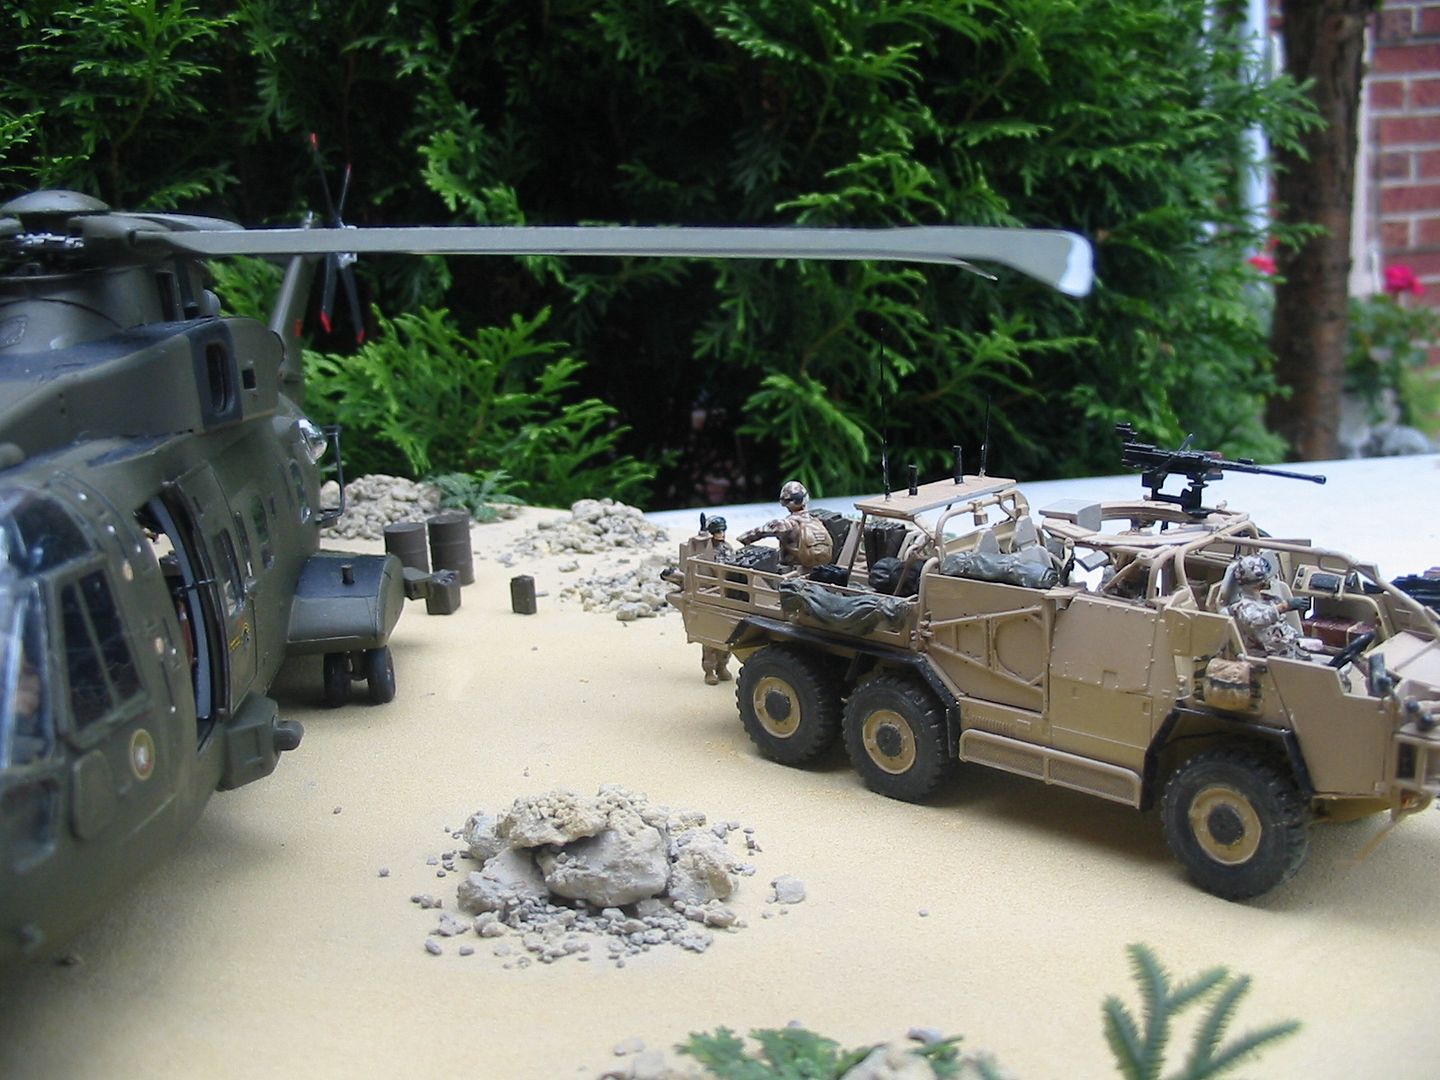
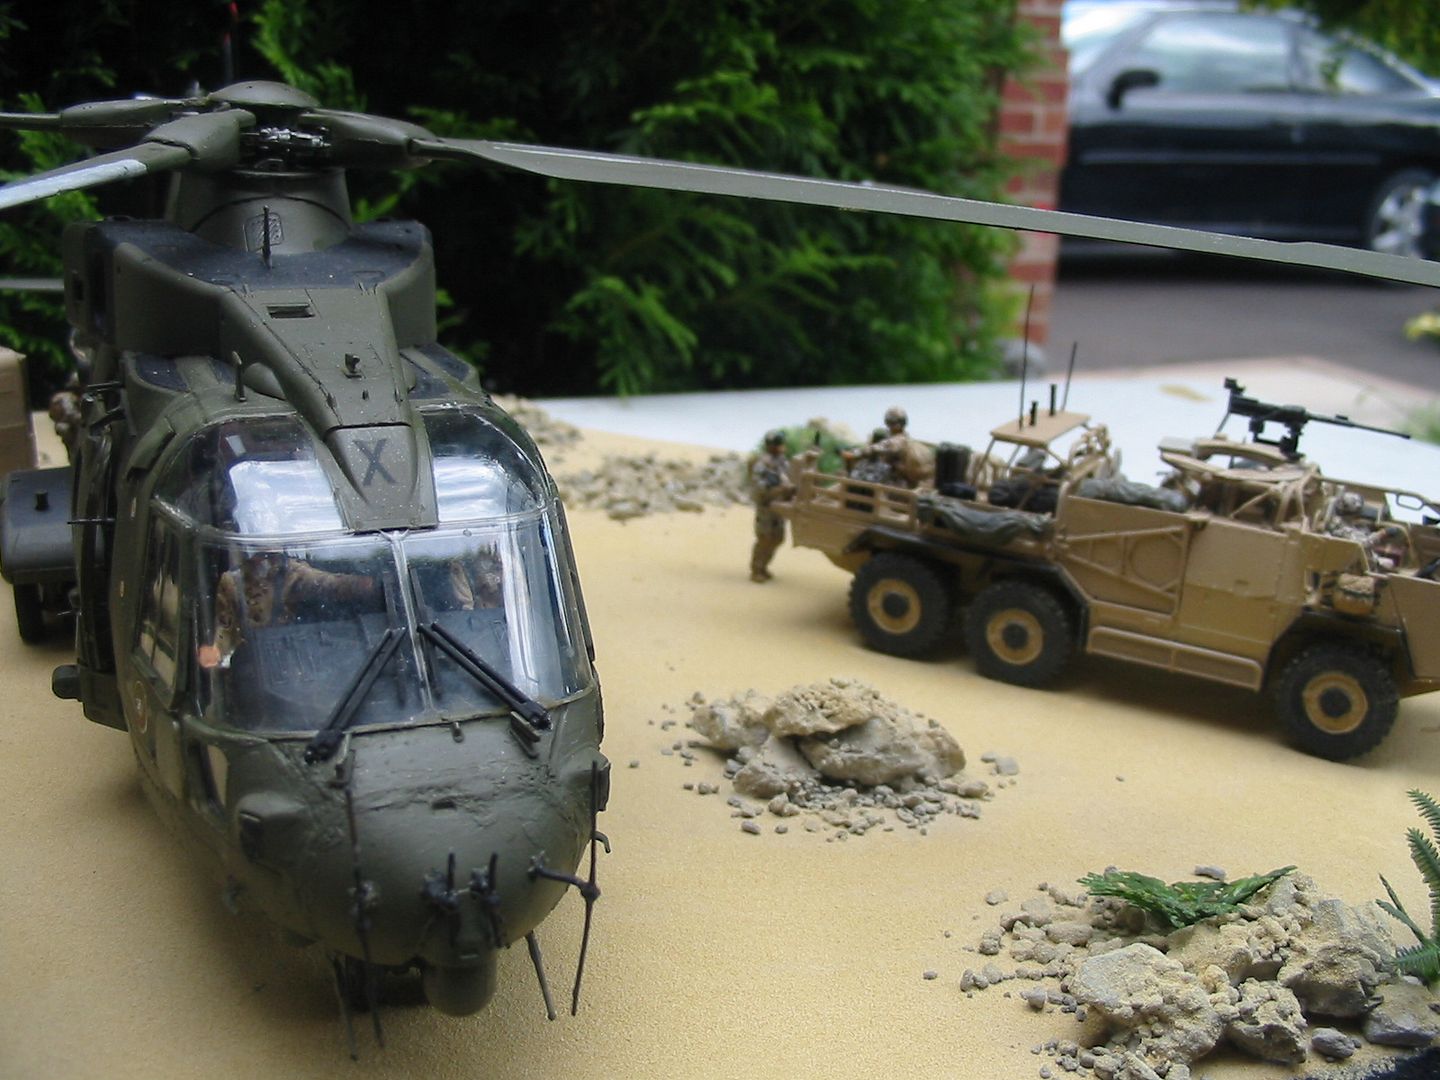
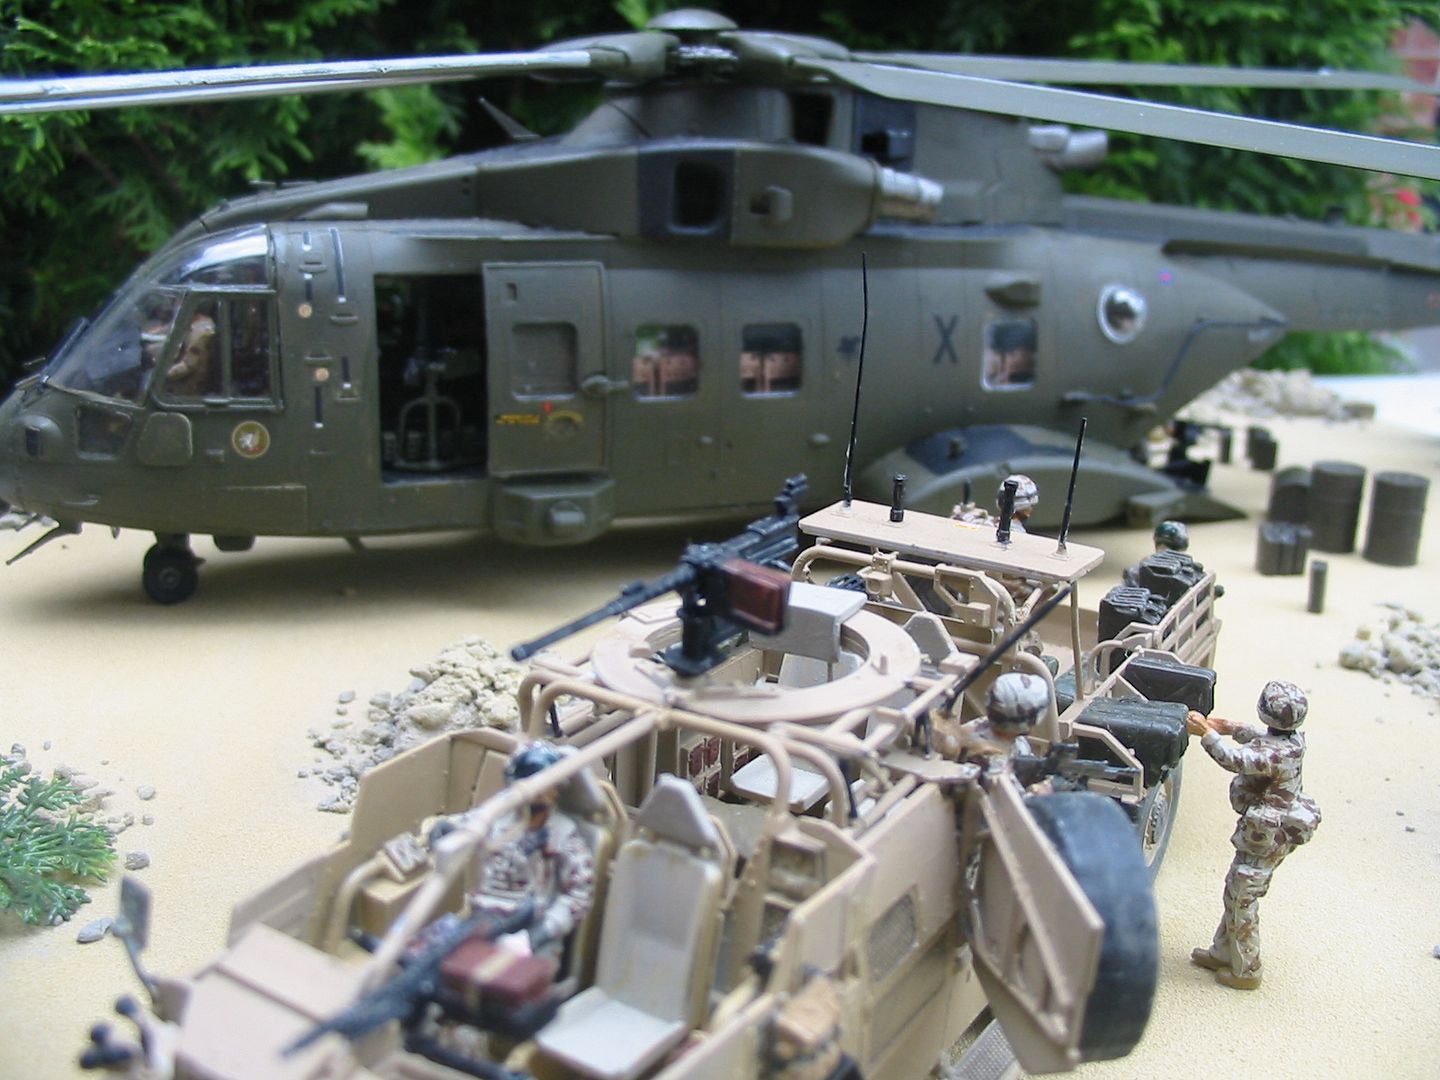
Fantastic! Great job on the helicopter: it looks outstanding. But you need a bigger base to include the Jackal * WMIK LR

California, United States
Joined: June 30, 2008
KitMaker: 2,408 posts
Armorama: 2,394 posts
Posted: Thursday, August 01, 2013 - 07:10 AM UTC
That helicopter is definitely a great center piece! I can't believe you dropped it on the floor - the worst feeling any model builder has lol. Congrats and well done

Ontario, Canada
Joined: March 01, 2002
KitMaker: 1,607 posts
Armorama: 1,581 posts
Posted: Thursday, August 01, 2013 - 09:47 AM UTC
Thanks guys,
Ya Greg,my heart sunk,luckily there wasn't major damage.
Sean,I'm courius why you think I need a bigger base?In the end I want to have the snatch as if it were being reloaded with supplies.Chris,if your out there,If you would like to unload one of your crew sets I could help you out.My usual sites still aren't carrying it,maybe the bad press on it.
Tom
Ontario, Canada
Joined: March 01, 2002
KitMaker: 1,607 posts
Armorama: 1,581 posts
Posted: Monday, August 05, 2013 - 09:45 AM UTC
Kildare, Ireland
Joined: November 21, 2007
KitMaker: 3,212 posts
Armorama: 2,807 posts
Posted: Monday, August 05, 2013 - 07:34 PM UTC
Quoted Text
Sean,I'm courius why you think I need a bigger base?In the end I want to have the snatch as if it were being reloaded with supplies.
Sorry Tom, it was a bit tongue-in-cheek but what I meant was so you'd have room to include a LR WMIK and a Coyote.
The whole think looks great just as it is! The vehicles, figures and base all came out exceedingly well.
