

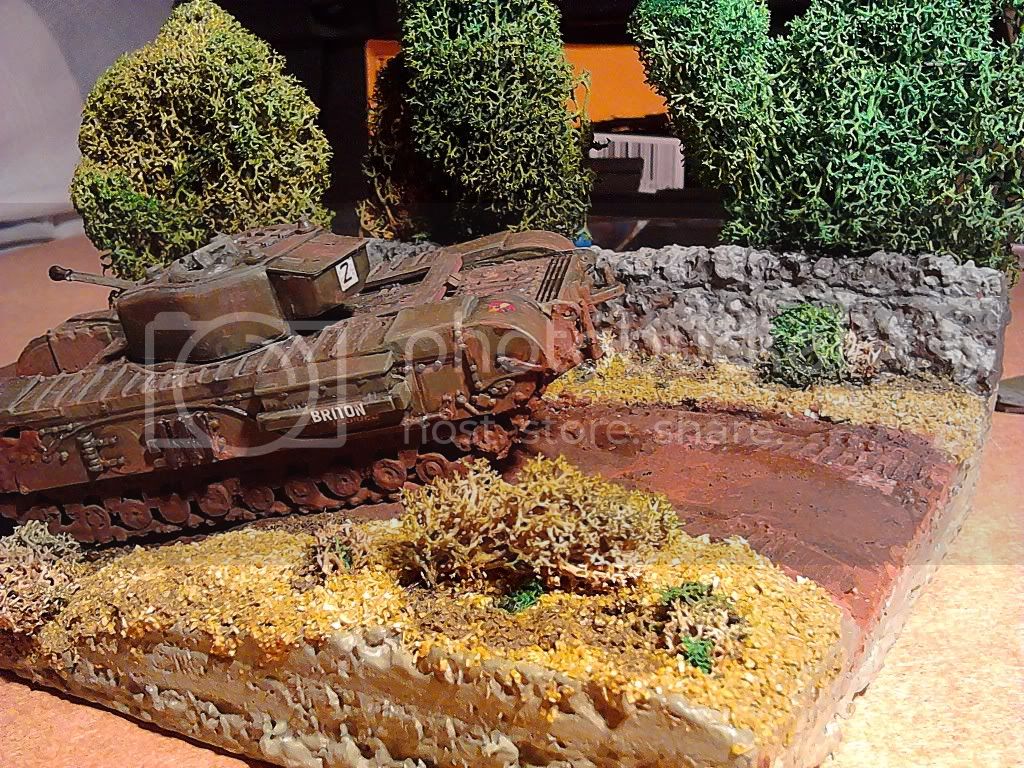
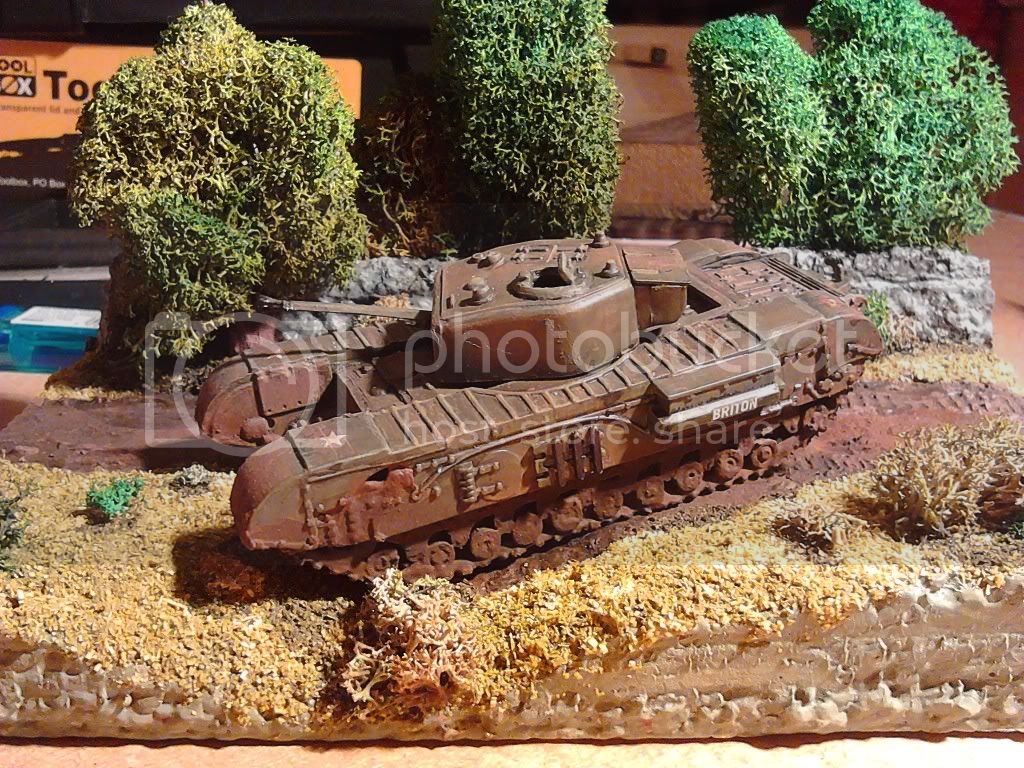
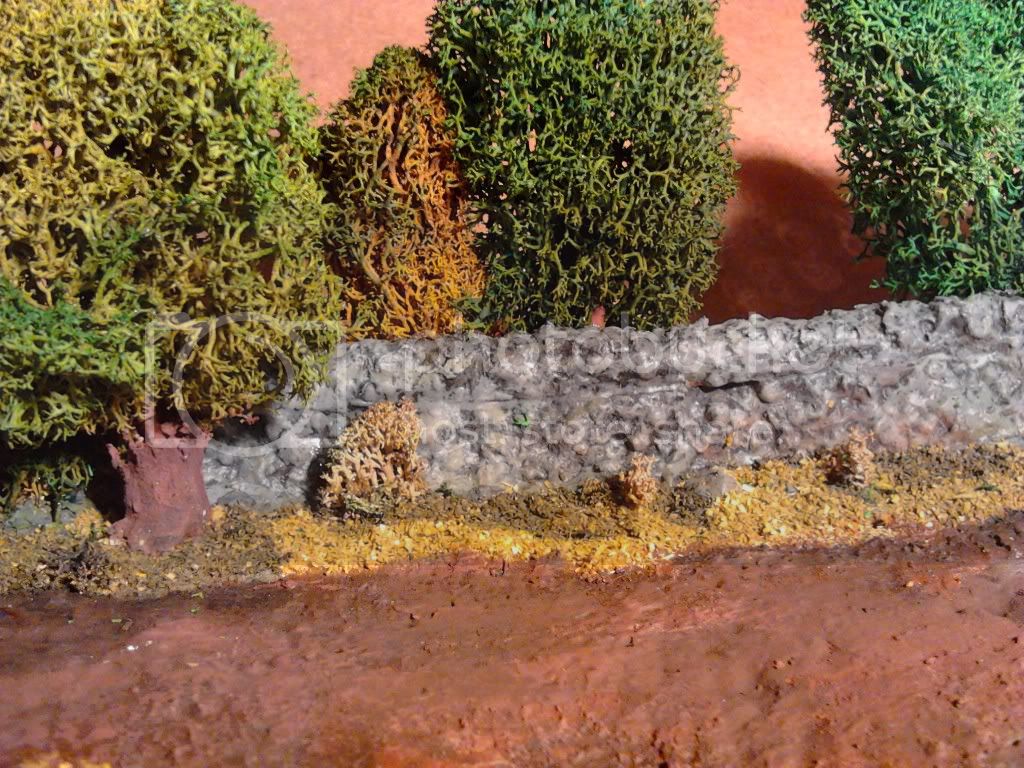
first ever diarama. if you can call it that, its a bit small. I got a couple of 1:72 airfix kits at xMas- built them then had nothing to do so decided on a small display base for the tank. its all scratch built from packing foam, the wall is scratch built the trees were made by lending a couple of foliage kits and cocktail sticks. everything is brush painted tank and all. had to shine torch at it to get phone to take a pic but if you look close you can see which shadows shouldn't be there. thanks for looking and please don't be afraid to leave feedback. I would like to know what's wrong not quite right etc. the wall colour I don't like but all I had was paint from the starter kits so I mixed the closest I could.
Edit: pics are a few posts down these ones were terrible
Constructive Feedback
For in-progress or completed build photos. Give and get contructive feedback!
For in-progress or completed build photos. Give and get contructive feedback!
Hosted by Darren Baker, Dave O'Meara
First diarama another planned so be brutal

gavcarter

Joined: January 21, 2013
KitMaker: 45 posts
Armorama: 43 posts
Posted: Wednesday, January 30, 2013 - 10:37 AM UTC

miniflea

Joined: October 17, 2011
KitMaker: 237 posts
Armorama: 235 posts
Posted: Wednesday, January 30, 2013 - 10:55 AM UTC
My first piece of advice would be to make sure that your photos are brightly lit and in sharp focus. I realize that this is a bit difficult if you are using a phone, but with a blurry image it is difficult to give you any other advice.
First, if you can use a camera that is not a phone, do so. Second, if you have to use a phone, try to use a smartphone that has been released in the last few years, as many of the newer ones(and some of the older) actually have half decent cameras. Make sure the area is brightly lit, either using daylight or at least two lamps. If you still have trouble getting a clear shot, try resting the phone/camera on something solid while you press the shutter. Play around with it, see what works. Don't just use the first shot you get!
You may need to place the lens farther from your subject. All lenses have a certain minimum focal distance, and a cropped sharp shot from farther away is more useful than a blurry shot that fills the frame.
Hope that helps.
CReading

#001

Joined: February 09, 2002
KitMaker: 1,726 posts
Armorama: 892 posts
Posted: Wednesday, January 30, 2013 - 11:24 AM UTC
Brutal? No way
The layout looks to be alright but it's really impossible to comment on any detail as the photos are so out of focus.
I think the colors (again, impossible to really see clearly) are too 'consentrated'
If you look at a real landscape the grass is not just green there are multiple shades interspirsed with dead and dying yellows and tans. The same with trees, shrubs etc.
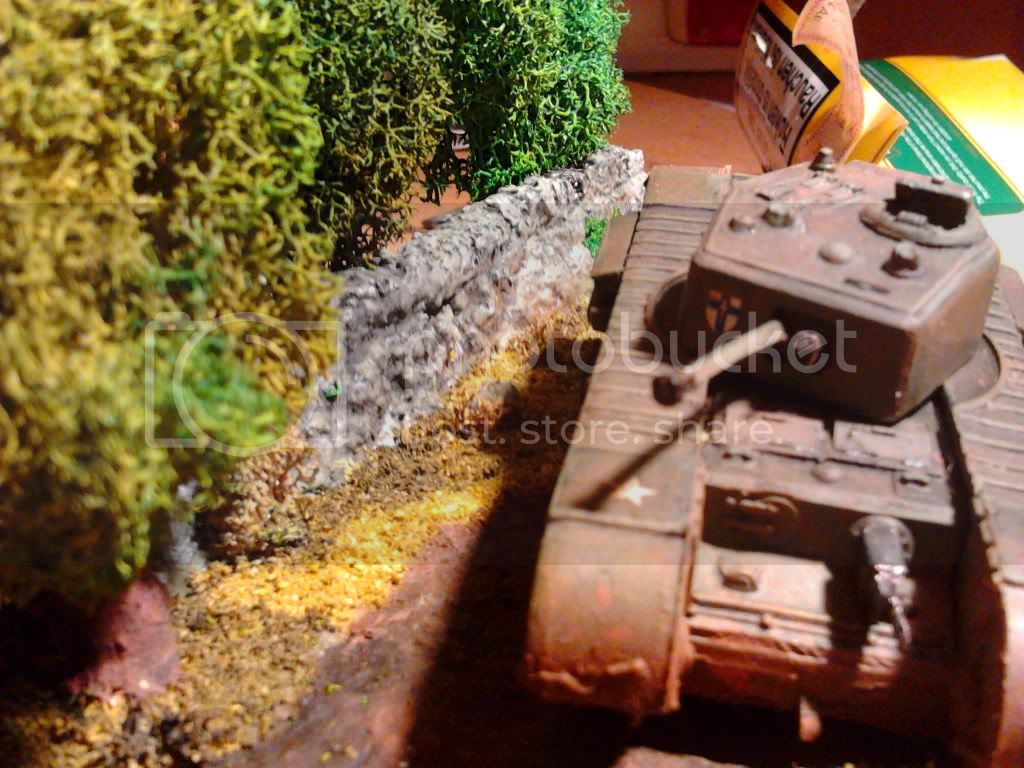
impossible to comment on the rock wall as there are no real shots of it....mostly blocked from view by the tank.
Please post clearer photographs.
It is spelled "Diorama" not diarama
The layout looks to be alright but it's really impossible to comment on any detail as the photos are so out of focus.
I think the colors (again, impossible to really see clearly) are too 'consentrated'
If you look at a real landscape the grass is not just green there are multiple shades interspirsed with dead and dying yellows and tans. The same with trees, shrubs etc.
impossible to comment on the rock wall as there are no real shots of it....mostly blocked from view by the tank.
Please post clearer photographs.
It is spelled "Diorama" not diarama

spoons

Joined: January 09, 2008
KitMaker: 527 posts
Armorama: 500 posts

Posted: Wednesday, January 30, 2013 - 12:01 PM UTC
Dont forget when using most auto focus cameras or smart phones,if you get close to the object(model)it will go into
macro mode (close up) and the camera,phone will need to be mounted on a tripod or held very steady againt a table etc to get good focus.
macro mode (close up) and the camera,phone will need to be mounted on a tripod or held very steady againt a table etc to get good focus.

SdAufKla
Joined: May 07, 2010
KitMaker: 2,238 posts
Armorama: 2,158 posts

Posted: Wednesday, January 30, 2013 - 01:00 PM UTC
In so far as the diorama goes, the construction looks quite nice for a first try. The raw edges of the foam detract a bit, in my opinion. Next time you could fill and smooth those edges using plaster or wall compound and painted.
My main suggestion would be to consider your composition a little more and use a simple mock-up to test out your ideas before you commit to building the scene.
Since this scene seems to be just concentrated the tank, the space to the front and rear pulls the viewer's eyes away from your subject (the tank).
FWIW, I think that the entire presentation would be a bit more interesting if it was actually smaller so that the viewer's attention was focused. The trees and wall create an effective back-drop, but one thing to consider is that they also block the viewer's lines of sight from the that side, so if you wanted to show the subject 360 degrees, the back-drop might not work to your advantage.
Keep in mind that the viewer will look at everything that you put in the entire presentation, so you can't just put all the effort into the terrain and model. The edges of the base and the overall composition will influence the viewer just as much as the rest of the build.
My .02 since you asked.
gavcarter
Joined: January 21, 2013
KitMaker: 45 posts
Armorama: 43 posts
Posted: Wednesday, January 30, 2013 - 02:32 PM UTC


gavcarter
Joined: January 21, 2013
KitMaker: 45 posts
Armorama: 43 posts
Posted: Wednesday, January 30, 2013 - 02:36 PM UTC
Ok i messed about with my phone the camera window had dirt inside so it wouldnt focus, a jewellers loupe held against the camera lens gives some interesting close ups.
Regards Gavin
Regards Gavin

panzerman1
Joined: September 30, 2010
KitMaker: 430 posts
Armorama: 291 posts
Posted: Wednesday, January 30, 2013 - 08:15 PM UTC
Good first effort Gavin. What I think would help is adding some infantry following the tank. Also a tank commander peaking out the hatch would be more visually interesting. Finally, add some debris of war...oil drums, gas cans, & crates along the road edges. More detailing is the ticket.
Hope this helps you some. Have FUN. Bill.
Hope this helps you some. Have FUN. Bill.
gavcarter
Joined: January 21, 2013
KitMaker: 45 posts
Armorama: 43 posts
Posted: Monday, February 04, 2013 - 11:50 AM UTC
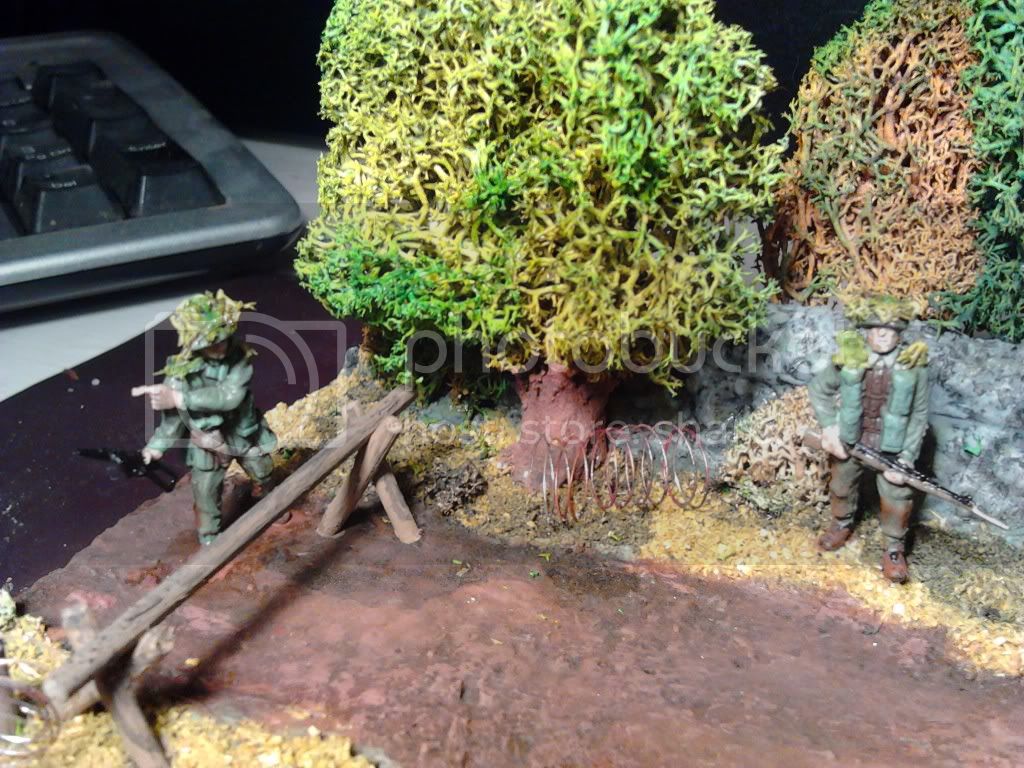
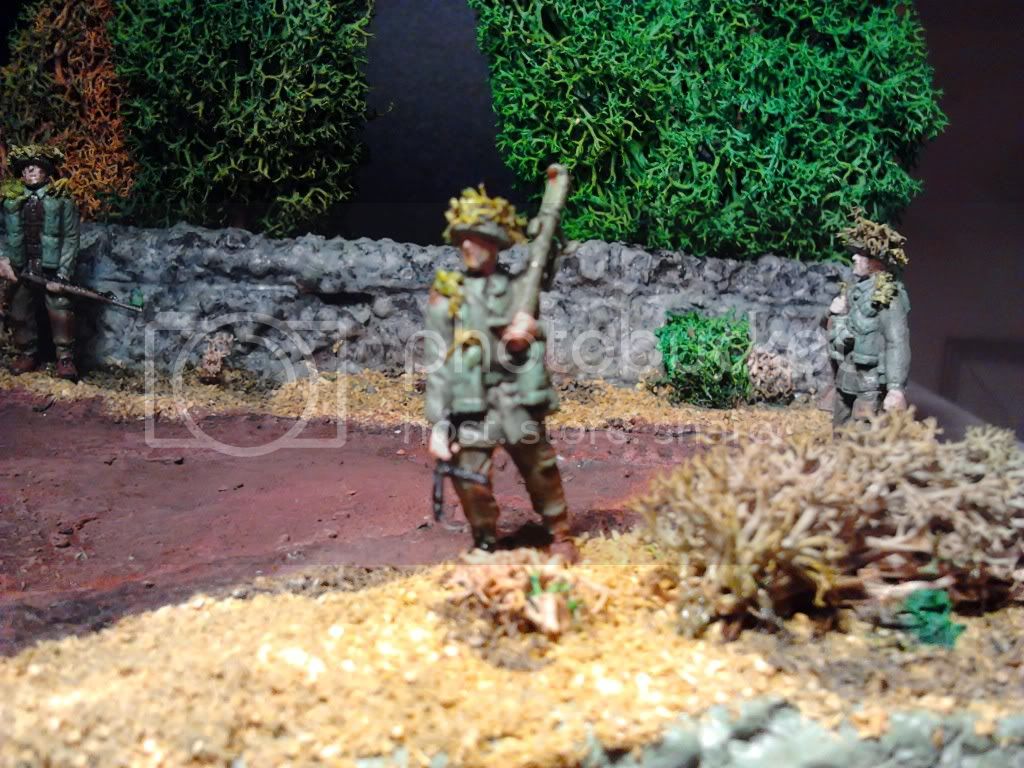
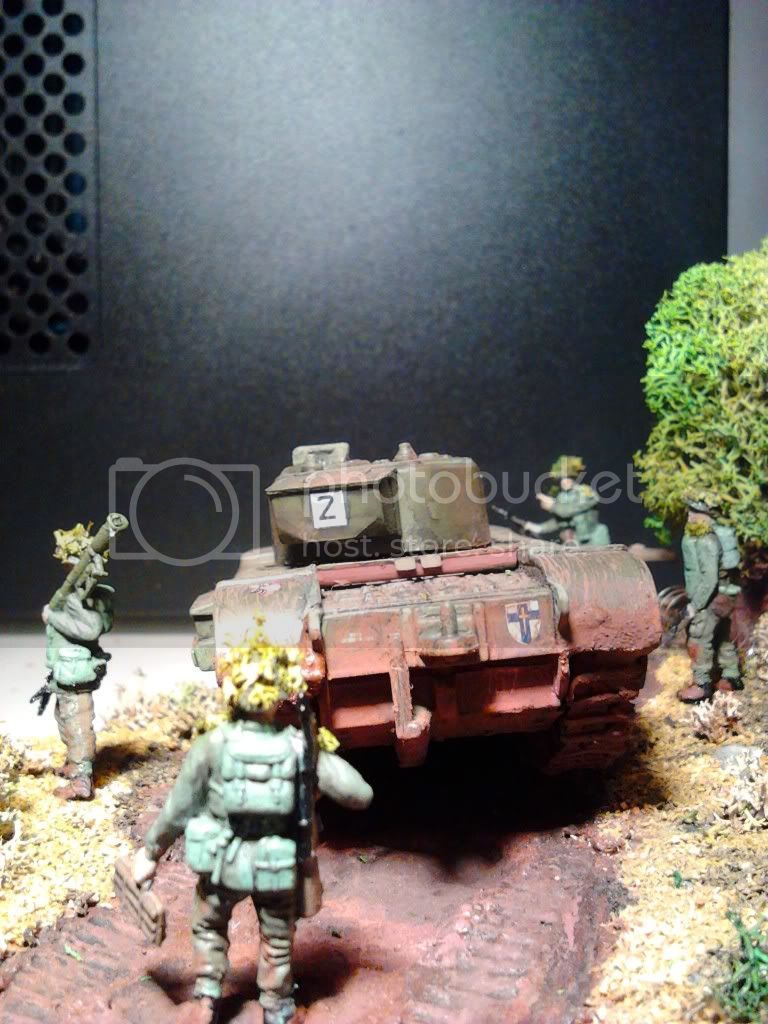
Small update, picked myself up revell british infantry, i have no revell paints or none of the humbrol equivalents so i mixed all the colours from artists acrylics. Any feedback on colour is appreciated and hints and tips for finishing. I am new to all this so looking realistic is taking priority over historocal accuracy but they still need to look ok. Ive got some barbed wire to finish painting too and ill take more pics when thats done.
Figures are just blocked in for now and will start tidy up and detail tommorrow, this is the bit i am intrested in advice for.


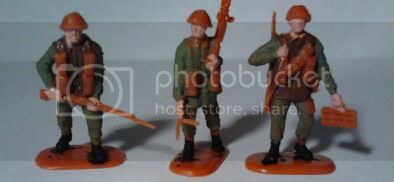
Figures are just blocked in for now and will start tidy up and detail tommorrow, this is the bit i am intrested in advice for.
gavcarter
Joined: January 21, 2013
KitMaker: 45 posts
Armorama: 43 posts
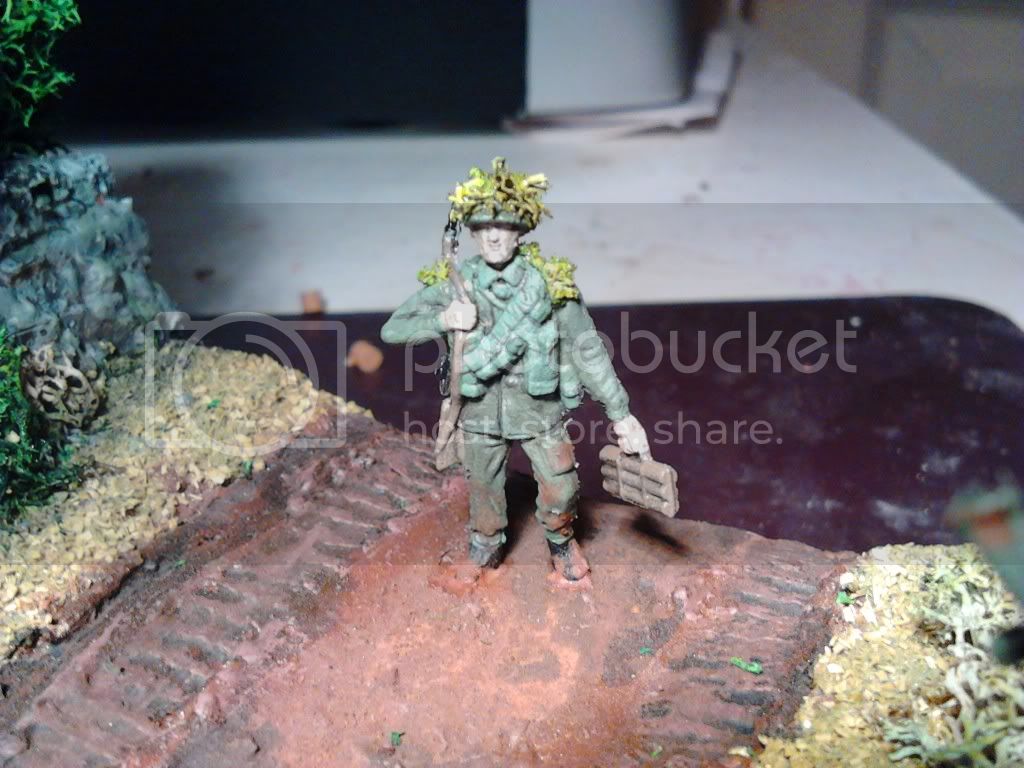
Posted: Monday, February 04, 2013 - 12:03 PM UTC
I dont know why the hnds and faces look so bumpy it could be t the brown showing through under the bright light but they need another coat anyway so ill check tommorrow.
CReading
#001
Joined: February 09, 2002
KitMaker: 1,726 posts
Armorama: 892 posts
Posted: Tuesday, February 05, 2013 - 02:58 AM UTC
Gavin,
It looks as if (and this is odd to describe) you are brushing over an already painted area too soon before the first coat is fully dried. That second pass with the brush is 'lifting' the semi dry first coat. Not sure if that's the case but is sorta looks like it.
Try applying the paint to the faces (thinned to water consistency) in one quick pass. Let the paint thoroughly dry. Repeat the process until the paint color covers everything. It's relatively slow to do but it builds up very thin coats so the detail isn't lost. If you painted the faces on all the figures this way by the time you'd finished the last figure the first one would be ready for it's second coat.
There are several good articles on figure painting (specifically faces) on this site.
Cheers,
C.
gavcarter
Joined: January 21, 2013
KitMaker: 45 posts
Armorama: 43 posts
Posted: Tuesday, February 05, 2013 - 03:05 AM UTC
The hands and faces have only had one coat, i check the
m tonight but im sure they are not lumpy like they appear.
m tonight but im sure they are not lumpy like they appear.
CameronForester
Joined: January 11, 2012
KitMaker: 37 posts
Armorama: 36 posts
Posted: Tuesday, February 05, 2013 - 03:25 AM UTC
The texture to the hands and face may be due to the paint drying too quickly if you only applied one coat. When you brush paint, you're inevitably going to overlap strokes and if it starts to dry too quickly, you will start lifting paint. I'm not sure what to use to fix the problem. I typically use Vallejo paints for figures and don't have the problem.
Overall, the diorama looks pretty good. If you have an airbrush, you might consider airbrushing a little lighter green in spots on the tree on the far right. The foliage looks a little too monotone to me. It won't need much, just mist it on in spots.
Overall, the diorama looks pretty good. If you have an airbrush, you might consider airbrushing a little lighter green in spots on the tree on the far right. The foliage looks a little too monotone to me. It won't need much, just mist it on in spots.
gavcarter
Joined: January 21, 2013
KitMaker: 45 posts
Armorama: 43 posts
Posted: Tuesday, February 05, 2013 - 09:54 AM UTC
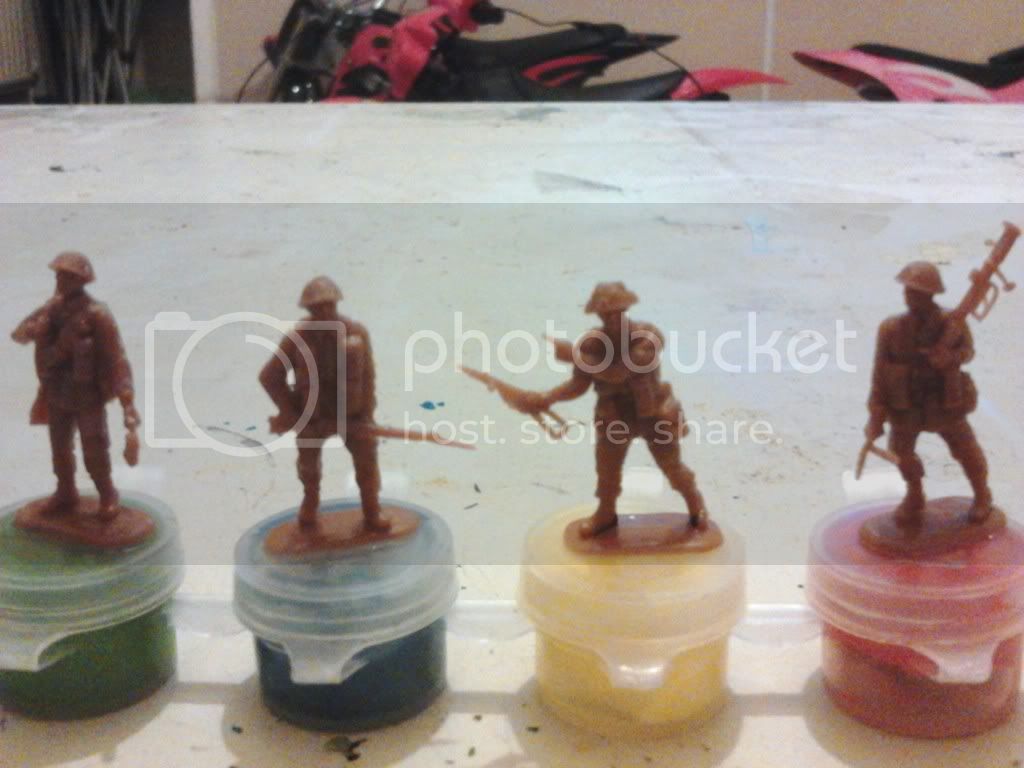 Bit of a set back tonight and a lesson learned primer primer primer primer!! Tried to do some more painting tonight and it was peeling of the first coat even handling the figures removed paint so they all had a scrub and got glued to some very cheap acrylic pots ready for me to buy some primer

gavcarter
Joined: January 21, 2013
KitMaker: 45 posts
Armorama: 43 posts
Posted: Wednesday, February 06, 2013 - 10:45 AM UTC
gave the figures a coat of halfords primer this morning and got the main colourss painted in tonight on awaiting some matt and clear coats in the post and i will give the figures a coat of gloss before i start detailing and dry brushing etc should give me a bit of room for error and time to w8pe off anything i dont like
gavcarter
Joined: January 21, 2013
KitMaker: 45 posts
Armorama: 43 posts
Posted: Saturday, February 09, 2013 - 08:16 AM UTC
got some time in tonight with the figures and finised the barbed wire etc. let me know what you think about it. The tank was removed for some pics of

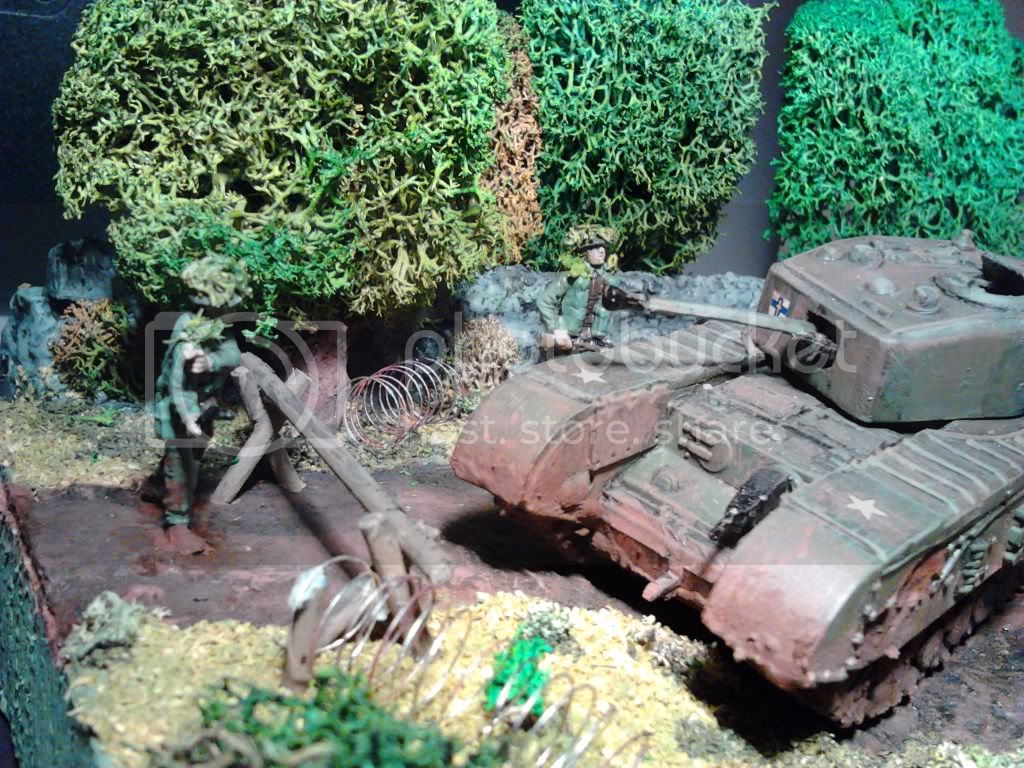

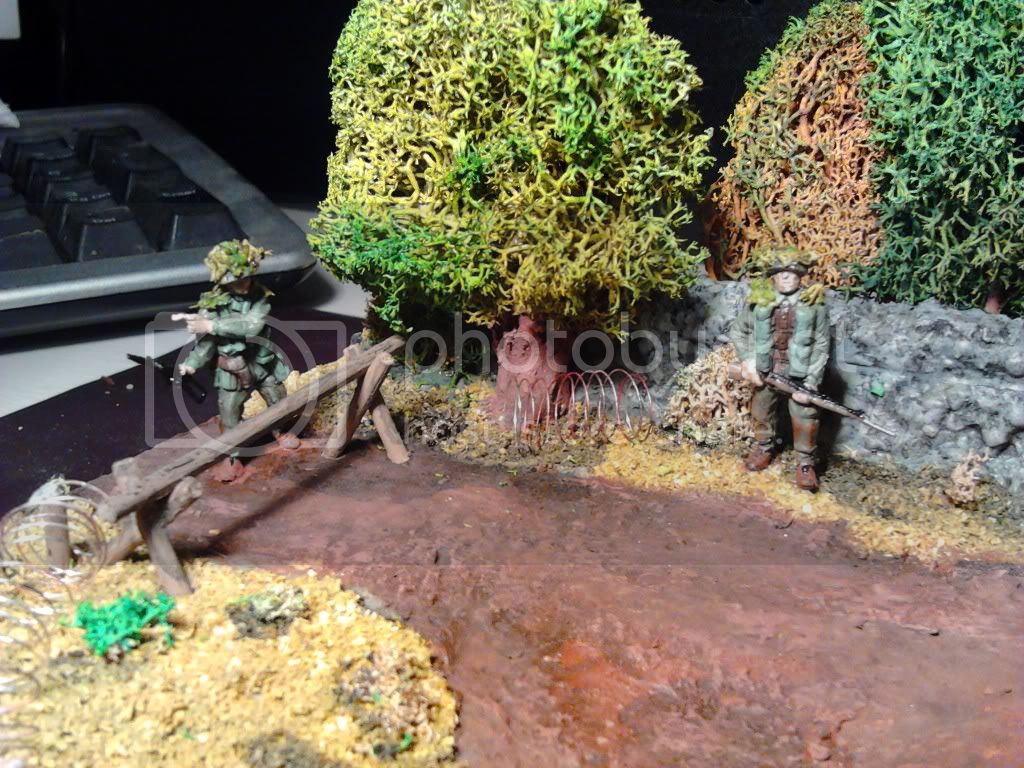


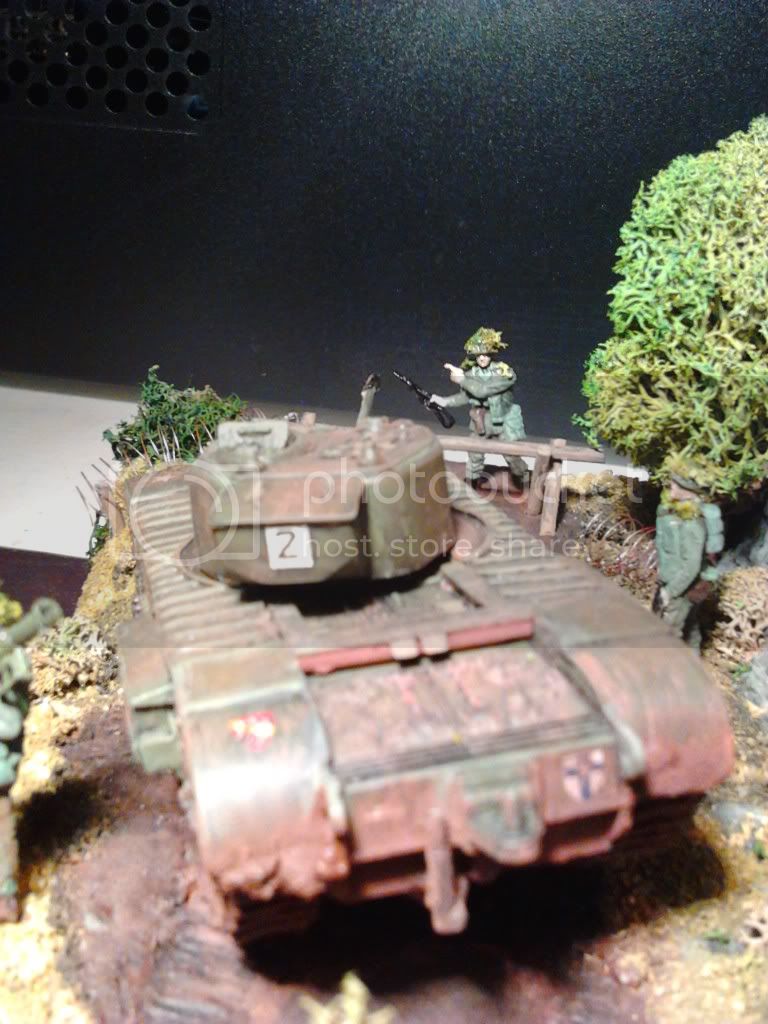
 the figuees.
the figuees.
Pytagoras

Joined: December 03, 2012
KitMaker: 300 posts
Armorama: 285 posts
Posted: Saturday, February 09, 2013 - 10:16 AM UTC
I think it looks good for your first diorama. Didn't notice that it was 1:72 scale at first. Nice details on the helmets and uniforms. The trees look a bit alien. Are they lichen?
gavcarter
Joined: January 21, 2013
KitMaker: 45 posts
Armorama: 43 posts
Posted: Saturday, February 09, 2013 - 10:44 AM UTC
Quoted Text
I think it looks good for your first diorama. Didn't notice that it was 1:72 scale at first. Nice details on the helmets and uniforms. The trees look a bit alien. Are they lichen?
no they are some old railway trees i got off my dad, they must be 35 years old at least lol, they smell kinda like ammonia and are in big clumps that i just tore ip and fashioned trunks for, bushes are from same stuff. The grass was some fine sawdust that is probably meant to be track ballast lol


tankglasgow

Joined: October 04, 2010
KitMaker: 275 posts
Armorama: 260 posts

Posted: Saturday, February 09, 2013 - 11:57 AM UTC
Great stuff Gavin, you should be proud, figures give it a whole new level of interest. Keep it up.
gavcarter
Joined: January 21, 2013
KitMaker: 45 posts
Armorama: 43 posts
Posted: Saturday, February 09, 2013 - 12:18 PM UTC
I was thinking of adding a bit of debris, barrels or crates or some thing a tank commander, if he will fit i think the tank is 1/76 and maybe tidy the sides up and then see how it looks. P.S the glue and mud aroundthe boots is srill wet hence it looks lighter than the terrain.
 |

WEB HOSTING BY


Copyright ©2021 Armorama and Kitmaker Network, a subsidiary of Silver Star Enterprises
All Rights Reserved. Please read our Conditions of Use and Privacy Policy.
All Rights Reserved. Please read our Conditions of Use and Privacy Policy.