_GOTOBOTTOM
Яusso-Soviэt Forum: Cold War Soviet Armor
For discussions related to cold war era Russo-Soviet armor.
SA-6 KUB correction set from SP-Designs
Jacques
Visit this Community
Minnesota, United States
Joined: March 04, 2003
KitMaker: 4,630 posts
Armorama: 4,498 posts
Posted: Tuesday, April 16, 2013 - 09:44 AM UTC
NO! I mean . (But I really mean ) Sorry.


Quoted Text

thanks guys, now I can scrap my almost finnished model in the bin


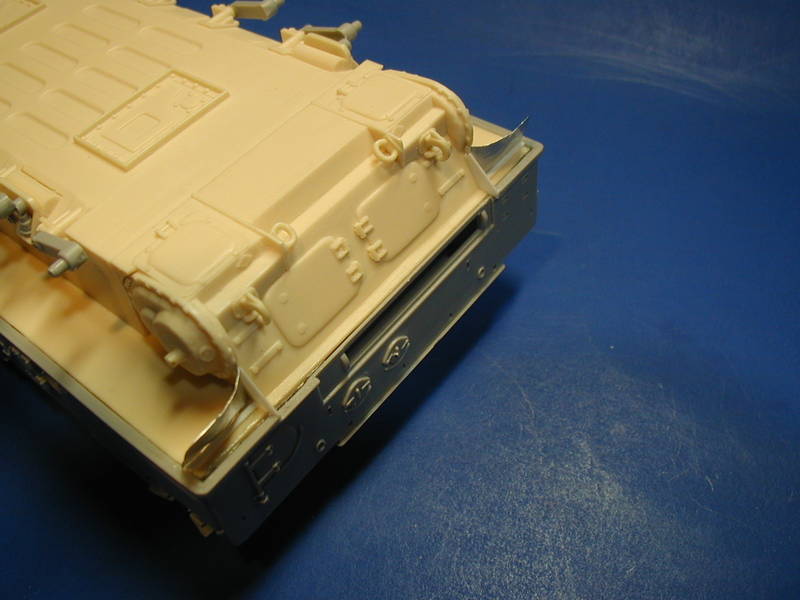
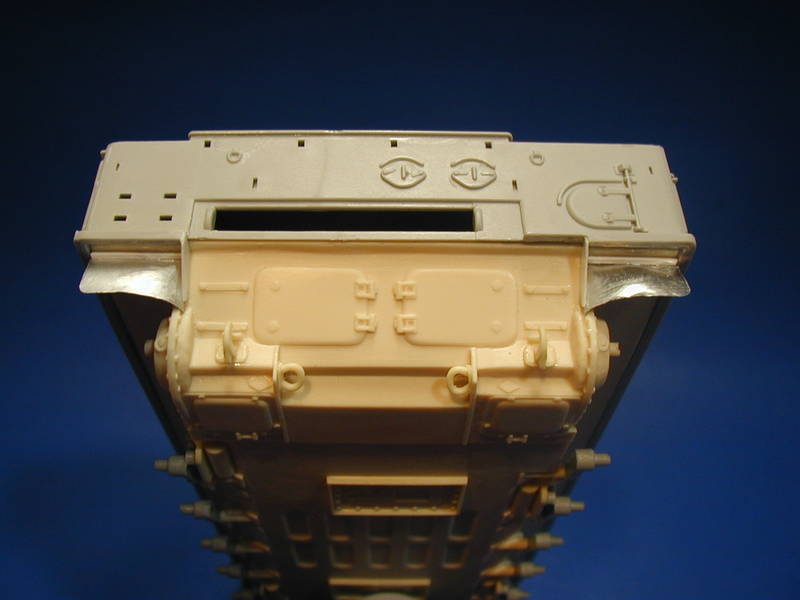
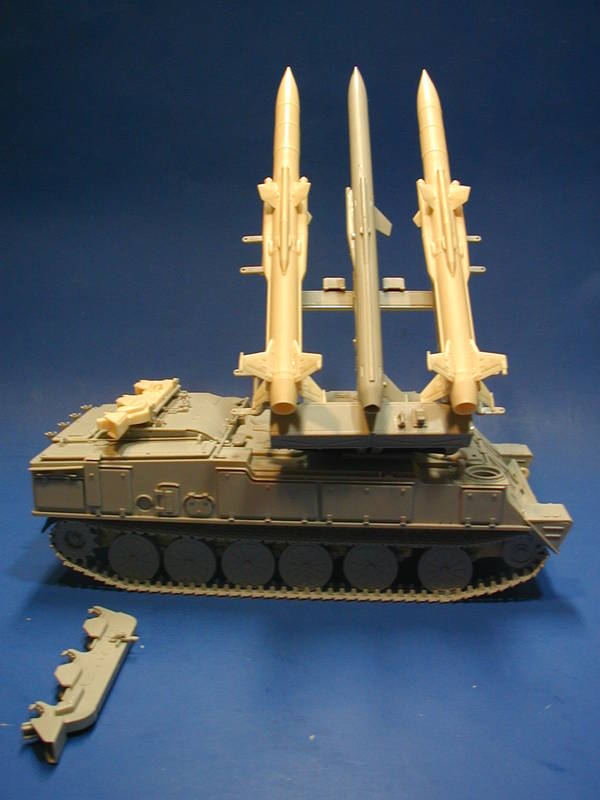
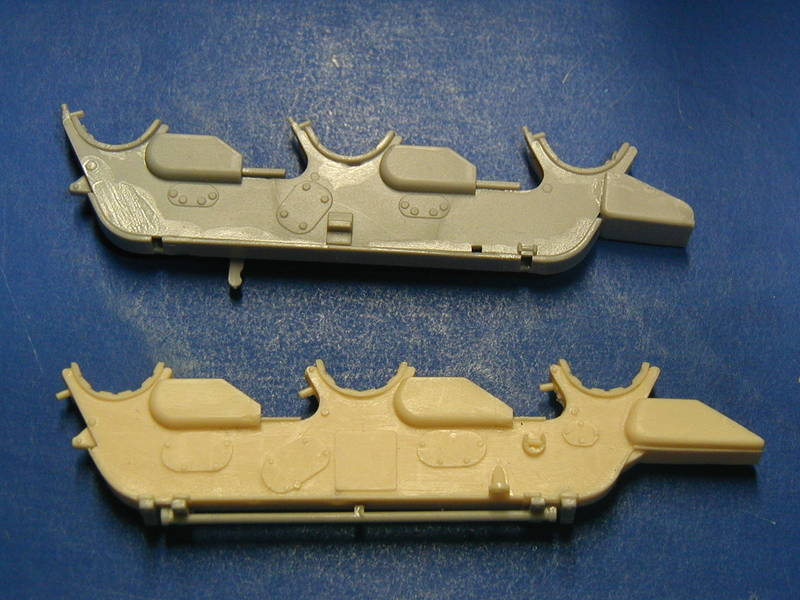
Well, it took a while but it really does improve the kit BUT ONLY if you care for this level of accurate. Not everyone needs to go to these lengths...just the missiles are really the only noticeable thing OOB.

That said here is a EXCELLENT walkaround that shows the vehicle well.

I will be posting some pics of improvements and slight changes shortly.
jointhepit
Visit this Community
Oost-Vlaanderen, Belgium
Joined: May 14, 2006
KitMaker: 3,829 posts
Armorama: 881 posts
Posted: Tuesday, April 16, 2013 - 09:57 AM UTC

and that's taking me for ever to finnish,still reluctant to buy AM,hope I manage to make them myself,and if all fails,I now know there are 2 options for the problem
greetz

Jacques
Visit this Community
Minnesota, United States
Joined: March 04, 2003
KitMaker: 4,630 posts
Armorama: 4,498 posts
Posted: Wednesday, April 17, 2013 - 03:53 AM UTC
For the lower hull...the lower hull rear plate is a LOT closer to the rear of the underside, like on the real vehicle:


So, parts C55/C56 (the rear mudguards) and B11 will not work as designed any more. Part B11 can be used if modified, but they are pretty thick. I made some new pieces from thin sheet styrene:


This is not prefect, but it is a LOT better.
Jacques
Visit this Community
Minnesota, United States
Joined: March 04, 2003
KitMaker: 4,630 posts
Armorama: 4,498 posts
Posted: Wednesday, April 17, 2013 - 08:56 AM UTC
Ok, now for the launch rail complex. All discussion about the real thing first.

1. Those hoses on the back are a bit of a pain, needing to be a spring over a vinyl hose to replicate the corrugated hoses used on the real thing.


2. The model builds up with the launcher meant to be in transport mode just because of the way the piece lay out. Here is a side view showing this:


So the kit has the "missile electric hookup line disconnectors" in the DOWN position:


And one without missiles...


so if you put those missiles up in the air, you can have them NEARLY ready to fire, as the kit provides or else you need to rebuild them or get the HAD pieces to put the disconnects up at the level they need to be:


Jacques
Visit this Community
Minnesota, United States
Joined: March 04, 2003
KitMaker: 4,630 posts
Armorama: 4,498 posts
Posted: Thursday, April 18, 2013 - 03:11 AM UTC
Considering this:


and I was not terribly happy with parts C43 and C41 anyhow (those underside openings look bad) I decided to do a quick fix:


Here is a shot of the back of the launcher. I have not attached the "hoses" yet until I decide how I want to post the launcher...pre-launch or mobile.


Another part that needs to be addressed with putty, the underside of the launch rails:


Jacques
Visit this Community
Minnesota, United States
Joined: March 04, 2003
KitMaker: 4,630 posts
Armorama: 4,498 posts
Posted: Thursday, April 18, 2013 - 03:47 AM UTC
I have had a couple of inquiries as to how to remove the tow shackle hooks from their casting blocks that does not involve sanding it down. Here is what I do. I use only a pair of nippers (side cutting) and a flat file:


I also cut the parts/blocks into individual pieces to get started:


I first nip off any material around the edge of the base attached to the casting block. Be careful not to cut off any of the kit part.


Once the sides are cleaned up, I CAREFULLY work at the plug on the bottom. This takes a bit more patience and care. Did I say take care? I meant it. However, it allows you to clean up almost all of the plug. I think use my file to finish it up and done. None of the extra resin dust, a BIG plus, and you get to shoot bits of resin around like projectiles! Be careful, now that I said that, and you may want to wear eye protection.


Jacques
Visit this Community
Minnesota, United States
Joined: March 04, 2003
KitMaker: 4,630 posts
Armorama: 4,498 posts
Posted: Thursday, April 18, 2013 - 03:54 AM UTC
Results on the front lower hull...tow shackles and hard points


Now, as mentioned before, the kit rear mudguards will not fit right with the new lower hull. You can modify kit parts C55 and C56 but I decided to just build new foil mud flaps with a basic under-fender support. I used the kit piece as a guide for cutting out the foil and then added a styrene strip across the under side of the fender as a positive attachment point for the edge of the foil (top of the mud flap, if you will). I also had to make sure that the mud flaps did not interfere with the sprocket. I think it came out pretty good.


Remember to fill in the location hole on the lower hull where the kit fenders attach if you do not use them.

I hope that helps you keep going with your lower hull.
Jacques
Visit this Community
Minnesota, United States
Joined: March 04, 2003
KitMaker: 4,630 posts
Armorama: 4,498 posts
Posted: Tuesday, May 07, 2013 - 02:04 AM UTC
Ready for primer:


Notice the difference between the Trumpeter missile (gray) and the SP Designs missiles (tan)? I did not appreciate this until I placed them on the launcher side-by-side.

Differences between the kit supplied missile cradle and the SP Designs upgrade:


And the lower hull:


I have the kit tracks on both sides and I still had two individual tracks left over, so there are enough tracks for the corrected lower hull, as I mentioned earlier.
bison126
Visit this Community
Correze, France
Joined: June 10, 2004
KitMaker: 5,329 posts
Armorama: 5,204 posts
Posted: Tuesday, May 07, 2013 - 05:12 AM UTC
Great build Jacques. Isn't the missile size difference related to the fact that one is a live round while the other is only a training round?

Olivier
Jacques
Visit this Community
Minnesota, United States
Joined: March 04, 2003
KitMaker: 4,630 posts
Armorama: 4,498 posts
Posted: Tuesday, May 07, 2013 - 02:25 PM UTC
Olivier - while that is the "rumor", no one has ever been able to produce a picture of the missile Trumpeter included in the kit. I think they just messed up.
bison126
Visit this Community
Correze, France
Joined: June 10, 2004
KitMaker: 5,329 posts
Armorama: 5,204 posts
Posted: Tuesday, May 07, 2013 - 06:01 PM UTC
THanks Jacques. That's the problem with the Internet, when somebody states something it sometimes becomes true

Enjoy your VE-day.
Olivier
 _GOTOTOP