Quoted Text
I want this kit. Go ahead, please, I'm waiting .. 
If you like the look of this Erhan, you might like the sound of these other planned Zvezda releases in the same series: Iosef Stalin-2; T-90; King Tiger Ausf B; ISU-152; Topol Mobile Missile (that one looks like it will be big).
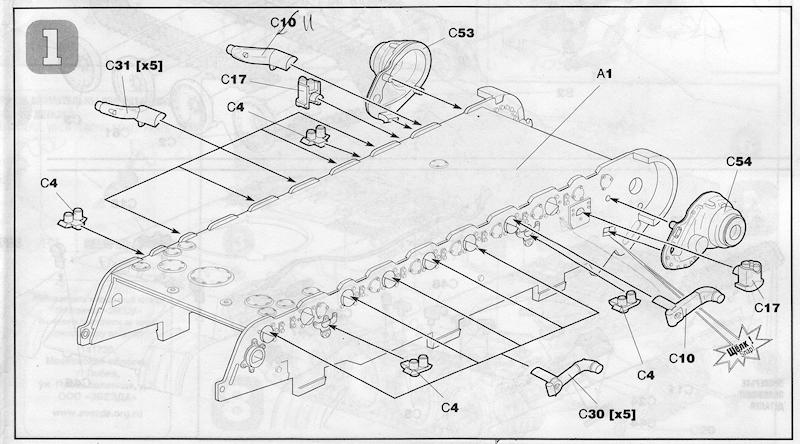
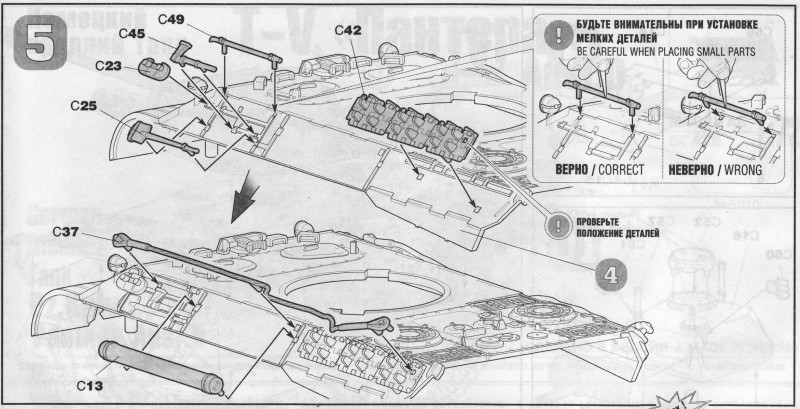
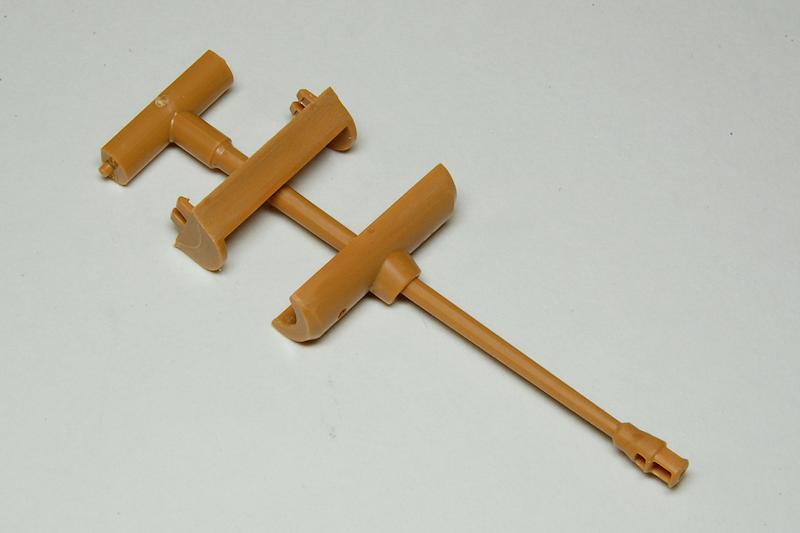
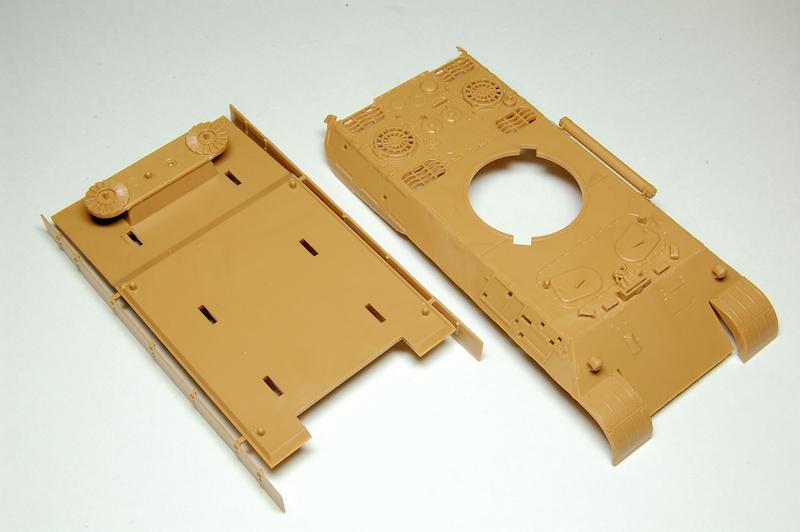
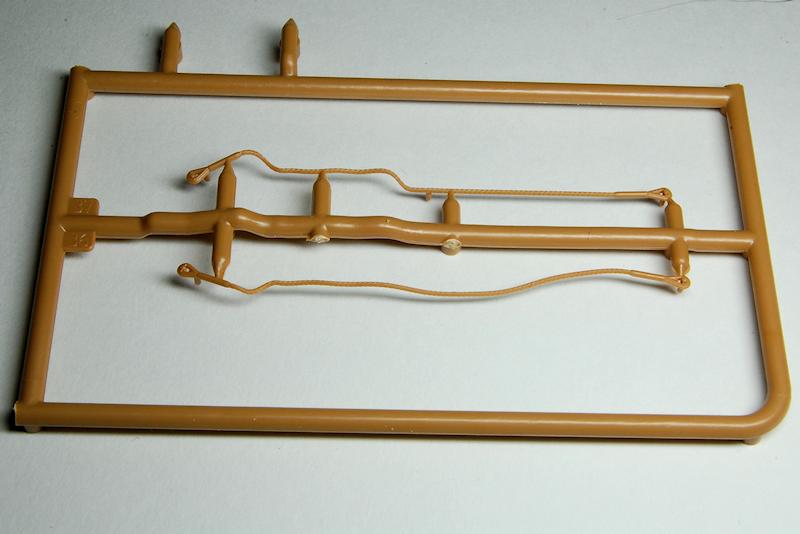
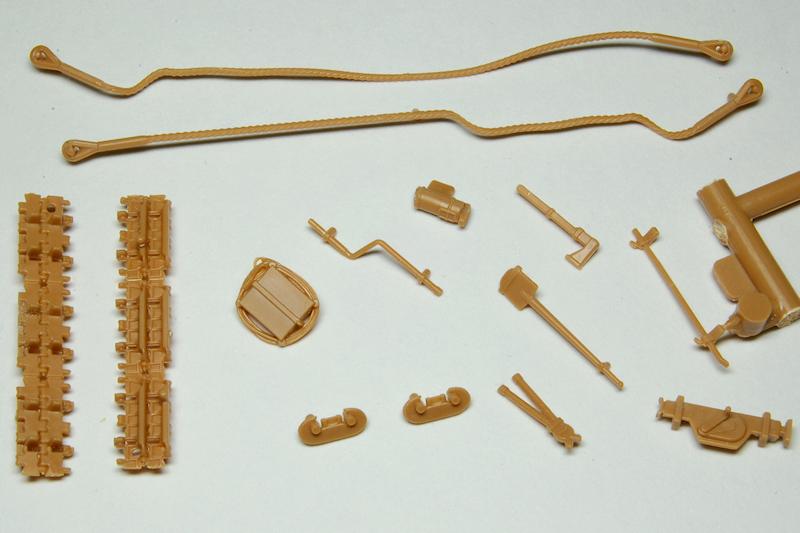
So getting the tools and details together
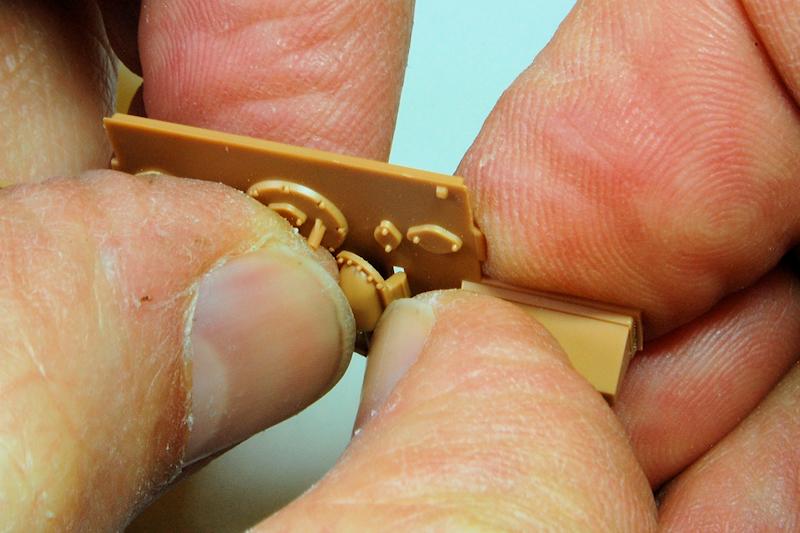
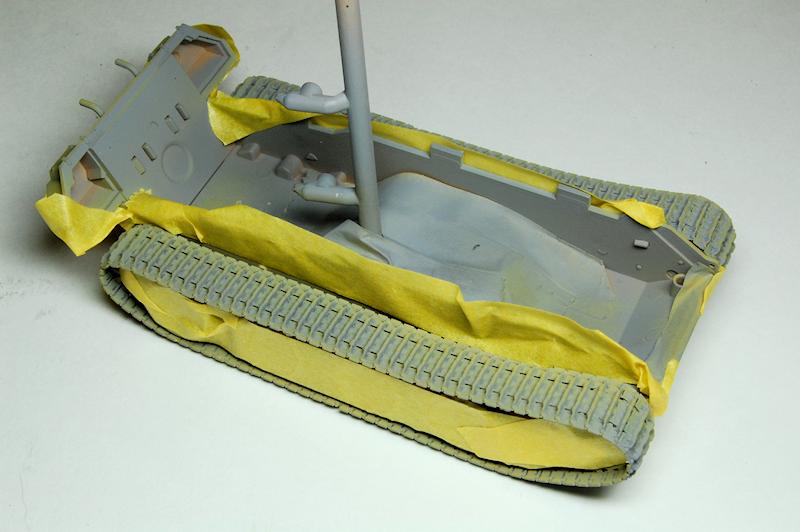
having had a few of these thin types of items snap before I tried to do most of the clean up with the parts still on the sprues, cutting the surrounding empty sprue to give better access:
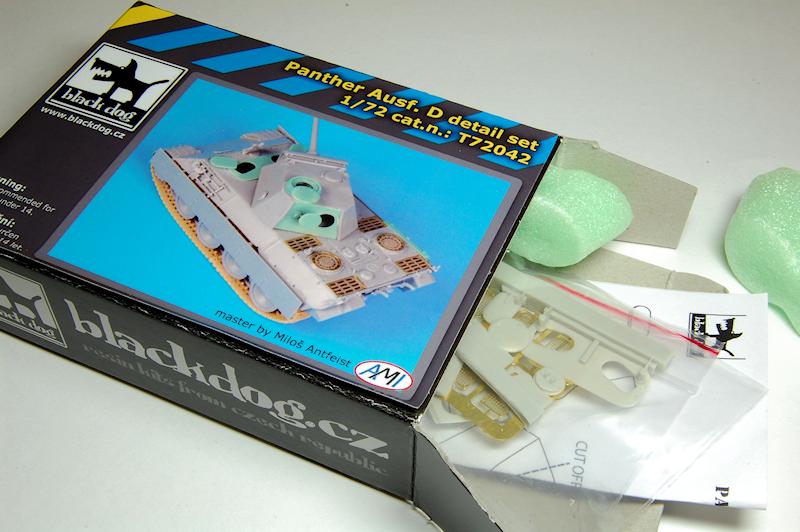
I said I was doing that before going to the paint shop, but then this arrived from Ebay:
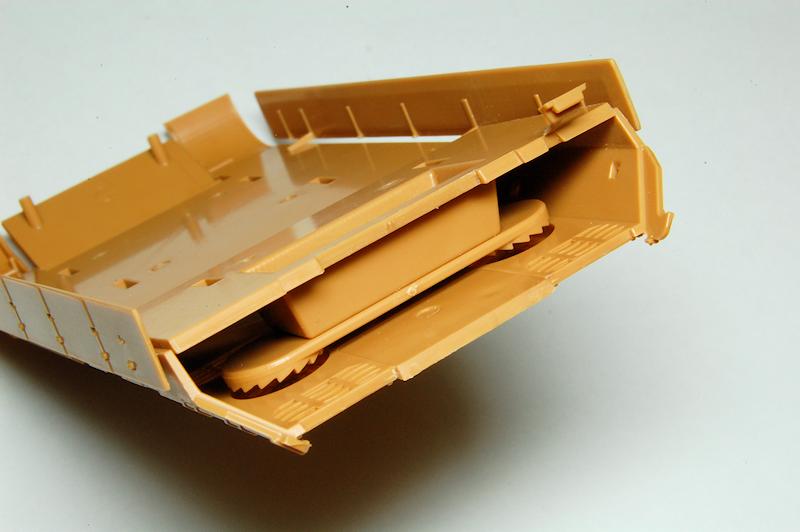
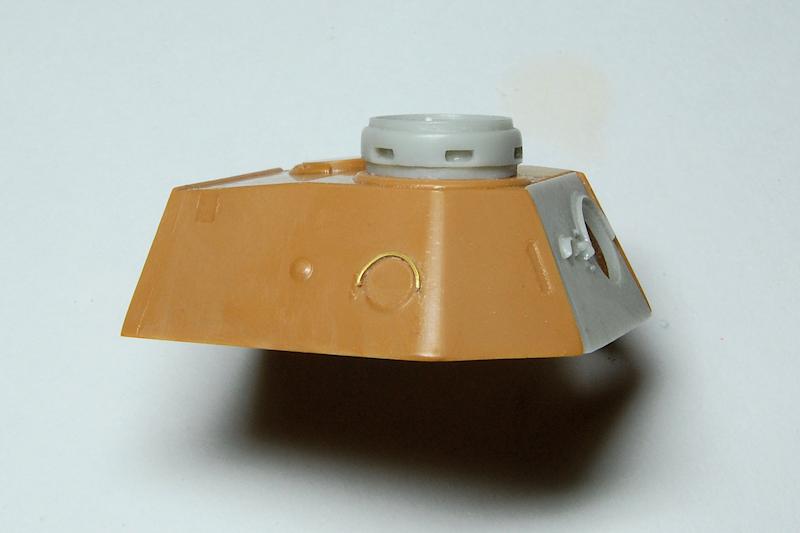
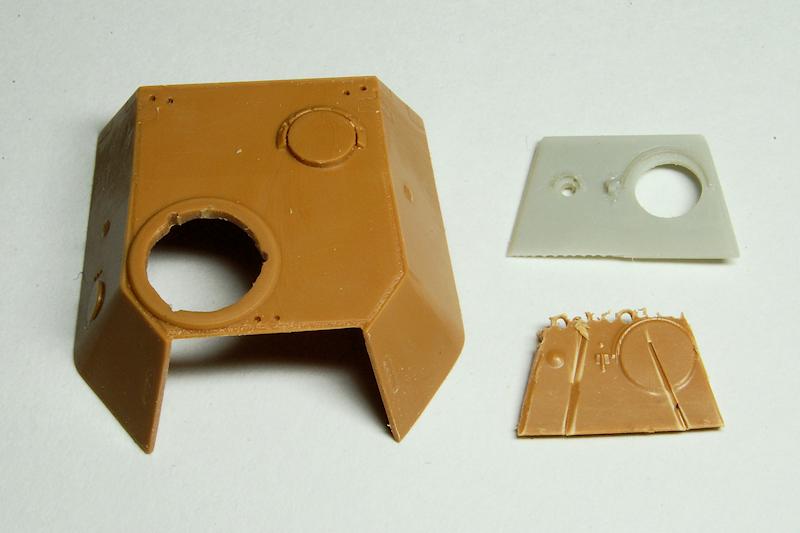
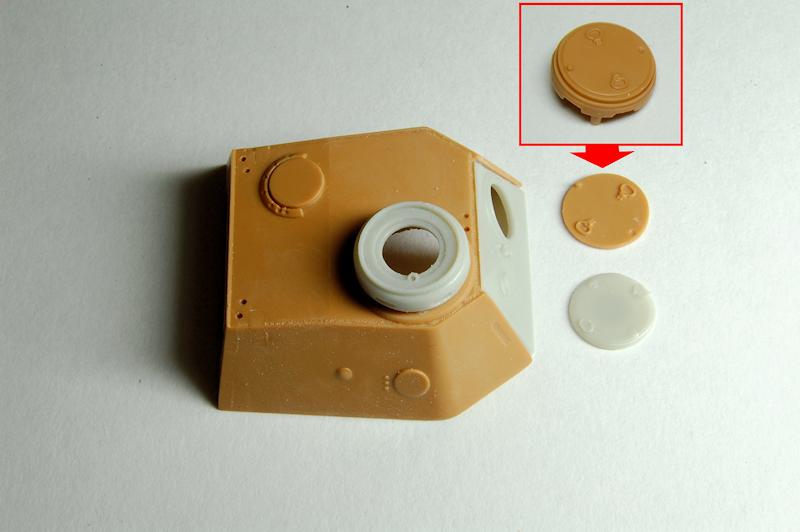
Why keep things simple just when construction was almost finished? Having used almost no glue on the model now reveals another advantage it can be taken apart again with very little difficulty. Cupola and hatch component pulls off the turret, here it is shown next to the replacement item:
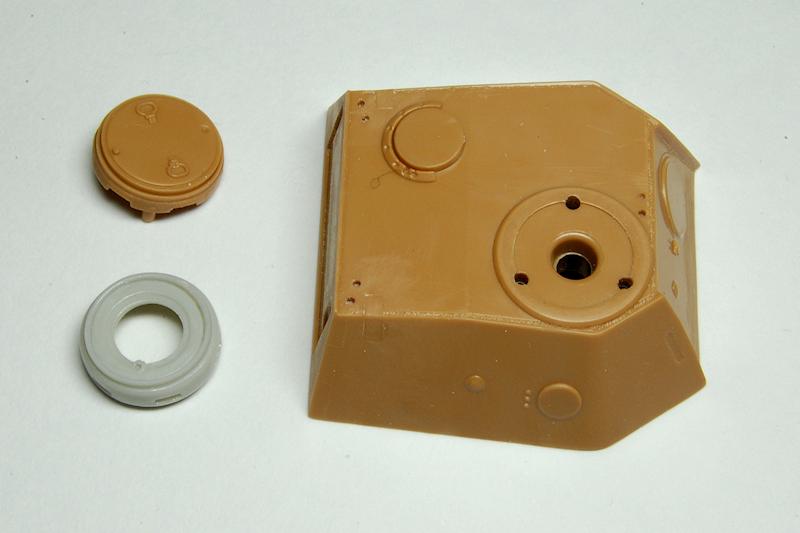
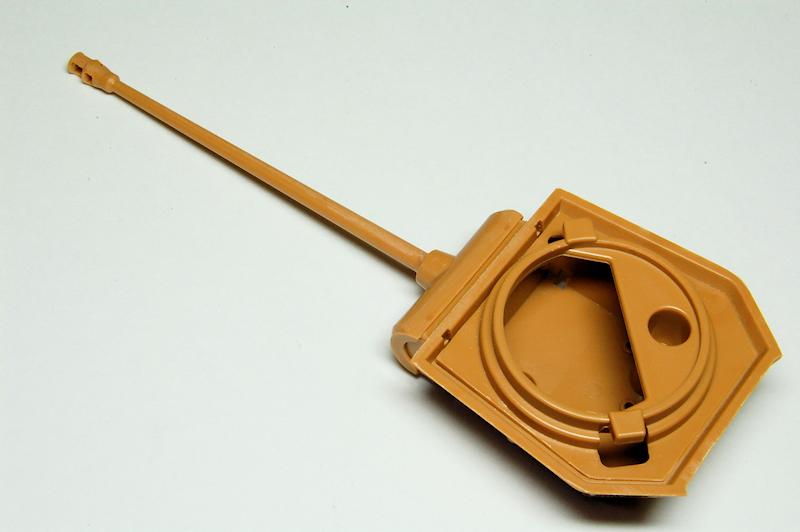
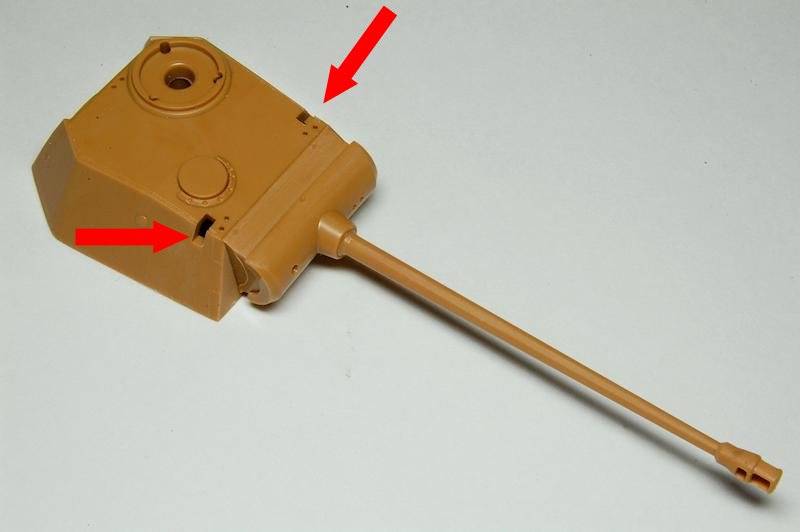
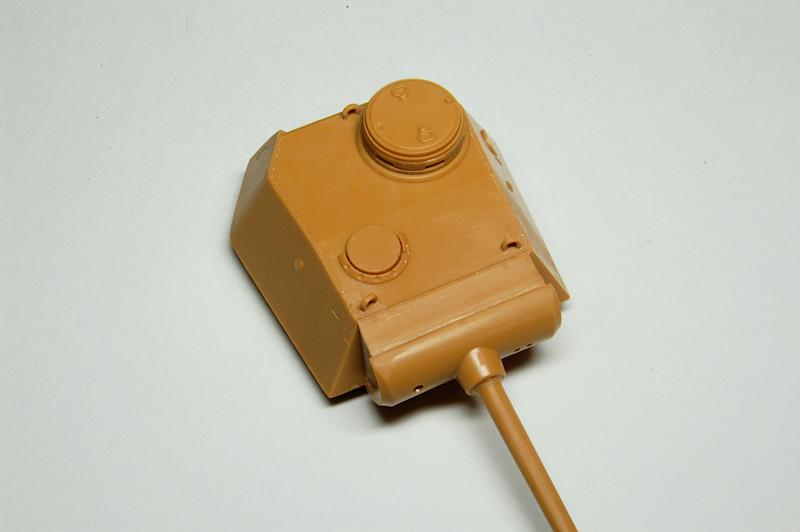
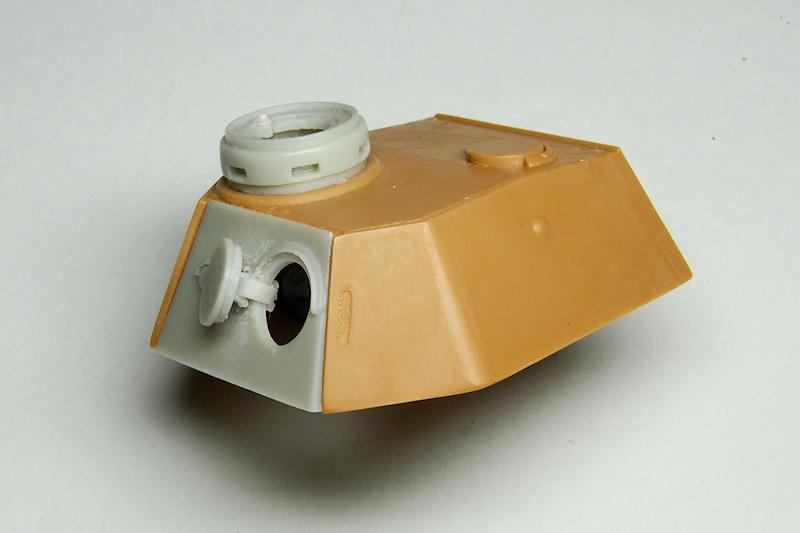
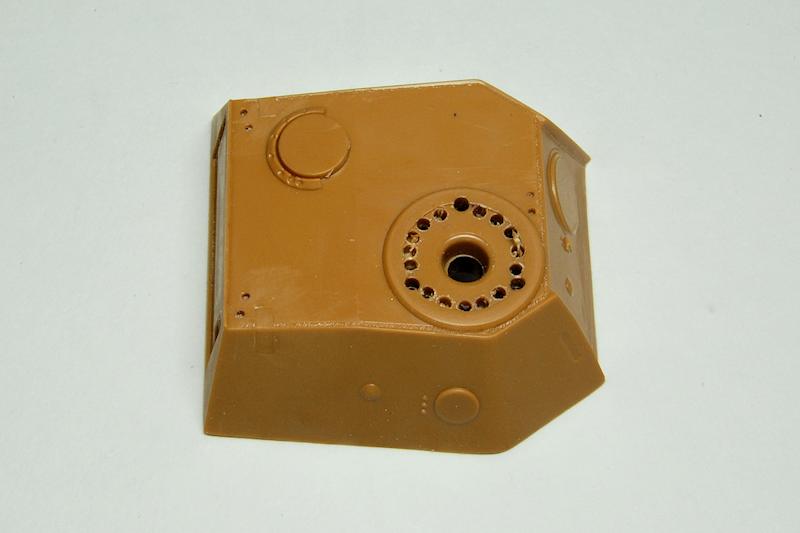
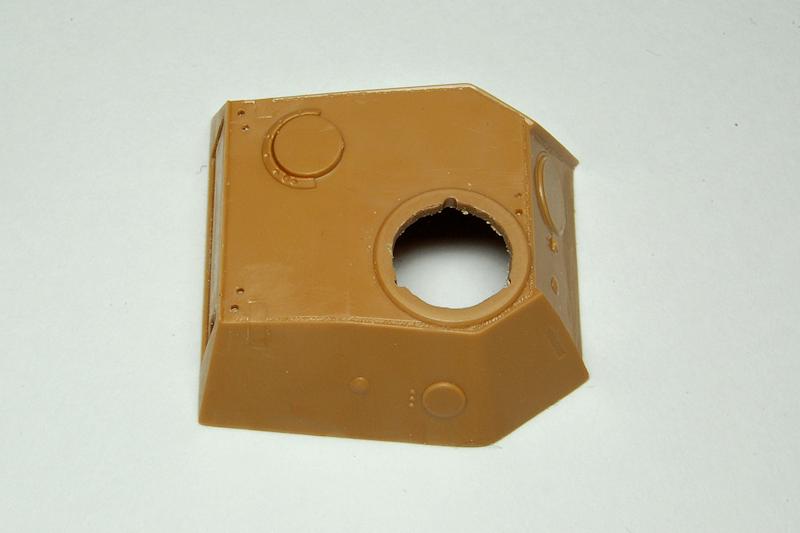
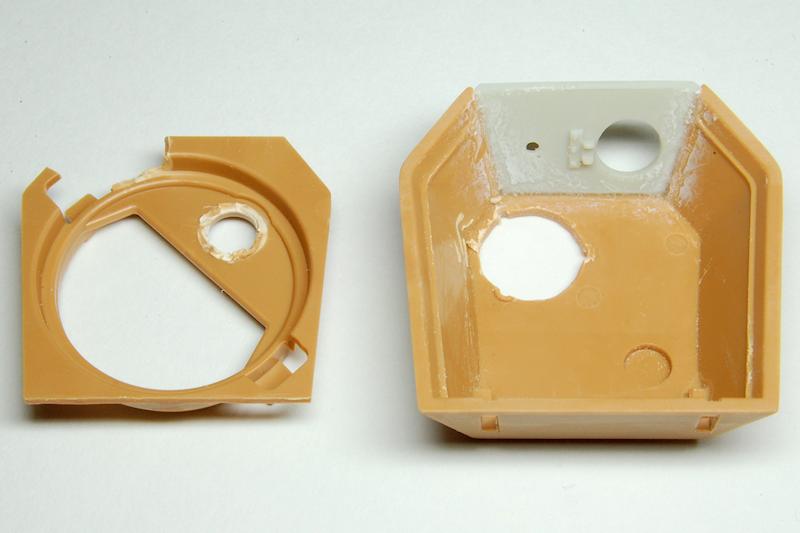
Nothing really wrong with the Zvezda item apart from it is one piece so cant be modelled open. The turret is designed with the single locating socket for the turret base right underneath the cupola, so that needs to be removed:
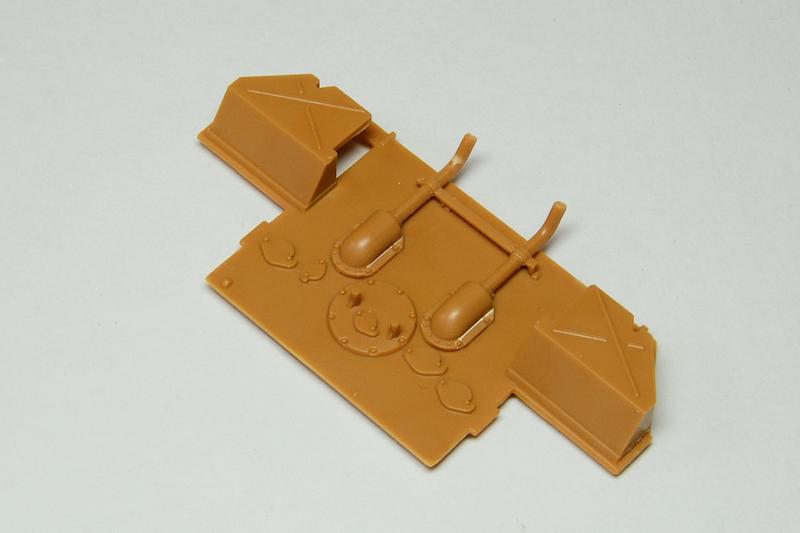
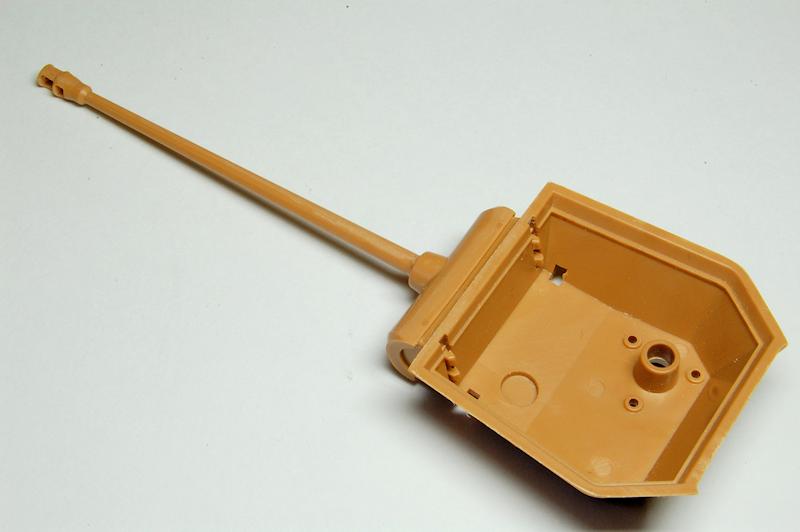
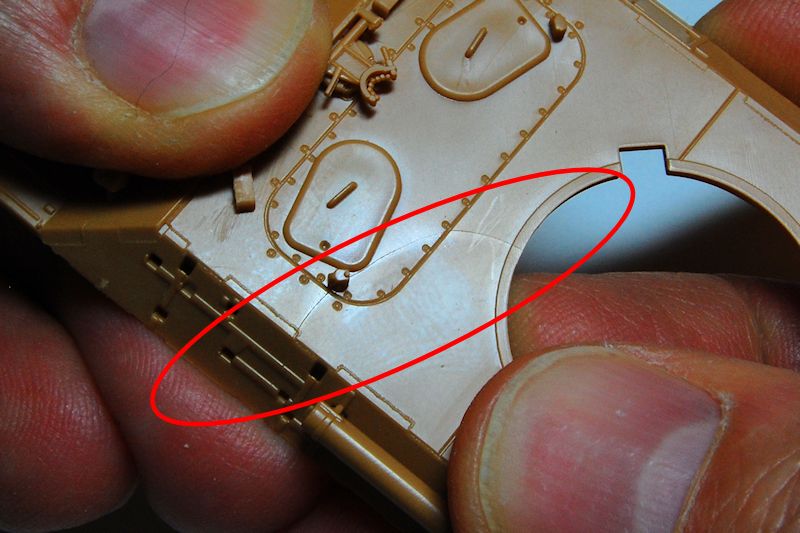
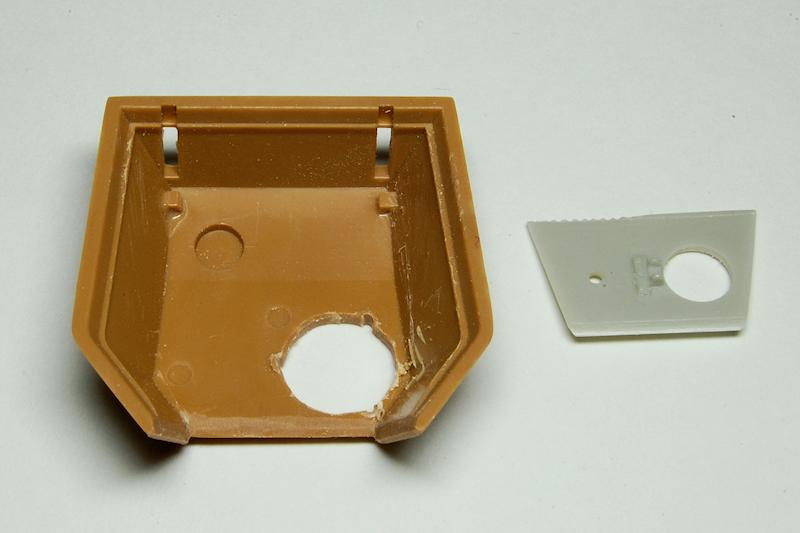
Theres also the turret back plate, again the Black Dog part allows the rear hatch to be modelled open and improves the detail a little by adding the rain strip around the top of the pistol port to the left of the hatch. So the back of the turret is cut out by snipping down the sides with sprue cutters (carefully, without splitting the plastic too far near the turret roof) and drilling across the top. The aperture is then filed back; the right profile needs to be achieved to enable the new part to fit properly, to provide the right appearance of the square cut edges of the turret side plates that curve around to the rear, and to get the plate to sit square at the base:
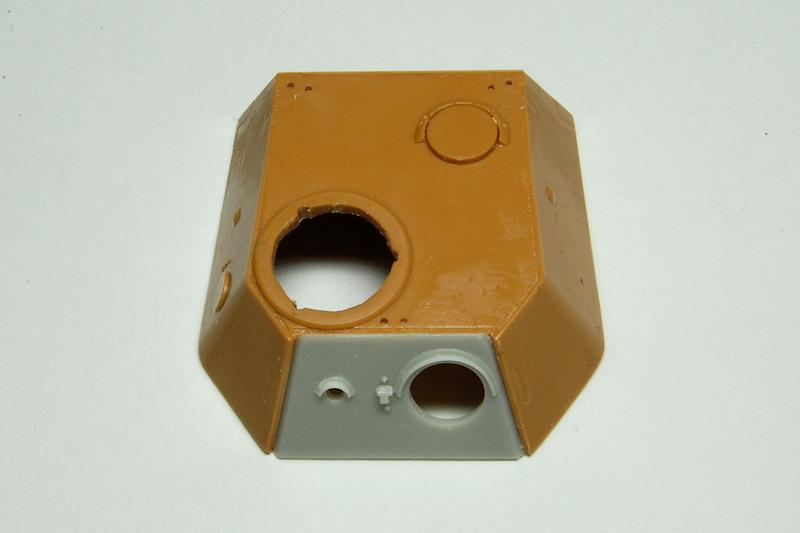
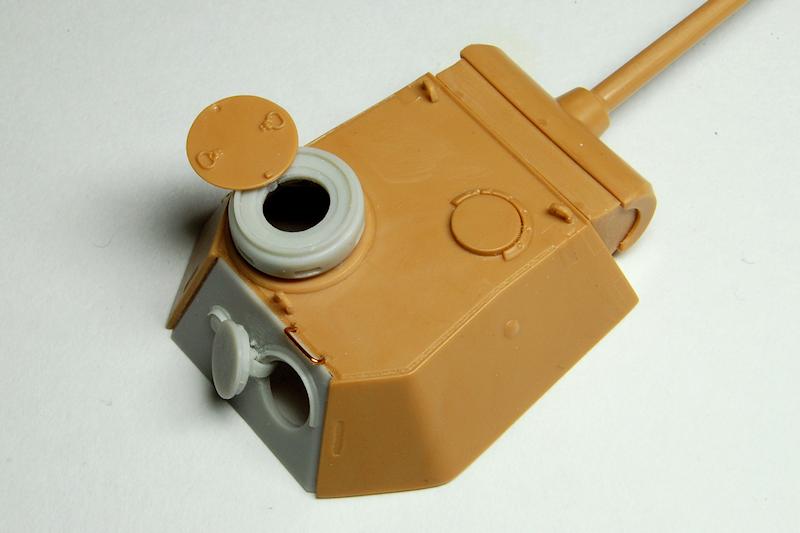
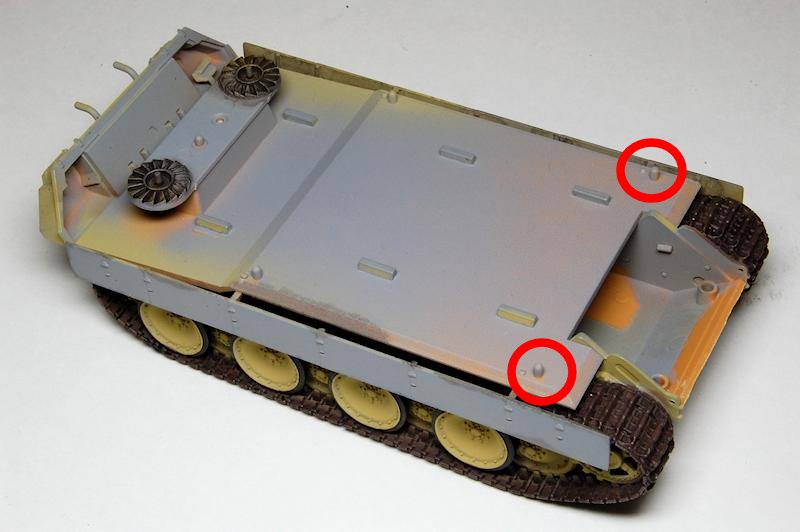
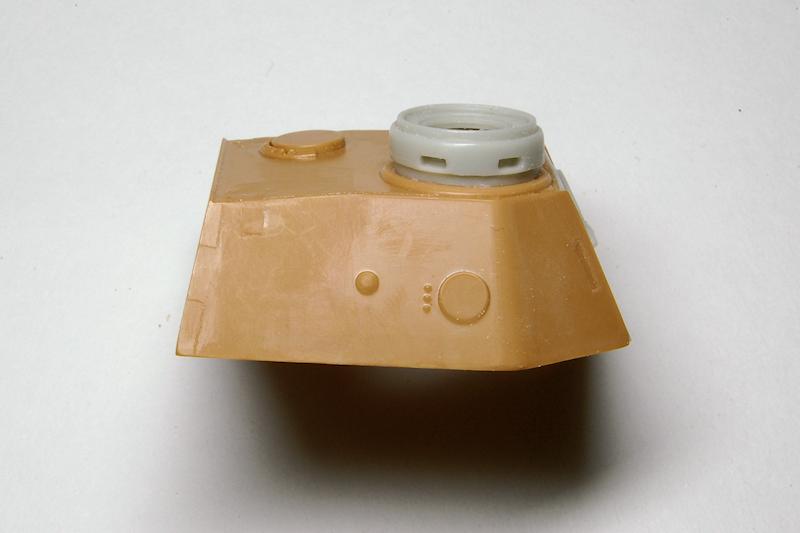
Bits of the turret base were cut away to ensure some space underneath the now open turret hatches, and now glue is necessary to attach the new rear plate:
Now the new cupola is glued on too:
The Black Dog commanders hatch is appropriately thin in profile, but when it came away from the resin block it lost a little piece of that edge; also it has a kind of chamfered edge, which a photo I have suggested is incorrect, and the hatch should really just be a flat, square-edged sheet; not only that, but I think the detail on the Zvezda hatch is better. So I cut away the bulk of the cupola with the sprue cutters, then trimmed with a knife, then filed and sanded it down until it was just the hatch lid:
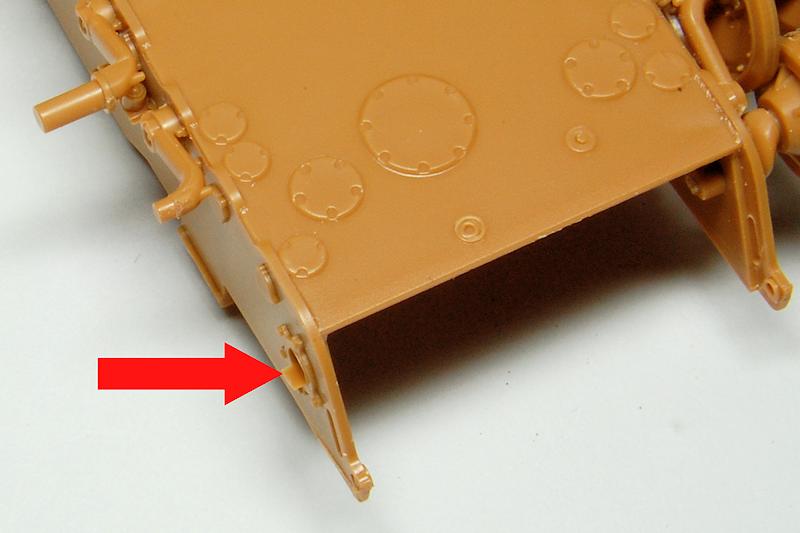
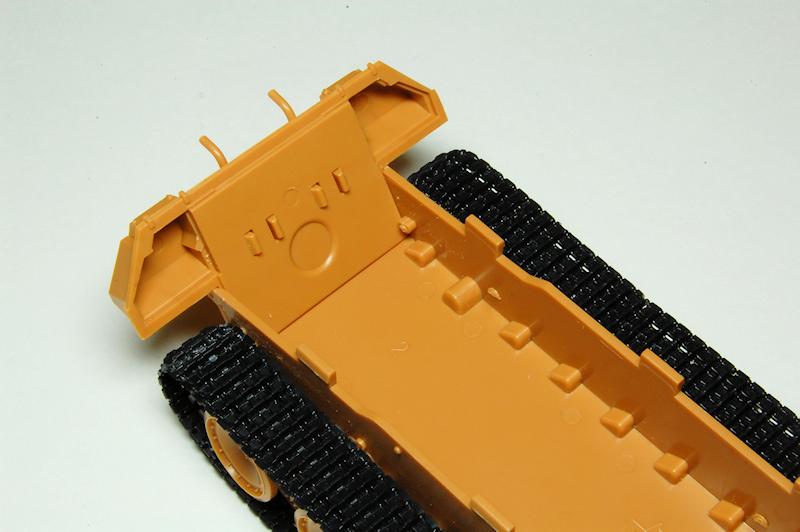
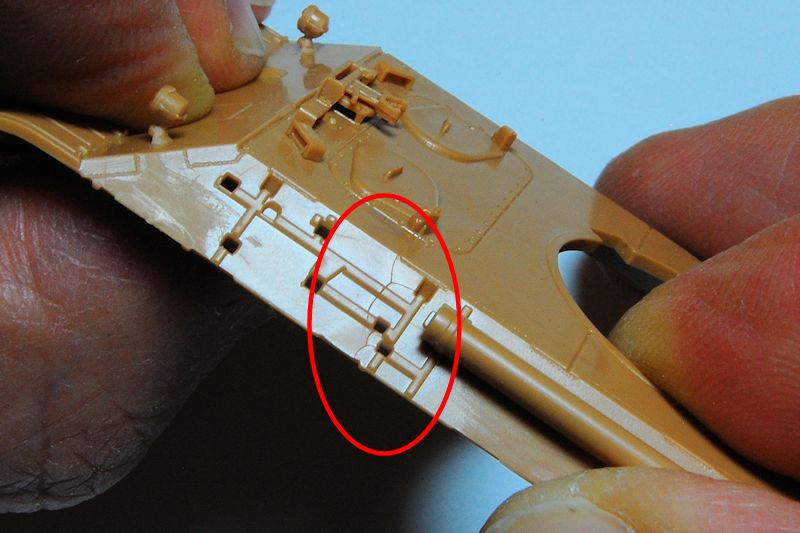
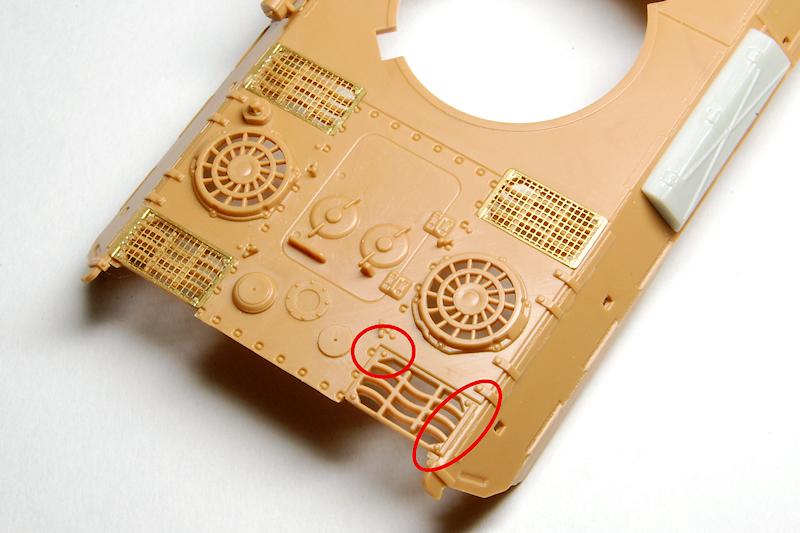
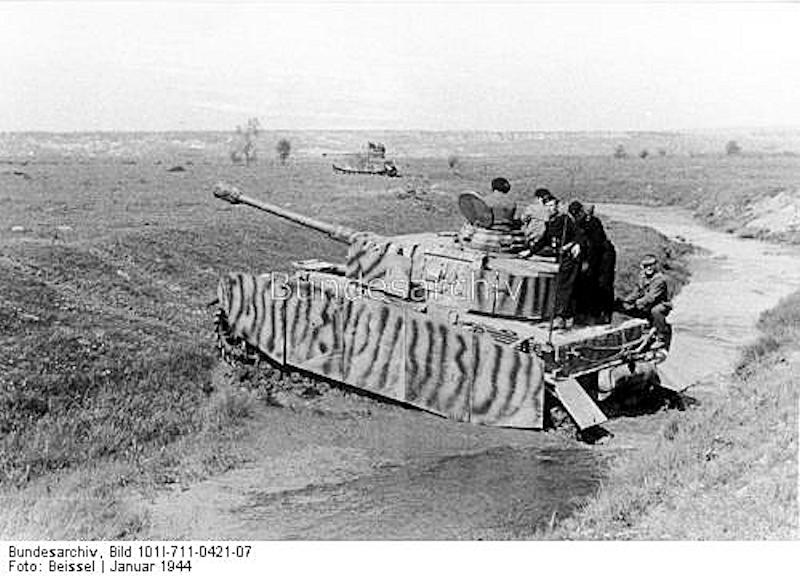
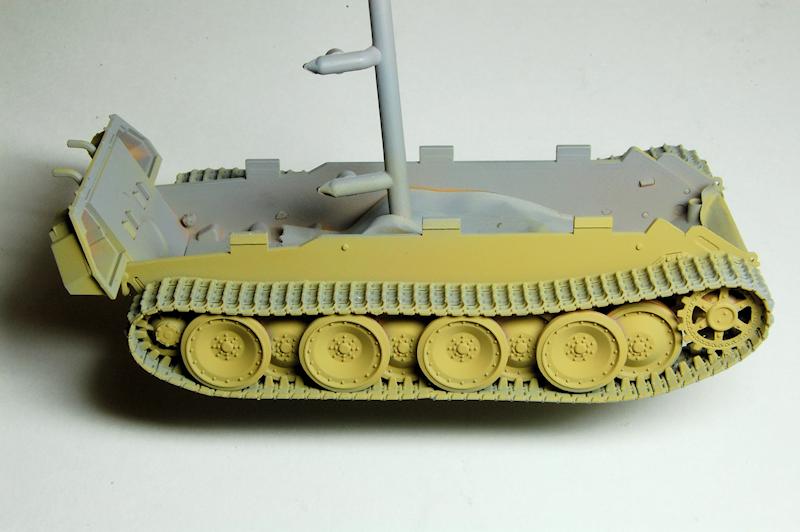
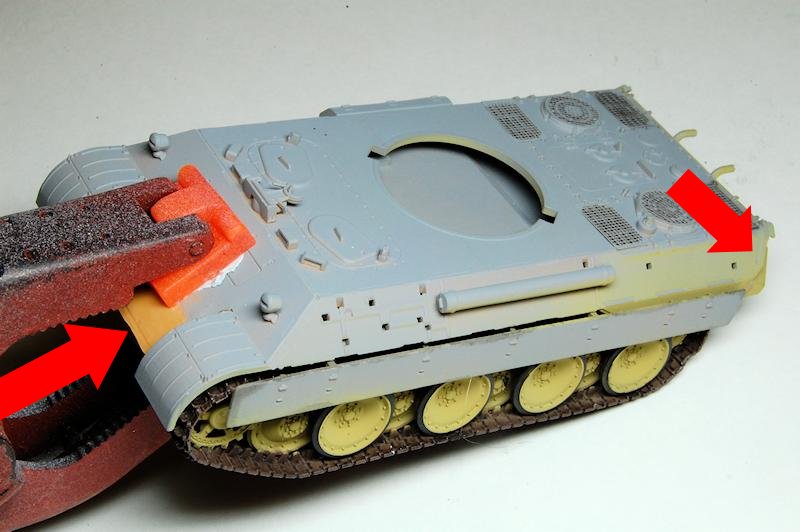
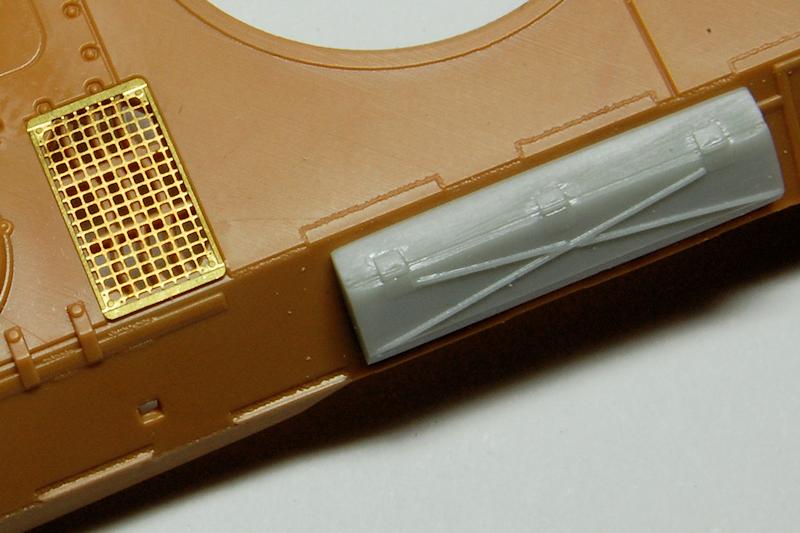
Another Black Dog resin piece is the side tool box, as seen on some photos of these Ausf Ds. Black Dogs instructions show it going right at the rear end of the side plate, while photos I found show it in the middle, between the jack block and the spare track links, so, temporarily adding the spare links to get the positioning right, this was attached here.
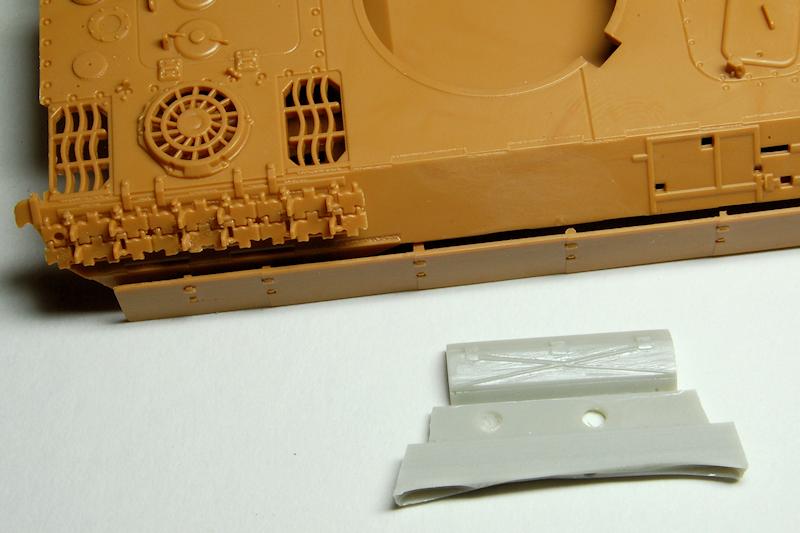
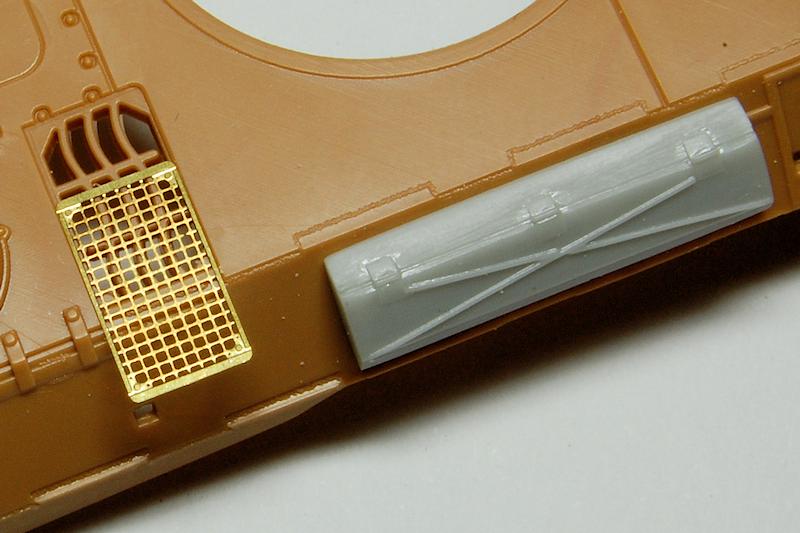
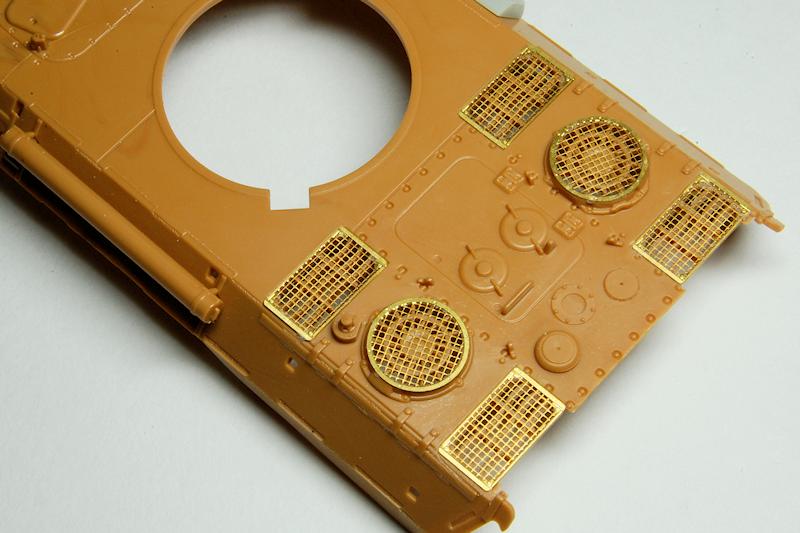
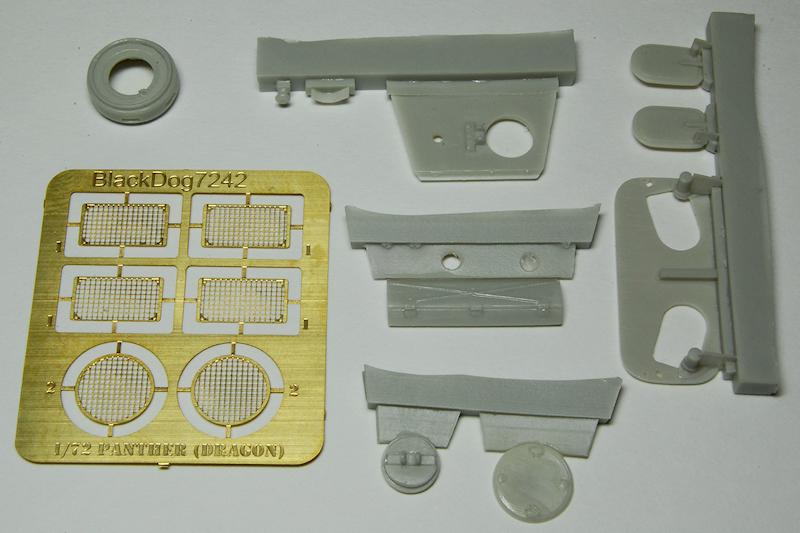
Also in the above photo is the first of the Black Dog mesh screens being test fitted; although designed for the Dragon Panther, thankfully, the dimensions here are exactly the same and the fit is perfect:


 )
)