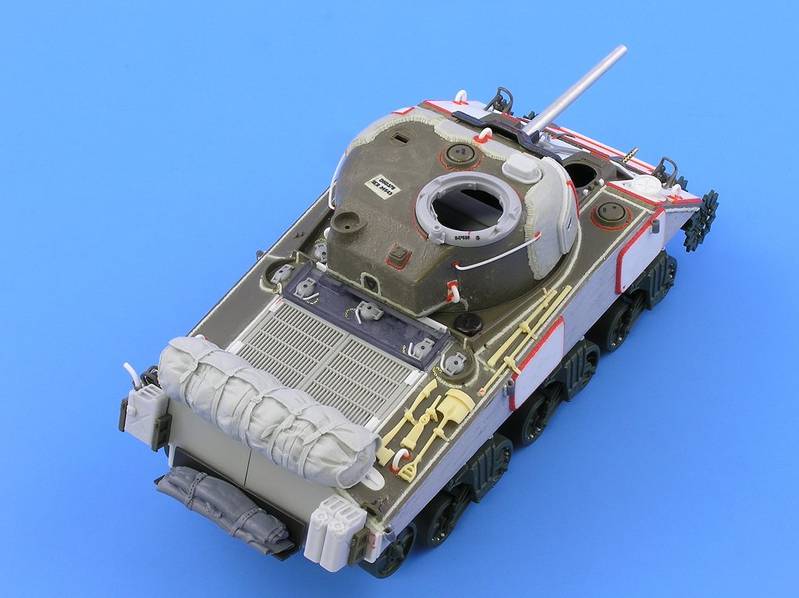
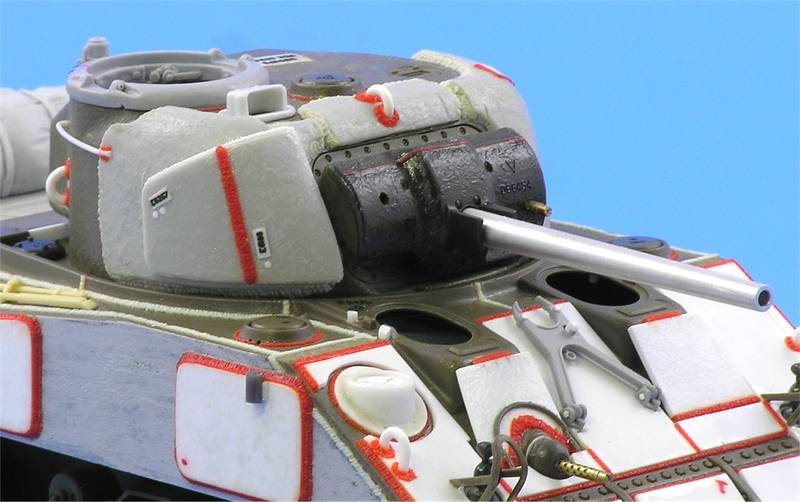
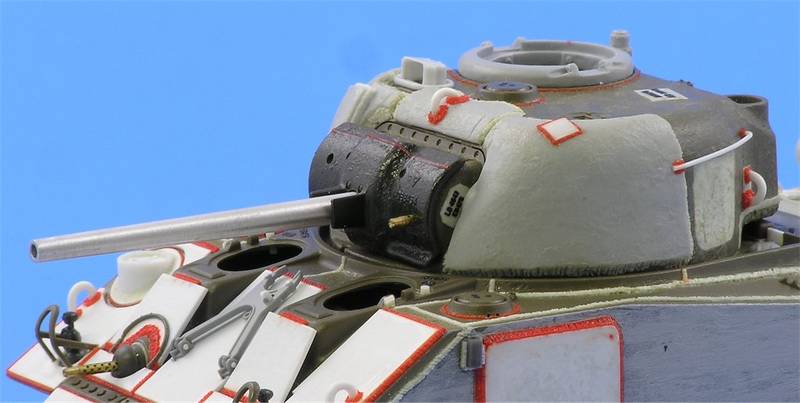
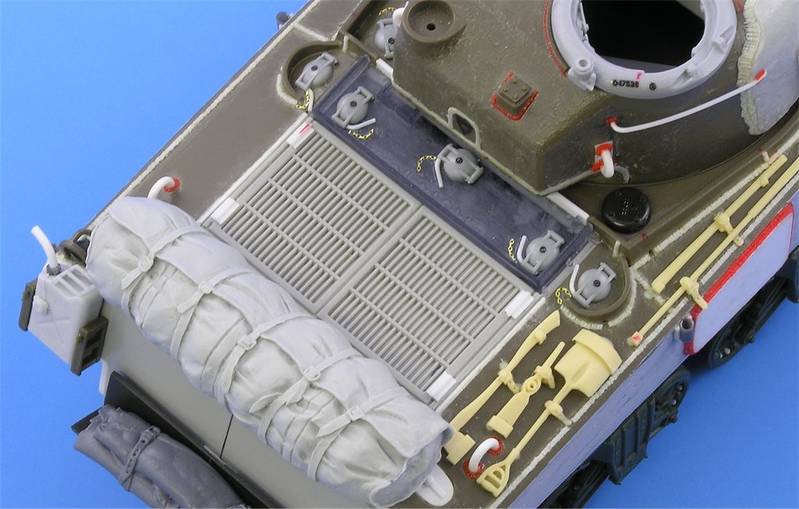
Thanks for the comments and feedback guys @Matt: The red weld seams are nothing more than stretched sprue from an old car kit. The red was chosen to provide color contrast so that I could clearly see it while applying it to kit. The sprue was then softened with liquid cement and textured with a #11 blade.
You should really take a stab at a US subject sometime. While operating under field conditions they become quite busy, if you get a chance thumb through either Armored Attack 1944: U. S. Army Tank Combat in the European Theater from D-Day to the Battle of Bulge or Armored Victory 1945: U.S. Army Tank Combat in the European Theater from the Battle of the Bulge to Germany's Surrender by Steve Zaloga, both have tons of busy Shermans
.see the two examples below
 @Kenneth:
 No problem, but I submit the following for your consideration
a) While undeniable that Hunnicutts Sherman bible is an excellent source (I have a first edition myself). It strength lies in its presentation of the technical aspects of the M4 Medium Tank much like the current new kid on the block, Son of Sherman. But keep in mind that Hunnicutts book was not intended to provide operational histories nor an overview of configurations at the field level. At its time of publication in 1976 (wow..Im old) the level of reference photos from the ETO and other theaters were nowhere near what it is today. Therefore significant insights into field level configurations has greatly changed in just the past couple of years.
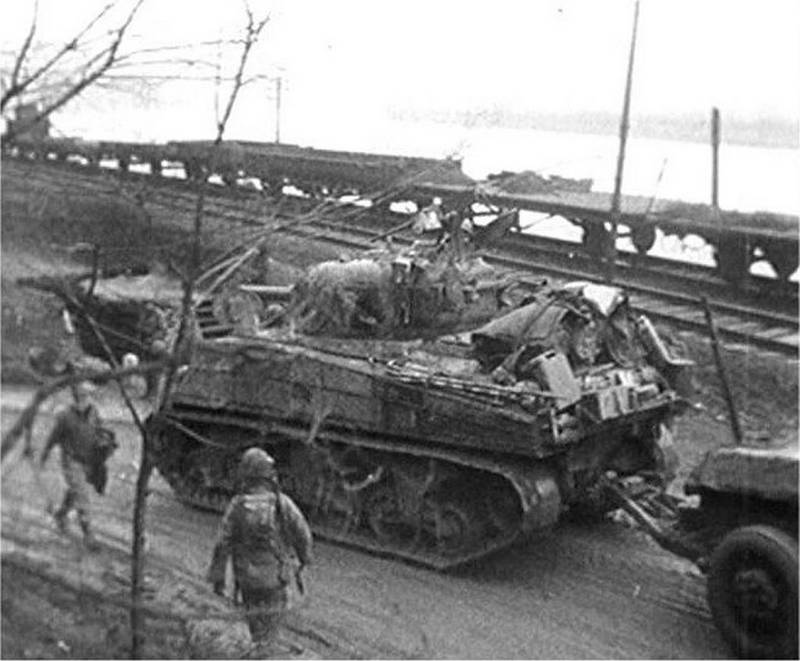
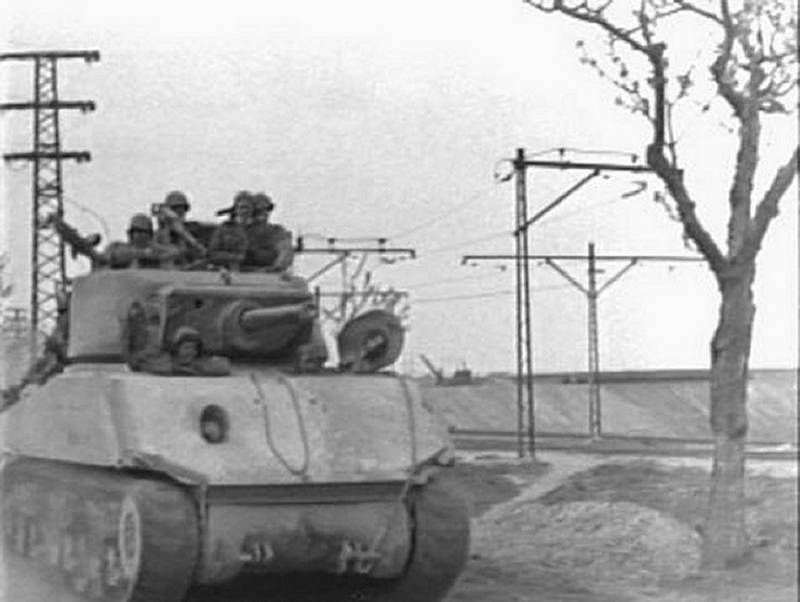
b) A Molder should avoid absolutels, Never say never. While I agree that it is unlikely that a 3-piece differential covers would have been fixed to this variant of Sherman. But given the nature of the Sherman design and the chaos of combat ANY thing is possible. Note the photo below.

While these Shermans are training units serving state side during WWII it does shows a a 3-pieces bolted differential installed on one in the background. So if a unit not partaking in combat operations and has access to the correct spears why then would they use this older replacement part
I dont know nor would I have thought that they would
but there it is.
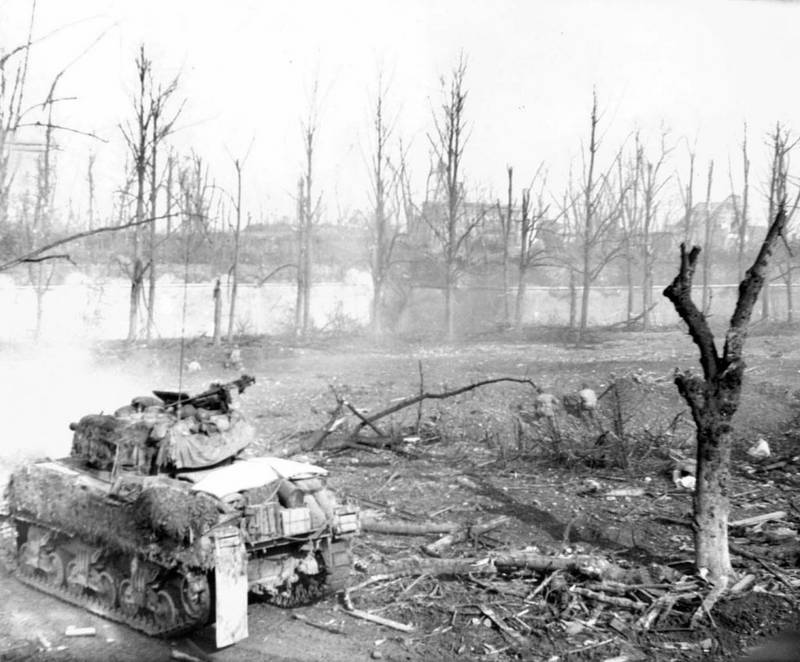
One last example of Never say never. Until last year I would have thought a crew of an M4A3E2 Jumbo would never apply supplementary armor to such a tank. I mean why add on more weight, over taxing an already over loaded power train
.then I found this photo
As you see not only did they do that but the crew added a concrete slab no less the front plate of their Jumbo
I dont mean to lecture but molders in all genres should never say
that would never happen because in the Chaos of combat any and all thing are possible
within reason.
 @Don:
@Don: Thanks Buddy
.yeah this has been yet another long and drawn out project
.but a ton of fun no the less! (BTW Don I totally LOVE your Signature Block Quote )
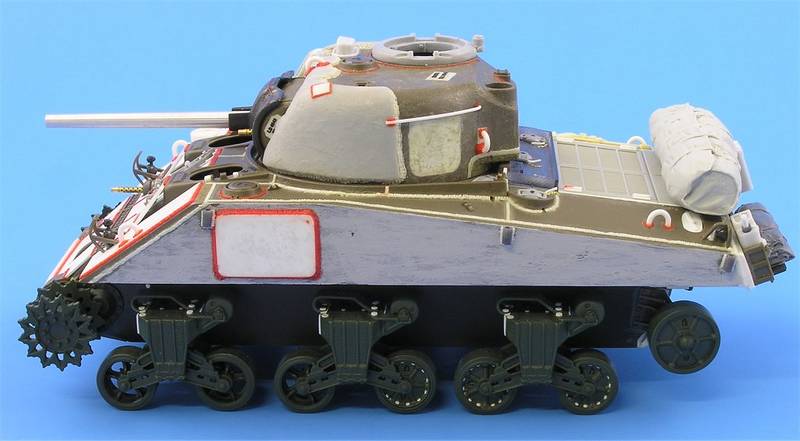
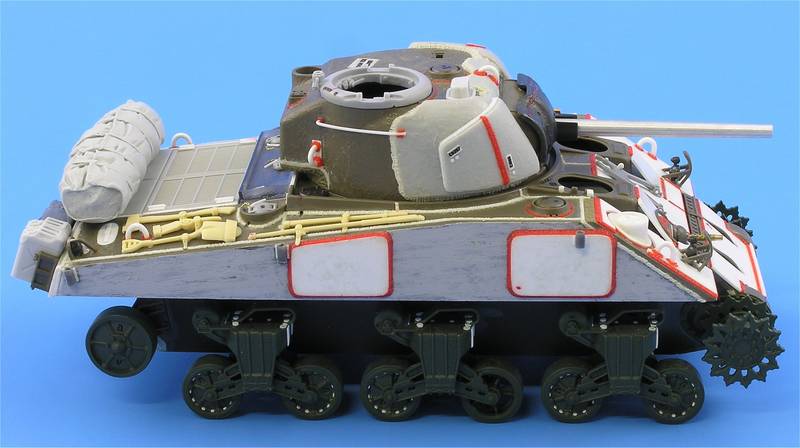
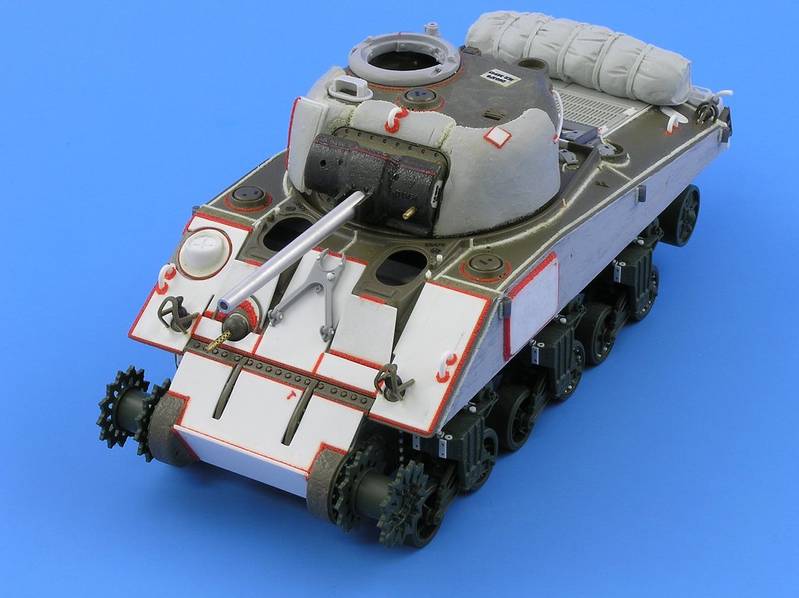
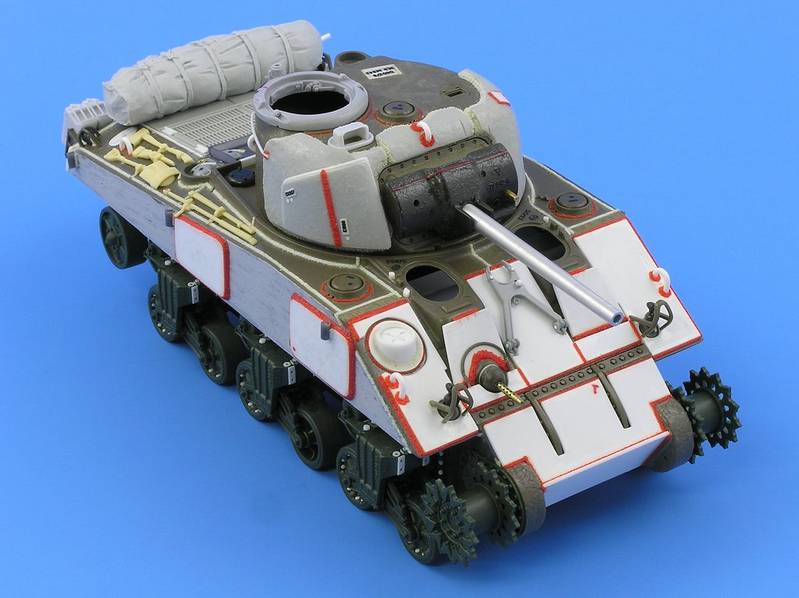
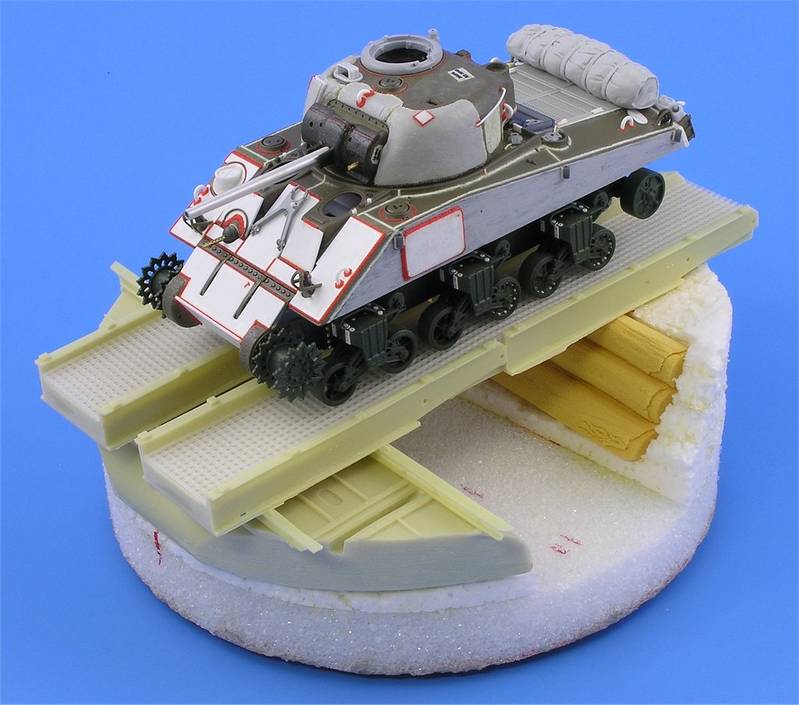
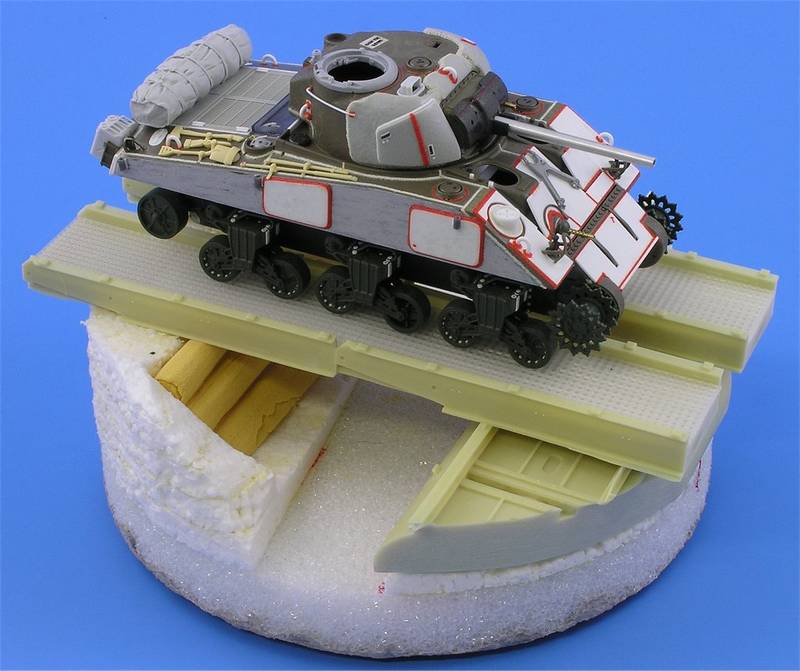
@Ivan: Thank You. Im really looking forward to doing up the base. The Sherman is only about 75% completed so the paint and finishing is still some time away yet.