Jeeeez....talk about a break from the project! Anyway, I'll dispense with the excuses and get right to the updates.
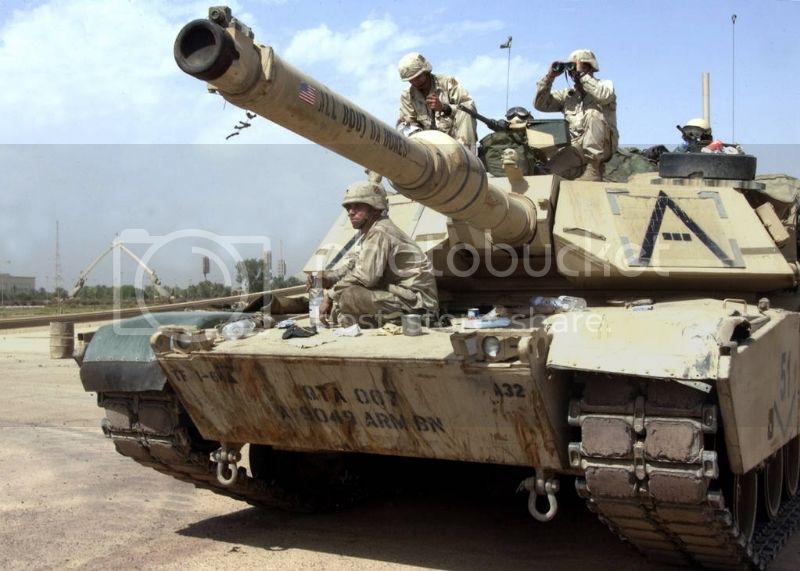
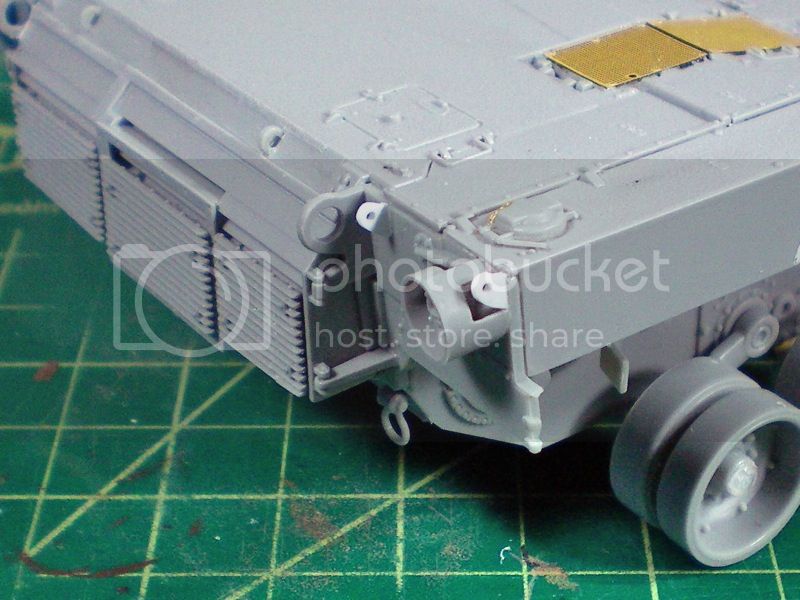
Another member of this build group discovered an interesting feature that was visible on some but not all of the Abrams used in the Thunder Run. It seems that the tanks were not the same tanks the 3rd ID trained with at Ft. Stewart but were instead drawn from prepositioned stocks already overseas. Apparently some of these still had the mounting brackets for the hull mounted Auxiliary Power Units (APU) that were used during the 80's and 90's. A quick inspection of a rear shot of "All 'Bout Da Bones" (unit ID "A32") showed that this tank was one of those that had these brackets. Using a Dremel tool with a small cylindrical cutting bit, I cut a hole in the right side rear light shroud, fabricated two mounting brackets out of .30 styrene and attached them in the proper locations. You can see them here in white:
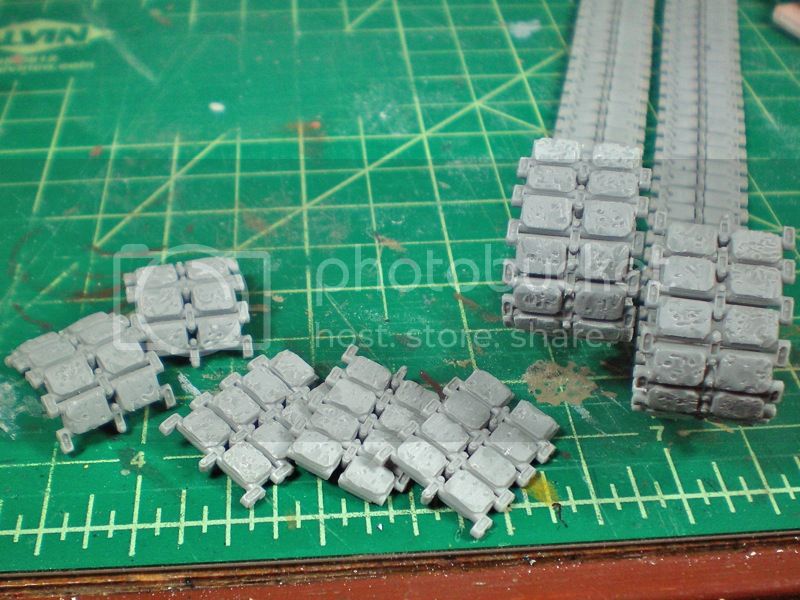
Next, I had to go back and rough up the rubber tread blocks on the tracks. The tracks took a lot of abuse during the days and weeks prior to the first TR and the crews did not have time to impart the necessary maintenance so they were pretty torn up by the time they made the run.

To replicate this I used the same technique described by Robert Burik in
his fantastic build of A13 "Another Episode". I started with a fine point soldering iron to apply the chips and dings and then used a flat bladed soldering iron with an x-acto chisel blade wired onto it to carve off the edges of the blocks for a delaminated look. Once this was done, I used a very rough emery board to file everything down smooth. It still looks a little overdone here so I will probably file it a bit more in places.
The road wheels were also pretty damaged but I don't have any reference shots of these so I have still to come up with a way to do them.
Moving on to the main gun assembly, I decided to use the plastic parts rather than the turned aluminum barrel since the plastic pieces actually had better detail such as rivets and bolt heads molded on. They are also slide-molded in tube form so there are no barrel halves to assemble and more importantly, no tricky seams to fill and sand. Just some careful sanding of the sprue mounting points to avoid flat spots and even more careful alignment of the sections to get a nice straight gun tube.
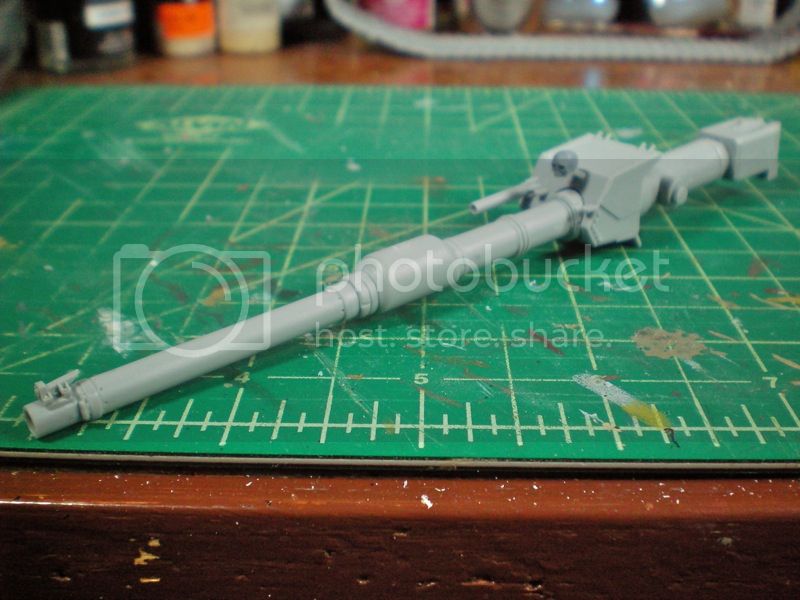
Even so, the mantlet didn't quite fit correctly into it's allotted space in the upper half of the turret. This required me to make a sort of shim in the right mounting bracket raising the right side of the gun so that top of the mantlet would square up on both sides of the turret.


Also, quite a bit of sanding was required where the sides of the mantlet contact the sides of the turret since the multi-part mantlet assembly (6 pieces) apparently was not perfectly aligned during assembly. Thanks Dragon, for over-complicating what should have been a simple 2-piece assembly.
So now it's on to the remaining turret assembly and installing the photo-etched extended bustle rack and jerry can racks.