Introducing one more model in the works. Apparently I'm preferring to have multiple projects at the same time for the sake of diversity.
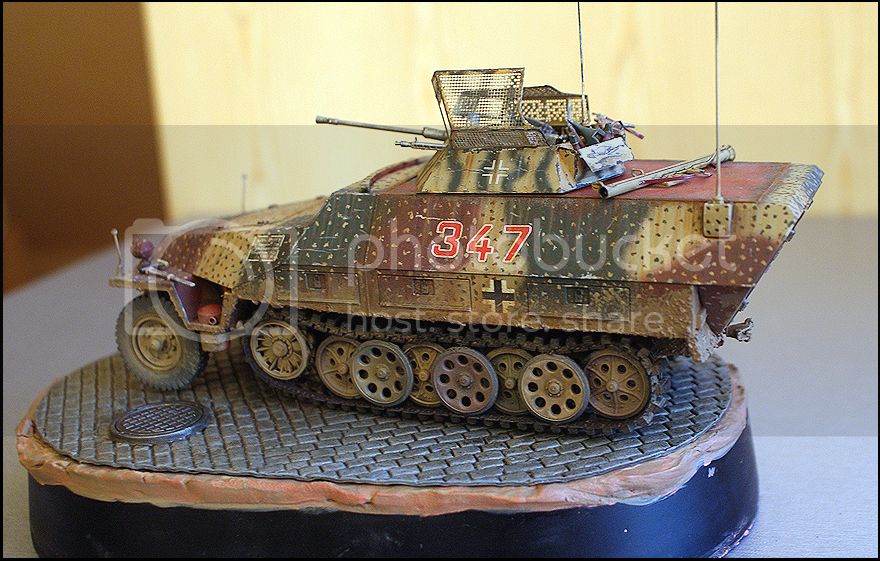
This one is Tamiya's standard 251/1 Ausf.D which I decided to convert to the /23 version. As I have only seen it as Cyber Hobby's limited White Edition series -- tough to find and expensive to buy -- I decided to cobble it up together.
I used a piece of plastic to cover the fighting compartment, and took Maquette MSD's 2cm Haengelafette 38 turret set. I used Eduard's set for the turret (borrowed it from the Sd.Kfz.140/1 Aufklarungpanzer 38(t) actually), as well as RB's metal barrel and two antennas.
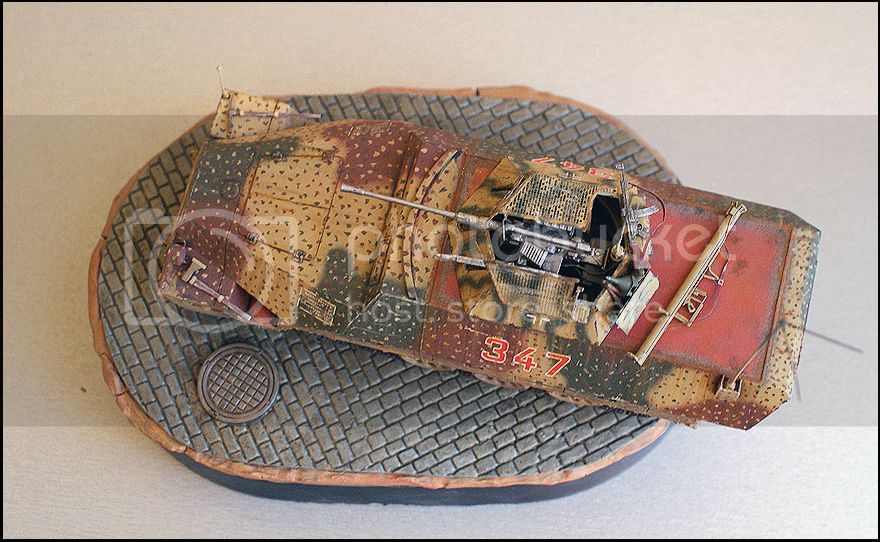
In order to recreate the perception of very late war assembly, decided to treat the hull and the turret separately in terms of cammo and painting -- the turret was older, and taken from a stricken vehicle (either a 140/1 or a 234/1, no matter
 ). I went for splinter three-tone cammo for the hull, and yellow/green wavy pattern for the turret.
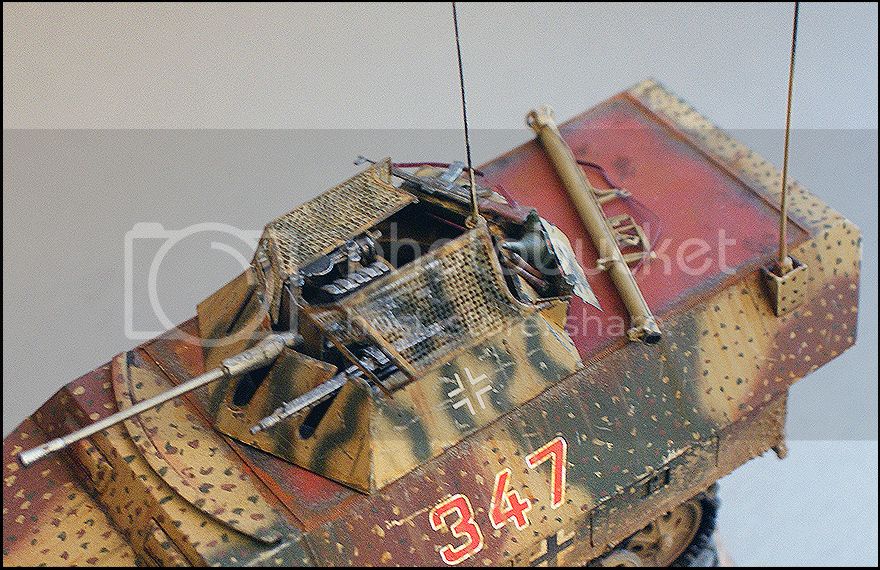
Furthermore, I decided to paint the metal plate closing off the fighting compartment in primer only, with the respective impact of the welding. For the weld seams themselves I decided to go the lazy way, and am a bit sorry now: I took Part's photo etched weld seams (0.8mm) and put them along the places they should have been. The result is not exactly perfect, I may have to take the turret off (it's not glued in anyway) and use some putty on the sides of the welds to blend them better with the plate surface.
And that's about it, here come the pictures from the different stages:


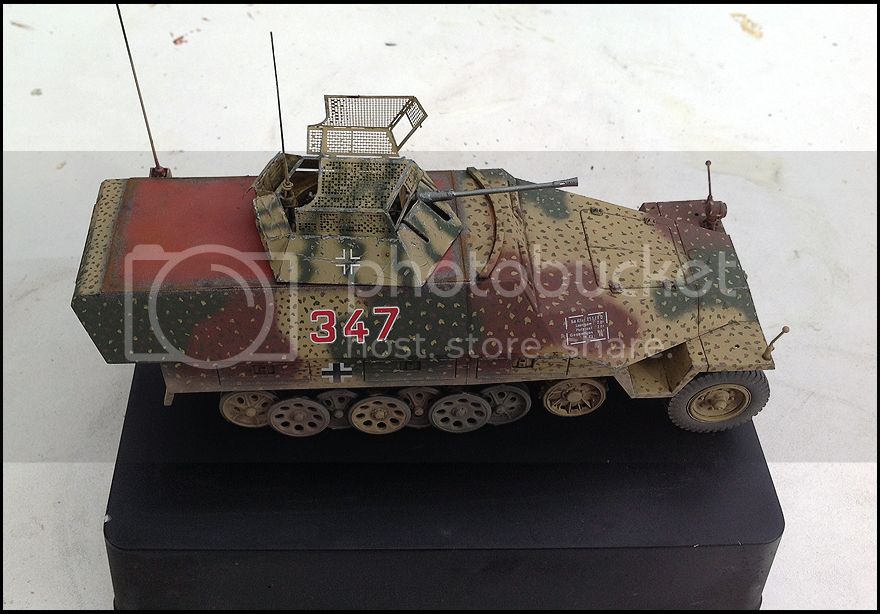


And now the latest developments from last weekend. More washing/filtering, adding a bit of mud (not finalized -- just the texture really). As you'll notice, some of the rods of the star antenna are gone -- the PE turned out to be very delicate. Not to worry, I keep the pieces safe and sound on the side to reattach when the work is done
The quality of these pictures is really not good, apologies in advance: the light was not appropriate but had I not taken them this morning, I wouldn't have had the time to post for one more week at least


Thank you very much for your time and attention!
Ivan