Thanks for the comments guys!
Paul - Thank you very much for the answer, If you have time please scan those Manuals, could be very useful

.
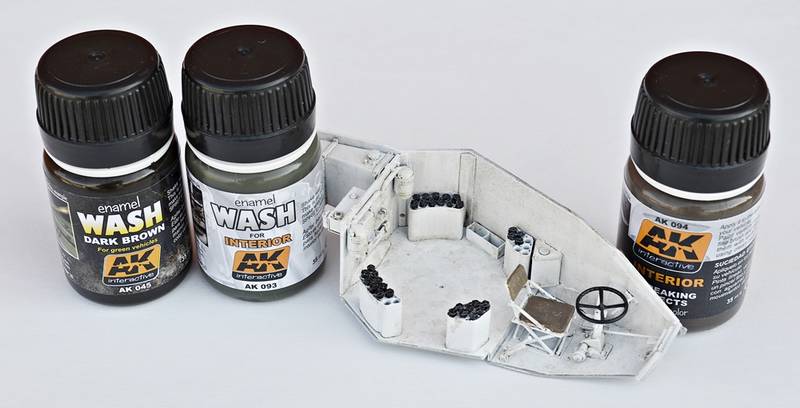
Steve - Thanks for the link, your build is looking very good, I'm still figuring out how to paint my interior so I can easily access as much detail as possible for detail painting and weathering, but I have an idea.
Stefan - It's a really good kit with alot of parts, you will enjoy it. I too hope that there won't be much more adjusting and sanding
.
Ok, so here's update 3.
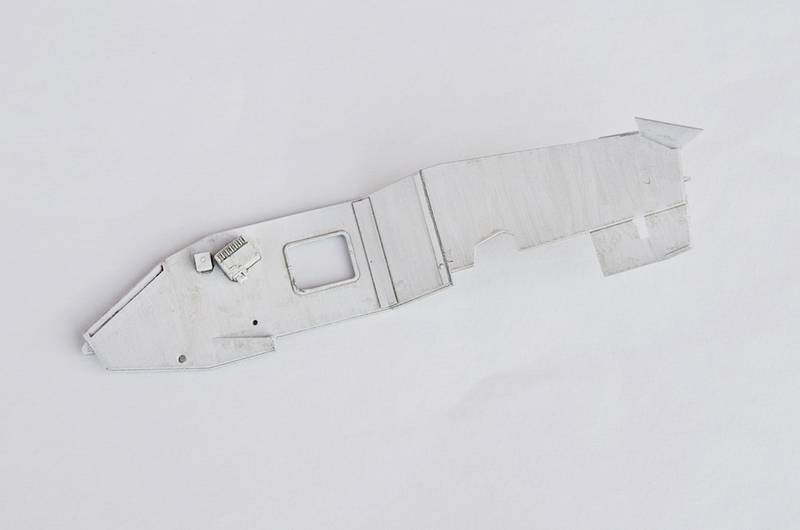
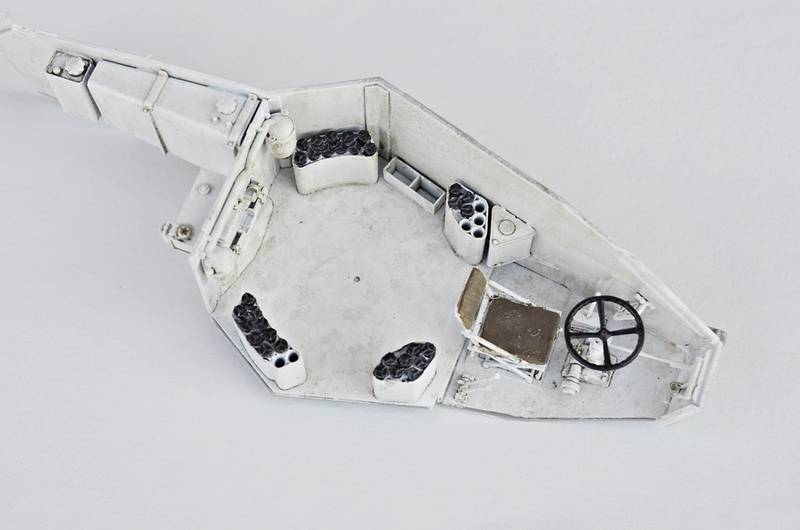
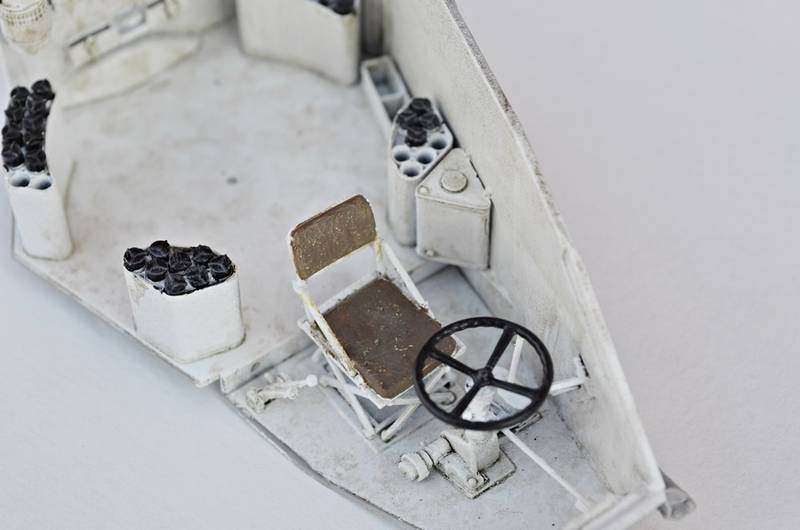
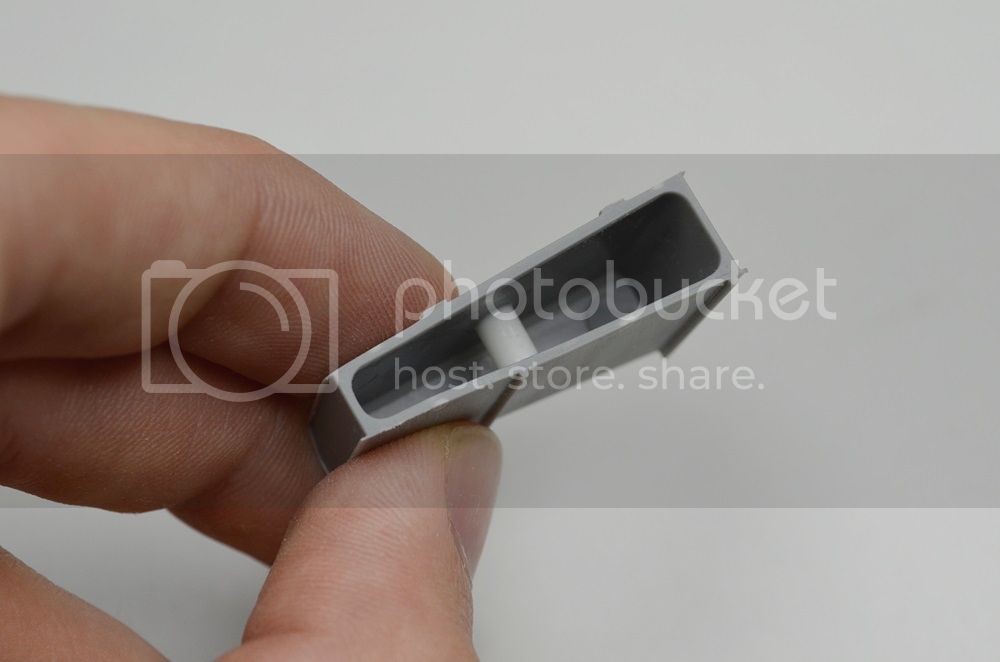
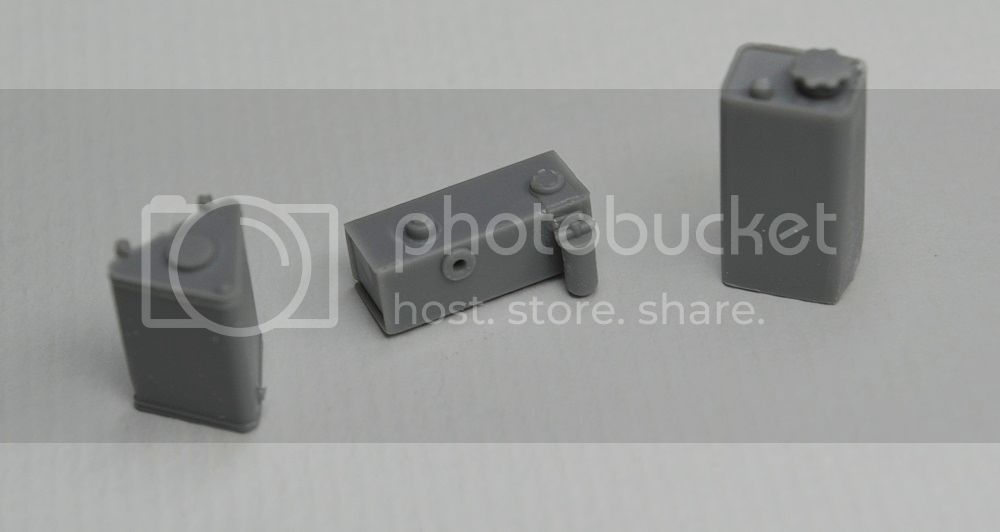
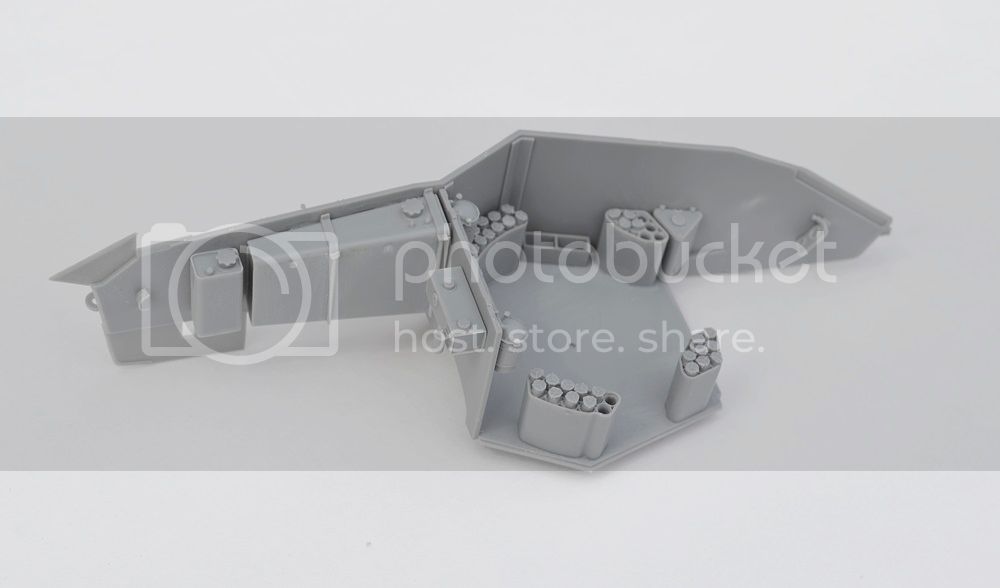
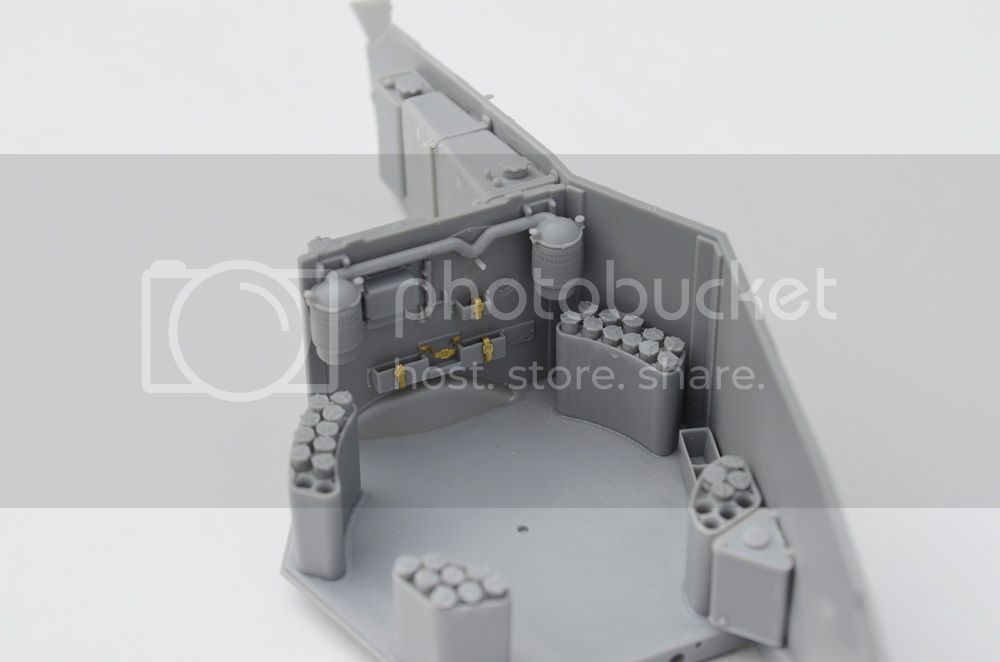
After I was done with the wheels, I decided to start following the instructions. First was the Interior and ammo racks ( or holders, not sure how to call these). They are unfortunately very over complicated and the work to make them fit is really tedious. Intructions say that there is a total of 44 shells to be sanded and adjusted, but from what I know you should make only 38 ( 11x2 + 8x2). I even decided to leave some shells out for more variation. Next on were three tanks ( One is for fuel I assume, not a clue for others). The biggest one needed a support rod inside because it got a little warped on the sprue, also some filler was required after assembly, rest were completed with no problem.
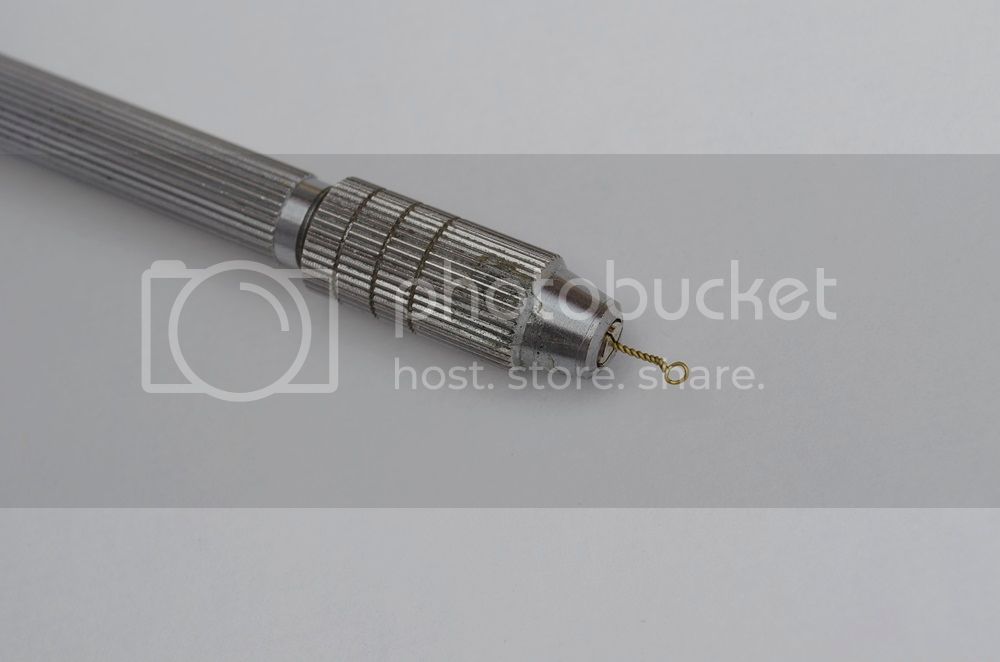
Step 6 tells you where to glue the tanks and some other detail. After you are done with that comes the firewall and my problems. There is PE required to build the firewall, here's the thing. I don't really like PE, I try to avoid it as much as I can. Here It wasn't possible and I actually wanted to retry doing work with photoetch. So first thing to do was make it as easy as possible. Since the PE fret was a little hard to bend, I heated it up and put in cold water. I'm not sure how you call this reaction but it makes the PE much easier to fold and work with ( Watch out for your fingers). After that was done I went on and made myself a very handy tool for applying thin CA, you need some wire and a pinvise. You take a longer piece of wire and bend it in half, insert the part with two ends and secure it in place. I put a cocktail stick on the upper end and start turning the pinvise, you should get something like this in the end ;
Okay, so let's get to the pictures;
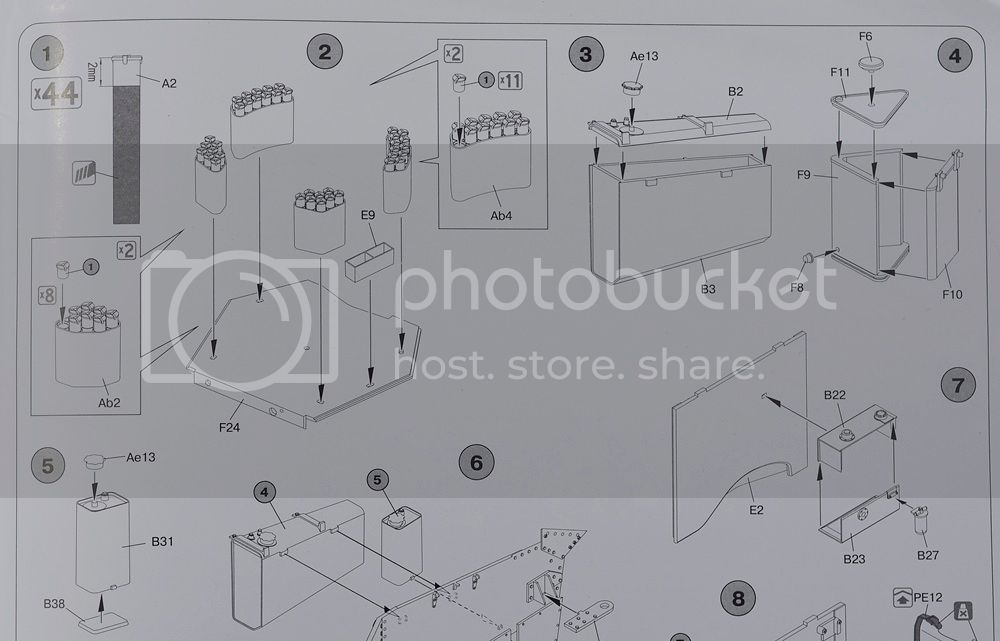
Steps 1-5 :
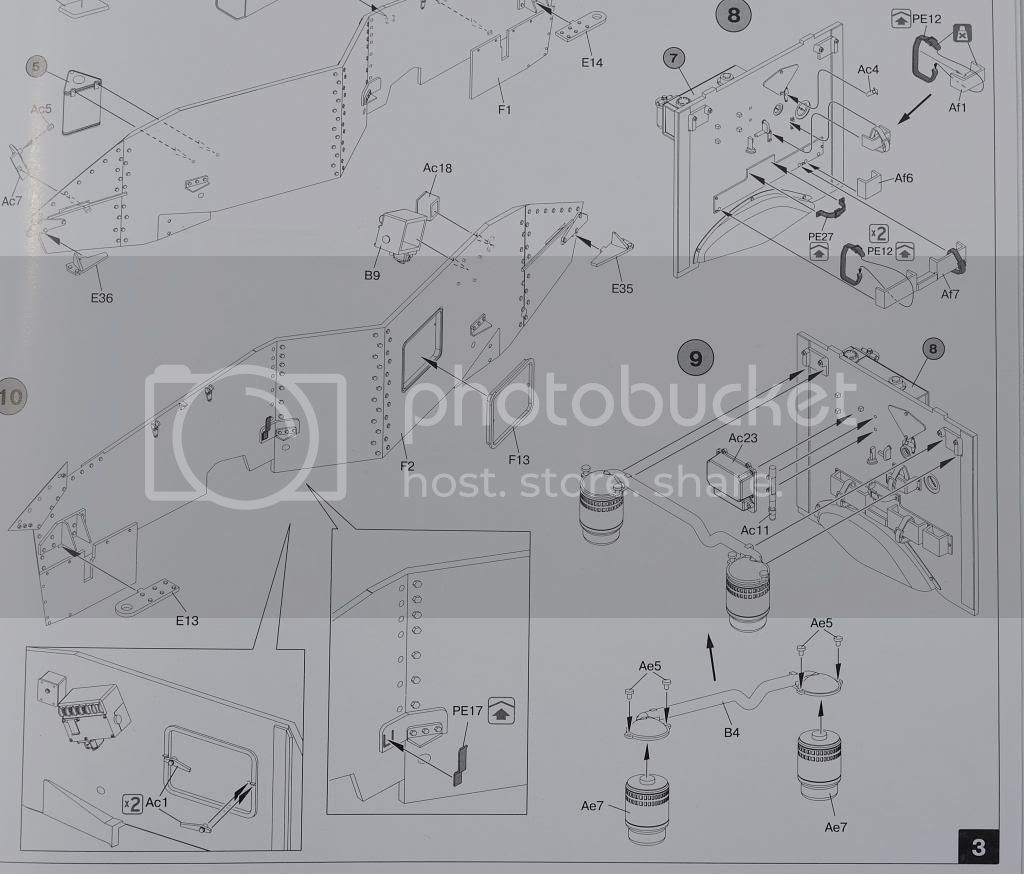
Steps 6-9
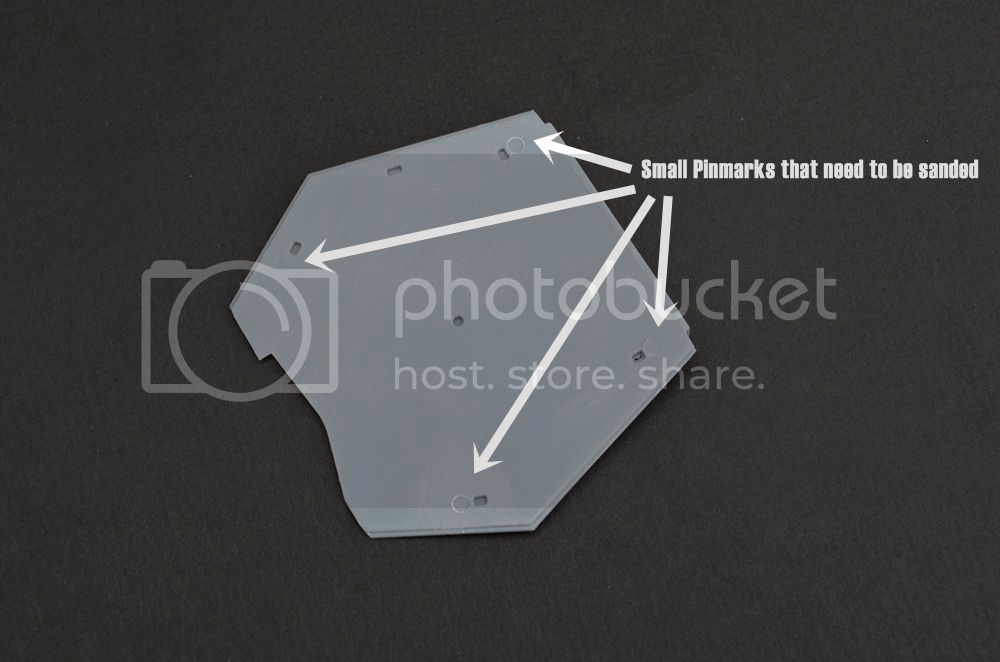
As you can see on the picture below, on part F24 you need to lightly sand part of the pinmarks, don't worry about the recessed part. People at Miniart were very smart and designed most of the pinmarks to be just under the parts so you won't see them.
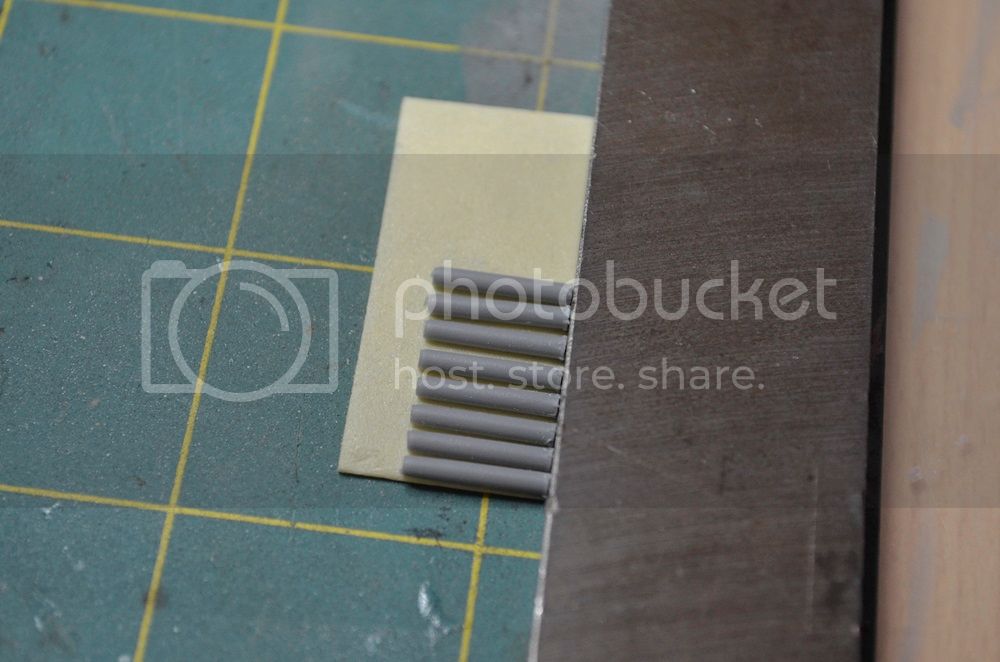
As I've mentioned before, the work needed on ammo case is really tedious. I haven't taken any pictures of it since it isn't anything special. Only one tip. In order to cut all of the parts easier and with more precision do the following. Clean 9 ammo shells, take a piece of double sided tape and glue it on your work space ( be careful, some of these tapes leave sticky residue). Take a metal ruler or something study and straight were you can align parts. Put it down just so a tiny part touches the tape and secures it in place. Now you are ready to put down and align your parts. After you've done that you only need a long blade to cut them, use a ruler to see where to cut.
Here's the rod I mentioned earlier ;
And completed tanks ;
And here's where I'm currently, waiting for additional references and finishing other interior parts. I'm going away to Switzerland with my dad over the weekend. To see a Hockey tournament in Biasca and visit our friends in Zurich. I will try to prepare another update to be posted on Saturday, but I can't promise anything. Luckily that means I have more time to think how manage assembly's before painting and fixing mistakes if anyone spots some.
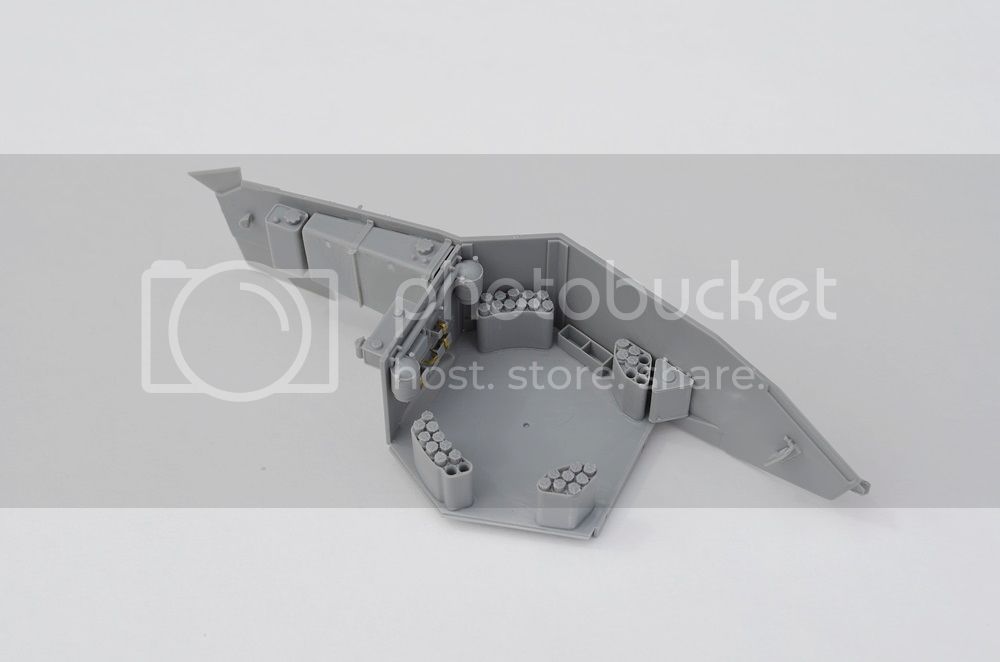
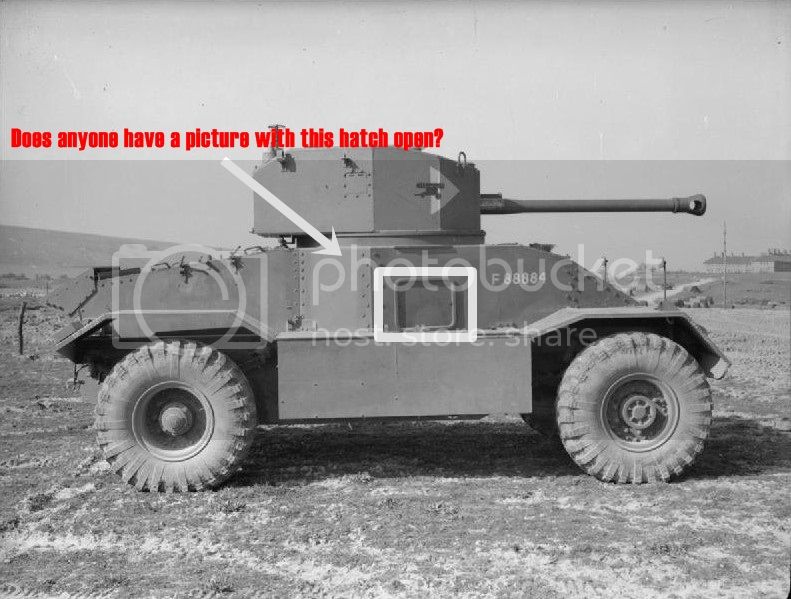
In the end I have a question, I want to leave this hatch open to display the interior, but there are no pictures of It open so I'm not sure how to set up the hinges and other stuff (Picture for discussion purpose only) ;
Kind regards and hope you enjoyed, Sven.
:-H