_GOTOBOTTOM
Constructive Feedback
For in-progress or completed build photos. Give and get contructive feedback!
The original" Super" Sherman
USMC6094
Visit this Community
North Carolina, United States
Joined: August 30, 2013
KitMaker: 51 posts
Armorama: 29 posts
Posted: Friday, August 30, 2013 - 10:18 AM UTC
I started building this what if Sherman earlier this year, heres a chronicle of my progress so far. I've combined the chassis of an M4A3E8 and the turret of a late T24E4 (late) turret.

The Cyberhobby M4A3E8 is a real gem and the upper hull has really gone together quickly with very little fuss. So far I've only replaced the molded on hatch handles with twist tie wire.


I added sprue sections to spread the lower hull to meet the upper hull and make the fit a tad better


And last was the first of the suspension bogies, theres six of them, each with 27 parts........the first one was almost a nightmare.


USMC6094
Visit this Community
North Carolina, United States
Joined: August 30, 2013
KitMaker: 51 posts
Armorama: 29 posts
Posted: Friday, August 30, 2013 - 10:19 AM UTC
hatches


intake trunking

USMC6094
Visit this Community
North Carolina, United States
Joined: August 30, 2013
KitMaker: 51 posts
Armorama: 29 posts
Posted: Friday, August 30, 2013 - 10:20 AM UTC
Hull


Fenders and turret


USMC6094
Visit this Community
North Carolina, United States
Joined: August 30, 2013
KitMaker: 51 posts
Armorama: 29 posts
Posted: Friday, August 30, 2013 - 10:28 AM UTC
IMG]http://i940.photobucket.com/albums/ad242/HavelockLEO/100_2394_zps0e7261ac.jpg[/IMG]


for the commanders vision blocks I used testors silver coated with tamiya clear blue.


USMC6094
Visit this Community
North Carolina, United States
Joined: August 30, 2013
KitMaker: 51 posts
Armorama: 29 posts
Posted: Friday, August 30, 2013 - 10:29 AM UTC
I went to my local model clubs contest about a month ago and bought an already built up but not painted Tamiya M51 Sherman and after giving the 51 a good looking over and decided I had wasted my money, so I tokk a close look at the running gear and decided use the road wheels from the Tamiya kit on this build.

I had to open up the Cyberhobby axle holes but otherwise it wasnt too bad.

Here she is on road wheels for the first time.


I'm leaning toward using the Tamiya tracks as well since they fit the Cyberhobby drive sprockets.
USMC6094
Visit this Community
North Carolina, United States
Joined: August 30, 2013
KitMaker: 51 posts
Armorama: 29 posts
Posted: Friday, August 30, 2013 - 10:30 AM UTC
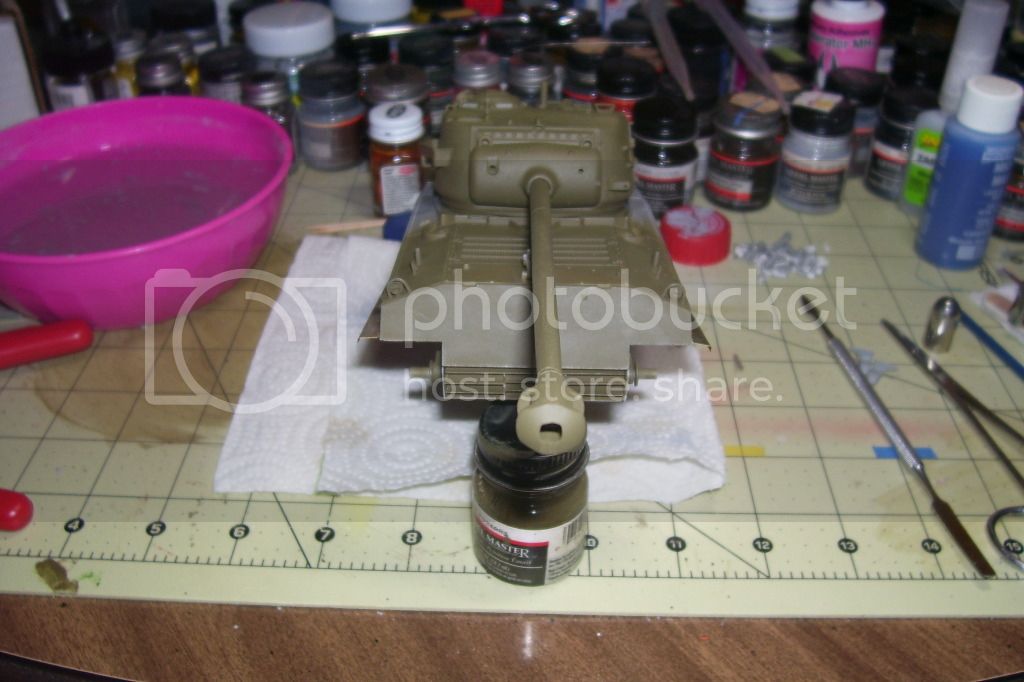
Canning the parts from the other Sherman really kicked started my desire to get this one finished, so I've been working like crazy the last few days as youve seen from the pictures I posted yesterday.

Anyway, yesterday I got the pioneer tools, as they were called, finished and installed.
This is them in place before the paint.

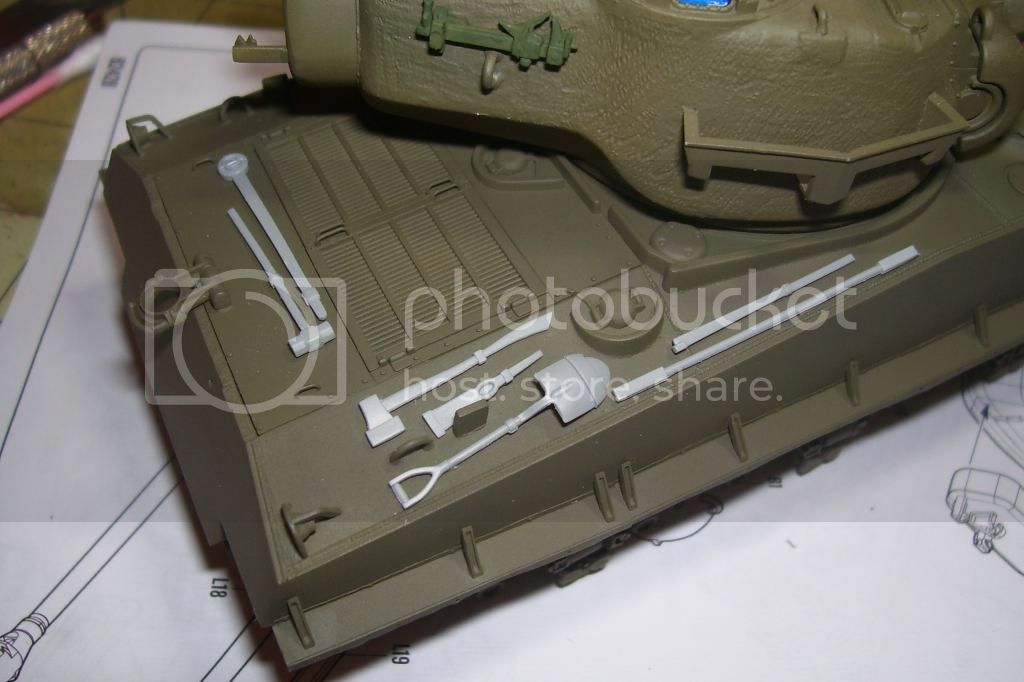
And after paint and permanently installed.


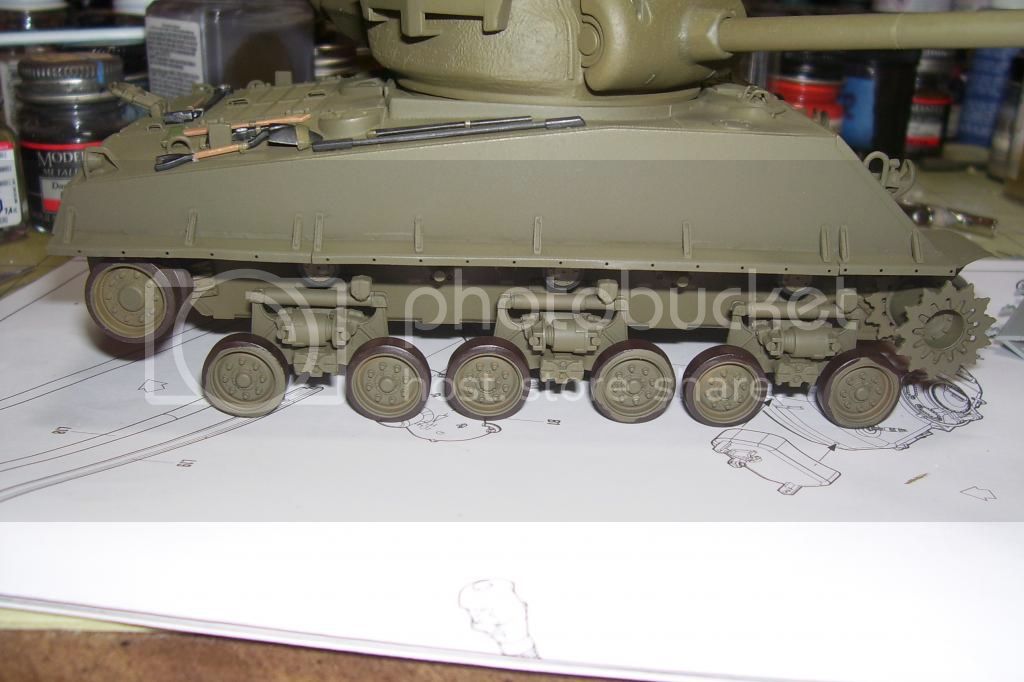
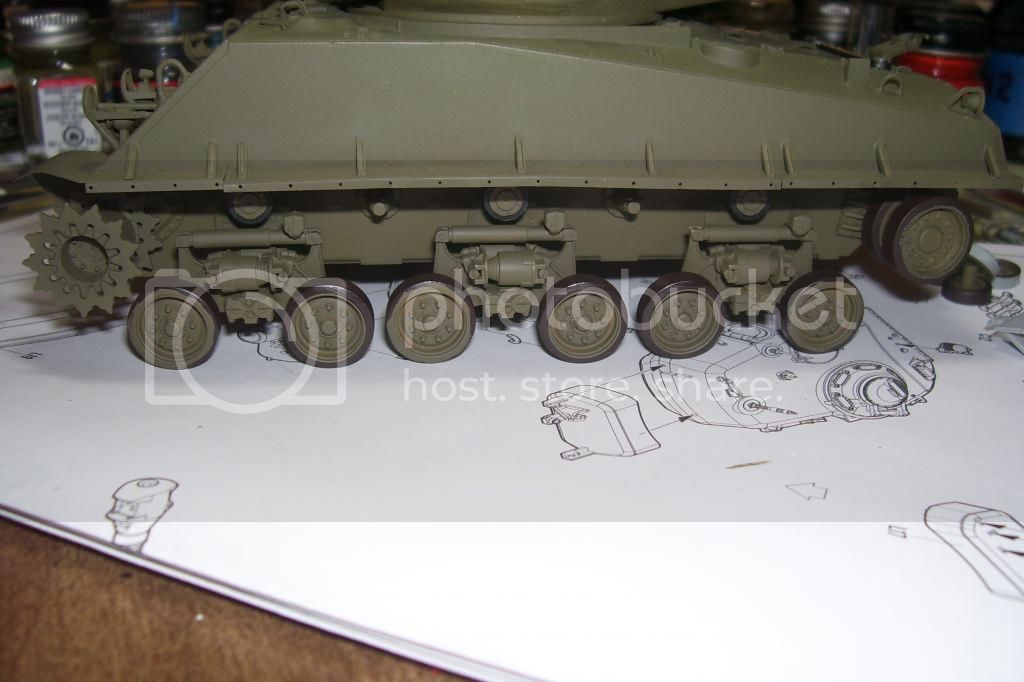
Next is the outer road wheels. These were kind of tedious, I had to hand paint the rubber portions after airbrushing the hubs. This is a picture of either side before I'd completed the rubber portions, all twelve are finished now.


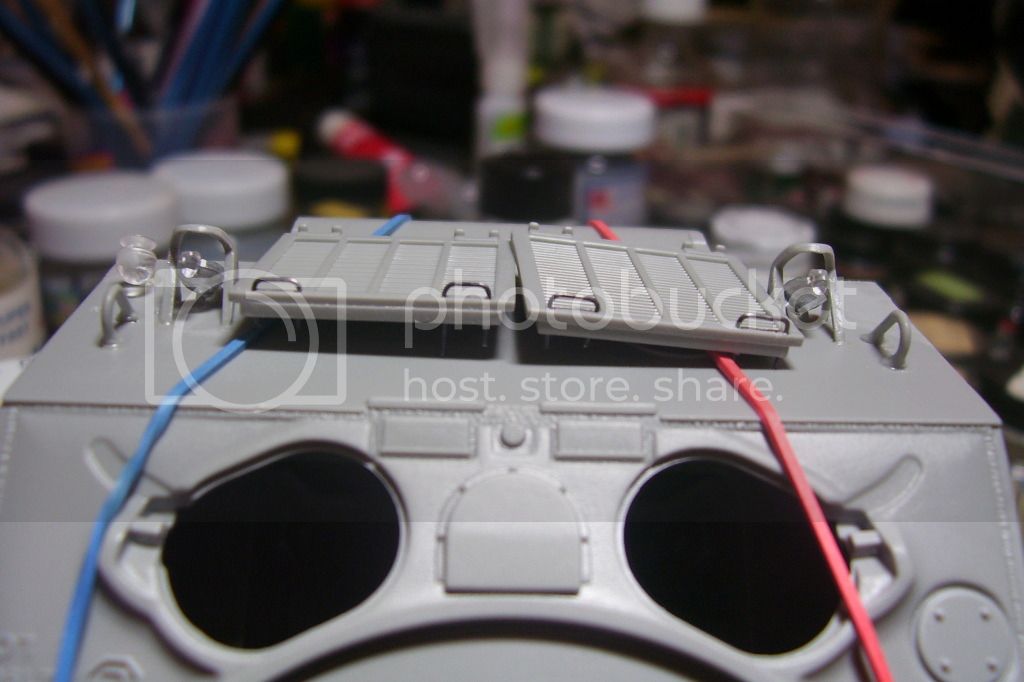
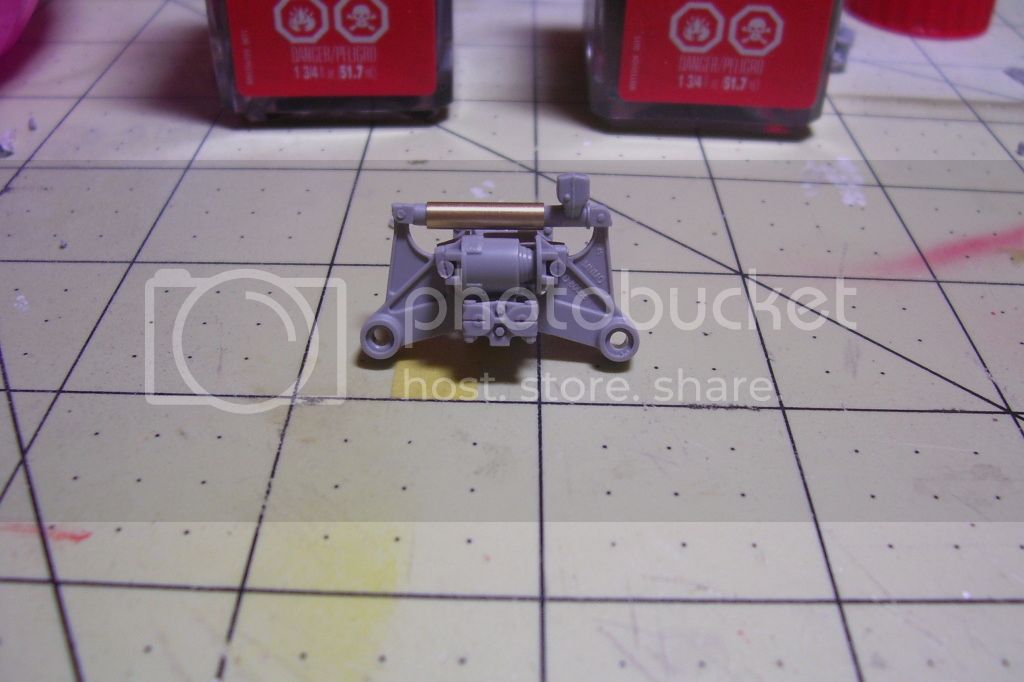
And last is the rear deck, theres a folding shelf I still have to paint that goes over this part, I believe it was a crank handle for an inertia starter.


Other progress I havent taken a picture of is the two radio antennas for the turret have been built up using the kit supplied bases and some wire I have just for the purpose of making antennas, and the bow machine gun has been painted and is ready to install, as well as the inner road wheels are in the process of being completed.

USMC6094
Visit this Community
North Carolina, United States
Joined: August 30, 2013
KitMaker: 51 posts
Armorama: 29 posts
Posted: Friday, August 30, 2013 - 10:31 AM UTC
Heres some pictures of her on her feet, just remember that the tracks have yet to be painted and I still have some work to do overall.


[hr]
USMC6094
Visit this Community
North Carolina, United States
Joined: August 30, 2013
KitMaker: 51 posts
Armorama: 29 posts
Posted: Friday, August 30, 2013 - 10:33 AM UTC
and now for some close ups


I have some touching up to do on the road wheels and I still have six of them to finish painting, but I'm getting close.

And thats the progress so far, with school and work I havent made any progress in about three weeks, but hopefully this weekend will be fruitful
USMC6094
Visit this Community
North Carolina, United States
Joined: August 30, 2013
KitMaker: 51 posts
Armorama: 29 posts
Posted: Tuesday, September 17, 2013 - 07:02 AM UTC
I've finally gotten used to new schedule and got the chance to crank up the airbrush and get the tracks painted.

I also got the last of the road wheels painted and re-assembled it all to get a look at what might be left.

The cargo shelf off of the bitter end of the engine deck has also been painted and installed.

I used a water color wash (lamp black, water, and very little bit of liquid dis soap) to fill in the louvers on the engine access doors and the same mixture but using burnt sienna to give the running gear a slightly dirty appearance.

I'll post some pictures later tonight
barkingdigger
Staff MemberAssociate Editor
ARMORAMA
#013
Visit this Community
England - East Anglia, United Kingdom
Joined: June 20, 2008
KitMaker: 3,981 posts
Armorama: 3,403 posts
Posted: Tuesday, September 17, 2013 - 09:19 AM UTC
Pretty neat build! I'd hate to be inside when that big gun recoils...

I know there was one pilot for the standard M26 turret on an M4 (105) hull, but is there any real precedent for your monster/ Or is it just a nifty "what if?" kind of build?
USMC6094
Visit this Community
North Carolina, United States
Joined: August 30, 2013
KitMaker: 51 posts
Armorama: 29 posts
Posted: Tuesday, September 17, 2013 - 03:51 PM UTC

Quoted Text

Pretty neat build! I'd hate to be inside when that big gun recoils...

I know there was one pilot for the standard M26 turret on an M4 (105) hull, but is there any real precedent for your monster/ Or is it just a nifty "what if?" kind of build?


after seeing the one off picture I got kind of in a rush and bought the wrong M26 lol, so I worked with what I had and built a conjectural one off
BBD468
Visit this Community
Texas, United States
Joined: March 08, 2010
KitMaker: 2,465 posts
Armorama: 2,383 posts
Posted: Monday, September 23, 2013 - 03:34 PM UTC
Fantastic build Keith! Great detail and very clean.....nice job fella!
USMC6094
Visit this Community
North Carolina, United States
Joined: August 30, 2013
KitMaker: 51 posts
Armorama: 29 posts
Posted: Thursday, October 17, 2013 - 10:26 AM UTC

Quoted Text

Fantastic build Keith! Great detail and very clean.....nice job fella!


Thanks for the kind words, I've made some progress since my last post, but I dont have any pictures to post tonight, as for whats been done, the tracks are finished and the running gear completed, I filled and re-drilled the mounting holes for the radio antennas on the turret.

I'll have pictures up on Sunday I hope
 _GOTOTOP