Anyways, the box art:

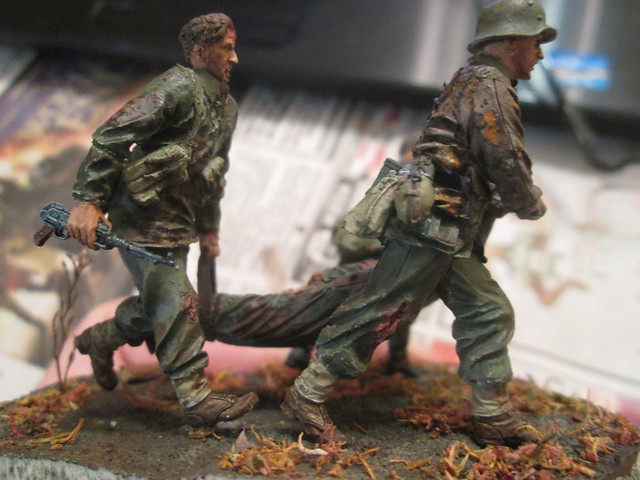
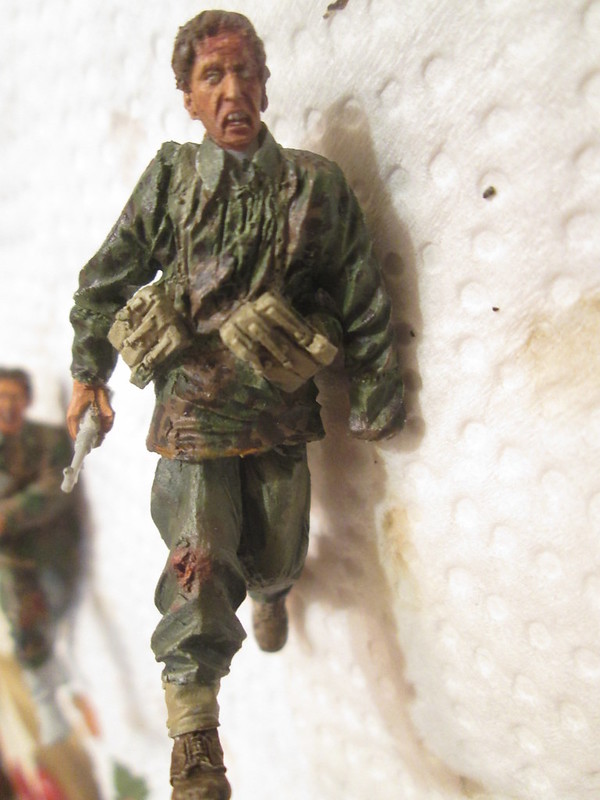
"Run away!" as the great Monty Python gentlemen would say..that's all I can think of when I'm building this. Feel free to throw in any Python references and puns in the comments

The base!
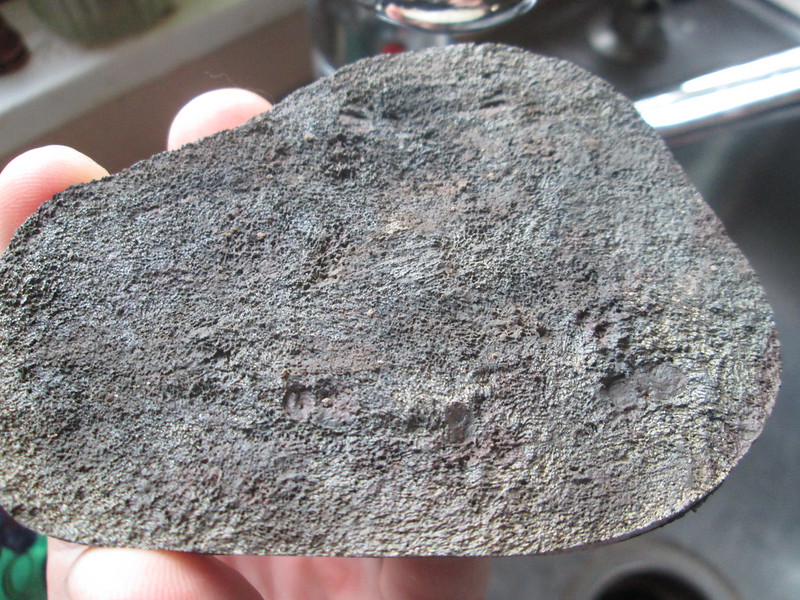
It's very dark, but the photo makes it look even darker. What I'm going to do is use a lot of earth and scenery products over that, so the dark base will be more or less invisible, but should help the overall look once it's finished.
And now for something, completely different:
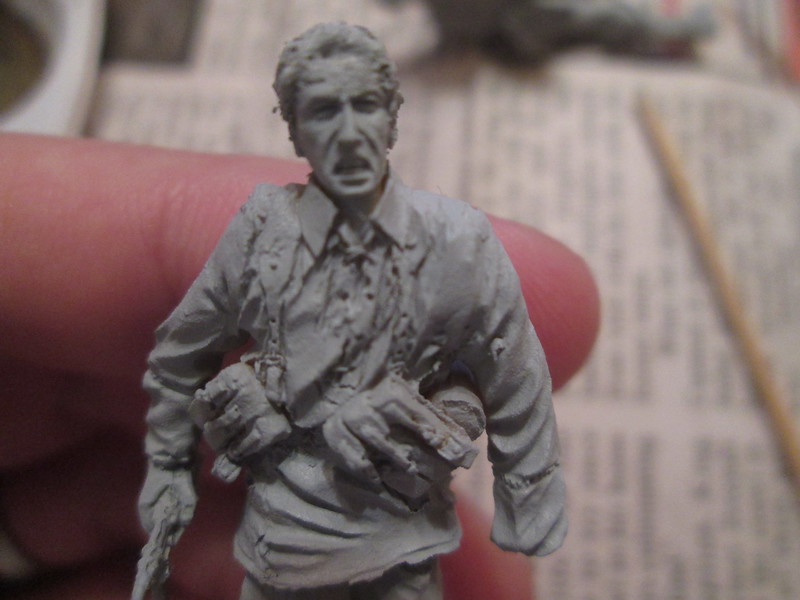
primed

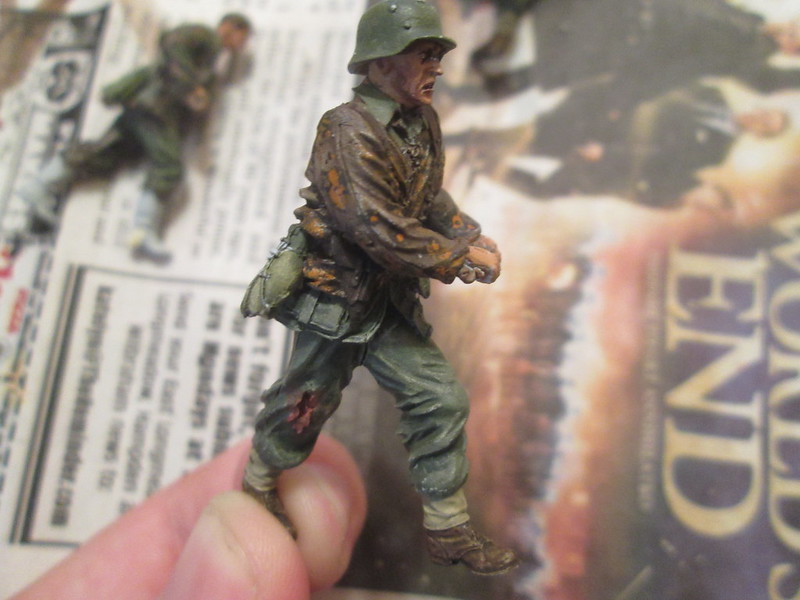
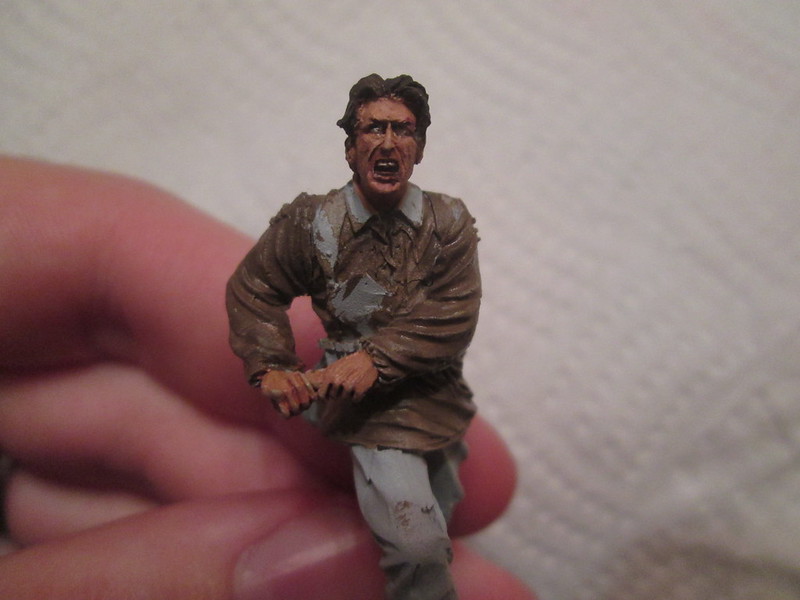
Face painting...
base:

shadows

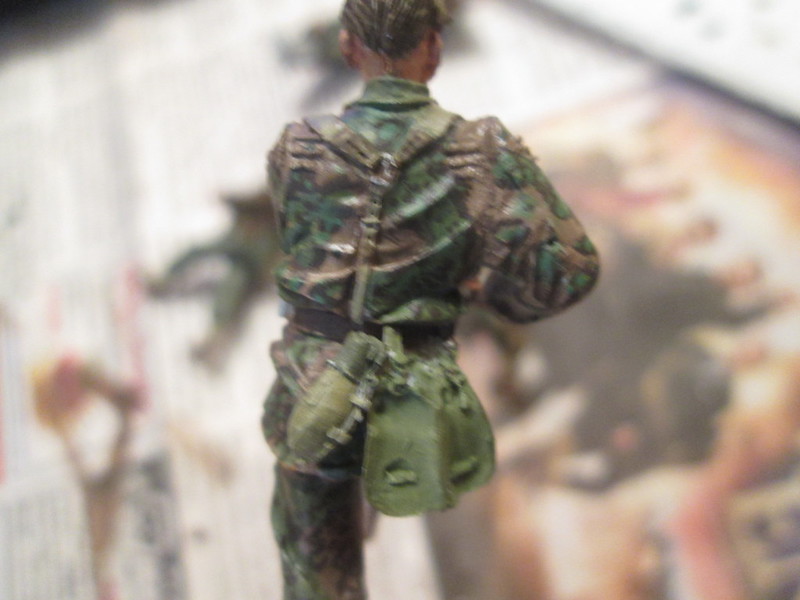
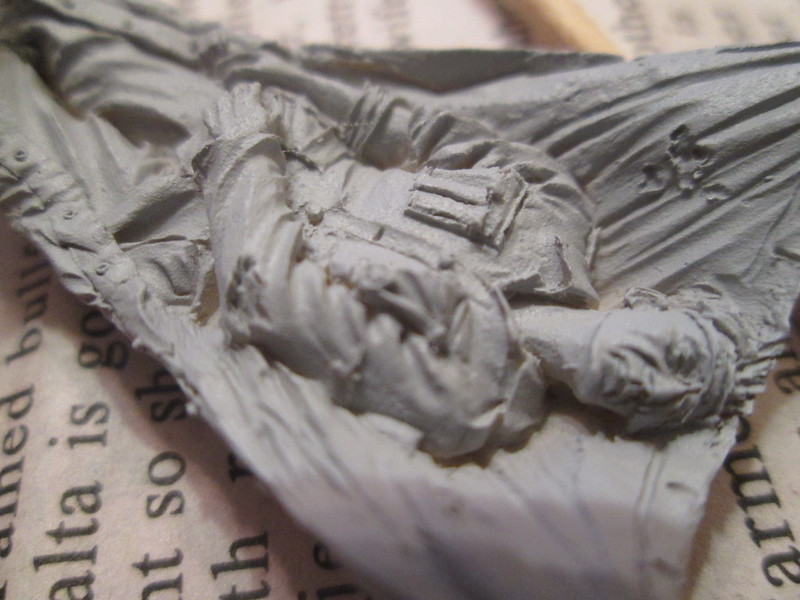
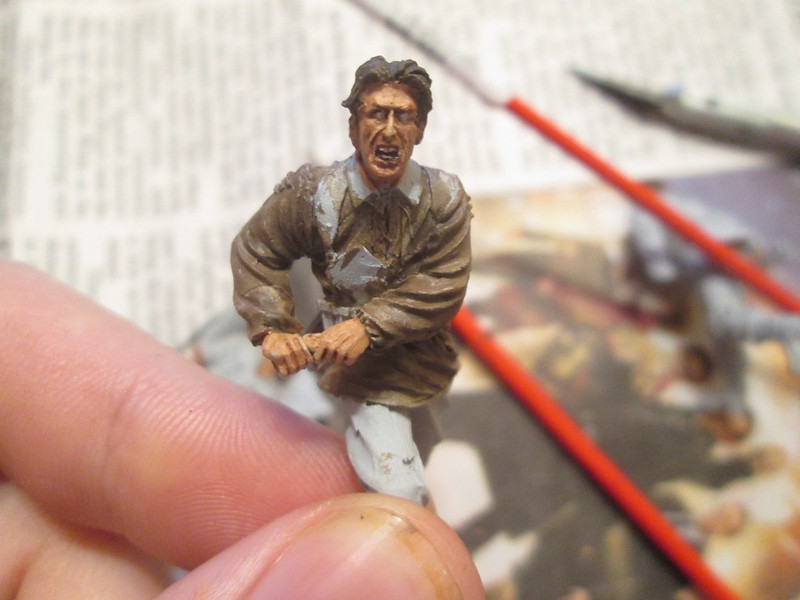
There's more steps than that, but this is the short version hahaha. Aaand the smock:
shading
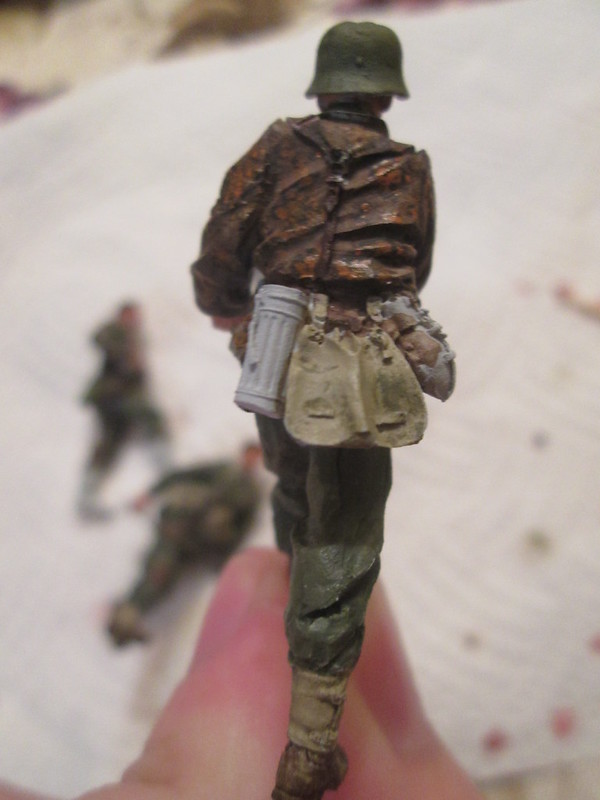
Oak leaf and plane tree camo...
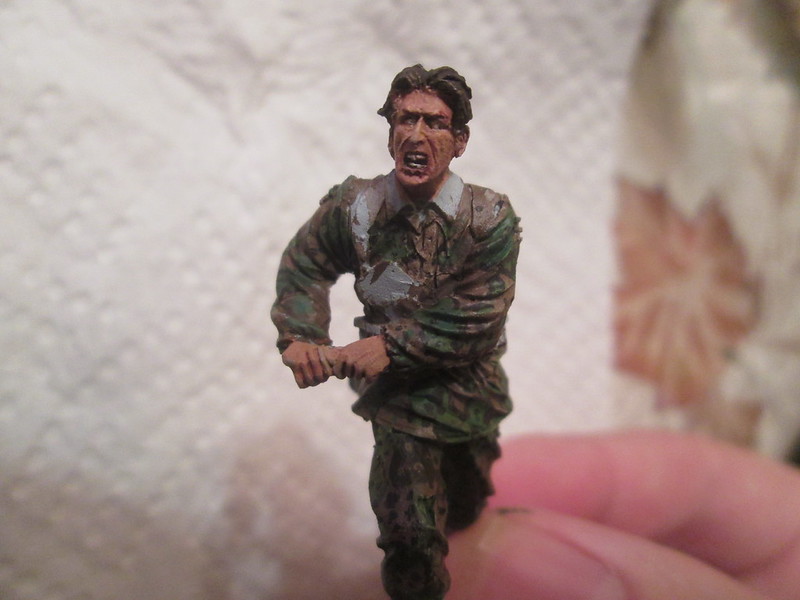
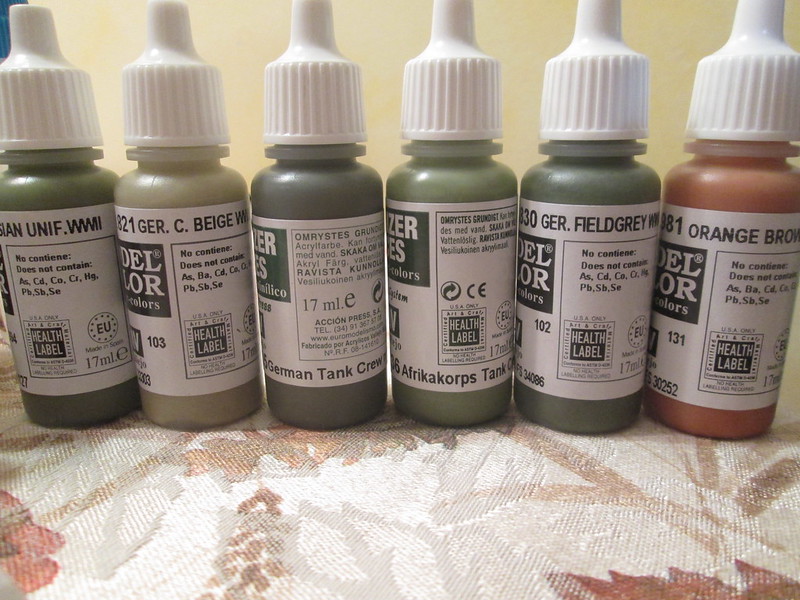
I invested in more Vallejo paints for these guys, and the results have been great.
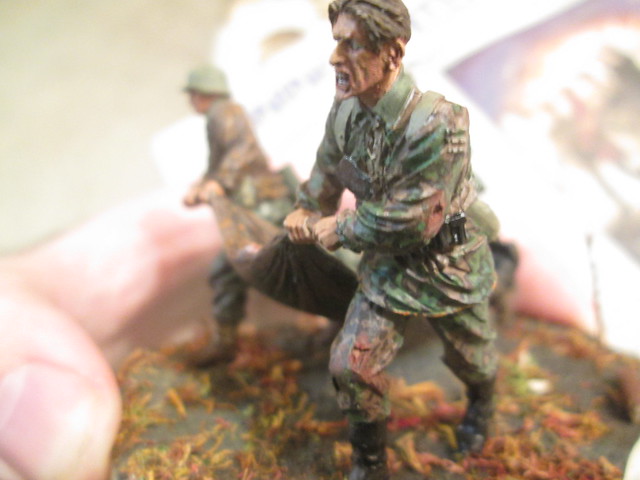
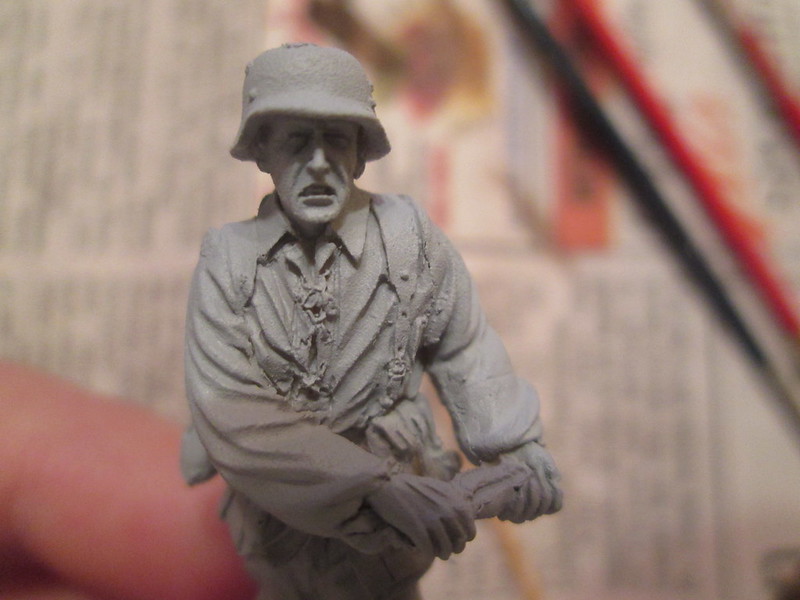
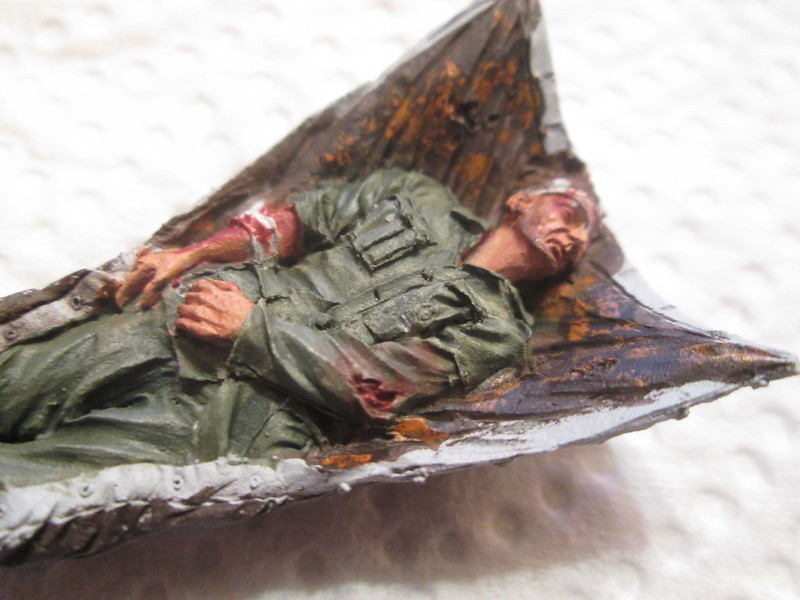
And the rest of the guys:
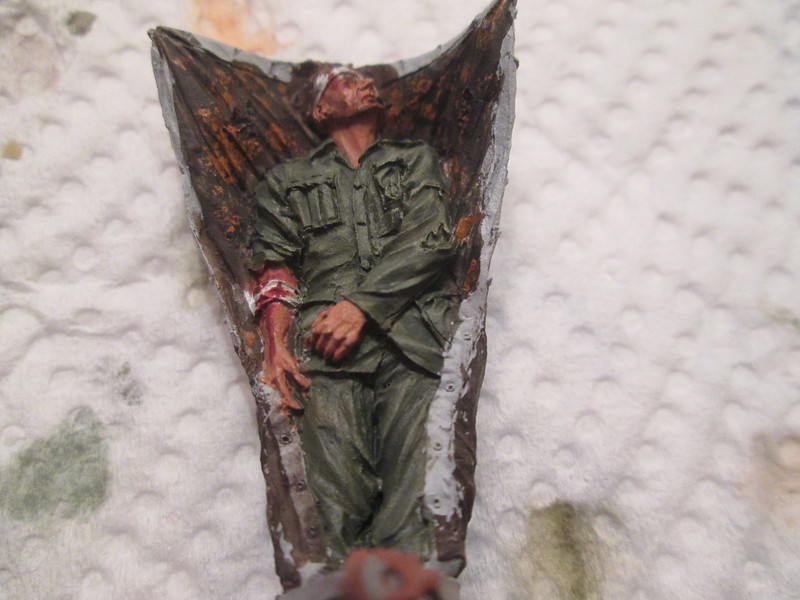


(The messy face on him is due to a play date with the cat. I left all 4 of them on the table to dry, went out for a while, and came back to one guy missing. Wouldn't have done damage, but I sculpted the top of his head, and it got disfigured... The culprit? The cat.)

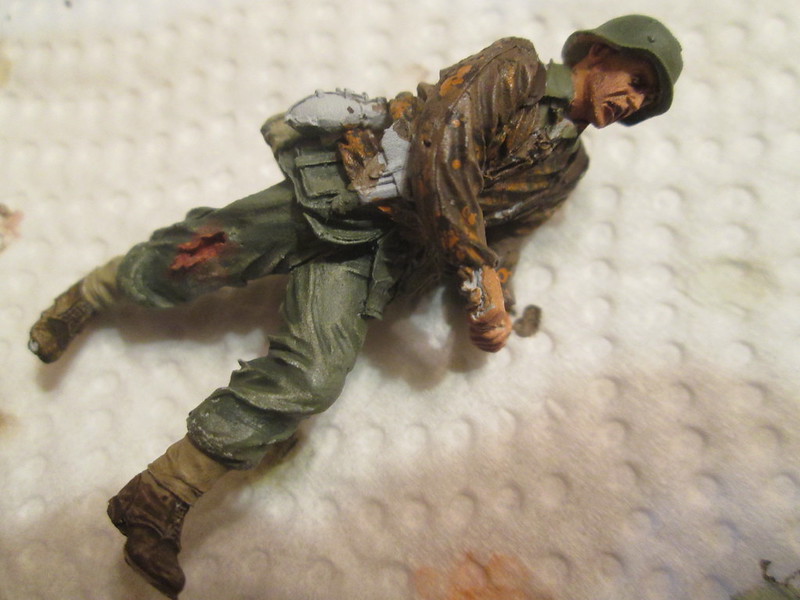
So right now, that's it, except for a few minor touch ups I've done since seeing the pictures. You can see where the paint has chipped in a few spots, mostly because I hadn't thinned them properly, and because I held them there while painting. The lighting isn't great either, so some colors look off a bit. I'm really happy with the new Vallejo paints I used, especially the field grey, which was a mix of a bunch. Used James Cann's build log as a reference for them. The faces still need work around the eyes, in case you noticed how strange they look hahaha.
In regards to most of the painting I owe a lot of thanks to Mr. Rutman and Mr. Roof who are always an invaluable help and reference. I took a lot of what I've seen you guys do or suggest and tried it here, and it's worked fantastically.
"Run like hell" is the working title for it (That's 2 Pink Floyd songs I've used), and they'll end up being Totenkopf infantry in fall 1943.
I'd love to hear any tips, suggestions, or errors I haven't noticed, so don't be shy

Thanks for looking!
-Conor