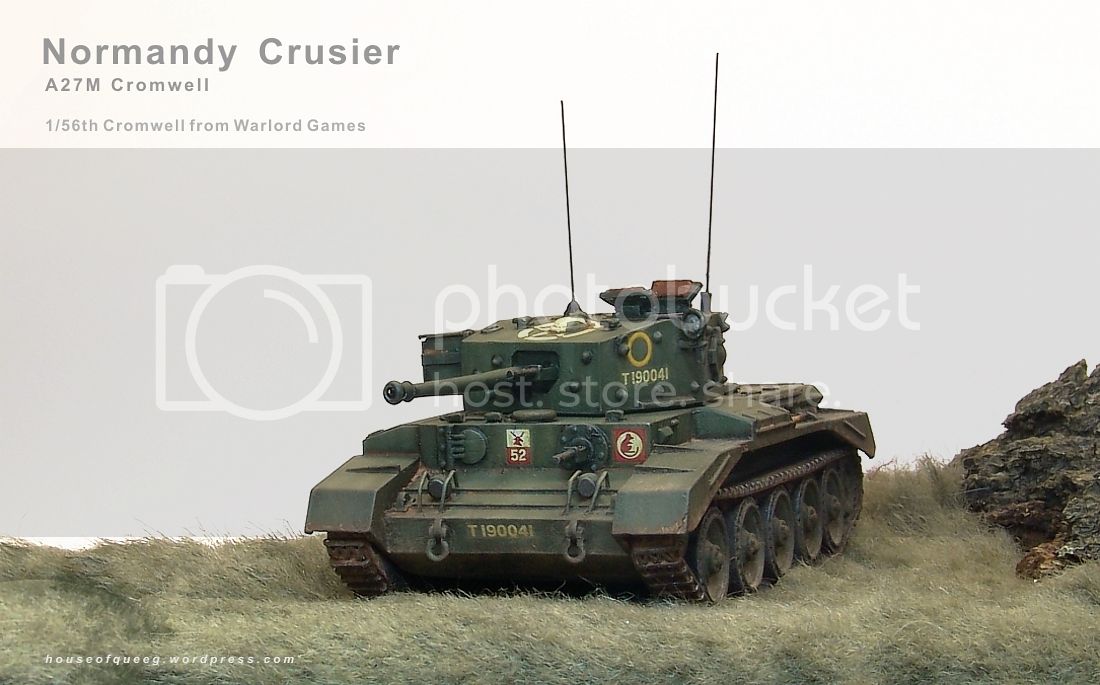
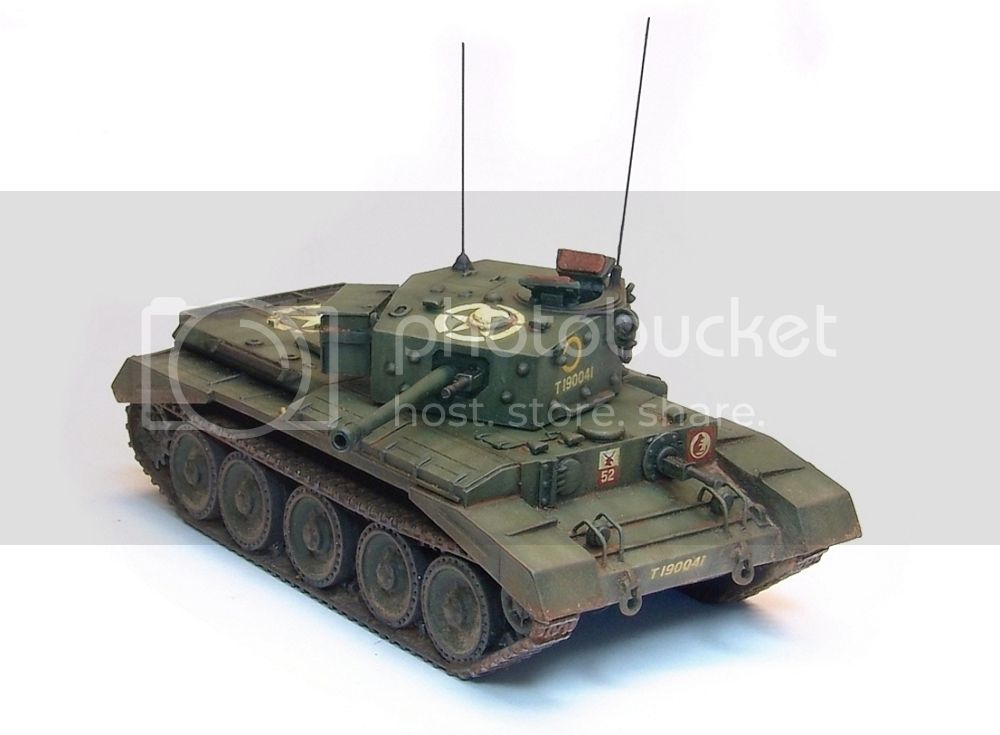
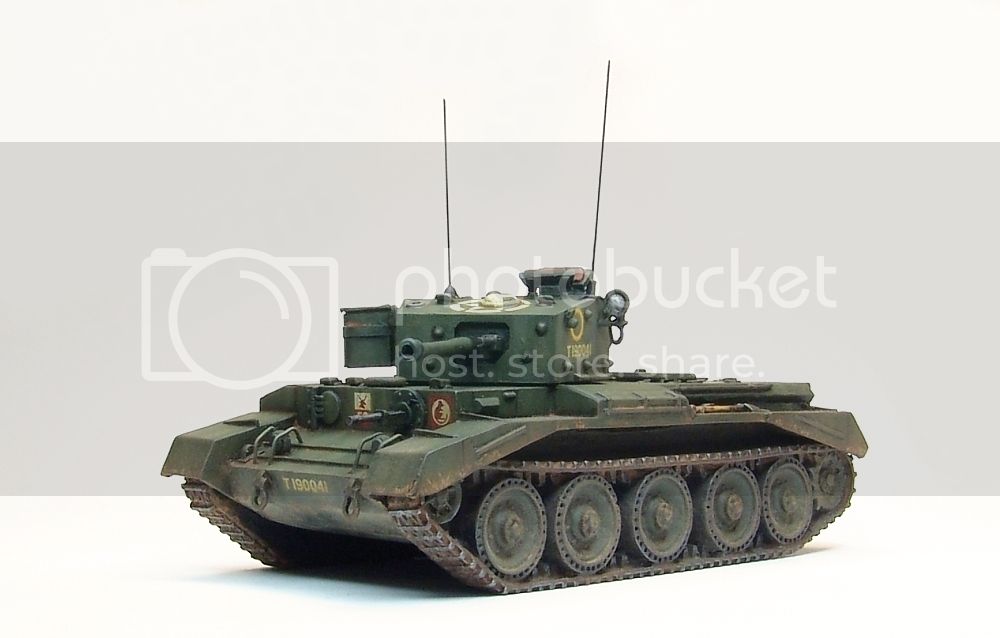
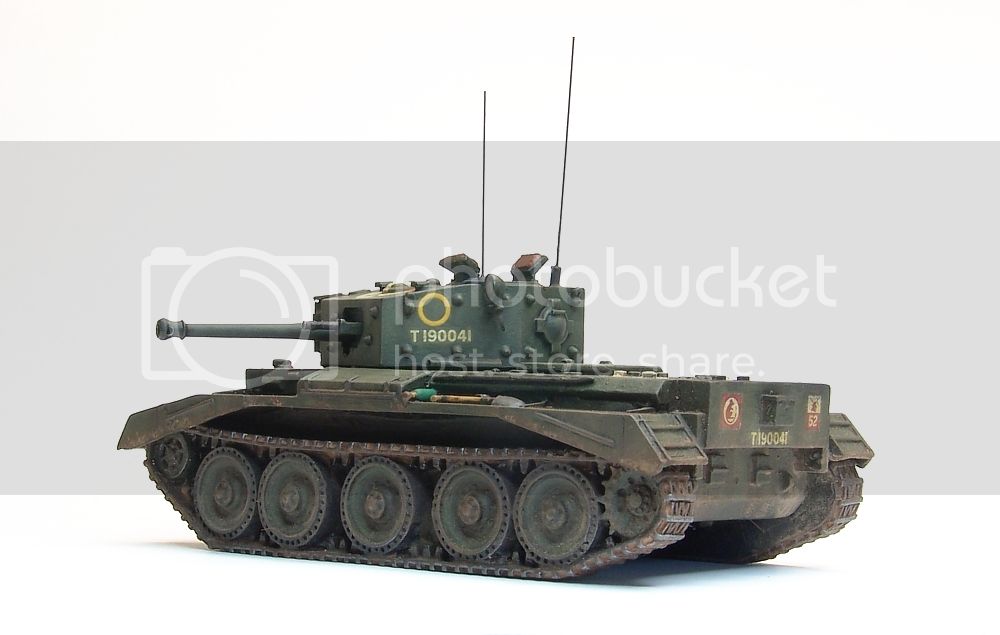
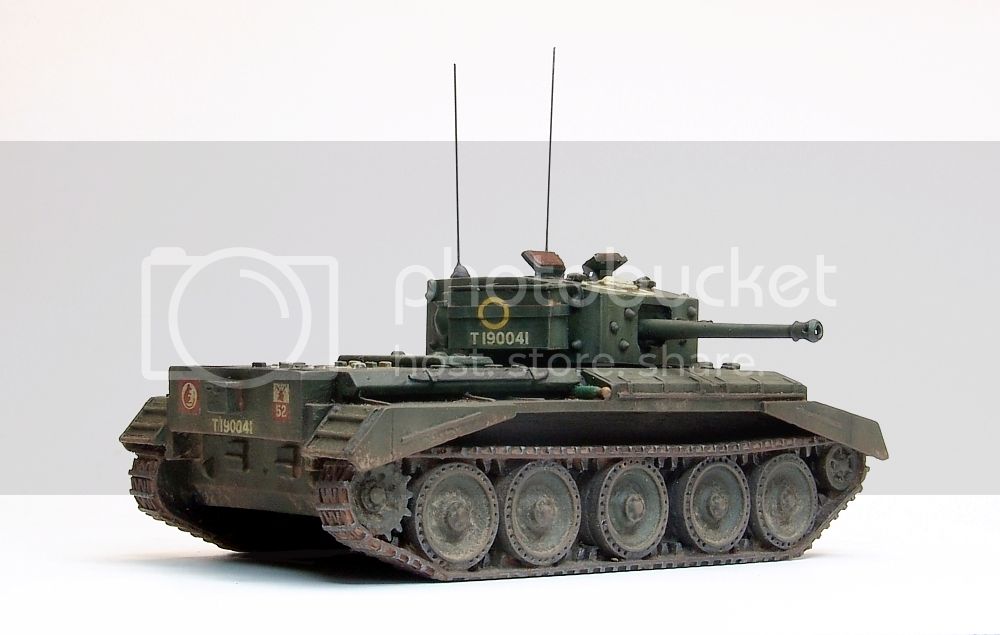
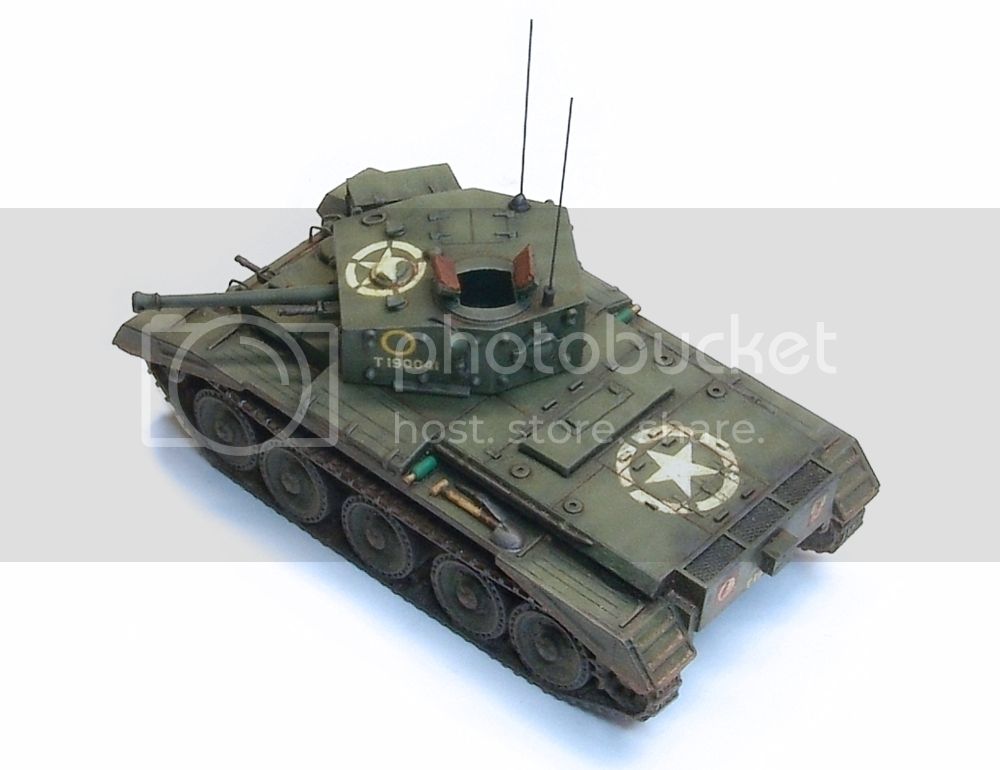
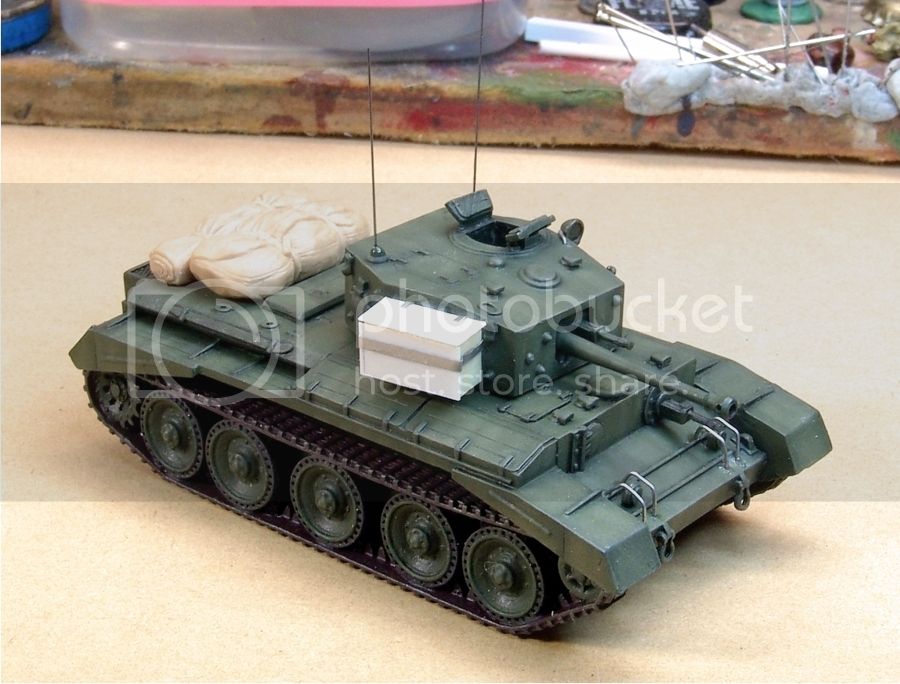
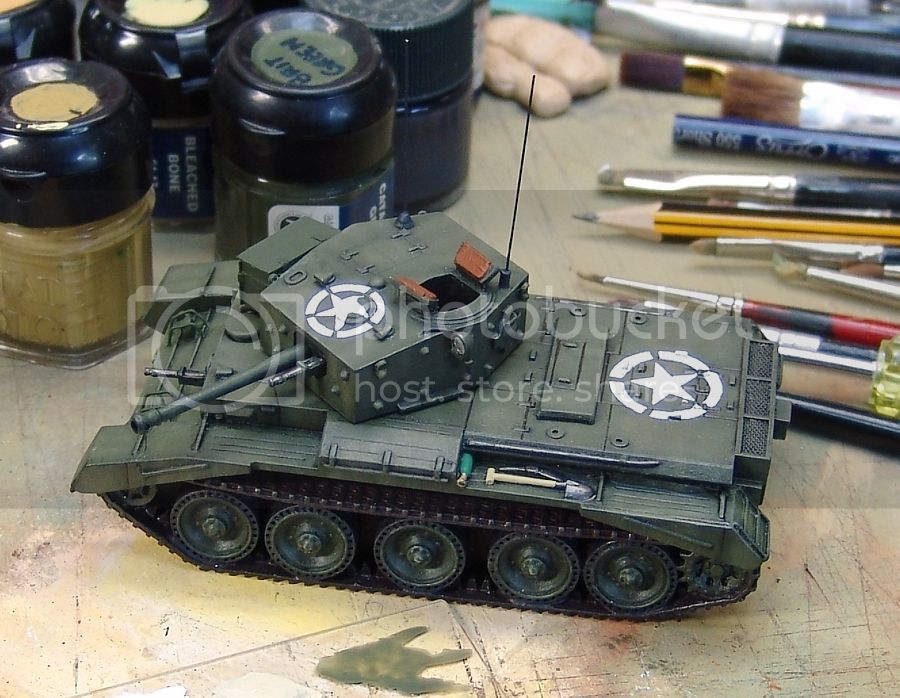
Nothing fancy, just another wargaming AFV. A 1/56th Cromwell from Warlord Games sent to me for "polishing" up ....
Basic detail (14 resin and white metal parts) but looks ok on the table now its done.
Needed extensive dremeling to get the tracks to sit up inside the guards properly and I added some basic extra detail but apart from that it's WYSIWYG.
I've got a Tamiya Cromwell here to do for myself at sometime so a bit of painting practise never hurts .....
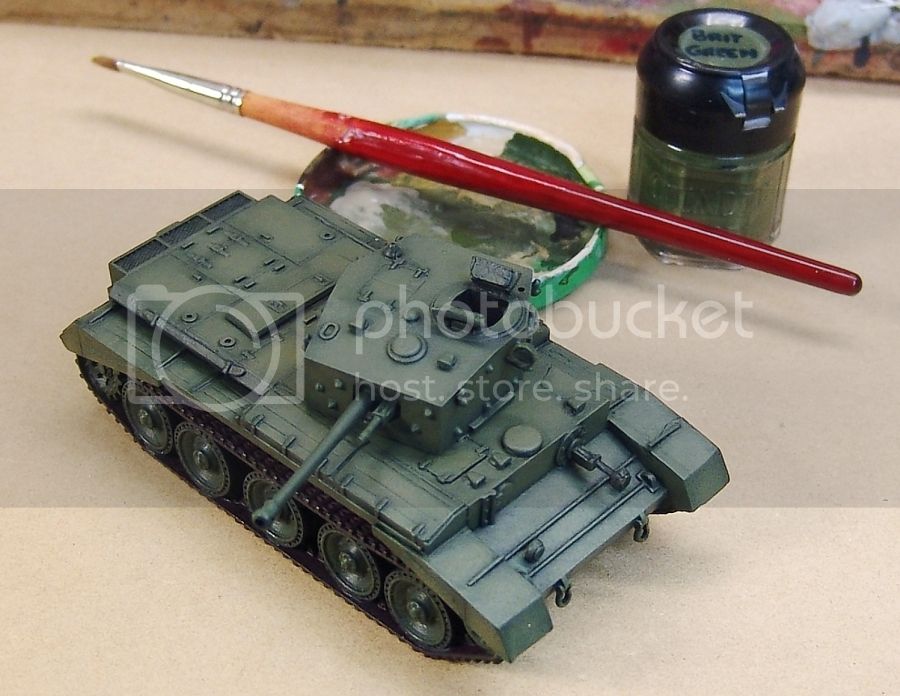
Anyway brush painted as usual, undercoat is Humbrol enamel and all other paint GW acrylics. The Allied stars are handpainted but the other markings were robbed from the Tamiya Cromwell as almost no wargaming kits come supplied with decals.
cheers
Brent
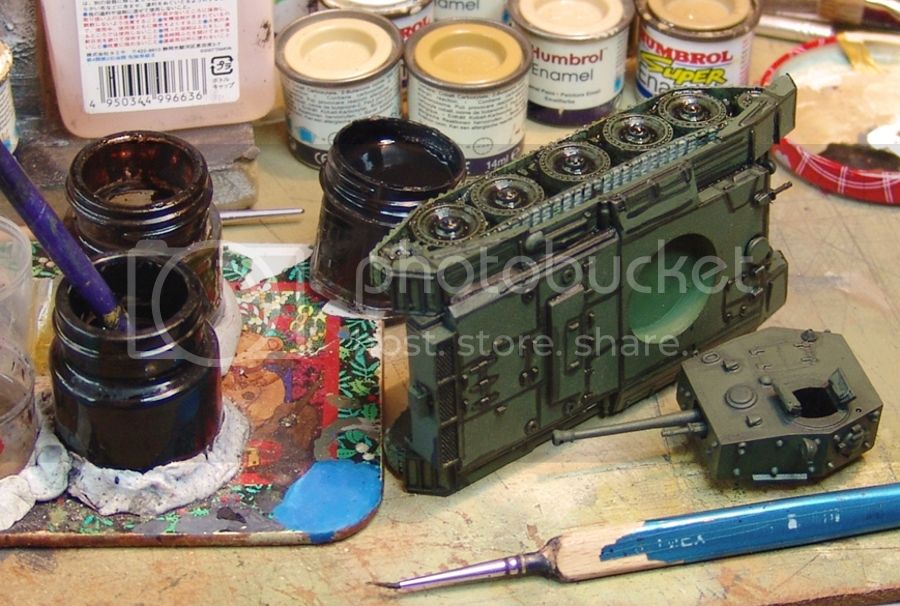
A few wips ......
Hosted by Darren Baker
Cromwell
DaGreatQueeg
Napier, New Zealand
Joined: August 01, 2005
KitMaker: 1,049 posts
Armorama: 841 posts
Joined: August 01, 2005
KitMaker: 1,049 posts
Armorama: 841 posts
Posted: Friday, December 06, 2013 - 08:18 AM UTC
easyco69
Ontario, Canada
Joined: November 03, 2012
KitMaker: 2,275 posts
Armorama: 2,233 posts
Joined: November 03, 2012
KitMaker: 2,275 posts
Armorama: 2,233 posts
Posted: Saturday, December 07, 2013 - 04:51 AM UTC
sexy
DazzaD
South Australia, Australia
Joined: June 17, 2007
KitMaker: 235 posts
Armorama: 232 posts
Joined: June 17, 2007
KitMaker: 235 posts
Armorama: 232 posts
Posted: Saturday, December 07, 2013 - 10:19 AM UTC
1/56, Are you kidding me?!?! I wish I could make a 1/35 look that good!
Top work on the paint job mate. The weathering is absolutely spot on.
GregCloseCombat
California, United States
Joined: June 30, 2008
KitMaker: 2,408 posts
Armorama: 2,394 posts
Joined: June 30, 2008
KitMaker: 2,408 posts
Armorama: 2,394 posts
Posted: Sunday, December 08, 2013 - 02:36 AM UTC
Great work. Is that wash done with oils? The dirt-dust looks very nice
DaGreatQueeg
Napier, New Zealand
Joined: August 01, 2005
KitMaker: 1,049 posts
Armorama: 841 posts
Joined: August 01, 2005
KitMaker: 1,049 posts
Armorama: 841 posts
Posted: Sunday, December 08, 2013 - 08:17 AM UTC
Thanks for the comments guys .....
cheers
Brent
Hi Greg,
Bit more explanation may help;
All my washes are acrylic based but I don't apply an overall wash at any stage, unless something has gone wrong then I might try a filter to alter a clolour shade.
I post shade (the first wip pic) and use two mixes, one black and one red brown, both with a little ink mixed in to give some it some "tooth".
At a later stage I postshade, which applies pin washes to panel line, around hatches and details and sometimes add some shading to panel edges. Again though it's very selective and uses a mixture of the two washes thinned as required.
Much like Mike Roof's Universal Carrier build log but with acrylics and not oils. The selective wash method is the same. It saves me having to apply a full gloss barrier layer as I view that as an extra complicating step and give me control of the wash build up, I've had some bad experiences with full oil washes ......
https://armorama.kitmaker.net/forums/210512&ord=&page=11
Here's a couple of pics showing the pin washes and shading before the final pigments and dusting.
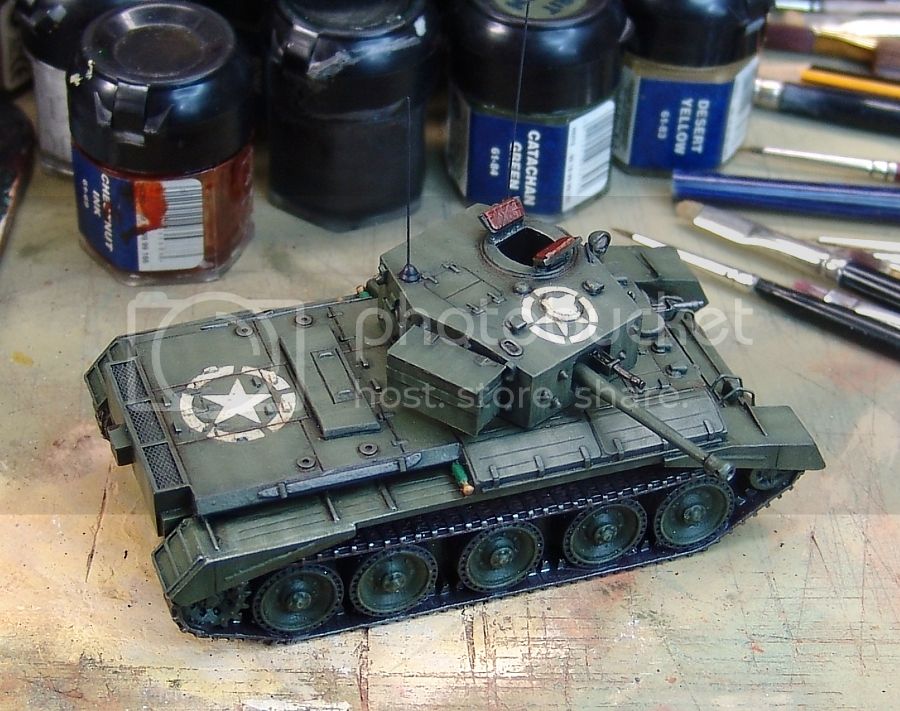
Also you can miss out the "pre shade" entirely and get much the same effect just with post shading. I tend to add the preshade only with British or US green vehicles. The downside to the preshade is that it requires drybrushing (if brushpainting) out, which can be hard on small details if not careful. This is why I leave many of them off until after this stage.
Hope this is some help ... feel free to ask if not.
Brent
cheers
Brent
Quoted Text
Great work. Is that wash done with oils? The dirt-dust looks very nice
Hi Greg,
Bit more explanation may help;
All my washes are acrylic based but I don't apply an overall wash at any stage, unless something has gone wrong then I might try a filter to alter a clolour shade.
I post shade (the first wip pic) and use two mixes, one black and one red brown, both with a little ink mixed in to give some it some "tooth".
At a later stage I postshade, which applies pin washes to panel line, around hatches and details and sometimes add some shading to panel edges. Again though it's very selective and uses a mixture of the two washes thinned as required.
Much like Mike Roof's Universal Carrier build log but with acrylics and not oils. The selective wash method is the same. It saves me having to apply a full gloss barrier layer as I view that as an extra complicating step and give me control of the wash build up, I've had some bad experiences with full oil washes ......
https://armorama.kitmaker.net/forums/210512&ord=&page=11
Here's a couple of pics showing the pin washes and shading before the final pigments and dusting.
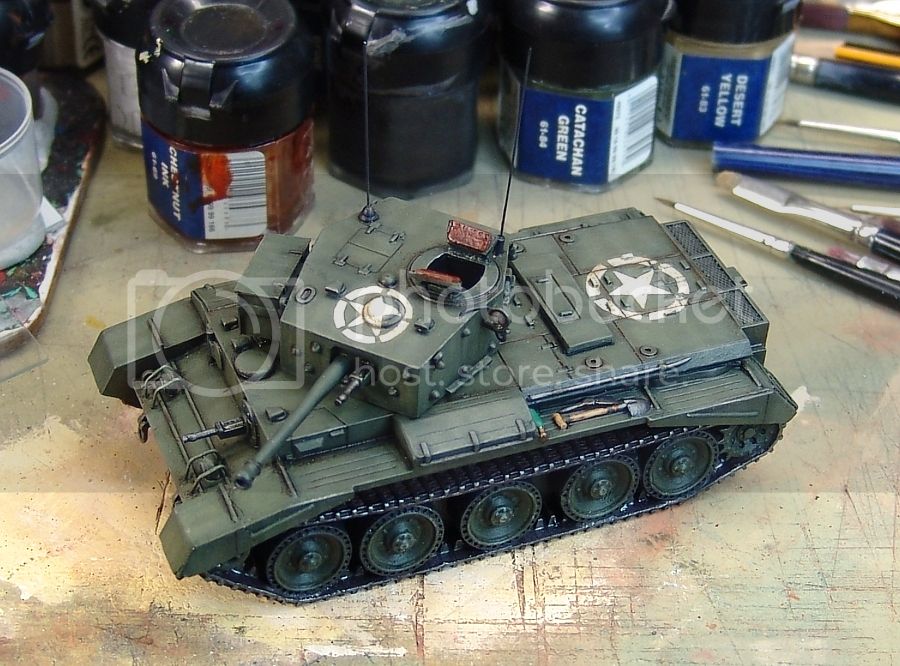
Also you can miss out the "pre shade" entirely and get much the same effect just with post shading. I tend to add the preshade only with British or US green vehicles. The downside to the preshade is that it requires drybrushing (if brushpainting) out, which can be hard on small details if not careful. This is why I leave many of them off until after this stage.
Hope this is some help ... feel free to ask if not.
Brent