Constructive Feedback
For in-progress or completed build photos. Give and get contructive feedback!
For in-progress or completed build photos. Give and get contructive feedback!
Hosted by Darren Baker, Dave O'Meara
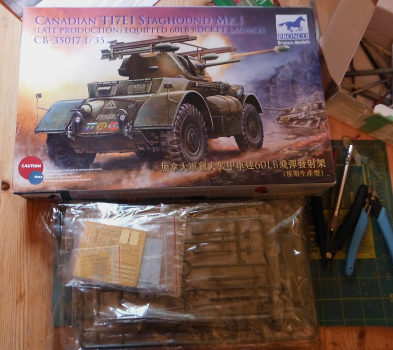
Bronco Staghound MK.I
stoney

Joined: October 16, 2006
KitMaker: 480 posts
Armorama: 399 posts

Posted: Friday, January 24, 2014 - 07:55 AM UTC
Hi guys, so long story short Im spending the next 3 months living up in Haida Gwaii (queen charlotte islands) with a bit of imd on my hands, I brought up some basic modelling tools and limited myself to one kit out of the stash, the Bronco Staghound. This is my first bronco kit and my first serious build in about a year, so wish me luck and feel free to toss critique, ideas, or just general smack talk at me!


stoney

Joined: October 16, 2006
KitMaker: 480 posts
Armorama: 399 posts

Posted: Friday, January 24, 2014 - 07:59 AM UTC
So the first thing I noticed as I got into this kit is PAY ATTENTION!
the carpet monster (actually hardwood floor creature with looming cracks) struck early and I lost a couple of rather small yet still noticeable pieces. A bt of evergreen and some stretched sprue and all was well again though.
The instructions are very well done but you must, must, PAY ATTENTION, I've actually read over them several times to see how sub assemblies will eventually interlock, also due to the steps being fairly busy and not separated
ive resorted to a highlighter to mark what I've done... and need to replace due to loss.
thebear

Joined: November 15, 2002
KitMaker: 3,960 posts
Armorama: 3,579 posts

Posted: Friday, January 24, 2014 - 07:28 PM UTC
Hi Eric .. Great choice to keep you busy for a while.. Now if I were you and talking from experience I would glue the hull together before adding everything to the sides as they have you do it in the instructions.. As for the tiny pieces I agree there are some small ones .. I bet a lot have to do with the external gas tanks..If you plan on doing it Canadian , the tanks weren't used and there was usually a lot of stowage on the sides which will cover those tiny missing parts...
If you want to improve this kit I would suggest redoing the cast effect on the turret and the weld seams on the hull can use some work..
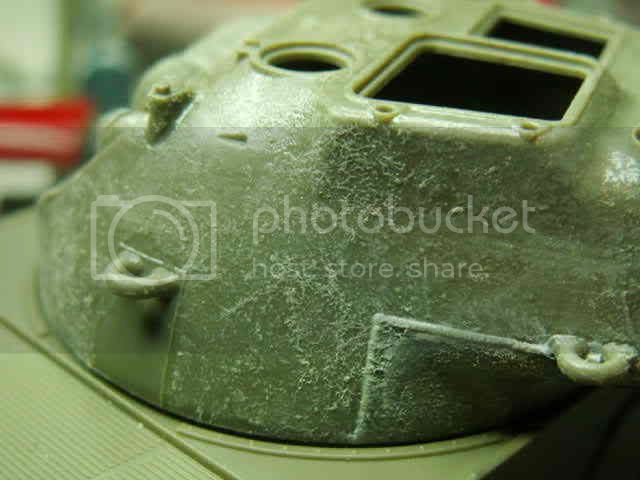
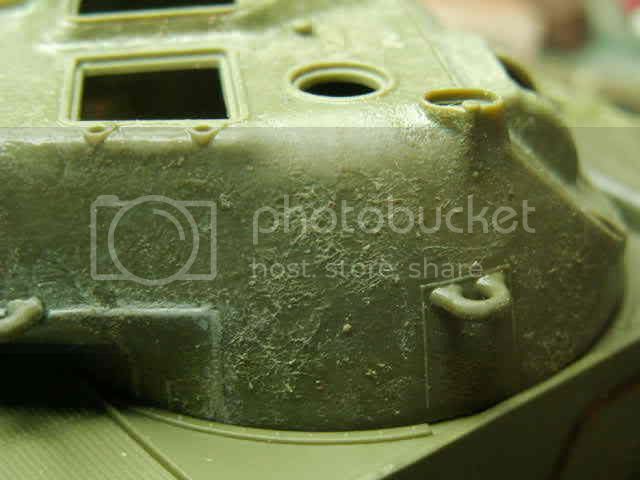
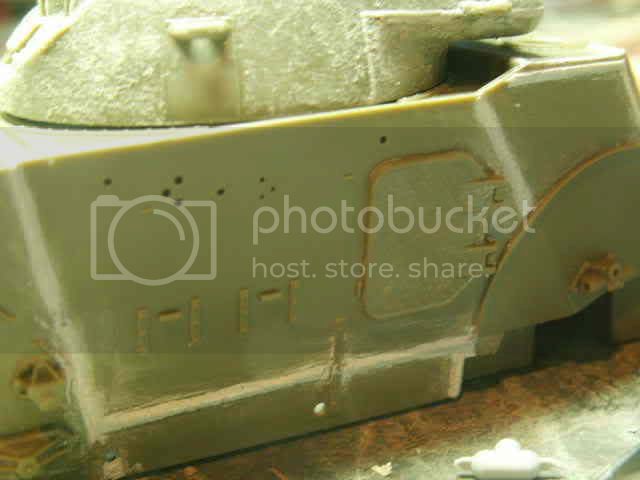
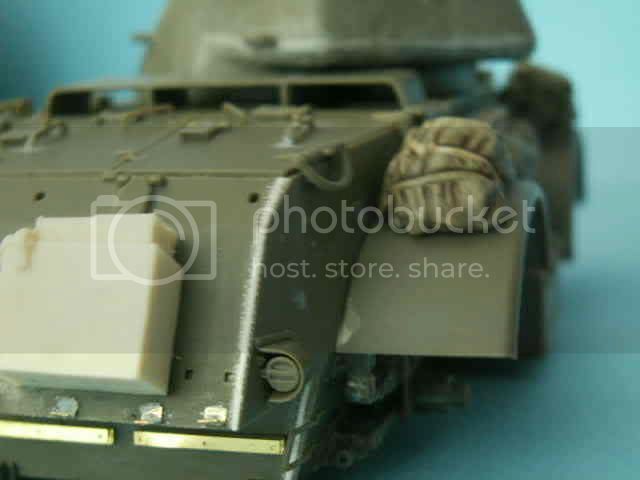
Hope this helps
Rick
If you want to improve this kit I would suggest redoing the cast effect on the turret and the weld seams on the hull can use some work..


Hope this helps
Rick
stoney

Joined: October 16, 2006
KitMaker: 480 posts
Armorama: 399 posts

Posted: Saturday, January 25, 2014 - 04:28 AM UTC
Hi Rick, thanks for the advice. Im leaving the fuel tanks off as like you said, its very rare to see them fitted to a canadian vehicle. I did build the lines and fittings as while Im going to load up the side bins (scratched soon) I'm not sure how much will be visible.Ive also left the tools off as well as Im going to play with the mounting brackets to get them a little cleaner and better defined.
I like your turret casting, glue and stiff brush?
Thanks again for the info!
Eric.
I like your turret casting, glue and stiff brush?
Thanks again for the info!
Eric.
thebear

Joined: November 15, 2002
KitMaker: 3,960 posts
Armorama: 3,579 posts

Posted: Saturday, January 25, 2014 - 02:59 PM UTC
Hi Eric ...yeah just glue .. That's all .. Keep us posted.
Rick
Rick
 |


