_GOTOBOTTOM
Dioramas
Do you love dioramas & vignettes? We sure do.
'Close Contact' (WIP)
ti
Visit this Community
Dalarnas, Sweden
Joined: May 08, 2002
KitMaker: 2,264 posts
Armorama: 1,763 posts
Posted: Sunday, February 23, 2014 - 08:45 PM UTC
I have come a long way with this diorama and had not think to post it here but thought it might be helpful to some others. So here goes:

Hello everyone. It's been a long time and a new year. Thought you might like to see what I have been up to. I wanted to put a building together from scratch and wanted to test out using materials I have never used before. But I understand this method has been used many times before and still in use today. So nothing new here.

I do hope the pics I put will tell the story much clearer than me typing lots of fancy words. This is no way comparable to any of the dioramas here on Armorama that I have seen, so this build might just be boring to most. But it is a build that I have enjoyed doing so far because the method is new to me.

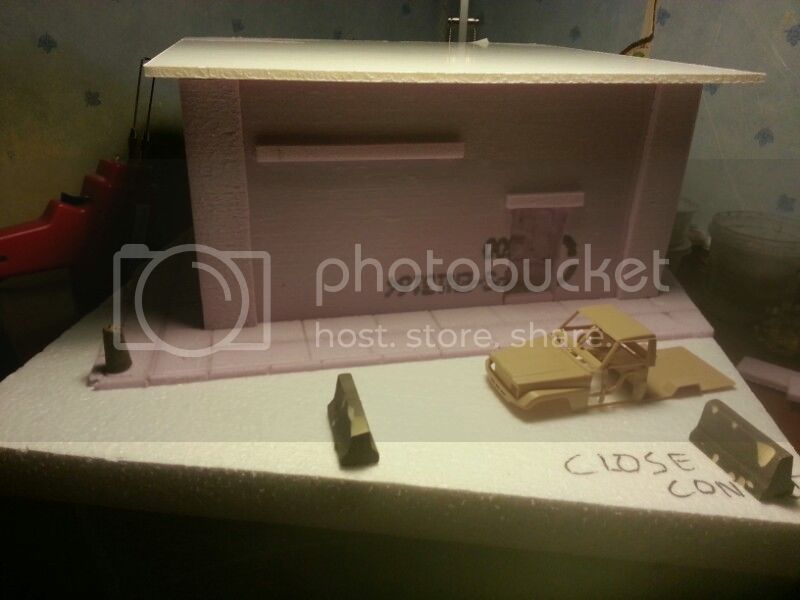
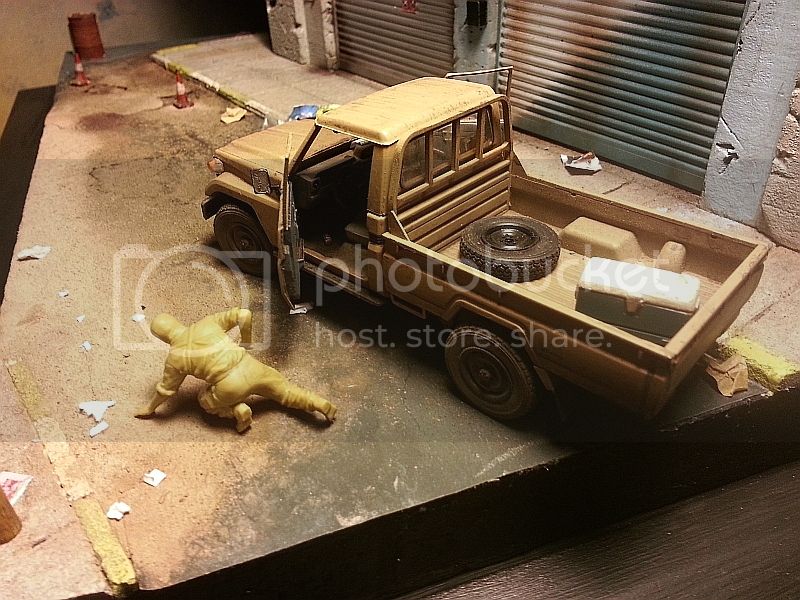
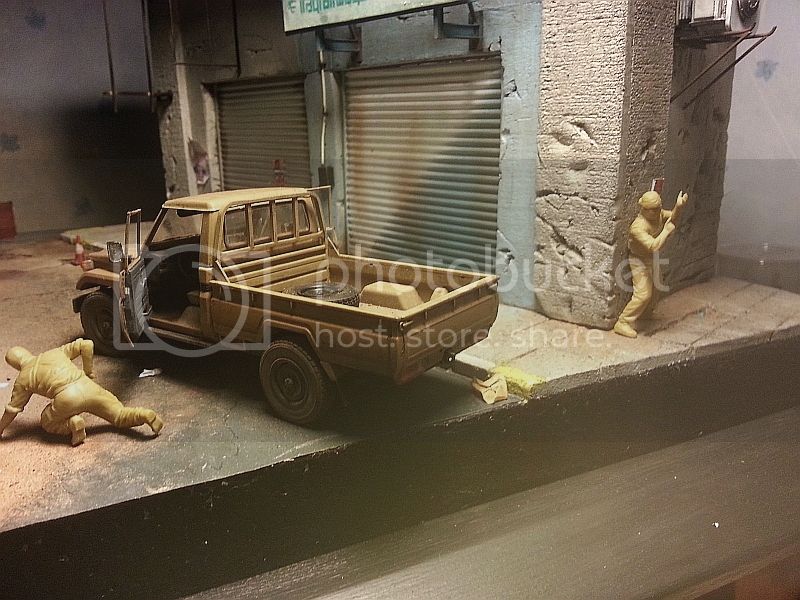
This time I am working on a 1/35 diorama which I am going to call; 'Close Contact' . Focus is going to be on figures( not that good. Still a beginner) and a pickup truck on the street in Iraq. As you may see, I have already started and well underway but there is much left to do. So join me for those who are interested in military subject matters .

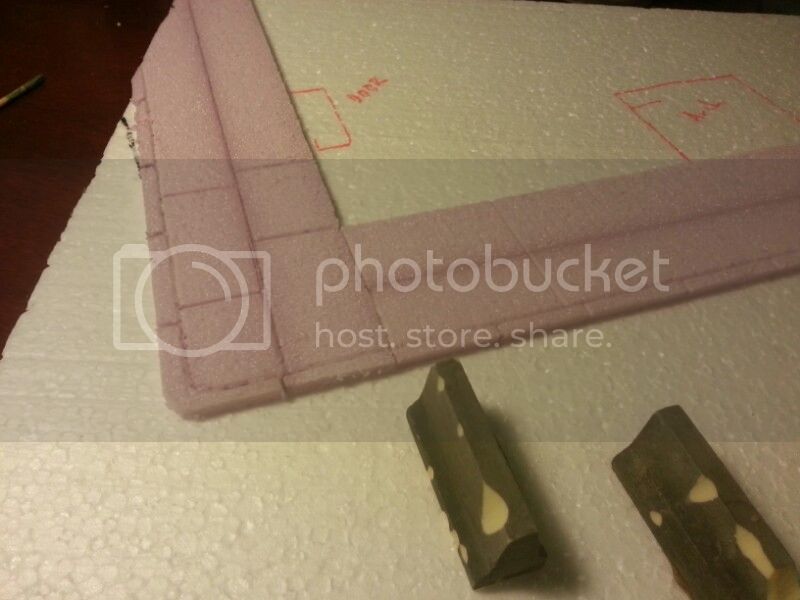
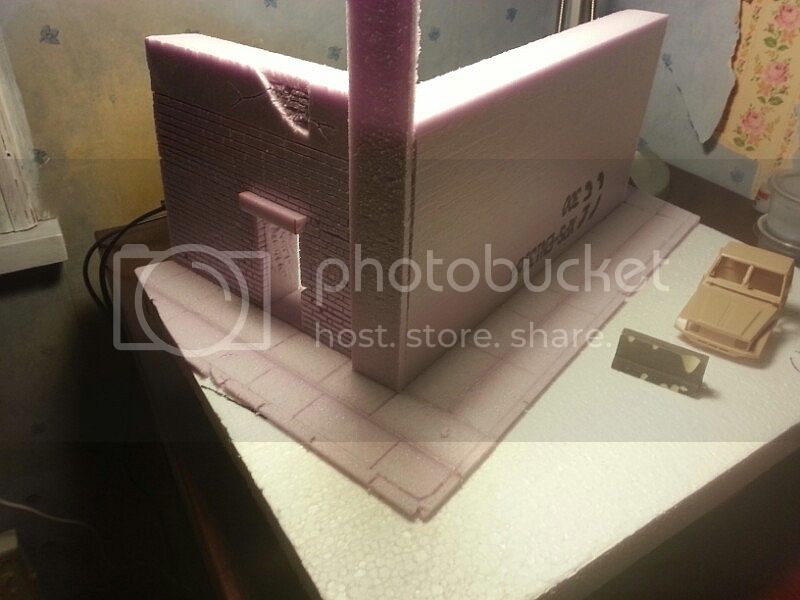
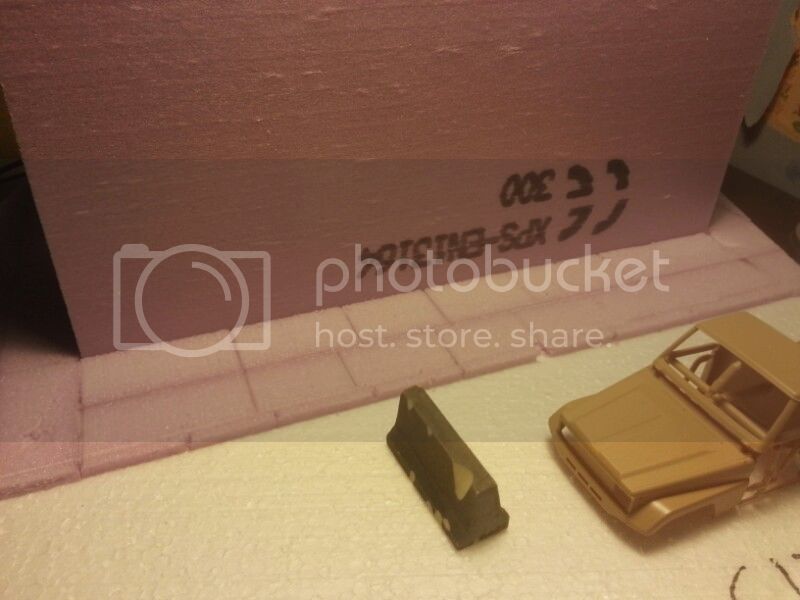
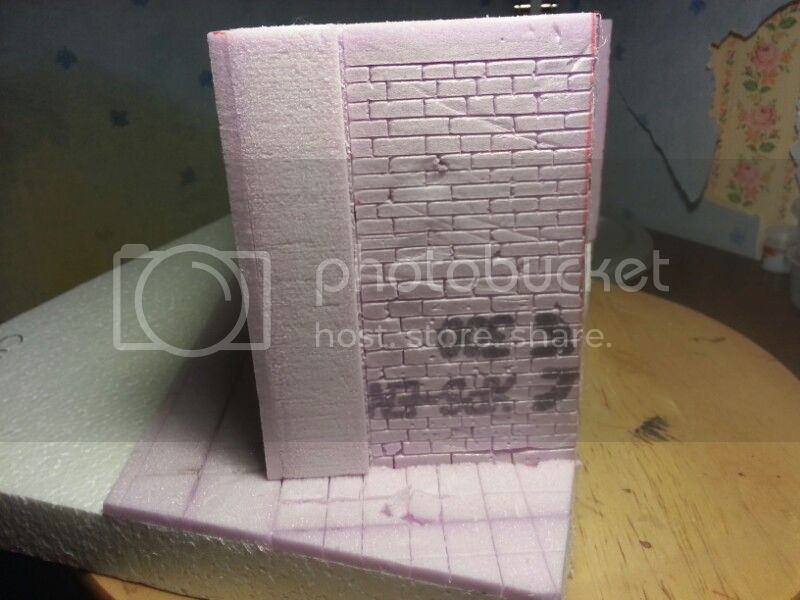
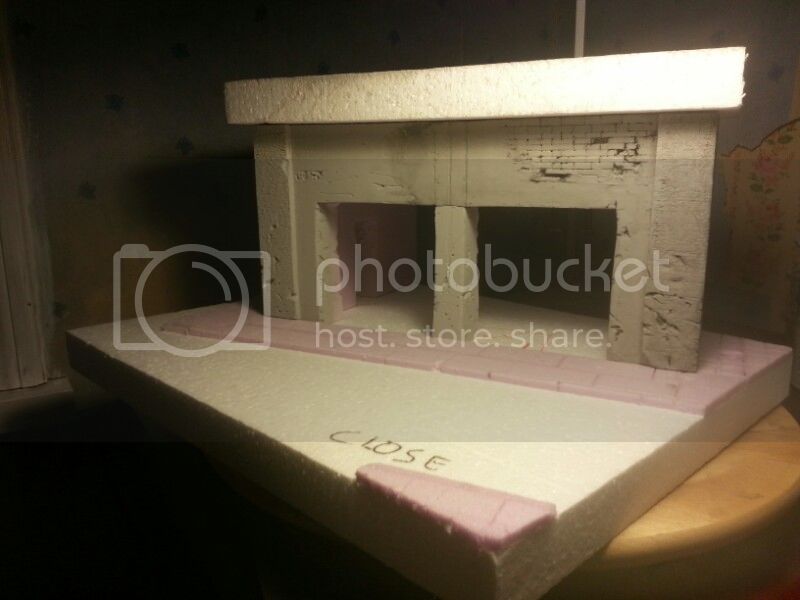
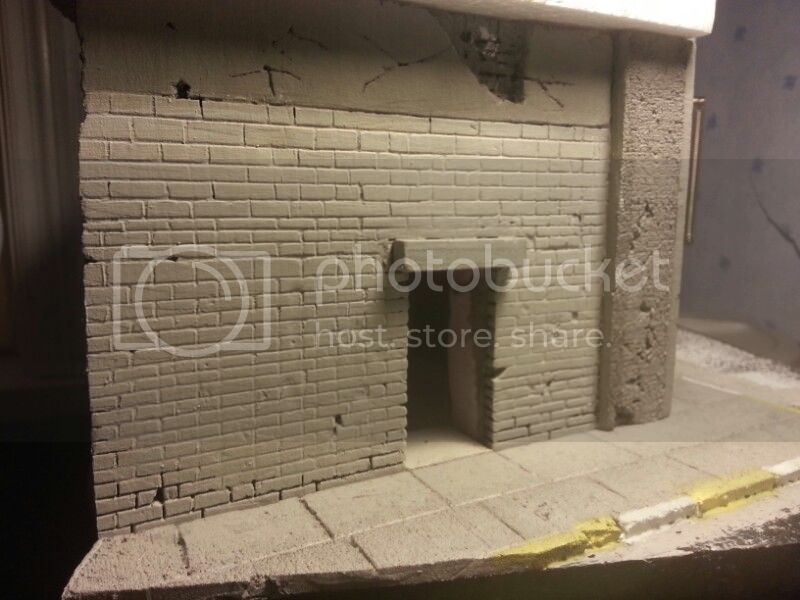
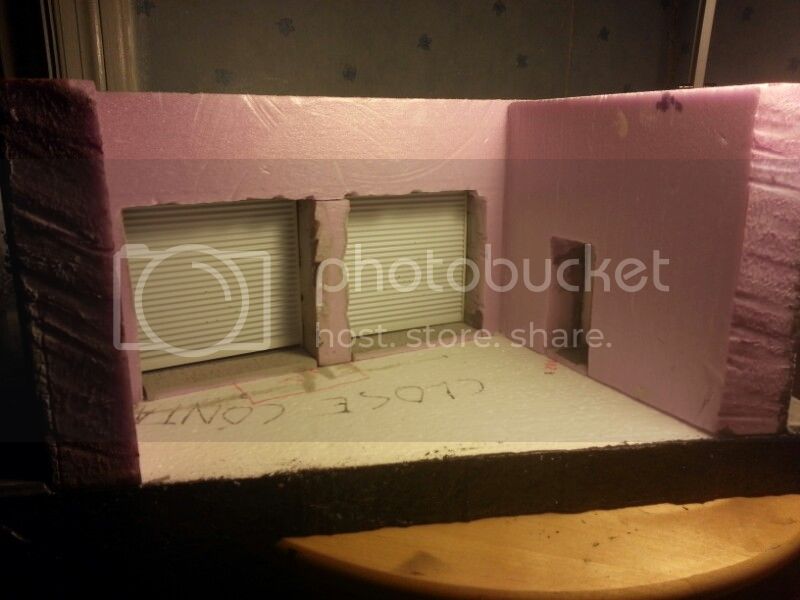
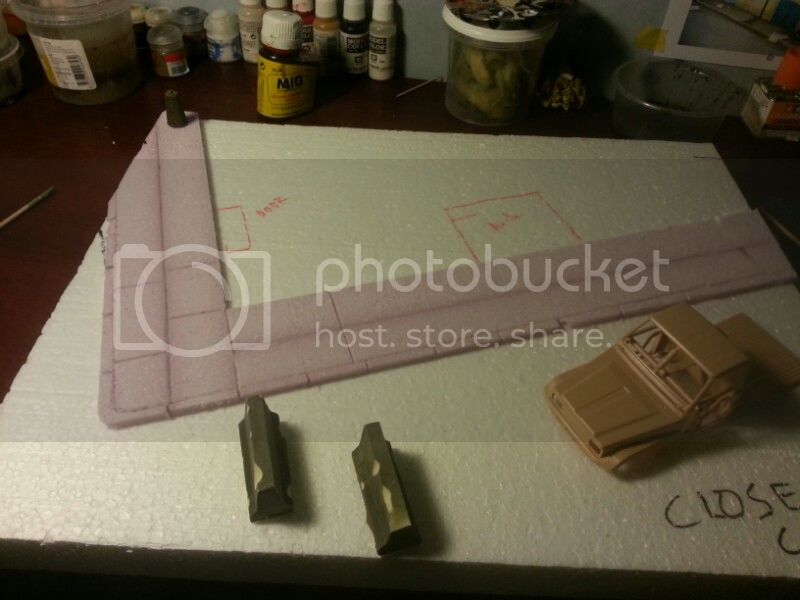
I decided to use pink form for the entire building facade . This is my first time working with pink form materials to build up a scene and I must say that I am pretty impressed with myself. I think it looks good but you can decide for yourselves.

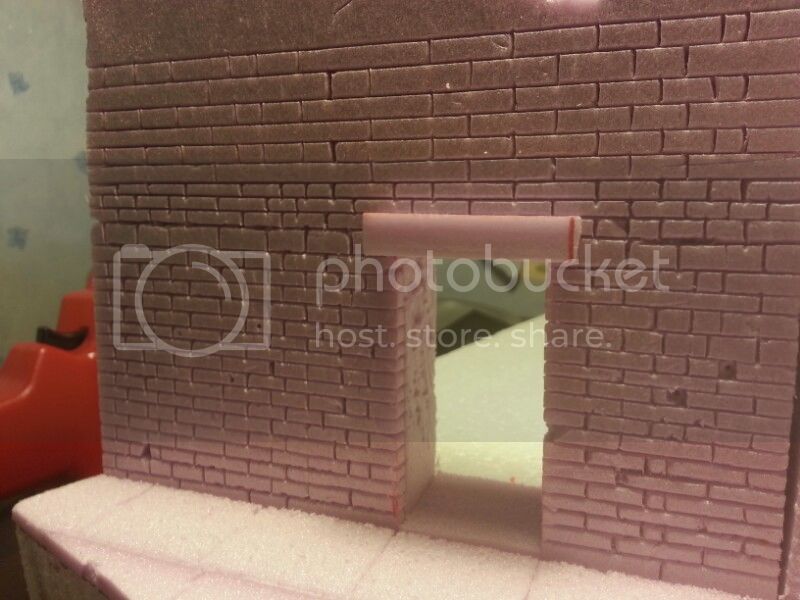
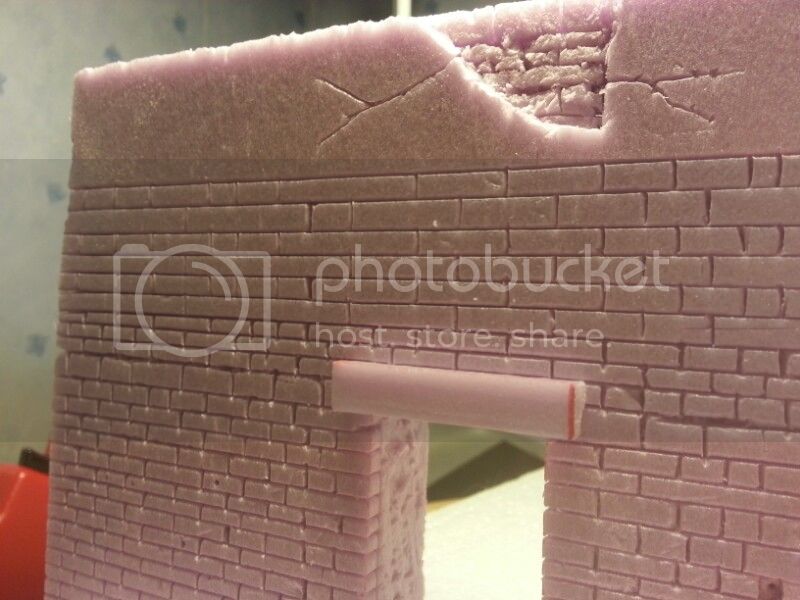
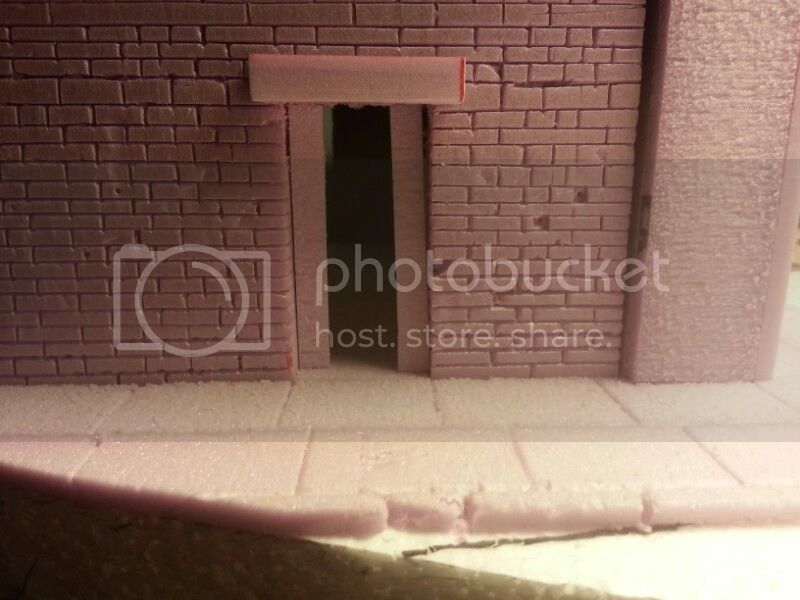
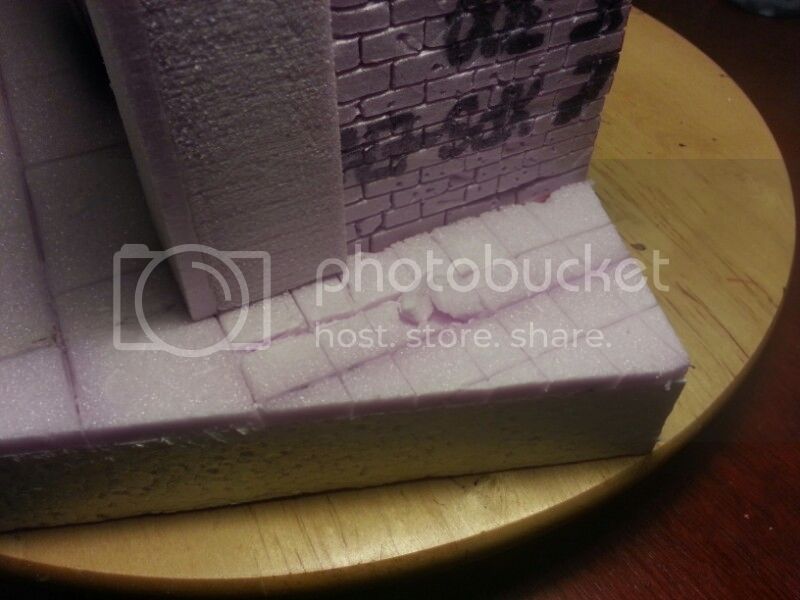
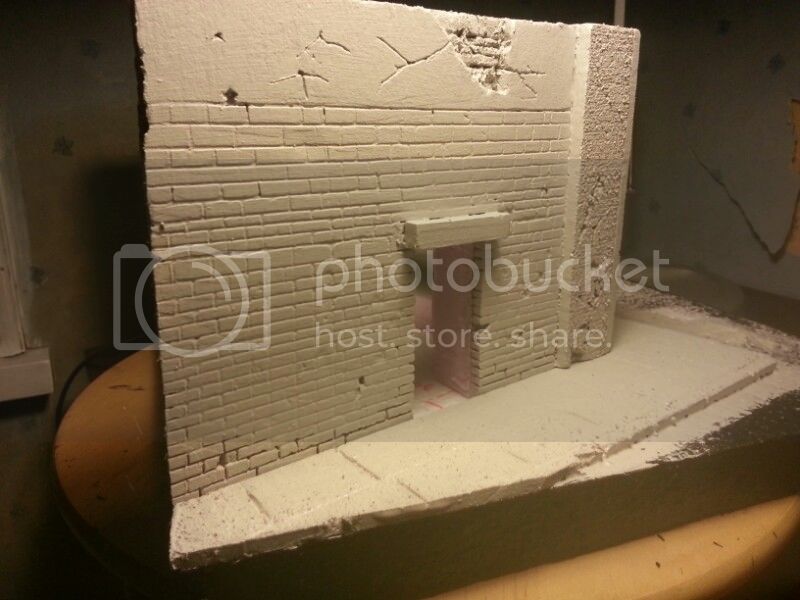
I used a xto knife and a ruler and made careful incisions into the foam and then took a pencil and scribed it to make the bricks more defined, which I am quite satisfied with the results.

Pictures say a thousand words. You be the judge :

The pictures are as it is. So forgive me for the quality:


ti
Visit this Community
Dalarnas, Sweden
Joined: May 08, 2002
KitMaker: 2,264 posts
Armorama: 1,763 posts
Posted: Sunday, February 23, 2014 - 08:50 PM UTC
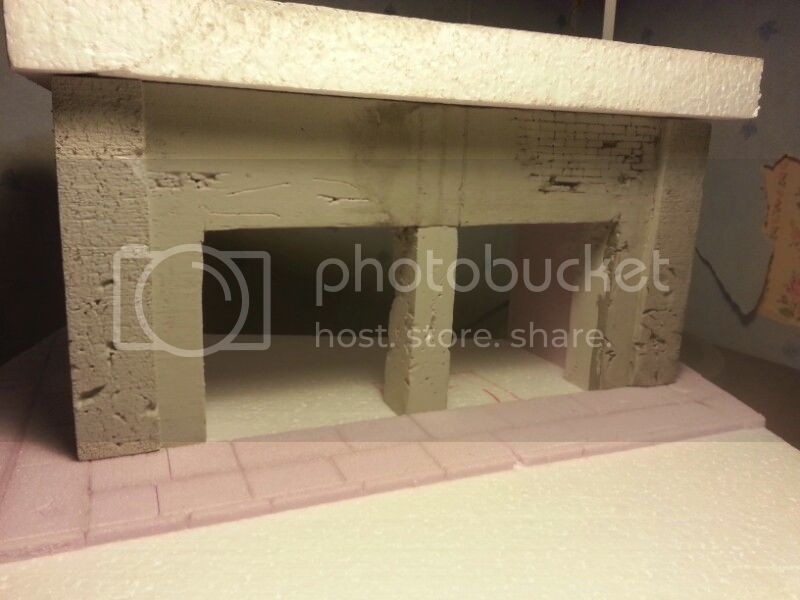
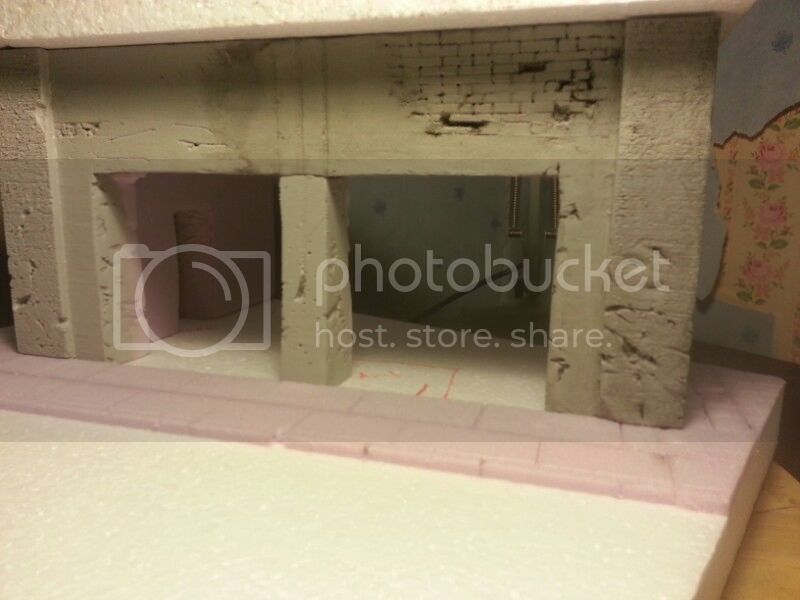
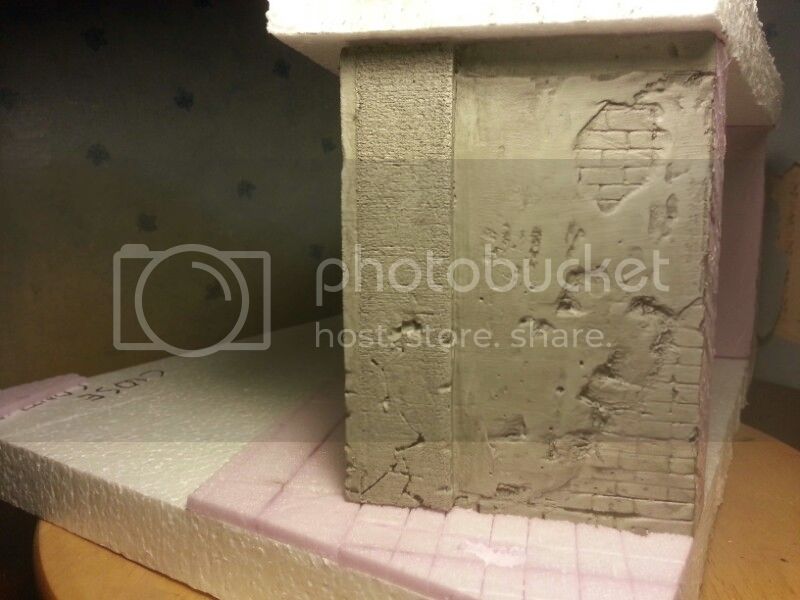
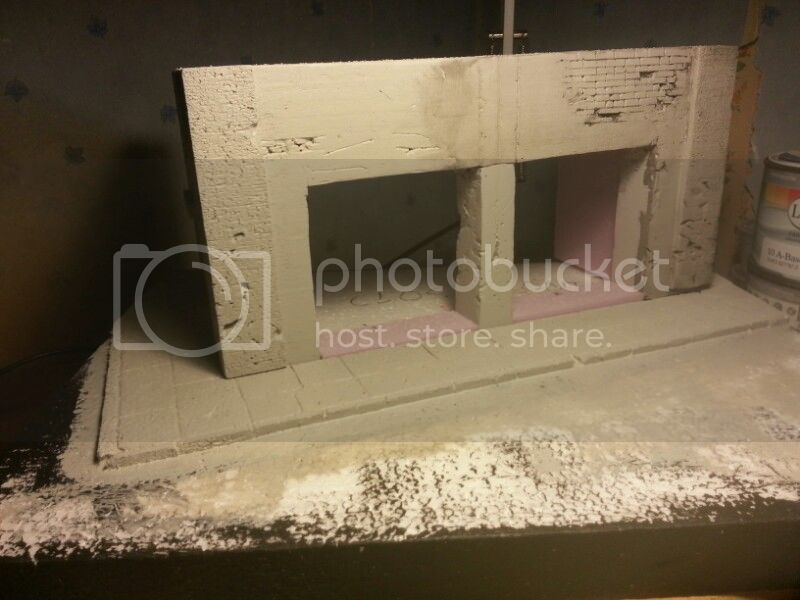
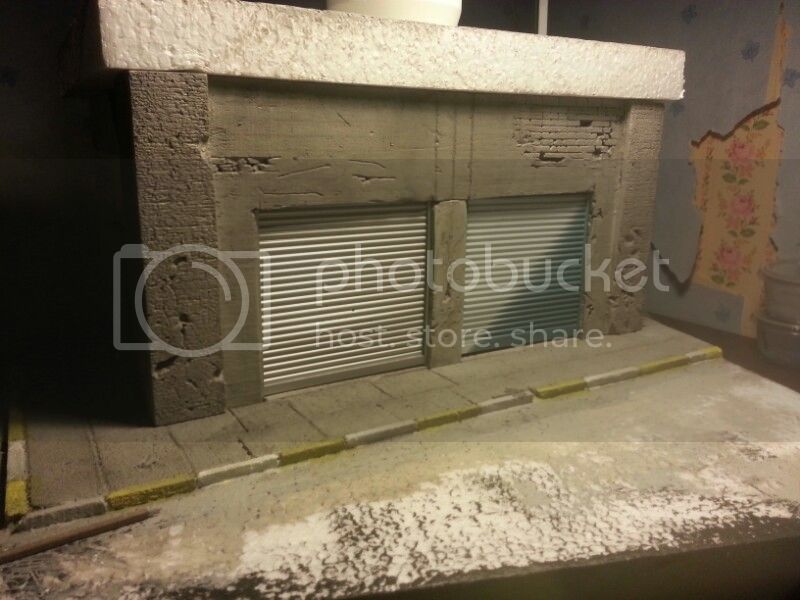
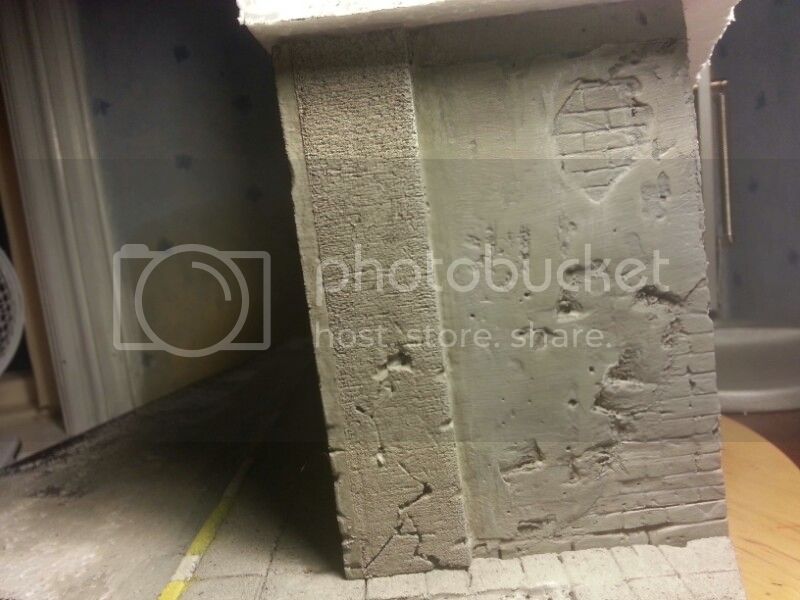
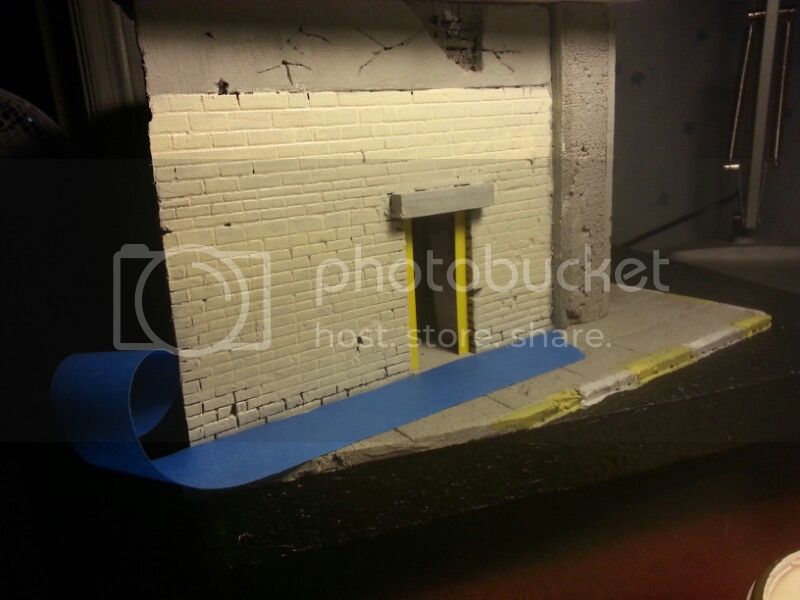
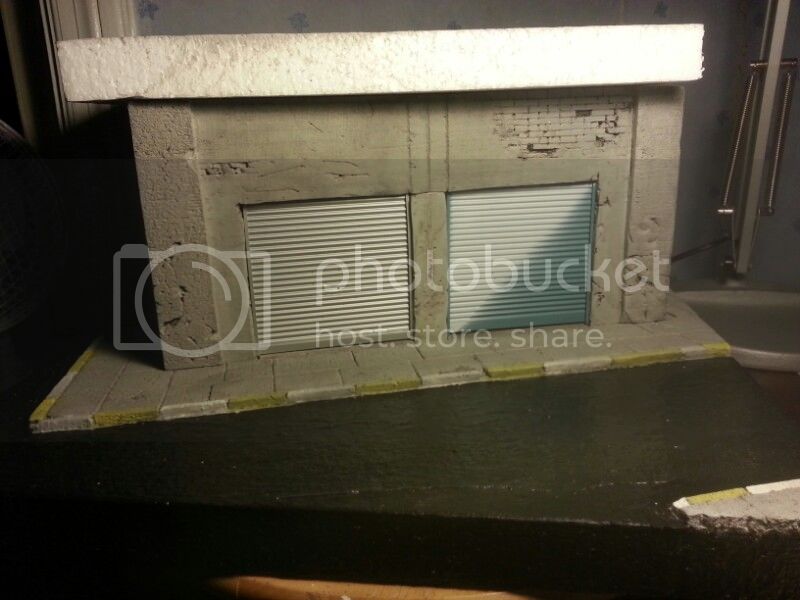
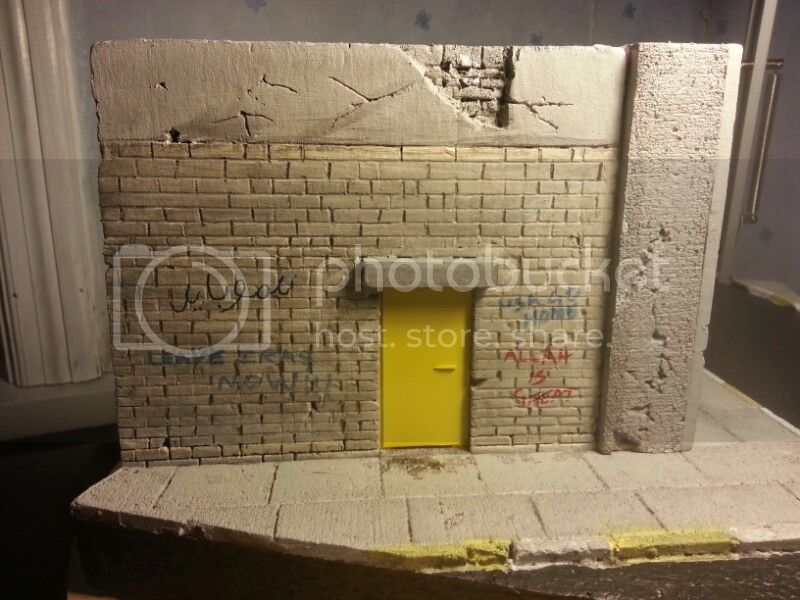
Here I have painted the pink form with a concrete color that I had mixed at a paint store. I must say that the colors did much to the outlook of the facade. It made the foam look like concrete. After the concrete paint was dried I went over the form with a black wash which amazingly brought out the details and made the concrete even more believable. My not look like from your point of view. But I am happy eith the look.


ti
Visit this Community
Dalarnas, Sweden
Joined: May 08, 2002
KitMaker: 2,264 posts
Armorama: 1,763 posts
Posted: Sunday, February 23, 2014 - 09:00 PM UTC
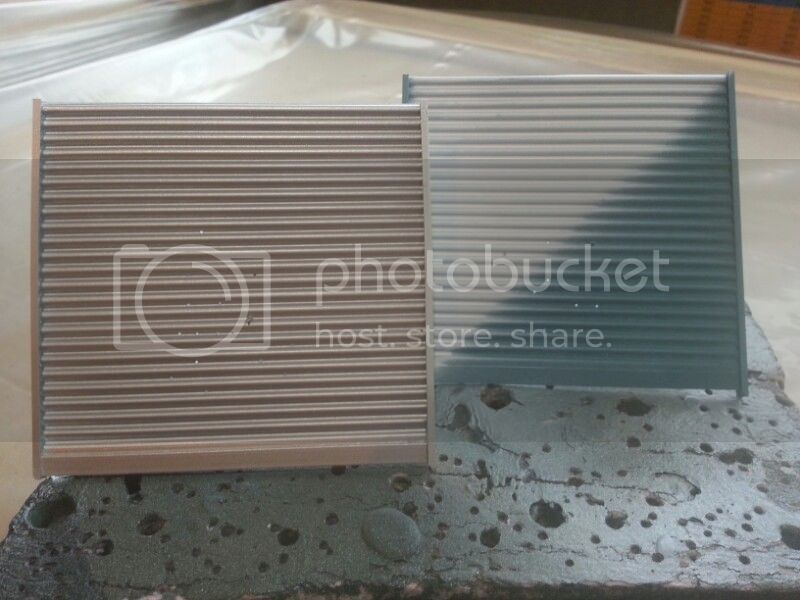
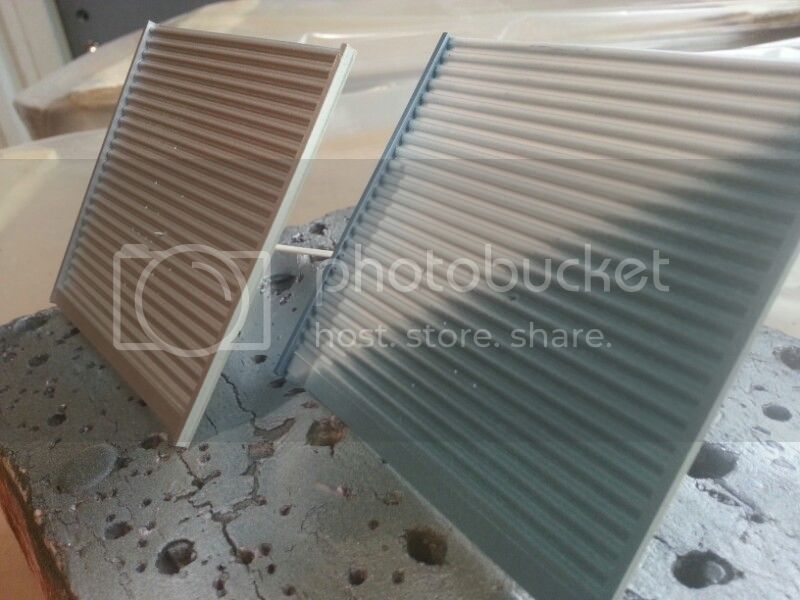
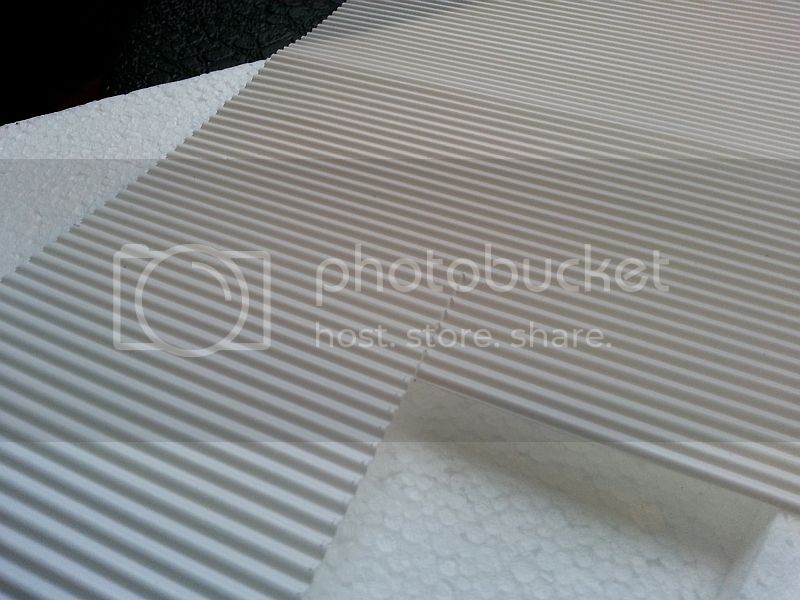
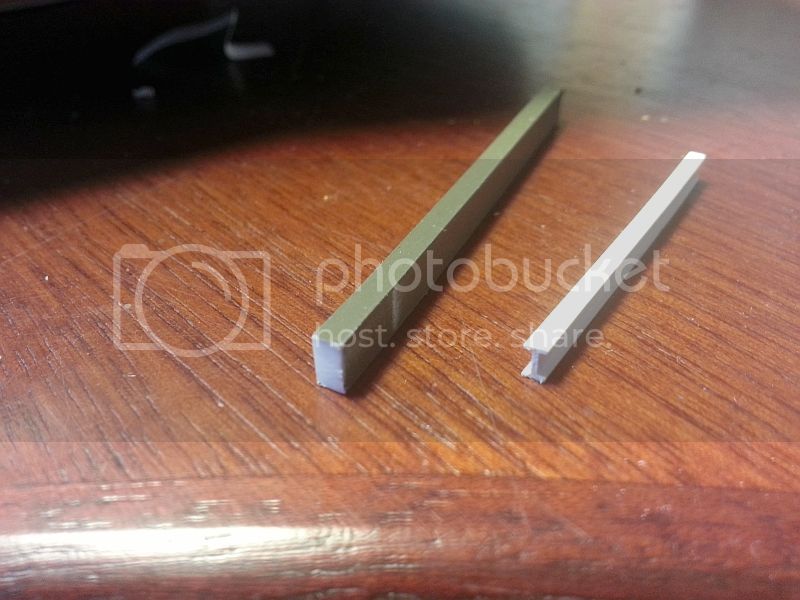
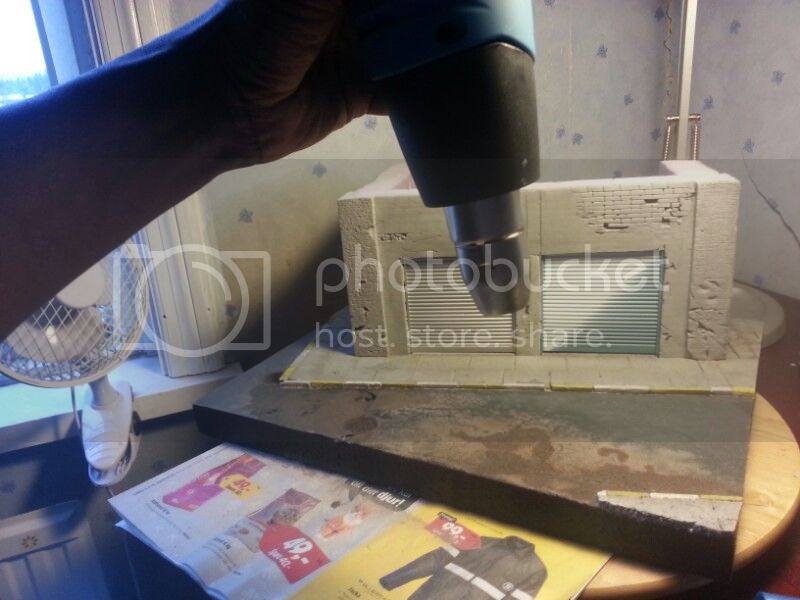
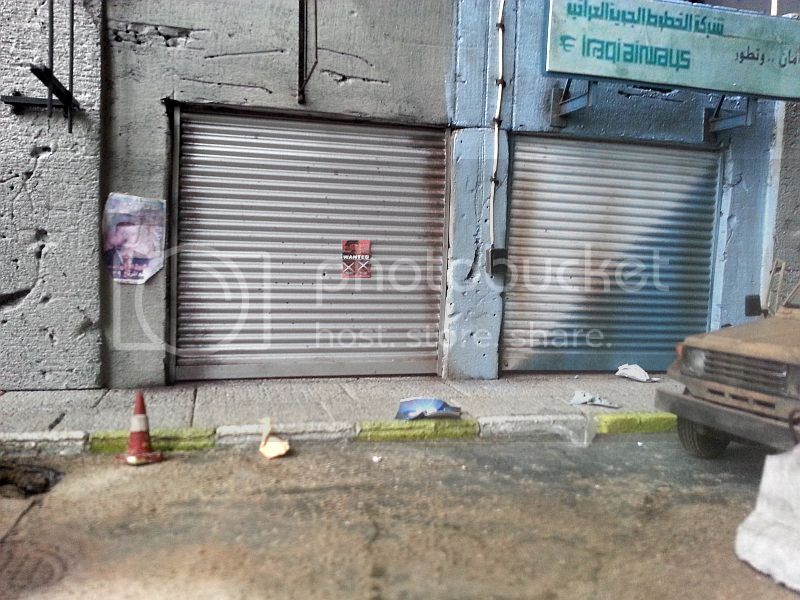
The roll-down doors are made ​​of styrene. The I-beams is the one that I have on both sides of the doors to support it. The thick bar is the one I have at the bottom of the gate. Hope I was clear on that? Hard to explain in a good way. The whole idea is to get an overall look that will look believable.


1stjaeger
Visit this Community
Wien, Austria
Joined: May 20, 2011
KitMaker: 1,744 posts
Armorama: 1,727 posts
Posted: Sunday, February 23, 2014 - 09:18 PM UTC

Hi Charles,

That's a very promising start indeed!! I will watch progress with great interest!!
One thing maybe (my 2c worth)....
While the bricks over there are more "yellow" than ours, I would suggest to include a variation in colours between visible brickwork and spackled areas. It would add a little something!

Cheers

Romain

ti
Visit this Community
Dalarnas, Sweden
Joined: May 08, 2002
KitMaker: 2,264 posts
Armorama: 1,763 posts
Posted: Sunday, February 23, 2014 - 09:31 PM UTC

Quoted Text


Hi Charles,

That's a very promising start indeed!! I will watch progress with great interest!!
One thing maybe (my 2c worth)....
While the bricks over there are more "yellow" than ours, I would suggest to include a variation in colours between visible brickwork and spackled areas. It would add a little something!

Cheers

Romain


Thanks for the tip. This is going to be a short built. Nothing complicated or fancy. But I am hoping the results will be overwhelming...well...I said, I am hoping. Still cannot compete with the other fantastic dios in this forum.
ti
Visit this Community
Dalarnas, Sweden
Joined: May 08, 2002
KitMaker: 2,264 posts
Armorama: 1,763 posts
Posted: Sunday, February 23, 2014 - 09:39 PM UTC
This is an interesting technique which seems to be easy to master. I've done a little more work. More wash and painting done on the walls and painted one side a yellowish color..


ti
Visit this Community
Dalarnas, Sweden
Joined: May 08, 2002
KitMaker: 2,264 posts
Armorama: 1,763 posts
Posted: Sunday, February 23, 2014 - 10:09 PM UTC
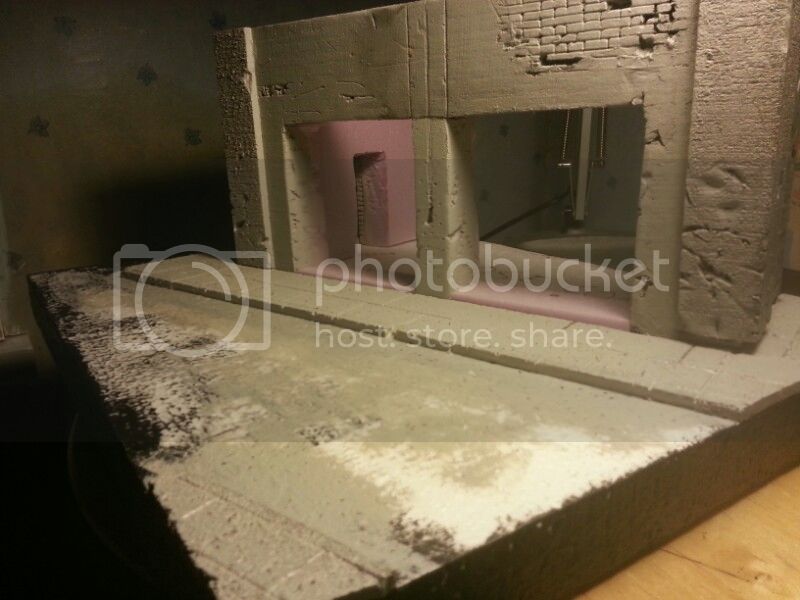
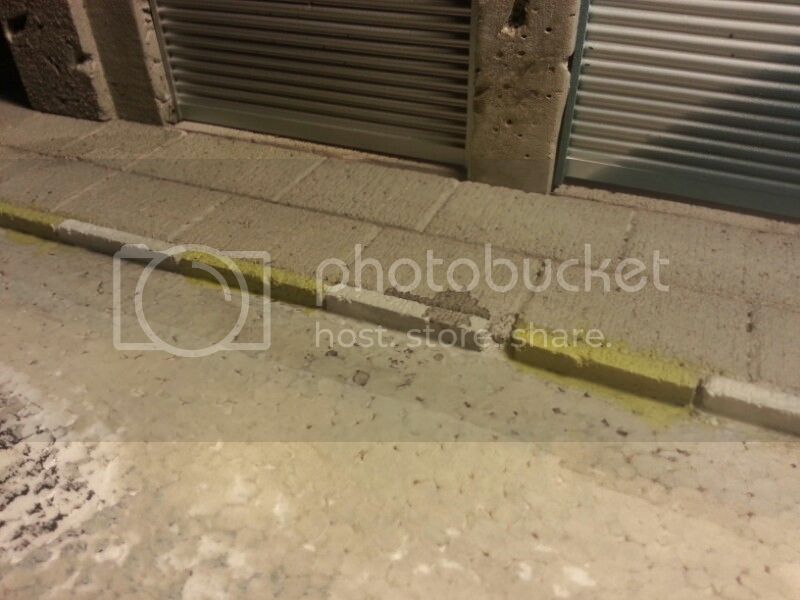
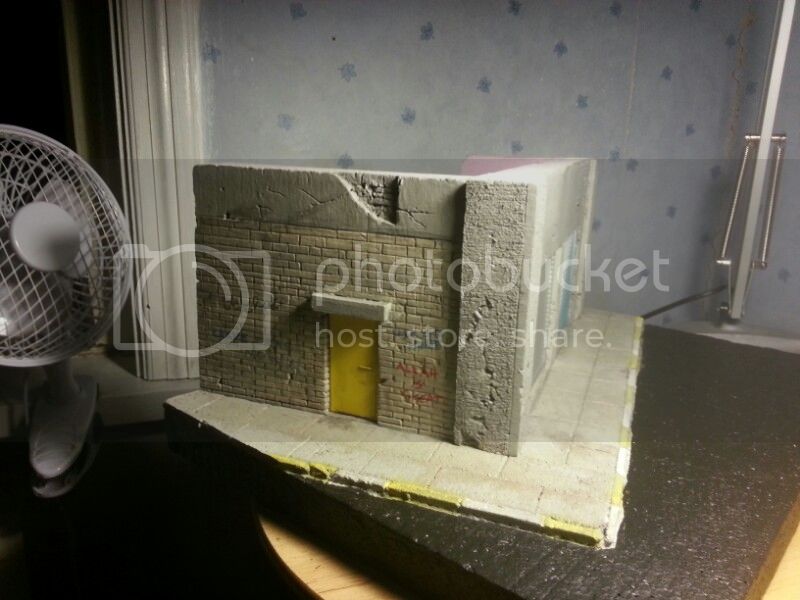
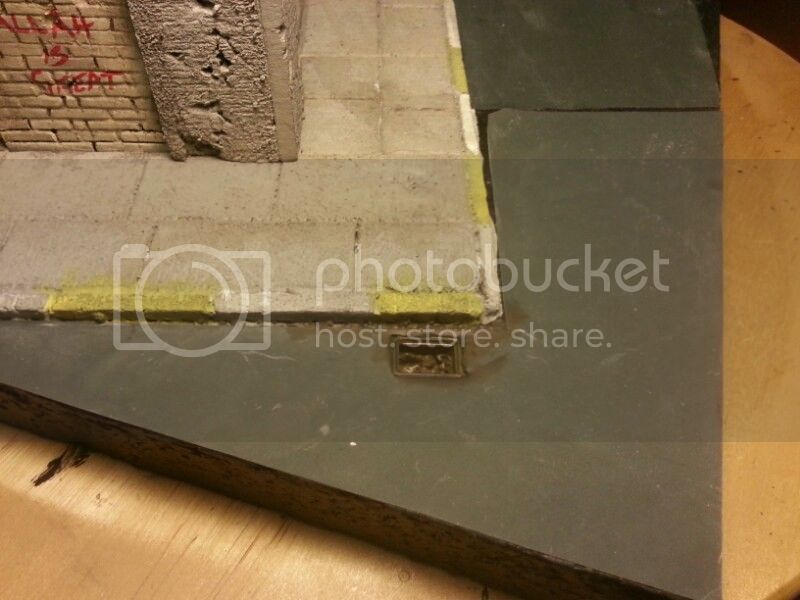
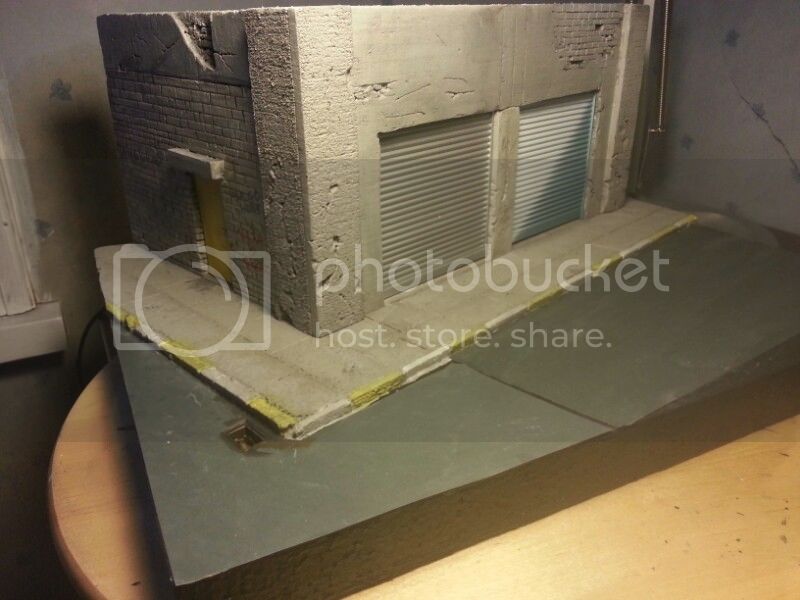
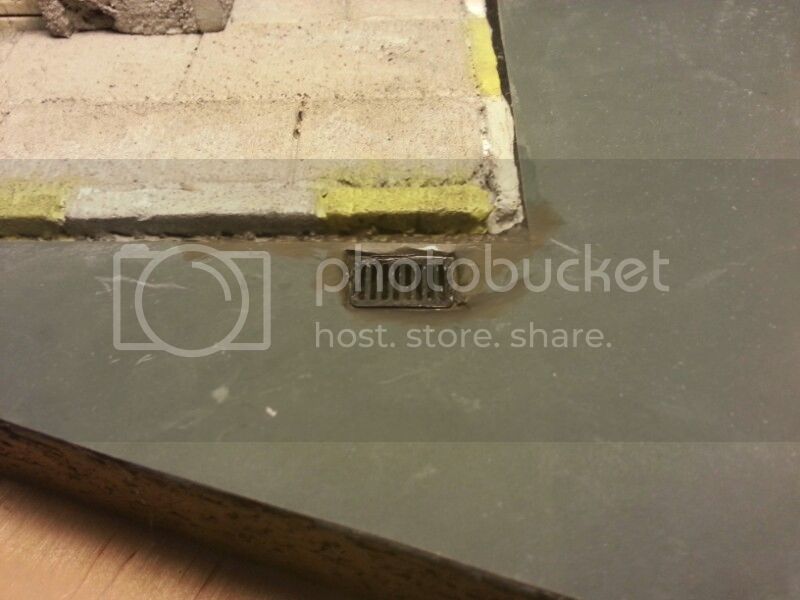
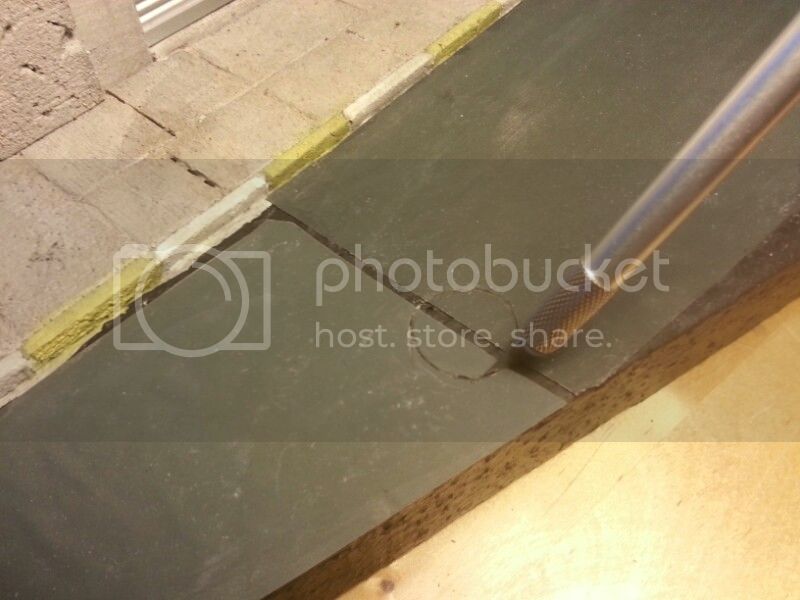
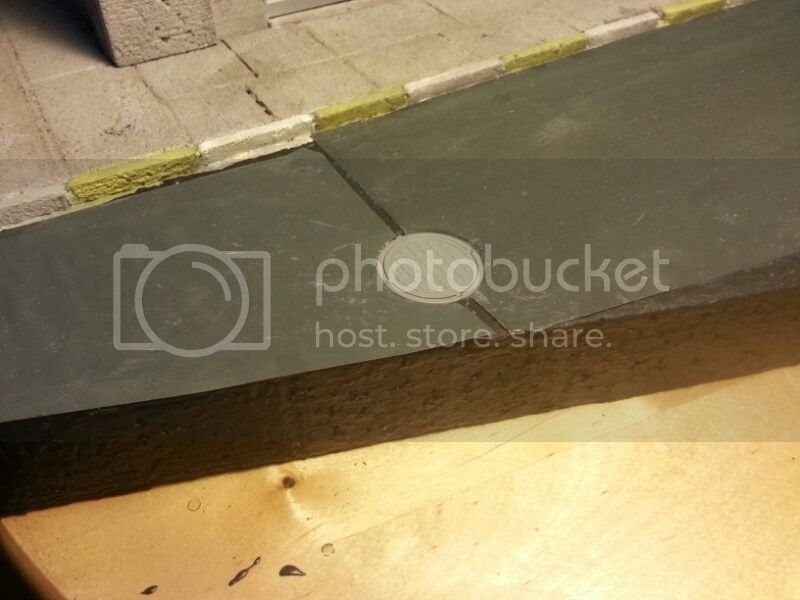
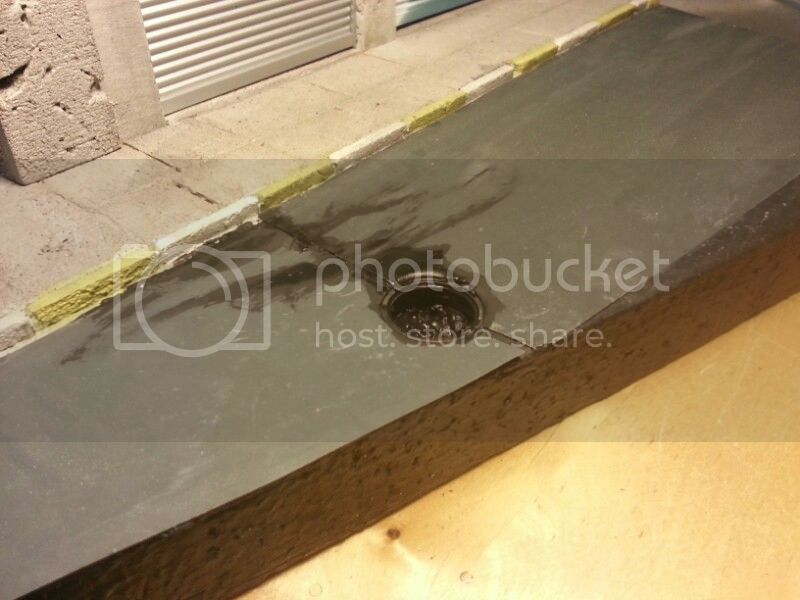
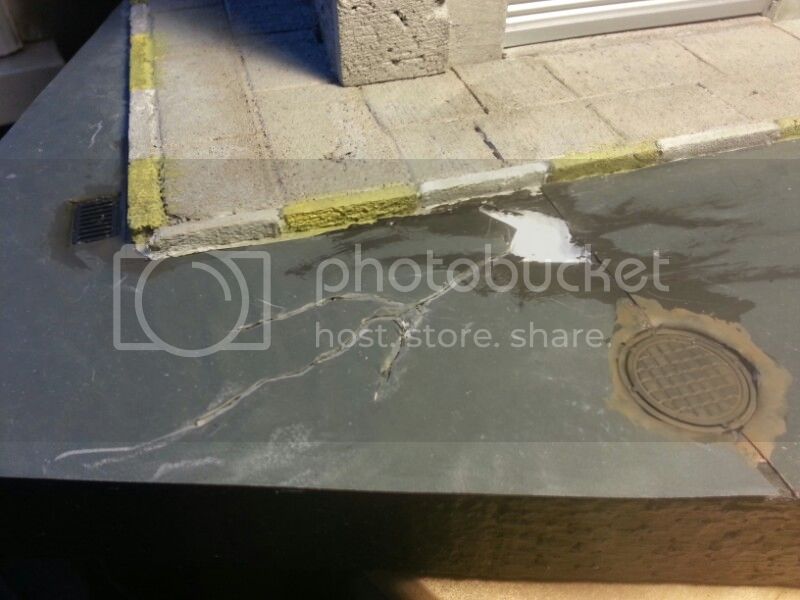
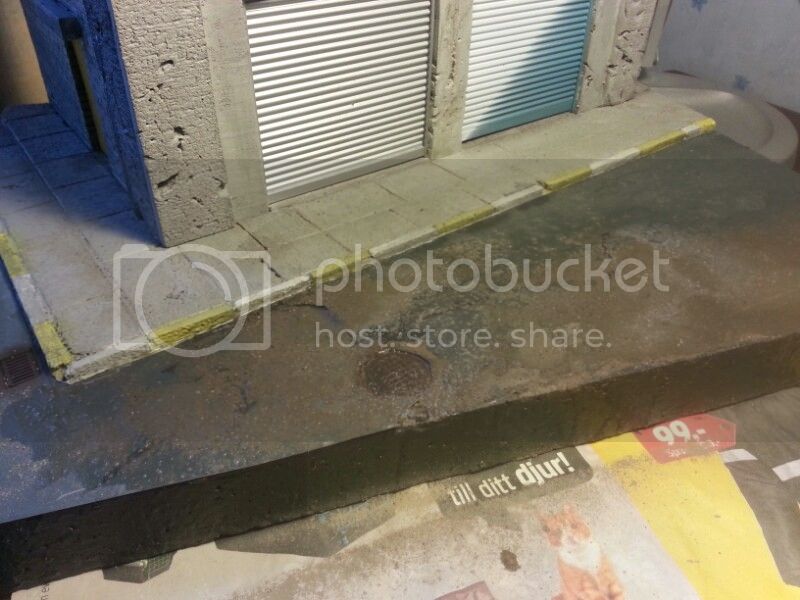
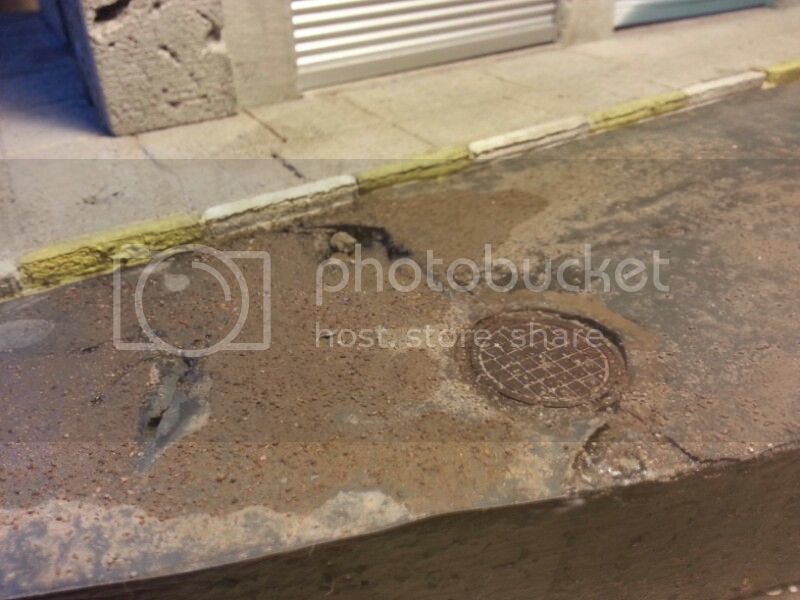
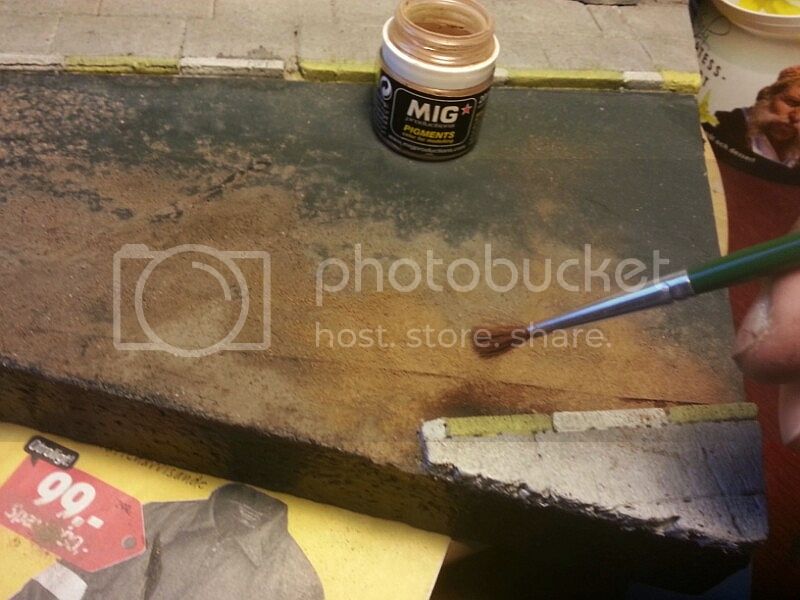
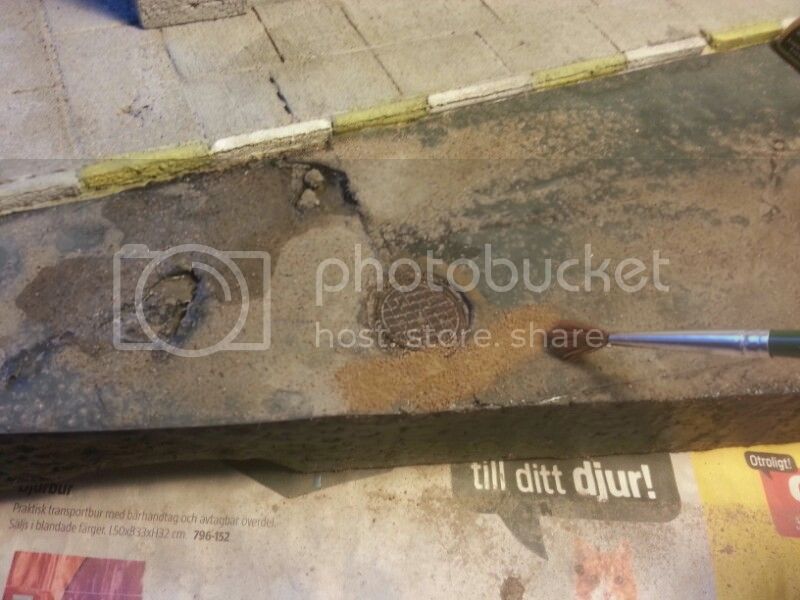
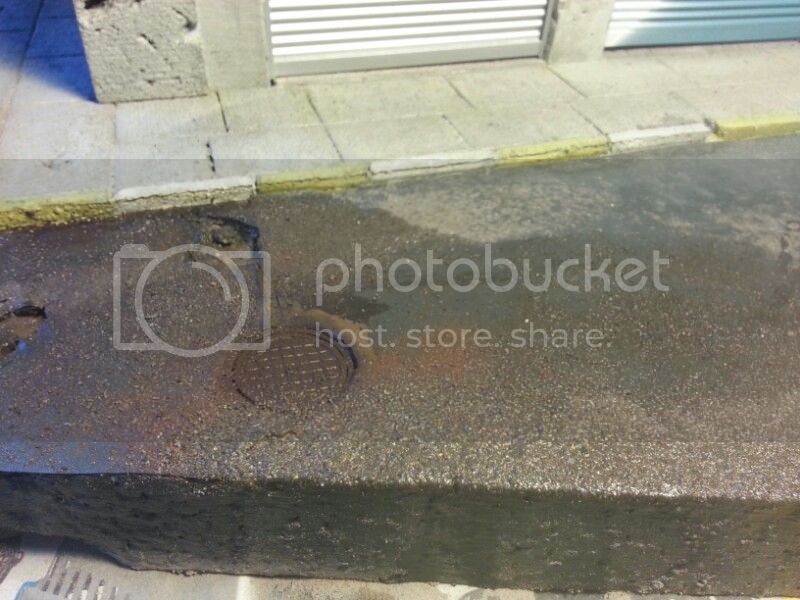
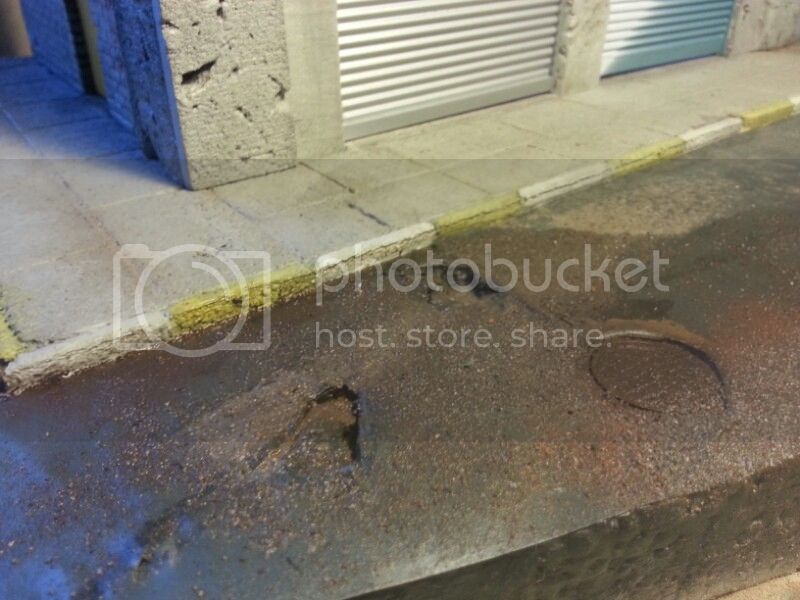
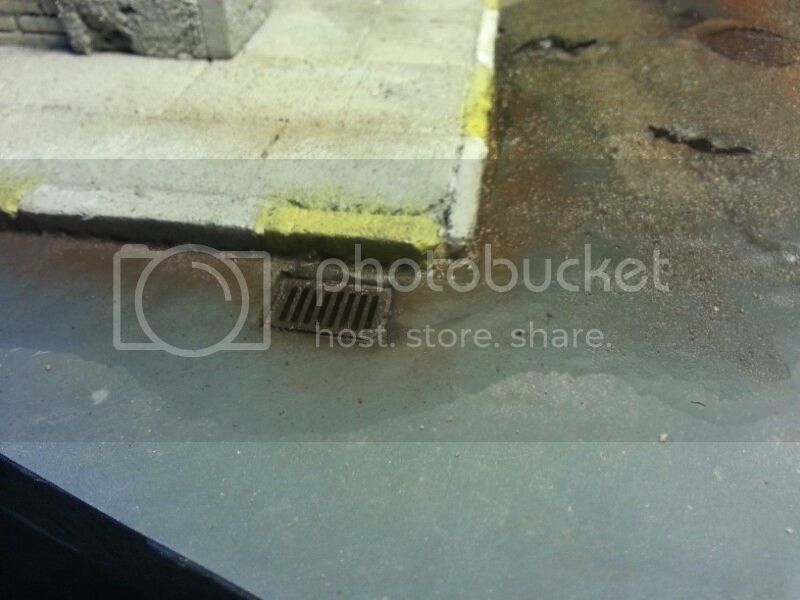
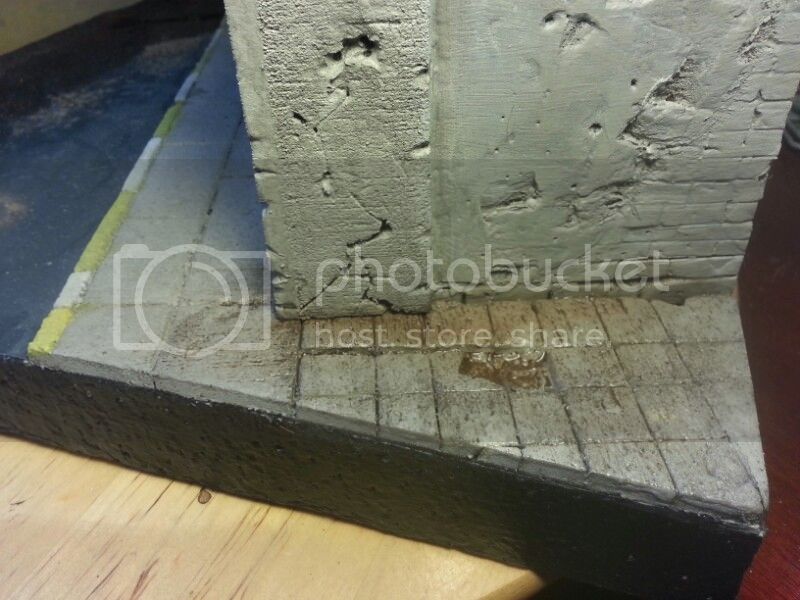
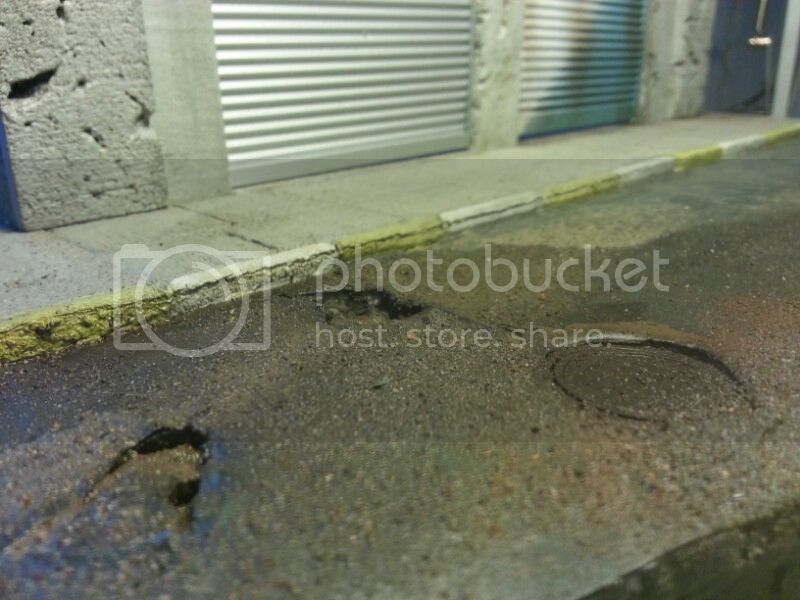
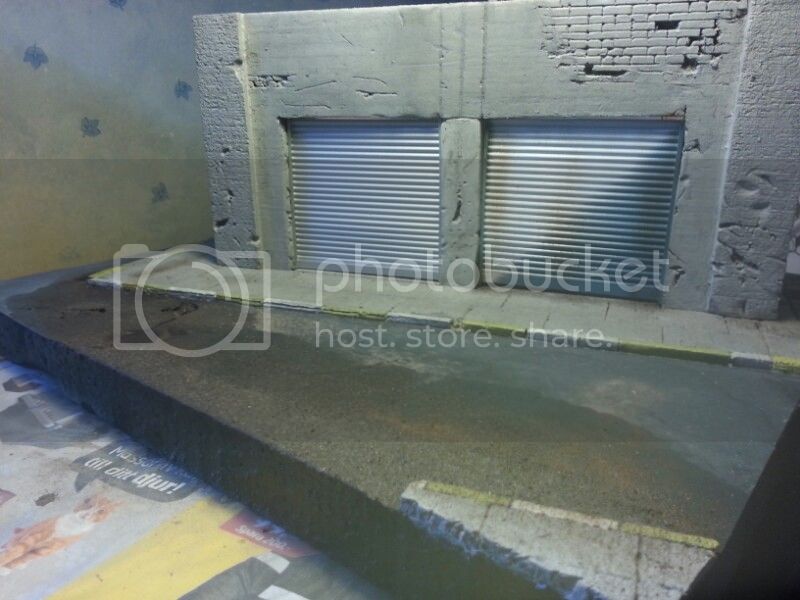
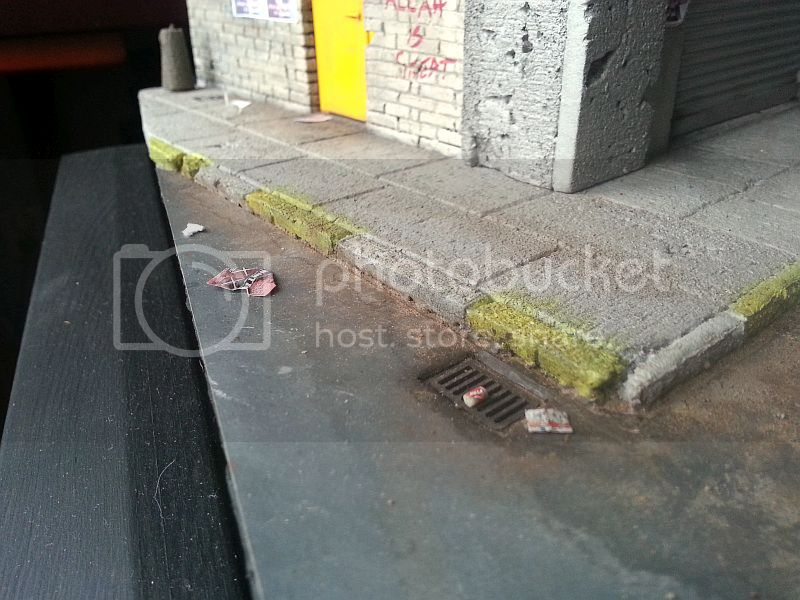
I've done a little more work. More wash and painting done on the walls. Added the tarmac roads, represented by using fine sand grain sand paper. Made holes for the drainage covers and Manholes. These are from Miniart. I then proceeded to paint the holes using a black color to give it depth. Then it was just a matter of fitting the covers over the holes. Making the holes were easy as the base is white form. Made cracks and small potholes which were easy. The cheap one. Added graffiti on the wall. Then I added real dust, real dirt, and earth pigments( from MIG) and mixed everything to blend it all in. on the roads.


ti
Visit this Community
Dalarnas, Sweden
Joined: May 08, 2002
KitMaker: 2,264 posts
Armorama: 1,763 posts
Posted: Sunday, February 23, 2014 - 10:10 PM UTC
So far so good.


jrutman
Visit this Community
Pennsylvania, United States
Joined: April 10, 2011
KitMaker: 7,941 posts
Armorama: 7,934 posts
Posted: Monday, February 24, 2014 - 02:49 AM UTC
This is all very very nice stuff here.
J
1stjaeger
Visit this Community
Wien, Austria
Joined: May 20, 2011
KitMaker: 1,744 posts
Armorama: 1,727 posts
Posted: Monday, February 24, 2014 - 04:36 AM UTC

Charles, I like your colours a bunch! And the way you have wrecked that street is exemplary given the quick way!!

Be careful with the brown colour on the sidewalk (around the corner), as you would have troubles explaining where that tone comes from!

Easy solution: put some of that colour into the cracks on the wall.....et voilą!

Don't forget to set off the joints on the brickwork. A quick wash rubbed off immediately does the trick in a matter of minutes.
Your dio is absolutely good enough to be worth a couple of minutes work!!

Cheers

Romain

ti
Visit this Community
Dalarnas, Sweden
Joined: May 08, 2002
KitMaker: 2,264 posts
Armorama: 1,763 posts
Posted: Monday, February 24, 2014 - 05:40 AM UTC

Quoted Text


Charles, I like your colours a bunch! And the way you have wrecked that street is exemplary given the quick way!!

Be careful with the brown colour on the sidewalk (around the corner), as you would have troubles explaining where that tone comes from!

Easy solution: put some of that colour into the cracks on the wall.....et voilą!

Don't forget to set off the joints on the brickwork. A quick wash rubbed off immediately does the trick in a matter of minutes.
Your dio is absolutely good enough to be worth a couple of minutes work!!

Cheers

Romain


Haha! Good one. Thanks Romain. Appreciate you showing interest in this Thread.
anti-hero
Visit this Community
Tennessee, United States
Joined: March 20, 2005
KitMaker: 420 posts
Armorama: 307 posts
Posted: Monday, February 24, 2014 - 06:17 AM UTC
Wow. Nice work all around. I especially like what you've done with the street.
Really good job!
philcoffey
Visit this Community
New Jersey, United States
Joined: December 21, 2013
KitMaker: 5 posts
Armorama: 5 posts
Posted: Monday, February 24, 2014 - 06:50 AM UTC
Charles, that is really excellent work. Your potholes look just like the ones that are all over the place here in New Jersey!
ti
Visit this Community
Dalarnas, Sweden
Joined: May 08, 2002
KitMaker: 2,264 posts
Armorama: 1,763 posts
Posted: Monday, February 24, 2014 - 10:44 PM UTC
Thanks for looking in guys.
ti
Visit this Community
Dalarnas, Sweden
Joined: May 08, 2002
KitMaker: 2,264 posts
Armorama: 1,763 posts
Posted: Monday, February 24, 2014 - 10:47 PM UTC
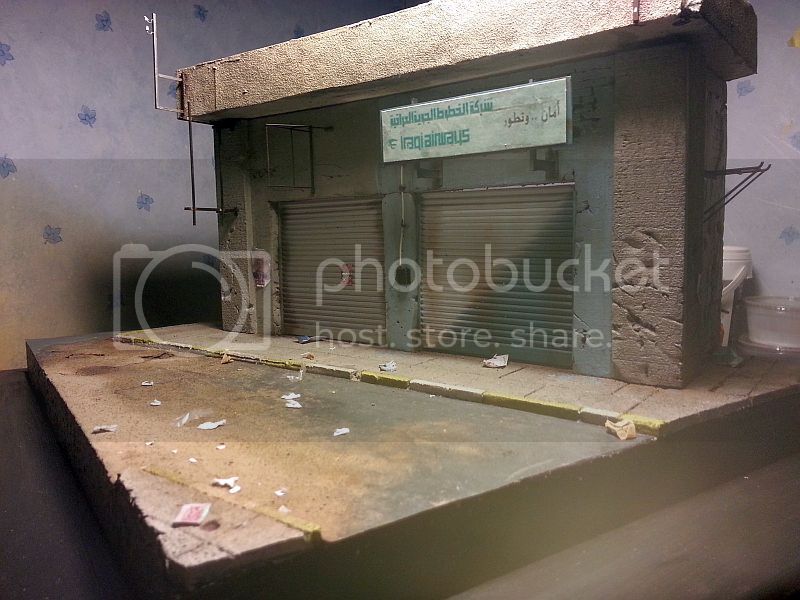
The over all look so far:


ti
Visit this Community
Dalarnas, Sweden
Joined: May 08, 2002
KitMaker: 2,264 posts
Armorama: 1,763 posts
Posted: Monday, February 24, 2014 - 10:47 PM UTC
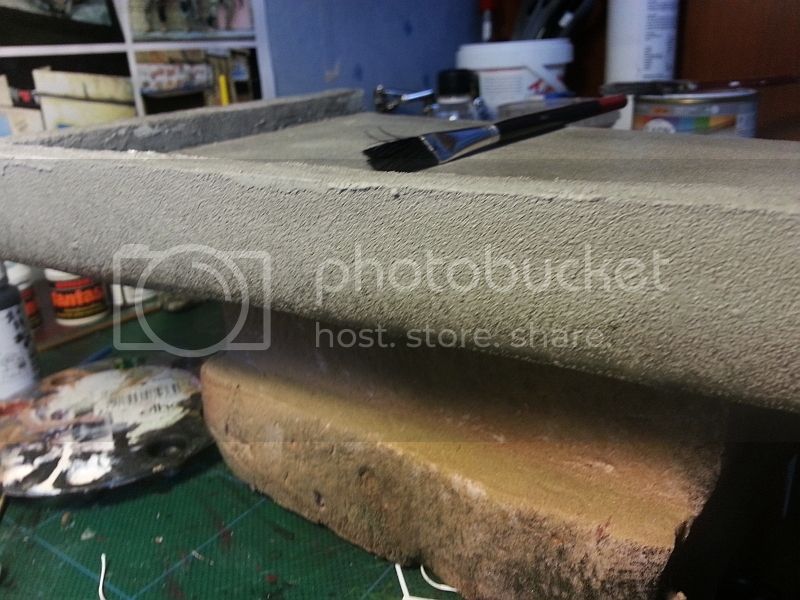
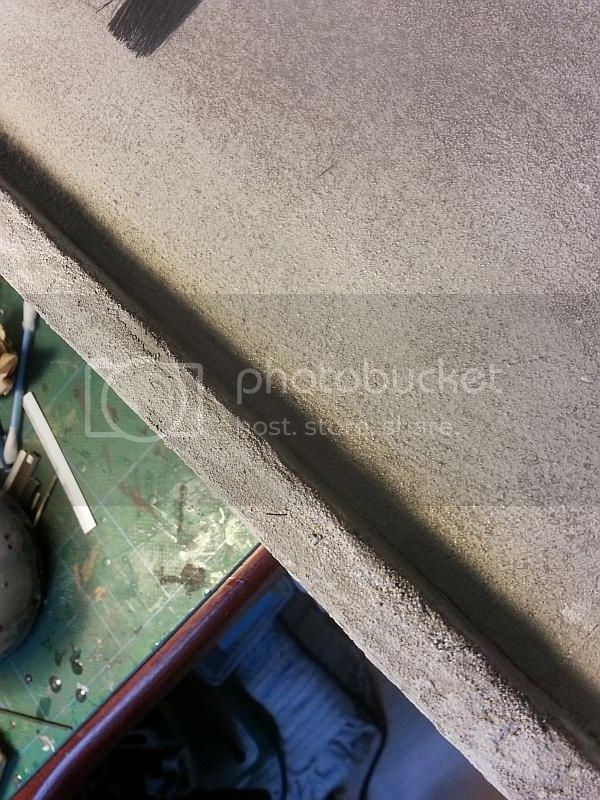
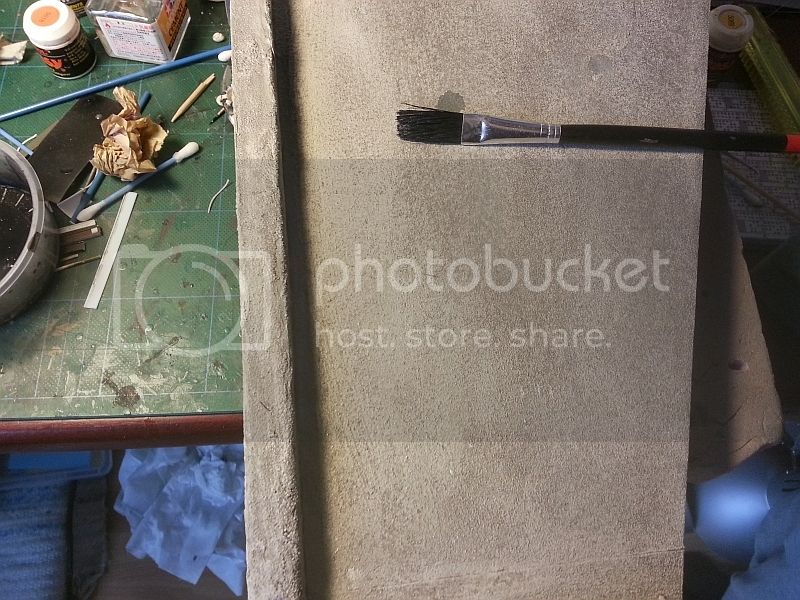
Did some work on the roof. I glued sand paper to the sides and the top of the form to represent Stucco. At the top edges I used wall paste and then used the tip of paint brush to stipple the paste which in returned produced the Stucco effect. At on of the roof corners I chipped out pieces to represent broken concrete, maybe during a mortar attack or just simply worn out concrete. Either way, it looked the part. Then I painted everything with a concrete paint. Then, I used a sponged to dap a yellow paint. Then I went over everything with black wash to give it a worn aged look. Again, sorry for the bad pics:


ti
Visit this Community
Dalarnas, Sweden
Joined: May 08, 2002
KitMaker: 2,264 posts
Armorama: 1,763 posts
Posted: Monday, February 24, 2014 - 10:55 PM UTC
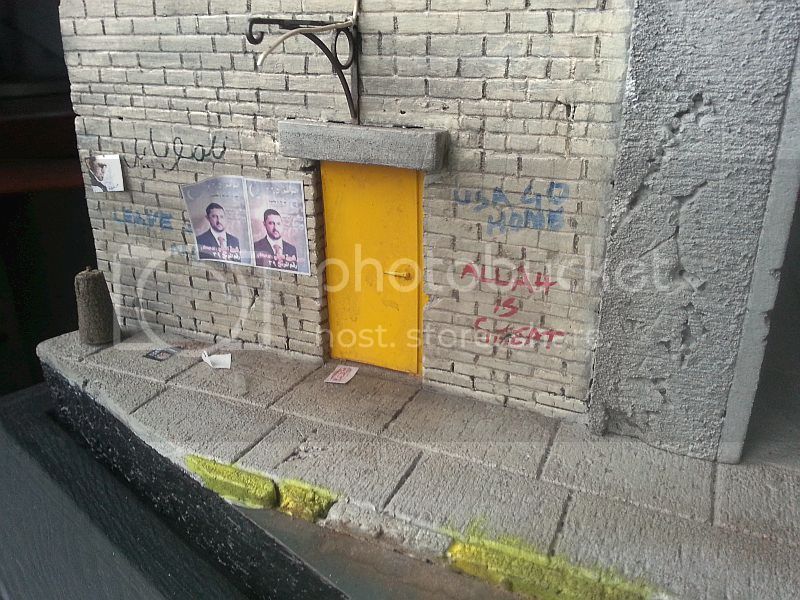
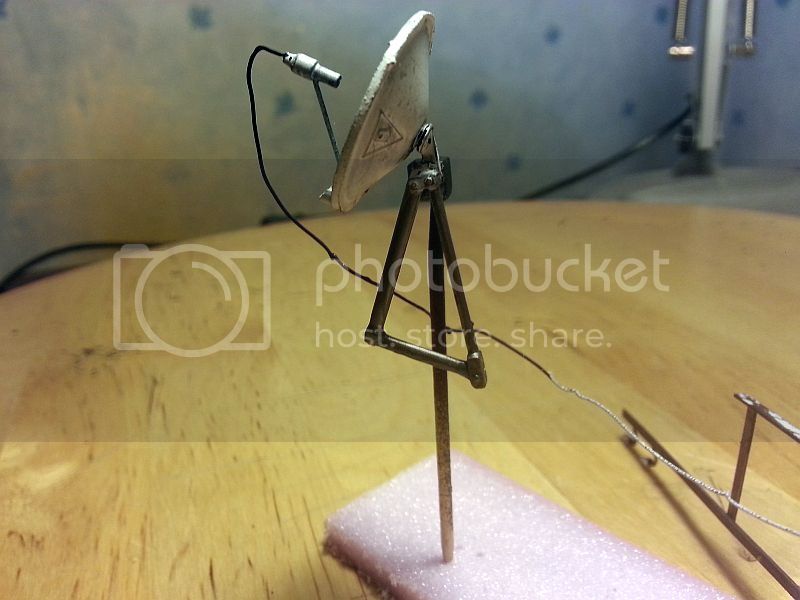
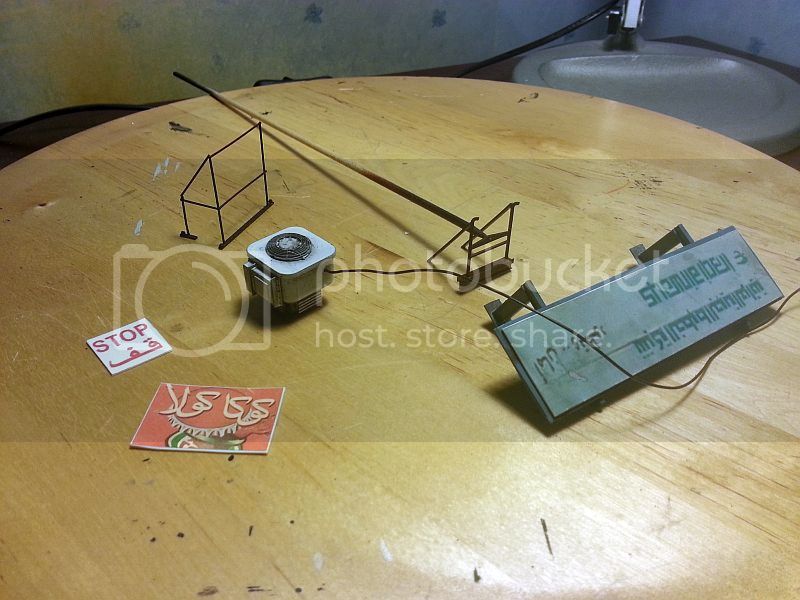
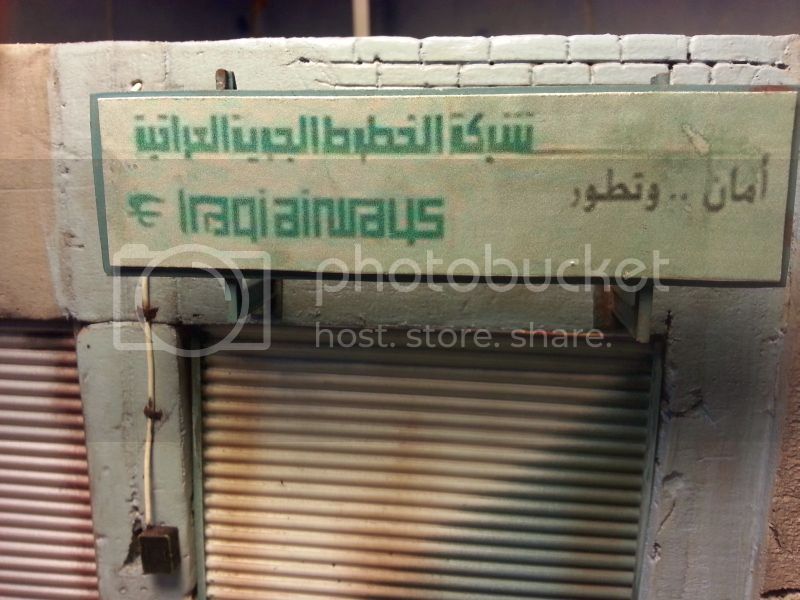
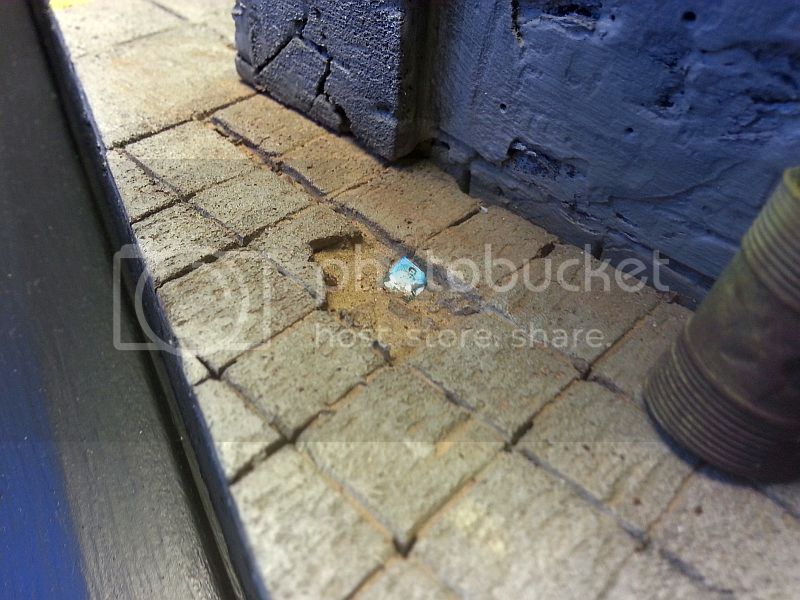
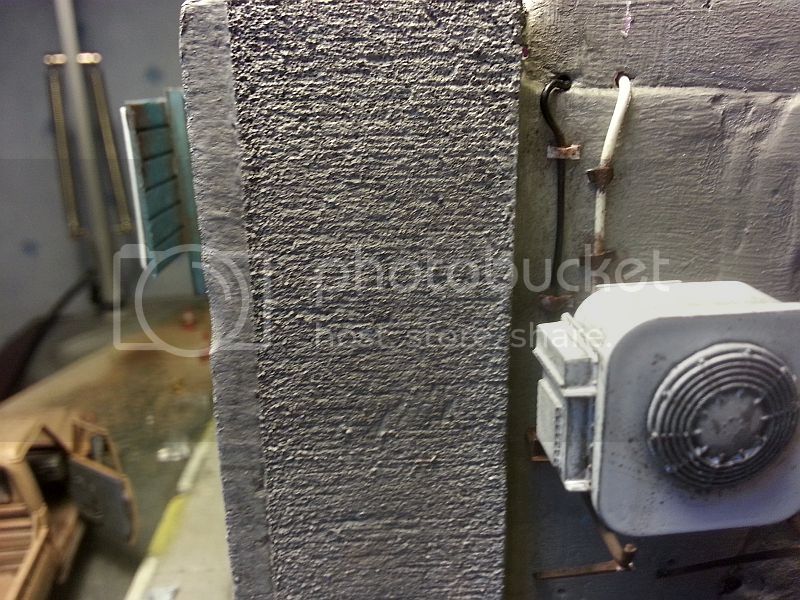
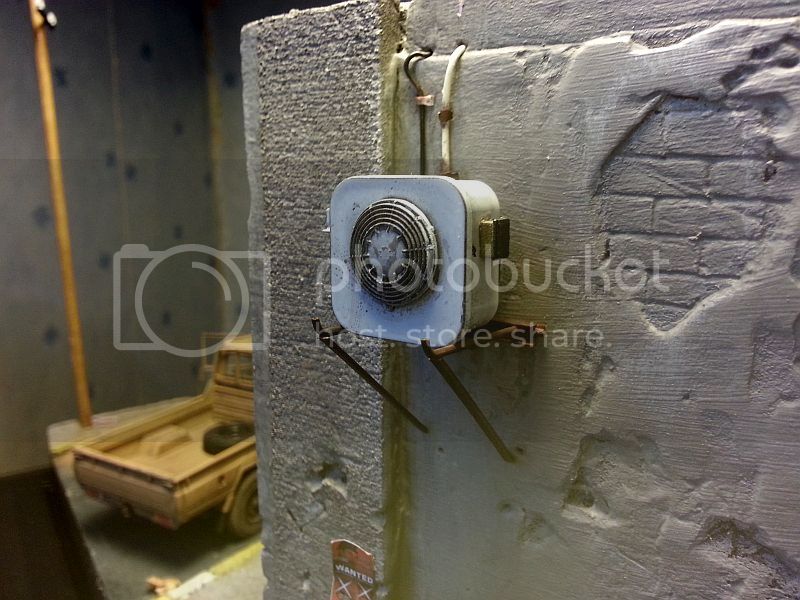
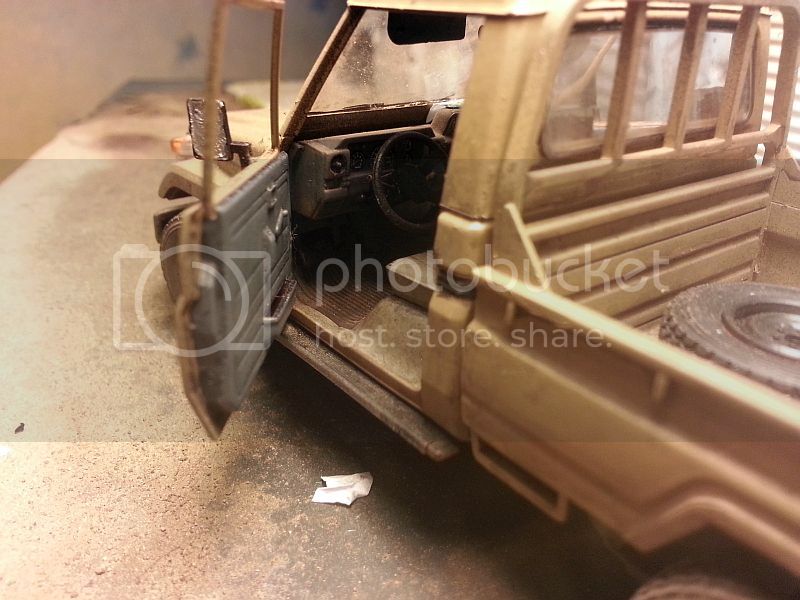
Did my first try at scratch building a satellite Dish. Nothing fancy or over complicated. I decided that I want the roof to be removable. So I added tooth-picks at the top of the lower wall. Then I will be able to push the roof directly on top of the lower piece, thus holding it in place without the need for gluing. Scratch built bracket supports for signs and what-nots, signs, air-conditioner...Detailed the broken tile on the sidewalk. Iraqi sign.Some weathering done to the inside cab of the driver side of the pickup. Added some wiring to give the impression that the air-conditioner is functional, so to speak.

Now, the look may not be 100% prototypical but it is the overall look I am looking for, especially when I am on a budget and do not have much to spend on commercial accessories. So for you nit-pickers, you can hold back your cries.


---------------------------


turkeyshot
Visit this Community
New South Wales, Australia
Joined: February 06, 2012
KitMaker: 138 posts
Armorama: 133 posts
Posted: Monday, February 24, 2014 - 11:06 PM UTC
Looking good Charles! You're making use of some interesting techniques there that I am going to have to try out.
grimmo
Visit this Community
Queensland, Australia
Joined: January 17, 2006
KitMaker: 752 posts
Armorama: 569 posts
Posted: Tuesday, February 25, 2014 - 12:19 AM UTC
Charles, your work is simply amazing!
ti
Visit this Community
Dalarnas, Sweden
Joined: May 08, 2002
KitMaker: 2,264 posts
Armorama: 1,763 posts
Posted: Tuesday, February 25, 2014 - 01:06 AM UTC
Thanks for the kind remarks.
Paulinsibculo
Visit this Community
Overijssel, Netherlands
Joined: July 01, 2010
KitMaker: 1,322 posts
Armorama: 1,239 posts
Posted: Tuesday, February 25, 2014 - 02:18 AM UTC
Hi Charles,
Nice build. And giving a good feeling of the Middle East city center streets.
A tip, if allowed:
Have a look at this link and you will have an excellent impression of the size and colors of man made bricks, used all over the Middle East, central East, India and China.

http://www.unep.org/newscentre/includes/Insert_image.asp?ImageID=27642&langId=1

Not as critisism, but as a help!

Looking forward to see your truck driving into the street!

P
ti
Visit this Community
Dalarnas, Sweden
Joined: May 08, 2002
KitMaker: 2,264 posts
Armorama: 1,763 posts
Posted: Wednesday, February 26, 2014 - 02:11 AM UTC

Quoted Text

Hi Charles,
...A tip, if allowed:
Have a look at this link and you will have an excellent impression of the size and colors of man made bricks, used all over the Middle East, central East, India and China.

http://www.unep.org/newscentre/includes/Insert_image.asp?ImageID=27642&langId=1

Not as critisism, but as a help!

Looking forward to see your truck driving into the street!

P


Thank you kindly for the link. Much appreciated.
ti
Visit this Community
Dalarnas, Sweden
Joined: May 08, 2002
KitMaker: 2,264 posts
Armorama: 1,763 posts
Posted: Wednesday, February 26, 2014 - 02:13 AM UTC
Added more litter to the scene:


ti
Visit this Community
Dalarnas, Sweden
Joined: May 08, 2002
KitMaker: 2,264 posts
Armorama: 1,763 posts
Posted: Wednesday, February 26, 2014 - 02:15 AM UTC
ti
Visit this Community
Dalarnas, Sweden
Joined: May 08, 2002
KitMaker: 2,264 posts
Armorama: 1,763 posts
Posted: Wednesday, February 26, 2014 - 02:18 AM UTC
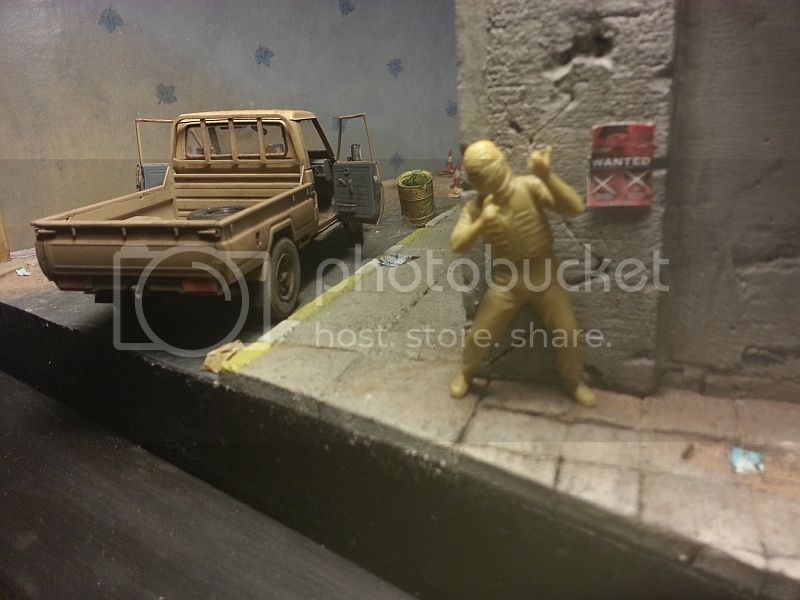
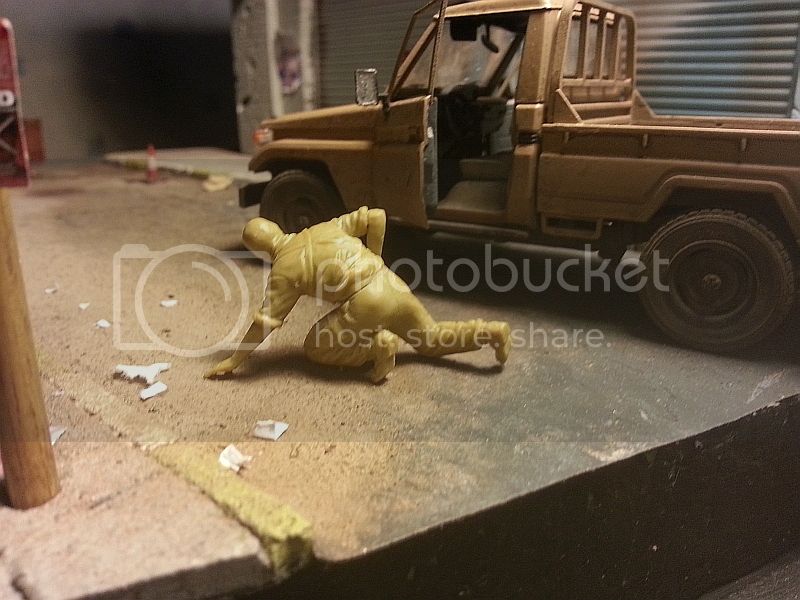
I already started on the figures. Took about 2 hours just trying to file up on all seams and get everything perfect on these two figures. These will be the insurgents. I have about four more of the US soldiers to do. - at least try to. Please keep in mind that figure painting is my weakest point.

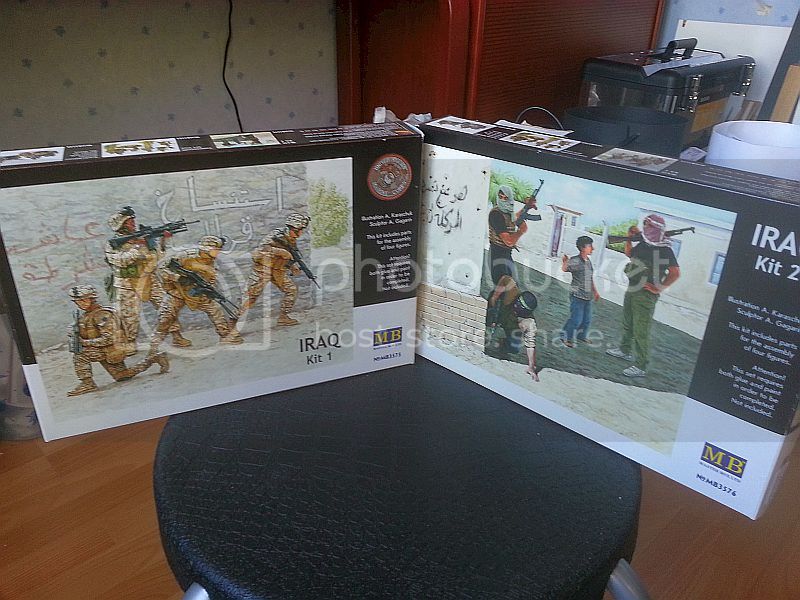
These are the figures I am using. Right now I'm forced to start over with the USMC figures because I was not entirely happy with the result:


--------------------------


 _GOTOTOP