_GOTOBOTTOM
Constructive Feedback
For in-progress or completed build photos. Give and get contructive feedback!
T-34/76 Model '42 (AFV Club 1:35)
Sleepwalker71
Visit this Community
Singapore / 新加坡
Joined: August 30, 2012
KitMaker: 265 posts
Armorama: 186 posts
Posted: Tuesday, March 11, 2014 - 03:02 PM UTC
Usually I'm avoiding to work on the two (or more) models at the time, but... why not?


So, in-between detailing Leopard, here it is - T-34/76 Model 1942 from Factory 112. Besides the kit I will use Orange Hobby photoetches and AFV tracks.
Interior is done and ready for paining. Quite a lot of details which will be barely, if at all, visible through the hatches.


Engine and transmission compartment (still under assembly) - highly detailed but will be not visible at all (almost).

AFVFan
Visit this Community
North Carolina, United States
Joined: May 17, 2012
KitMaker: 1,980 posts
Armorama: 1,571 posts
Posted: Tuesday, March 11, 2014 - 03:56 PM UTC
That does look like a ton of details in there. Really getting your money's worth out of that kit!
Sleepwalker71
Visit this Community
Singapore / 新加坡
Joined: August 30, 2012
KitMaker: 265 posts
Armorama: 186 posts
Posted: Tuesday, March 18, 2014 - 06:42 PM UTC
Indeed, detailing is impressive, but there's always a room for some improvement.

Fighting compartment after the first layer of white. I used off white (Royal Navy white from WEM) on the black primer. There will be one more thin layer, but not too strong as I like that grayish white effect.
Ammo boxes coated with liquid mask - will be black. Of course some more details have to be hand painted and overall weathering will be the last step.

I added some details - high pressure air line for the engine starter (on the photo on the left bottom, below the tanks). As the interior will be barely visible I'm not planning any more extra detailing. To install left crew seats and ammo on the sides.

Sleepwalker71
Visit this Community
Singapore / 新加坡
Joined: August 30, 2012
KitMaker: 265 posts
Armorama: 186 posts
Posted: Wednesday, March 26, 2014 - 03:09 AM UTC
Engine and transmission compartments almost ready. I have found some spots to be fixed on the photos. Engine was repainted three times - problems with masking liquid


Missing are radiators on the engine sides and injection system. I will not make any other installation as they will be invisible at all (I will open hatch over the engine and circular one on the rear plate, open grilles will give some view insight too). I have changed filter over the engine for two cyclone type filter on the both sides of the engine fan.

Of course compartment will be dirtied, oiled and dusted.
Scipio2010
#401
Visit this Community
Washington, United States
Joined: December 08, 2013
KitMaker: 323 posts
Armorama: 221 posts
Posted: Wednesday, April 02, 2014 - 05:53 AM UTC
Damian, This looks great so far! I look forward to the end result. What type of green did you use on the interior? it looks like a great shade to match the Soviet 4BO
Sleepwalker71
Visit this Community
Singapore / 新加坡
Joined: August 30, 2012
KitMaker: 265 posts
Armorama: 186 posts
Posted: Wednesday, April 02, 2014 - 03:05 PM UTC
This is Mr. Color 135 Russian Green (1). Note there is also other shade - 136 Russian Green (2) - much darker and as stated, more suitable for the late war wehicles.

My plan is to use lighter shade inside and darker outside.
Sleepwalker71
Visit this Community
Singapore / 新加坡
Joined: August 30, 2012
KitMaker: 265 posts
Armorama: 186 posts
Posted: Saturday, April 05, 2014 - 02:39 AM UTC
Hereby engine and transmission compartments are done. Here is how it looks now:


I was during another attempt to inslall injection system wires when I decided to try how it will look like under the top covers. As it is second hand model, some parts were glued on already, wheels and to my surprise engine cover.


So all will be closed. I'm leaving weathering of these compartments as it is now since further works has no meaning. Anyway I will appreciate your comments if any.

Now I'm working on a crew compartment.
Sleepwalker71
Visit this Community
Singapore / 新加坡
Joined: August 30, 2012
KitMaker: 265 posts
Armorama: 186 posts
Posted: Sunday, April 06, 2014 - 01:05 AM UTC
Once upon the time there was a white...

In the mid of weathering:


In the finished model very few details will be visible by open turret and driver hatches - in fact ammo storage and some details around. As my model depicts the tank in January 1945, northern Poland it will be more dirt and mud on the floor and ammo storage. After the full drying of the current washes.
Sleepwalker71
Visit this Community
Singapore / 新加坡
Joined: August 30, 2012
KitMaker: 265 posts
Armorama: 186 posts
Posted: Saturday, April 12, 2014 - 04:42 PM UTC
T-34's interior finished.

I added ammo on the hull sides, some more wash-pigment dirt, chips with rust and sprayed with matt finish.


I guess it is nothing big, but dry fit of the upper hull and turret have shown how much will be (in)visible. Note that inside the turret is a nice piece of the gun effectively obstructing the view down.


Now it is time to close the hull and rest of the details. Oh, and a turret of course...
Sleepwalker71
Visit this Community
Singapore / 新加坡
Joined: August 30, 2012
KitMaker: 265 posts
Armorama: 186 posts
Posted: Sunday, April 27, 2014 - 12:24 PM UTC
Turret interior ready. It's really hard to see anything there...


Sleepwalker71
Visit this Community
Singapore / 新加坡
Joined: August 30, 2012
KitMaker: 265 posts
Armorama: 186 posts
Posted: Monday, May 05, 2014 - 03:13 AM UTC
Last works before closing the hull - installation of the rear plate.

I removed imitation of the nuts from the cover and drilled the holes through. In the rear plate I removed original cover supports (way too thick) and made new ones with 0.25 styrene.


Some debries appeared on the photos - to be cleaned up.
Sleepwalker71
Visit this Community
Singapore / 新加坡
Joined: August 30, 2012
KitMaker: 265 posts
Armorama: 186 posts
Posted: Sunday, August 31, 2014 - 12:03 AM UTC
Model is almost finished. I painted internal sides of the hatches to be masked later on. Fuel tanks and grids over engine left to be finished. Wheels primed with Surfacer 1200 and dry fitted for the photo sake.

AFV tracks are fine for one fit only. Any manipulations and pins are gone and tracks fall apart. I have ordered Friul tracks.

Unfortunately plans to finish the model this weekend failed due to left arm triceps rebellion - for at least two weeks I can forget about any precise works (even scratching the nose) with this hand.

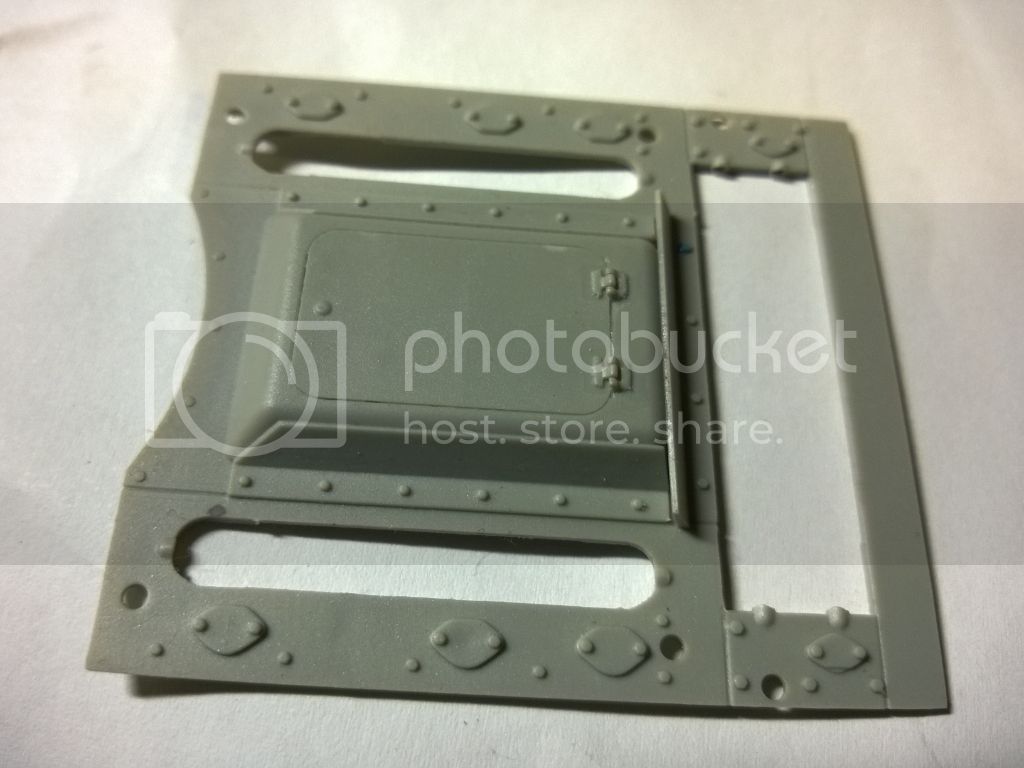
This is how it looks for today:


PE's are made by Orange Hobby and honestly after Aber's and Voyager's experience I have mixed feelins about it.

Crew to be allocated around the tank (for sure one siffing on the turret top and one standing and closing the gearbox cover):


To tyle na dziś. Uwagi mile widziane.

PS. I wonder about the adding of the cutting saw on the left side of the hull.
Tojo72
Visit this Community
North Carolina, United States
Joined: June 06, 2006
KitMaker: 4,691 posts
Armorama: 3,509 posts
Posted: Sunday, August 31, 2014 - 12:59 AM UTC
That interior looks awesome, like pictures of the real thing.I have the T34/85 how was the fit on the interior, any pitfalls to watch for, or has it been smooth?

That crew looks real nice, gotta pick one up
Sleepwalker71
Visit this Community
Singapore / 新加坡
Joined: August 30, 2012
KitMaker: 265 posts
Armorama: 186 posts
Posted: Sunday, August 31, 2014 - 01:14 AM UTC
No problem with interior fitting. It is also very nicely detailed, so not much stuff was added. In my case just a tubing from compressed air bottles and one hose at the firewall.
easyco69
Visit this Community
Ontario, Canada
Joined: November 03, 2012
KitMaker: 2,275 posts
Armorama: 2,233 posts
Posted: Sunday, August 31, 2014 - 01:31 AM UTC
holy cow, that interior detail is ace!
Nice work!
ColinEdm
Staff MemberAssociate Editor
ARMORAMA
Visit this Community
Alberta, Canada
Joined: October 15, 2013
KitMaker: 1,355 posts
Armorama: 1,229 posts
Posted: Sunday, August 31, 2014 - 03:36 AM UTC
Great work on the interior, too bad more of it won't be seen when it is done.
Sleepwalker71
Visit this Community
Singapore / 新加坡
Joined: August 30, 2012
KitMaker: 265 posts
Armorama: 186 posts
Posted: Sunday, August 31, 2014 - 02:20 PM UTC
Thanks for the all kind opinions
retiredyank
Visit this Community
Arkansas, United States
Joined: June 29, 2009
KitMaker: 11,610 posts
Armorama: 7,843 posts
Posted: Monday, September 15, 2014 - 01:07 AM UTC
That is one superb interior. I always assumed that Russian tanks were a bit more conservative on creature comforts. I was wrong. The weathering is truly excellent.
bizzychicken
Visit this Community
Wales, United Kingdom
Joined: September 06, 2008
KitMaker: 967 posts
Armorama: 842 posts
Posted: Monday, September 15, 2014 - 01:45 AM UTC
Great looking interior, shame its button'd up. what do you think of the M.B crew? how detailed are they, do they need new heads? How do the Tanker helmets look? I like the stances of them,does the driver fit well? can you show us the spruce's or figures built up. always liked the look of soviet tank crews, never really changed that much till now. You have said that you are building a tank from 1945, what campain is it going to be in, didn't this T34 fight in China? Are you going for a beat up finish? Great work keep it up Geraint
 _GOTOTOP