

I am currently working on a 1/16 th scale Tamiya static Tiger. finally obtained it as a pre started kit that was acquired on e-bay. payed 250.00 for the kit and right away went into dis-assembling the kit. Had to do alot of research into the required parts needed for the early to late conversion.
I will be posting pics and walkthroughs as I progress in the build.
Hope you guys enjoy this.
Constructive Feedback
For in-progress or completed build photos. Give and get contructive feedback!
For in-progress or completed build photos. Give and get contructive feedback!
Hosted by Darren Baker, Dave O'Meara
1/16 th Static Tiger build/ate conversion

M4CH1N3

Joined: March 02, 2014
KitMaker: 22 posts
Armorama: 20 posts
Posted: Friday, April 04, 2014 - 09:45 AM UTC
Removed by original poster on 04/06/14 - 22:34:00 (GMT).
Removed by original poster on 04/06/14 - 22:38:55 (GMT).
M4CH1N3
Joined: March 02, 2014
KitMaker: 22 posts
Armorama: 20 posts
Posted: Sunday, April 06, 2014 - 10:39 AM UTC
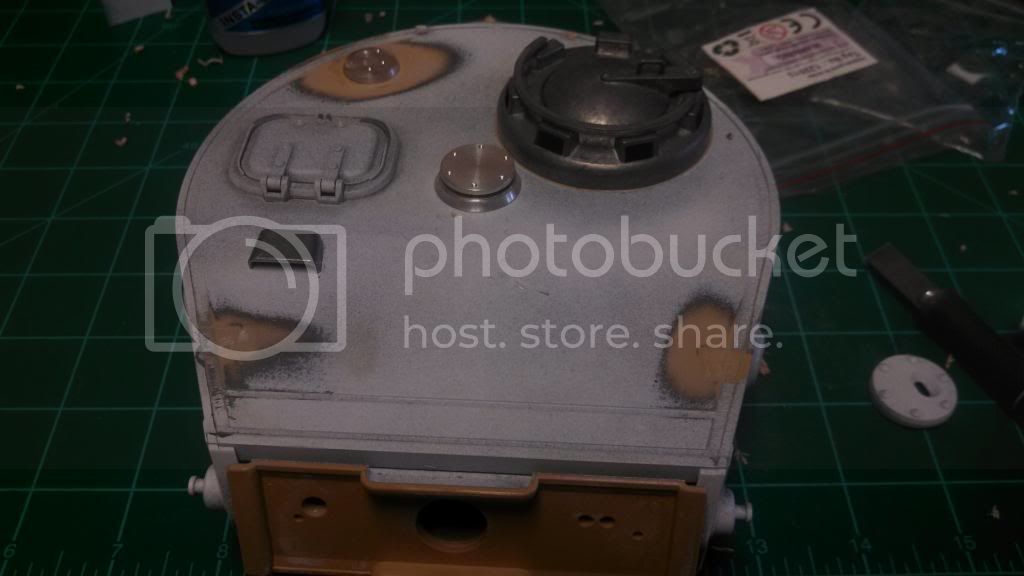
This is the turret with the new mods in place for the late conversion.
I ended up purchasing a set of Taigen late parts for an airosft Heng Long tiger.
I ended up purchasing a set of Taigen late parts for an airosft Heng Long tiger.

M4CH1N3
Joined: March 02, 2014
KitMaker: 22 posts
Armorama: 20 posts
Posted: Sunday, April 06, 2014 - 10:40 AM UTC
another angle with the early pistol port being filled in.


M4CH1N3
Joined: March 02, 2014
KitMaker: 22 posts
Armorama: 20 posts
Posted: Sunday, April 06, 2014 - 10:48 AM UTC
The most troubling par of the conversion has has been decided on the early/mid road wheels that are supplied with the kit, or switching to the Late steel road wheels.
Having decided to go full late conversion, I did find that the Taigen late steel wheels are the proper size for the Tamiya kit.
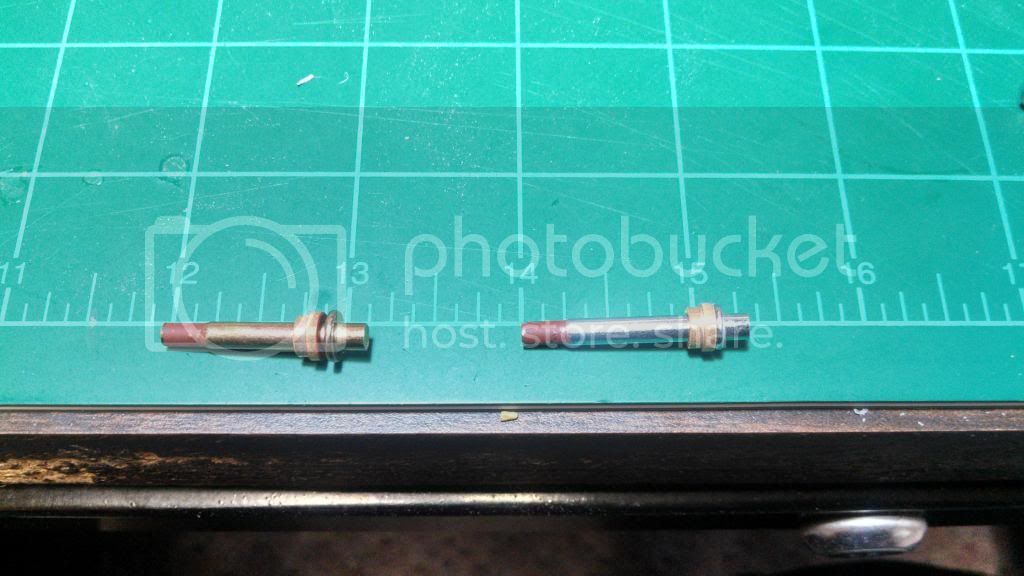
After receiving them I noticed the supplied axles are just long screws, as opposed to the axle shafts Tamiya supplied. First thought was to have a machine shop fabricate new axles. But after closer examination...the solution was staring me right in the eyes.
here is the original tamiya road wheel with supplied axel.

After dis-assembly I removed the axles from all sets.

and noticing that there were shorter and longer shafts for the road wheels I decided to use this to my advantage.
Having decided to go full late conversion, I did find that the Taigen late steel wheels are the proper size for the Tamiya kit.
After receiving them I noticed the supplied axles are just long screws, as opposed to the axle shafts Tamiya supplied. First thought was to have a machine shop fabricate new axles. But after closer examination...the solution was staring me right in the eyes.
here is the original tamiya road wheel with supplied axel.

After dis-assembly I removed the axles from all sets.

and noticing that there were shorter and longer shafts for the road wheels I decided to use this to my advantage.

M4CH1N3
Joined: March 02, 2014
KitMaker: 22 posts
Armorama: 20 posts
Posted: Sunday, April 06, 2014 - 10:53 AM UTC
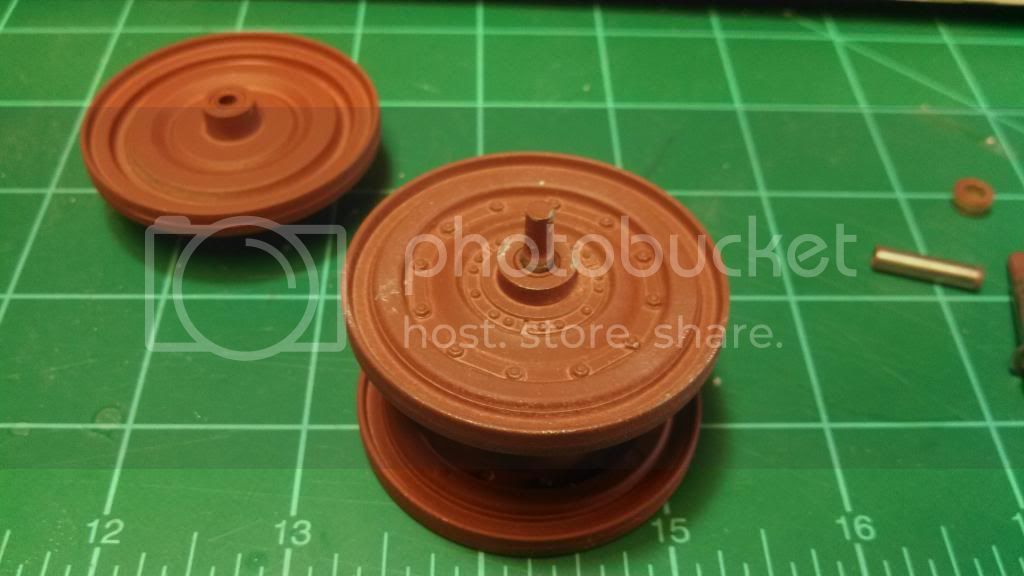
Painted Taigen road wheel. Notice the double bearing sleeve....After realizing the inner sleeve was removable, the Tamiya axles slipped right in with no problems.
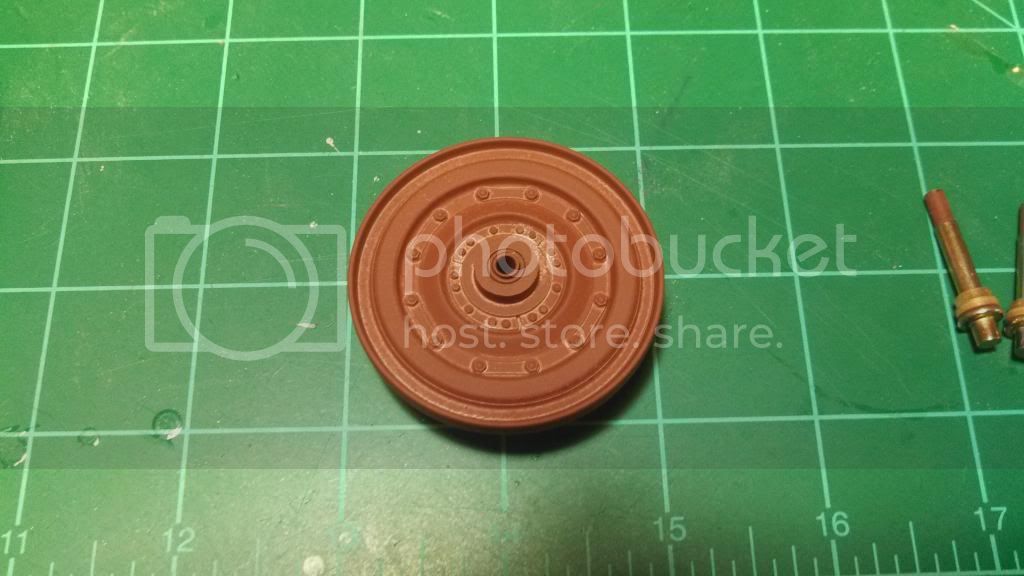
Taigen wheel with inner sleeve removed.

Completed Taigen wheel with Tamiya axle

Taigen wheel with inner sleeve removed.

Completed Taigen wheel with Tamiya axle

M4CH1N3
Joined: March 02, 2014
KitMaker: 22 posts
Armorama: 20 posts
Posted: Sunday, April 06, 2014 - 10:56 AM UTC
A test fit with the new Taigen road wheels.

A shot with all Taigen wheels attatched and using original Tamiya tracks.
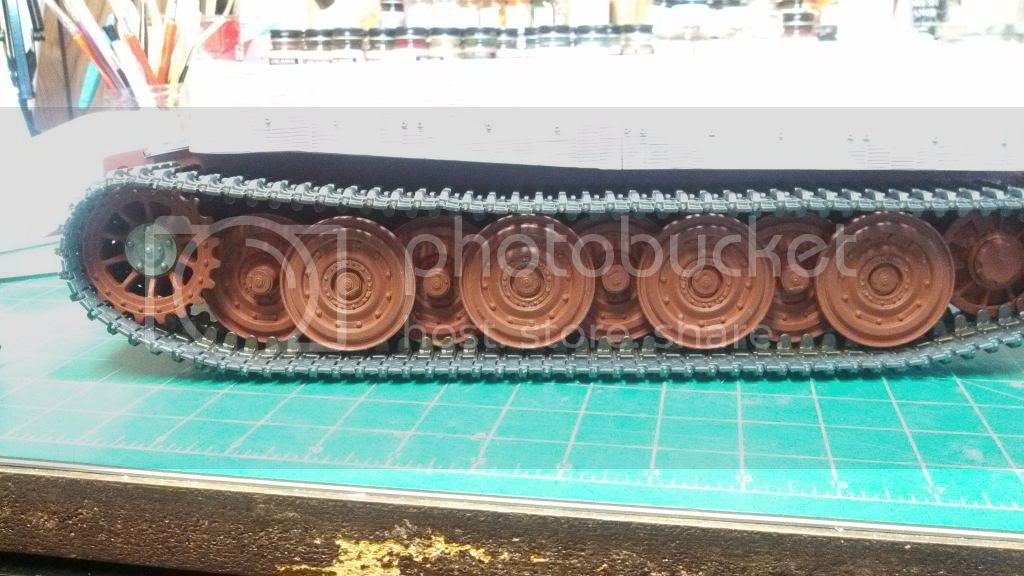
Sprocket late cover is also another Taigen part.

A shot with all Taigen wheels attatched and using original Tamiya tracks.

Sprocket late cover is also another Taigen part.
M4CH1N3
Joined: March 02, 2014
KitMaker: 22 posts
Armorama: 20 posts
Posted: Sunday, April 06, 2014 - 11:14 AM UTC
Turret with zimmetit from ATAK
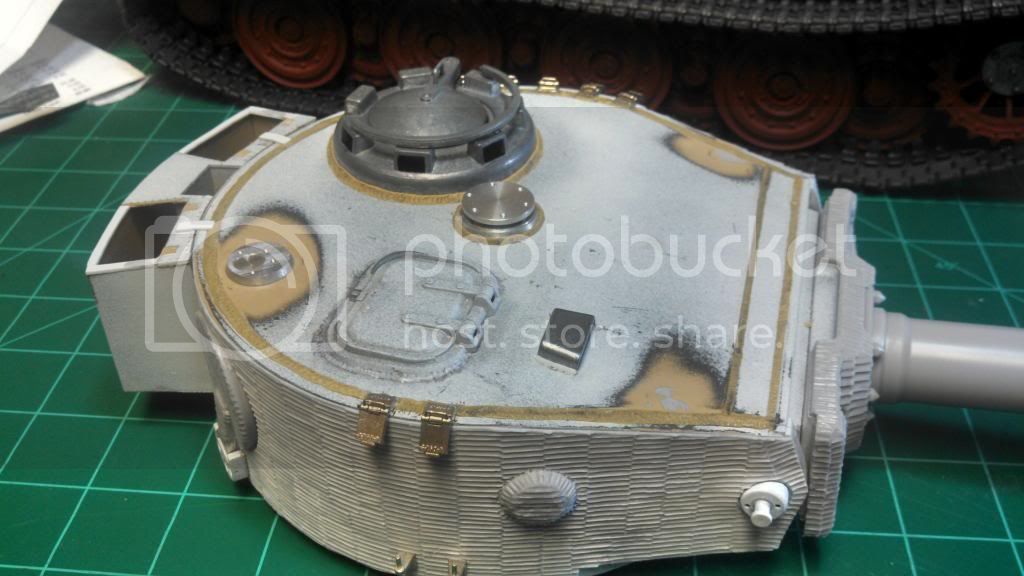
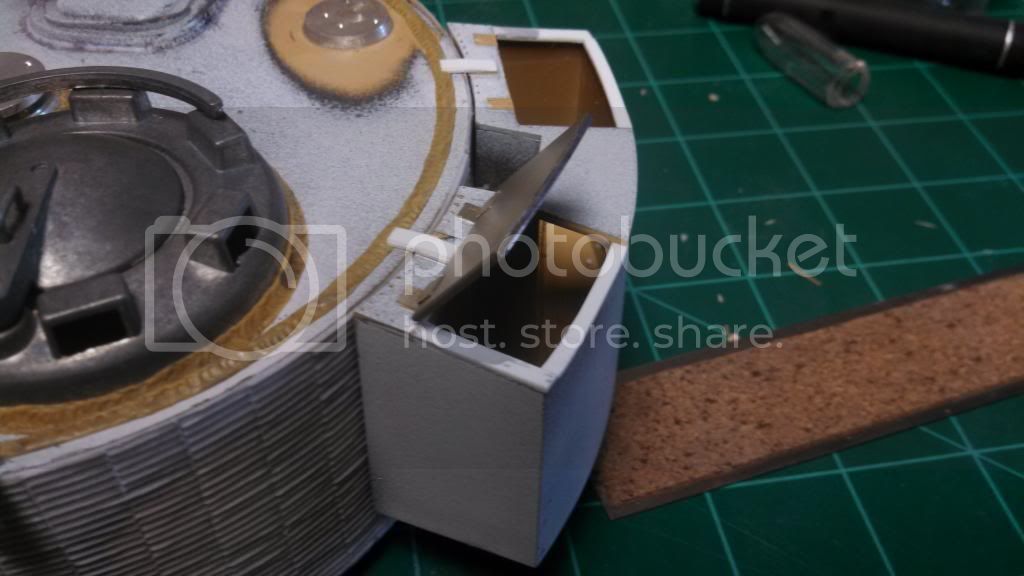
Another angle also showing the Schumo track holders, As well as the lids removed from the rear bin.

Close up shot of putty weld beads.

Aluminum barrel was found on E-bay. So not sure of the original manufacturer.


Another angle also showing the Schumo track holders, As well as the lids removed from the rear bin.

Close up shot of putty weld beads.

Aluminum barrel was found on E-bay. So not sure of the original manufacturer.


TRM5150
Joined: January 03, 2010
KitMaker: 2,159 posts
Armorama: 707 posts

Posted: Sunday, April 06, 2014 - 03:39 PM UTC
What a monster!! Look like you are doing a fine job so far!! Keep up the great work!! 

mikeincalif
Joined: March 18, 2014
KitMaker: 20 posts
Armorama: 10 posts
Posted: Monday, April 07, 2014 - 05:06 PM UTC
Looks good. I like the chips in the zimm on the hull side. Nice touch.
Removed by original poster on 04/10/14 - 15:43:49 (GMT).
M4CH1N3
Joined: March 02, 2014
KitMaker: 22 posts
Armorama: 20 posts
Posted: Thursday, April 10, 2014 - 03:44 AM UTC
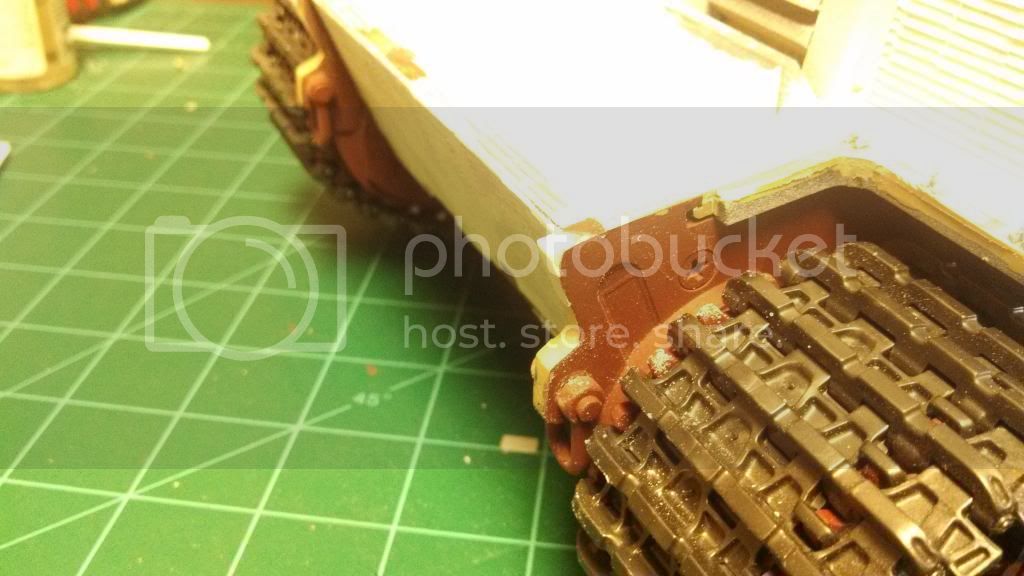
Here is a shot of corrected late tiger tow angle

M4CH1N3
Joined: March 02, 2014
KitMaker: 22 posts
Armorama: 20 posts
Posted: Thursday, April 10, 2014 - 03:47 AM UTC
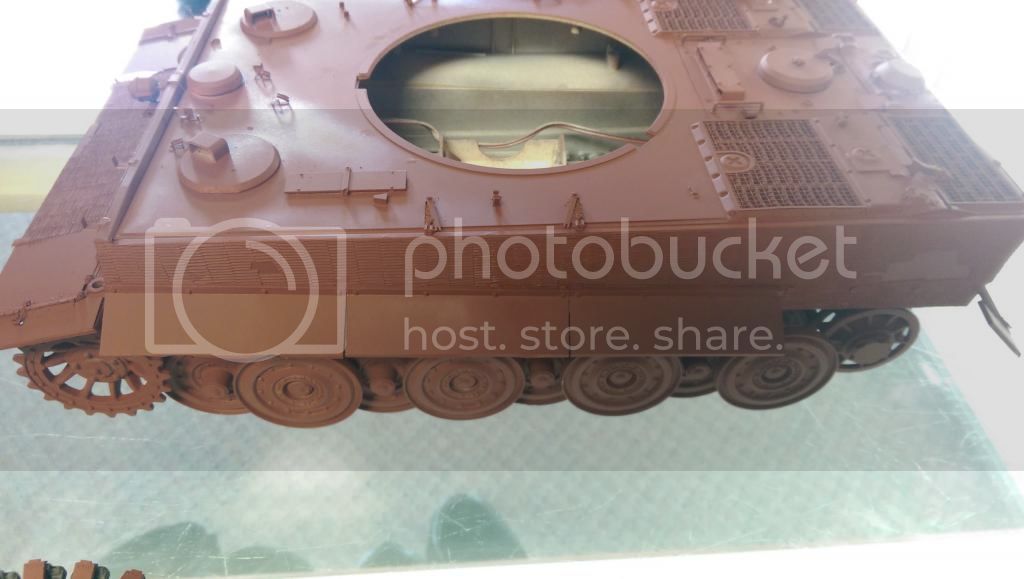
And a shot of the tool holes being plugged. My next problem to tackle will be the turret ring. I'm scouring the house looking for something of the diameter that can be used after modification.


M4CH1N3
Joined: March 02, 2014
KitMaker: 22 posts
Armorama: 20 posts
Posted: Sunday, April 13, 2014 - 01:49 PM UTC
working with the Voyager PE set.
And my first attempt at soldering PE


And my first attempt at soldering PE


PantherF
Joined: June 10, 2005
KitMaker: 6,188 posts
Armorama: 5,960 posts

Posted: Wednesday, April 16, 2014 - 12:03 AM UTC
Looking good! Your zimm work is very neat and crisp looking as well as the detail work too.
Us 1/16 builders need to support each other.
Jeff
Us 1/16 builders need to support each other.
Jeff

Removed by original poster on 04/23/14 - 22:24:02 (GMT).
M4CH1N3
Joined: March 02, 2014
KitMaker: 22 posts
Armorama: 20 posts
Posted: Wednesday, April 23, 2014 - 10:25 AM UTC
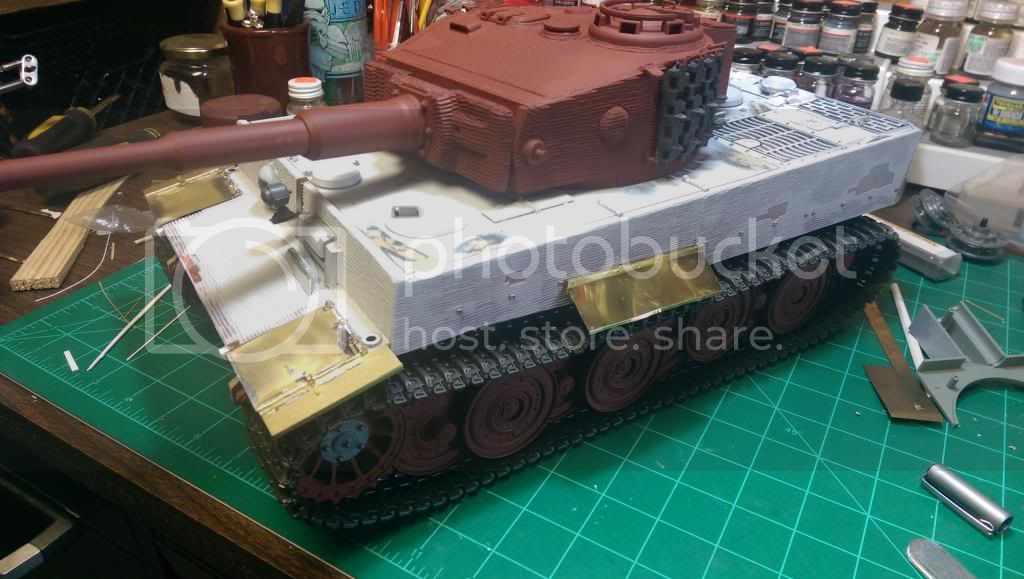
Recent P.E. work on fenders and side skirts. Turret got its first coat of primer yesterday.


Tiger1944

Joined: October 11, 2013
KitMaker: 160 posts
Armorama: 152 posts

Posted: Friday, April 25, 2014 - 03:10 PM UTC
This is looking amazing so far, love the Tiger 1!

M4CH1N3
Joined: March 02, 2014
KitMaker: 22 posts
Armorama: 20 posts
Posted: Friday, May 23, 2014 - 06:12 AM UTC
New update: after getting most, if not all the PE parts applied, i decided to start working on priming for paint.
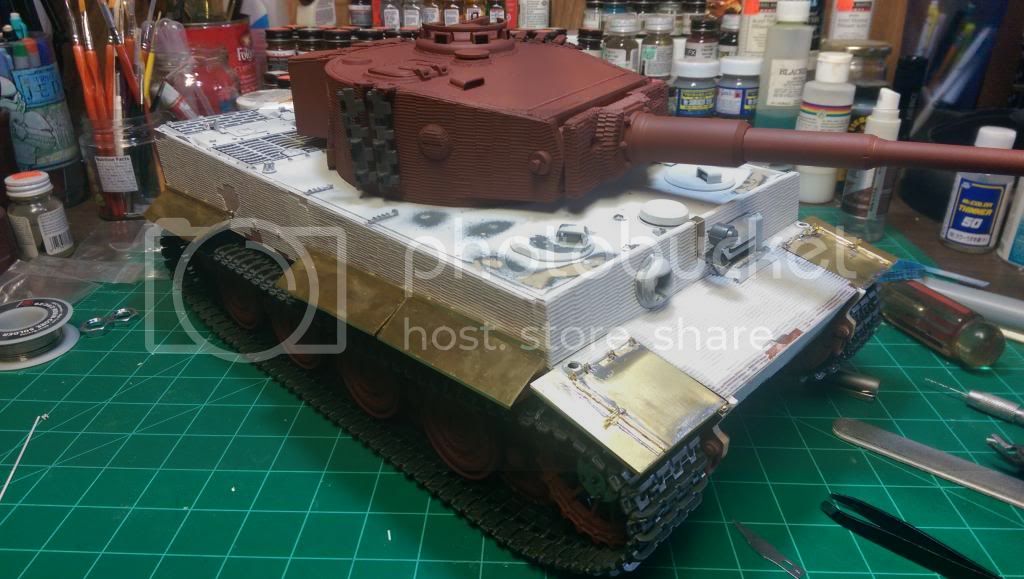
After doing some research on the composition of Zimm, I decided to go for an off ocher color. Taking some creative freedom I also added some darker coloring to the Red ozide primer to simulate ozidation as well as discoloration. Next step will be applying hair spray to facilitate the chipping effect.
Funny how my significant other questions why I put so much effort and detail into something that I'm just gonna cover in paint......My response?.....Because I know it's there.


SDavies

Joined: January 09, 2010
KitMaker: 979 posts
Armorama: 959 posts

Posted: Monday, May 26, 2014 - 07:46 PM UTC
What a great looking Tiger. Well done
M4CH1N3
Joined: March 02, 2014
KitMaker: 22 posts
Armorama: 20 posts
Posted: Sunday, June 01, 2014 - 12:41 PM UTC
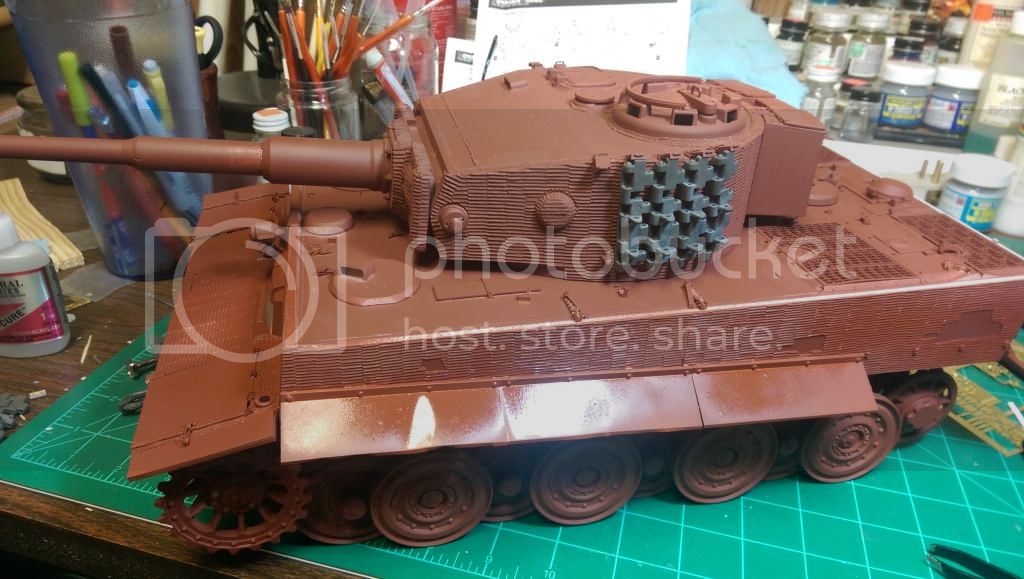
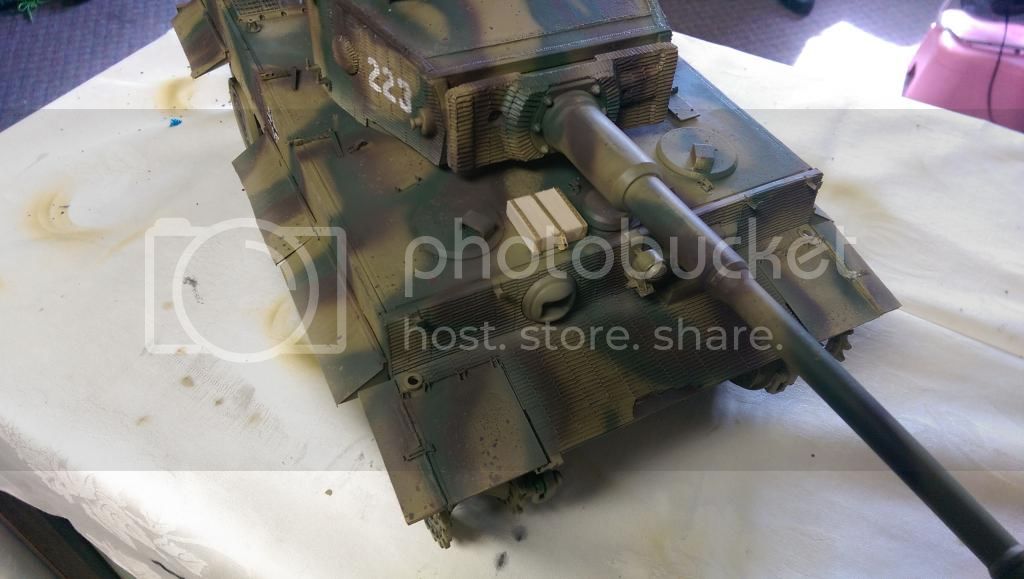
Started working on the paint job before I go heavy on the weathering.


M4CH1N3
Joined: March 02, 2014
KitMaker: 22 posts
Armorama: 20 posts
Posted: Sunday, June 01, 2014 - 12:50 PM UTC
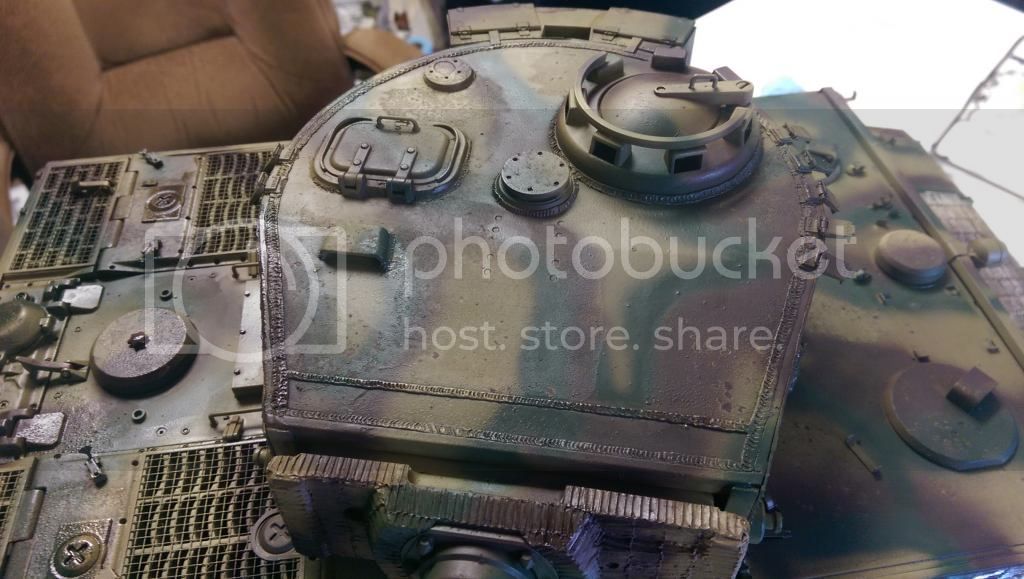
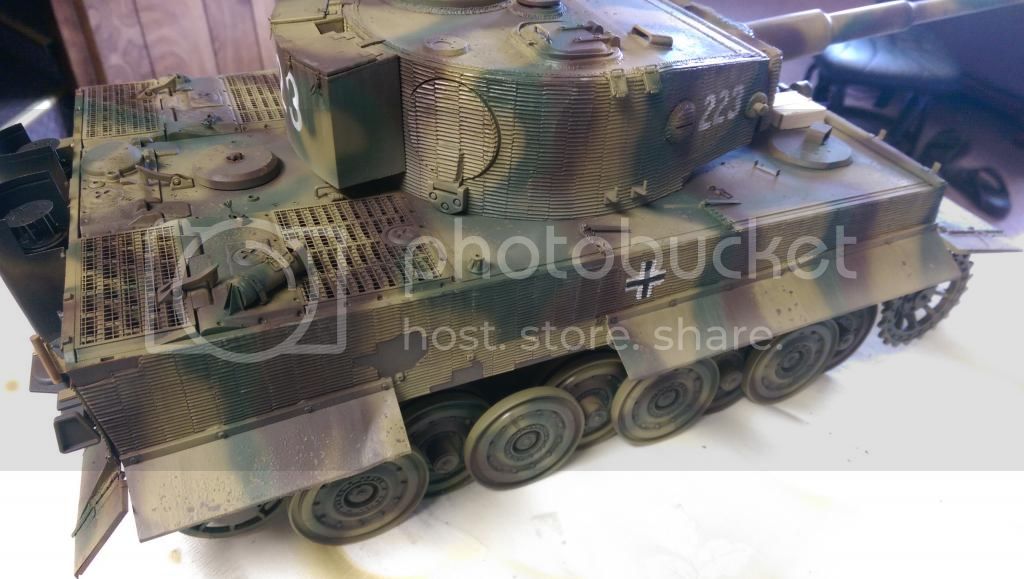
Had to hit the beast with a coat of flat and started working weathering. Using a few different methods from stains, washes, to airbrush misting, I think I'm getting a feel for the new techniques. Funny how taking a break for almost 15 years, weathering a tank has become more of a science than anything.
After this is completed...I think I'll move onto some A&K washes, chipping, and gradient painting on my 35th scale tanks.


After this is completed...I think I'll move onto some A&K washes, chipping, and gradient painting on my 35th scale tanks.


PantherF
Joined: June 10, 2005
KitMaker: 6,188 posts
Armorama: 5,960 posts
Posted: Sunday, June 01, 2014 - 01:00 PM UTC
Outstanding work! Are you going to replace those early tracks with the correct late ones with the cleats?
I'm sure they have some inexpensive tracks in metal these days.
Jeff
I'm sure they have some inexpensive tracks in metal these days.
Jeff
M4CH1N3
Joined: March 02, 2014
KitMaker: 22 posts
Armorama: 20 posts
Posted: Monday, June 02, 2014 - 12:59 AM UTC
Yes I am. Already purchased a set for the Airsoft Taigen/Henglong Tiger. they'll need some clean up and proper painting, but they will work.
 |

WEB HOSTING BY


Copyright ©2021 Armorama and Kitmaker Network, a subsidiary of Silver Star Enterprises
All Rights Reserved. Please read our Conditions of Use and Privacy Policy.
All Rights Reserved. Please read our Conditions of Use and Privacy Policy.