Quebec, Canada
Joined: November 15, 2002
KitMaker: 3,960 posts
Armorama: 3,579 posts
Posted: Saturday, April 05, 2014 - 05:28 AM UTC
Missouri, United States
Joined: April 13, 2012
KitMaker: 395 posts
Armorama: 391 posts
Posted: Saturday, April 05, 2014 - 06:25 AM UTC
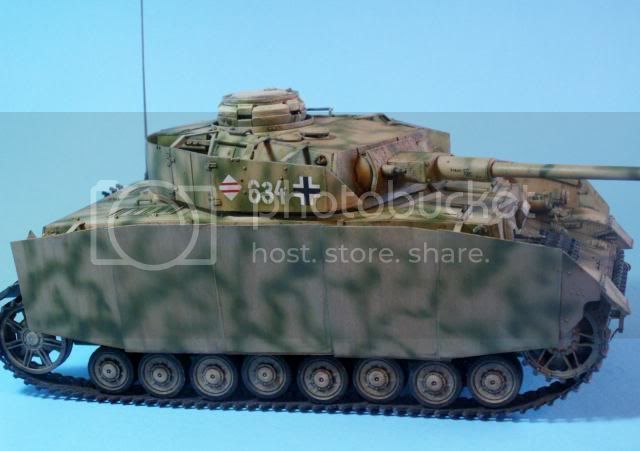
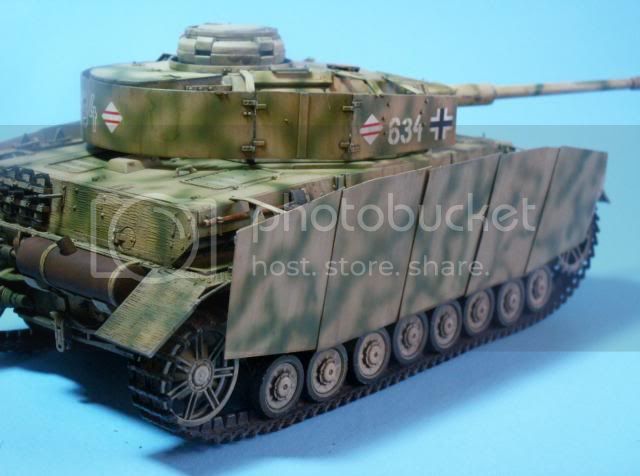
Fantastic!!! You and I have been working hard on the same model. I've been having a Hell of a time getting large images posted properly but once I get that sorted and learn how to do it quickly I'll add the album. This is honestly the most difficult model I've ever built. I built 2 DML (6560s) at once in an atttempt to creat the "quintessential Normandy Panzers" The kits are fantastic but it is incredibly difficult to get the schurzen situated correctly and in a way that doesn't leave you with flimsy skirt armor. It was difficult to paint and keep aligned as well. These kits look fantastic when finished well but found that simply assembling it well and adding a good paint job isnt enough in that it looks like a toy. I really had to work and practice weathering techniques for a year before I was able to get my 2 IVs to where they didn't appear as 2 toys. You've done a fantastic job. Your's is very clean looking and yet has that life like metallic quality. Keep up the good work!


Missouri, United States
Joined: April 13, 2012
KitMaker: 395 posts
Armorama: 391 posts
Posted: Saturday, April 05, 2014 - 06:32 AM UTC
Also, I absolutely adore this paint scheme. I've always felt the German tri-color {dunkelgelb with red brown and dark green squiggles} was the finest looking but lately..I've really really noticed how fantastic dunkelgelb with a lighter olive green squiggle/blotch scheme looks. This is exactly how I want to paint a Panther Ausf. A Late production with tile zimmerit {Northern France/Lorraine 1944} I'm working on. Great job, I can't wait to see it progress to finish. Small dio or Base ideas? I'm just adding a base with a dirt road bordered by a hedge and tall field grass (going to use my Noch GrassMaster for the first time). Just and idea..This would look so sexy on a stretch of road next to a hedge, a half-timber Bavarian/Austrian styled country home, a damaged Norman wall, or under a tall pine tree. Just spitballing here. Cheers.
I freaking LOVE this model man.
Quebec, Canada
Joined: November 15, 2002
KitMaker: 3,960 posts
Armorama: 3,579 posts
Posted: Saturday, April 05, 2014 - 06:37 AM UTC
Hi Nate ..while I was posting on yours you were posting here .. lol Thanks for the comments and I agree that to make a kit come to life ,the weathering is where it all comes together.. I still have a long way to go ..
Rick
Missouri, United States
Joined: April 13, 2012
KitMaker: 395 posts
Armorama: 391 posts
Posted: Saturday, April 05, 2014 - 06:39 AM UTC
Absolutely, I'm having major image posting issues lol. I can't wait to see her weathered, washed, and detailed in her final form and glory. Cheers Rick!
Arkansas, United States
Joined: June 29, 2009
KitMaker: 11,610 posts
Armorama: 7,843 posts
Posted: Saturday, April 05, 2014 - 07:04 AM UTC
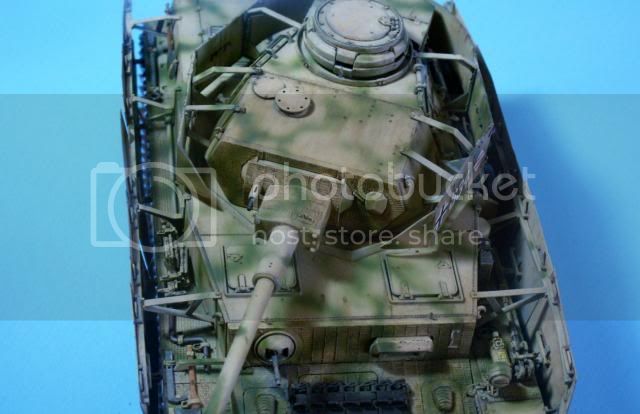
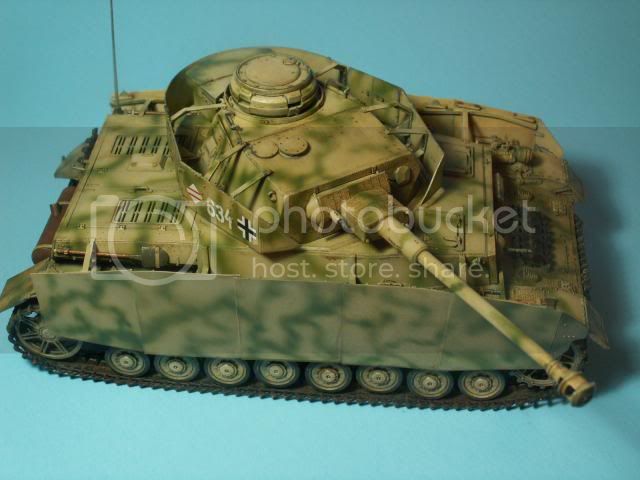
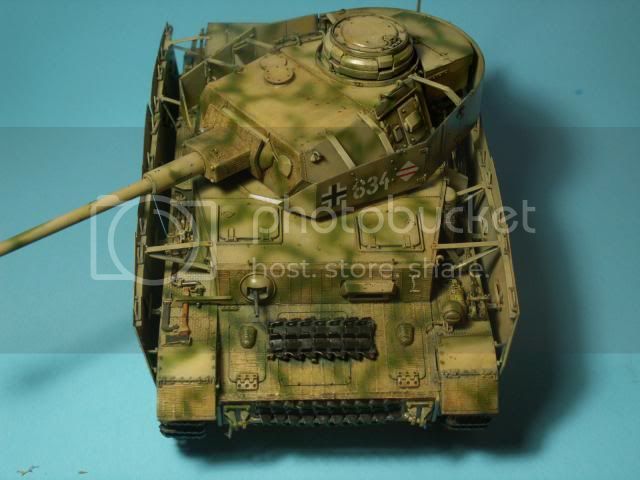
That is coming along, quite nicely. I would recommend drilling out the exhaust. This improves the look exponentially. I also notice that some of the road wheels do not touch the track. You seem to have some over spray of green on the spare tracks. Except for the road wheels, these are all easy fixes. I do look forward to seeing this one finished. There seems to be a resurgence of panzer iv's, lately. Can't wait to start mine. It will be the second one I have completed.
Ideals are peaceful. History is violent.
Quebec, Canada
Joined: November 15, 2002
KitMaker: 3,960 posts
Armorama: 3,579 posts
Posted: Saturday, April 05, 2014 - 09:38 AM UTC
Hi Matt .. thanks for the comments .. I have drilled out the exhaust , I guess the pictures don't show it very well and there are still some dark washes and pigments that will help define that during the weathering .. As for the green over the tracks ...it was wanted to show the field applied camo and the fact that they would have just kept spraying instead of removing them .. There are also many pictures of tanks with the tracks paint yellow as well but both were seen. The tracks will be glued in place in the end so that should stop them from riding up .. lol Just had a little accident and the extra armour on the turret has to be reglued ..uuugggghhh anyway ..if all goes well I should have a couple of filters on by the end of the night ... Thanks for looking and the comments .

Rick
Ontario, Canada
Joined: November 03, 2012
KitMaker: 2,275 posts
Armorama: 2,233 posts
Posted: Saturday, April 05, 2014 - 11:20 AM UTC
ColinEdm
 Associate Editor
Alberta, Canada
Joined: October 15, 2013
KitMaker: 1,355 posts
Armorama: 1,229 posts
Posted: Sunday, April 06, 2014 - 02:52 AM UTC
Looks very good, I've always liked the boxy panzers.
The voices are back.....excellent....
Quebec, Canada
Joined: November 15, 2002
KitMaker: 3,960 posts
Armorama: 3,579 posts
Posted: Saturday, April 12, 2014 - 12:54 PM UTC
North Carolina, United States
Joined: May 17, 2012
KitMaker: 1,980 posts
Armorama: 1,571 posts
Posted: Saturday, April 12, 2014 - 03:27 PM UTC
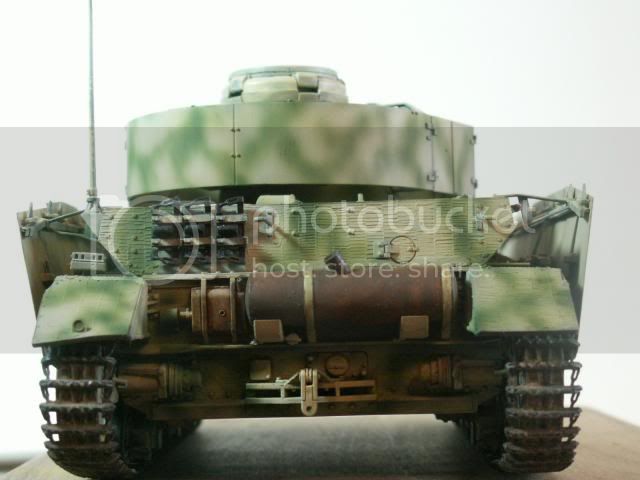
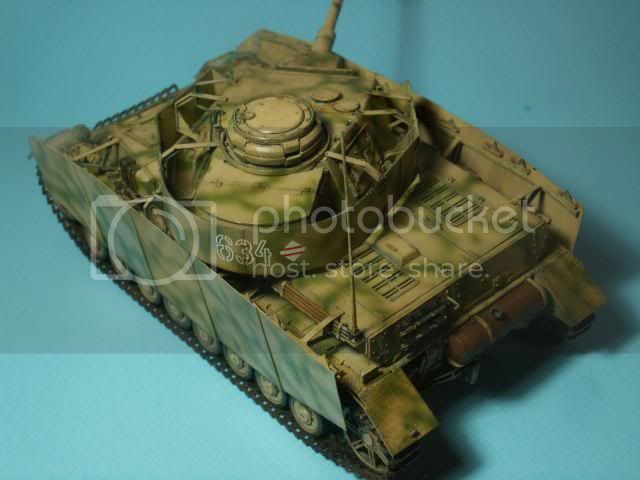
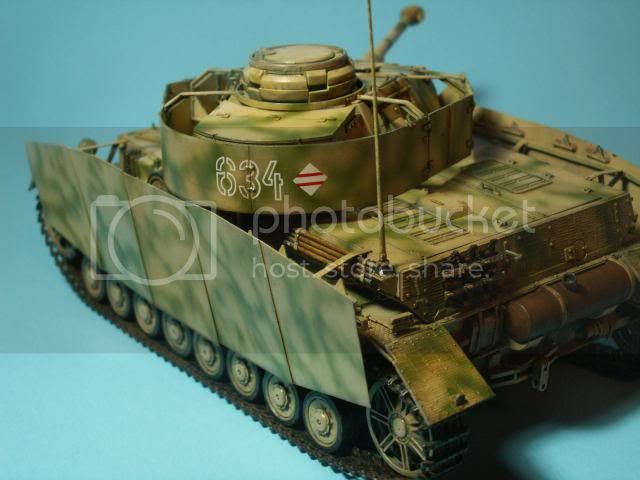
Good job so far, Rick. It's nice to see someone rust up the secondary muffler in addition to the primary.

Wojewodztwo Slaskie, Poland
Joined: October 21, 2003
KitMaker: 529 posts
Armorama: 500 posts
Posted: Saturday, April 12, 2014 - 10:11 PM UTC
Looks great, I really like it. Very cool paint it, the muffler also looks great.


Paweł

#247
Nordjylland, Denmark
Joined: January 03, 2008
KitMaker: 1,102 posts
Armorama: 1,018 posts
Posted: Saturday, April 12, 2014 - 11:06 PM UTC
Hi Richard
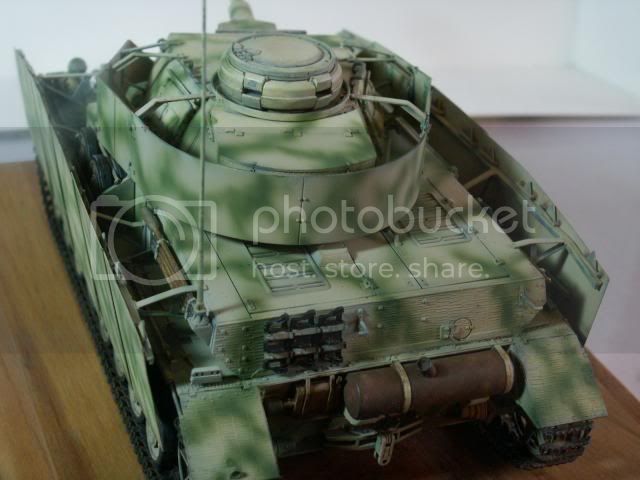
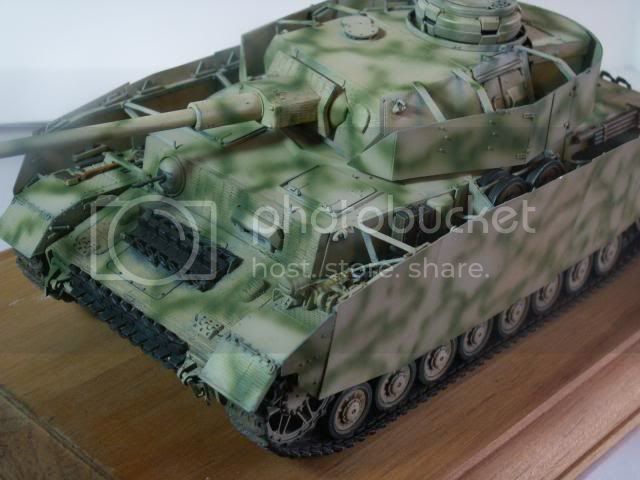
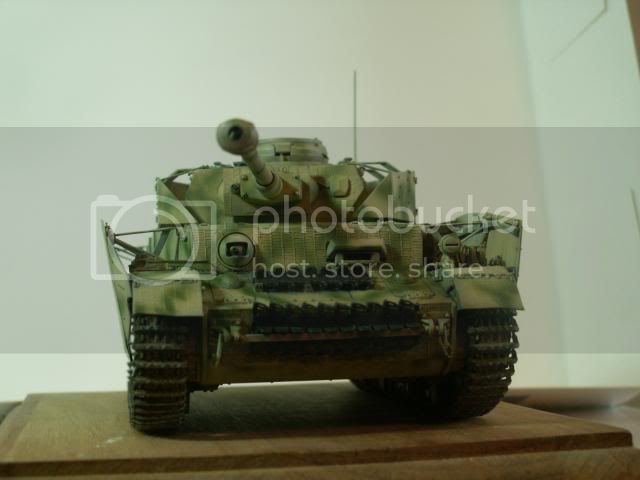
Looks very nice. I love the two color camoflage, and the weathering is coming out great.
Jacob

"I never apologize - Sorry, that's just the way I am" Homer Simpson
Quebec, Canada
Joined: November 15, 2002
KitMaker: 3,960 posts
Armorama: 3,579 posts
Posted: Sunday, April 13, 2014 - 01:29 AM UTC
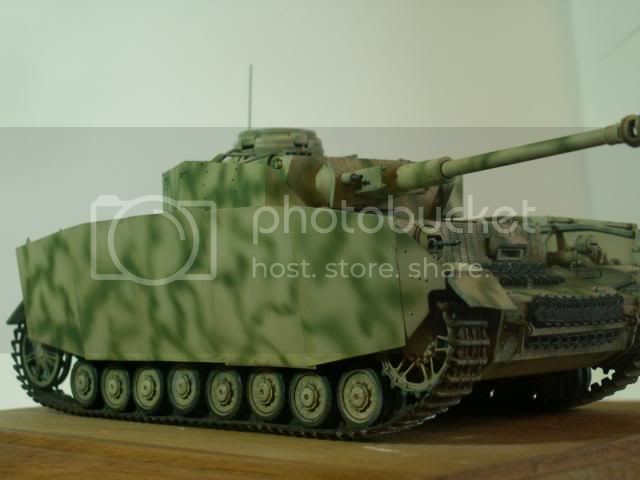
Thanks for the comments guys ... This is a commission for a friend so the weathering will be quite light ... Maybe a bit of streaking and a bit of dust but not much else ...


.
Rick
Quebec, Canada
Joined: November 15, 2002
KitMaker: 3,960 posts
Armorama: 3,579 posts
Posted: Wednesday, April 23, 2014 - 08:45 AM UTC
Uusimaa, Finland
Joined: October 22, 2012
KitMaker: 1,194 posts
Armorama: 1,077 posts
Posted: Wednesday, April 23, 2014 - 09:52 AM UTC
That's looking pretty good.
Kimmo
There is a time to laugh and a time not to laugh, and this is not one of them.
Quebec, Canada
Joined: November 15, 2002
KitMaker: 3,960 posts
Armorama: 3,579 posts
Posted: Wednesday, April 23, 2014 - 10:02 AM UTC
Thanks Kimmo...

Rick









 .
.


