


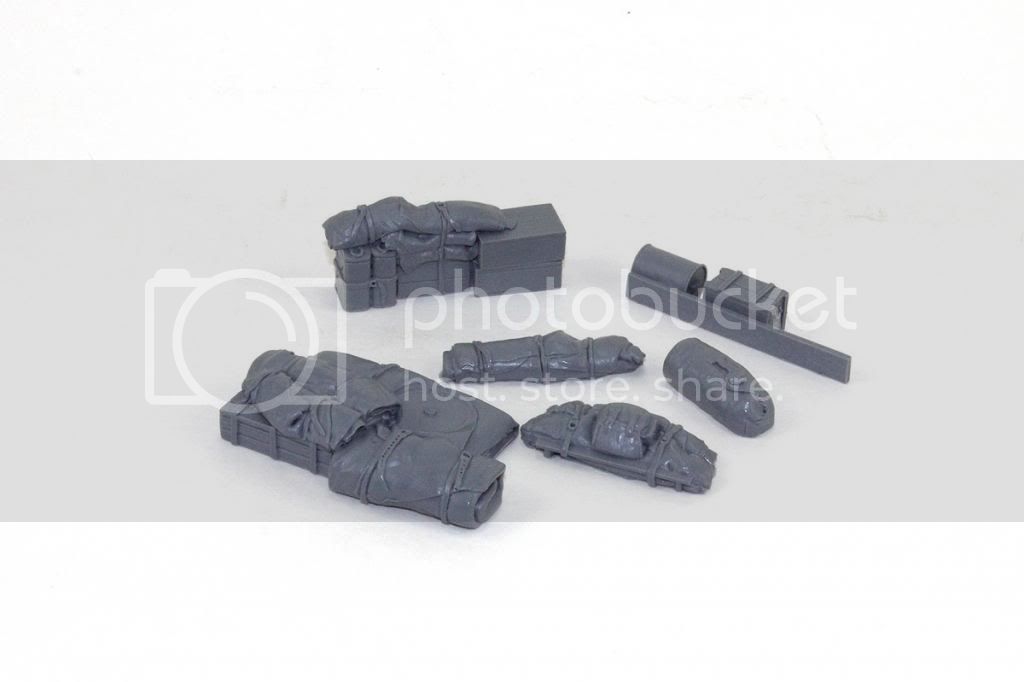
The Value Gear products Im using on this build are
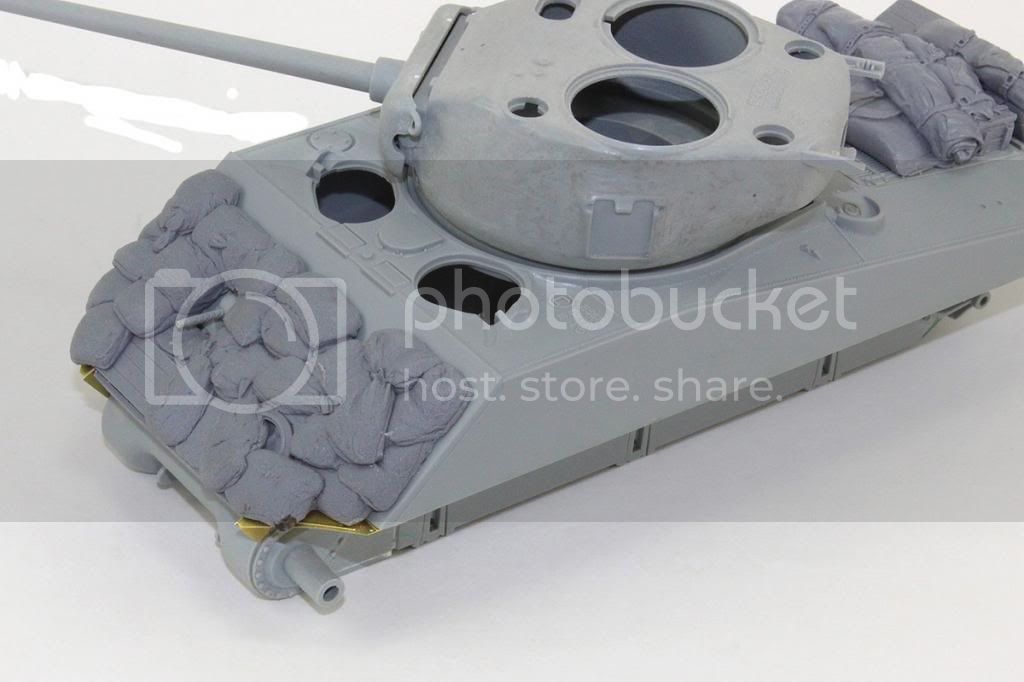
SB2 M4A3 Sand Bag Front
S2 Sherman Engine Deck

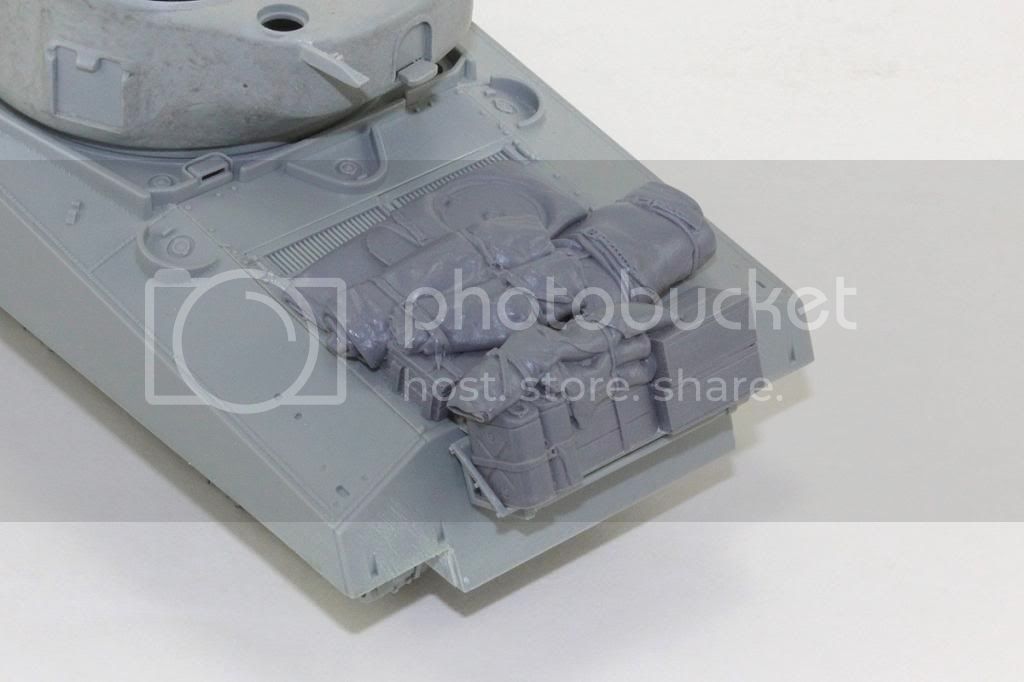
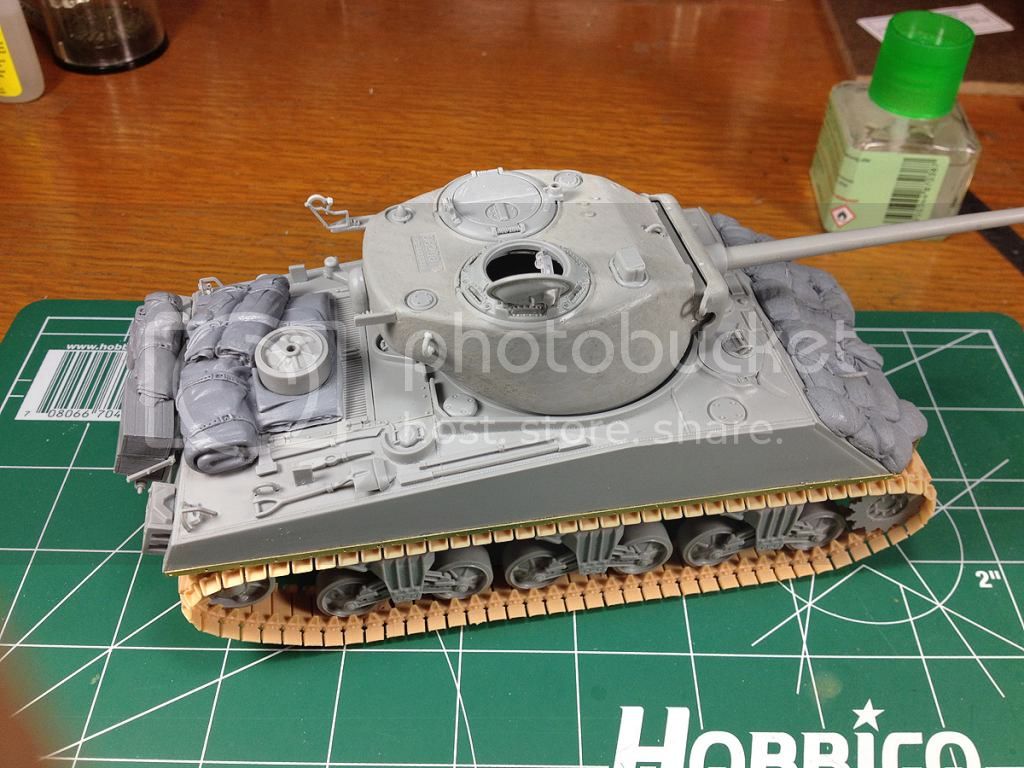
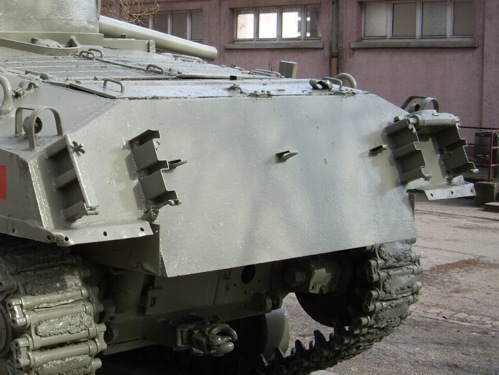
1st up is the sandbag front. As stated above, this was designed for the Tamiya M4A3, but will also work with the Dragon kit with just a little work. The molded on details on the front plate will need to be removed to allow the sandbag front to lay flat. Once this is done, the front will snuggle down tight against the front plate.
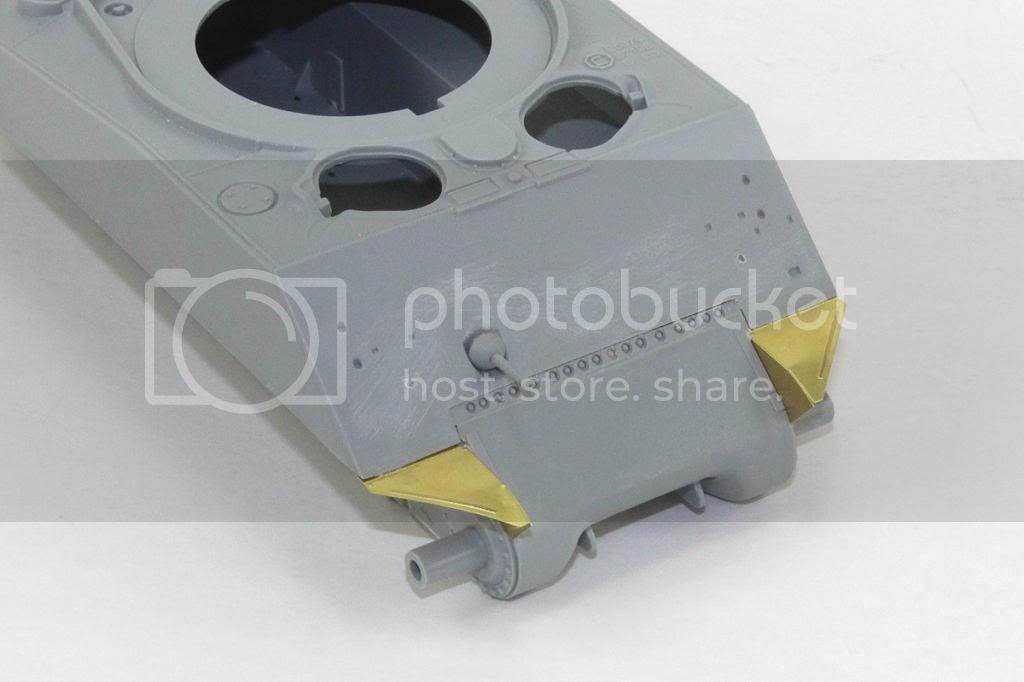
Due to the differences in Tamiya and Dragons fenders, there is a small gap left at the bottom between the fenders and sandbags. This area will require a little filler and blending, but shouldnt be too much of a problem.
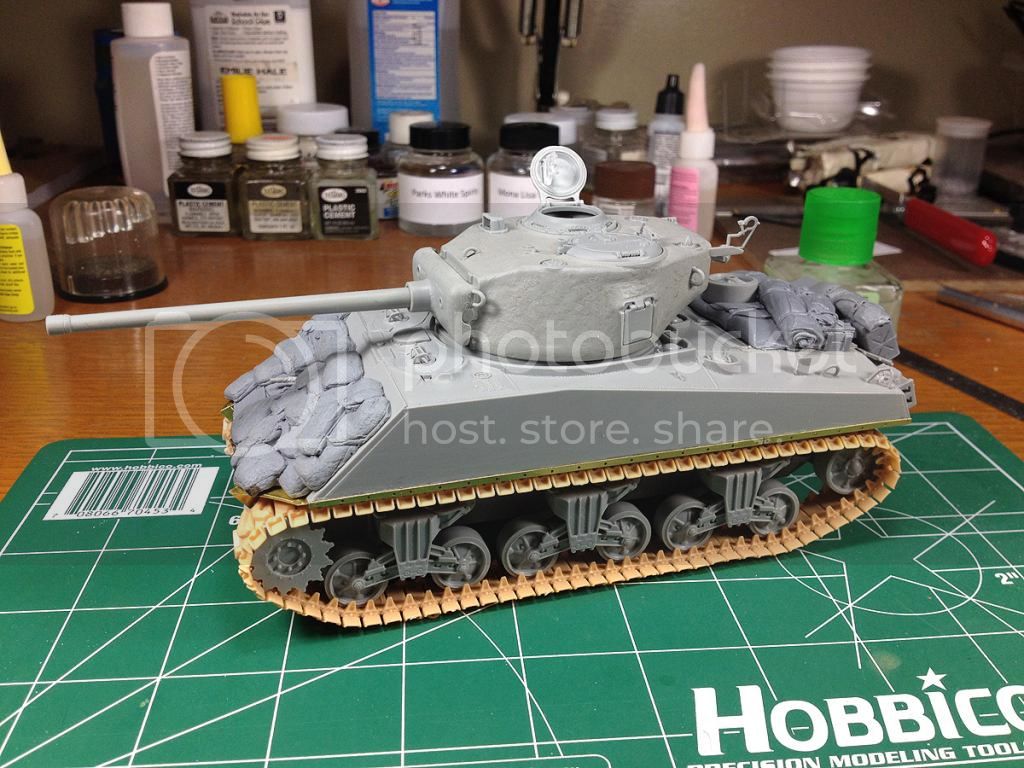
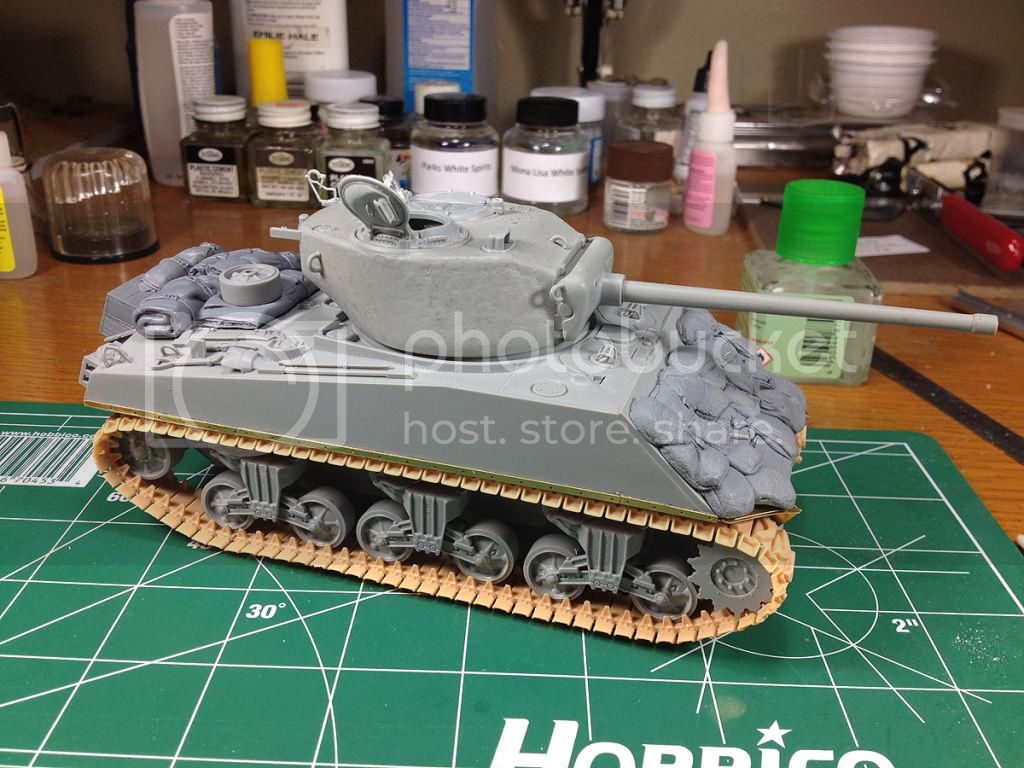
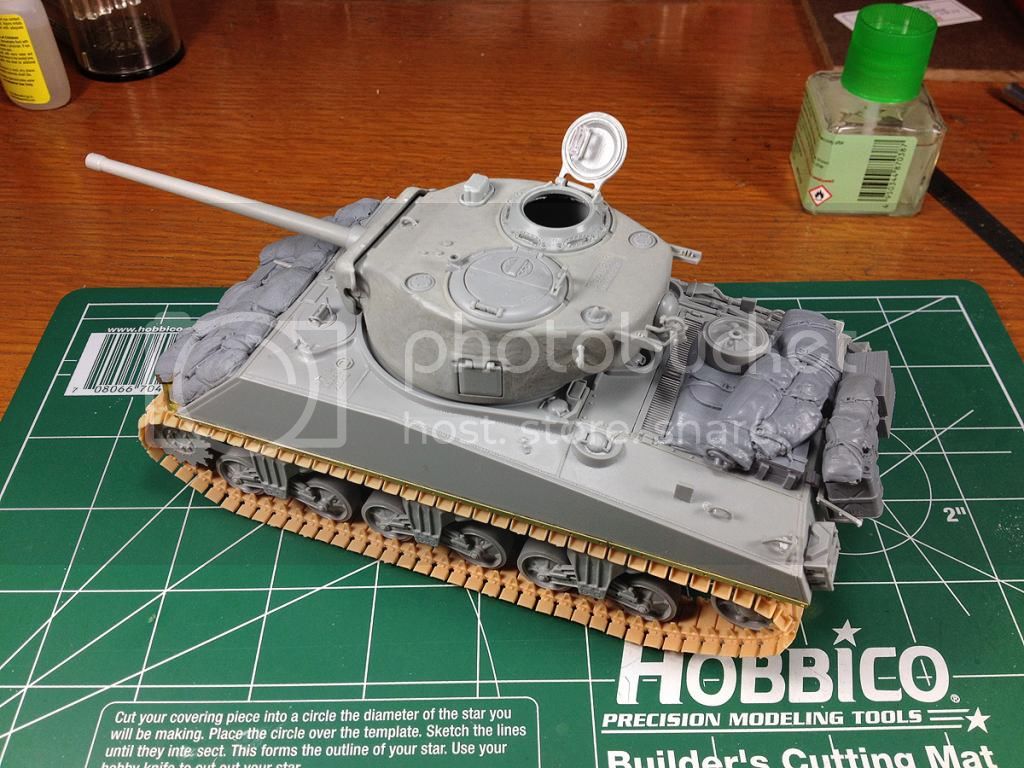
The Engine Deck Set is a lovely little affair with boxes and can that go in the back rack, some boxes and tarps that sit on the engine deck, a couple of pieces that can be warmed up with hot water and formed around the turret sides, and some stuff for the front. Ill mainly be using the rear rack and deck pieces from this set.
After a test fit, I located any raised detail on the engine deck that needs to be trimmed off flush. This process only took just a few minutes. I also notched the inside bottom of the rack set to clear the inside hinges on the stowage rack.
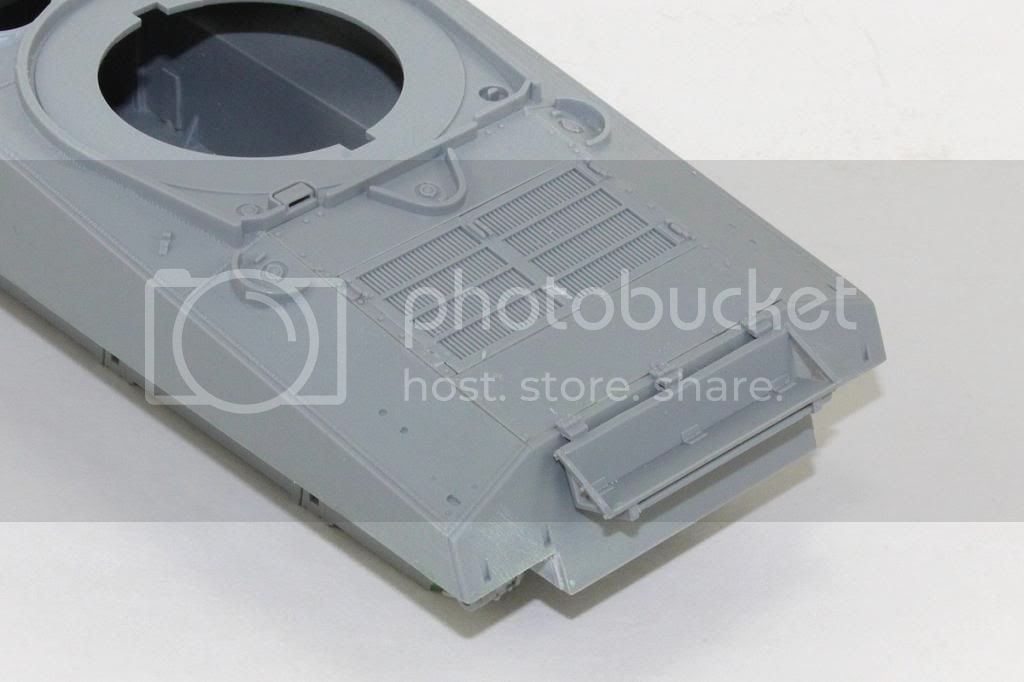
Now we are left with a perfect fit.


