Puerto Rico
Joined: December 05, 2013
KitMaker: 314 posts
Armorama: 253 posts
Posted: Monday, June 16, 2014 - 07:06 AM UTC
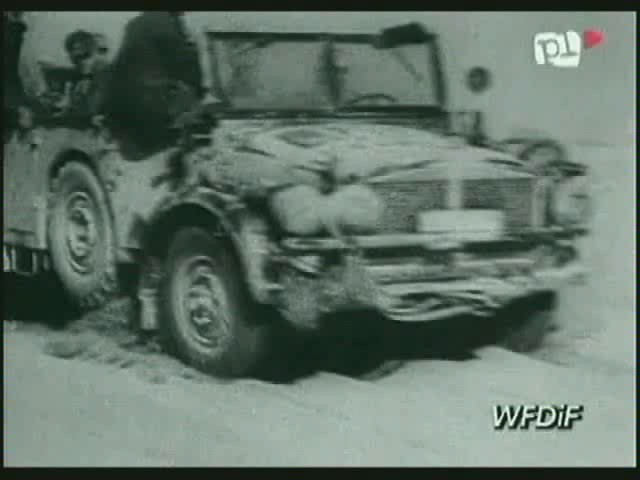
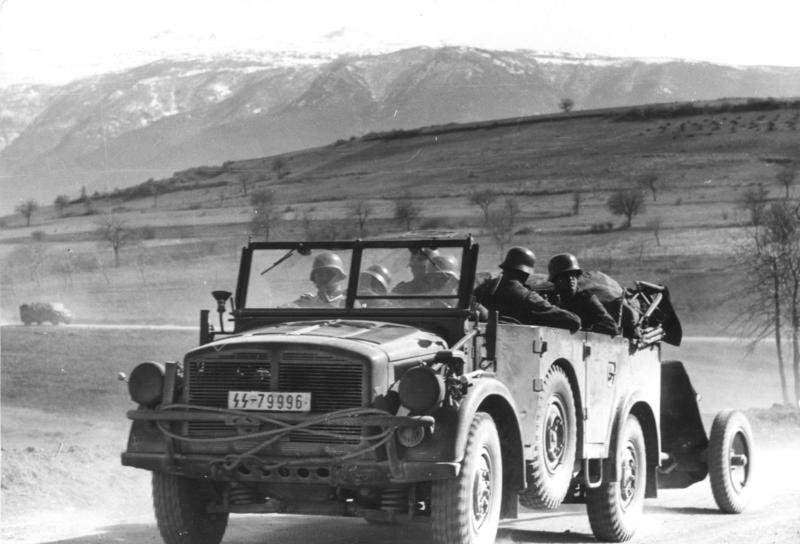
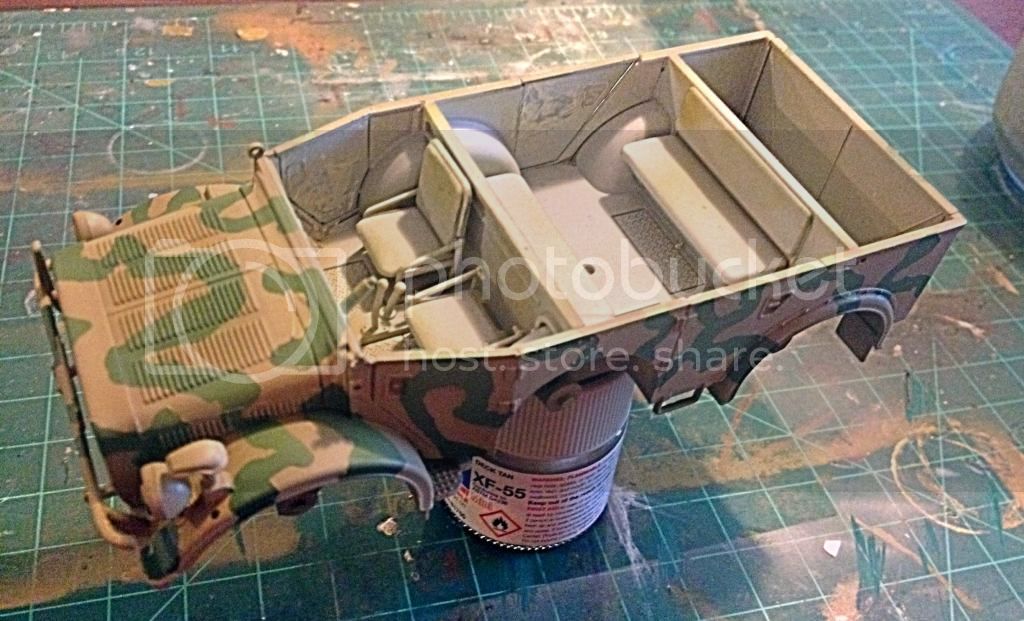
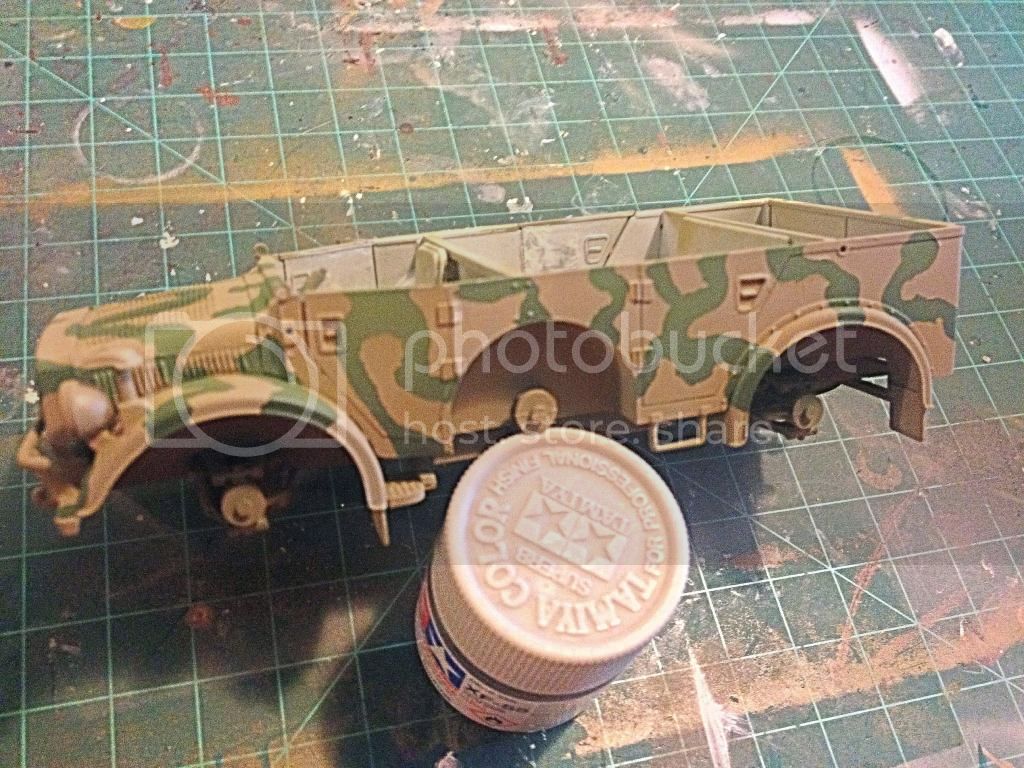
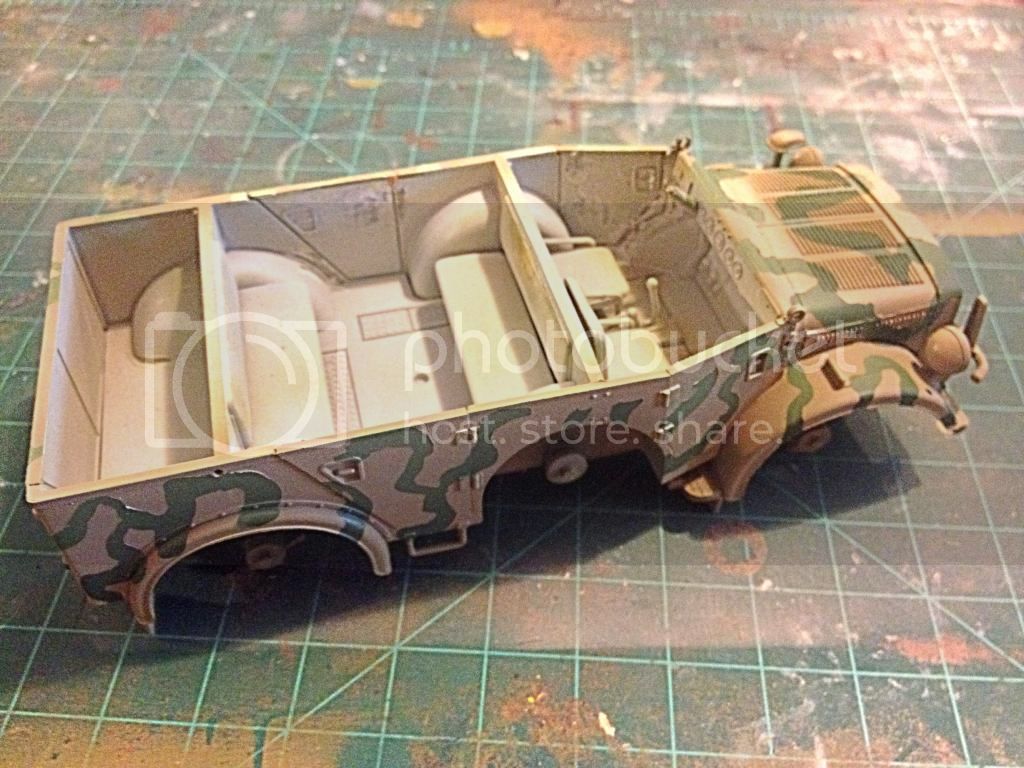
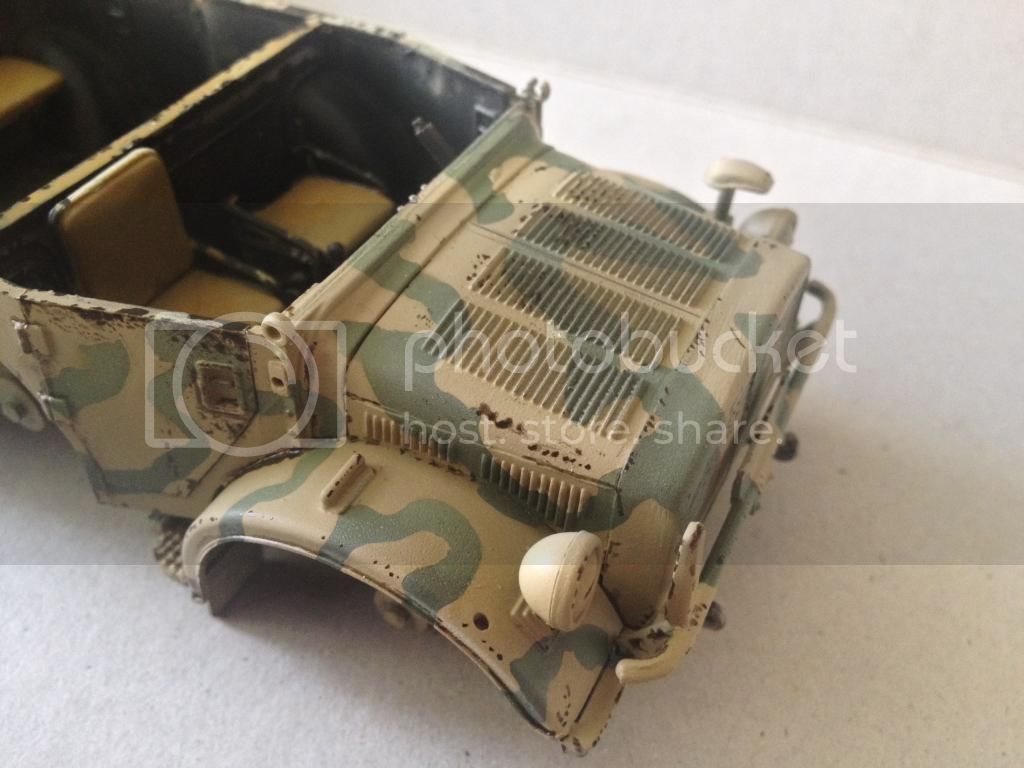
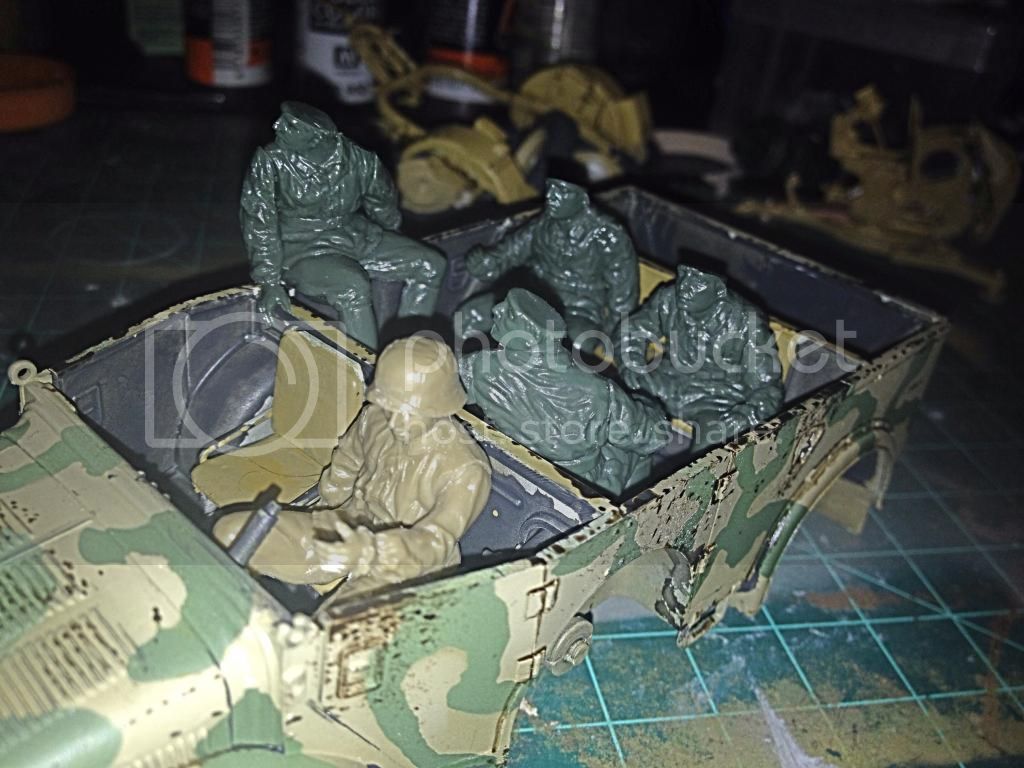
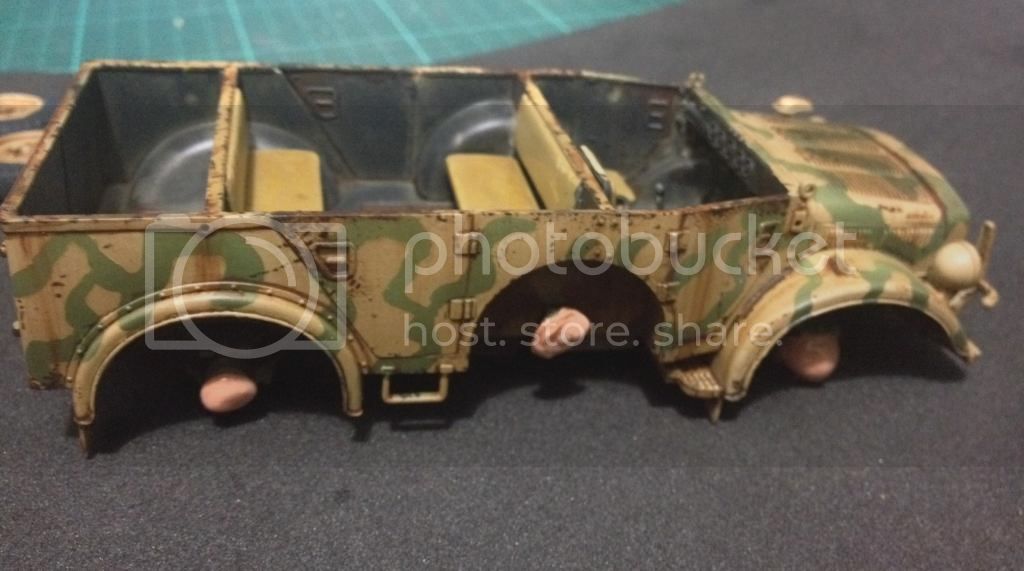
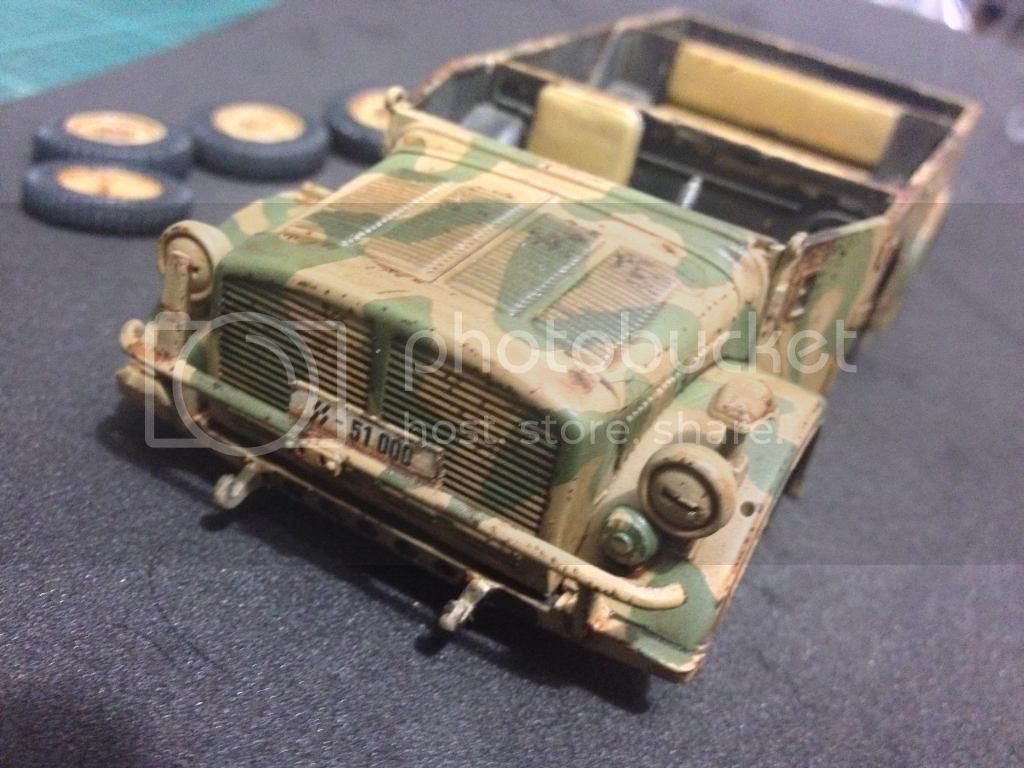
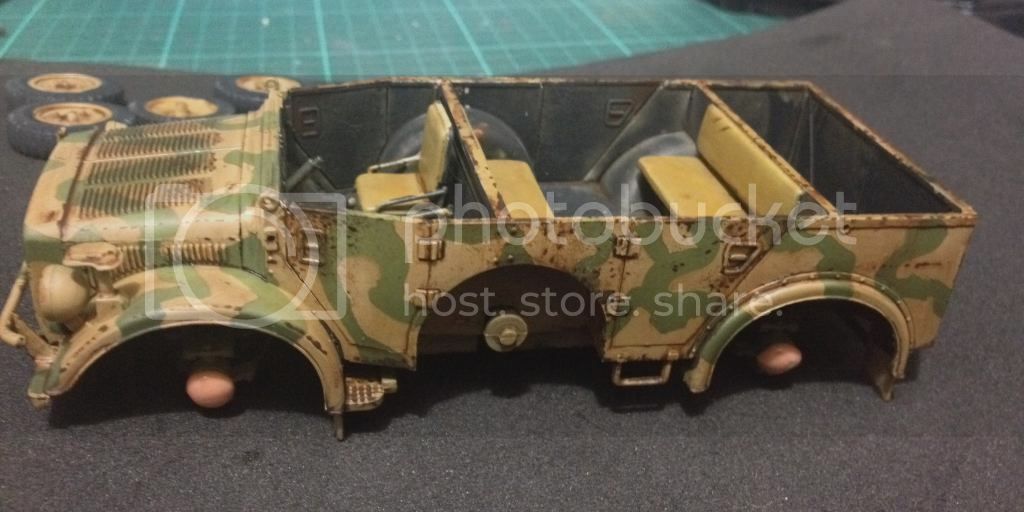
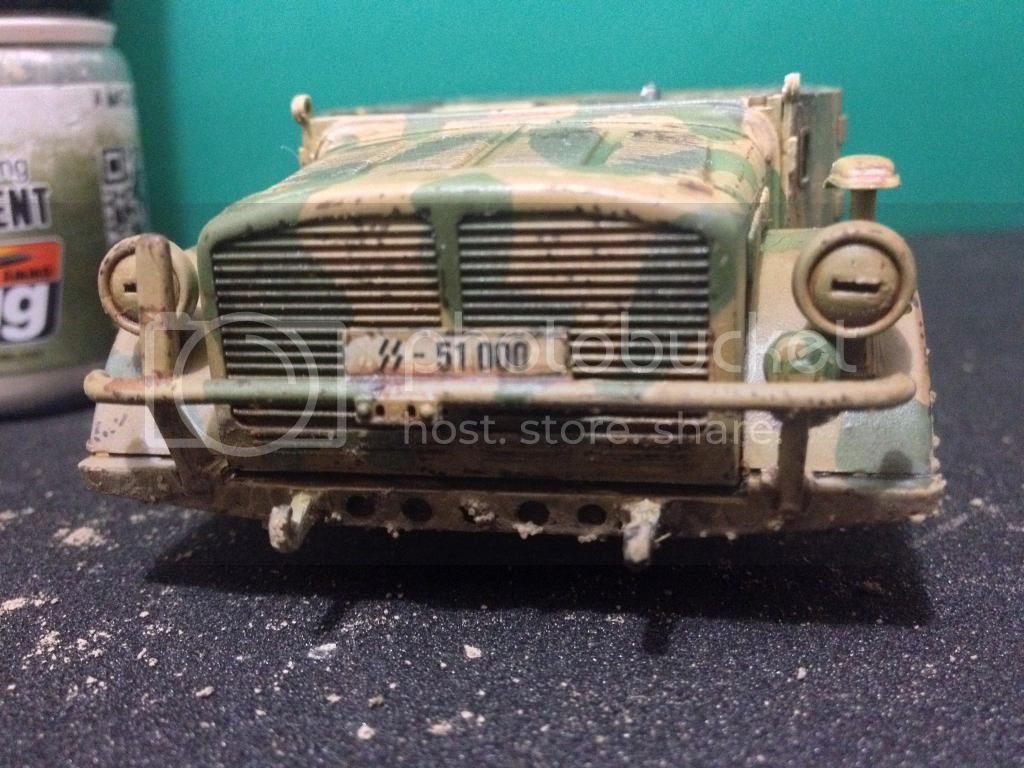
Hi Guys! during the last few weeks I was frustrated with the results of a complex PE kit and lost my "Karma". so I decided to comeback to the basics. Start a kit OOB, and looking on my stash found this really old model kit from Tamiya, the Horch 1A.
Horch was a car brand manufactured in Germany by August Horch & Cie. a curious thing I found looking information for this model is that the company Still Exist as AUDI.
Audi is the Latin translation of horch, from the German verb "Horchen", which means "Listen" The Audi name was proposed by a son of one of his business partners from Zwickau.
Also found that this is the Horch 108 1A.
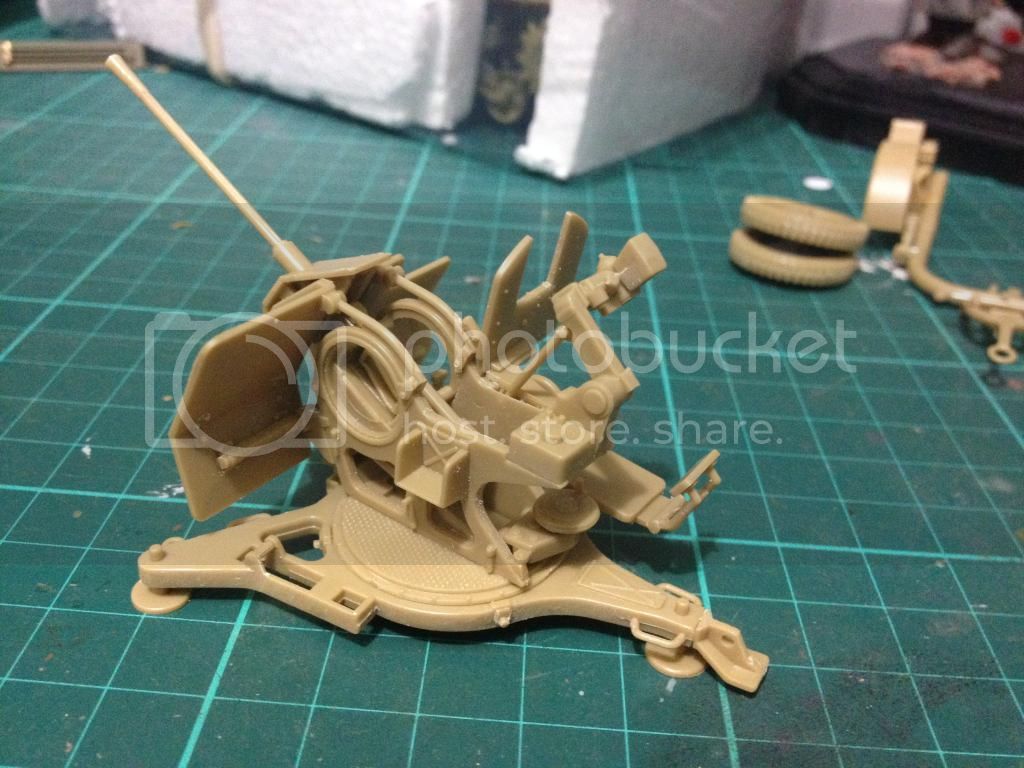
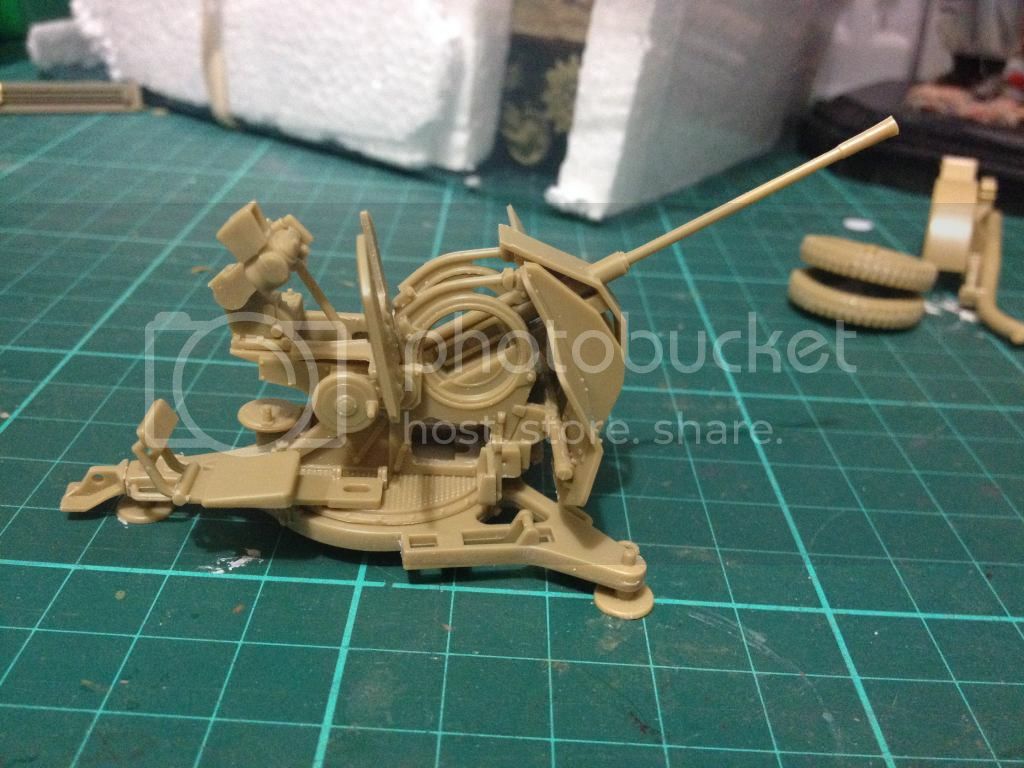
Tamiya 1/35 Horch1a with 2cm Flak38

Visit our site and learn more about our Club:
www.ipmsborinqueneers.com
Puerto Rico
Joined: December 05, 2013
KitMaker: 314 posts
Armorama: 253 posts
Posted: Monday, June 16, 2014 - 07:07 AM UTC
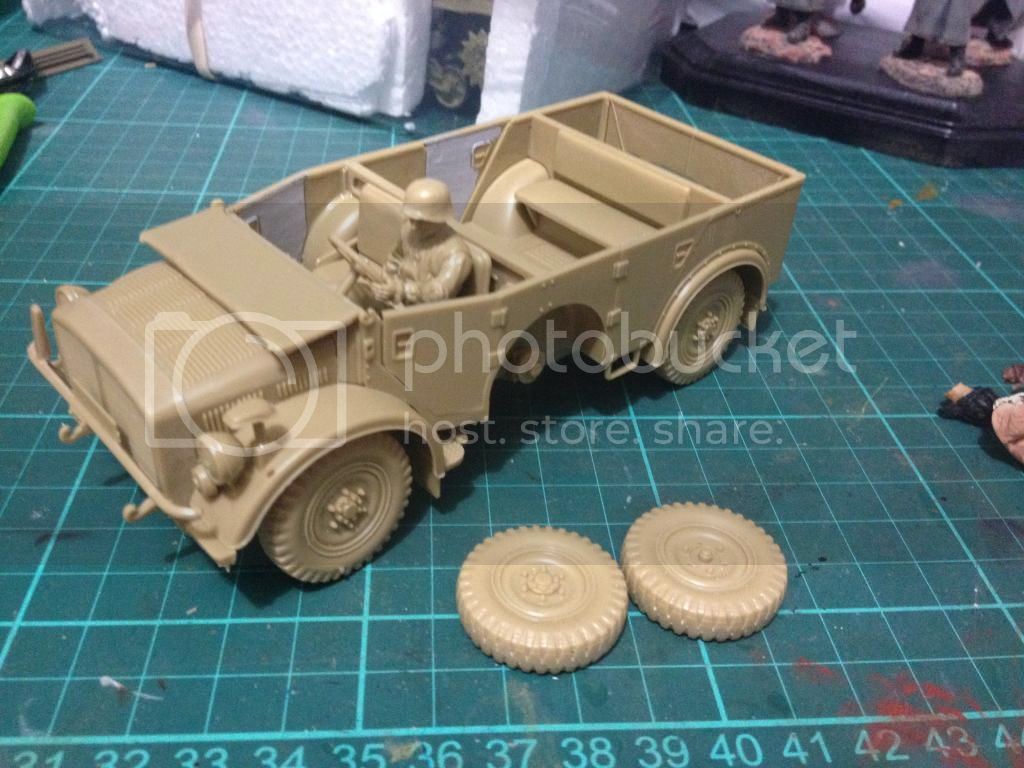
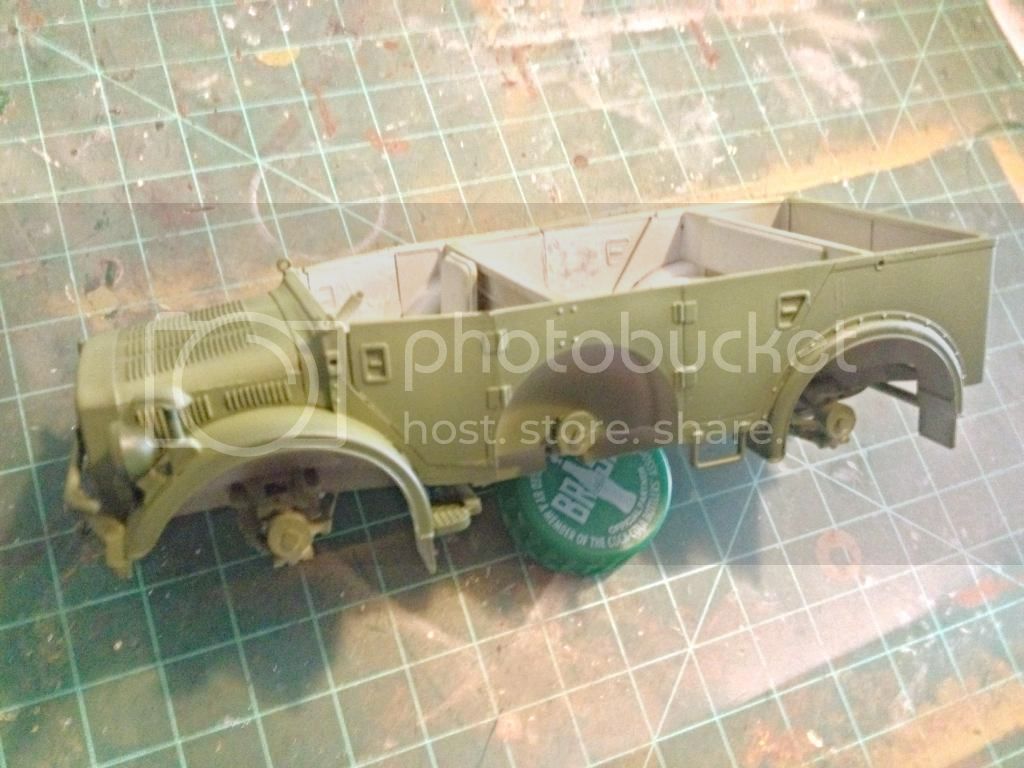
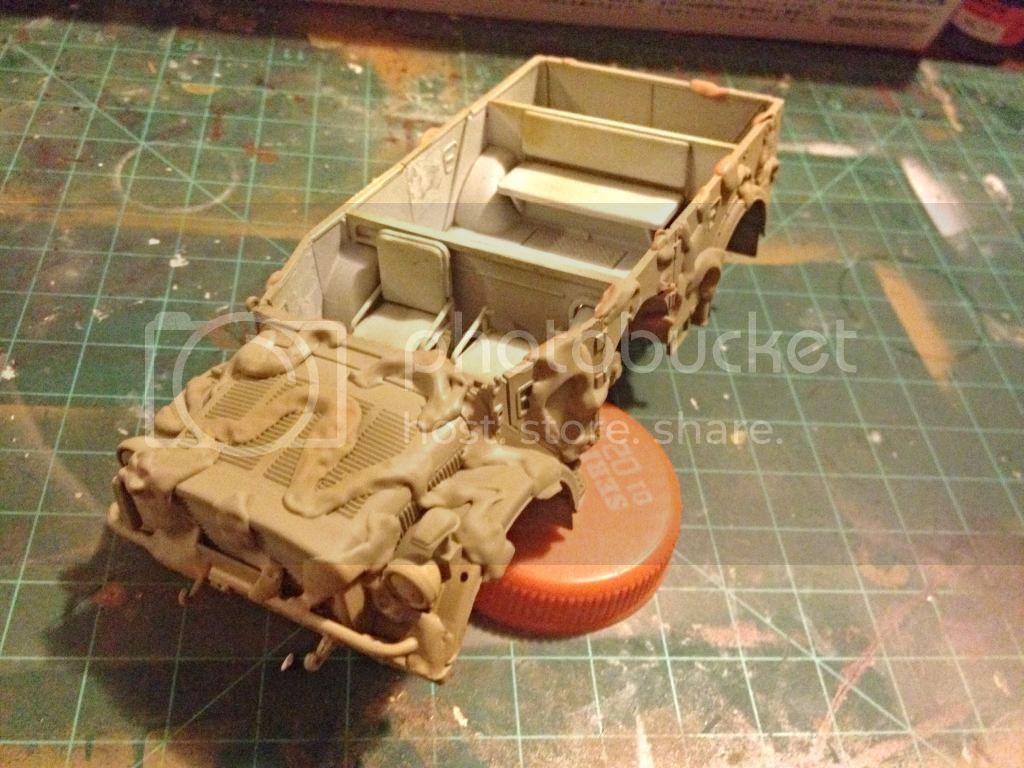
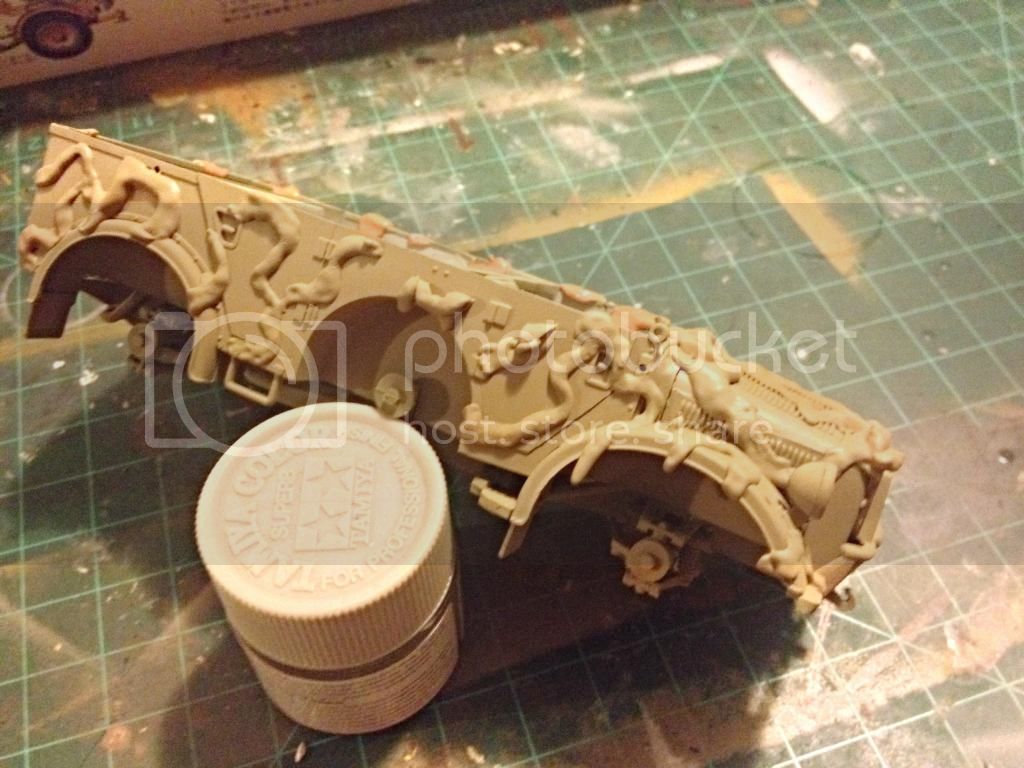
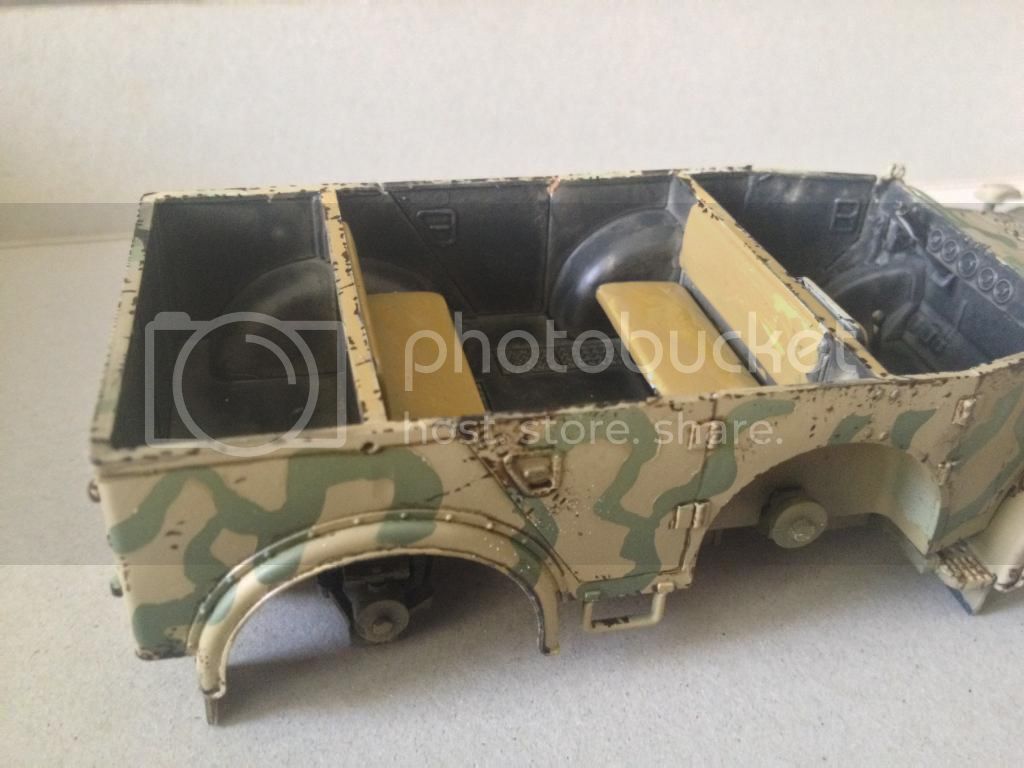
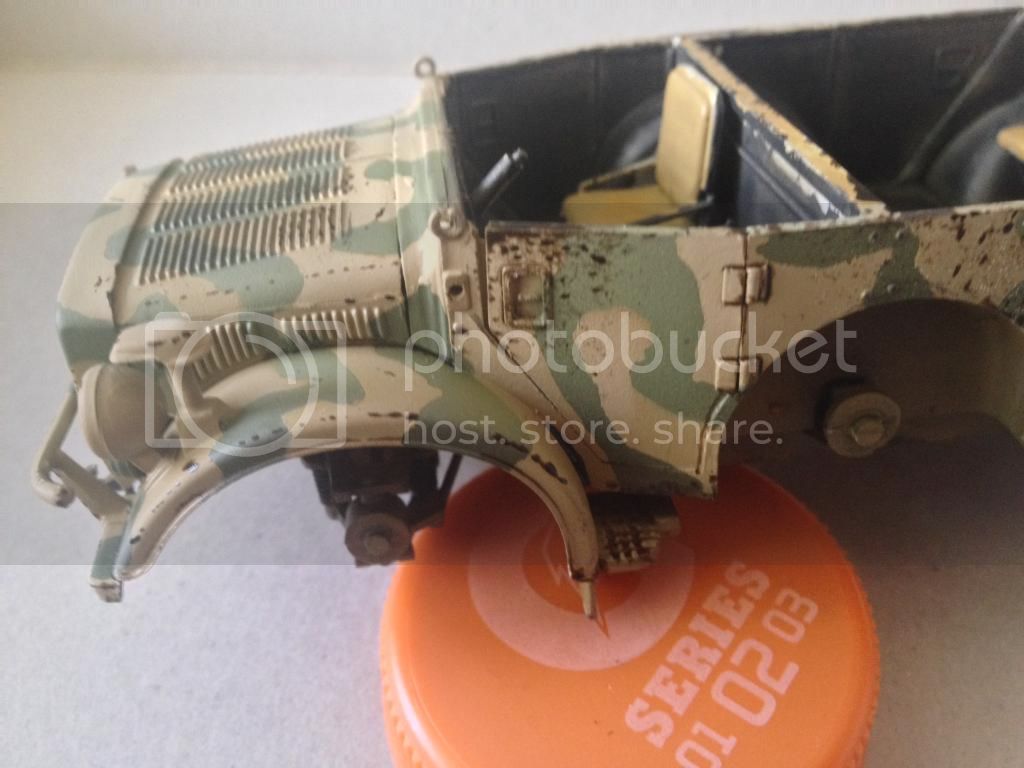
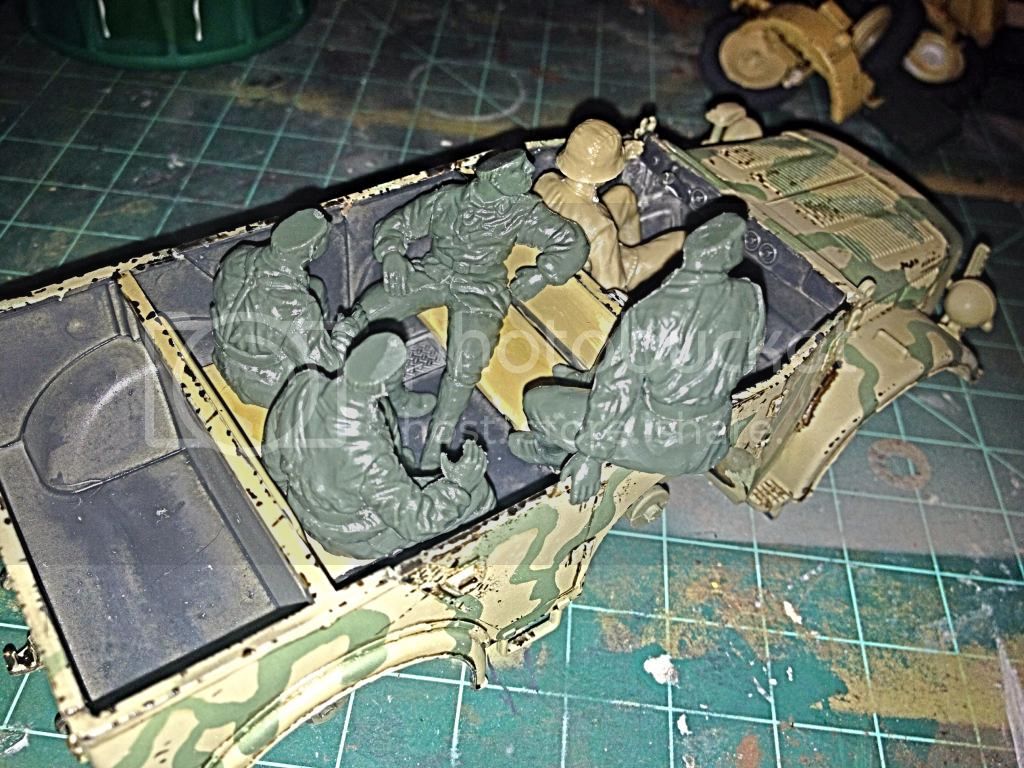
I started this model in a weekend and this was the result in 4-5 hours of building. lot and lot of injectors pins were cleaned from doors, wheels, floor and under the chassis. I added some Mr.Surface to the interior of the doors to give them some texture, but later I decide it to remove it most of it.

Visit our site and learn more about our Club:
www.ipmsborinqueneers.com
Puerto Rico
Joined: December 05, 2013
KitMaker: 314 posts
Armorama: 253 posts
Posted: Monday, June 16, 2014 - 07:09 AM UTC
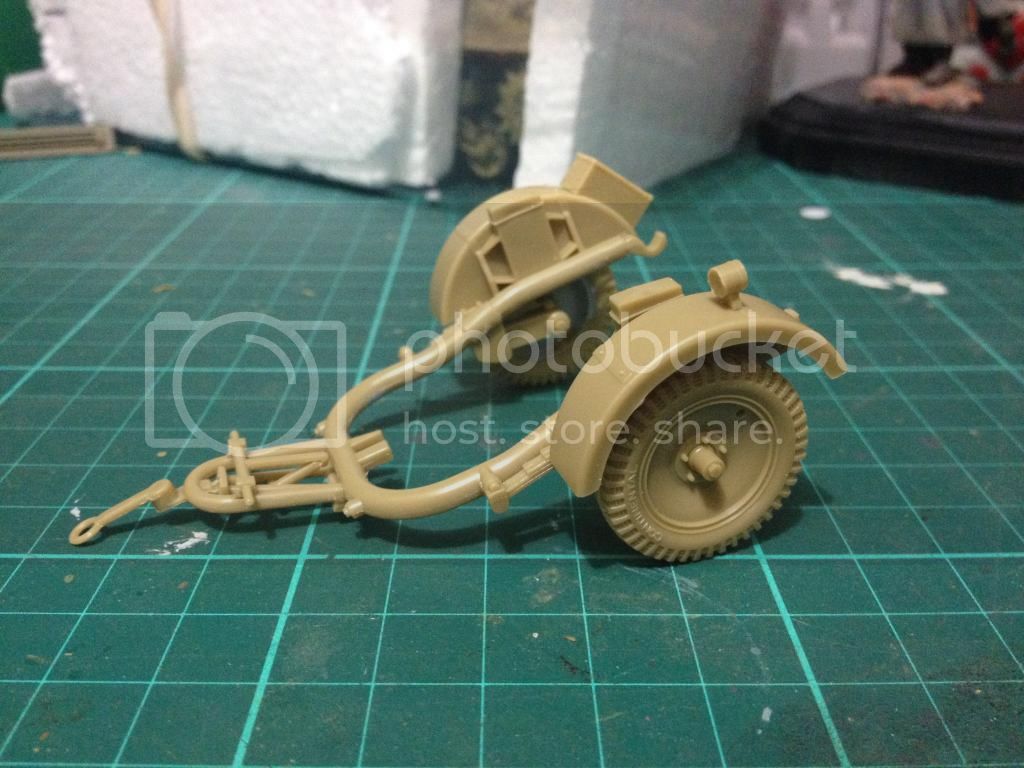
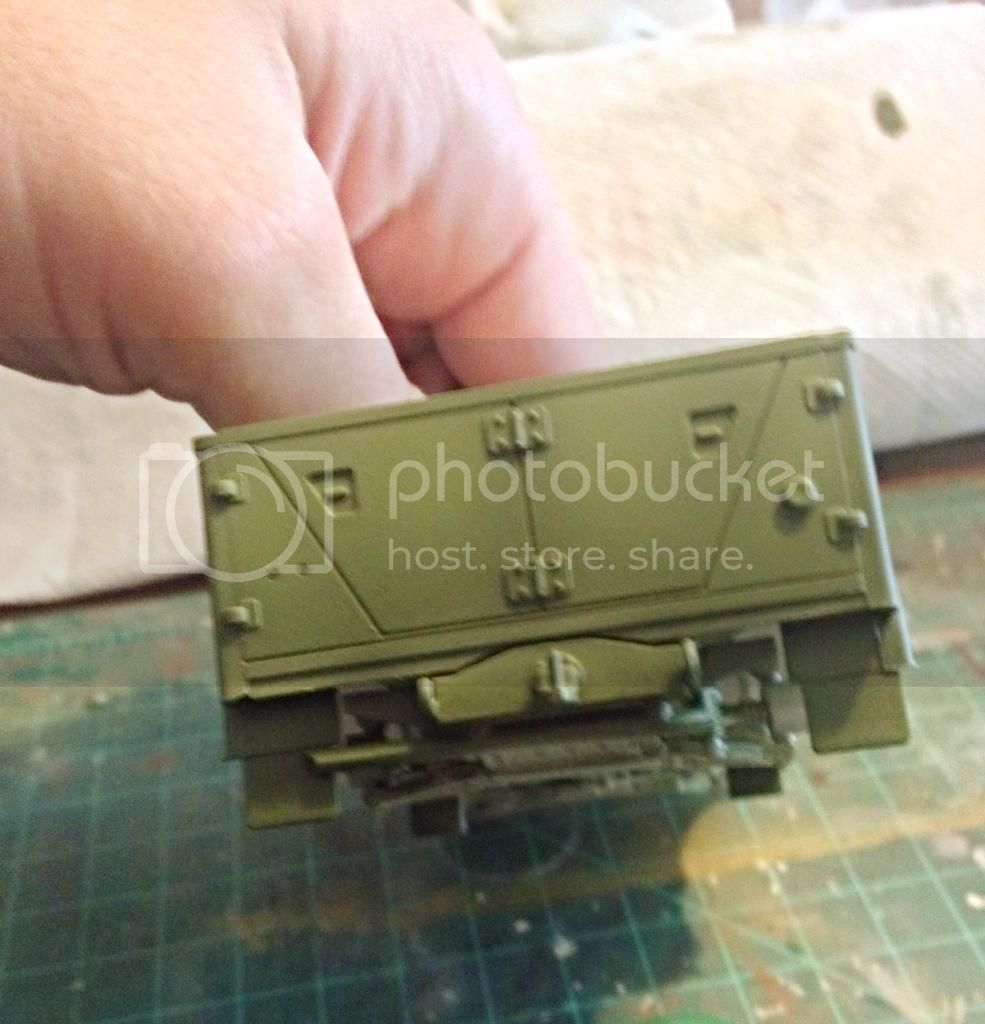
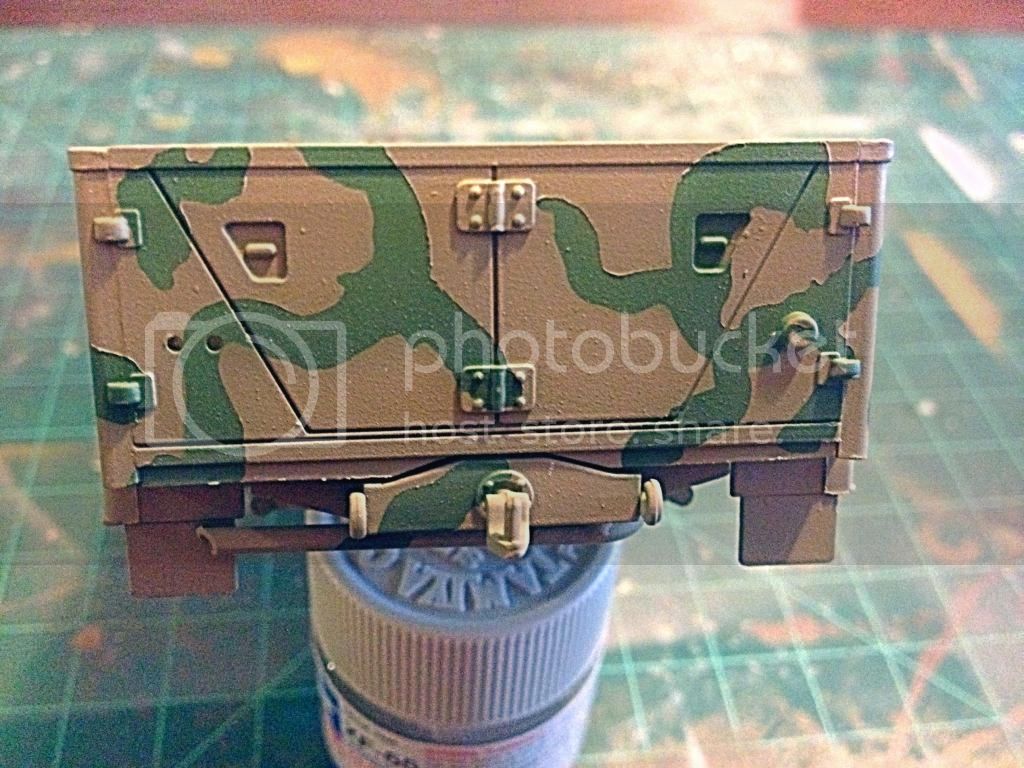
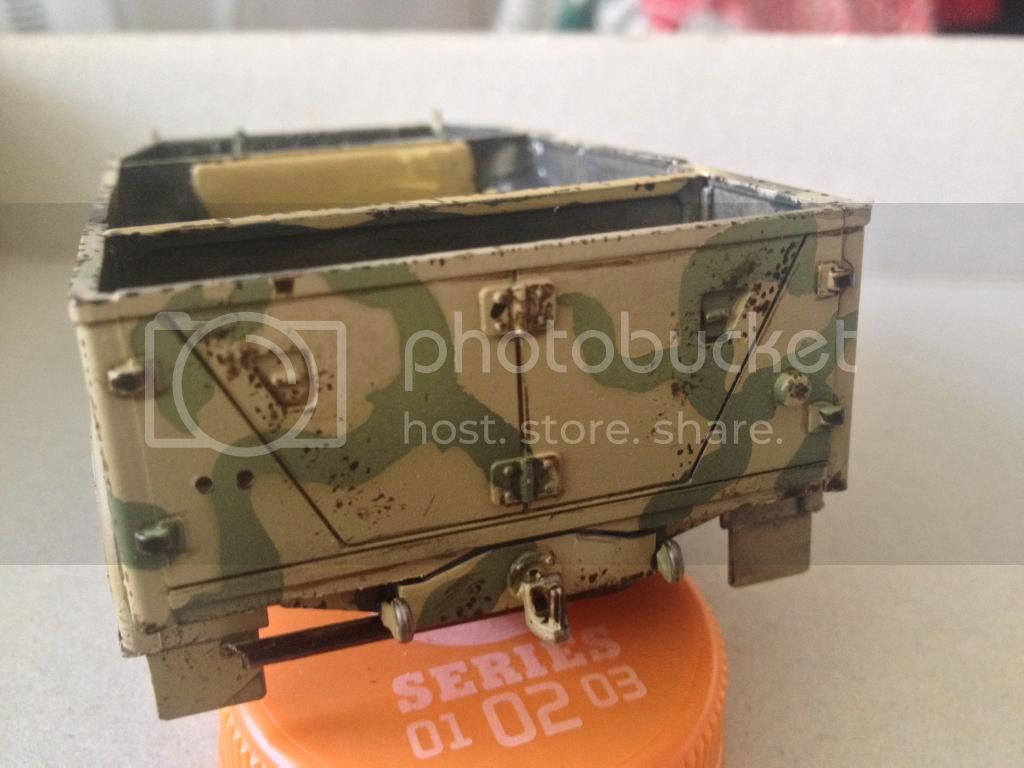
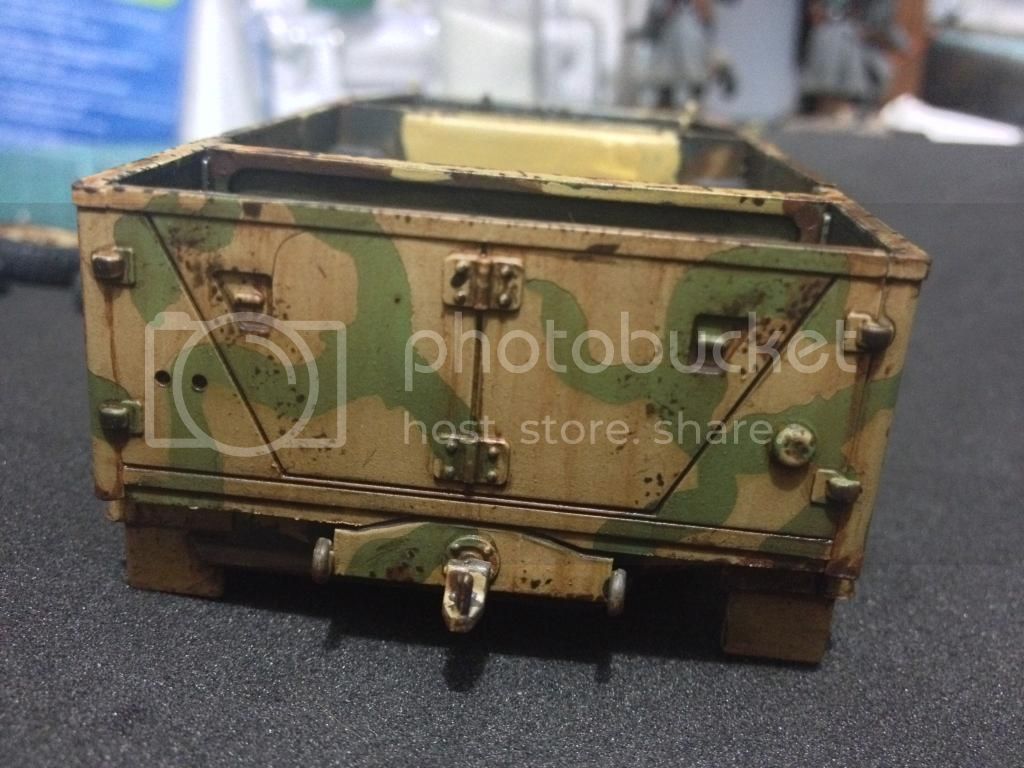
Later I started the trailer. More cleaning again, but it was a very quick built.

Visit our site and learn more about our Club:
www.ipmsborinqueneers.com
Puerto Rico
Joined: December 05, 2013
KitMaker: 314 posts
Armorama: 253 posts
Posted: Monday, June 16, 2014 - 07:10 AM UTC
Visit our site and learn more about our Club:
www.ipmsborinqueneers.com
Puerto Rico
Joined: December 05, 2013
KitMaker: 314 posts
Armorama: 253 posts
Posted: Monday, June 16, 2014 - 07:11 AM UTC
Visit our site and learn more about our Club:
www.ipmsborinqueneers.com
Puerto Rico
Joined: December 05, 2013
KitMaker: 314 posts
Armorama: 253 posts
Posted: Monday, June 16, 2014 - 07:12 AM UTC
Visit our site and learn more about our Club:
www.ipmsborinqueneers.com
Puerto Rico
Joined: December 05, 2013
KitMaker: 314 posts
Armorama: 253 posts
Posted: Monday, June 16, 2014 - 07:13 AM UTC
Visit our site and learn more about our Club:
www.ipmsborinqueneers.com
Puerto Rico
Joined: December 05, 2013
KitMaker: 314 posts
Armorama: 253 posts
Posted: Monday, June 16, 2014 - 07:15 AM UTC
Visit our site and learn more about our Club:
www.ipmsborinqueneers.com
Puerto Rico
Joined: December 05, 2013
KitMaker: 314 posts
Armorama: 253 posts
Posted: Monday, June 16, 2014 - 07:17 AM UTC
Visit our site and learn more about our Club:
www.ipmsborinqueneers.com
Puerto Rico
Joined: December 05, 2013
KitMaker: 314 posts
Armorama: 253 posts
Posted: Monday, June 16, 2014 - 07:18 AM UTC
Visit our site and learn more about our Club:
www.ipmsborinqueneers.com
Puerto Rico
Joined: December 05, 2013
KitMaker: 314 posts
Armorama: 253 posts
Posted: Monday, June 16, 2014 - 07:19 AM UTC
Visit our site and learn more about our Club:
www.ipmsborinqueneers.com
Puerto Rico
Joined: December 05, 2013
KitMaker: 314 posts
Armorama: 253 posts
Posted: Monday, June 16, 2014 - 07:21 AM UTC
Visit our site and learn more about our Club:
www.ipmsborinqueneers.com
Isere, France
Joined: April 23, 2011
KitMaker: 735 posts
Armorama: 606 posts
Posted: Monday, June 16, 2014 - 07:35 AM UTC
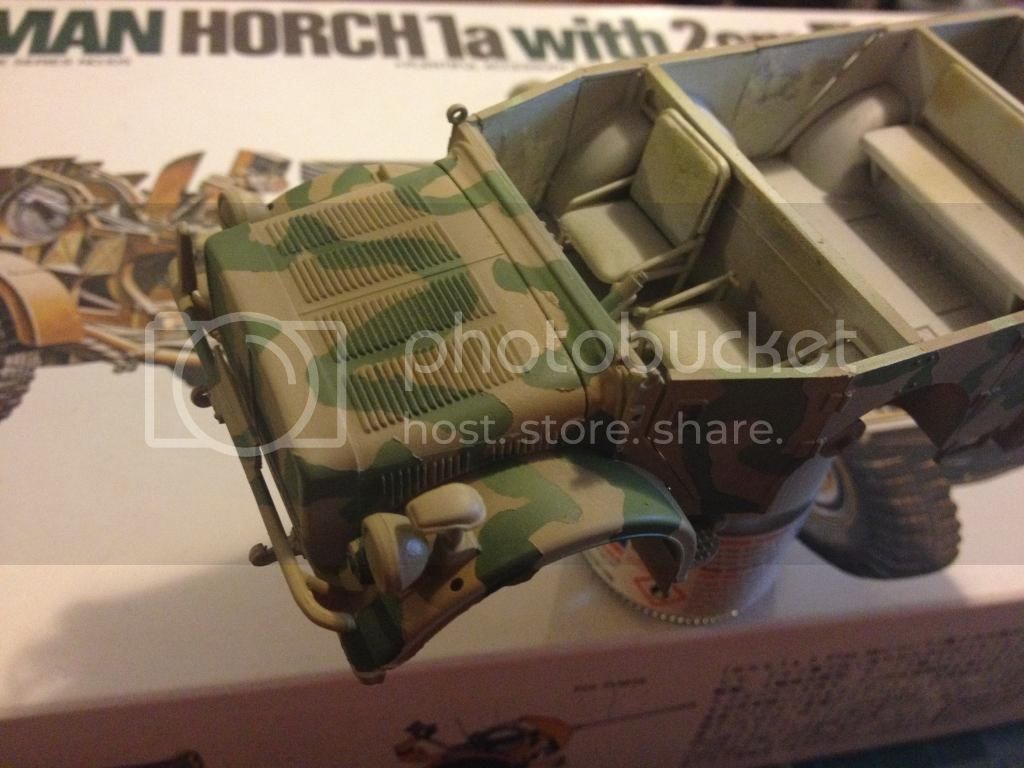
hello, Pedro, great job on the alteration of the paint
steph
Texas, United States
Joined: July 27, 2006
KitMaker: 106 posts
Armorama: 103 posts
Posted: Monday, June 16, 2014 - 09:33 AM UTC
The seamline you took off the Ack Ack baseplate around the edges is supposed to be there
Colorado, United States
Joined: February 24, 2014
KitMaker: 3,033 posts
Armorama: 2,492 posts
Posted: Monday, June 16, 2014 - 09:49 AM UTC
Hi Pedro,
Nice job on the cammo / chipping / weathering. Nice work so far.
--mike

Puerto Rico
Joined: December 05, 2013
KitMaker: 314 posts
Armorama: 253 posts
Posted: Wednesday, June 18, 2014 - 01:10 AM UTC
Quoted Text
The seamline you took off the Ack Ack baseplate around the edges is supposed to be there
Hi! nope, after the picture I clean it up, but thanks for point it out.
Visit our site and learn more about our Club:
www.ipmsborinqueneers.com
Puerto Rico
Joined: December 05, 2013
KitMaker: 314 posts
Armorama: 253 posts
Posted: Wednesday, June 18, 2014 - 01:13 AM UTC
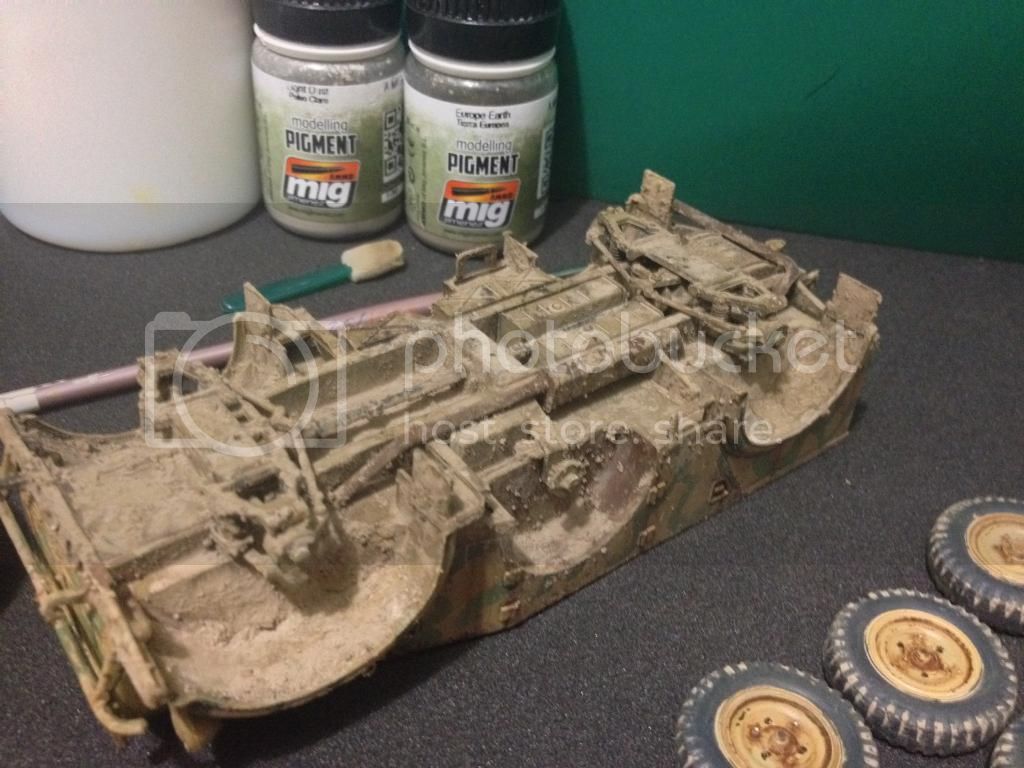
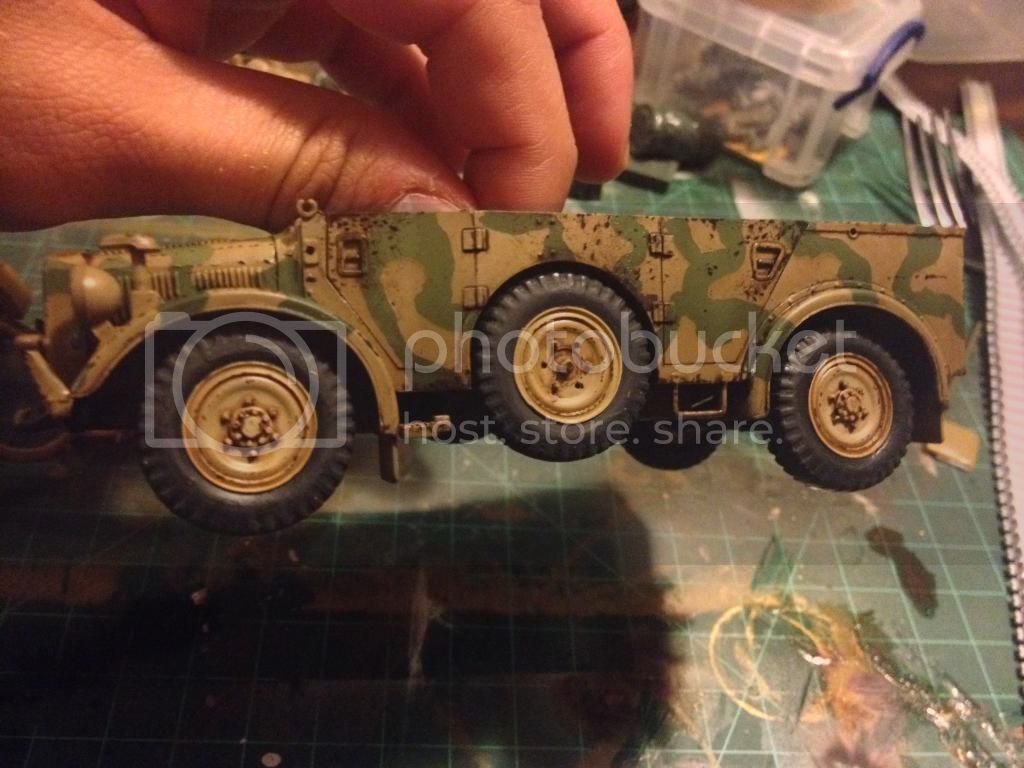
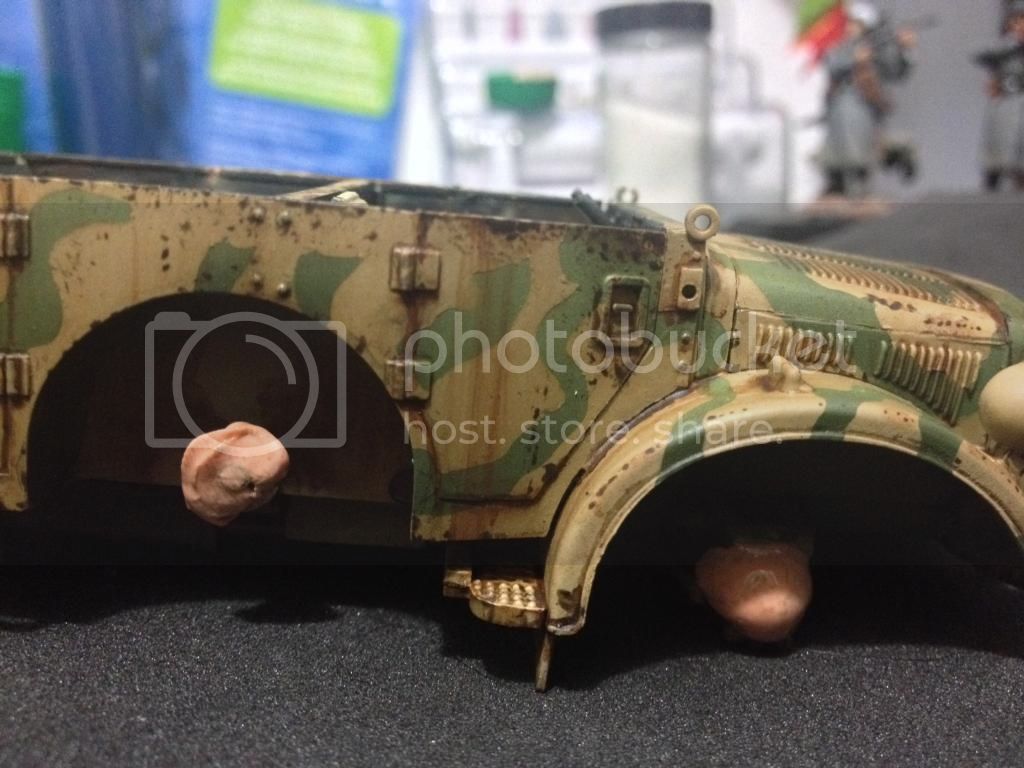
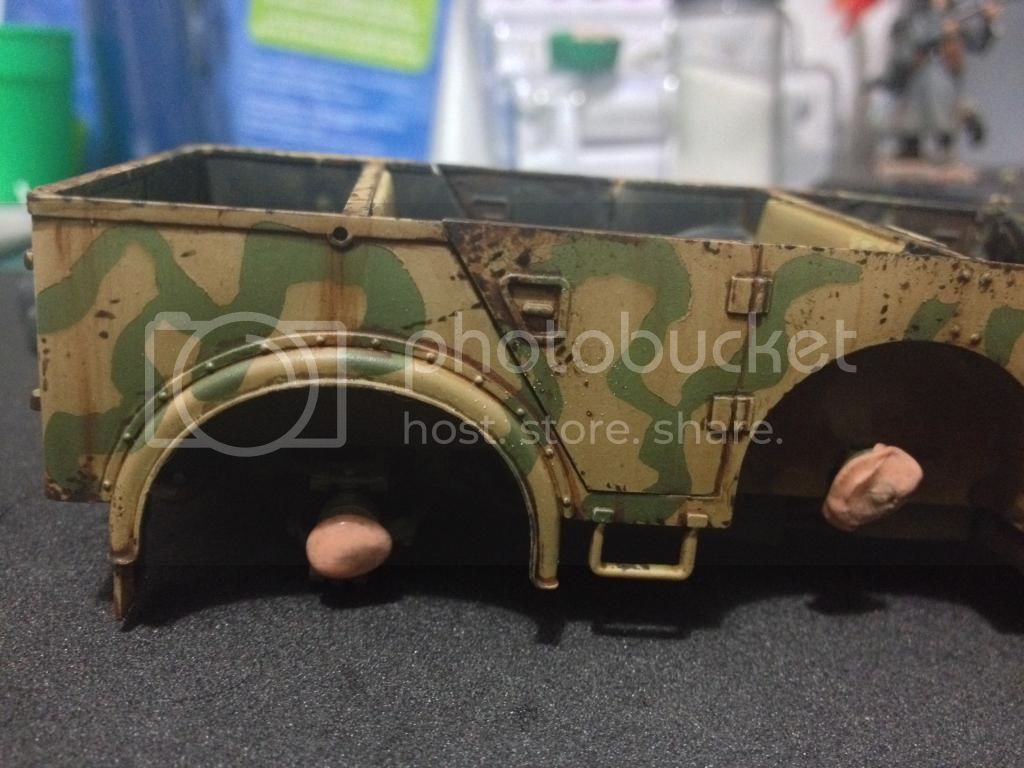
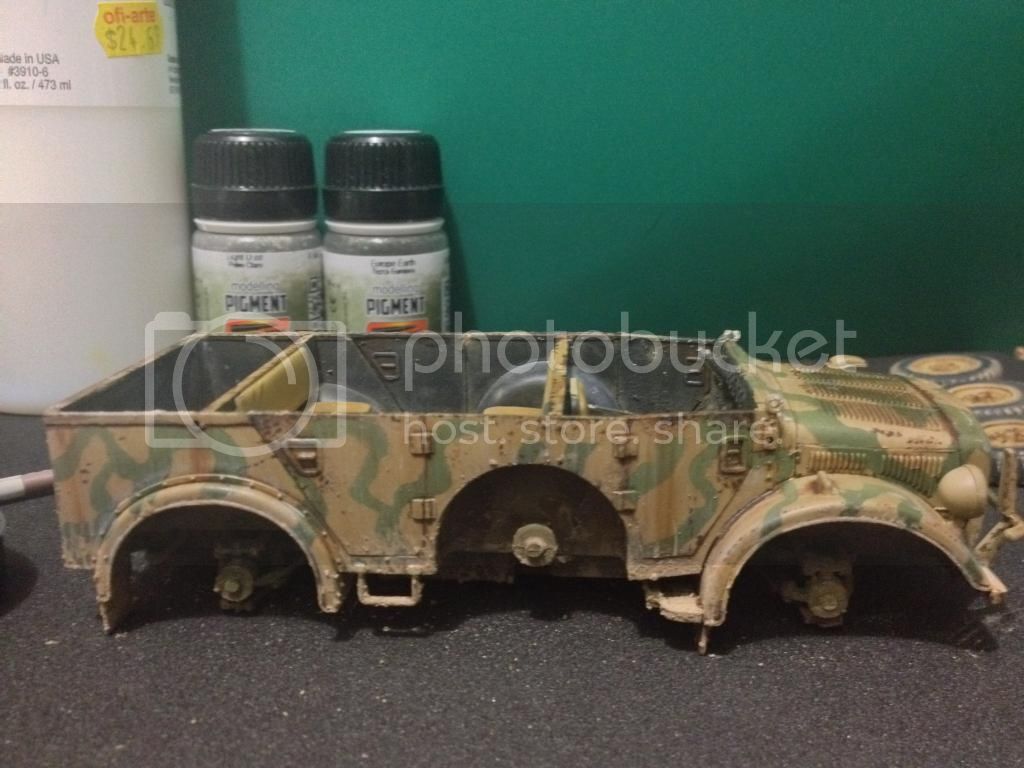
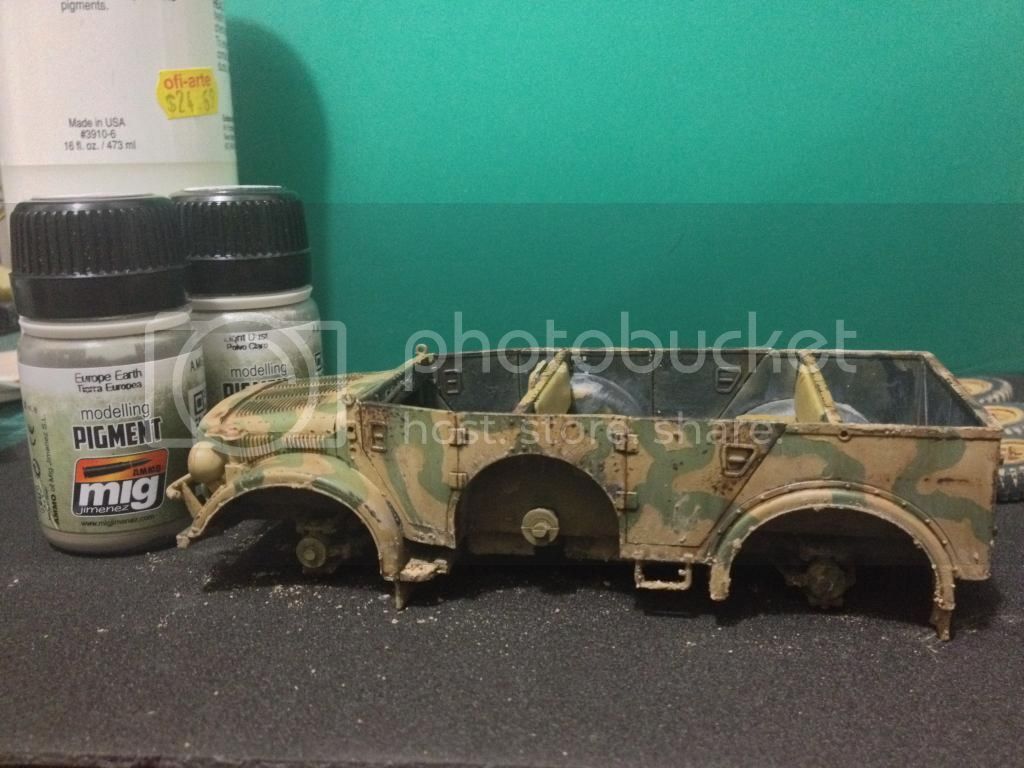
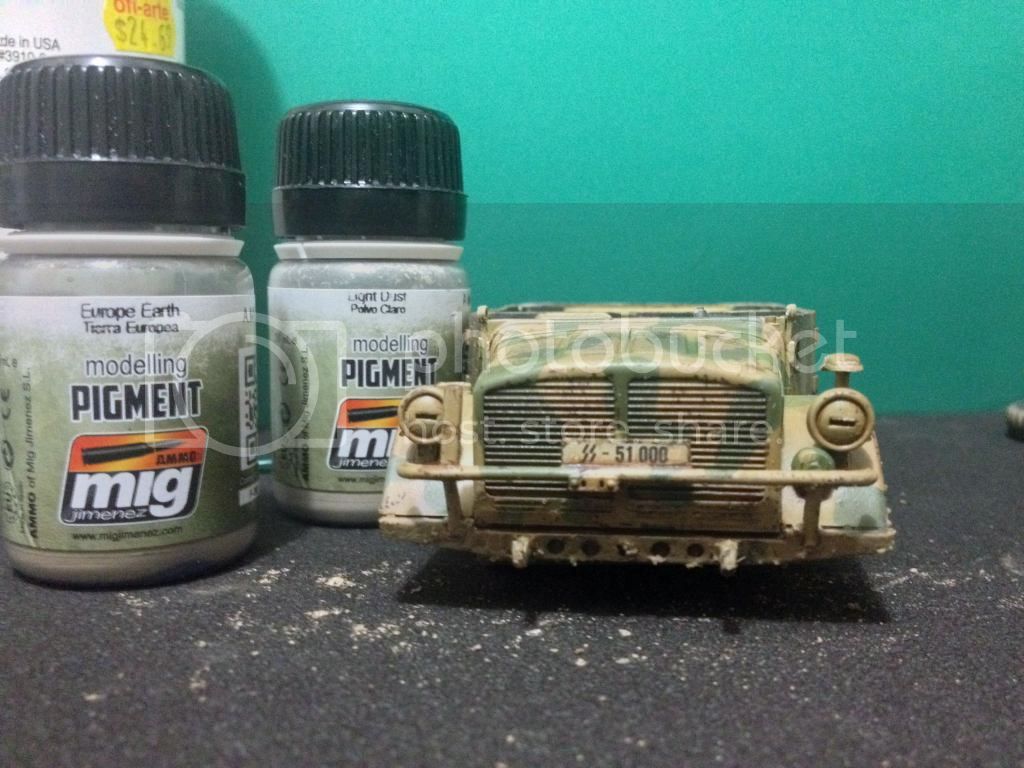
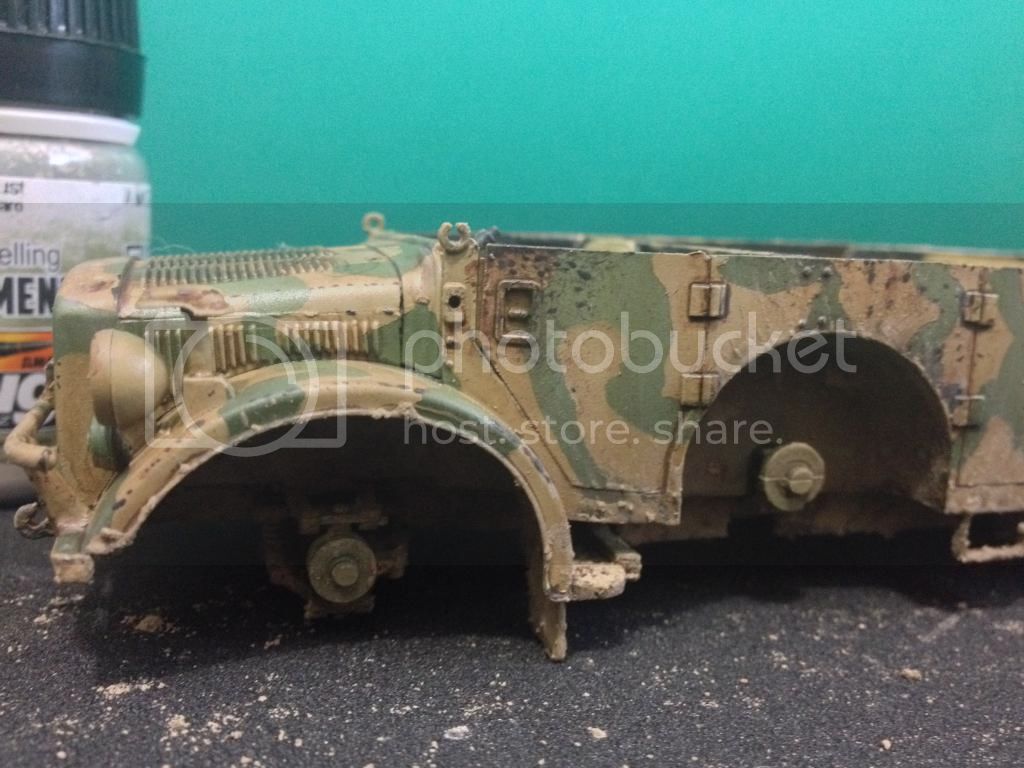
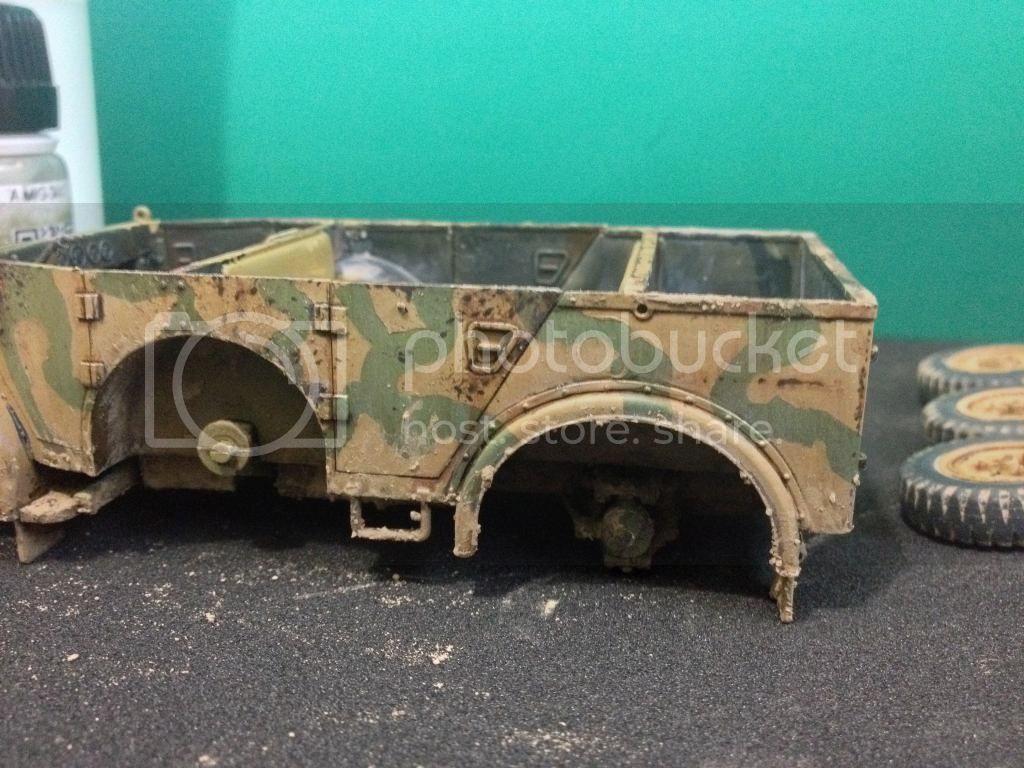
Hi, here we have some update on the model, started with the dust and mud effect. Results are mixed...so probably tonight I try wet mud effect .
For the mix I used fine white sand, European and light sand pigments and for gluing, acrylic polymer.


Visit our site and learn more about our Club:
www.ipmsborinqueneers.com
Puerto Rico
Joined: December 05, 2013
KitMaker: 314 posts
Armorama: 253 posts
Posted: Wednesday, June 18, 2014 - 01:15 AM UTC
Visit our site and learn more about our Club:
www.ipmsborinqueneers.com
Puerto Rico
Joined: December 05, 2013
KitMaker: 314 posts
Armorama: 253 posts
Posted: Wednesday, June 18, 2014 - 01:19 AM UTC
Visit our site and learn more about our Club:
www.ipmsborinqueneers.com

#026
Pennsylvania, United States
Joined: June 08, 2002
KitMaker: 1,744 posts
Armorama: 1,359 posts
Posted: Wednesday, June 18, 2014 - 09:00 AM UTC
Hi Pedro,
You did a very nice job on this. Looking forward to the finished product.
Jeff
Bodeen
What a long strange trip it's been!
Puerto Rico
Joined: December 05, 2013
KitMaker: 314 posts
Armorama: 253 posts
Posted: Wednesday, June 18, 2014 - 09:18 AM UTC
Quoted Text
Hi Pedro,
You did a very nice job on this. Looking forward to the finished product.
Jeff
Thanks Jeff, Still not satisfied with the results, so Tonight I will try a new approach including several tones for different stages of mud, so lets the results soon.

Visit our site and learn more about our Club:
www.ipmsborinqueneers.com
Auckland, New Zealand
Joined: February 03, 2014
KitMaker: 1,042 posts
Armorama: 871 posts
Posted: Wednesday, June 18, 2014 - 09:59 AM UTC
Pedro
This is coming along nicely. Certainly takes me back to my youth when I built one (no where near as good as this!).
My only comment about the weathering would be the spare wheels. You have weathered them similar to the rest where you have dirt in between the tread pattern but the actual tread pattern is 'cleaner' due to contact with the road. As the spare wheels are unused, perhaps you should weather them differently - more in tune with the rest of the vehicle? Just a though...
Cheers
Gary
Alaska, United States
Joined: August 22, 2005
KitMaker: 47 posts
Armorama: 26 posts
Posted: Wednesday, June 18, 2014 - 03:02 PM UTC
Pedro! Looks great, thanks for posting all the shots. Great use of the good old standby silly putty. Love that stuff for masking.
Great weathering too. Making a classic kit look very classy.
G

Puerto Rico
Joined: December 05, 2013
KitMaker: 314 posts
Armorama: 253 posts
Posted: Thursday, June 19, 2014 - 01:14 AM UTC
Visit our site and learn more about our Club:
www.ipmsborinqueneers.com
Puerto Rico
Joined: December 05, 2013
KitMaker: 314 posts
Armorama: 253 posts
Posted: Thursday, June 19, 2014 - 01:17 AM UTC
Quoted Text
Pedro! Looks great, thanks for posting all the shots. Great use of the good old standby silly putty. Love that stuff for masking.
Great weathering too. Making a classic kit look very classy.
G
thank you Gideon!

Visit our site and learn more about our Club:
www.ipmsborinqueneers.com


_auf_schwere_gelandegangiger_einheits_pkw.jpg)