_GOTOBOTTOM
Constructive Feedback
For in-progress or completed build photos. Give and get contructive feedback!
USMC M4A3 at Iwo Jima
Homer0331
Visit this Community
Missouri, United States
Joined: March 19, 2014
KitMaker: 148 posts
Armorama: 148 posts
Posted: Monday, June 23, 2014 - 03:26 AM UTC
I started this a while back and being out of my comfort zone it has sat for at least a year. Many many years ago I did a hitch in the Marine Corps and love all things forest green.

USMC armor in the Pacific has always fascinated me, but I almost always build early war or DAK panzers.

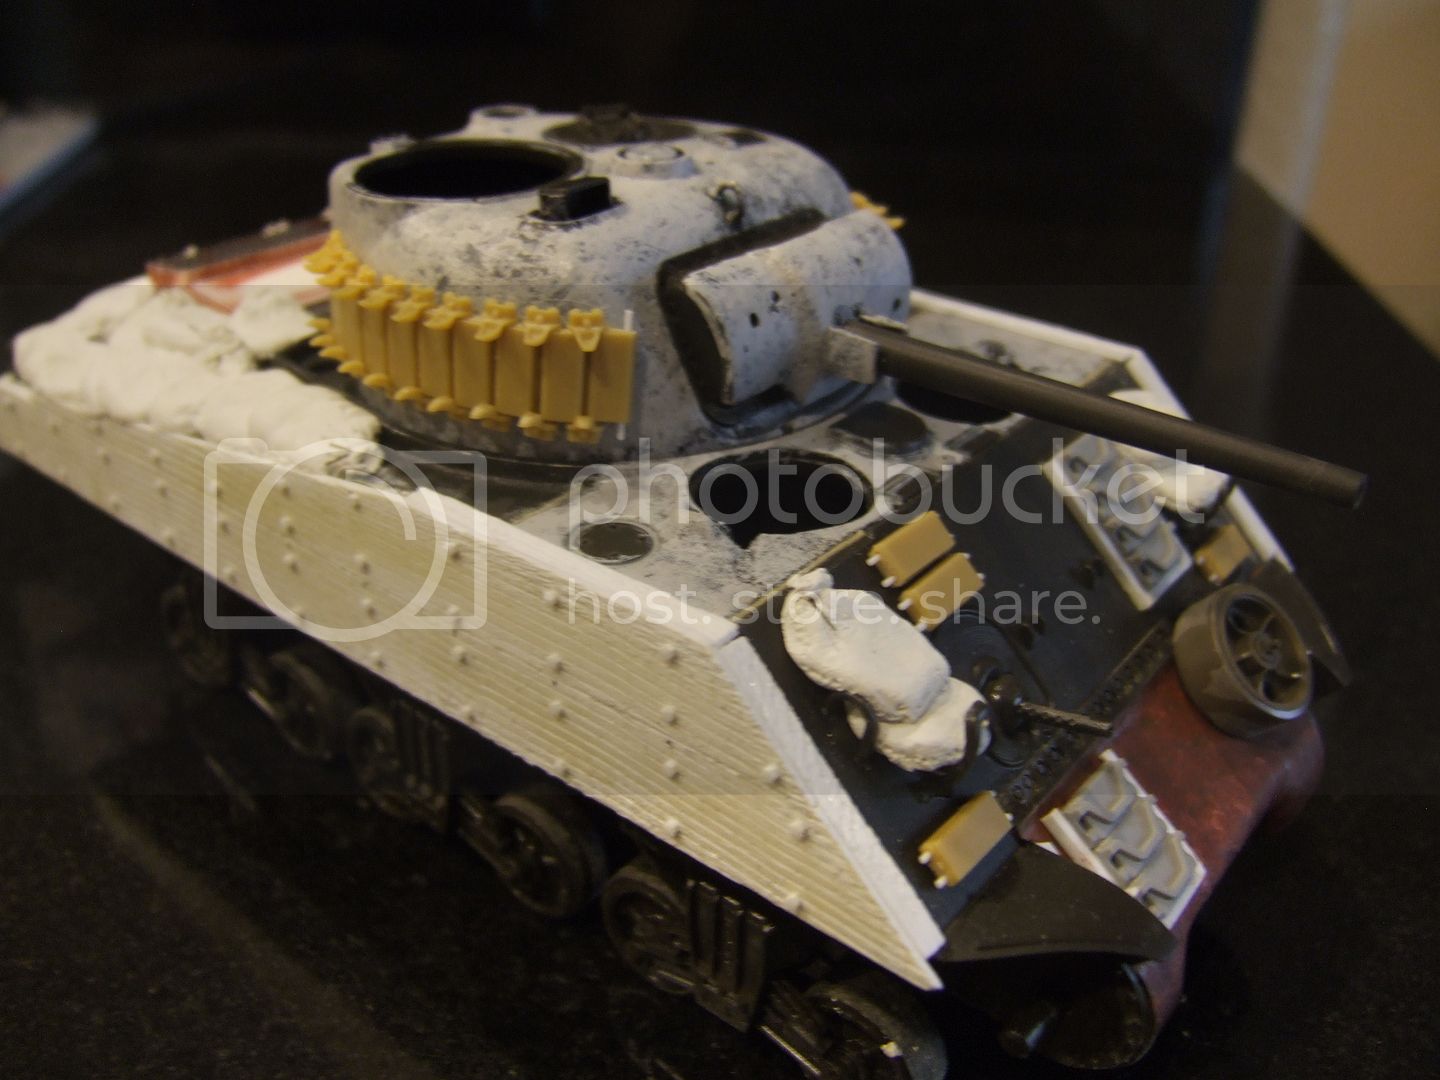
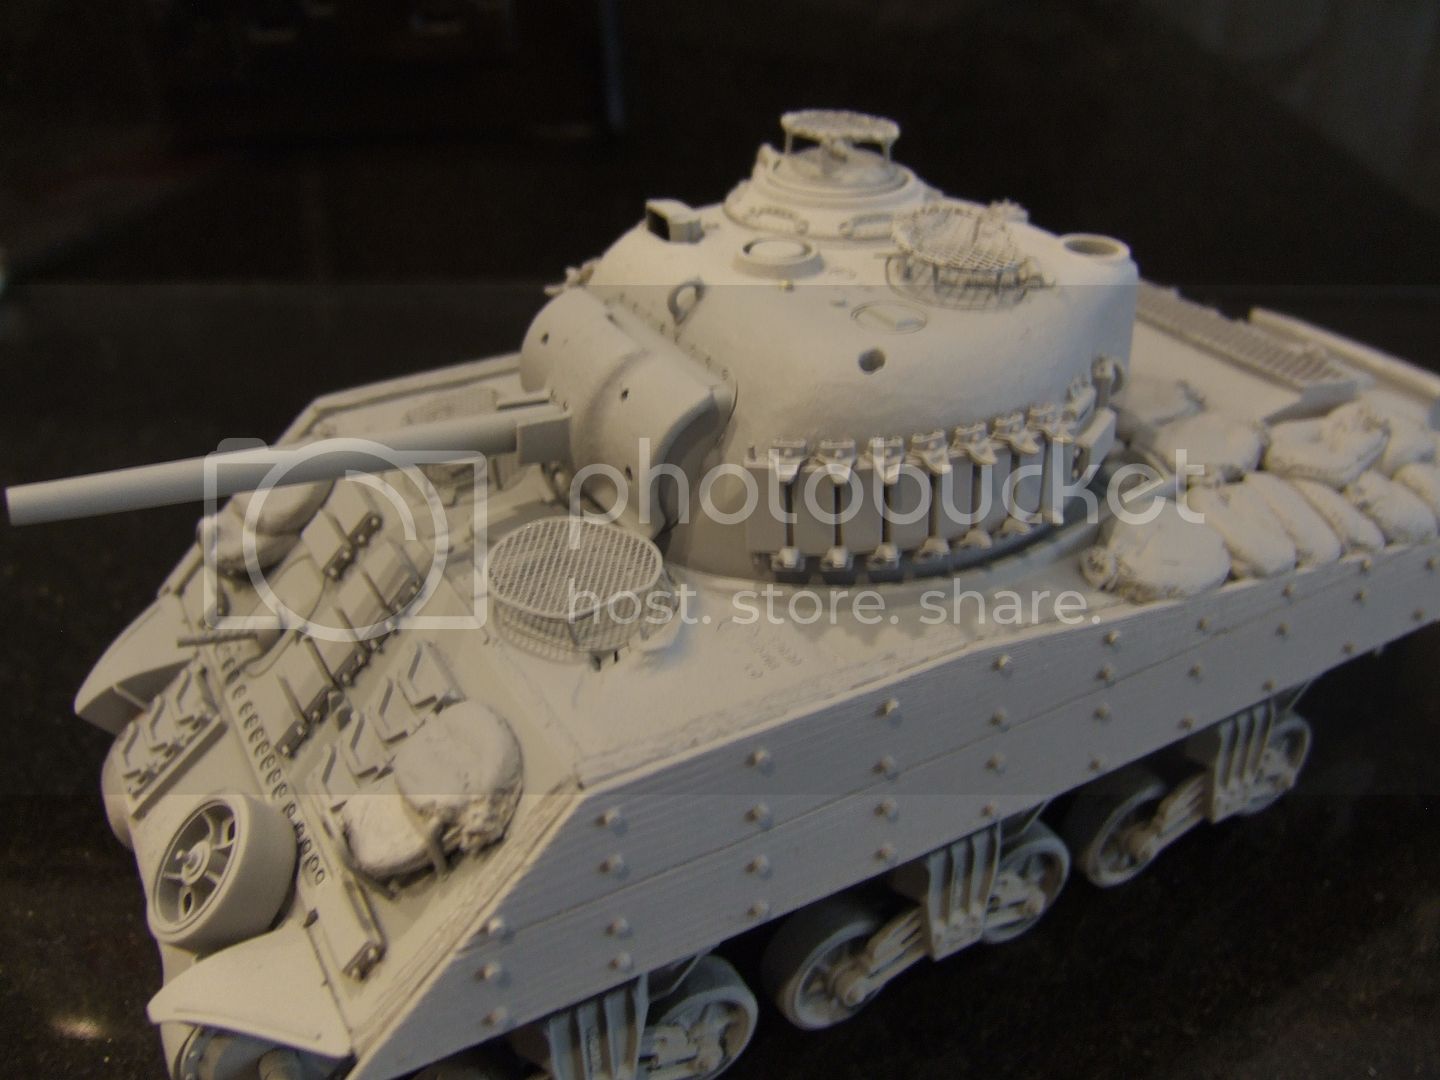
So anyway here's my first attempt at a Sherman on Iwo Jima.
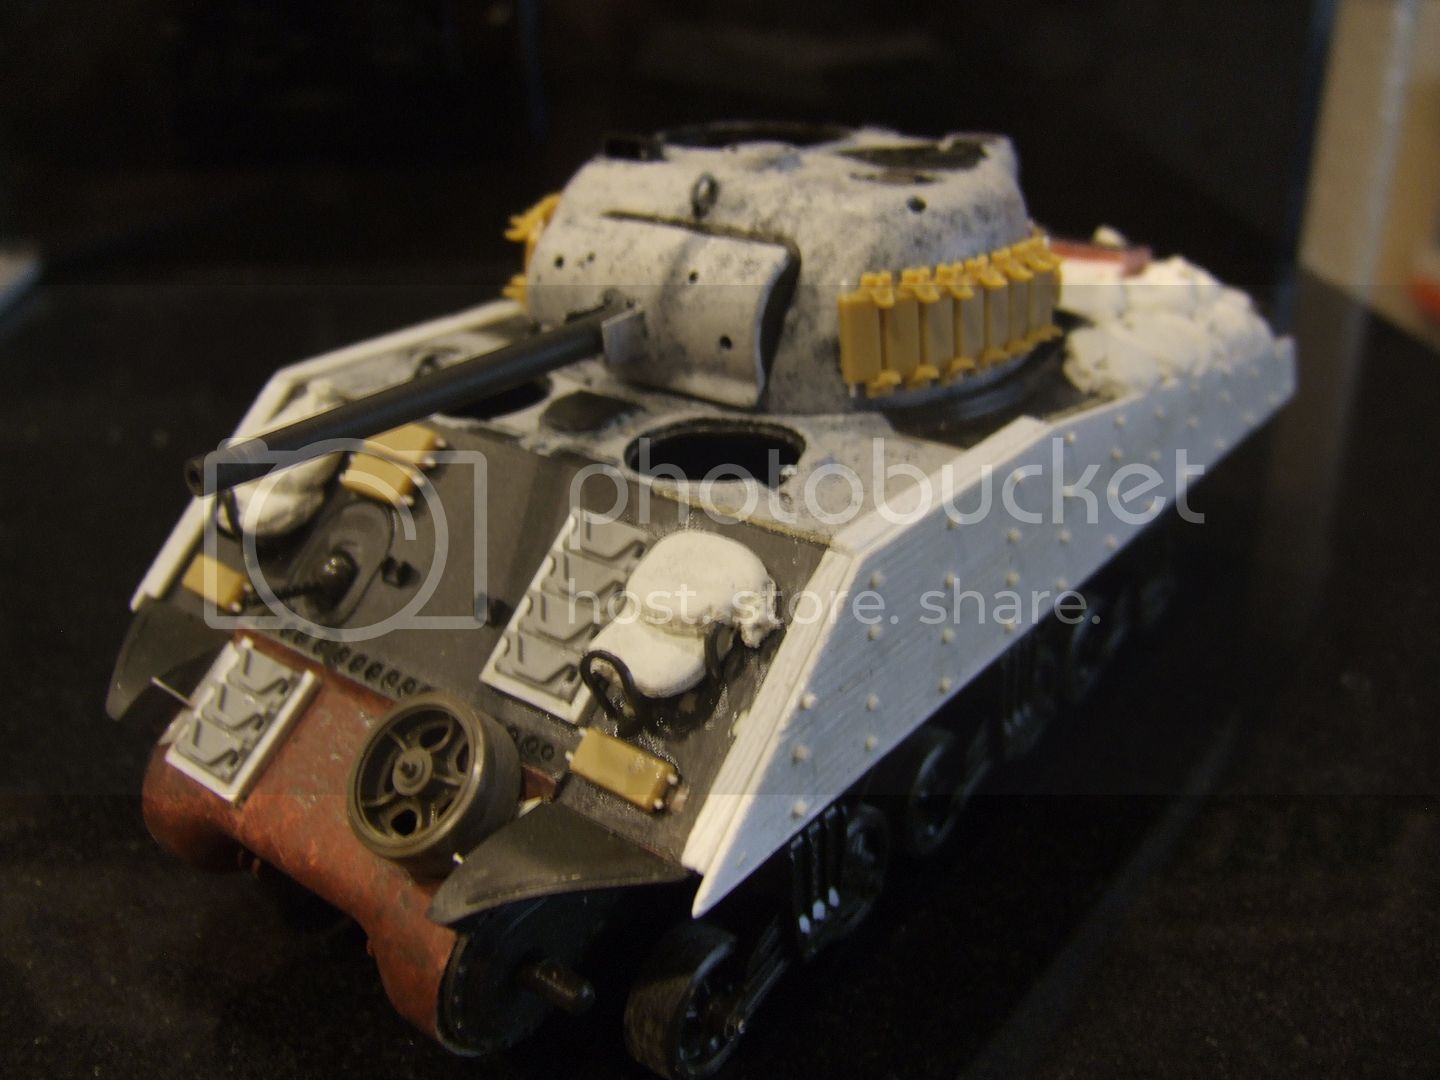


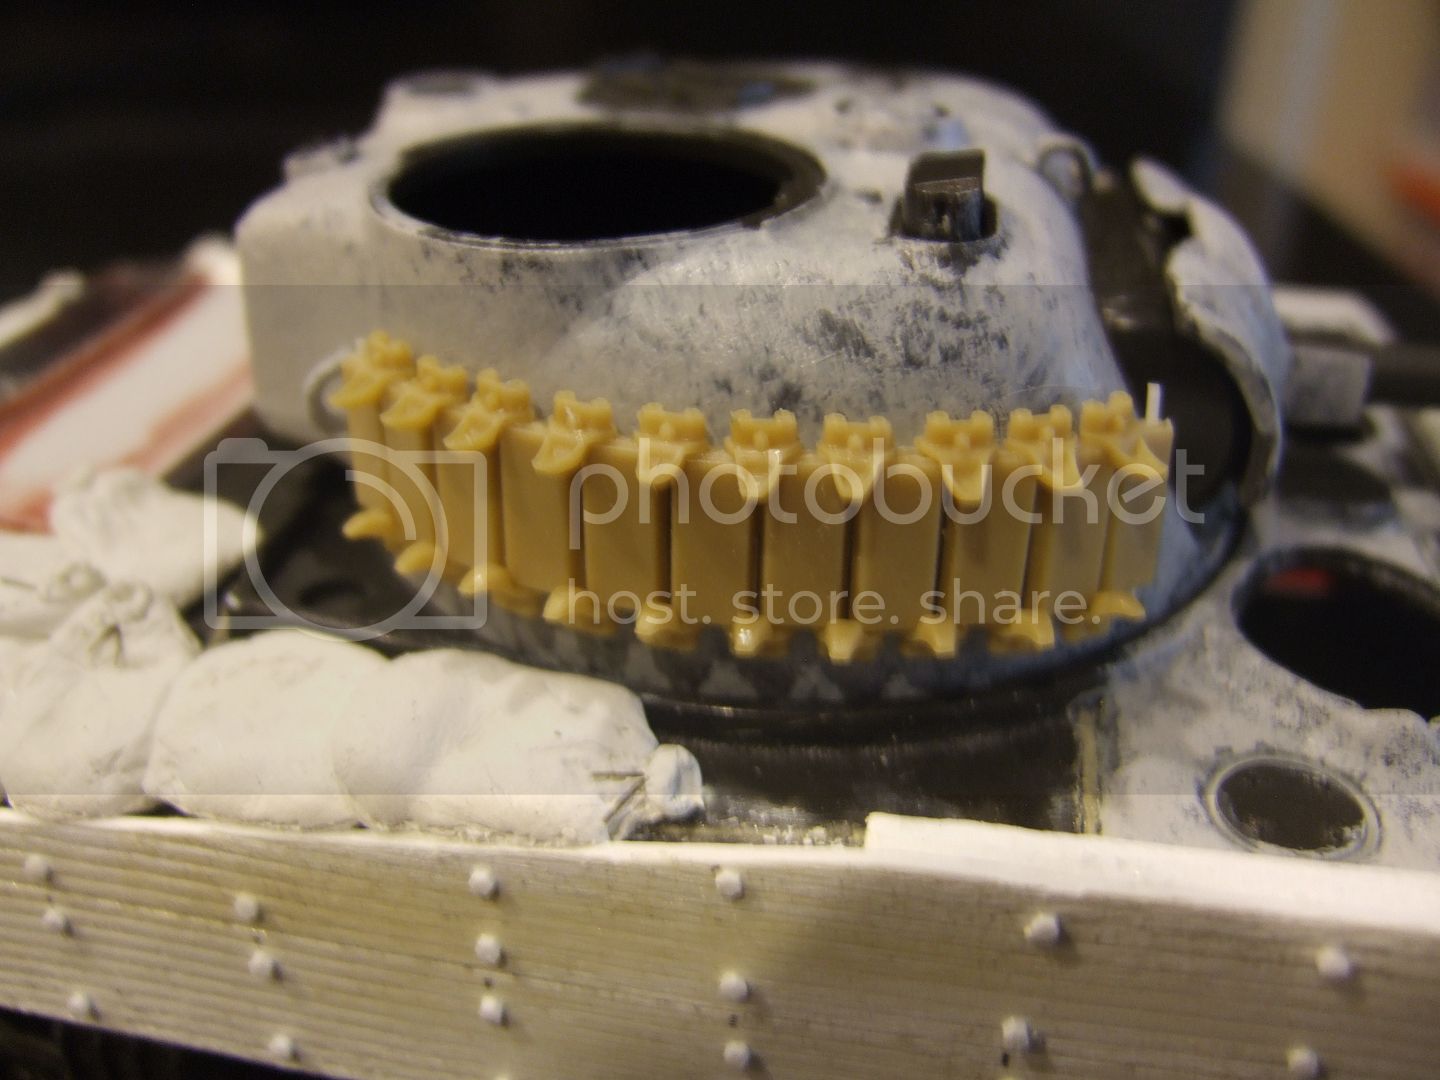
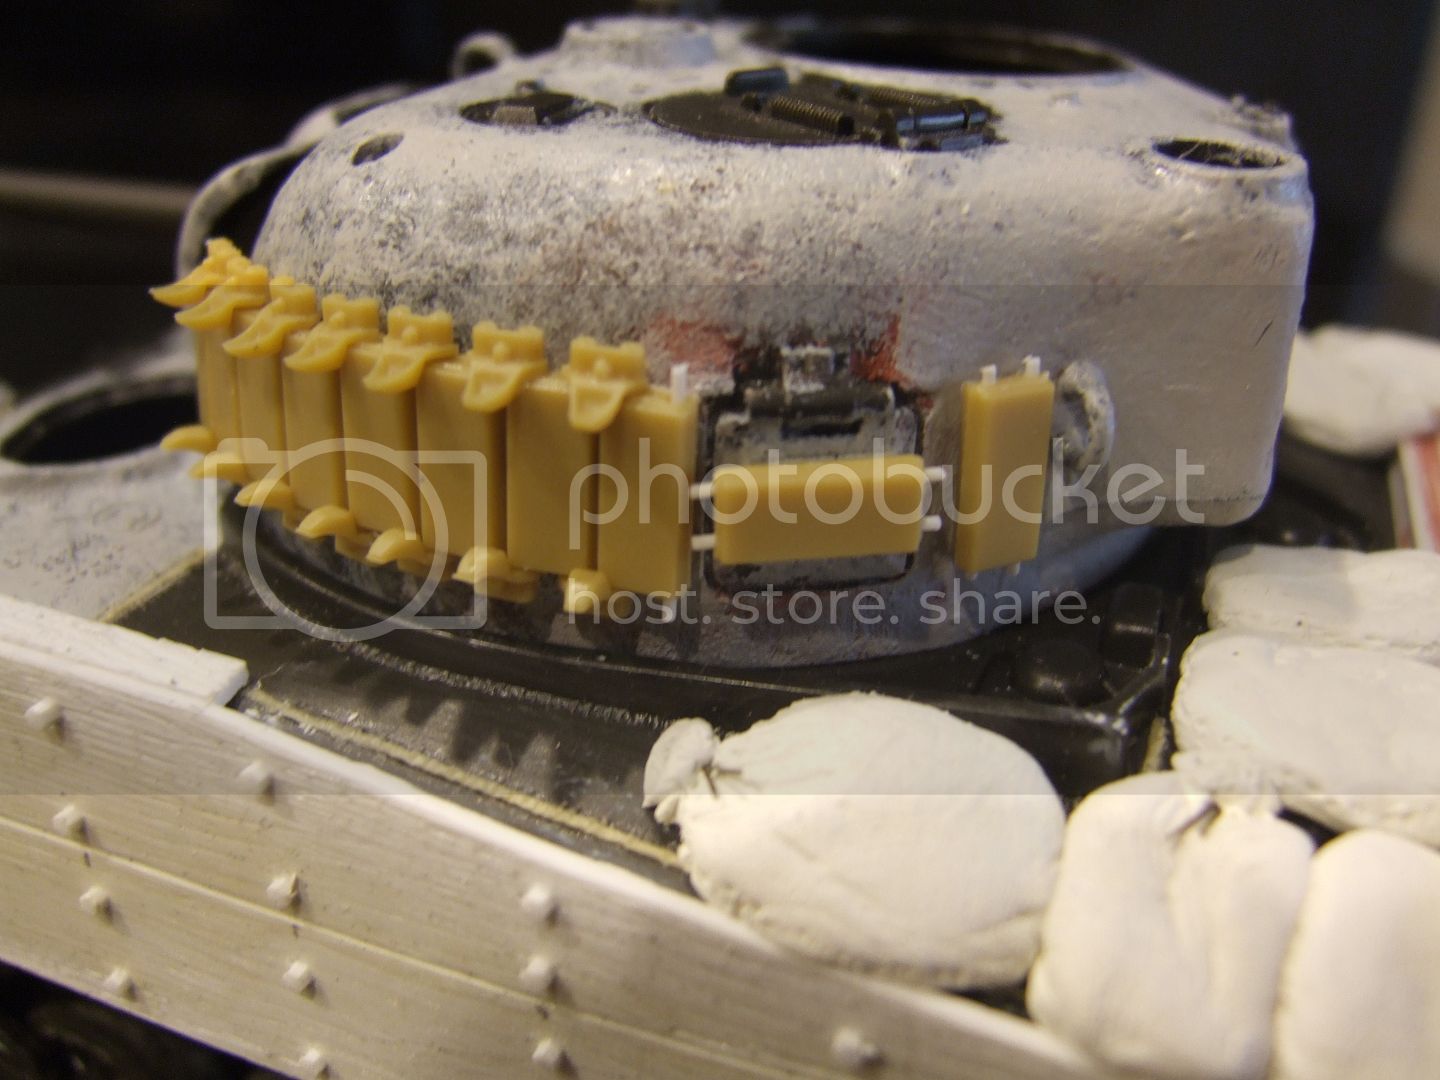
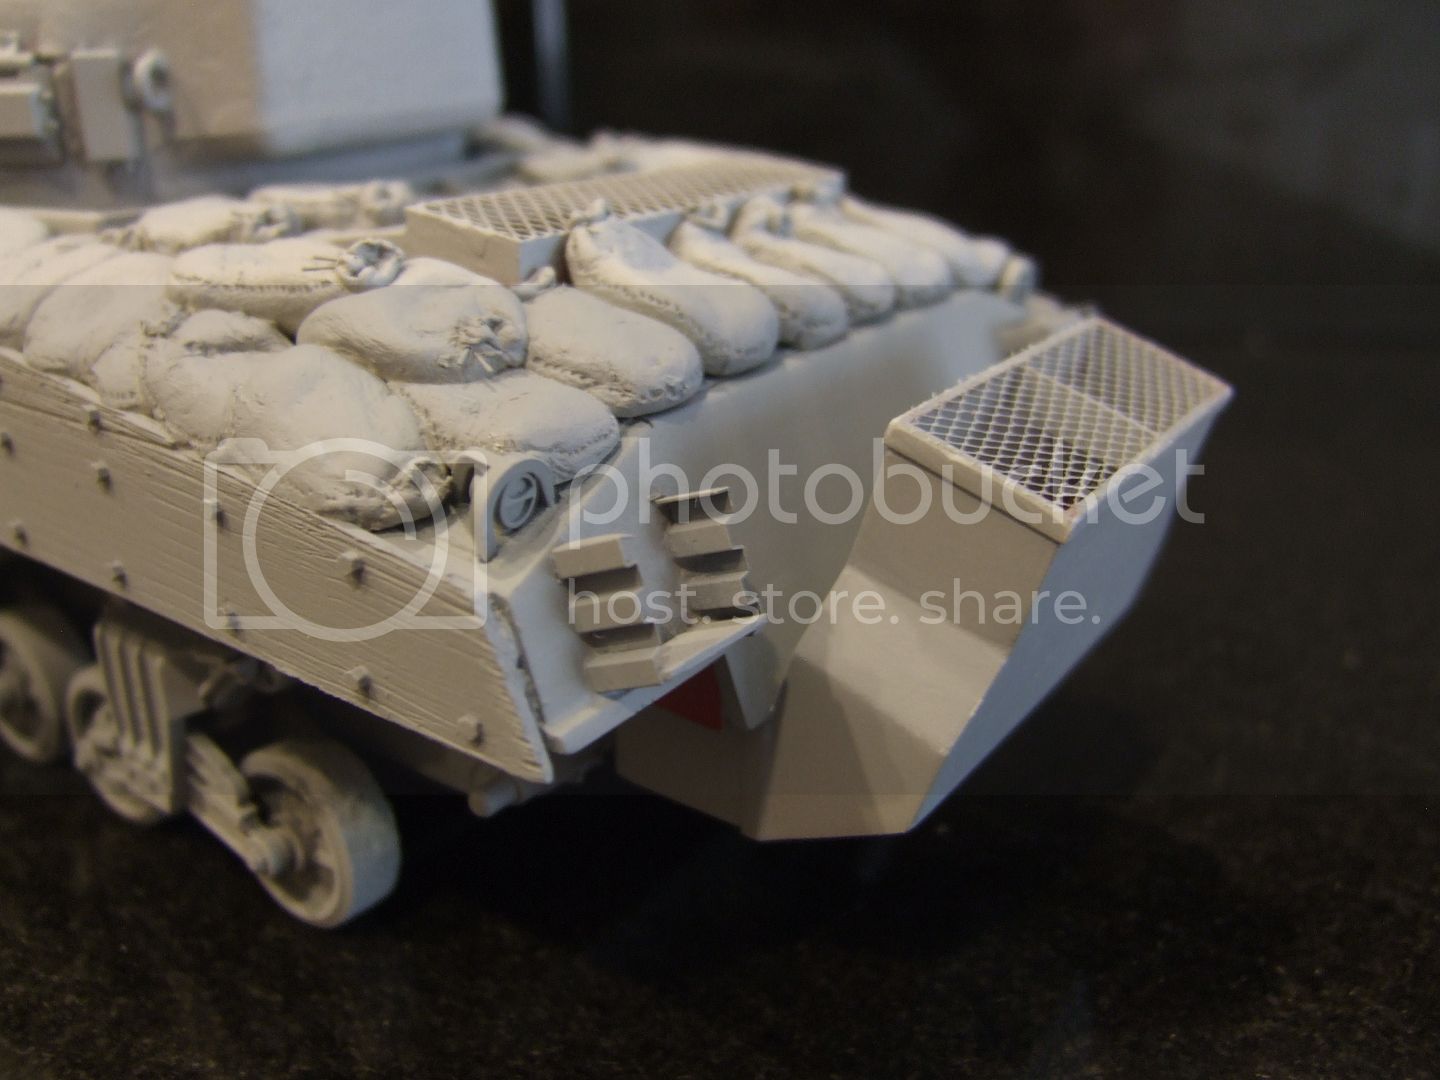
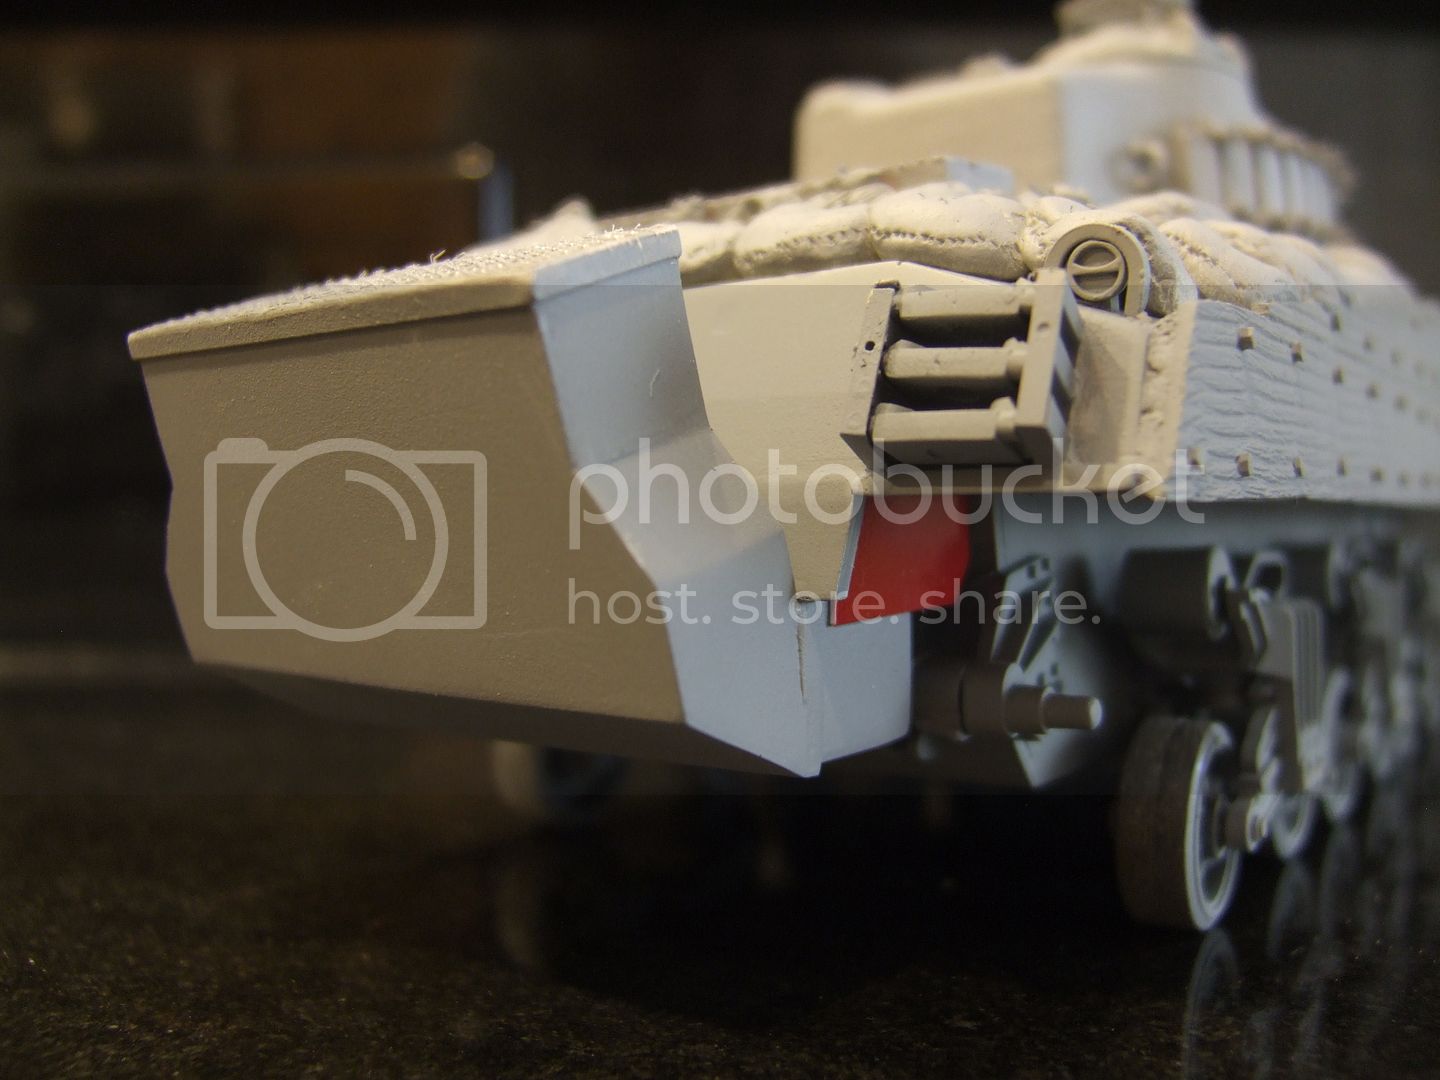
Sponson armor is .030 sheet "grained" with a razor saw. Sandbags are Milliput. The wading trunk is scratchbuilt from .010 sheet and mesh I had in the spares box.

Track link armor is courtesy of a Bronco set I've had lying around for a long time too.

I have no idea yet what colors or markings I will be using. I started this and then just "winged it".
beefy66
Visit this Community
England - North East, United Kingdom
Joined: October 22, 2007
KitMaker: 971 posts
Armorama: 280 posts
Posted: Tuesday, June 24, 2014 - 02:41 AM UTC
This looks like it will be an interesting build will follow your build progress like the add on Armour and sandbags

Keith
Homer0331
Visit this Community
Missouri, United States
Joined: March 19, 2014
KitMaker: 148 posts
Armorama: 148 posts
Posted: Tuesday, June 24, 2014 - 07:05 AM UTC
Thank you sir!

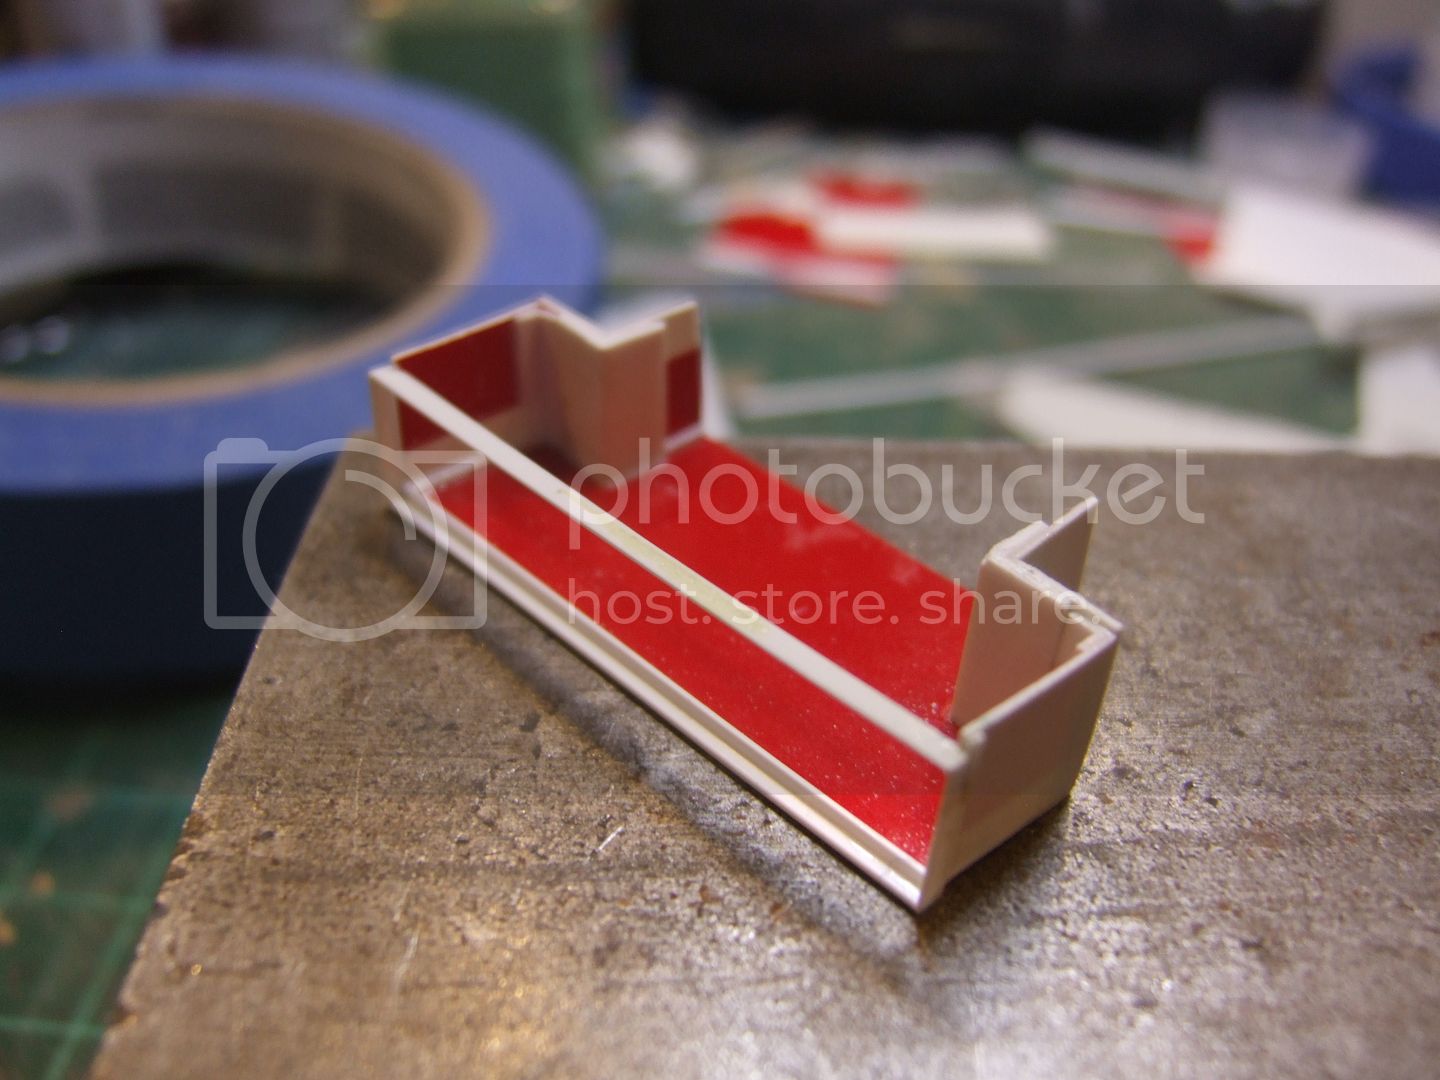
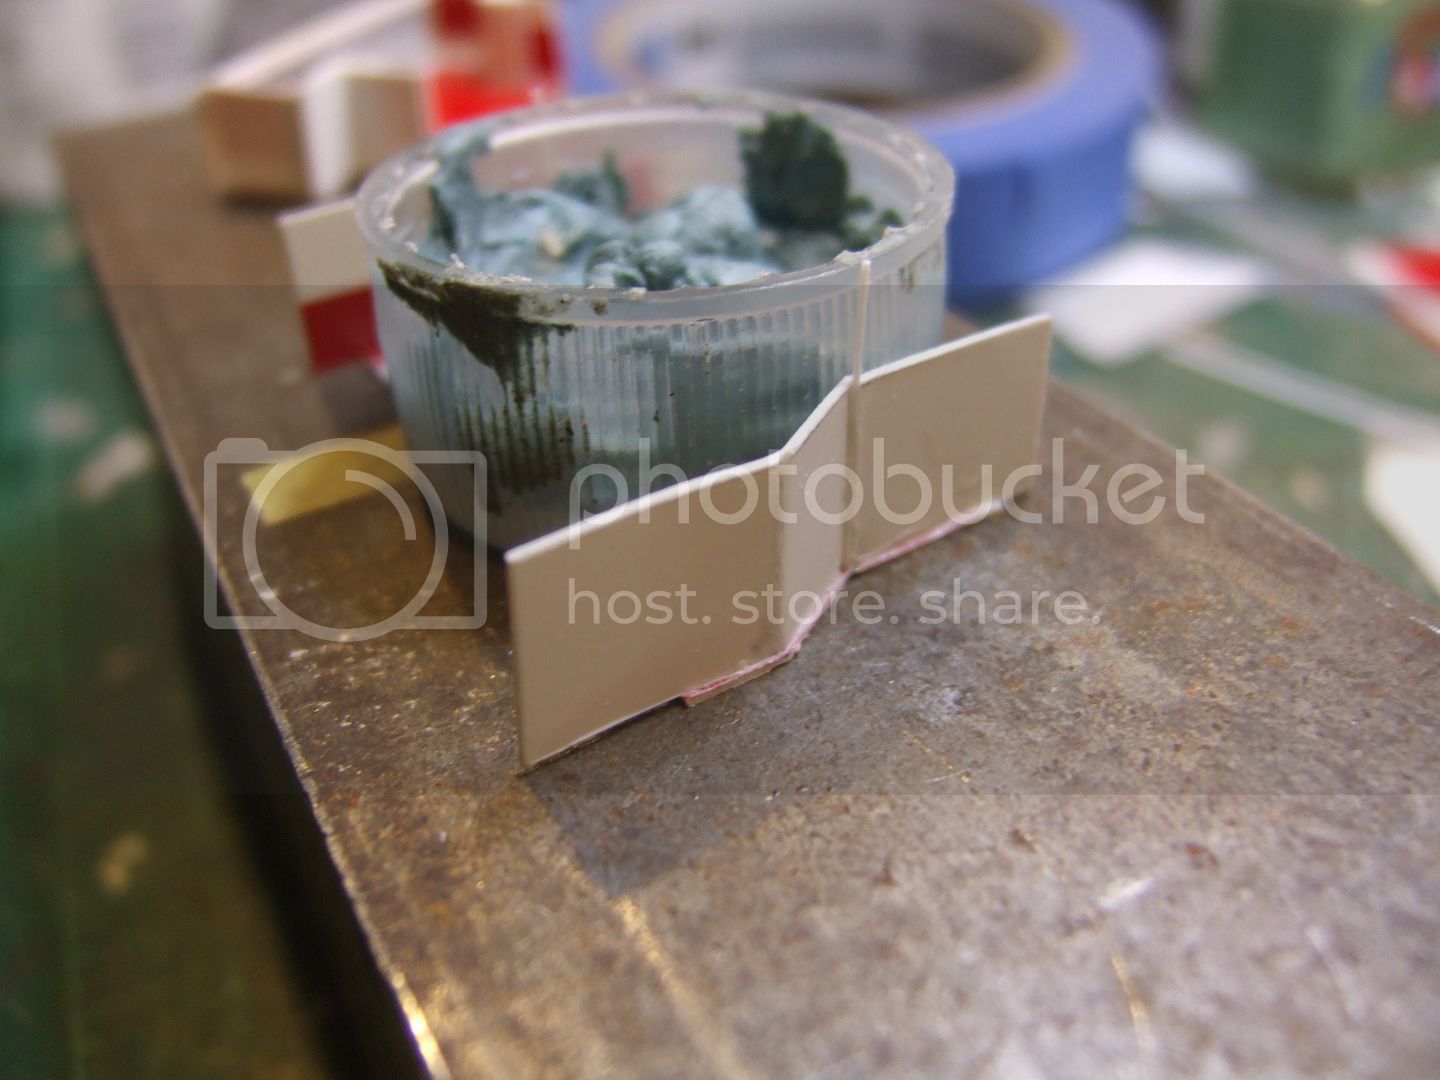
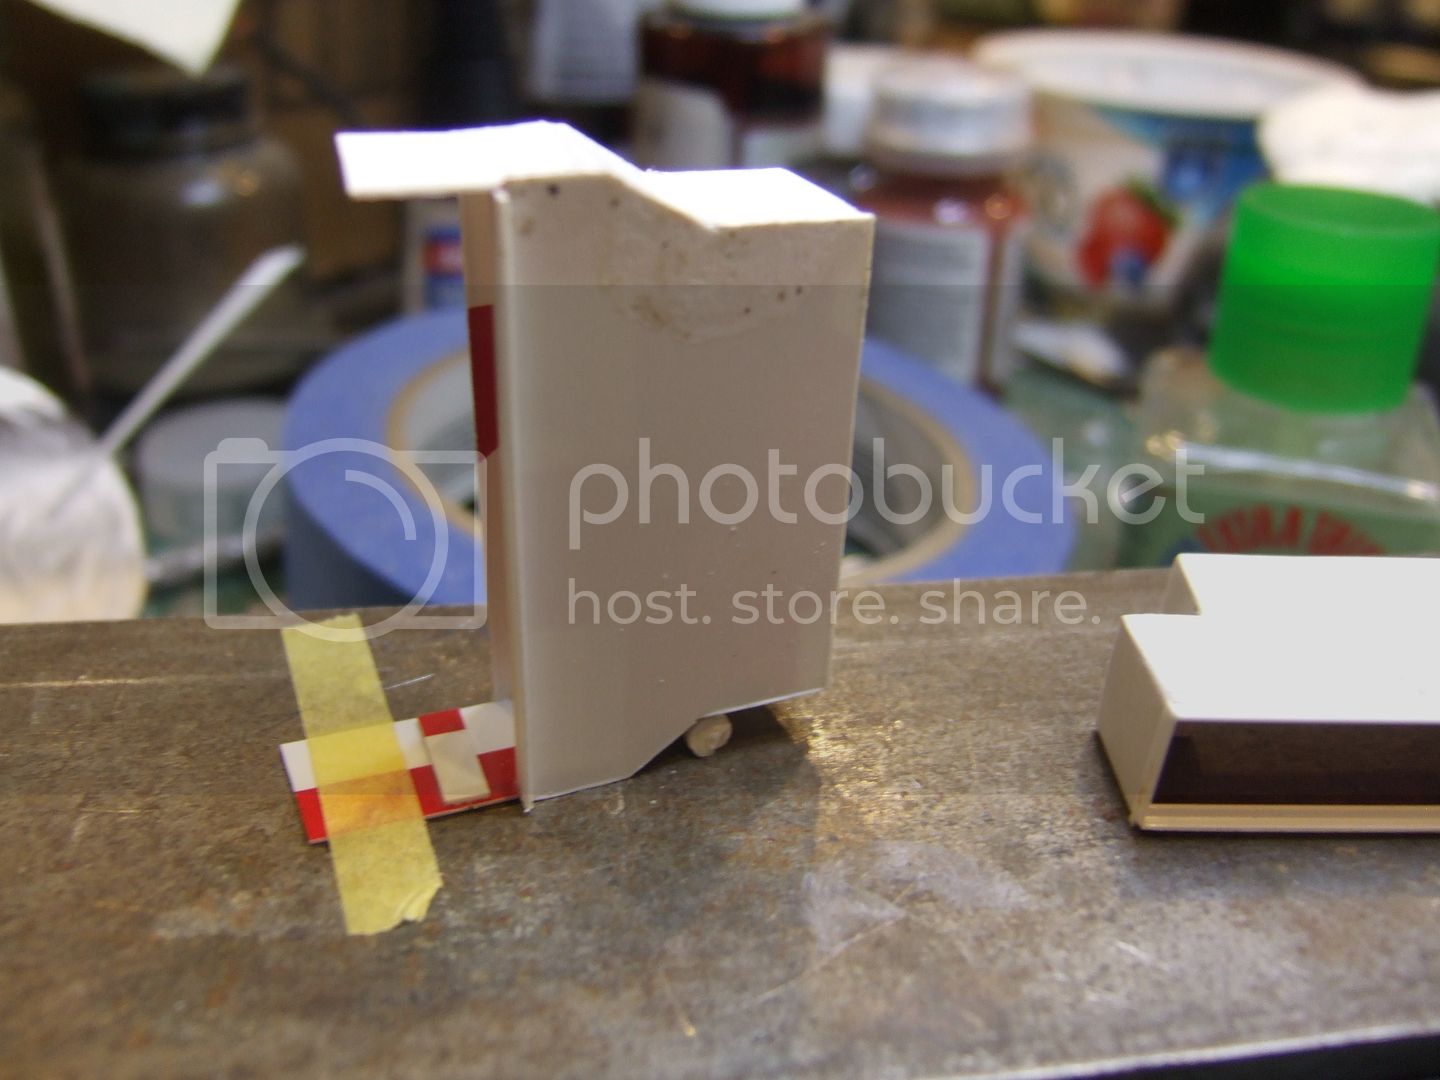
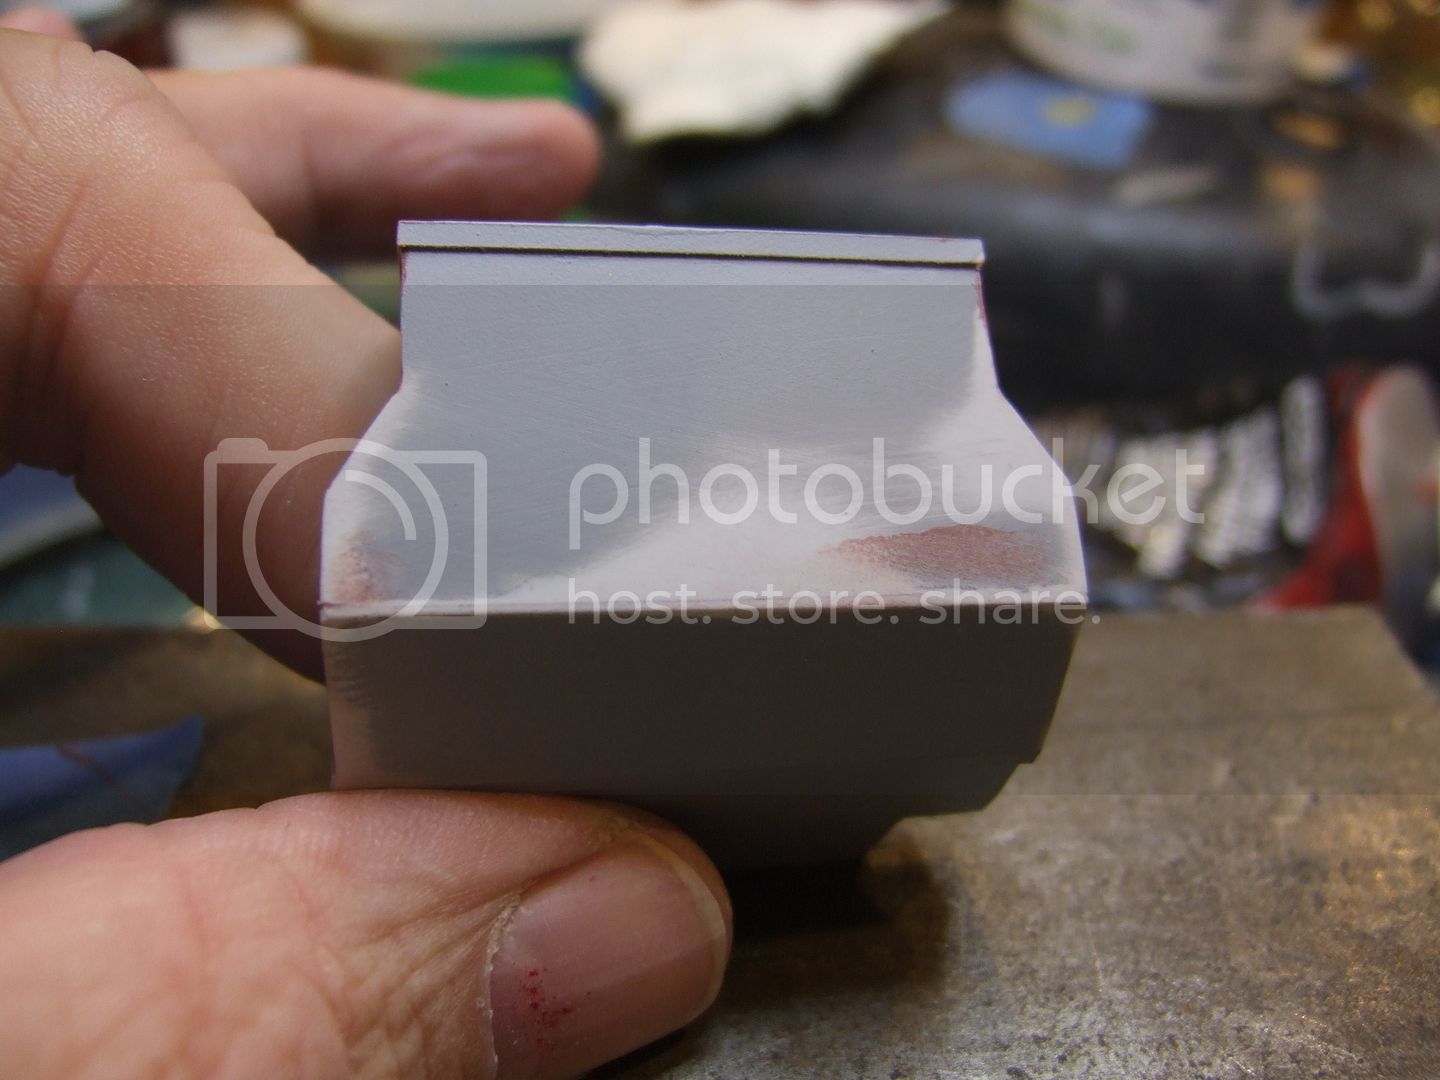
I wanted to see if I could replicate the intake trunks. The real ones weren't that neat and precise so I didn't have many worries.

Here's the lower piece.


Constructing the upper trunk.


Getting there.


Homer0331
Visit this Community
Missouri, United States
Joined: March 19, 2014
KitMaker: 148 posts
Armorama: 148 posts
Posted: Wednesday, June 25, 2014 - 01:18 PM UTC
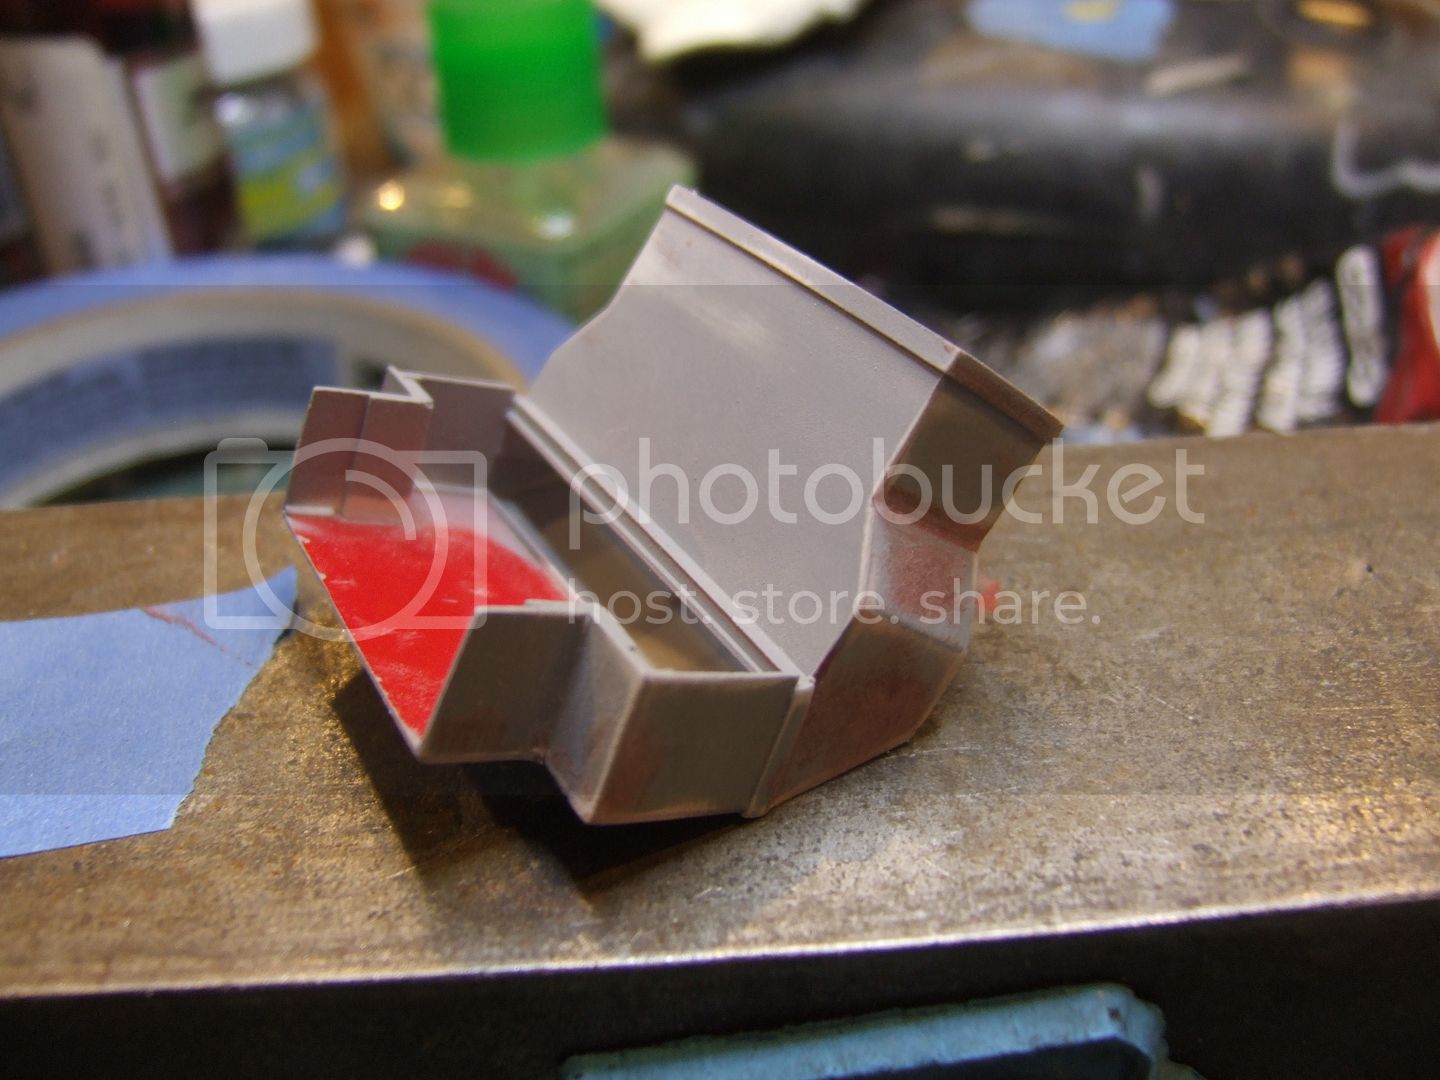
Here's a bit more then.


Primered the trunk and fixed some rough spots.


First primer coat.


G
ColinEdm
Staff MemberAssociate Editor
ARMORAMA
Visit this Community
Alberta, Canada
Joined: October 15, 2013
KitMaker: 1,355 posts
Armorama: 1,229 posts
Posted: Wednesday, June 25, 2014 - 02:39 PM UTC
Looking good! I really like the add-on armour.
Homer0331
Visit this Community
Missouri, United States
Joined: March 19, 2014
KitMaker: 148 posts
Armorama: 148 posts
Posted: Sunday, June 29, 2014 - 08:08 AM UTC
Thank you Colin. It is interesting isn't it?

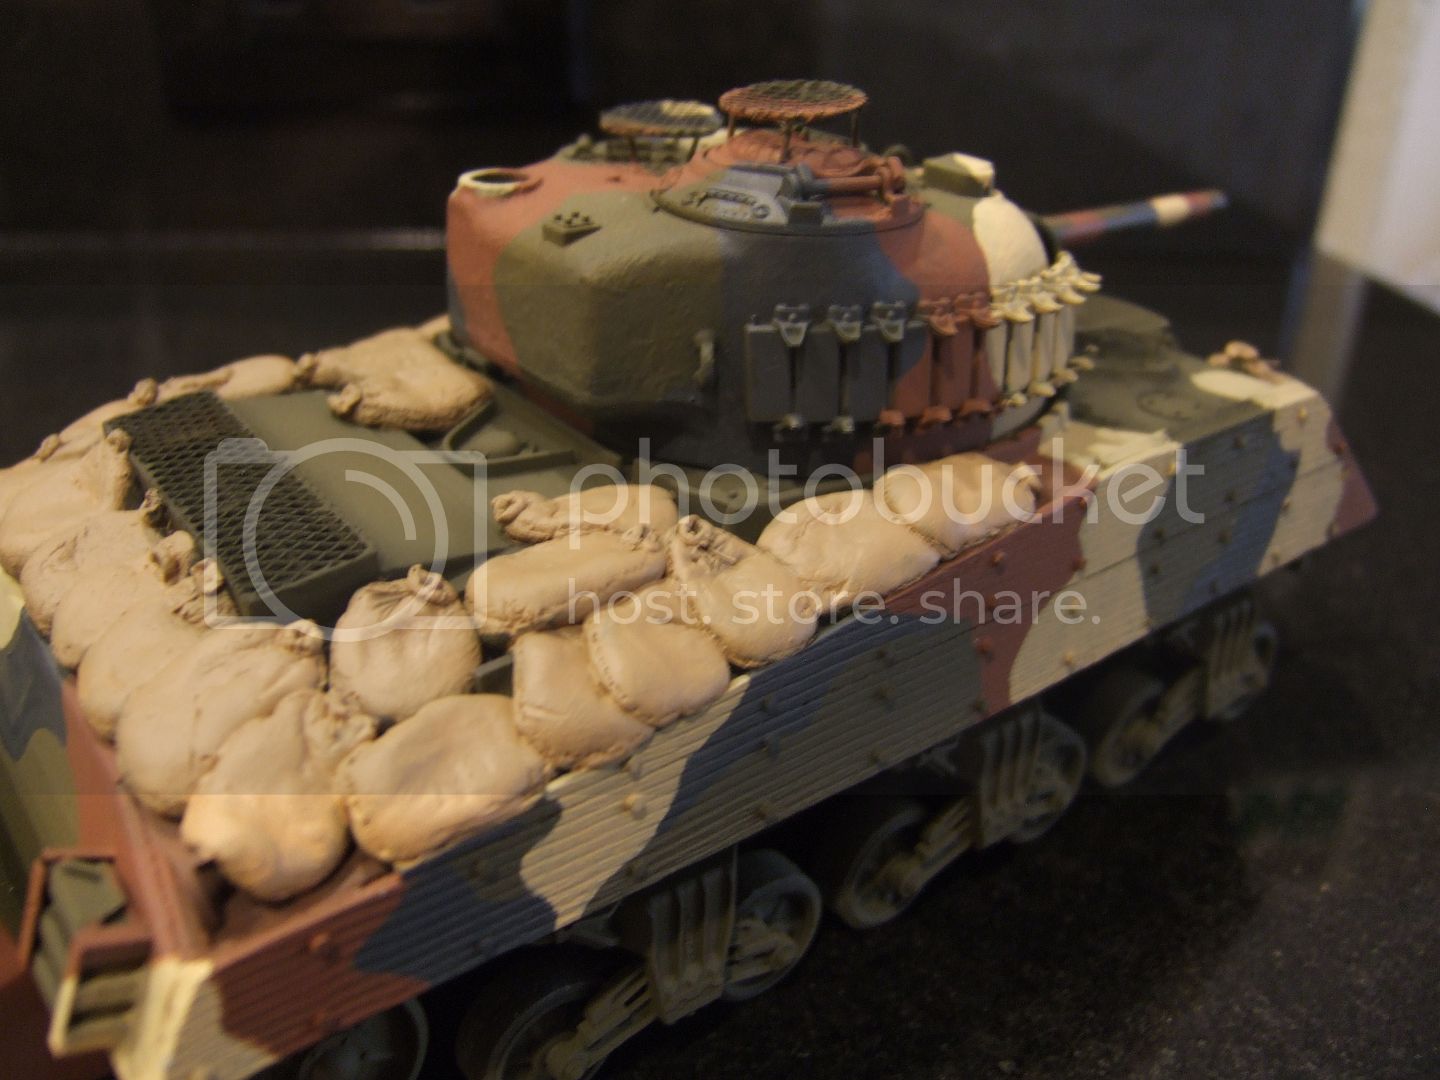
I made the decision to spray the basecoat of Olive Drab, then brush paint the camo pattern. The real tanks were painted that way plus this model has way to many fragile parts. I was afraid of masking over them.


That's Tamiya OD lightened a bit with Tamiya "Desert Yellow" It'll have a faded appearence when weathered. I'm going to use Vallejo for the brush painting.


G
Homer0331
Visit this Community
Missouri, United States
Joined: March 19, 2014
KitMaker: 148 posts
Armorama: 148 posts
Posted: Sunday, June 29, 2014 - 02:07 PM UTC


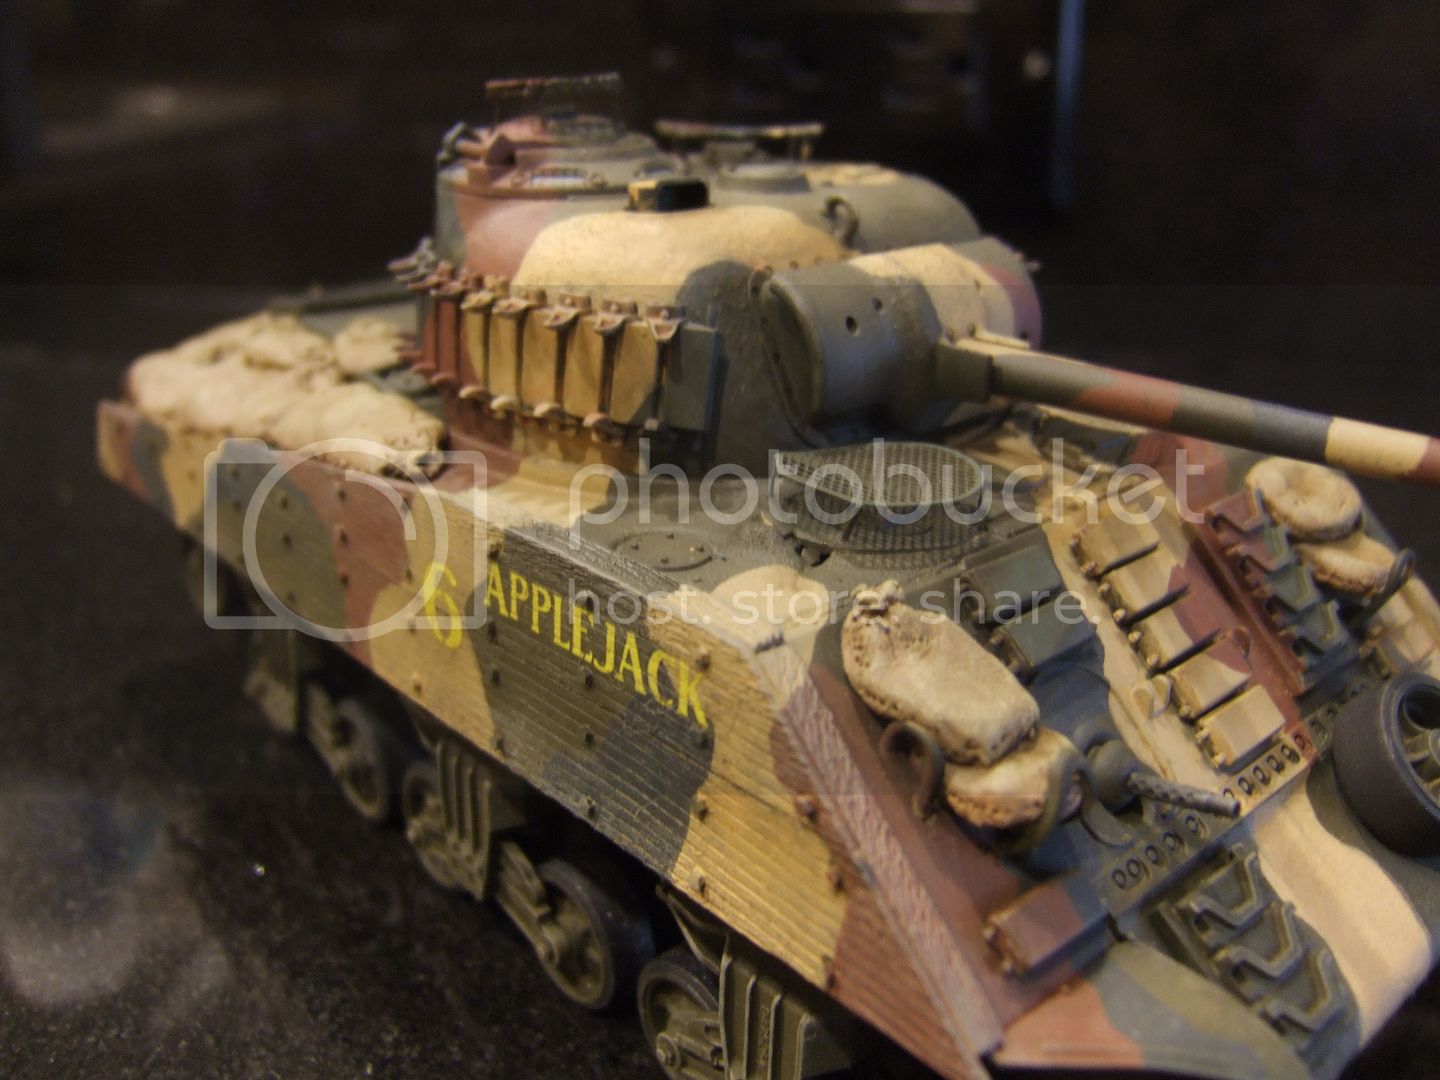
Here's some more paint. This is where I will leave this for the evening.


For the camouflage pattern I used Vallejo "Yellow Tan", "Mahogany Brown" and "Black Gray" . The sandbags are basecoated in Vallejo "Dark Sand".
rfbaer
Visit this Community
Texas, United States
Joined: June 12, 2007
KitMaker: 1,866 posts
Armorama: 1,696 posts
Posted: Monday, June 30, 2014 - 03:46 AM UTC
G!
I like the colors, well done.
Removed by original poster on 05/13/19 - 23:55:09 (GMT).
Homer0331
Visit this Community
Missouri, United States
Joined: March 19, 2014
KitMaker: 148 posts
Armorama: 148 posts
Posted: Tuesday, July 01, 2014 - 02:26 AM UTC
Thank you gentlemen!

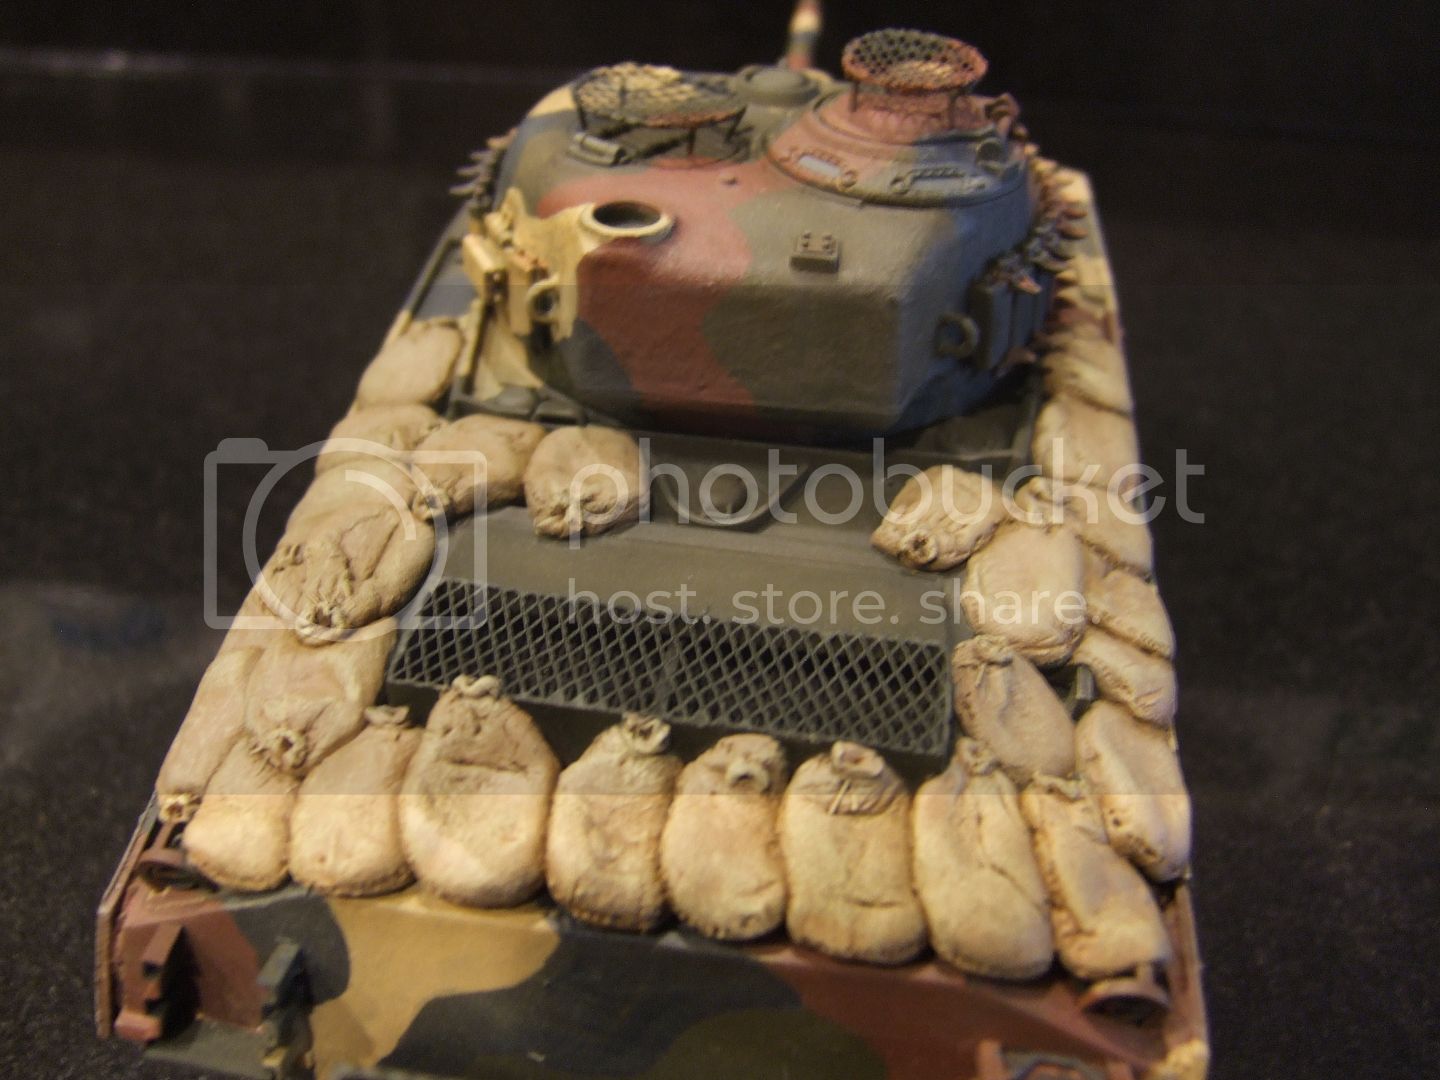
I weathered the piece based on period photos. There is no paint chipping and minimal rust. These M4A3's were collected from the supply point, modified and painted just before the invasion. They were on the island a month or two at most. The last thing I will do is dust the whole thing up. Vehicles on Iwo Jima became covered with a grayish pumice dust in no time.


 _GOTOTOP