 ;)
;) Constructive Feedback
For in-progress or completed build photos. Give and get contructive feedback!
For in-progress or completed build photos. Give and get contructive feedback!
Hosted by Darren Baker, Dave O'Meara
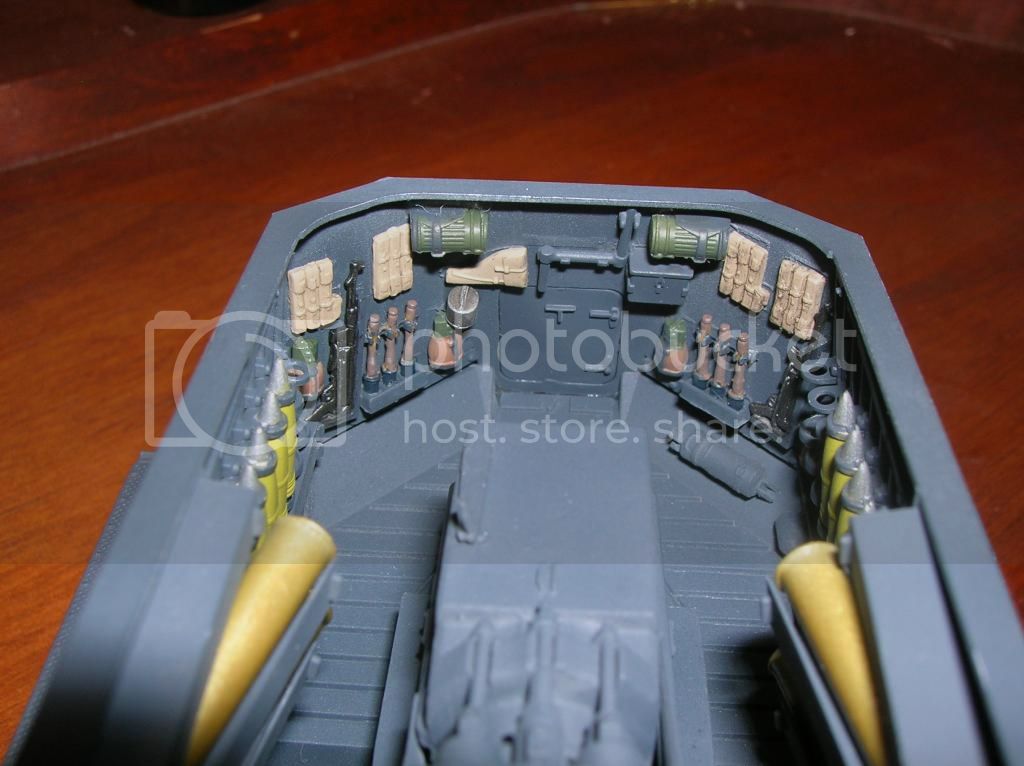
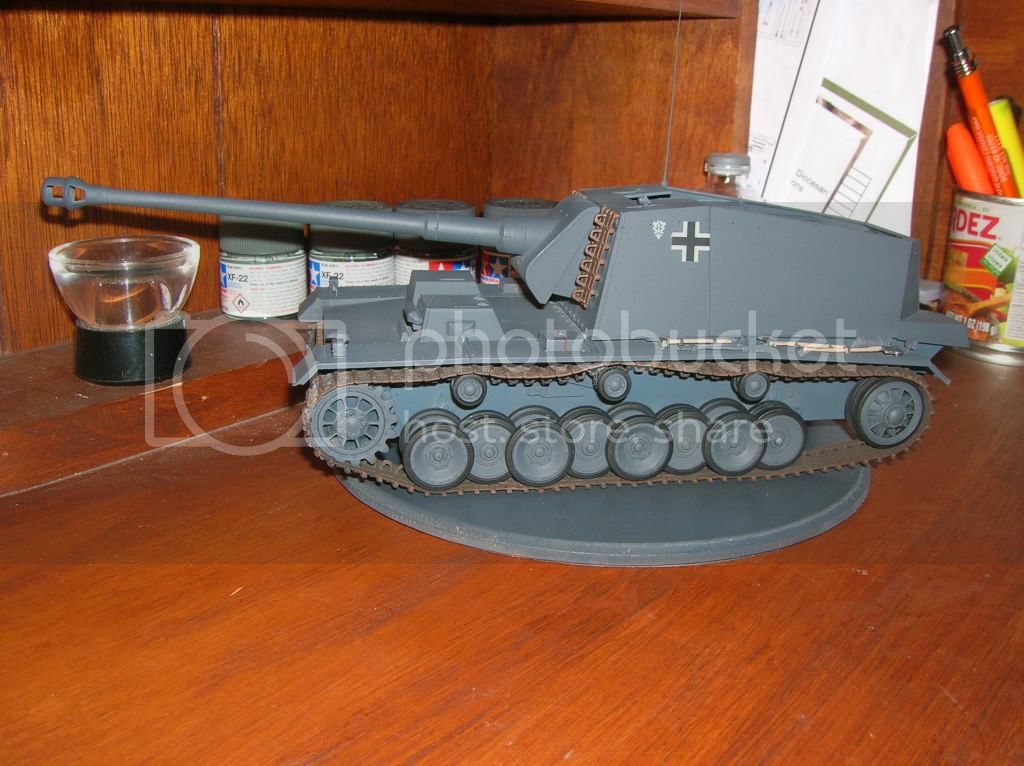
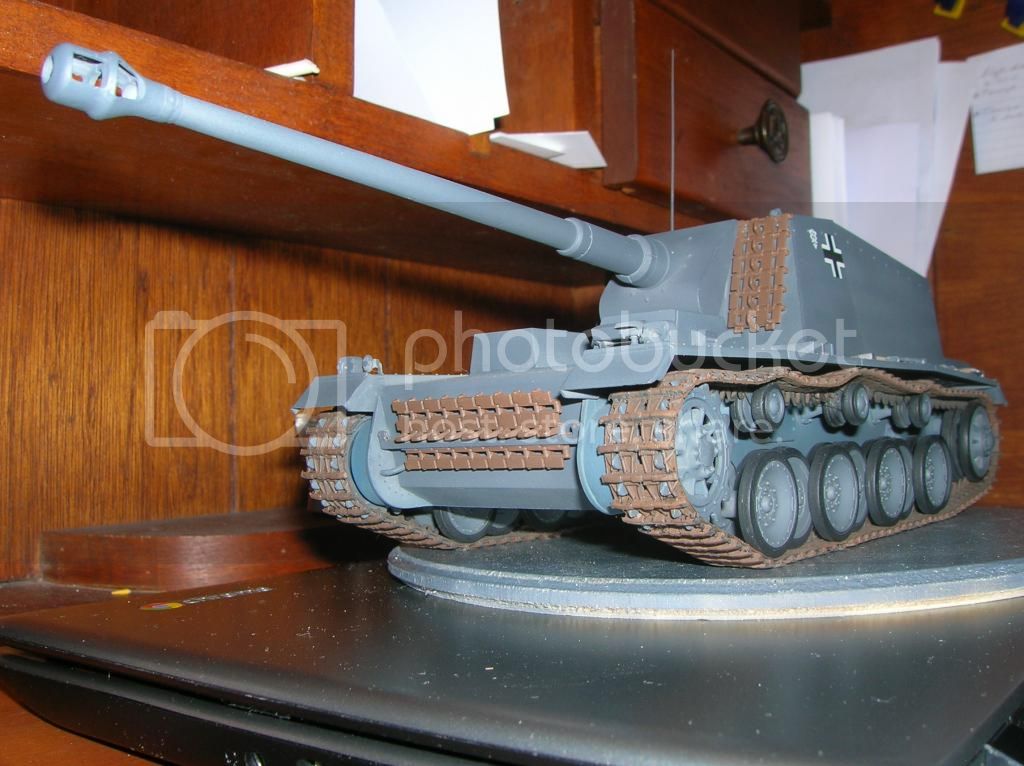
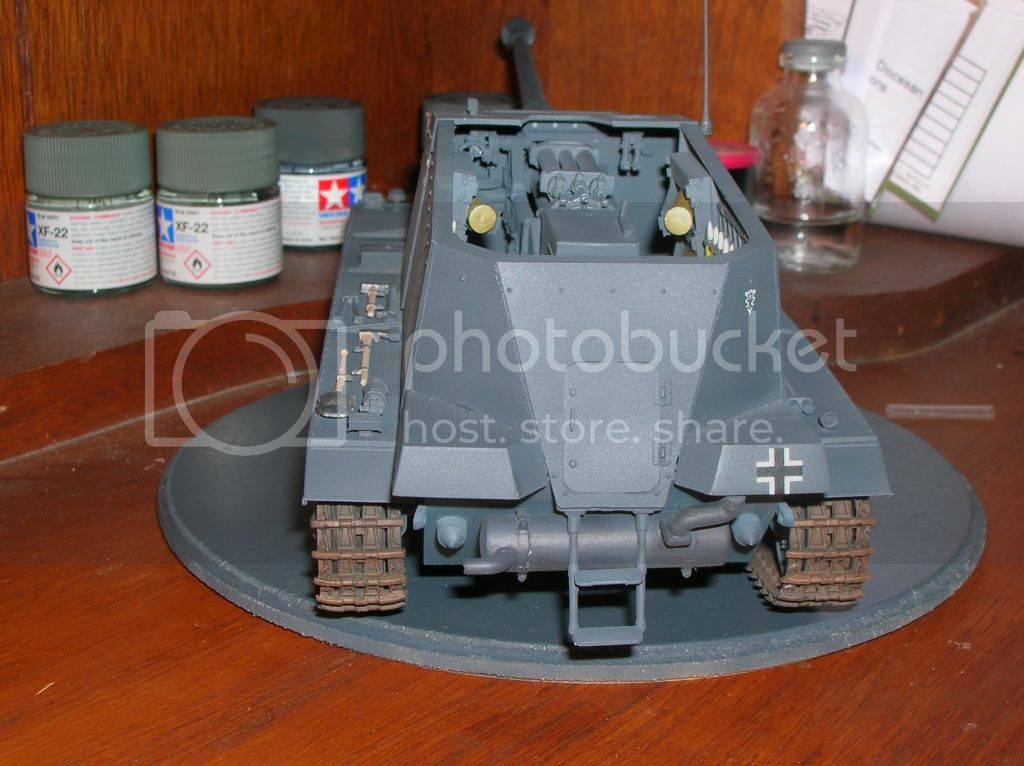
Sturer emil nine months later

doppelganger

Joined: March 09, 2010
KitMaker: 557 posts
Armorama: 217 posts

Posted: Friday, June 27, 2014 - 05:39 PM UTC

doppelganger

Joined: March 09, 2010
KitMaker: 557 posts
Armorama: 217 posts

Posted: Friday, June 27, 2014 - 05:40 PM UTC

doppelganger

Joined: March 09, 2010
KitMaker: 557 posts
Armorama: 217 posts

Posted: Friday, June 27, 2014 - 05:41 PM UTC

doppelganger

Joined: March 09, 2010
KitMaker: 557 posts
Armorama: 217 posts

Posted: Friday, June 27, 2014 - 05:42 PM UTC

doppelganger

Joined: March 09, 2010
KitMaker: 557 posts
Armorama: 217 posts

Posted: Friday, June 27, 2014 - 05:44 PM UTC

doppelganger

Joined: March 09, 2010
KitMaker: 557 posts
Armorama: 217 posts

Posted: Friday, June 27, 2014 - 05:47 PM UTC
Over the years I have noticed numerous post of builds that are started,posted on here then never finished.I finally finished this one  what a fine hobby.You guys are an inspiration to my having the patience and fortitude to complete models.Thank you all.
 what a fine hobby.You guys are an inspiration to my having the patience and fortitude to complete models.Thank you all.
doppelganger

Joined: March 09, 2010
KitMaker: 557 posts
Armorama: 217 posts

Posted: Friday, June 27, 2014 - 05:50 PM UTC

doppelganger

Joined: March 09, 2010
KitMaker: 557 posts
Armorama: 217 posts

Posted: Friday, June 27, 2014 - 05:52 PM UTC

doppelganger

Joined: March 09, 2010
KitMaker: 557 posts
Armorama: 217 posts

Posted: Friday, June 27, 2014 - 05:54 PM UTC

doppelganger

Joined: March 09, 2010
KitMaker: 557 posts
Armorama: 217 posts

Posted: Friday, June 27, 2014 - 05:56 PM UTC

doppelganger

Joined: March 09, 2010
KitMaker: 557 posts
Armorama: 217 posts

Posted: Friday, June 27, 2014 - 06:18 PM UTC
panzerbob01

Joined: March 06, 2010
KitMaker: 3,128 posts
Armorama: 2,959 posts

Posted: Saturday, June 28, 2014 - 04:47 AM UTC
Glad to see it finished! Mine still sits half-done... after years. 

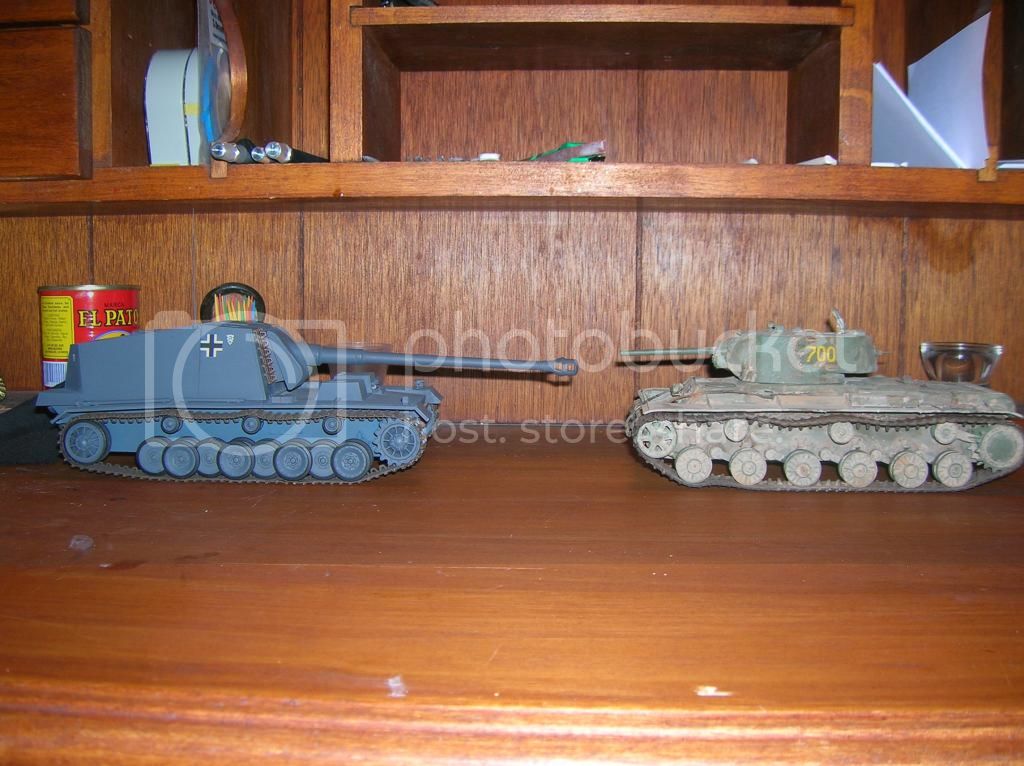
Looks pretty good. When stacked up against that KV, you get to see how huge this thing really was. VERY impressive!
The most startling (and, for this real thing, most meaningful...) difference lies, however, not in the relative sizes of the vehicles, nor in any putative difference in general reliability (not that I've heard that the KV was particularly more reliable than many other tanks of the times, nor that Emil was actually much less so than many others) - but in the sizes of the GUNS!
Whatever else was true of Sturer Emil... his gun had the reach and hitting power to destroy ANY tank ever fielded by any army in WWII!
"One shot does it!"
Bob


Looks pretty good. When stacked up against that KV, you get to see how huge this thing really was. VERY impressive!
The most startling (and, for this real thing, most meaningful...) difference lies, however, not in the relative sizes of the vehicles, nor in any putative difference in general reliability (not that I've heard that the KV was particularly more reliable than many other tanks of the times, nor that Emil was actually much less so than many others) - but in the sizes of the GUNS!
Whatever else was true of Sturer Emil... his gun had the reach and hitting power to destroy ANY tank ever fielded by any army in WWII!
"One shot does it!"

Bob

thebear

Joined: November 15, 2002
KitMaker: 3,960 posts
Armorama: 3,579 posts

Posted: Saturday, June 28, 2014 - 10:42 AM UTC
hi David ...Nice clean build ..congrats .. Not easy these opened topped vehicles ..
Rick
Rick


retiredyank

Joined: June 29, 2009
KitMaker: 11,610 posts
Armorama: 7,843 posts

Posted: Saturday, June 28, 2014 - 10:56 AM UTC
Glad to see it finished. It is quite refreshing to see one that doesn't look like it drove through a swamp during an acid rain storm. I have recently returned to my shelf queens. And, plenty there are.

doppelganger

Joined: March 09, 2010
KitMaker: 557 posts
Armorama: 217 posts

Posted: Saturday, June 28, 2014 - 06:09 PM UTC
I had a few major setbacks on this build.I moved the barrel one too many times and the scope snapped off.I had to remove the cemented on compartment and filed down the elevation (?) hand wheel knob.I then proceeded to pin every joint on the whole gun control mechanism.Assembled again and the gun can now be moved about without hindrance.It is tough getting that fighting compartment lined up to have a good fit at the rear platforms AND up front :_ Also had problems with the decals, had to strip them off and refinish the exterior.If you look carefully the division insignia is not the right one.Impossible to replace the OEM decal without buying a new kit.Thank very much for the replies.Now on to Das U Boot VII build.

doppelganger

Joined: March 09, 2010
KitMaker: 557 posts
Armorama: 217 posts

Posted: Saturday, June 28, 2014 - 06:19 PM UTC
Quoted Text
I can not quite explain why weathering does not appeal to me any more.So difficult to get it right...at least for me Glad to see it finished. It is quite refreshing to see one that doesn't look like it drove through a swamp during an acid rain storm. I have recently returned to my shelf queens. And, plenty there are.

 |


