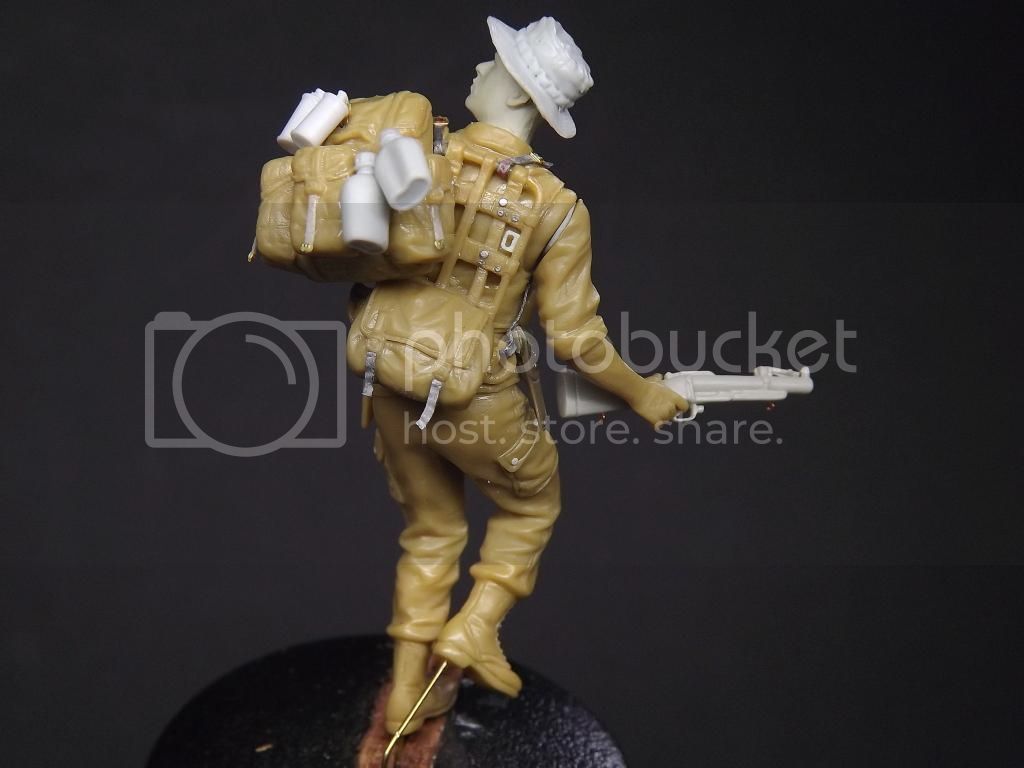
Thanks Richard, definitely makes a difference and also makes it easier to paint ! This is how I do it;
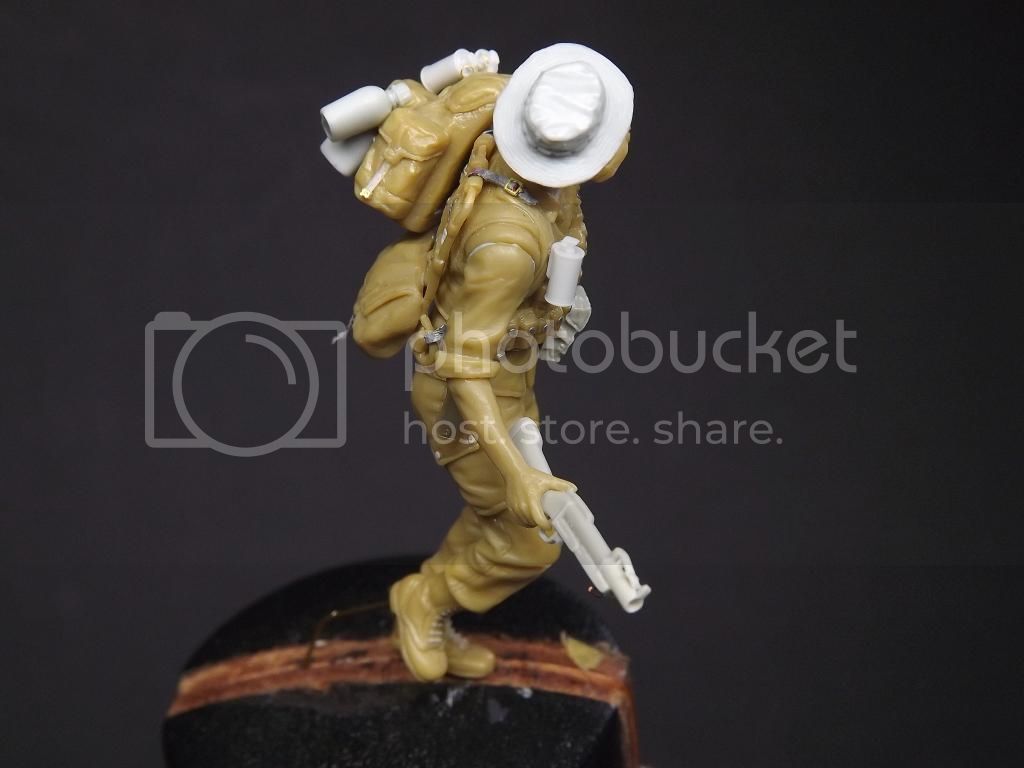
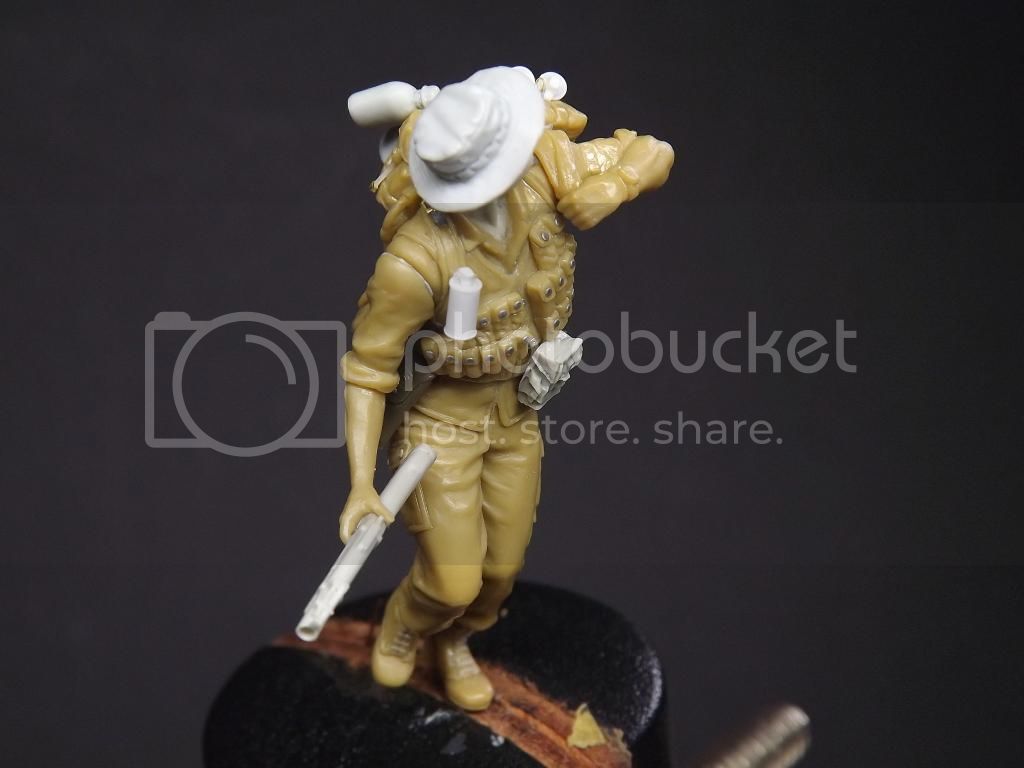
The limitations of injection moulding mean that there is usually a soft edge at the base of most detail, mainly to allow the mould halves to release. Generally the older the figure, the worse it is. However, we can easily enhance this detail using tools you will probably already have, or can get cheaply.
The process is very simple, it just requires all of the base edges to be scraped to some extent, I generally use two different scalpel blades for this. Here are the weapons of choice; a No.6 blade, a No.11P blade and some scotchbrite. I will always start off with new blades for each figure because the edges really do have to be sharp for this.The curved No.6 is used for most of the work, this one is great for recreating undercuts and refining the points where dissimilar items touch, (belt to jacket, jacket to trousers, etc), and most general stuff.
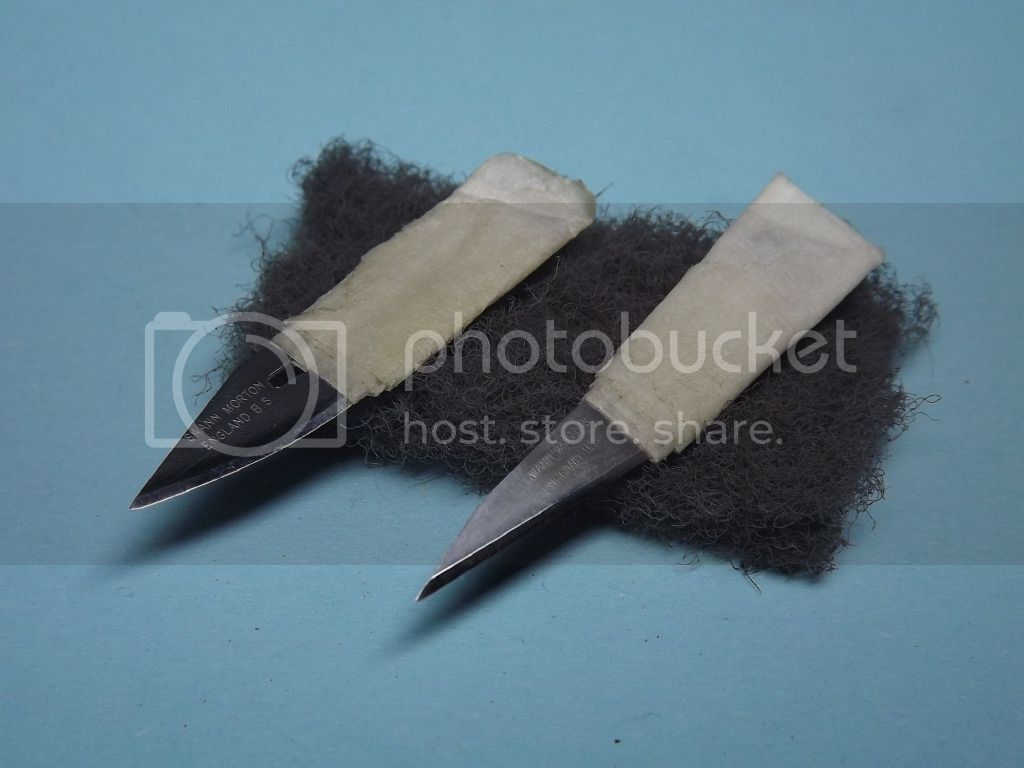
The second blade, the No.11P (Not a standard No.11) has a very acutely angled tip which is perfect for recreating seam lines and detail around webbing and buckles. This is usually held more perpendicular to the surface so you are only using the very tip of the blade (I suppose you could use a needle for this instead). Downside is that this blade will lose its point very quickly and it will need replacing most often. You are lucky if you can complete one figure with the same blade.

The key to the technique is to use very little pressure when scraping, you don't want to remove too much material or leave blade marks in the plastic. Just take your time and work your way around the part methodically, making sure you dont dig the blade in too deep. What you are trying to do is make a sharper edge around parts, not plough furrows, so be subtle. If you press too hard you are also more likely to get blade chatter where it jumps along the line and this leaves unsightly marks which are very hard to get rid of. Remember, it is easier to go over an area again than it is to repair it if you have gone too far.
Very rarely it is necessary to gently sand the area afterwards with some fine wet & dry, usually a rub with the scotchbrite is enough to smooth everything out. Finally I paint the area with a very small amount of Tamiya extra thin cement to remove any plastic fuzz that may be left over - be very sparing here otherwise all of that detail you just created will melt back into goo.