Making tracks…
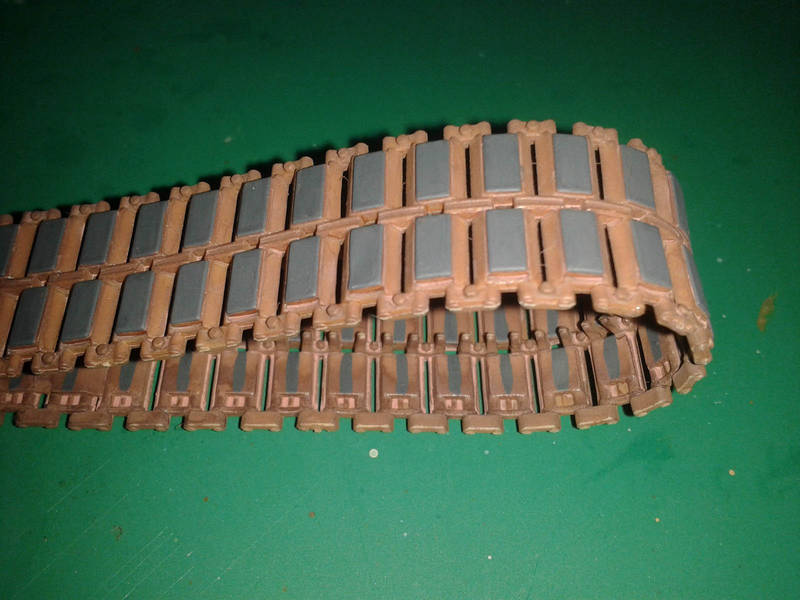
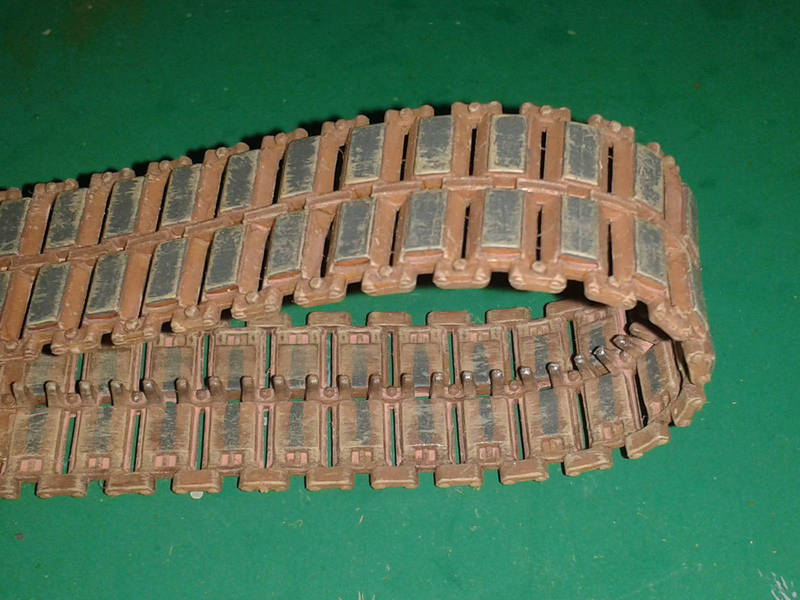
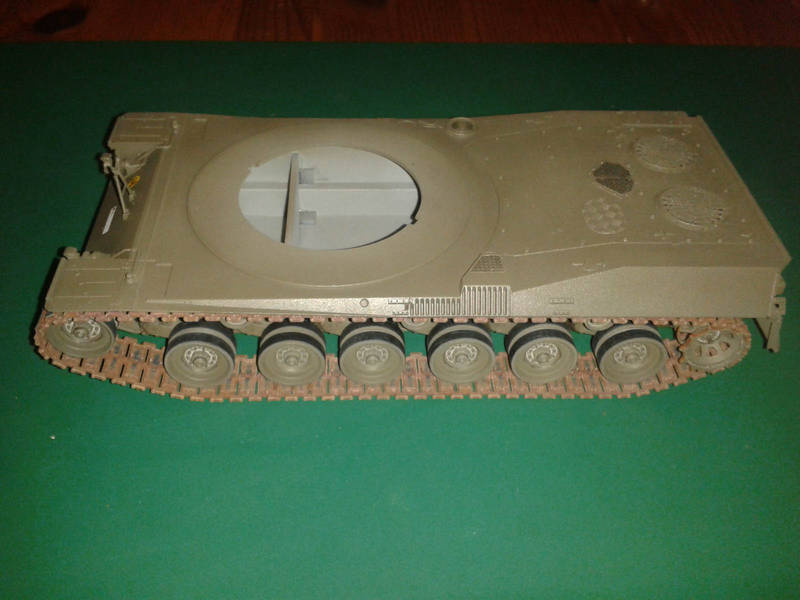
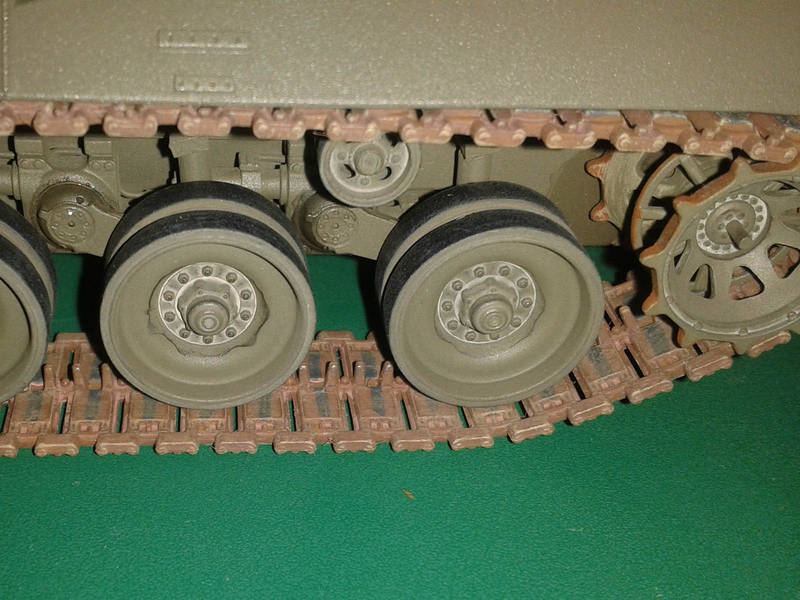
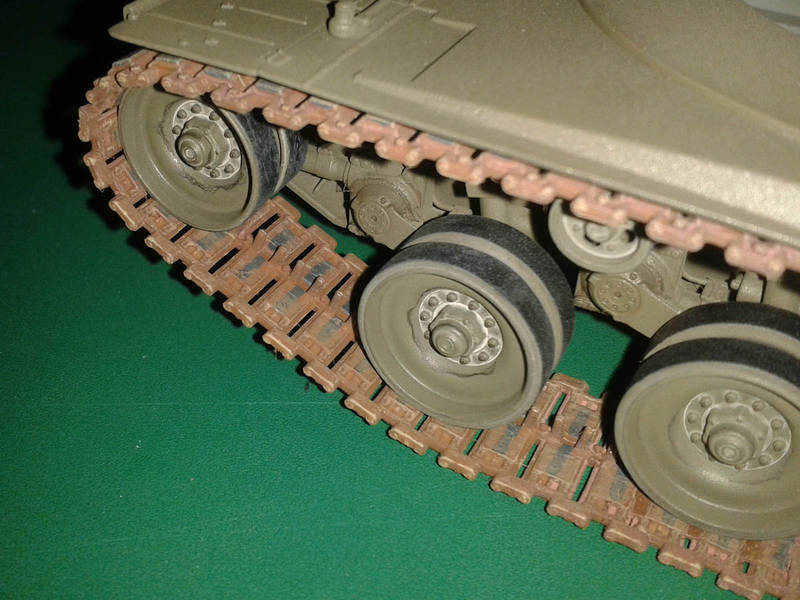
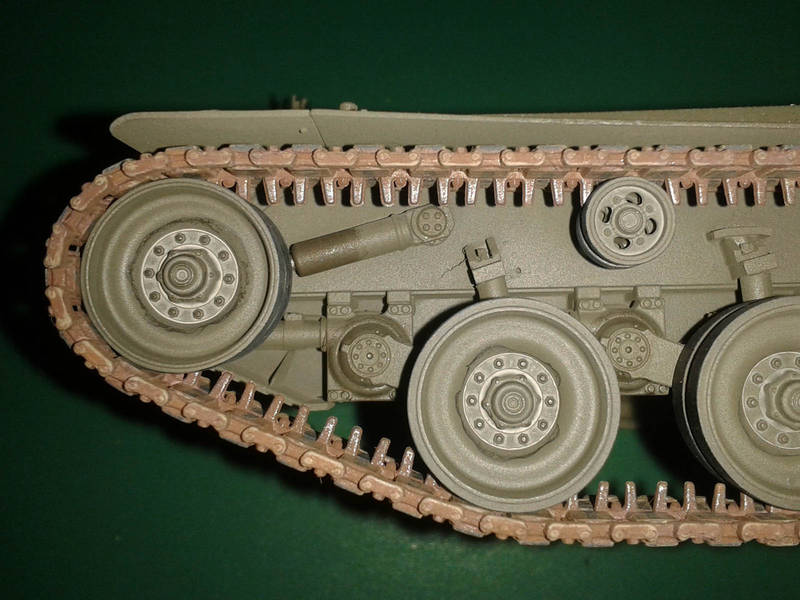
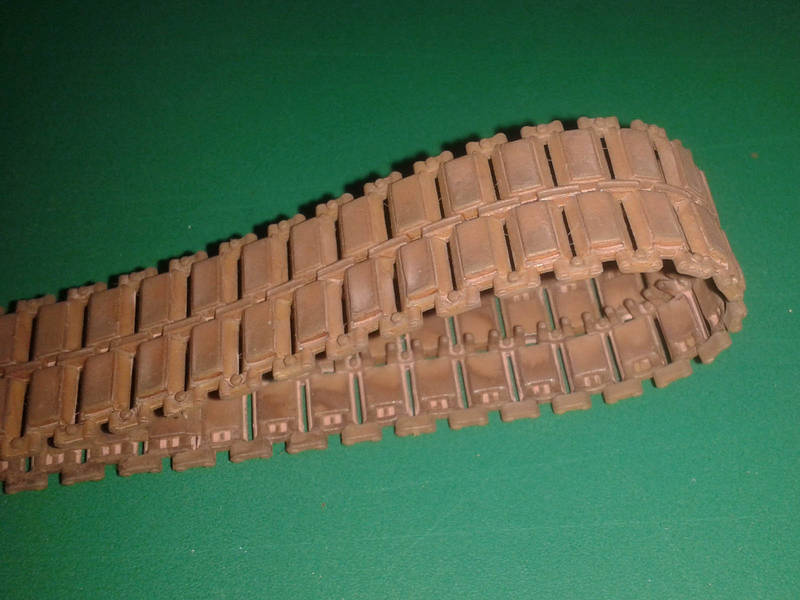
The kit tracks are DS, moulded in tan. (Why can’t they do them in red-brown?) There is so much on the web about DS tracks not fitting, or disintegrating, so I was a little worried – these tracks are unique to the Kpz70, so there are no AM sets out there. After gluing the runs together I sprayed them with a slightly thin mix of Tamiya Red Brown (XF-64) and let it dry a few days. Then I added a “rust” wash made from Pollyscale Boxcar Red (a reddish-brown) and Pollyscale Grimy Black (“warmish” dark grey with a slightly red cast), thinned with “wet” water (distilled water and a hint of Ilfotol to break the surface tension). This was followed by the tedious task of painting all those rubber pads! On the inside there should be a rubber stripe on the central third of each link, while on the outside each pad stands proud. If I was doing an “in use” model I could hide this under lots of dirt, but not for my museum exhibit… (Several evenings were spent with the optivisor and a brush full of Vallejo Dark Rubber paint, testing my sanity!) Then came a combo of dry-brushing and “finger smudging” of Pollyscale Mud (any muddy-beige acrylic would do) to give just the right “dusty” look. This also hid the worst of my shaky painting on those inner stripes – bonus! The final touch was a quick dry-brush of Vallejo Gunmetal on the guide teeth. The tracks actually fit perfectly, and afterwards I glued on the outer halves of the idler and track support rollers.
Hosted by Darren Baker
DML KPz70 build log
Posted: Sunday, January 04, 2015 - 05:40 PM UTC
Posted: Tuesday, January 27, 2015 - 01:52 AM UTC
wrapping up
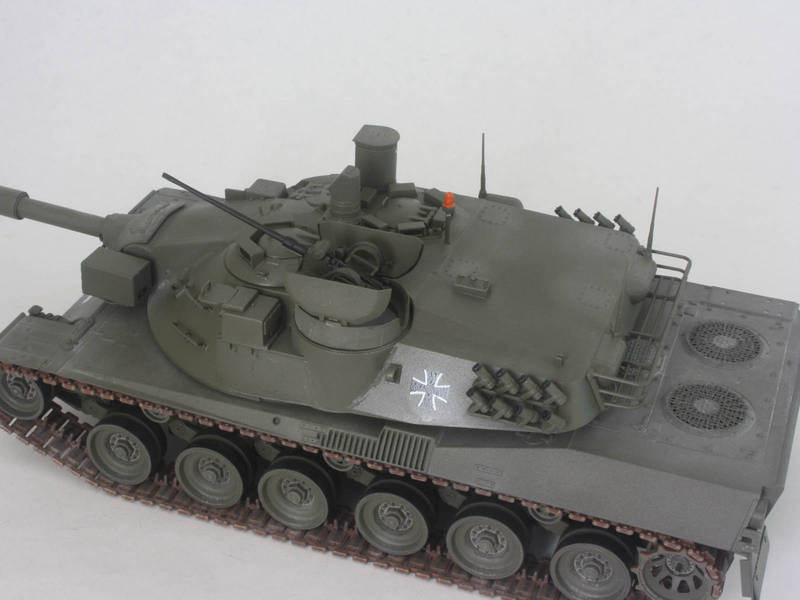
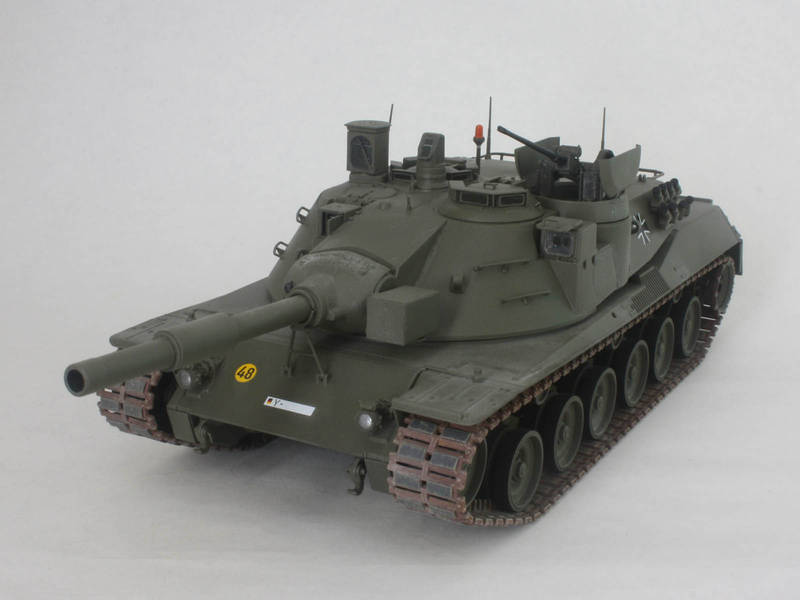
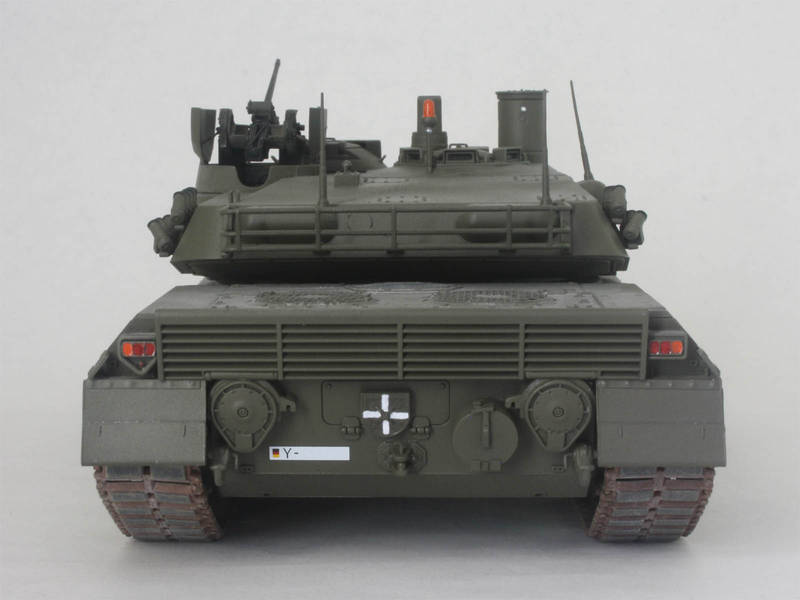
For anyone still following this build log, I’ve finally finished and got the photos to prove it!
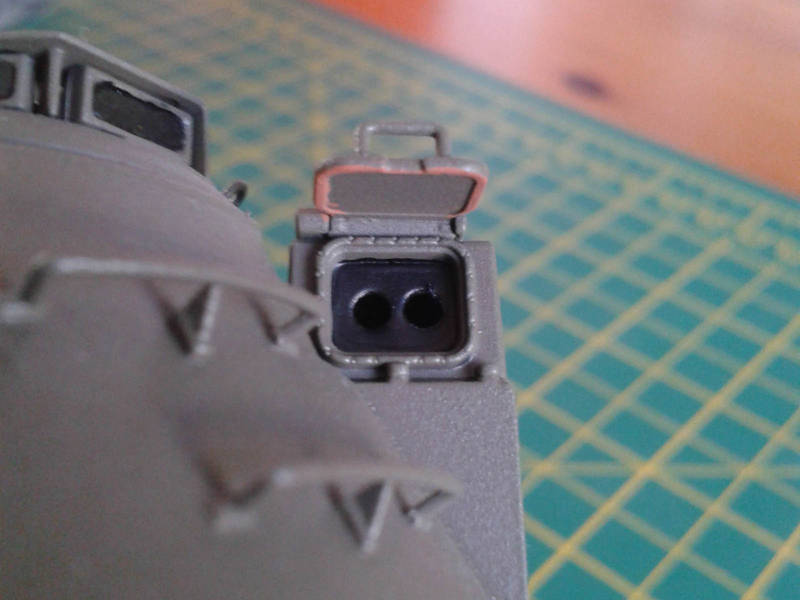
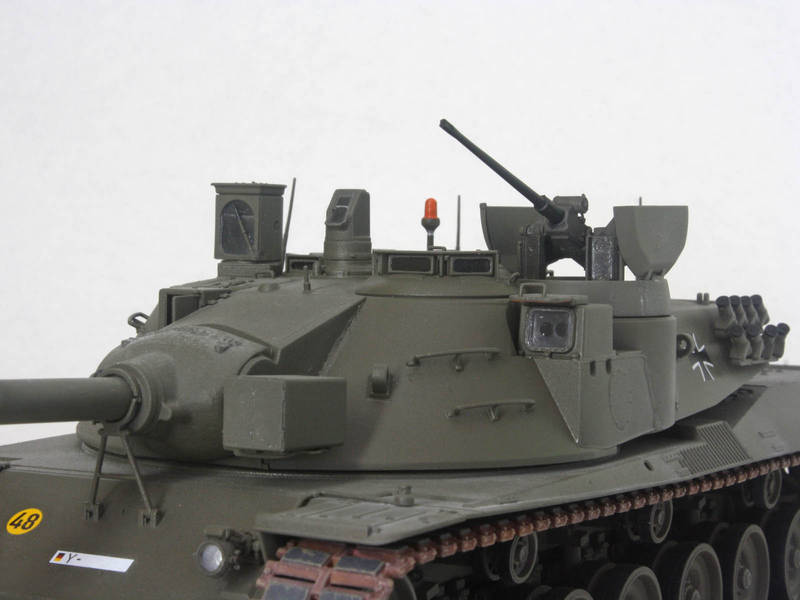
After detail painting on the turret, I added some “peel & stick” mirror stuff in the various optics to replicate the prisms etc. I borrowed a sheet of it from the missus – I think it was meant for doll-house mirrors, and probably came from the card-craft section of a chain hobby store way back in the dawn if time! Adding the “glass” was the final step, at which point I discovered the gunner’s sight has none! (Oversight by DML, perhaps?...) The orange “gum-ball” light sadly comes in grey plastic, so I painted it silver and then thinned orange.
After the paint, I added a little dust in the form of some Pinnacle Modelling Supplies “concrete dust” weathering pigment, applied with a soft brush on the upper surfaces to add a little highlight to panel lines and bolts. This was also lightly applied to the track, and very sparingly to the wheels.
THE END!
LeoCmdr
Alberta, Canada
Joined: January 19, 2005
KitMaker: 4,085 posts
Armorama: 3,917 posts
Joined: January 19, 2005
KitMaker: 4,085 posts
Armorama: 3,917 posts
Posted: Tuesday, January 27, 2015 - 08:01 AM UTC
I'm still following the build blog!
Nice work Tom. Thanks for providing all the ins and outs of this kit. Regardless of accuracy issues it is a great looking cold war tank.
DaGreatQueeg
Napier, New Zealand
Joined: August 01, 2005
KitMaker: 1,049 posts
Armorama: 841 posts
Joined: August 01, 2005
KitMaker: 1,049 posts
Armorama: 841 posts
Posted: Tuesday, January 27, 2015 - 08:19 AM UTC
Very nice build Tom. Lots of interesting detail in this thread and the final result looks great. I'm hoping to pick up the Cromwell 1/72nd version soon ......
cheers
Brent
cheers
Brent
ivanhoe6
Wisconsin, United States
Joined: April 05, 2007
KitMaker: 2,023 posts
Armorama: 1,234 posts
Joined: April 05, 2007
KitMaker: 2,023 posts
Armorama: 1,234 posts
Posted: Tuesday, January 27, 2015 - 10:00 PM UTC
Thanks Tom, I enjoyed following along too. What's up next ?
Tom B
Tom B
Posted: Wednesday, January 28, 2015 - 01:48 AM UTC
Thanks guys! Glad you liked it. I'm sorting out a bunch more "finished" pics for a photo feature, then it's back to the beginning with a Takom Mk IV tank for my next build log...
salt6
Oklahoma, United States
Joined: February 17, 2002
KitMaker: 796 posts
Armorama: 574 posts
Joined: February 17, 2002
KitMaker: 796 posts
Armorama: 574 posts
Posted: Friday, January 30, 2015 - 10:06 AM UTC
Thanks for the write up of your build.
ppawlak1
Victoria, Australia
Joined: March 14, 2006
KitMaker: 1,973 posts
Armorama: 1,843 posts
Joined: March 14, 2006
KitMaker: 1,973 posts
Armorama: 1,843 posts
Posted: Friday, January 30, 2015 - 10:20 AM UTC
Nice work Tom.
I've been following your build all along.
Love it
I've been following your build all along.
Love it