Distrito Federal, Mexico
Joined: May 31, 2013
KitMaker: 1,457 posts
Armorama: 1,440 posts
Posted: Sunday, August 17, 2014 - 02:04 PM UTC
Distrito Federal, Mexico
Joined: May 31, 2013
KitMaker: 1,457 posts
Armorama: 1,440 posts
Posted: Friday, August 22, 2014 - 05:55 AM UTC
Distrito Federal, Mexico
Joined: May 31, 2013
KitMaker: 1,457 posts
Armorama: 1,440 posts
Posted: Friday, August 22, 2014 - 07:05 AM UTC
Distrito Federal, Mexico
Joined: May 31, 2013
KitMaker: 1,457 posts
Armorama: 1,440 posts
Posted: Friday, August 22, 2014 - 07:07 AM UTC
I don't want to over do the weathering. Just make it look realistic enough.
Distrito Federal, Mexico
Joined: May 31, 2013
KitMaker: 1,457 posts
Armorama: 1,440 posts
Posted: Saturday, August 23, 2014 - 06:22 AM UTC
Distrito Federal, Mexico
Joined: May 31, 2013
KitMaker: 1,457 posts
Armorama: 1,440 posts
Posted: Saturday, August 23, 2014 - 06:29 AM UTC
I am leaning toward leaving the trunk open and stuffing it with junk. In addition, I am starting to plan a little diorama for this vehicle. Thinking it will be Afghanistan, some kind of staging area. I have a couple of figures of Afghan prisoners, maybe a couple of SF holding them as they transfer them to regular Army. Any Ideas?
Distrito Federal, Mexico
Joined: May 31, 2013
KitMaker: 1,457 posts
Armorama: 1,440 posts
Posted: Saturday, August 23, 2014 - 01:40 PM UTC
About to start with pigments on the under side.


#065
Missouri, United States
Joined: March 30, 2002
KitMaker: 2,605 posts
Armorama: 1,814 posts
Posted: Saturday, August 23, 2014 - 06:13 PM UTC
I've enjoyed watching your project come together so far. I look forward to new updates. Keep up the good work.
IPMS # 41155
Current Campaigns:
Distrito Federal, Mexico
Joined: May 31, 2013
KitMaker: 1,457 posts
Armorama: 1,440 posts
Posted: Sunday, August 24, 2014 - 03:37 AM UTC
Pigments almost dry.

I will add a couple of oil stains and then work on the interior detail.
Distrito Federal, Mexico
Joined: May 31, 2013
KitMaker: 1,457 posts
Armorama: 1,440 posts
Posted: Sunday, August 24, 2014 - 05:14 AM UTC
What bottled water brands were available in Afghanistan? Can anybody tell me?
Distrito Federal, Mexico
Joined: May 31, 2013
KitMaker: 1,457 posts
Armorama: 1,440 posts
Posted: Monday, August 25, 2014 - 06:02 PM UTC
Kildare, Ireland
Joined: November 21, 2007
KitMaker: 3,212 posts
Armorama: 2,807 posts
Posted: Monday, August 25, 2014 - 07:20 PM UTC
Sorry, I'm no expert on water brands but that is one beautiful build so far!
France
Joined: February 20, 2012
KitMaker: 1,932 posts
Armorama: 1,907 posts
Posted: Tuesday, August 26, 2014 - 05:30 AM UTC
Hello,
HeavyArty had given informations for that subject with several arabic brands in use.
Also a nice pic of the rear view of a Bradley with a mountain of water bottles.
http://www.ipms.us/forums/196836Distrito Federal, Mexico
Joined: May 31, 2013
KitMaker: 1,457 posts
Armorama: 1,440 posts
Posted: Tuesday, August 26, 2014 - 07:03 AM UTC
Distrito Federal, Mexico
Joined: May 31, 2013
KitMaker: 1,457 posts
Armorama: 1,440 posts
Posted: Tuesday, August 26, 2014 - 07:22 AM UTC
Distrito Federal, Mexico
Joined: May 31, 2013
KitMaker: 1,457 posts
Armorama: 1,440 posts
Posted: Tuesday, August 26, 2014 - 07:25 AM UTC
of course I still have the figures, M4s, and a pair of gloves to go in there.
Sao Paulo, Brazil
Joined: January 24, 2012
KitMaker: 1,054 posts
Armorama: 1,050 posts
Posted: Tuesday, August 26, 2014 - 08:31 AM UTC
Fantastic Marcos!
I would use some back packs and tarpaulins at the trunk.
I have a big project to my M1151 and will use your as reference, for sure.
Cheers!
Marco
Distrito Federal, Mexico
Joined: May 31, 2013
KitMaker: 1,457 posts
Armorama: 1,440 posts
Posted: Tuesday, August 26, 2014 - 09:25 AM UTC
Distrito Federal, Mexico
Joined: May 31, 2013
KitMaker: 1,457 posts
Armorama: 1,440 posts
Posted: Wednesday, August 27, 2014 - 08:22 AM UTC
Distrito Federal, Mexico
Joined: May 31, 2013
KitMaker: 1,457 posts
Armorama: 1,440 posts
Posted: Sunday, August 31, 2014 - 03:52 AM UTC
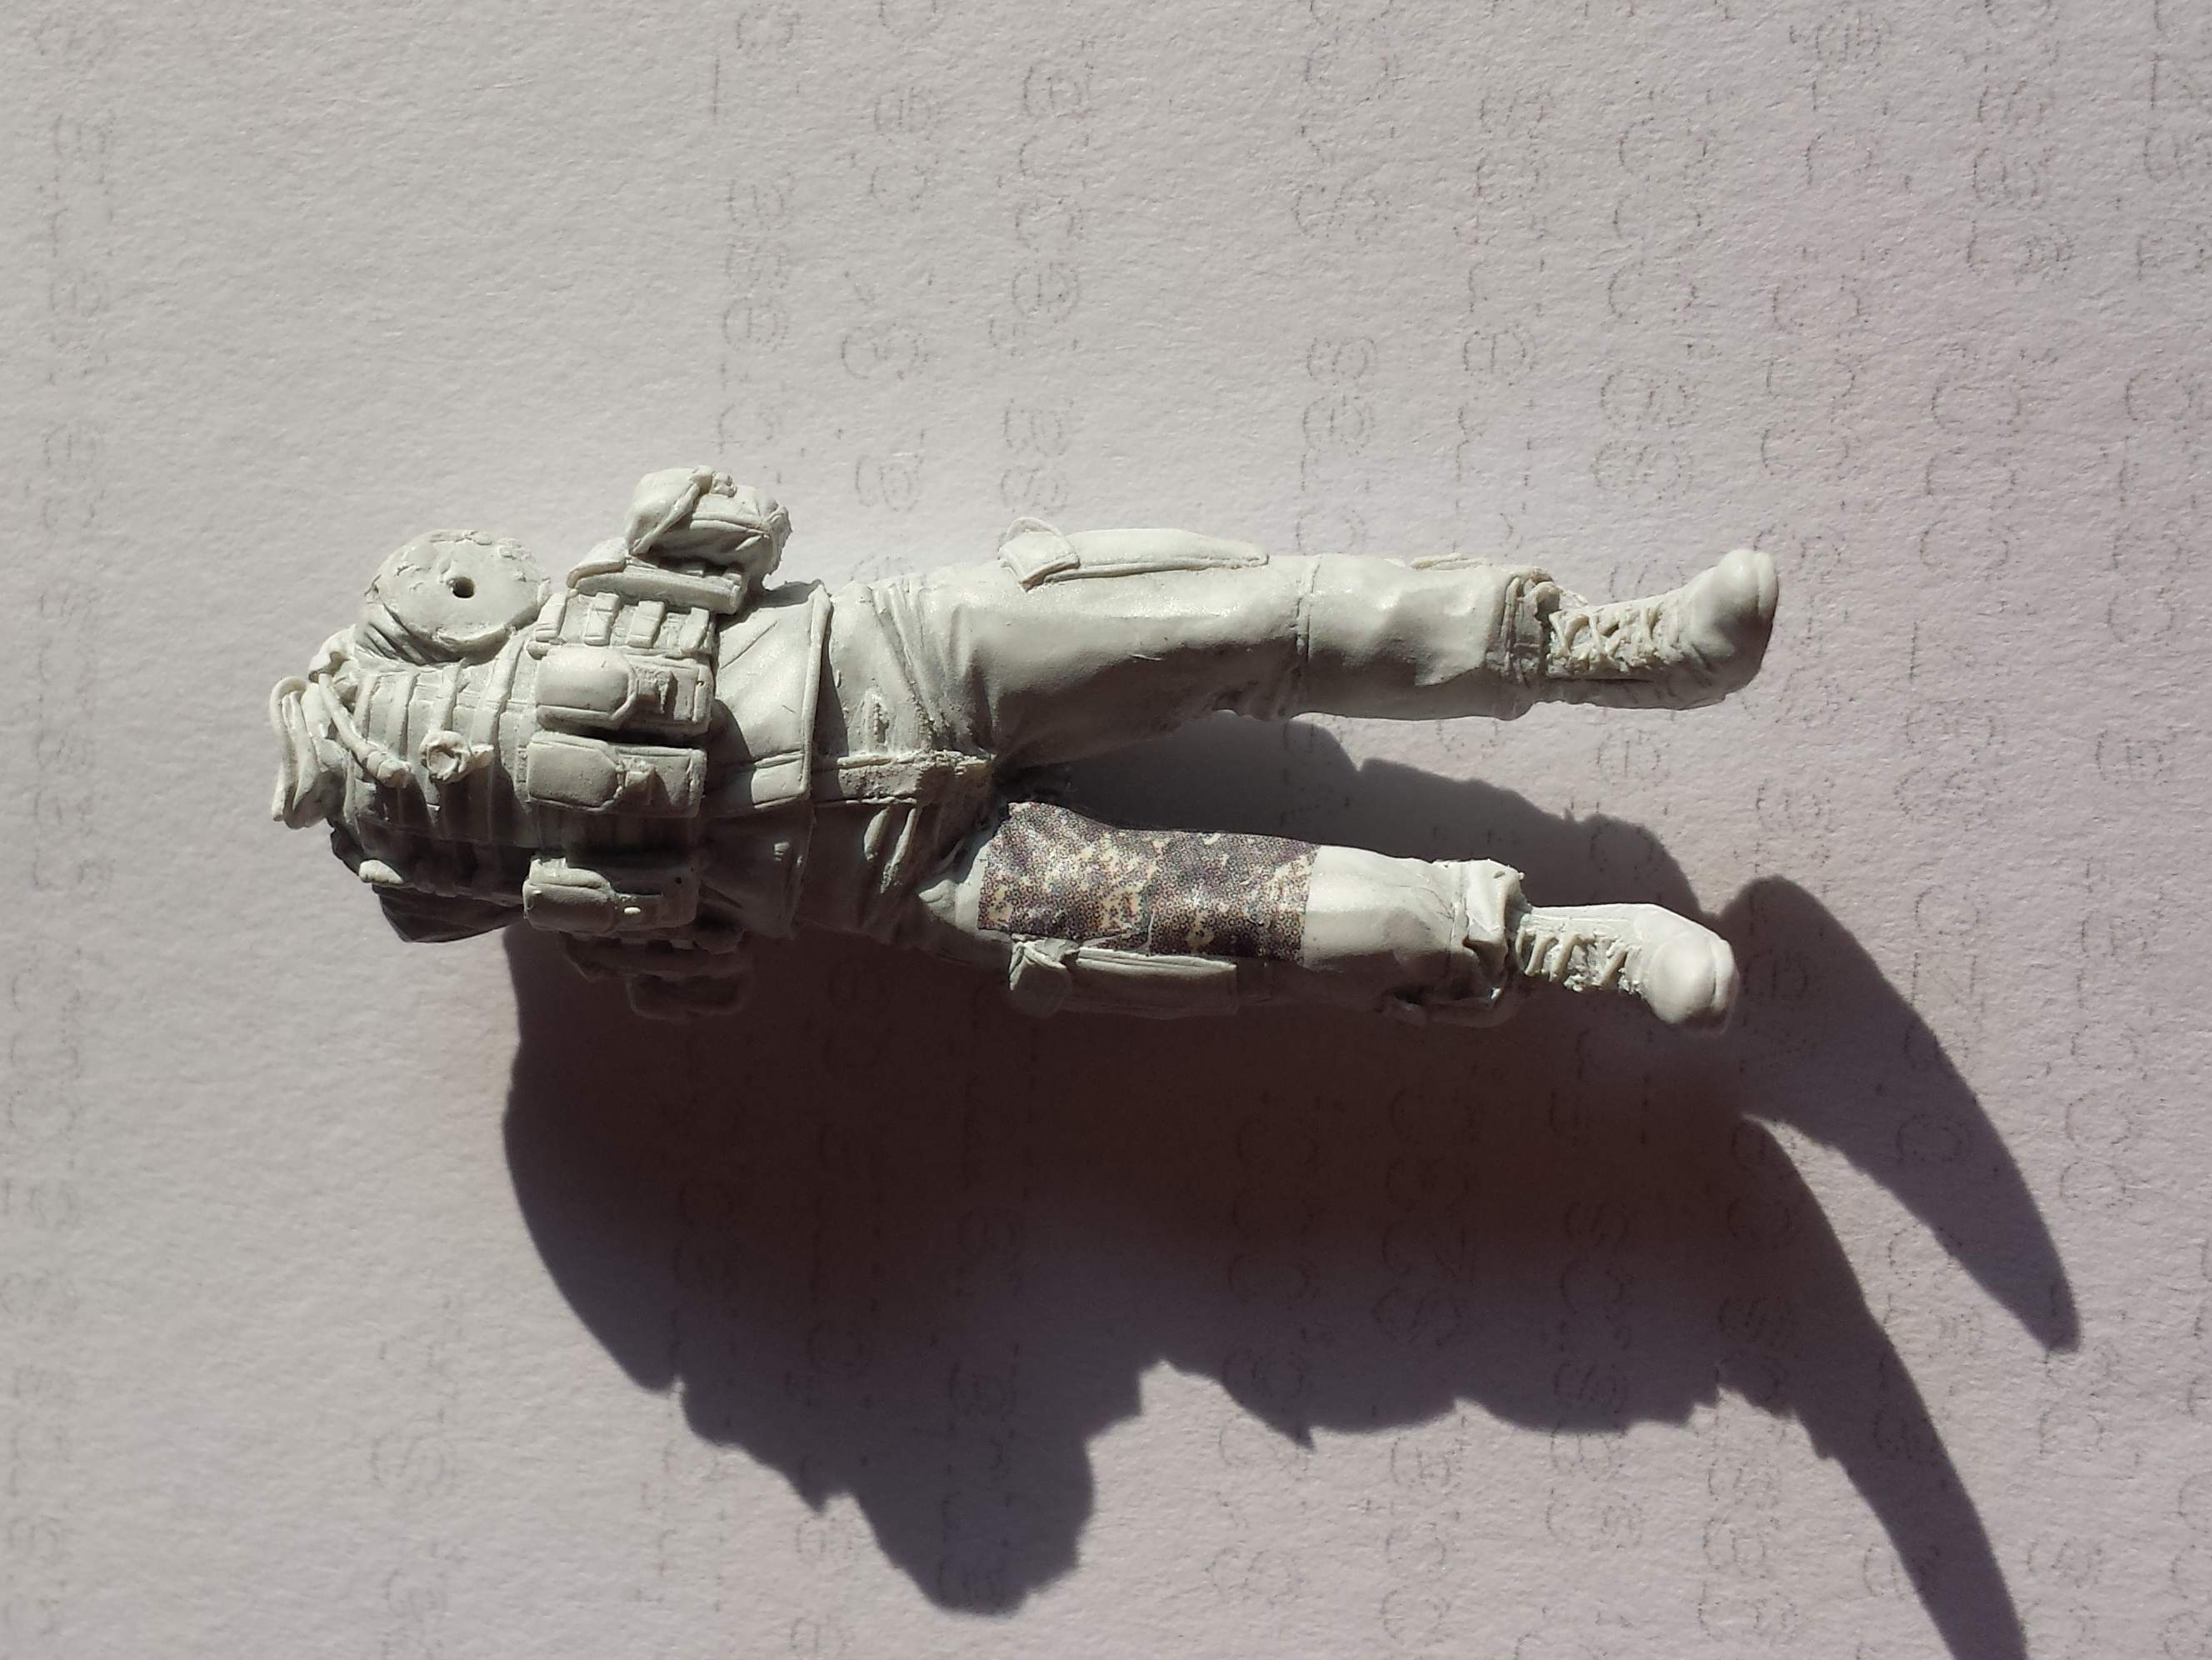
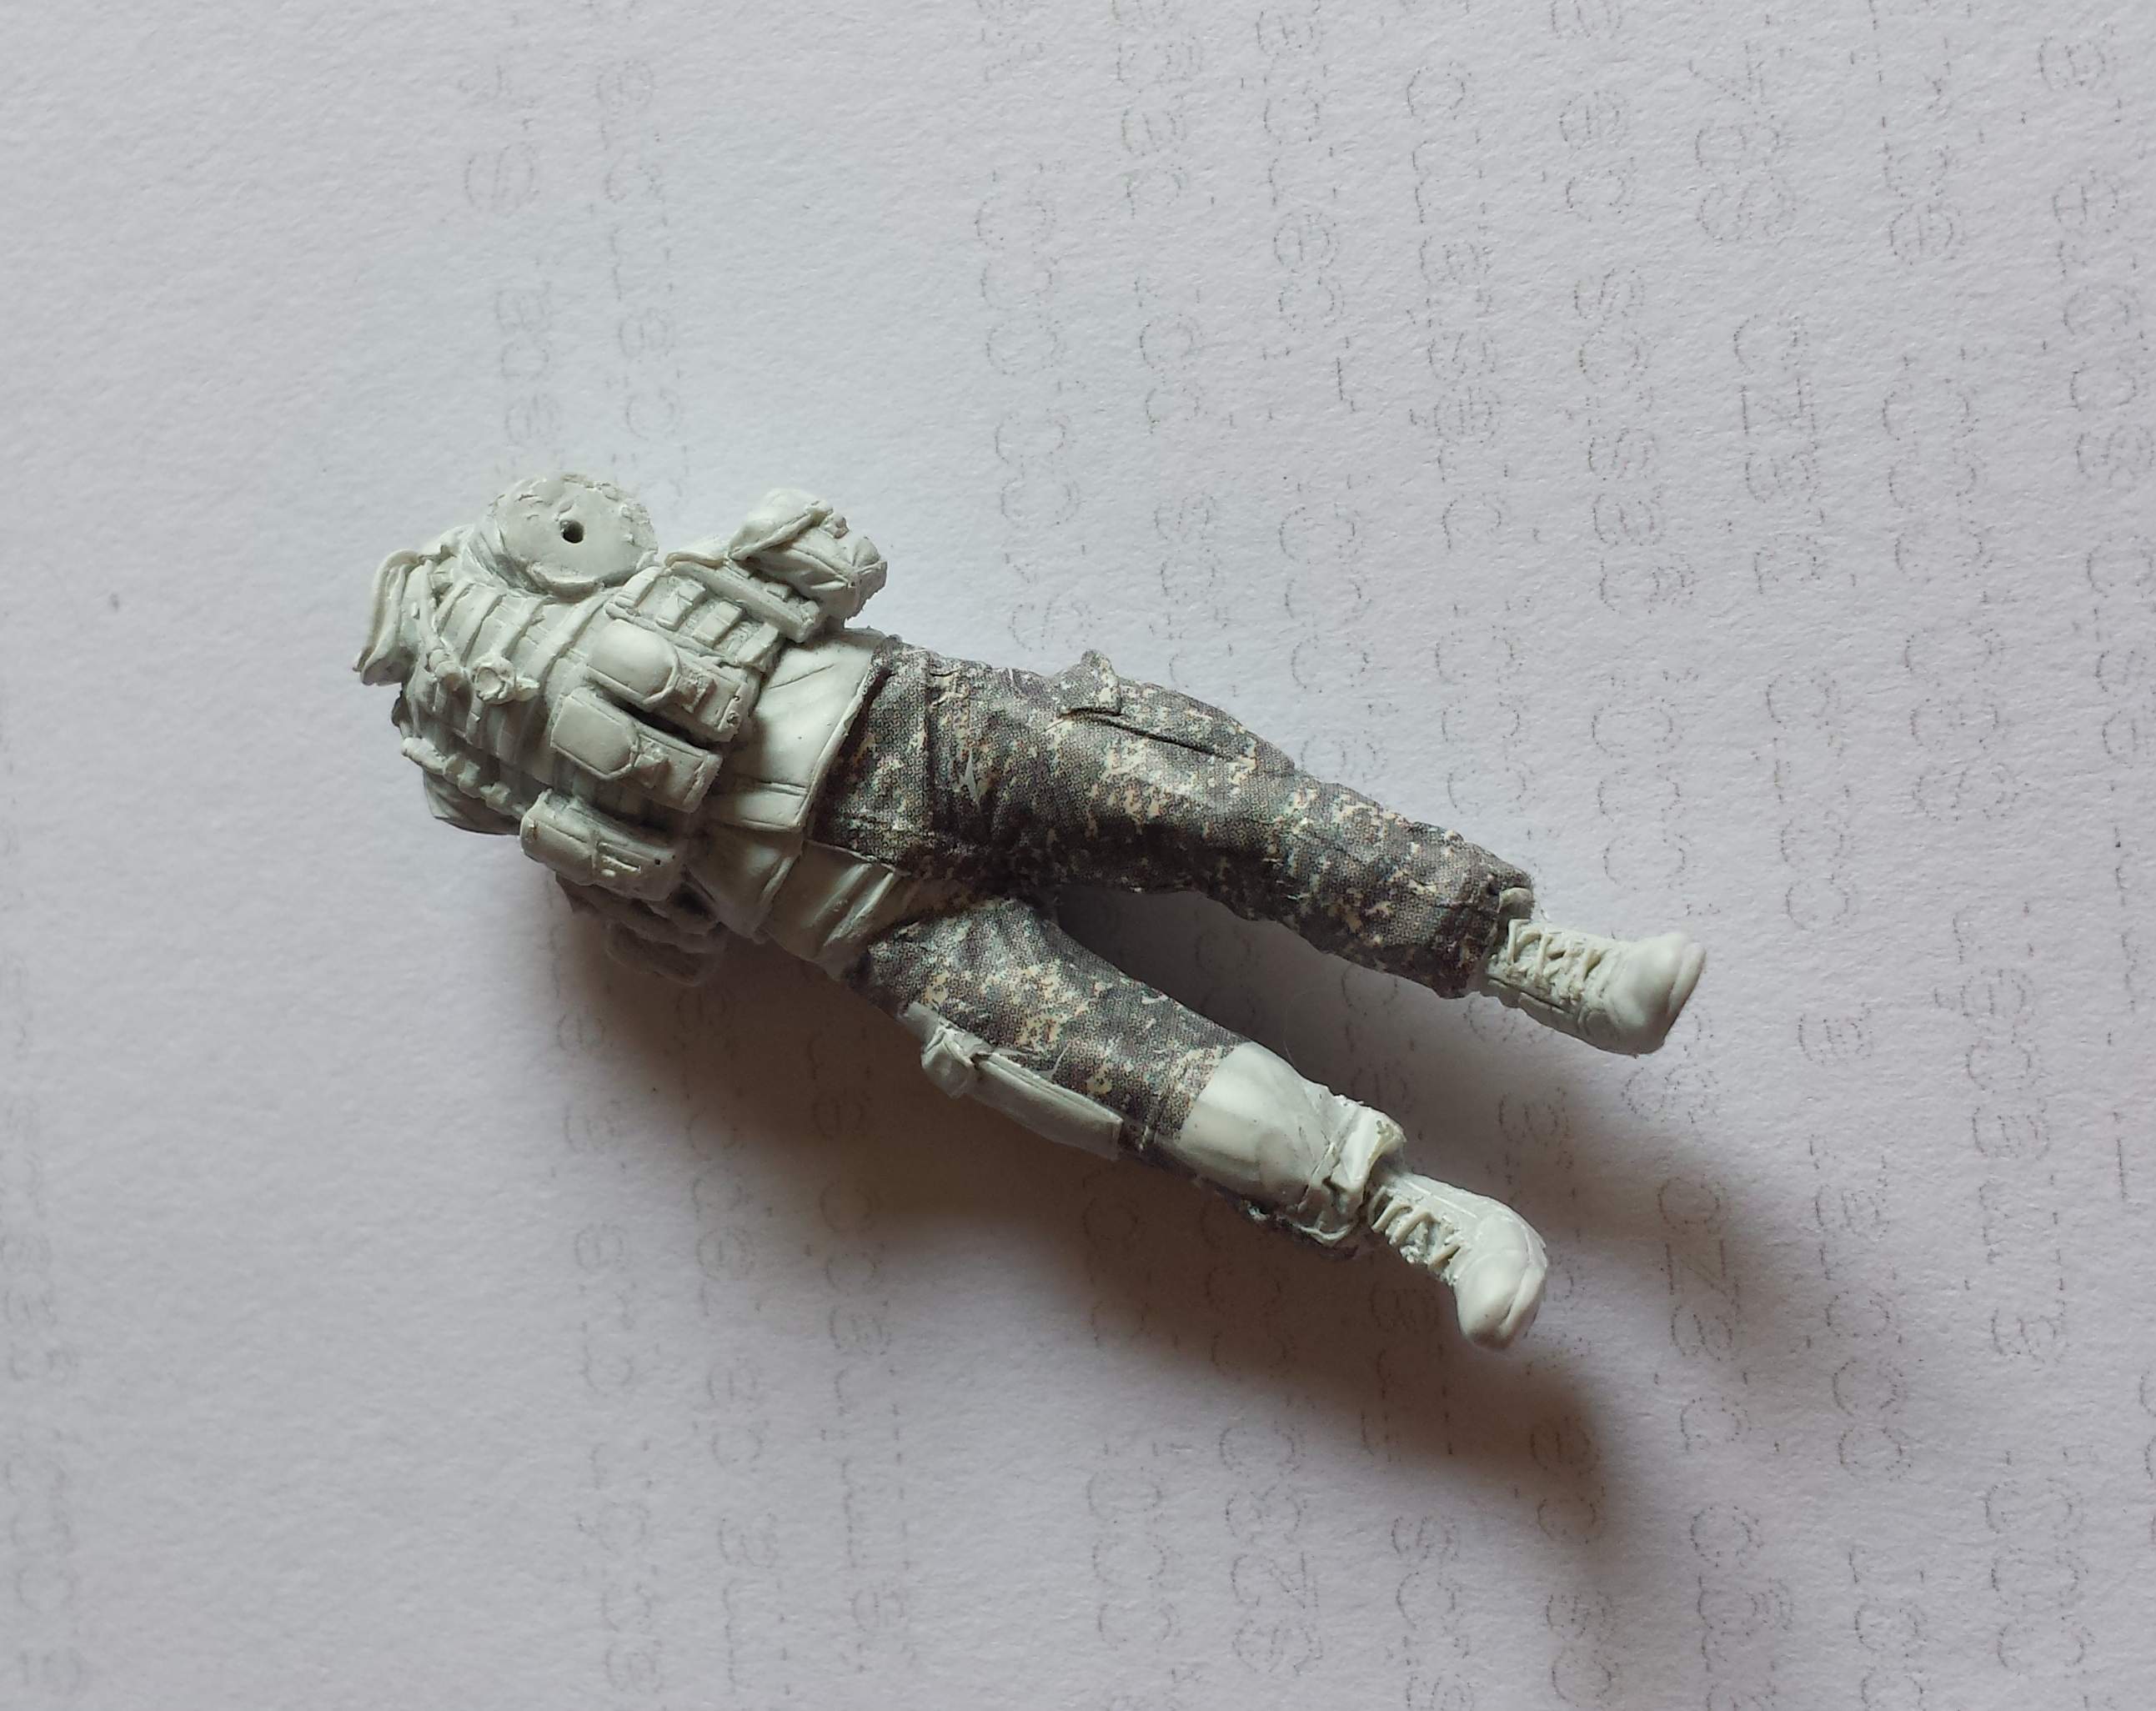
For the figures, I decided to go with the ACU pattern. I am going to try ( for the first time) Sinsengumi uniform decals. Let´s see how this goes.
Distrito Federal, Mexico
Joined: May 31, 2013
KitMaker: 1,457 posts
Armorama: 1,440 posts
Posted: Sunday, August 31, 2014 - 03:56 AM UTC
Distrito Federal, Mexico
Joined: May 31, 2013
KitMaker: 1,457 posts
Armorama: 1,440 posts
Posted: Sunday, August 31, 2014 - 04:00 AM UTC
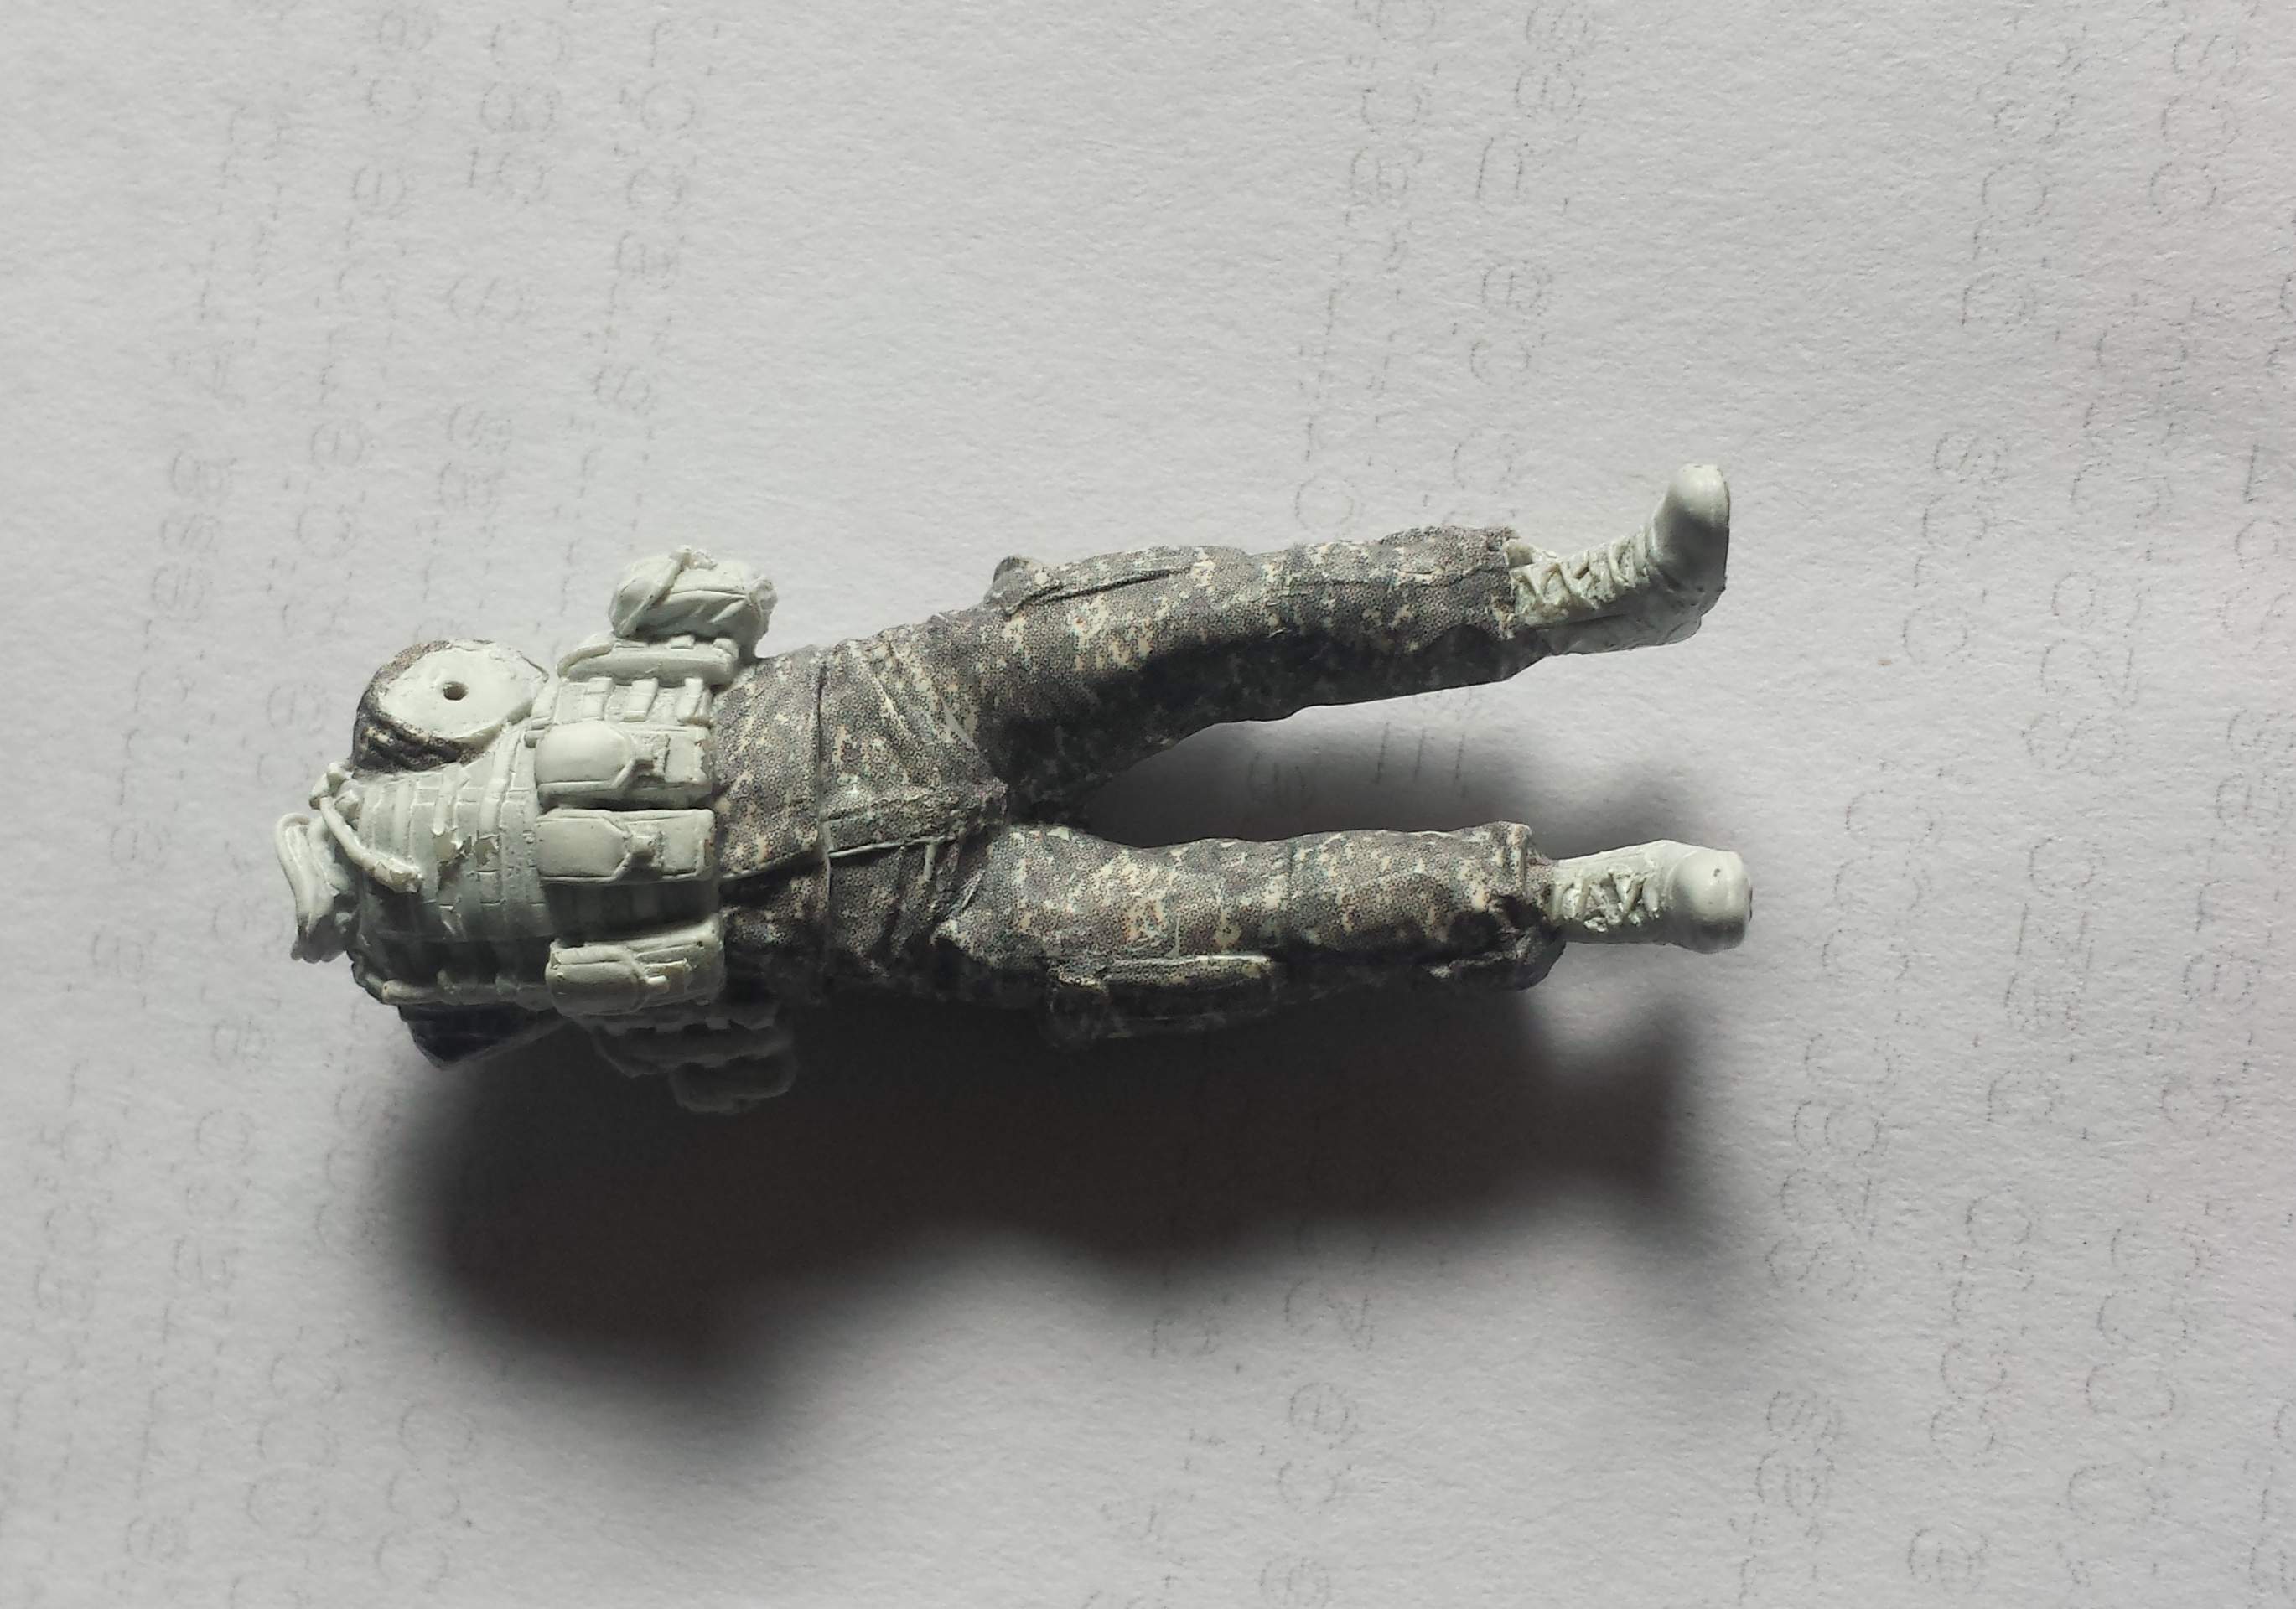
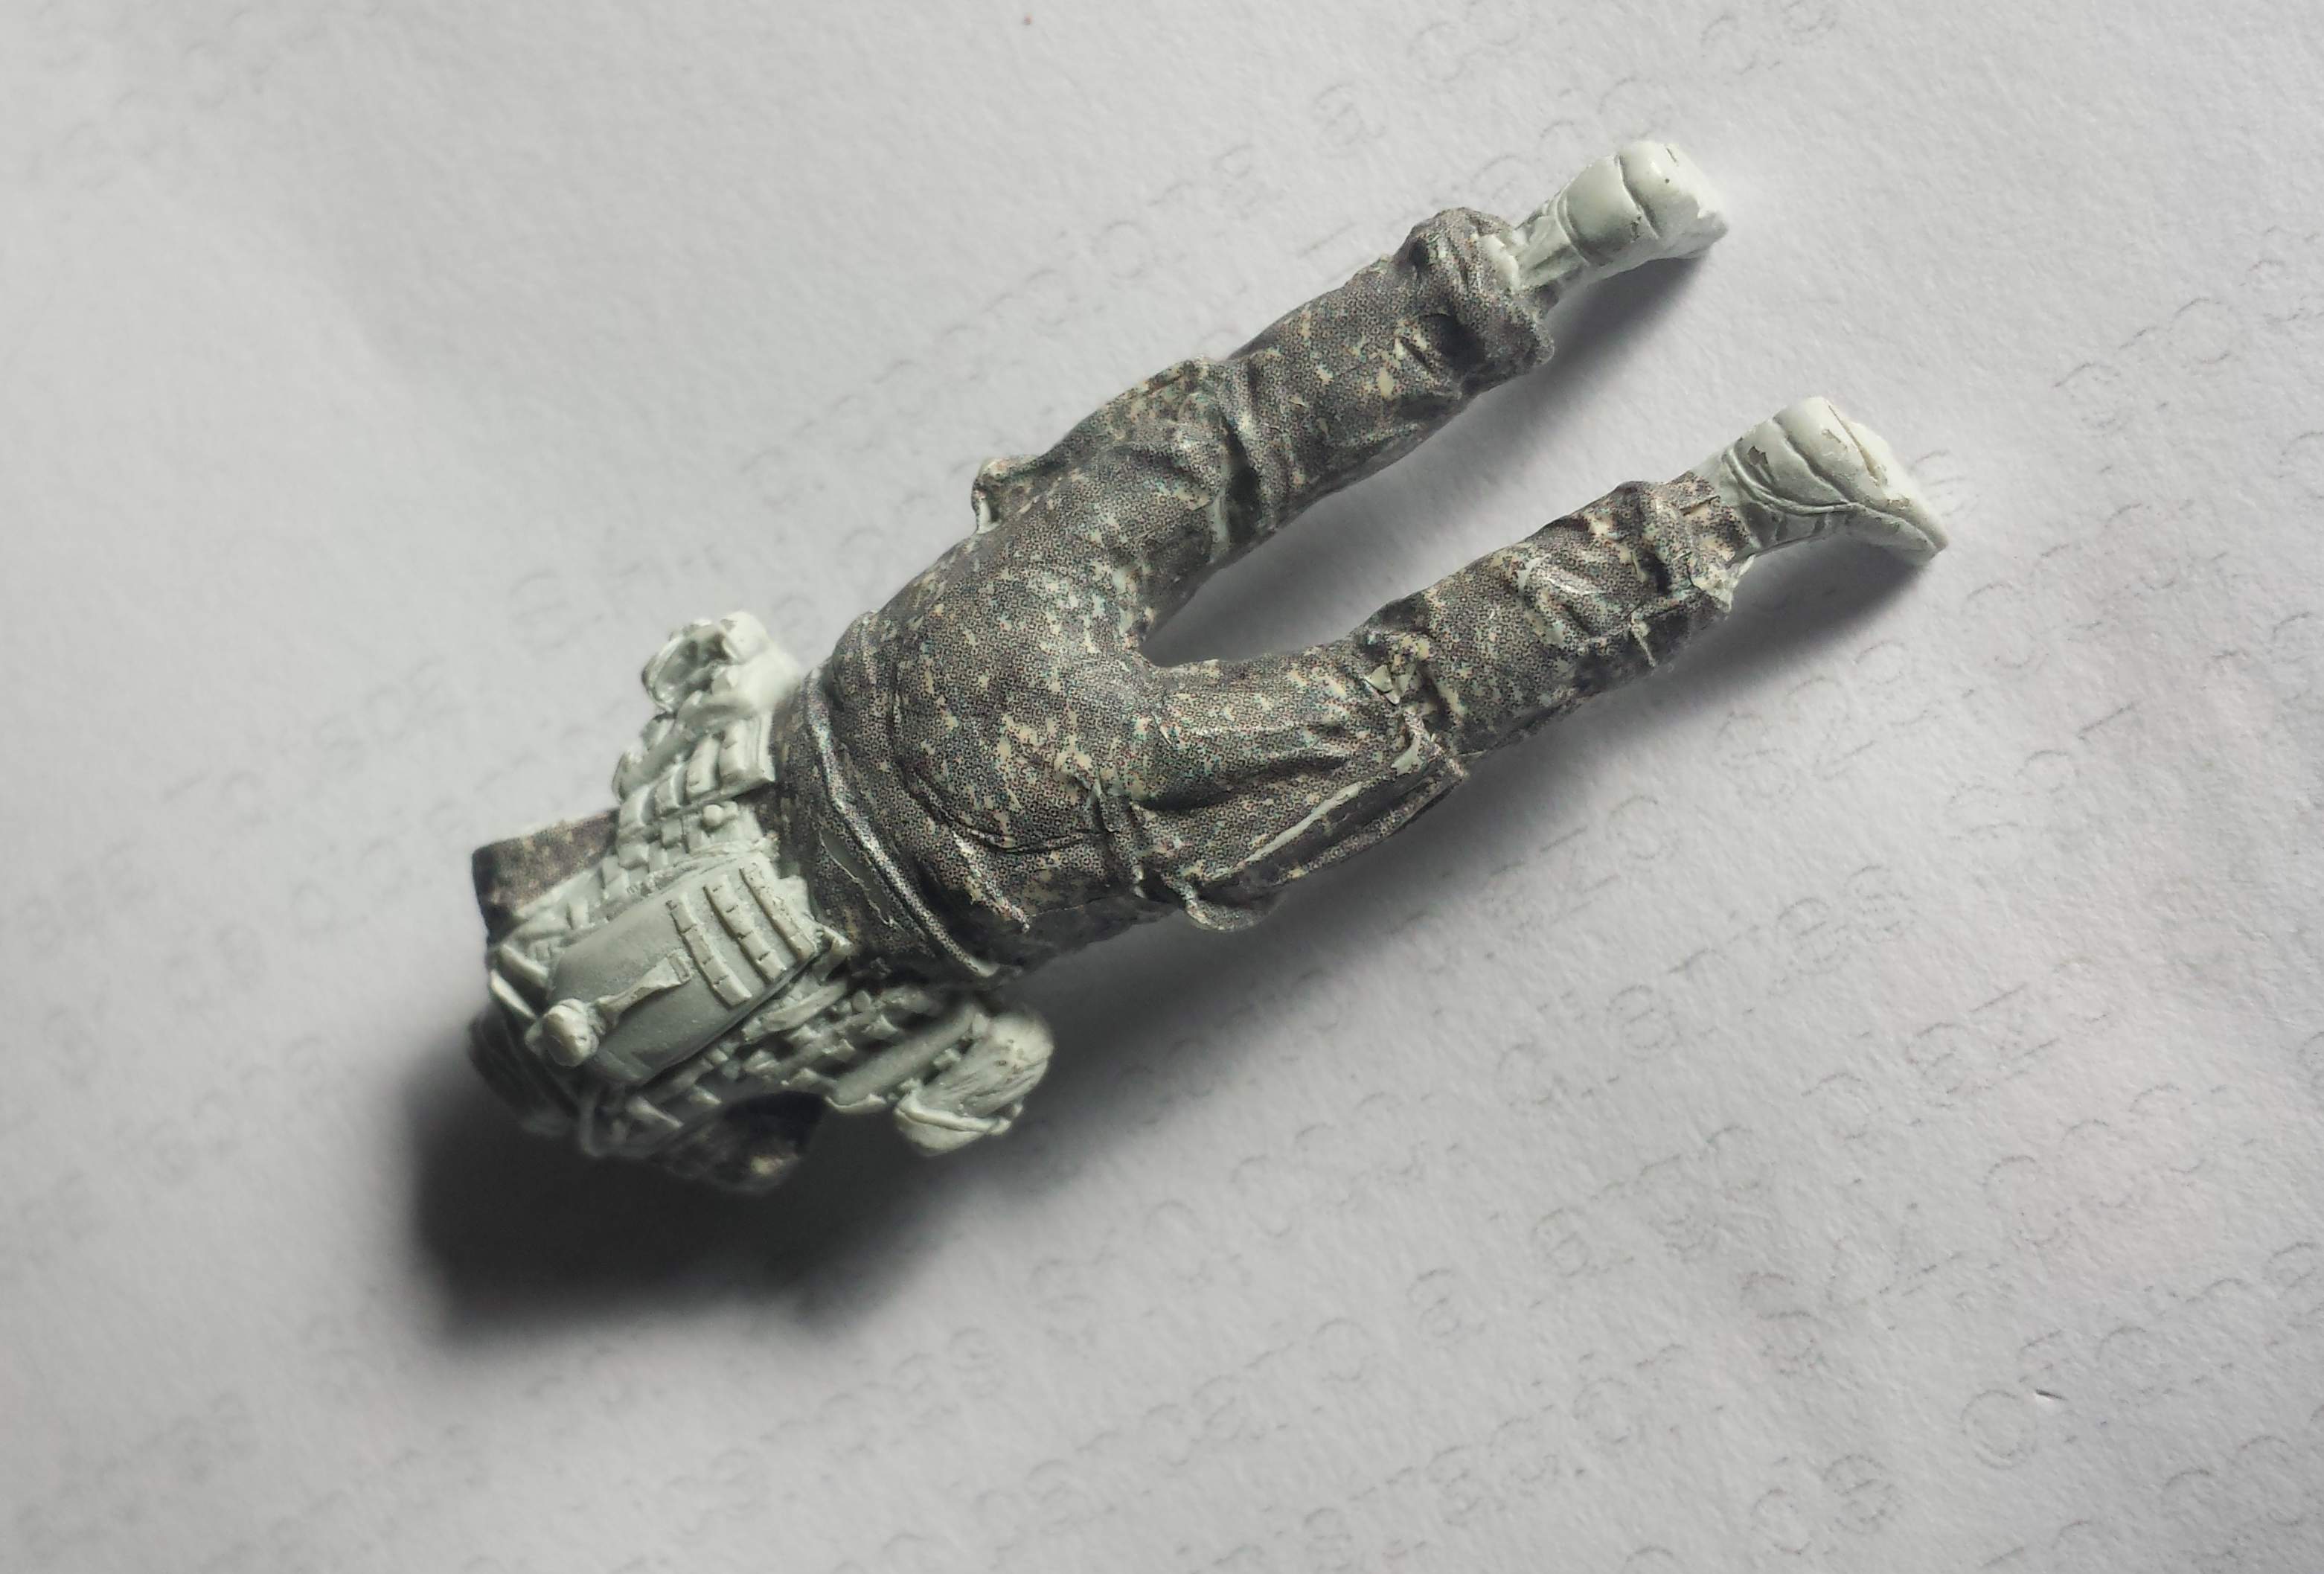
I was really pleasantly surprised at how simple and straight forward it is. And how much detail shows through the decal! Forgive me if I sound as an ad for Sinsengumi, but I am really surprised.
Distrito Federal, Mexico
Joined: May 31, 2013
KitMaker: 1,457 posts
Armorama: 1,440 posts
Posted: Sunday, August 31, 2014 - 04:02 AM UTC
My only complaint is that if you look very closely, you can get to see the printing dot pattern. But it si not so bad.
Kildare, Ireland
Joined: November 21, 2007
KitMaker: 3,212 posts
Armorama: 2,807 posts
Posted: Monday, September 01, 2014 - 07:47 PM UTC
You got that figure looking great. I tried thes decals before and found they cracked very easily. Did you use any decal fix liquid? IF so, which one? And did you go heavy or light with it?
The Humvee itself is looking great
Distrito Federal, Mexico
Joined: May 31, 2013
KitMaker: 1,457 posts
Armorama: 1,440 posts
Posted: Tuesday, September 02, 2014 - 04:05 AM UTC
I used small pieces of decal at a time and a lot of Micro Sol. Don't try to force the decal into place. Let the Micro sol soften it several minutes. It should get the consistency of rubber and with a Q-tip push it into place. Once you have absorbed pretty much most of the liquid with the Q-tip start using your finger (my thumb works best) to force the decal to mold to details. Again, do it one small part at a time, otherwise you run the risk of having the decal stick to your finger. Once I am done with the figure I give it a coat of Vallejo´s Decal Fix.


