Distrito Federal, Mexico
Joined: May 31, 2013
KitMaker: 1,457 posts
Armorama: 1,440 posts
Posted: Tuesday, September 02, 2014 - 04:25 AM UTC
Distrito Federal, Mexico
Joined: May 31, 2013
KitMaker: 1,457 posts
Armorama: 1,440 posts
Posted: Tuesday, September 02, 2014 - 04:28 AM UTC
Someone suggested that I move the figure painting to the figures forum. I will do that, and when I am done come back and show the finished vehicle with the figures together.
Distrito Federal, Mexico
Joined: May 31, 2013
KitMaker: 1,457 posts
Armorama: 1,440 posts
Posted: Thursday, September 04, 2014 - 06:36 AM UTC
Link to build blog for figures in figure forum:
http://armorama.kitmaker.net/forums/225825#1903009Will come back to show finished model.
Distrito Federal, Mexico
Joined: May 31, 2013
KitMaker: 1,457 posts
Armorama: 1,440 posts
Posted: Wednesday, September 10, 2014 - 03:56 AM UTC
Distrito Federal, Mexico
Joined: May 31, 2013
KitMaker: 1,457 posts
Armorama: 1,440 posts
Posted: Wednesday, September 10, 2014 - 03:58 AM UTC
Distrito Federal, Mexico
Joined: May 31, 2013
KitMaker: 1,457 posts
Armorama: 1,440 posts
Posted: Wednesday, September 10, 2014 - 03:59 AM UTC
Distrito Federal, Mexico
Joined: May 31, 2013
KitMaker: 1,457 posts
Armorama: 1,440 posts
Posted: Wednesday, September 10, 2014 - 05:53 AM UTC
I think I am going to go with a diorama with this vehicle. Any ideas?
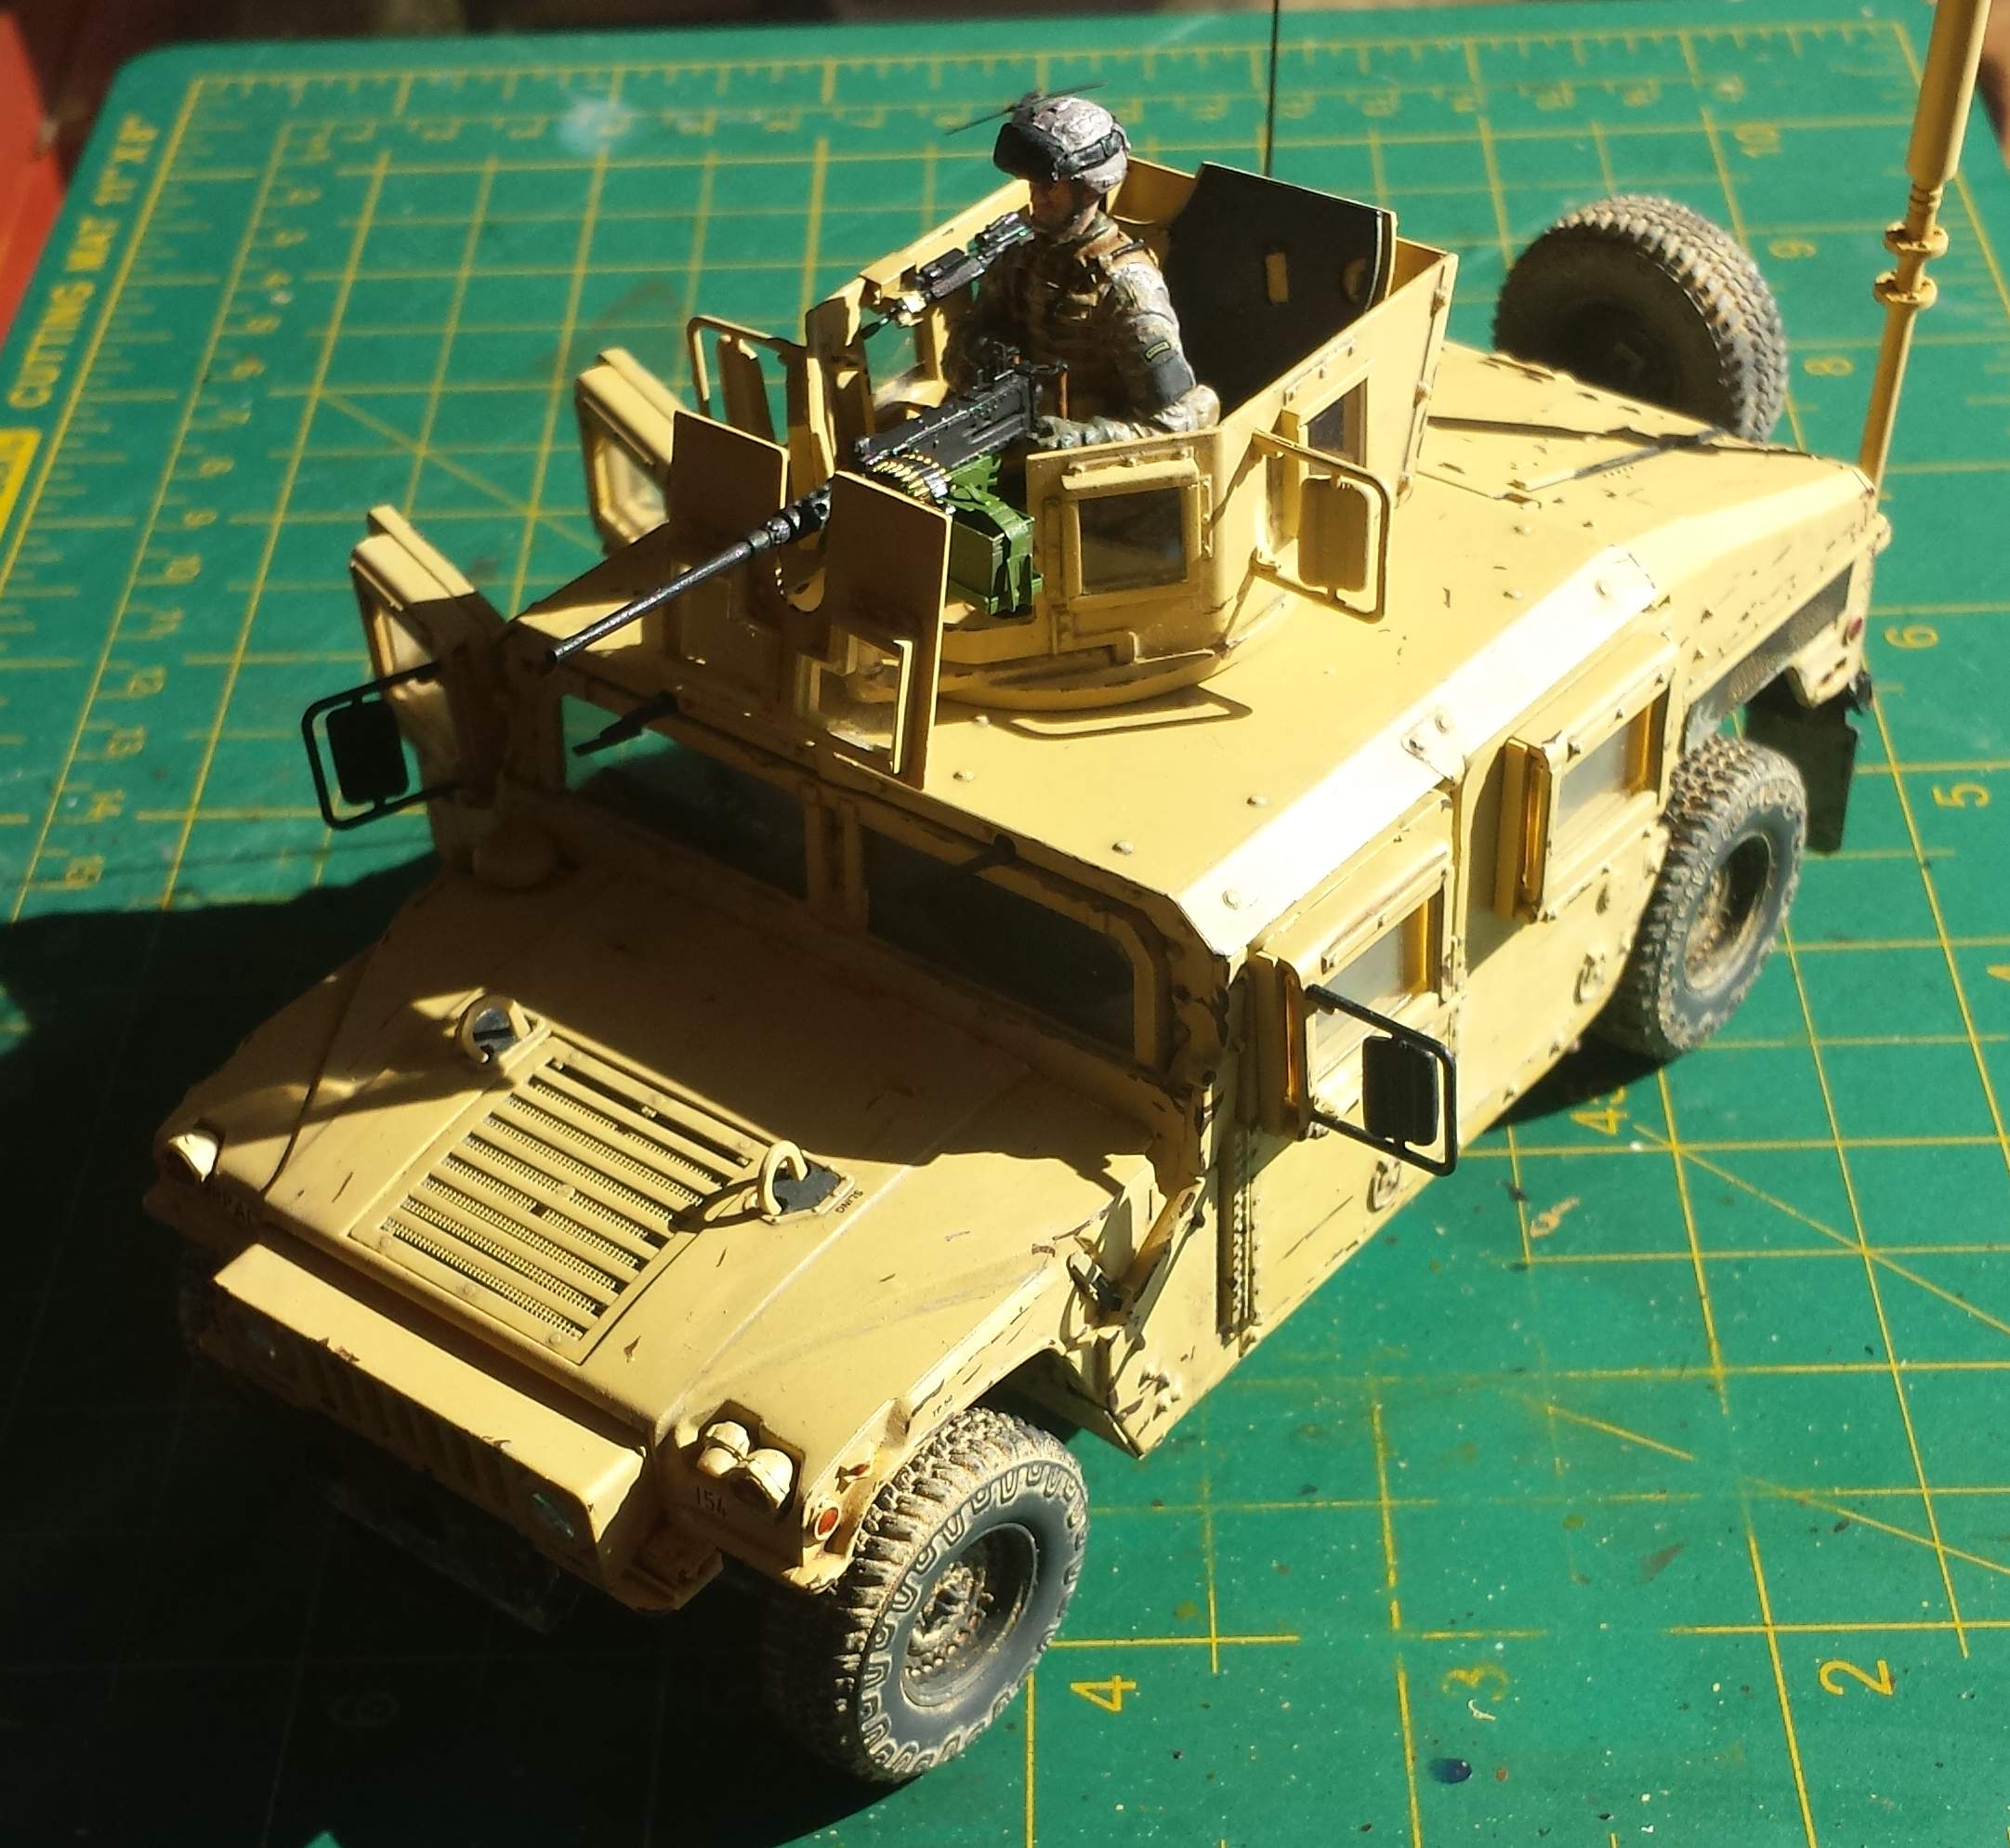
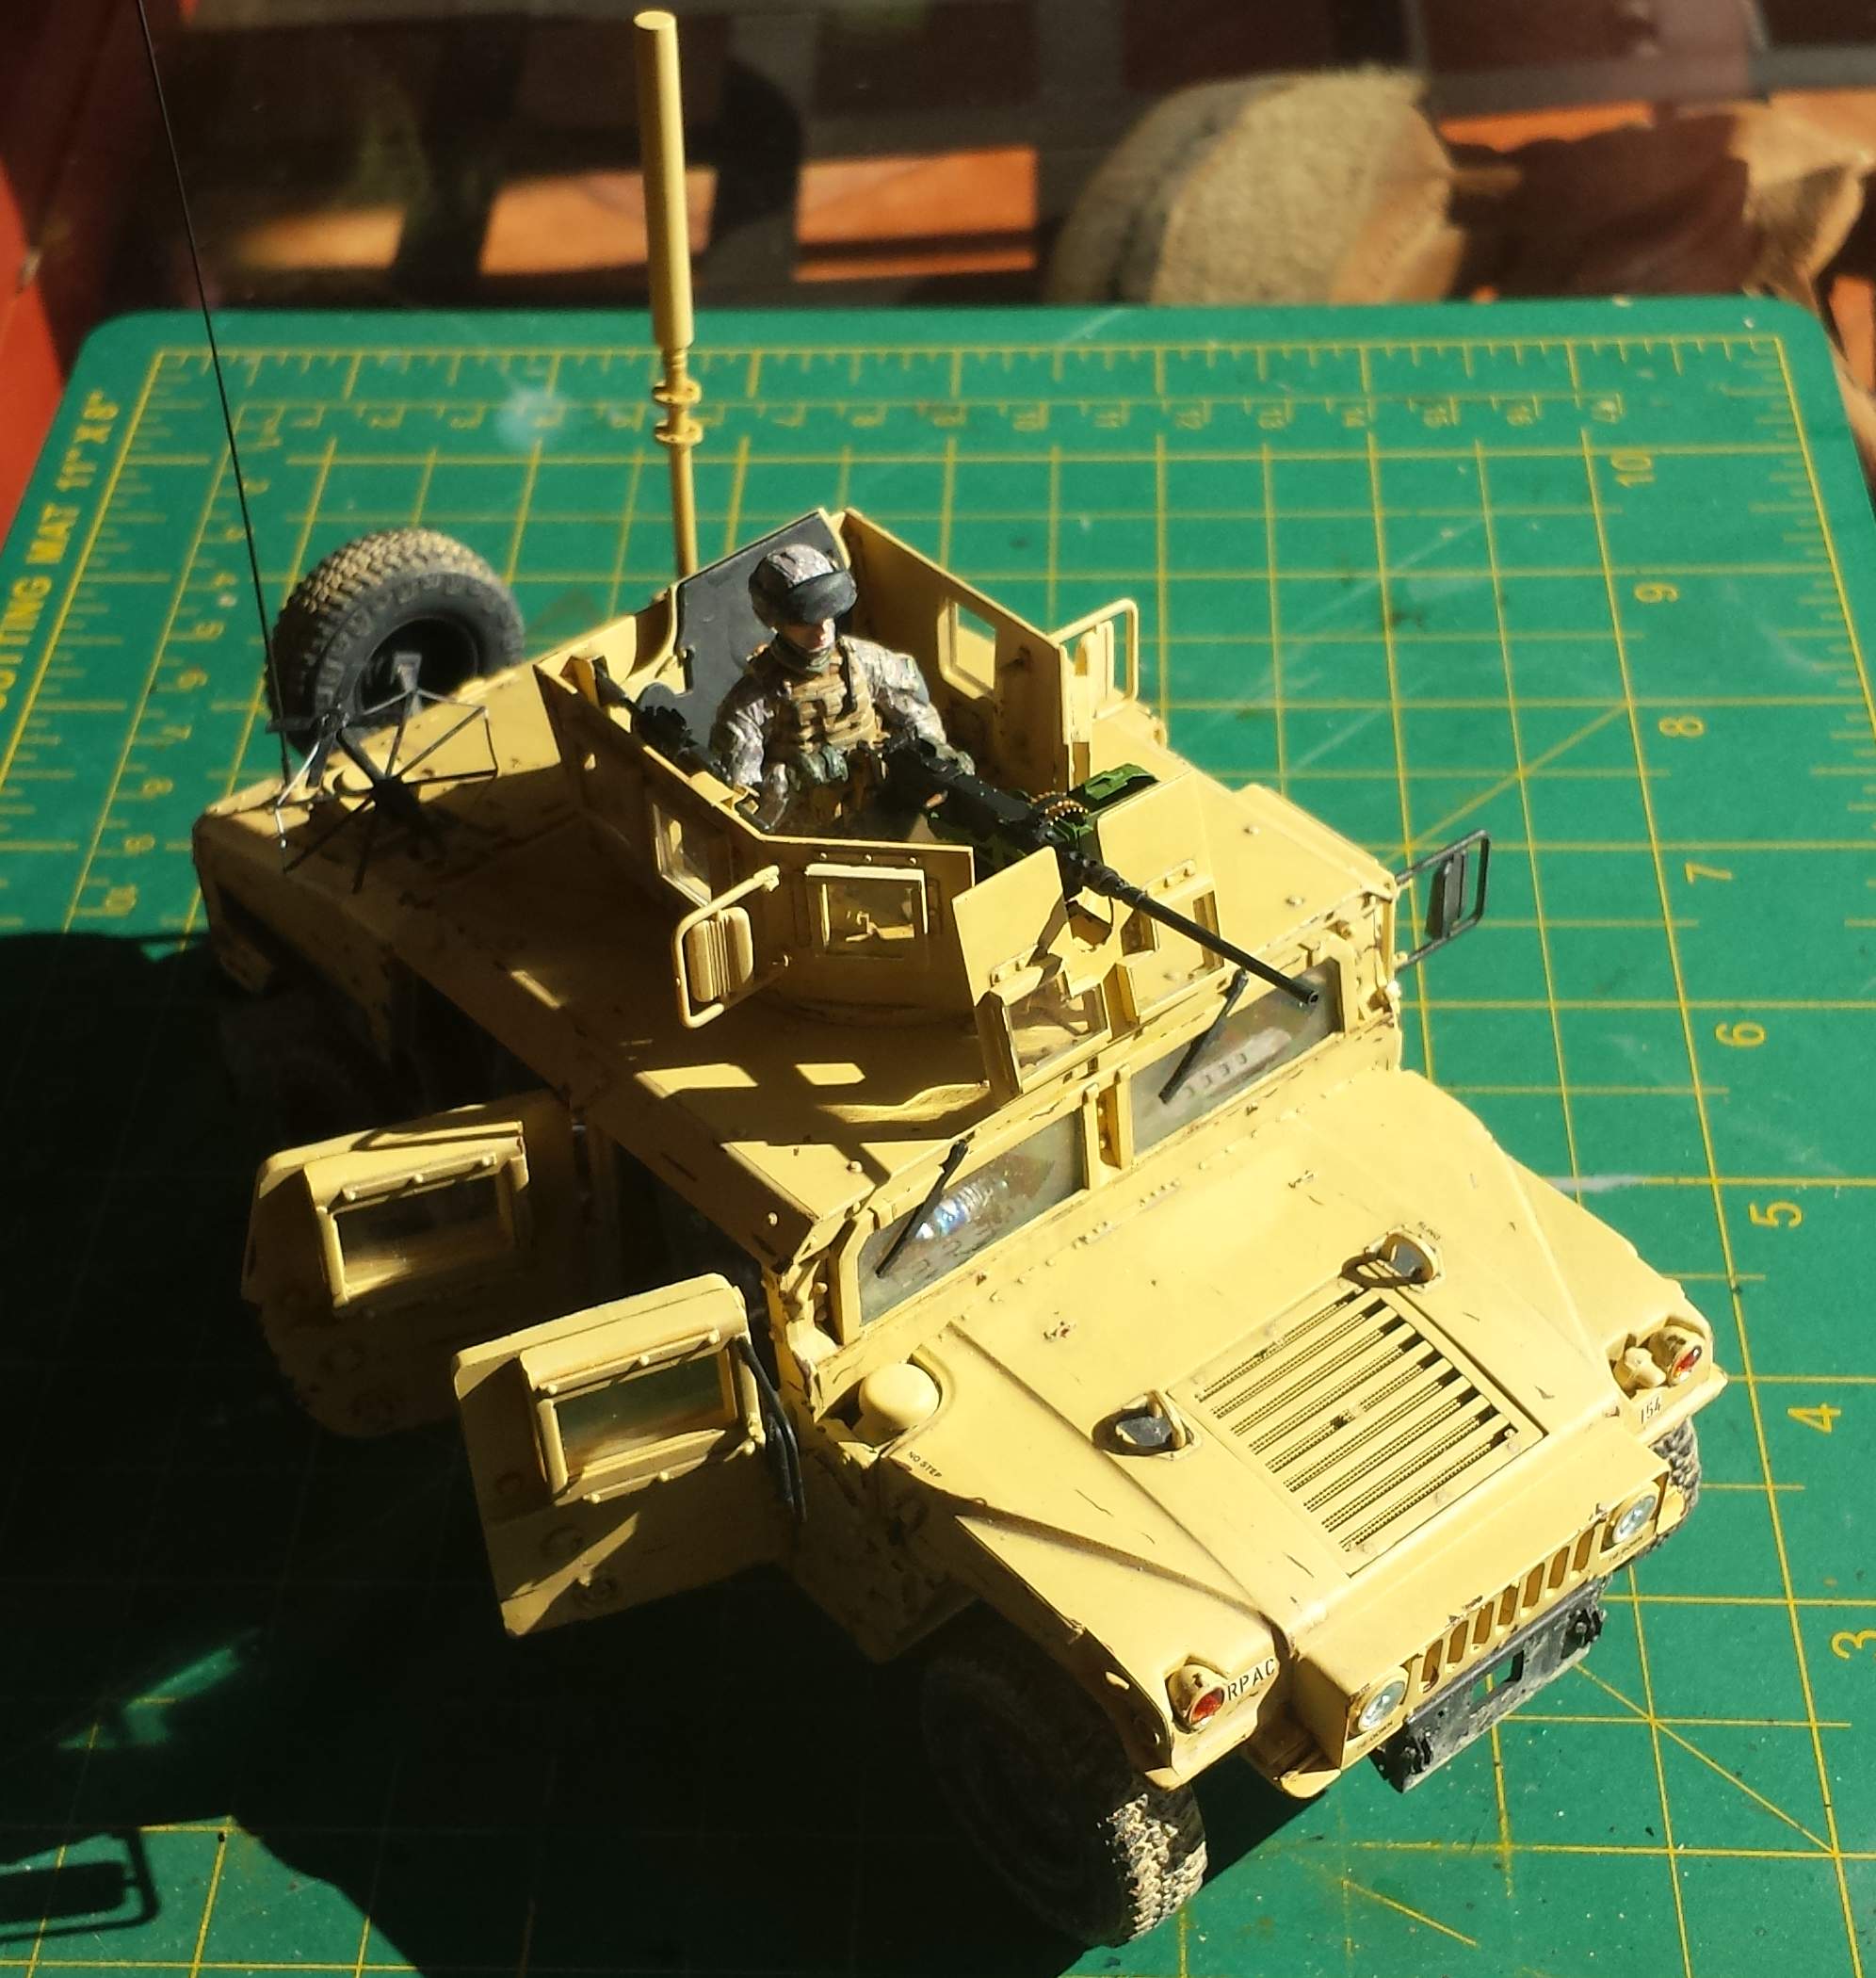
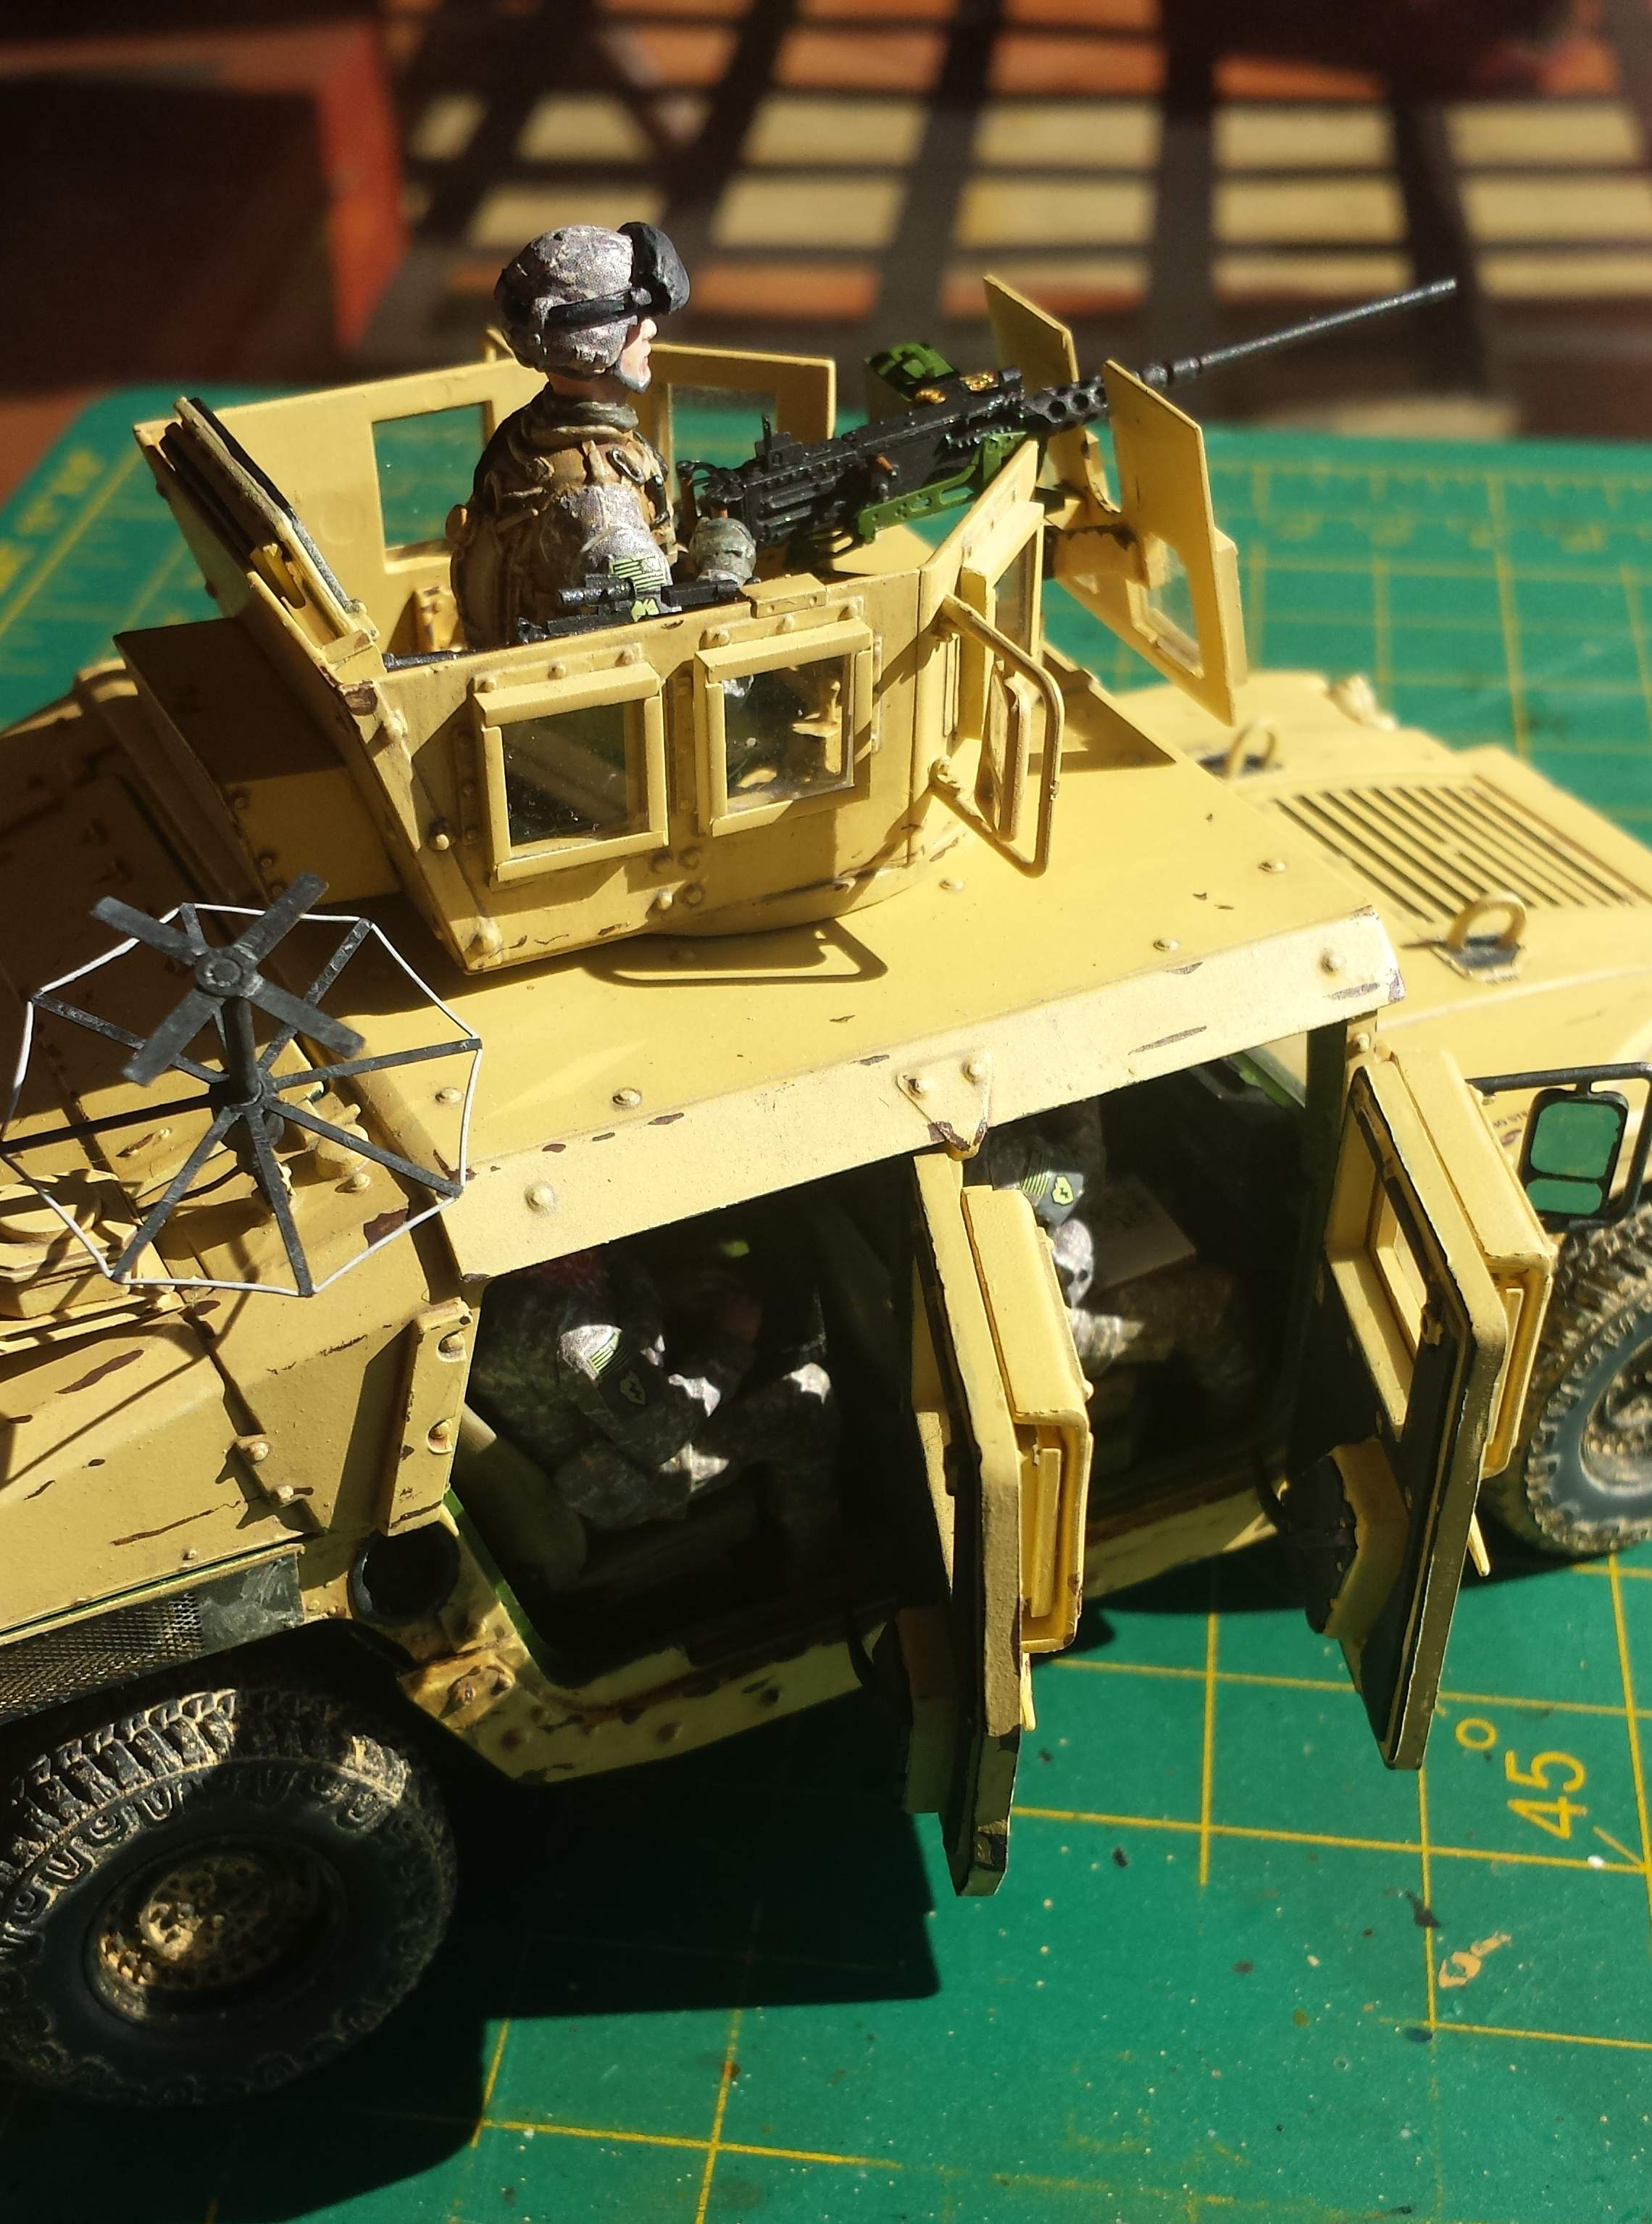
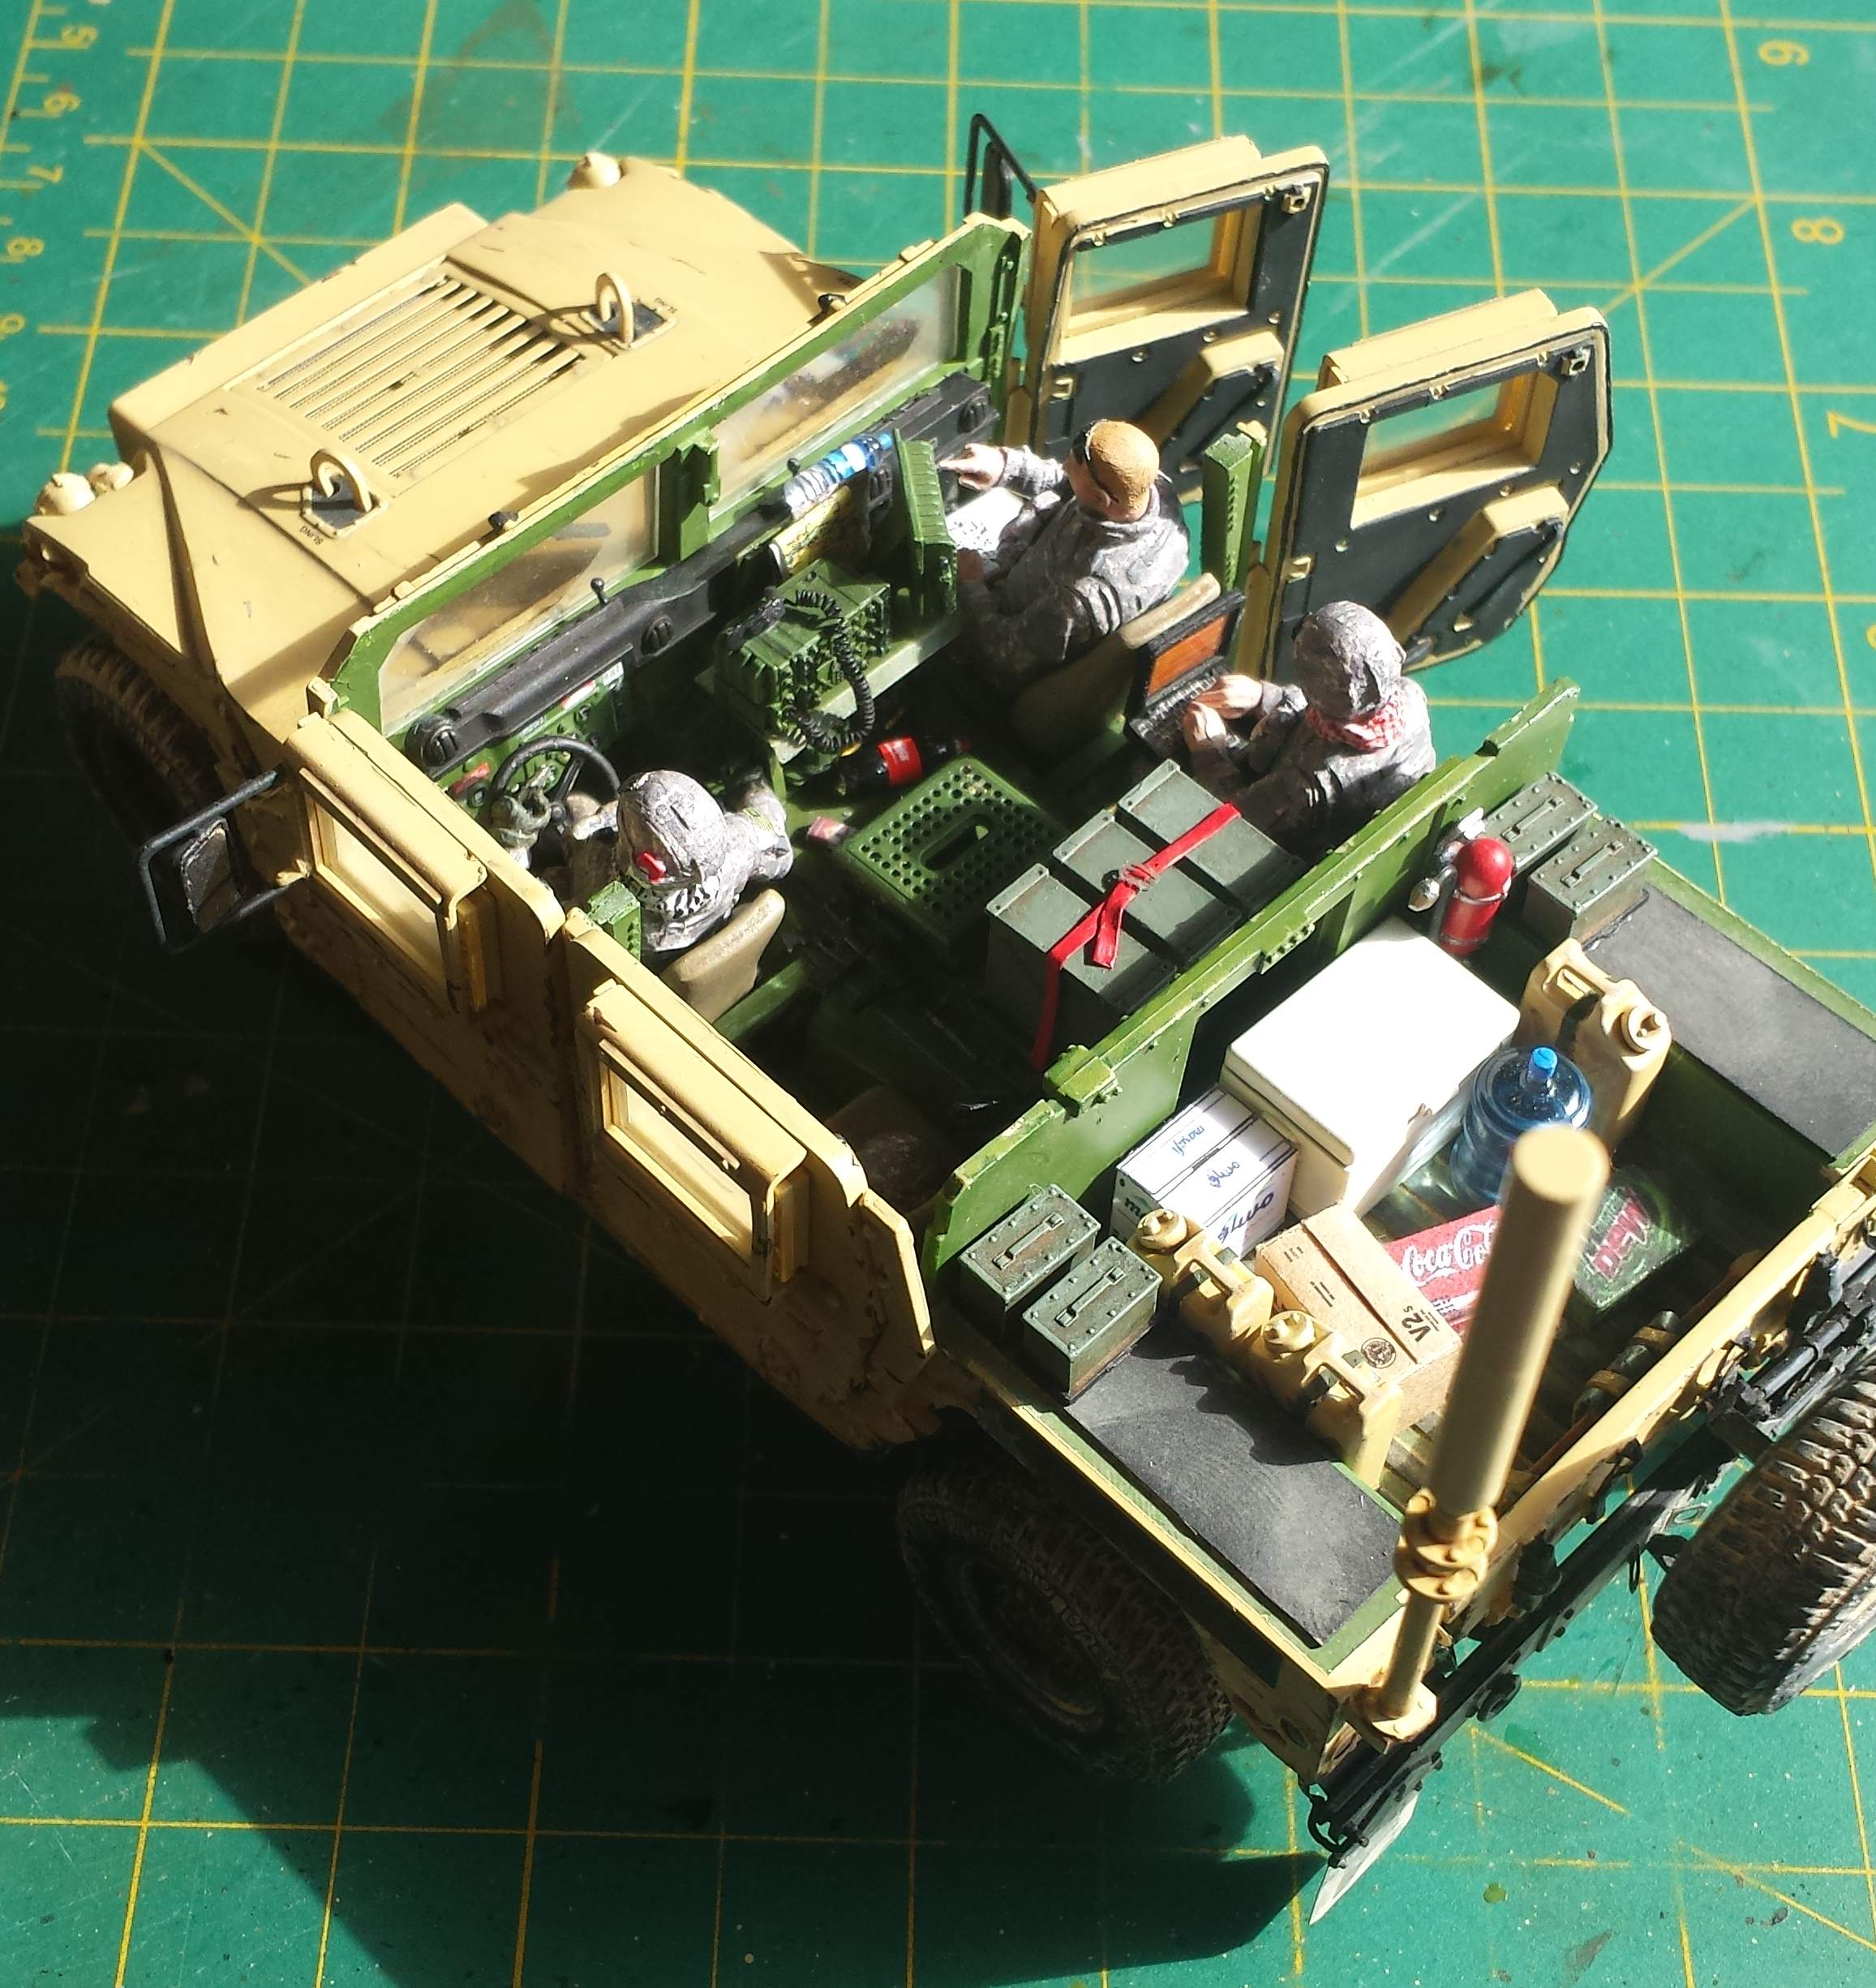
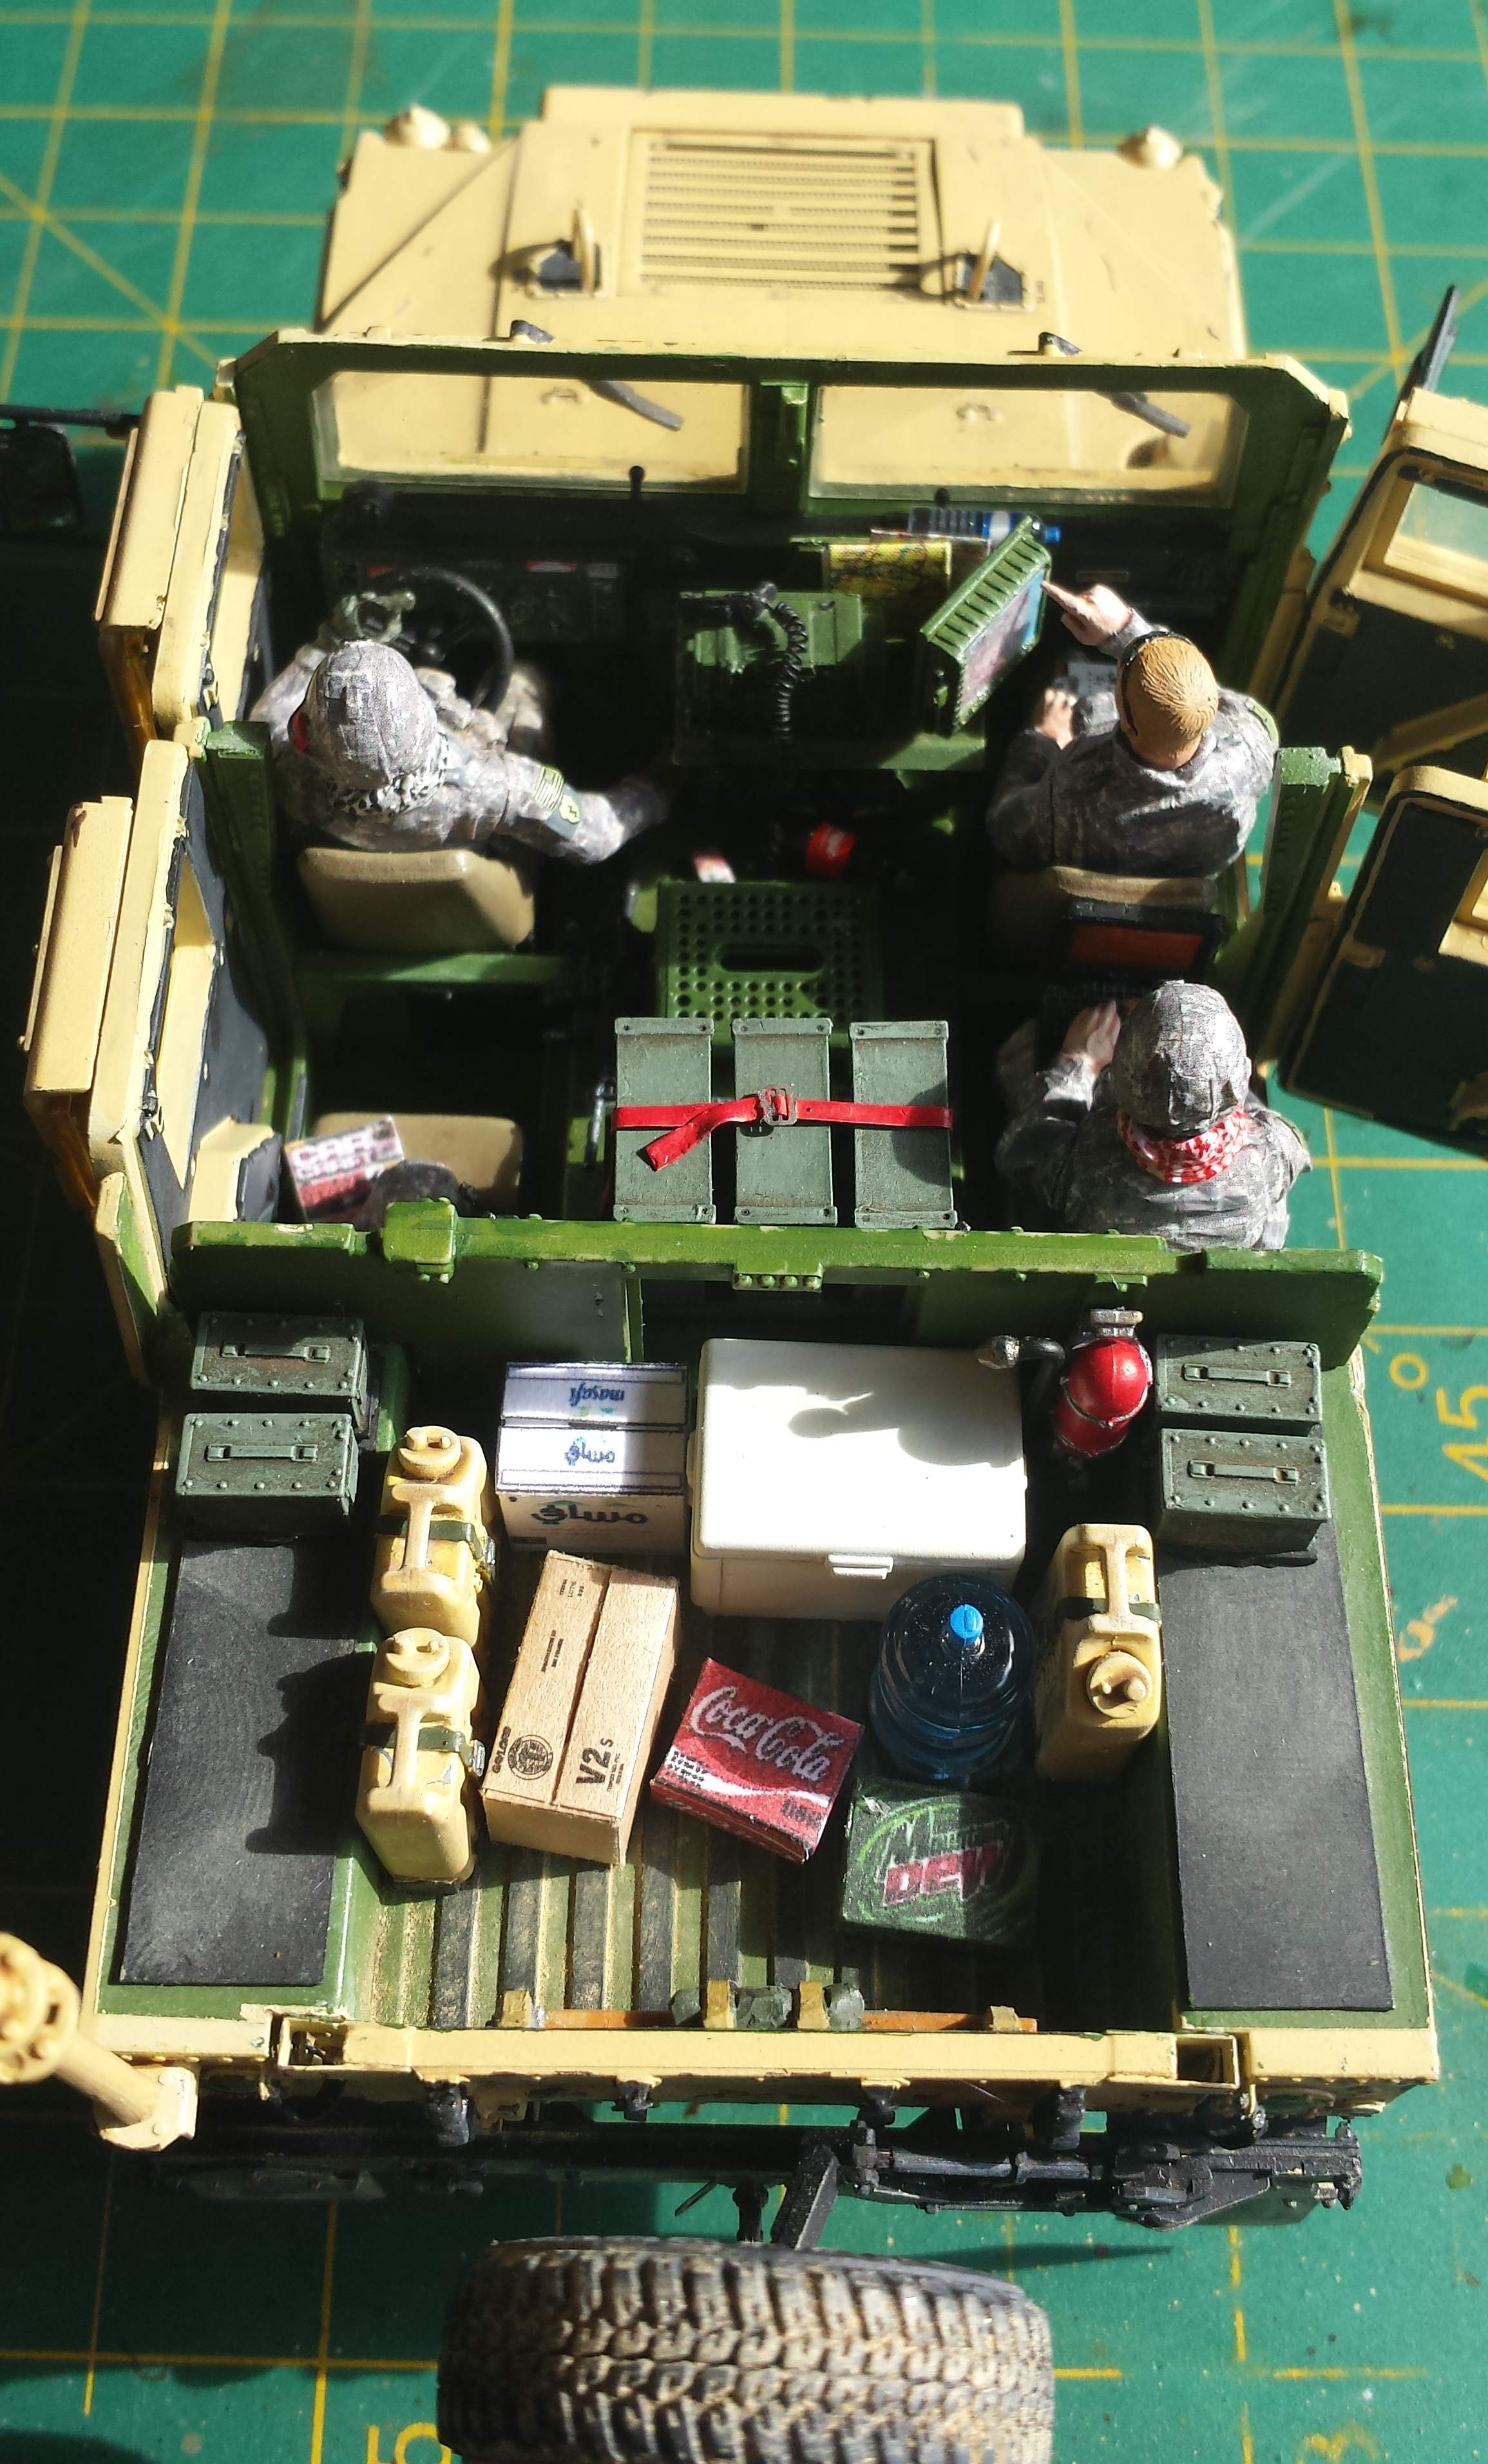
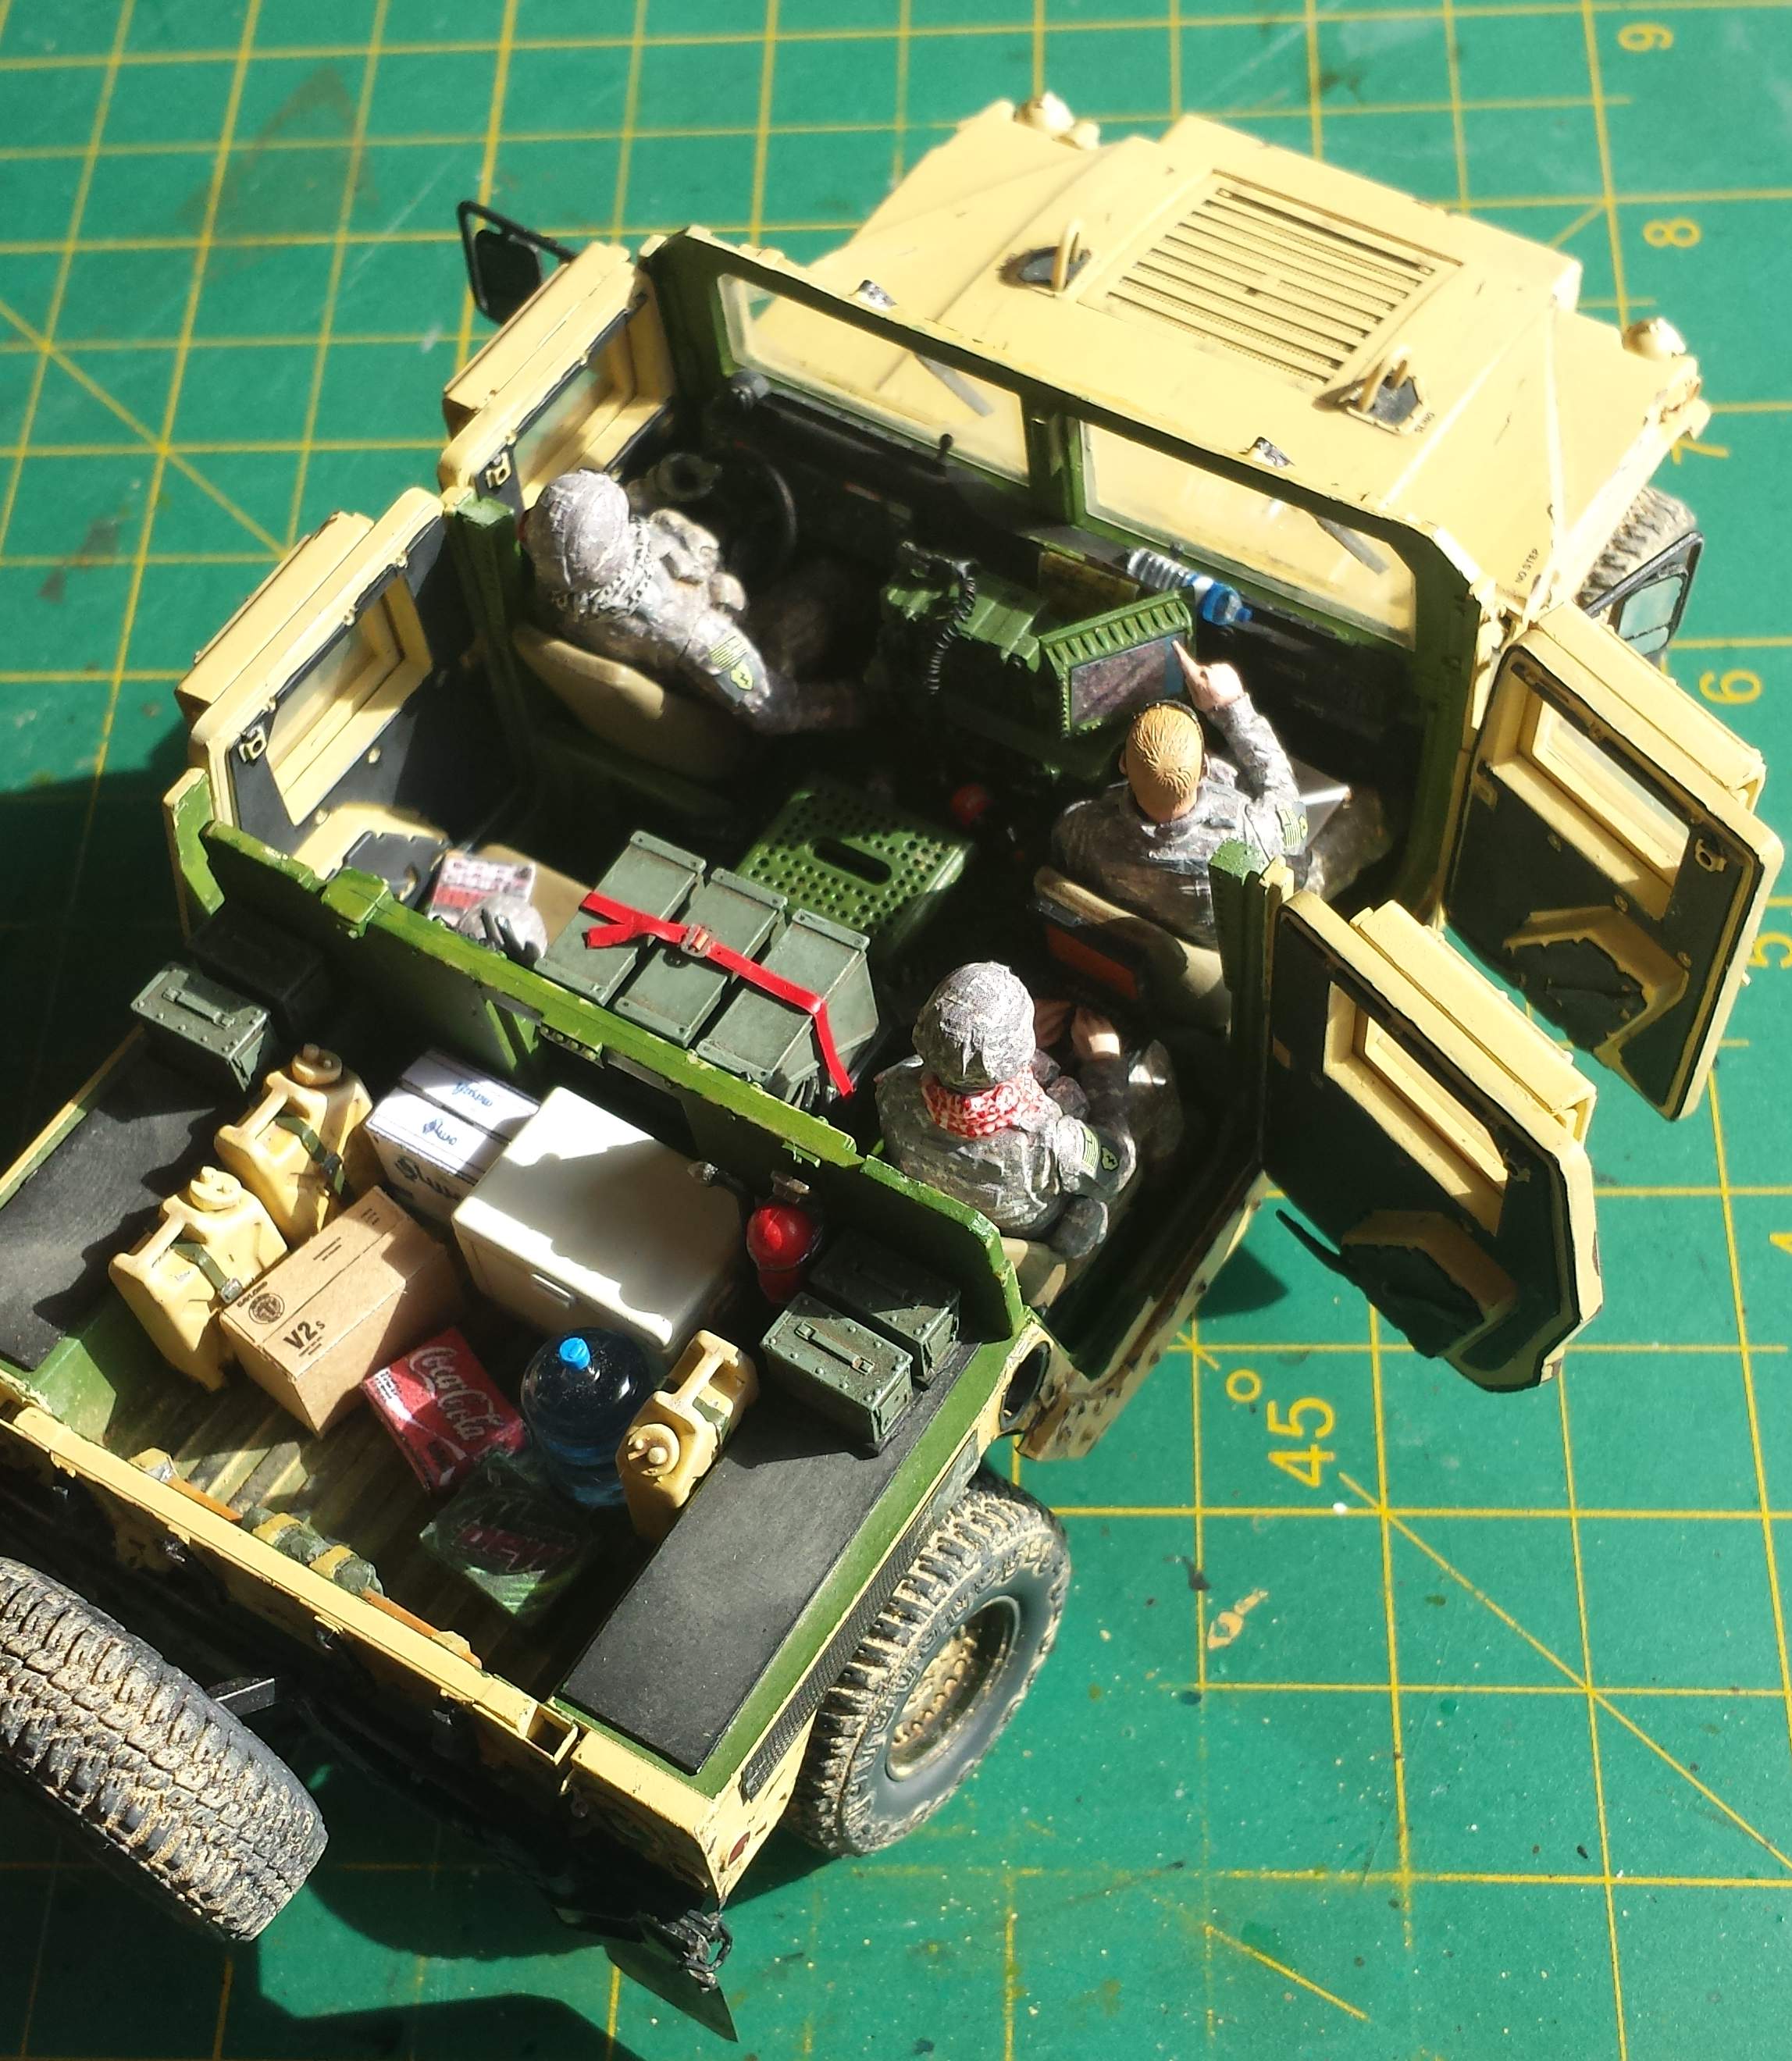
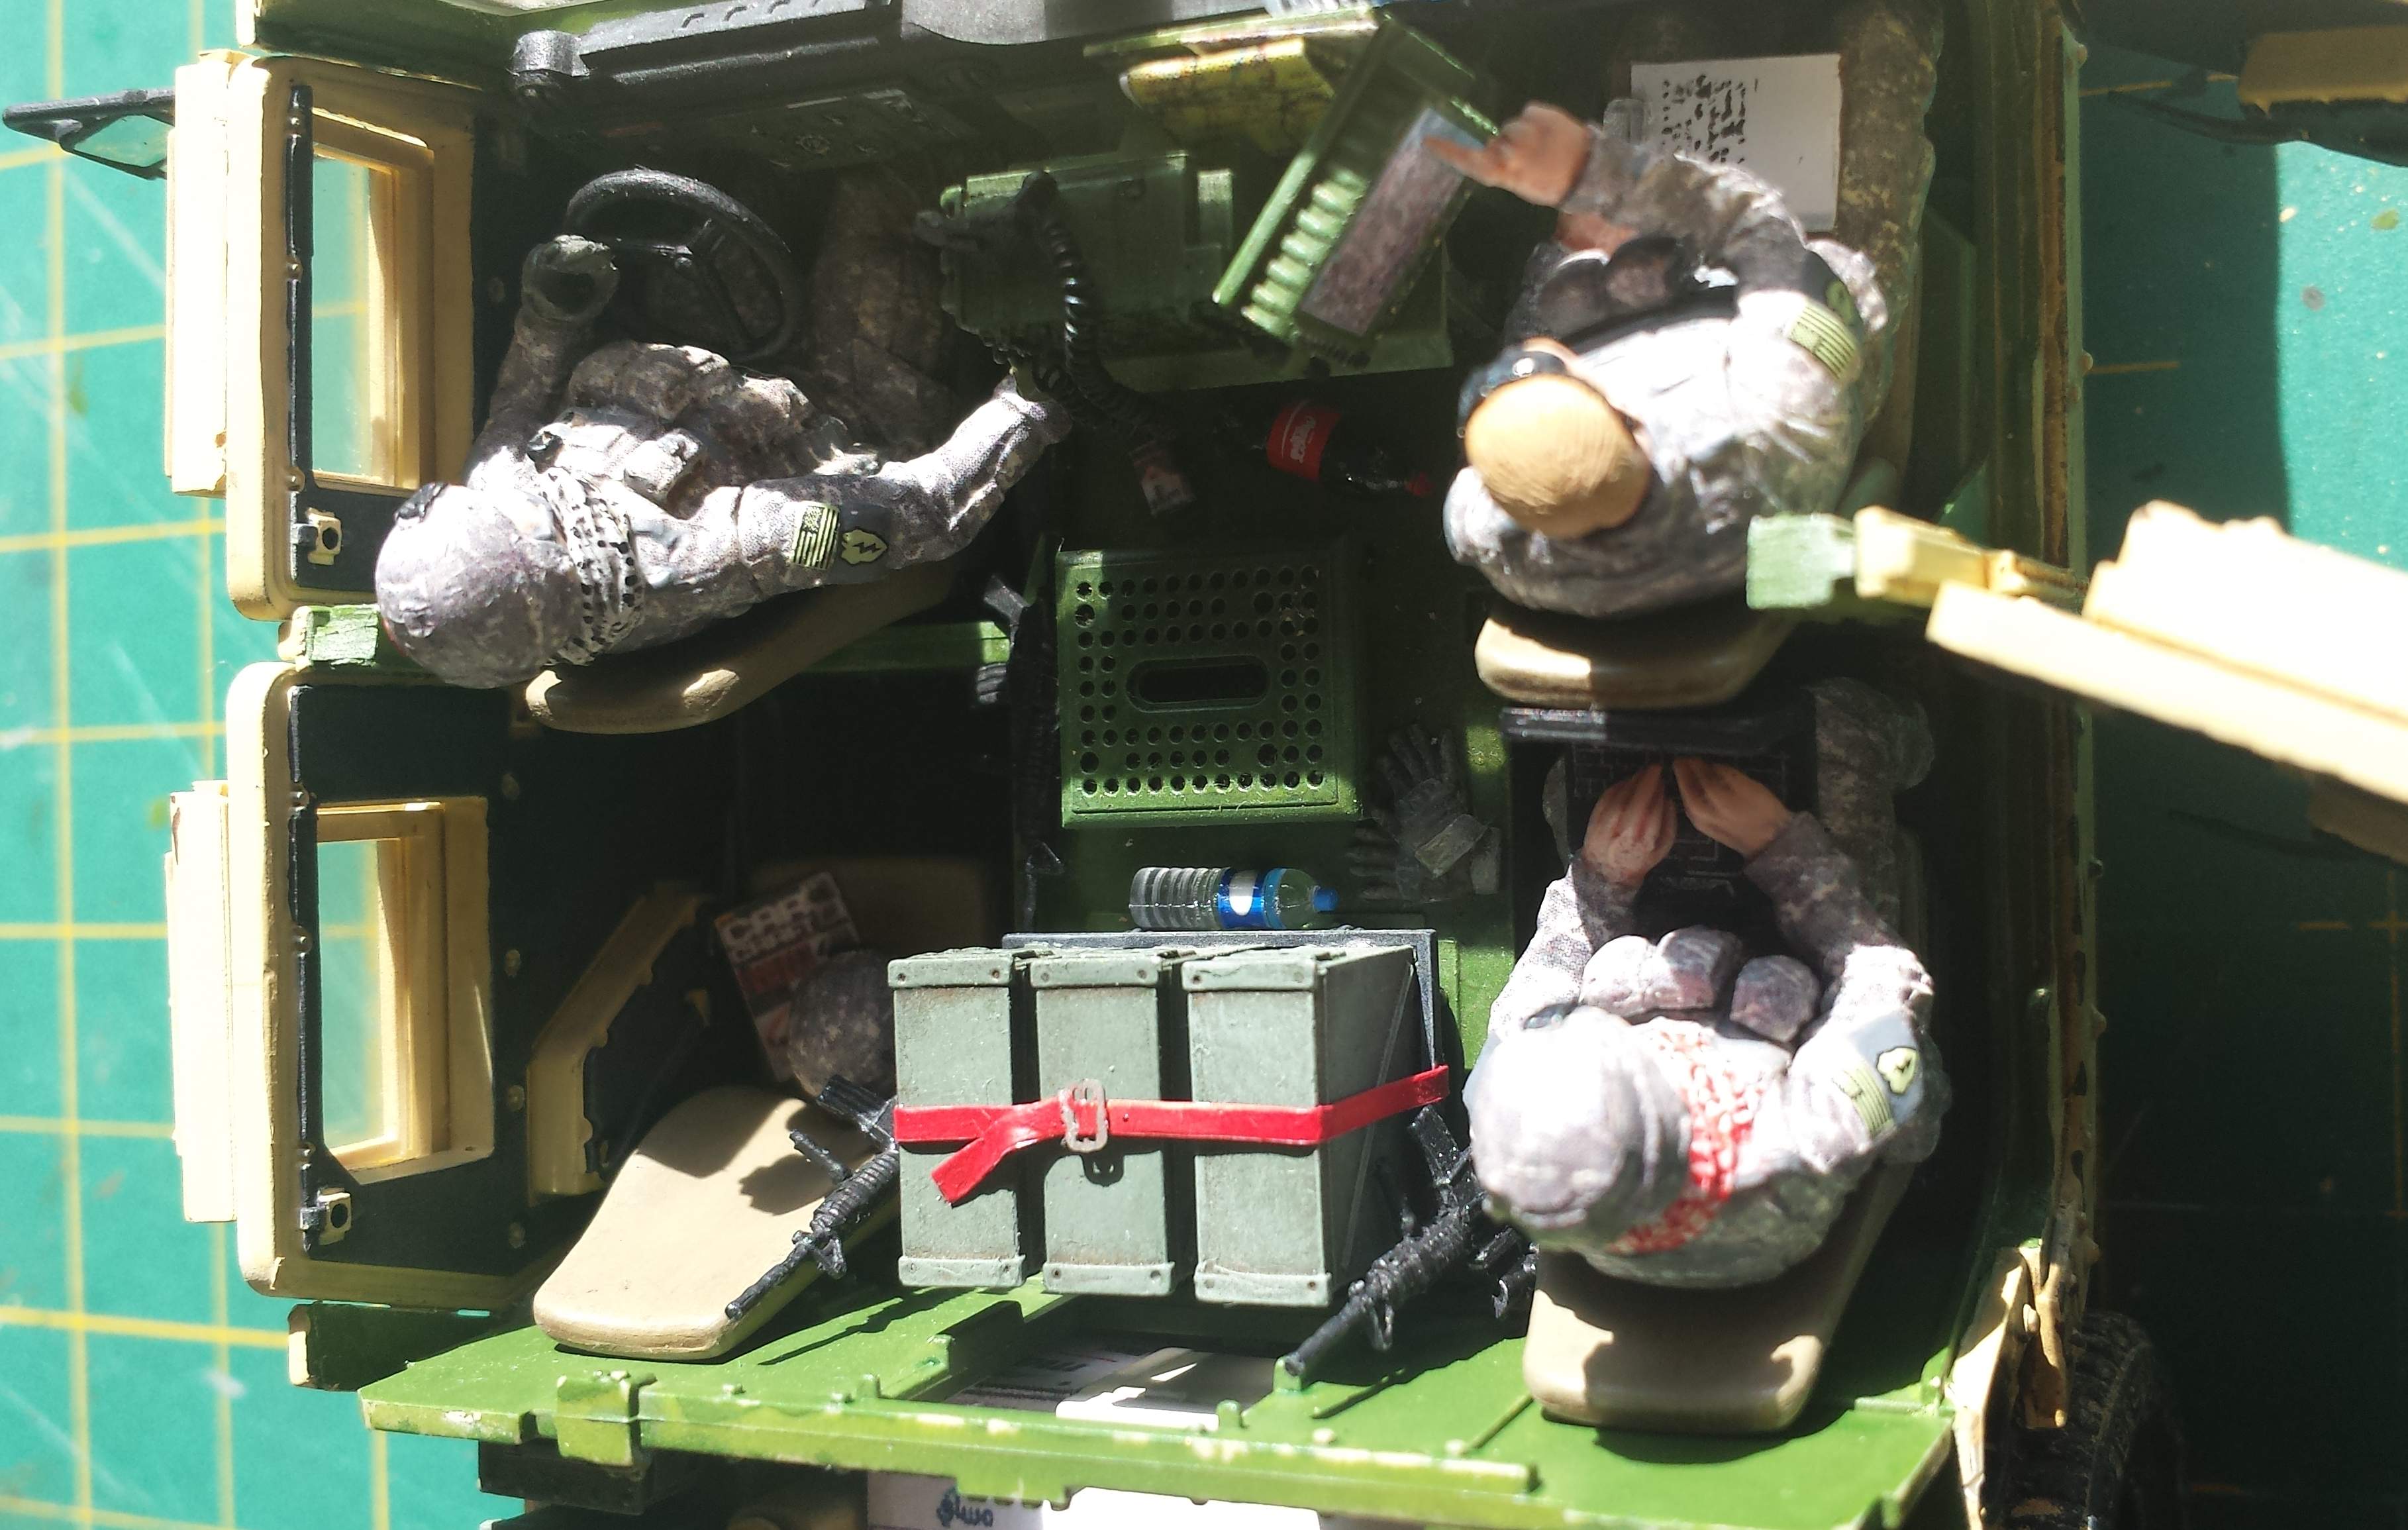
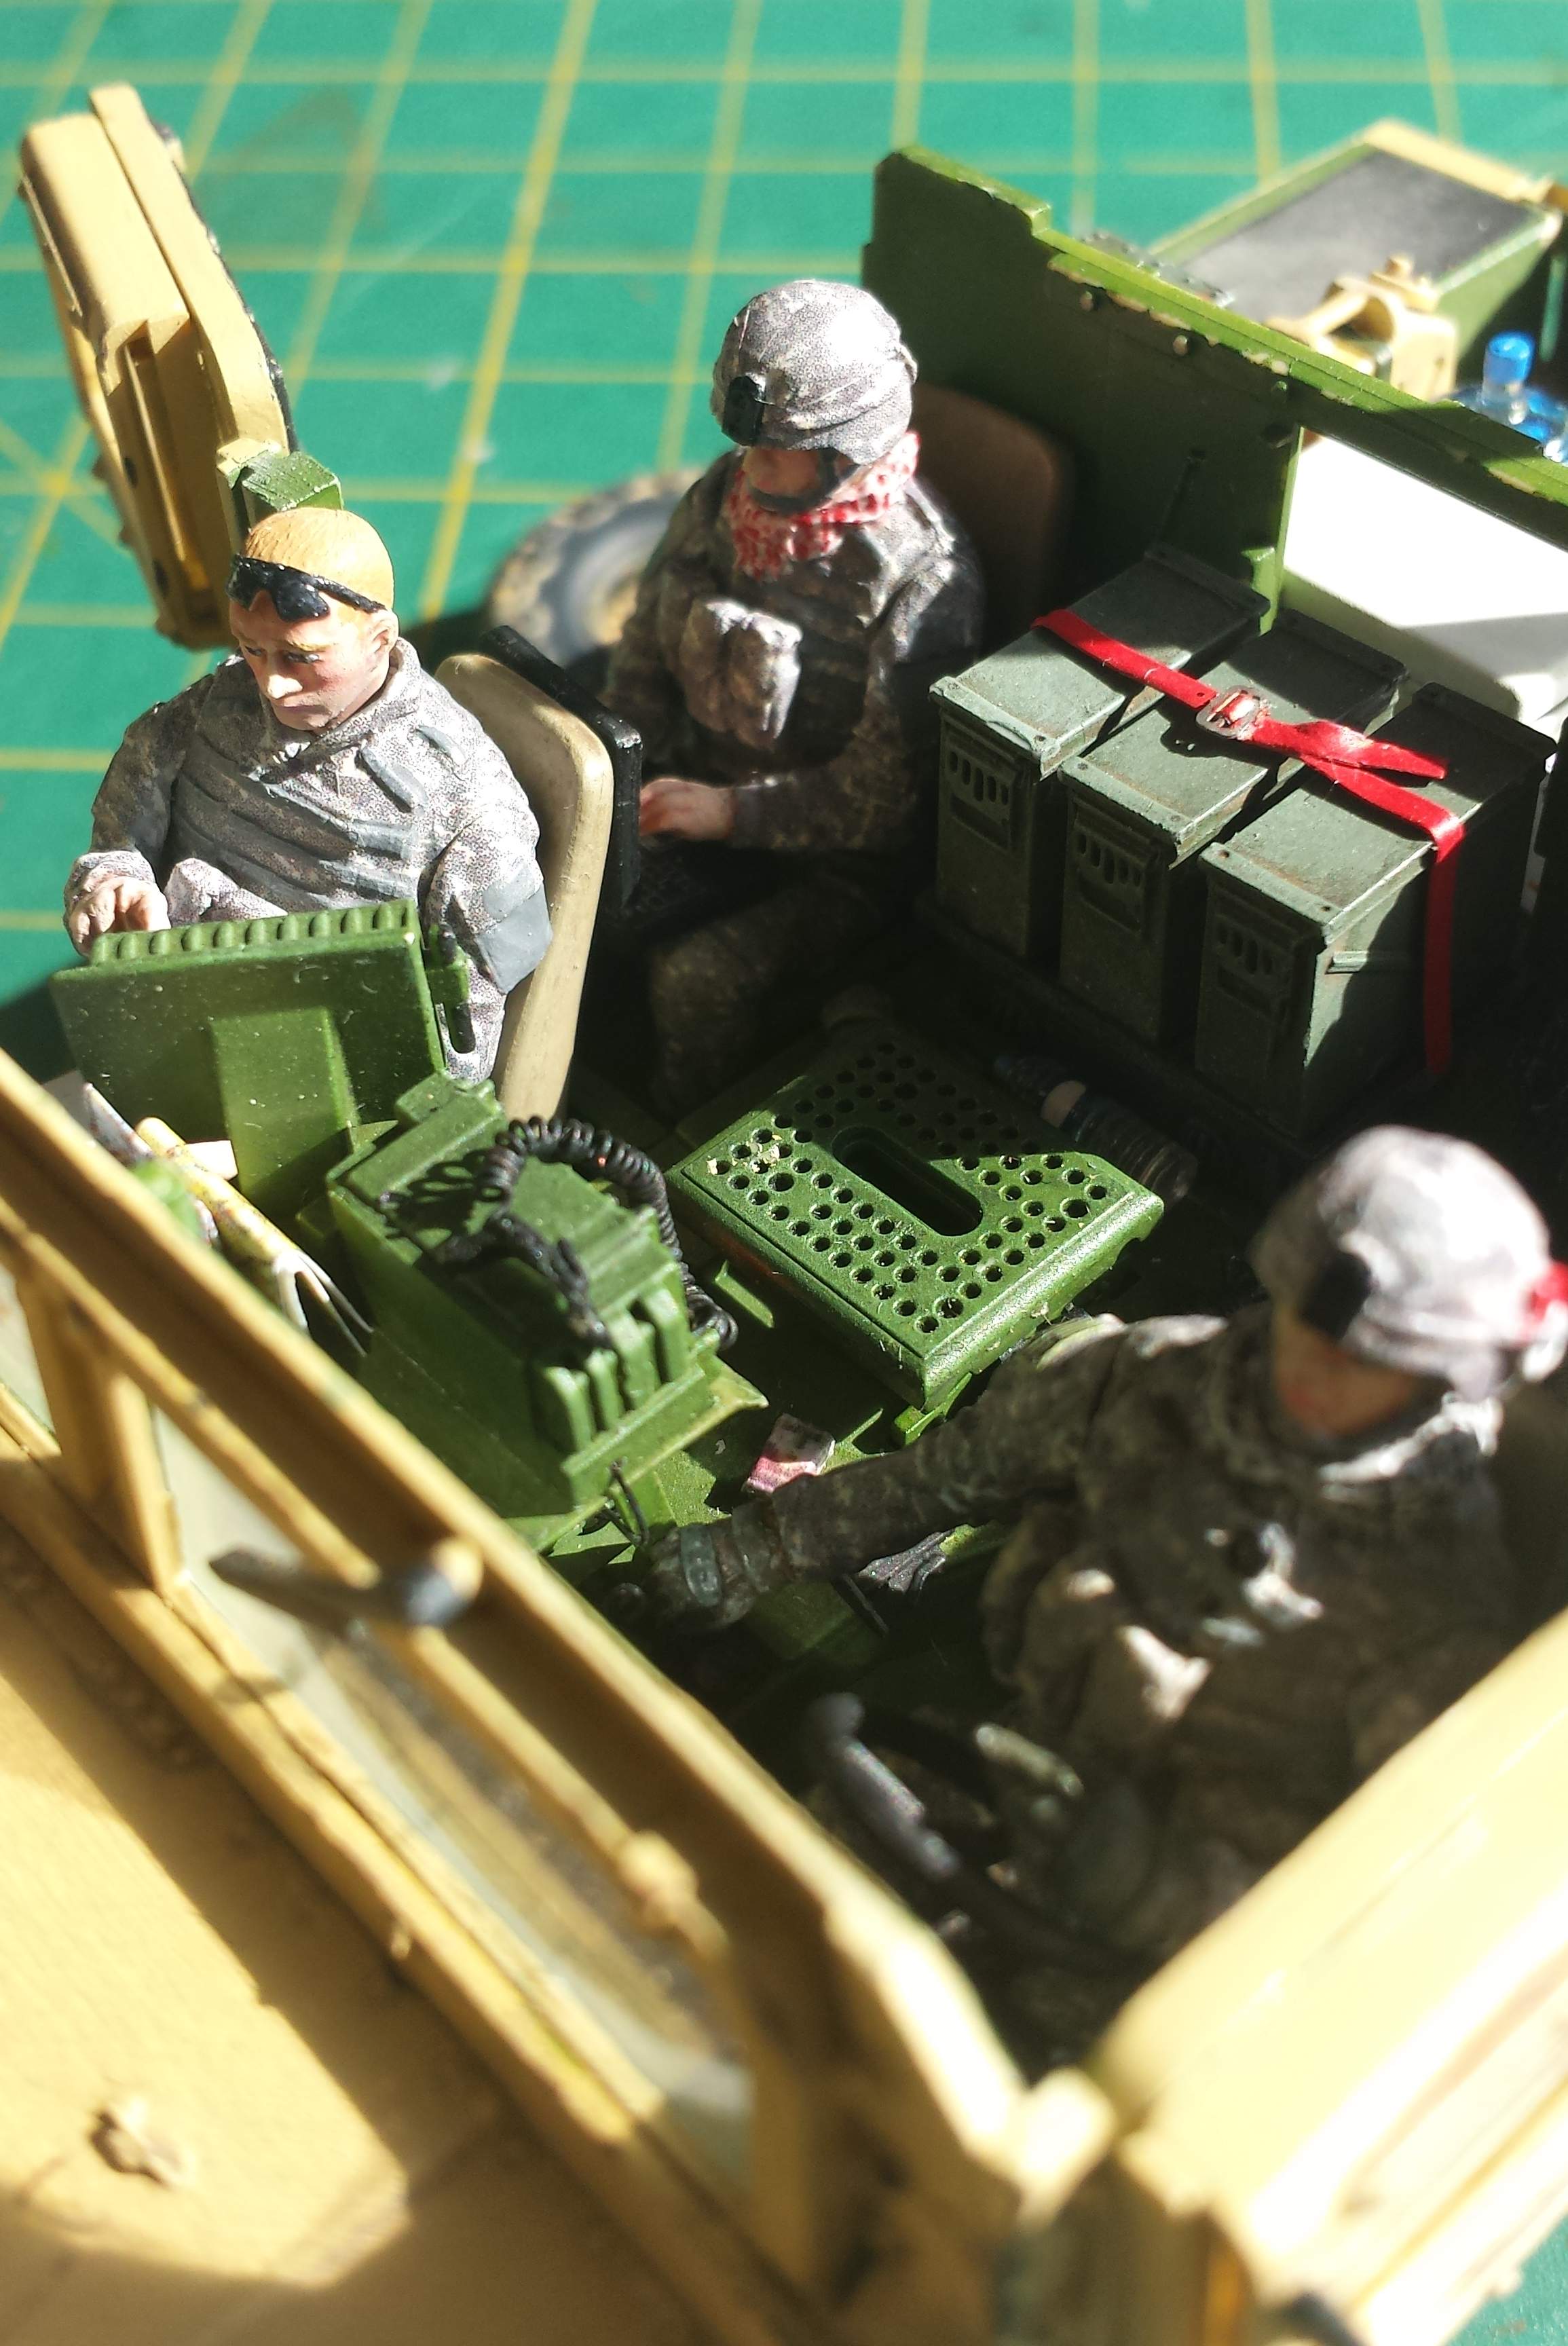
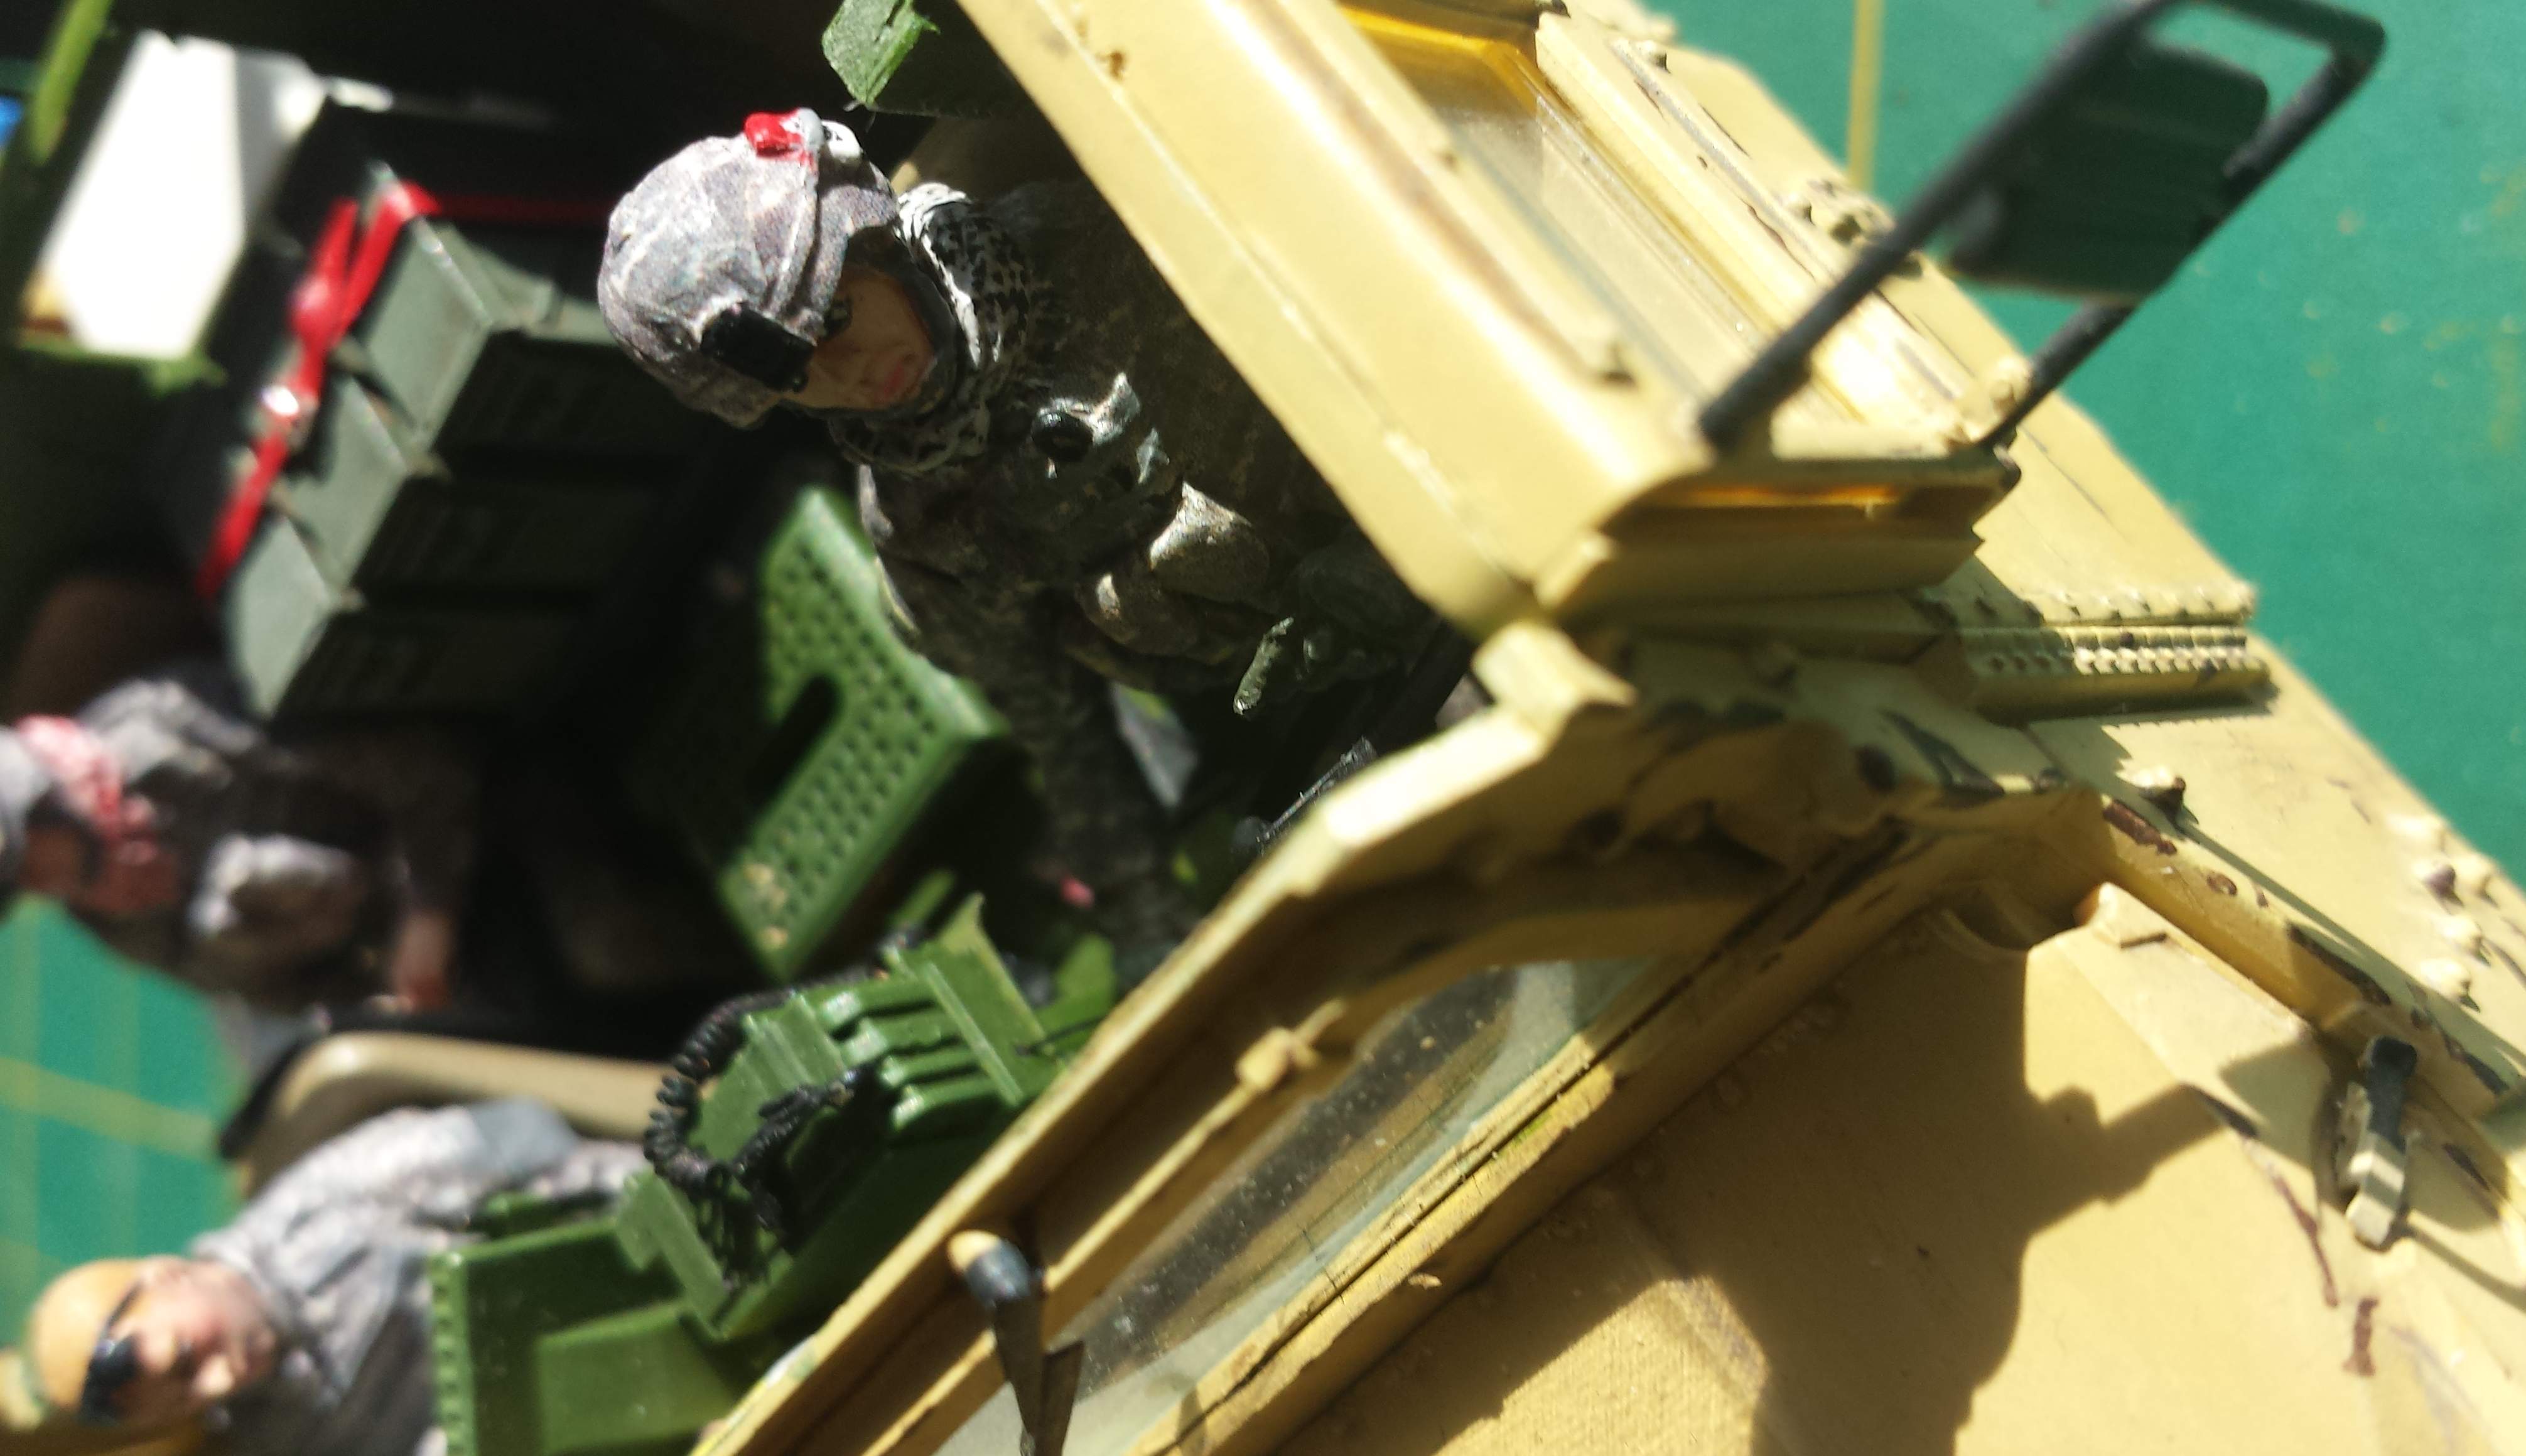
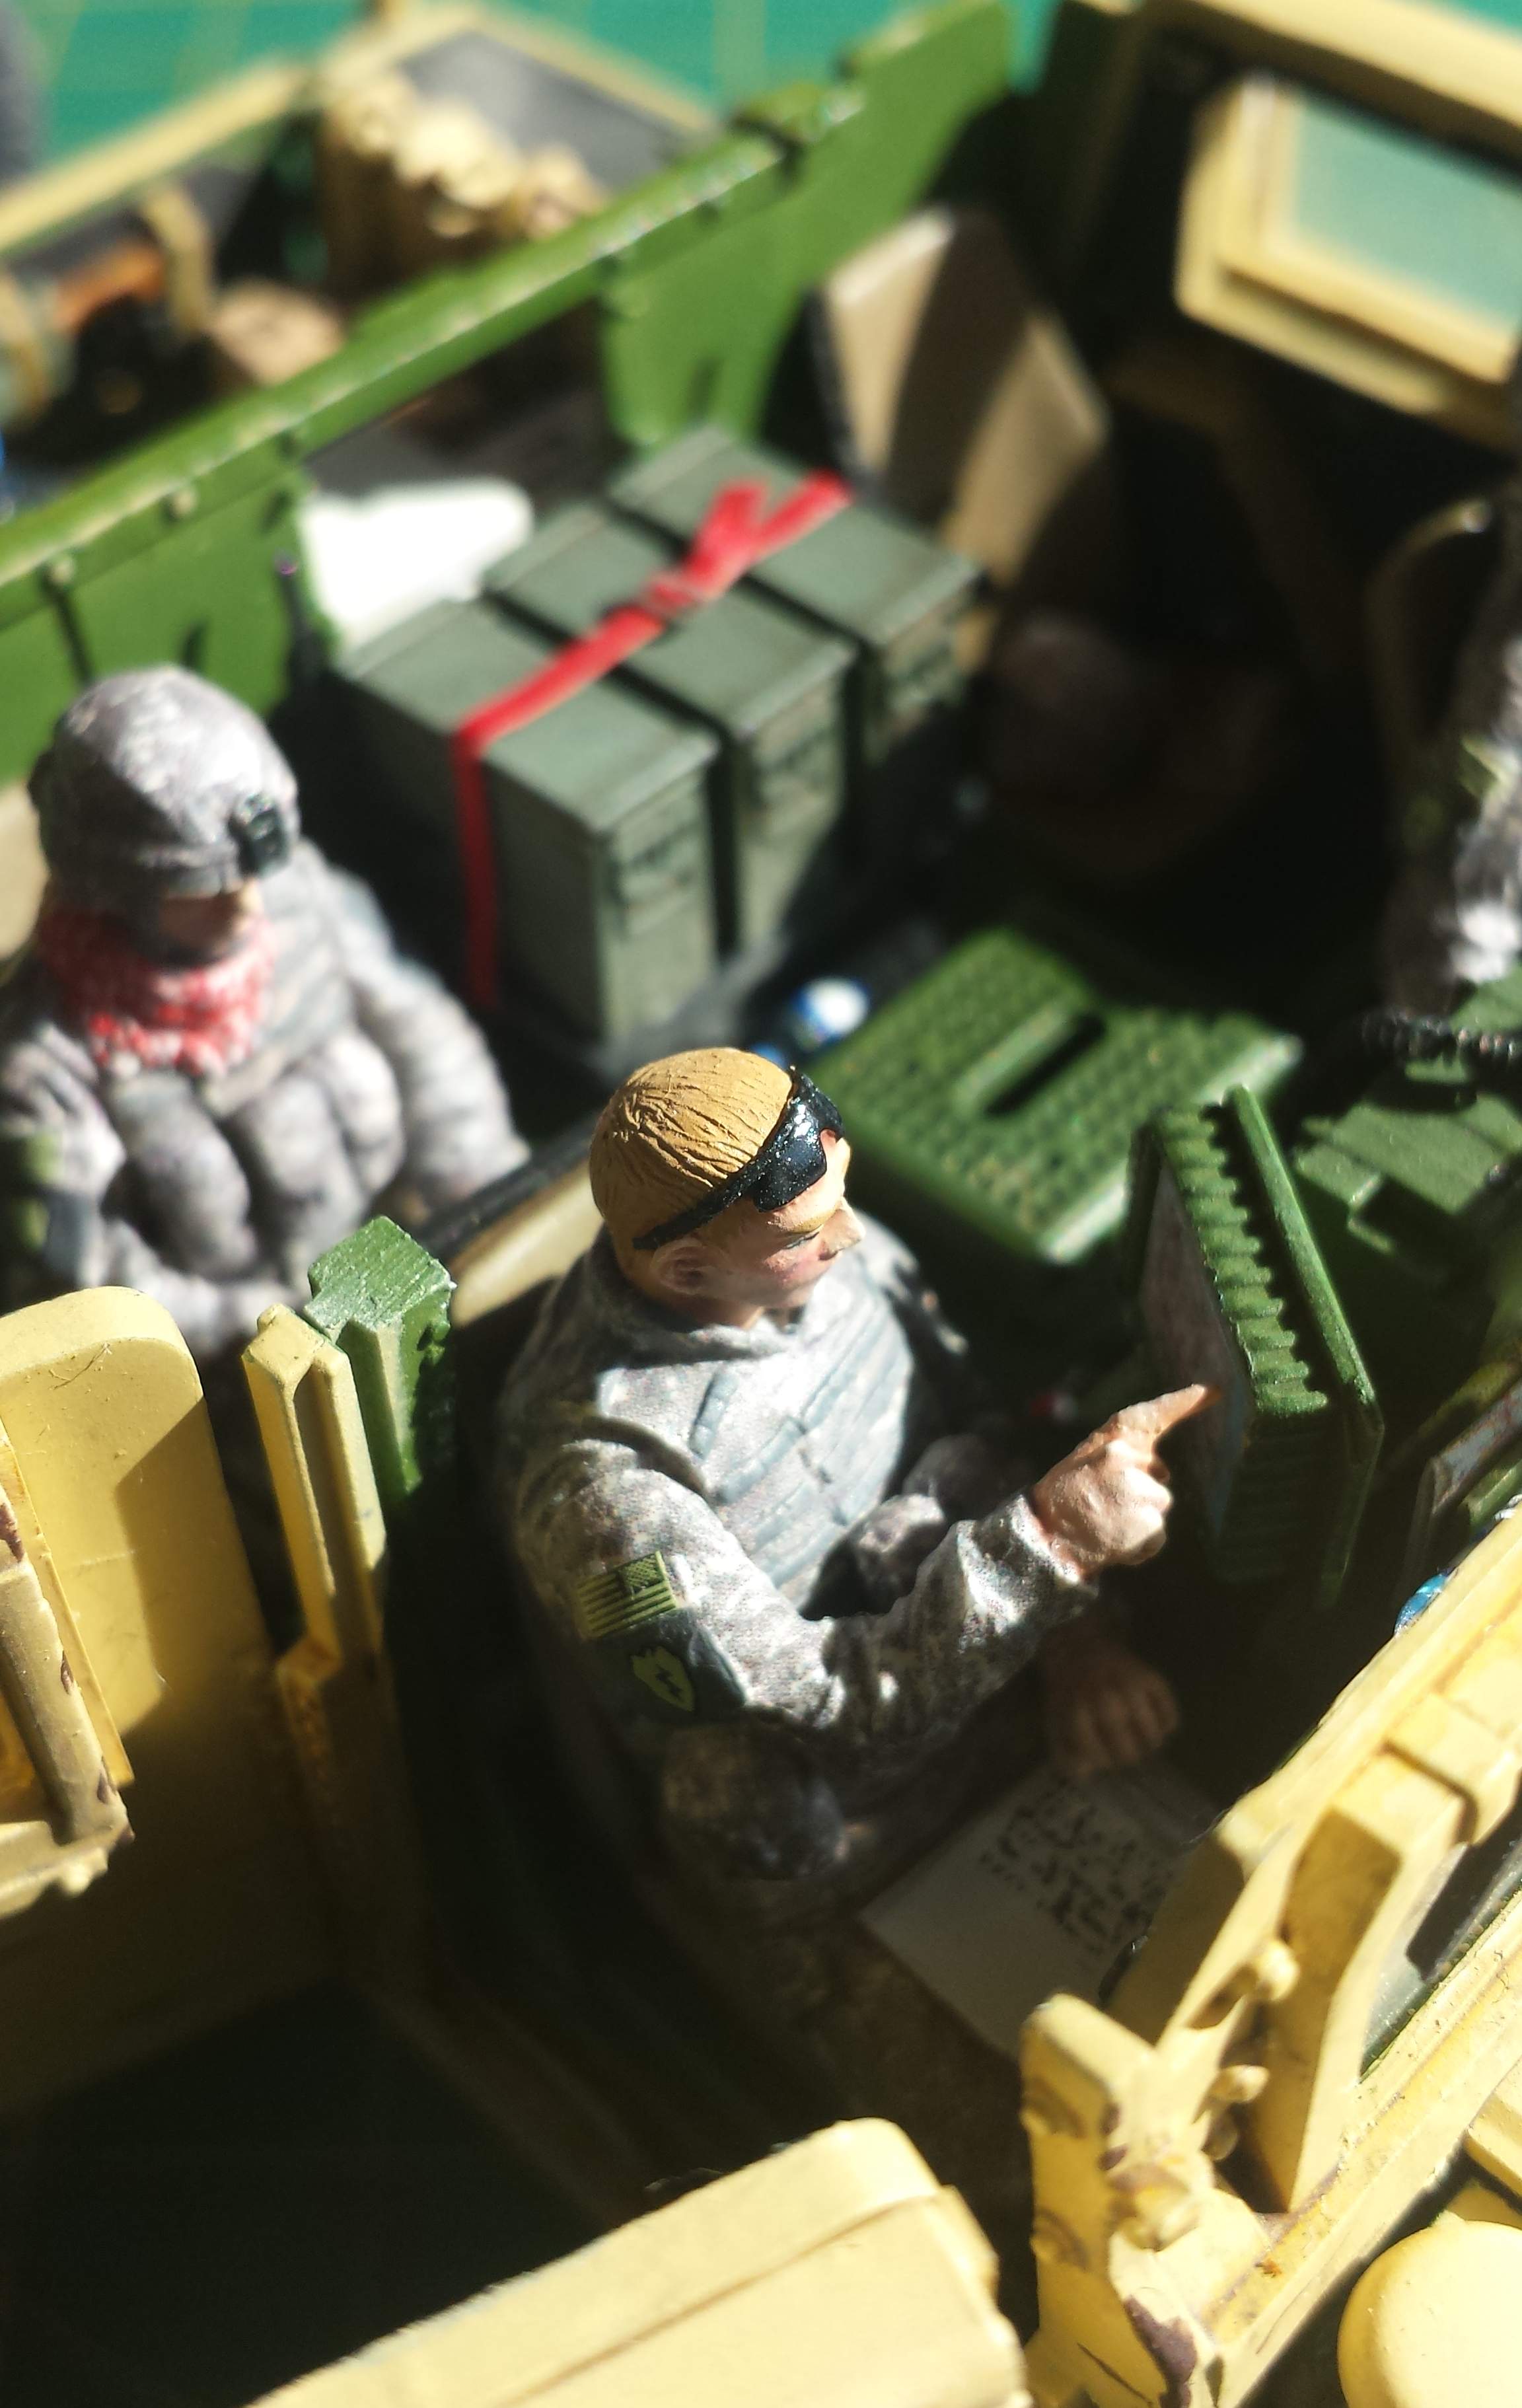
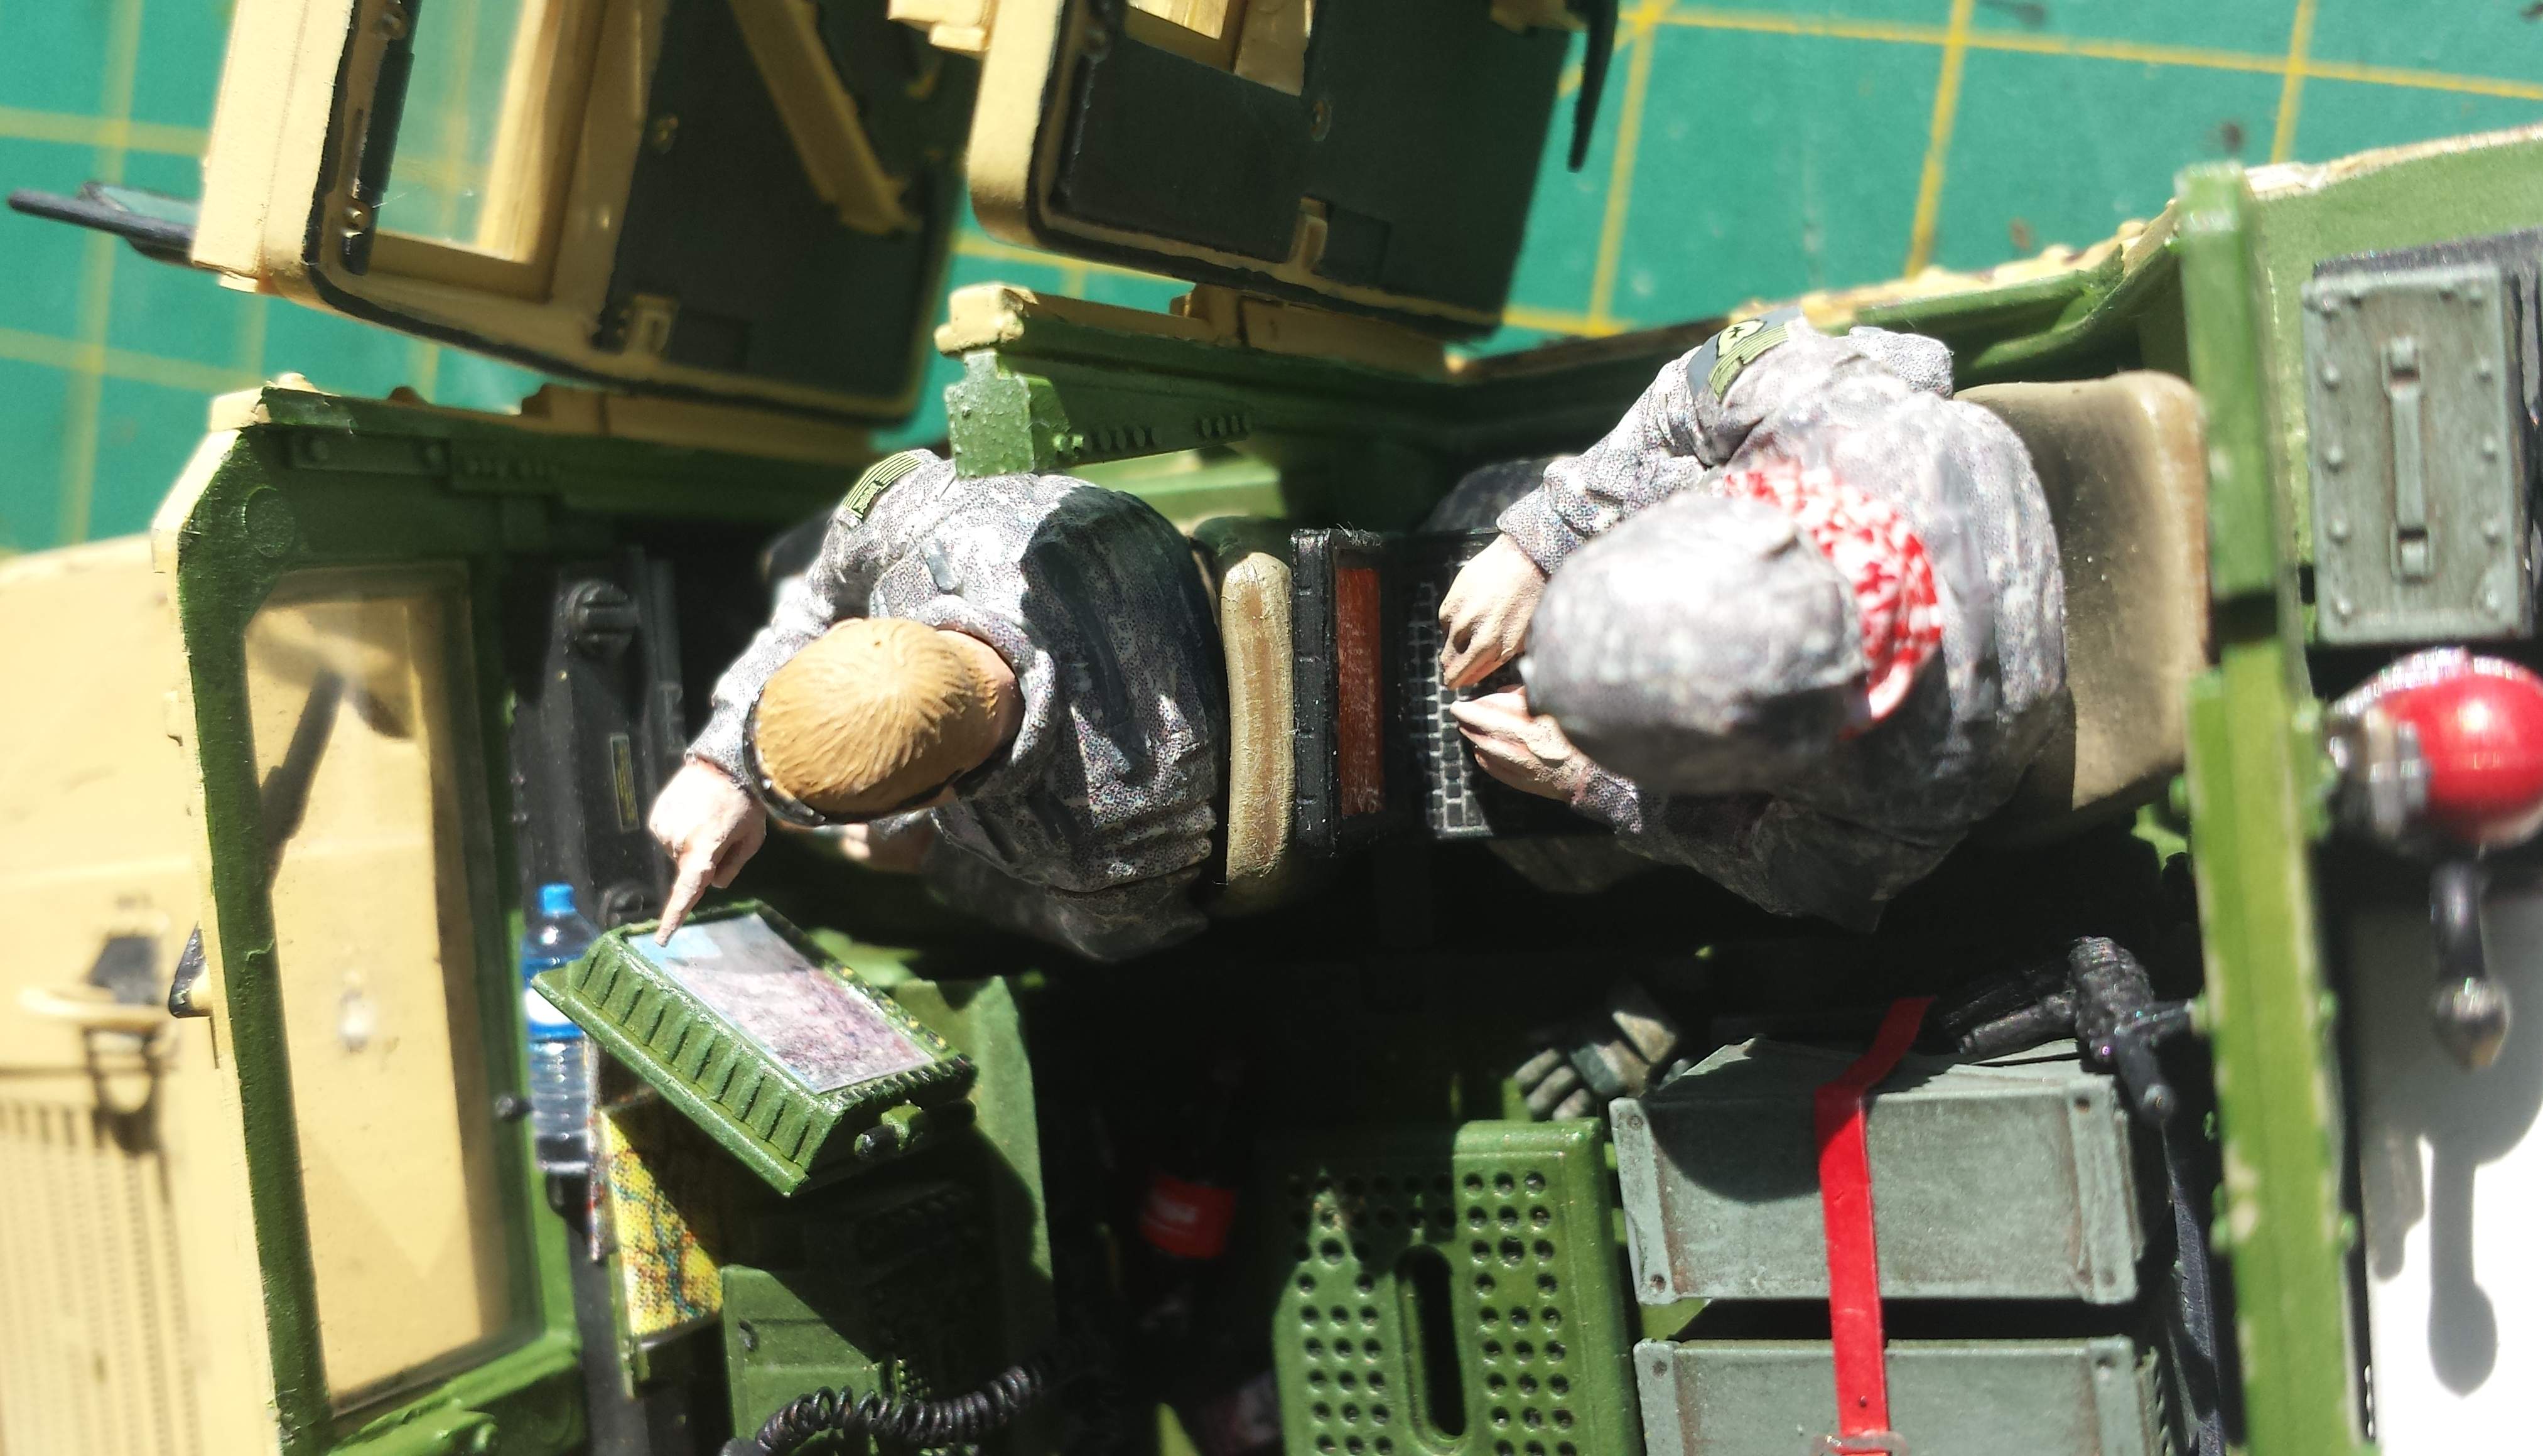
The academy M1151 is a great model. Very straight forward. Detail is also good. I left a lot of the PE parts unused because the kit’s originals were very good and didn´t justify changing them. But you be the judge of the finished model.
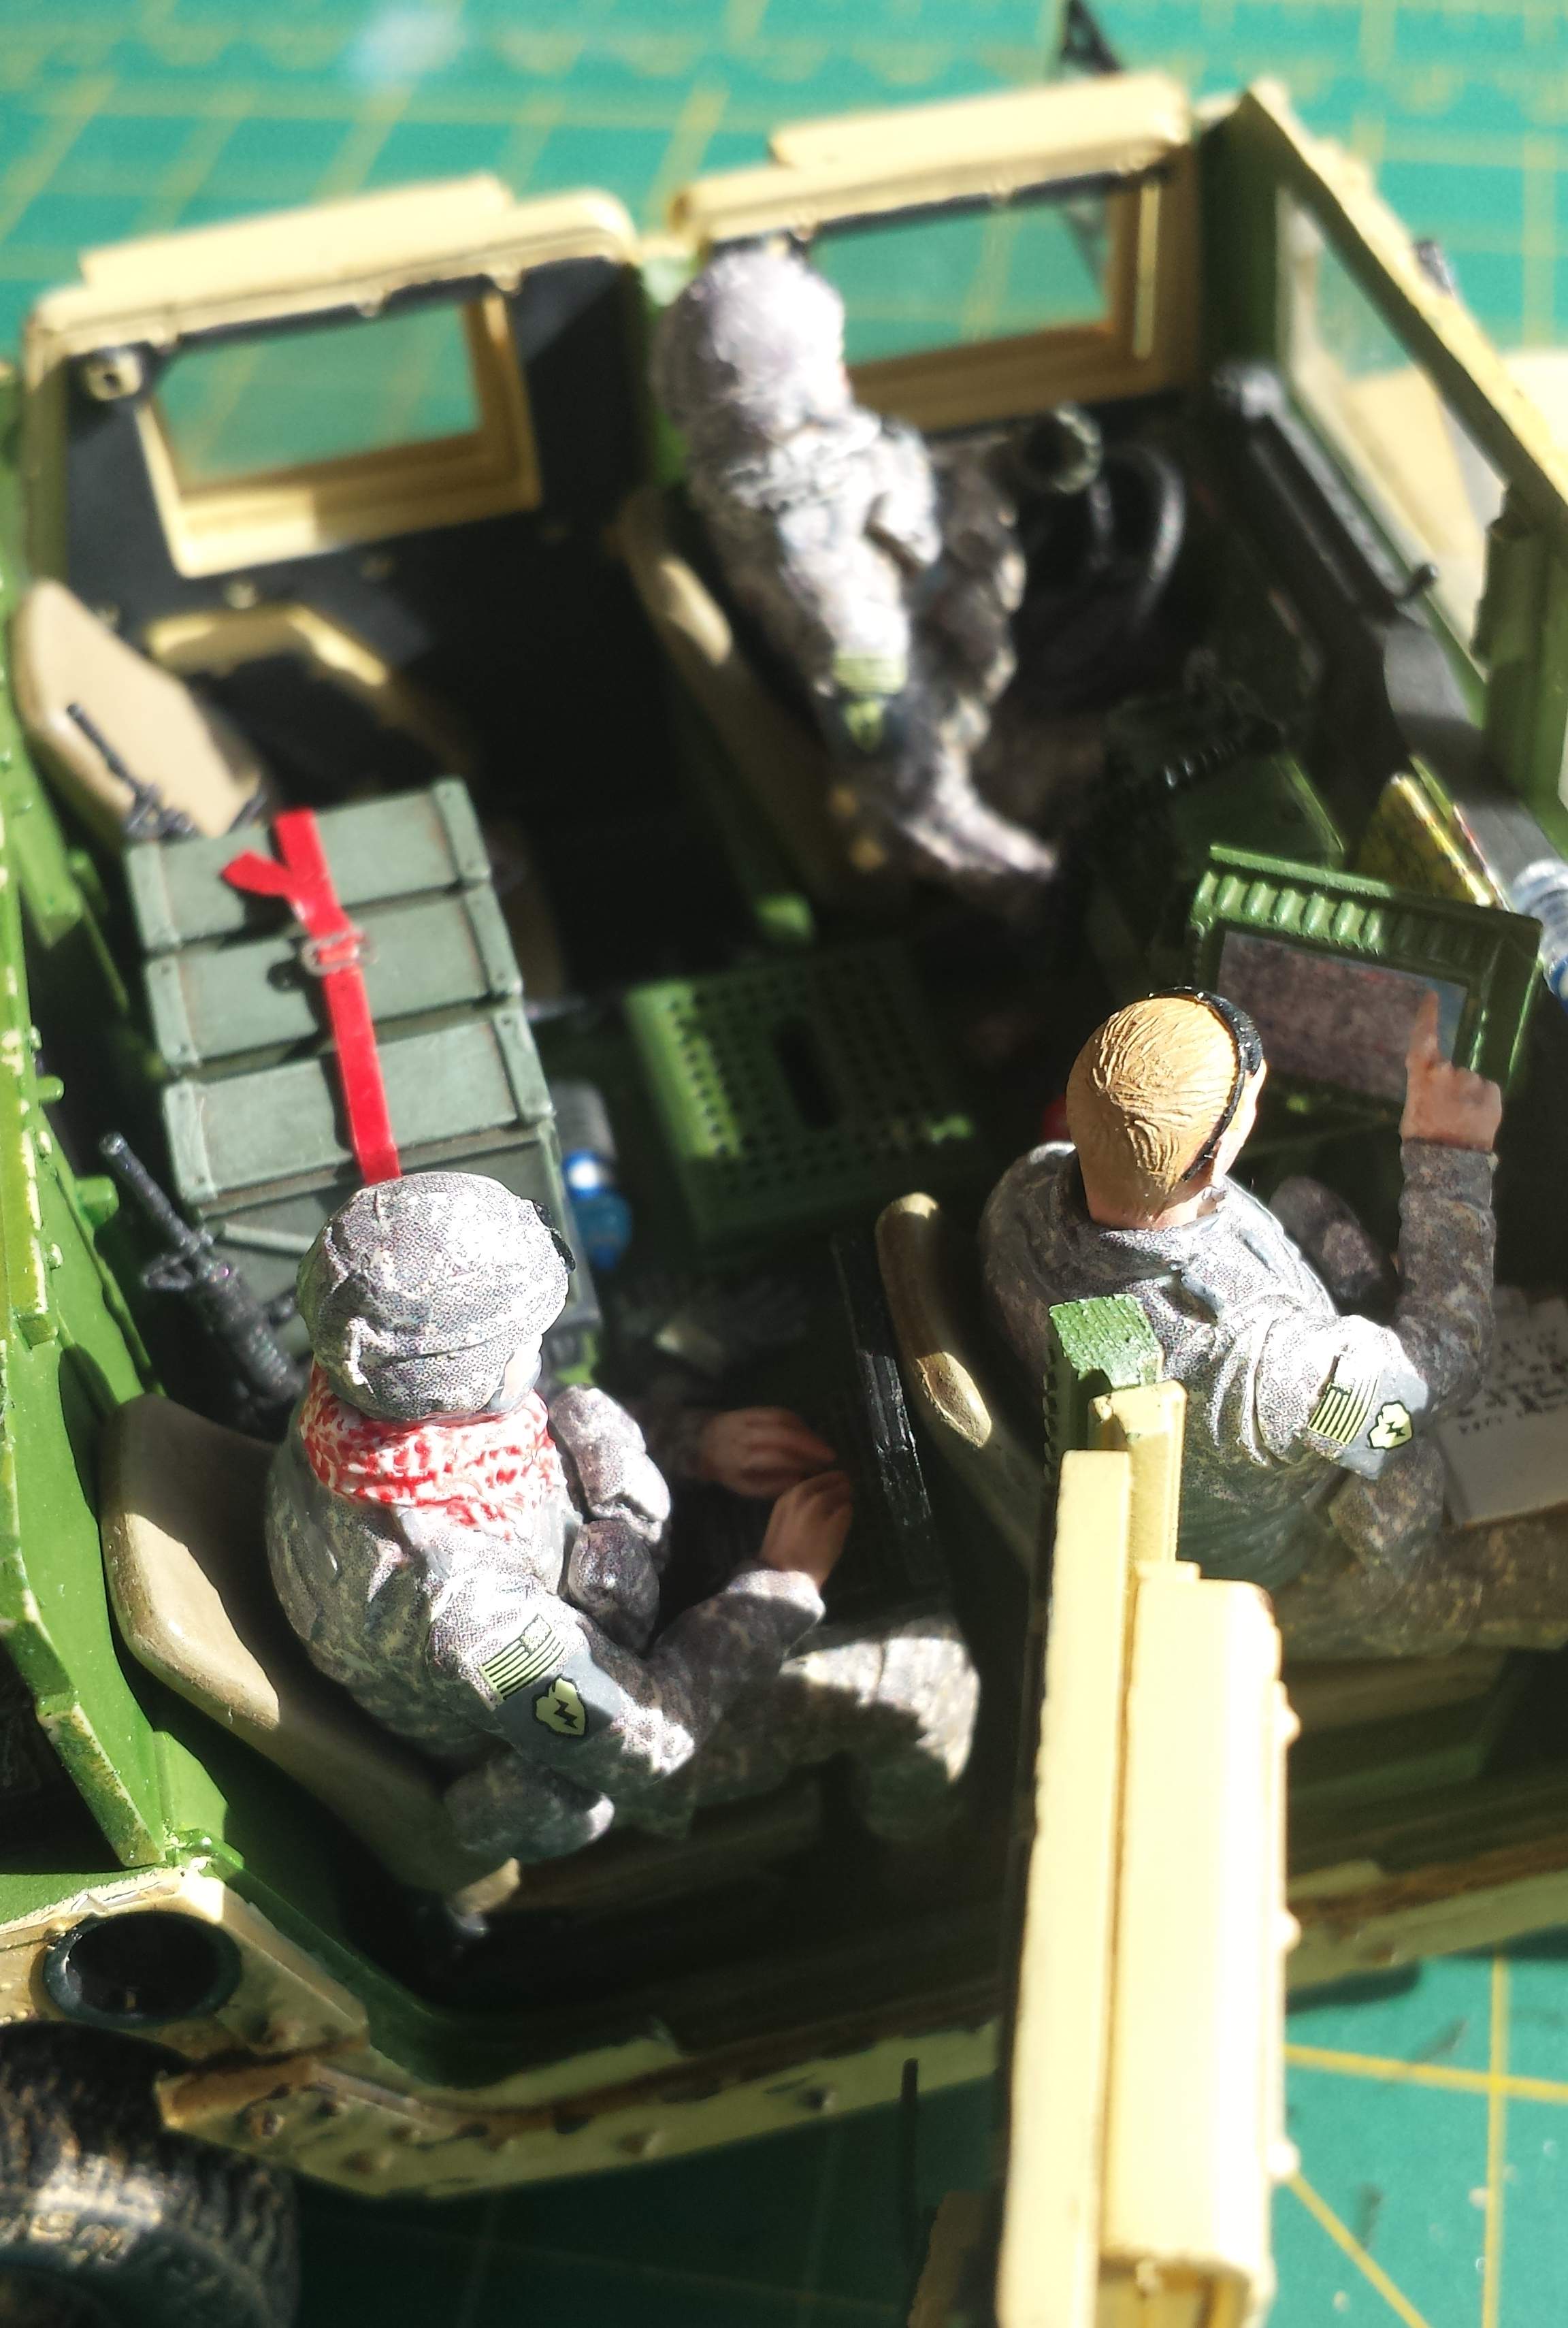
Now, I do have some complaints on the legends figures. They did not have a perfect fit on their seats. I had to work on that a little. The gunner’s hand/arm position did not match the .50 cal grip no matter what I tried. Same goes for driver and steering wheel, so I ended up putting the hand over the steering wheel, making it look a bit funny. The detail on the faces is not as good as in other Legend figures. But overall I think they came out ok.
What I am fascinated with is the sinsengumi decals. They were very easy to use. And the result is very good. They just take a bit longer than painting. My only complaint there would be that on extreme close ups the printing dot pattern is noticeable. But they are great. I will be using them in the future again.
Distrito Federal, Mexico
Joined: May 31, 2013
KitMaker: 1,457 posts
Armorama: 1,440 posts
Posted: Tuesday, September 16, 2014 - 04:44 PM UTC
Kildare, Ireland
Joined: November 21, 2007
KitMaker: 3,212 posts
Armorama: 2,807 posts
Posted: Tuesday, September 16, 2014 - 07:57 PM UTC
Nice job... love all the detail especially inside. It is a shame to have them hidden. Figures came out great too!
Distrito Federal, Mexico
Joined: May 31, 2013
KitMaker: 1,457 posts
Armorama: 1,440 posts
Posted: Wednesday, September 17, 2014 - 04:36 AM UTC
Antwerpen, Belgium
Joined: October 07, 2007
KitMaker: 254 posts
Armorama: 26 posts
Posted: Wednesday, September 17, 2014 - 05:04 AM UTC
Waw niche work, good detail and love the collers. ..
My work bench blog http://dioramanet.blogspot.com/
United States
Joined: January 18, 2008
KitMaker: 16 posts
Armorama: 16 posts
Posted: Tuesday, November 11, 2014 - 04:08 AM UTC
What color did you use for the exterior??
Distrito Federal, Mexico
Joined: May 31, 2013
KitMaker: 1,457 posts
Armorama: 1,440 posts
Posted: Tuesday, November 11, 2014 - 09:51 PM UTC
For the exterior I used Vallejo 70.976 Buff as a base and then a light spray of 70.847 Dark Sand. And finally as a dust over 70.882 Middlestone. Hope that helps. :-)
Singapore / 新加坡
Joined: December 24, 2012
KitMaker: 9 posts
Armorama: 9 posts
Posted: Saturday, November 15, 2014 - 04:33 PM UTC
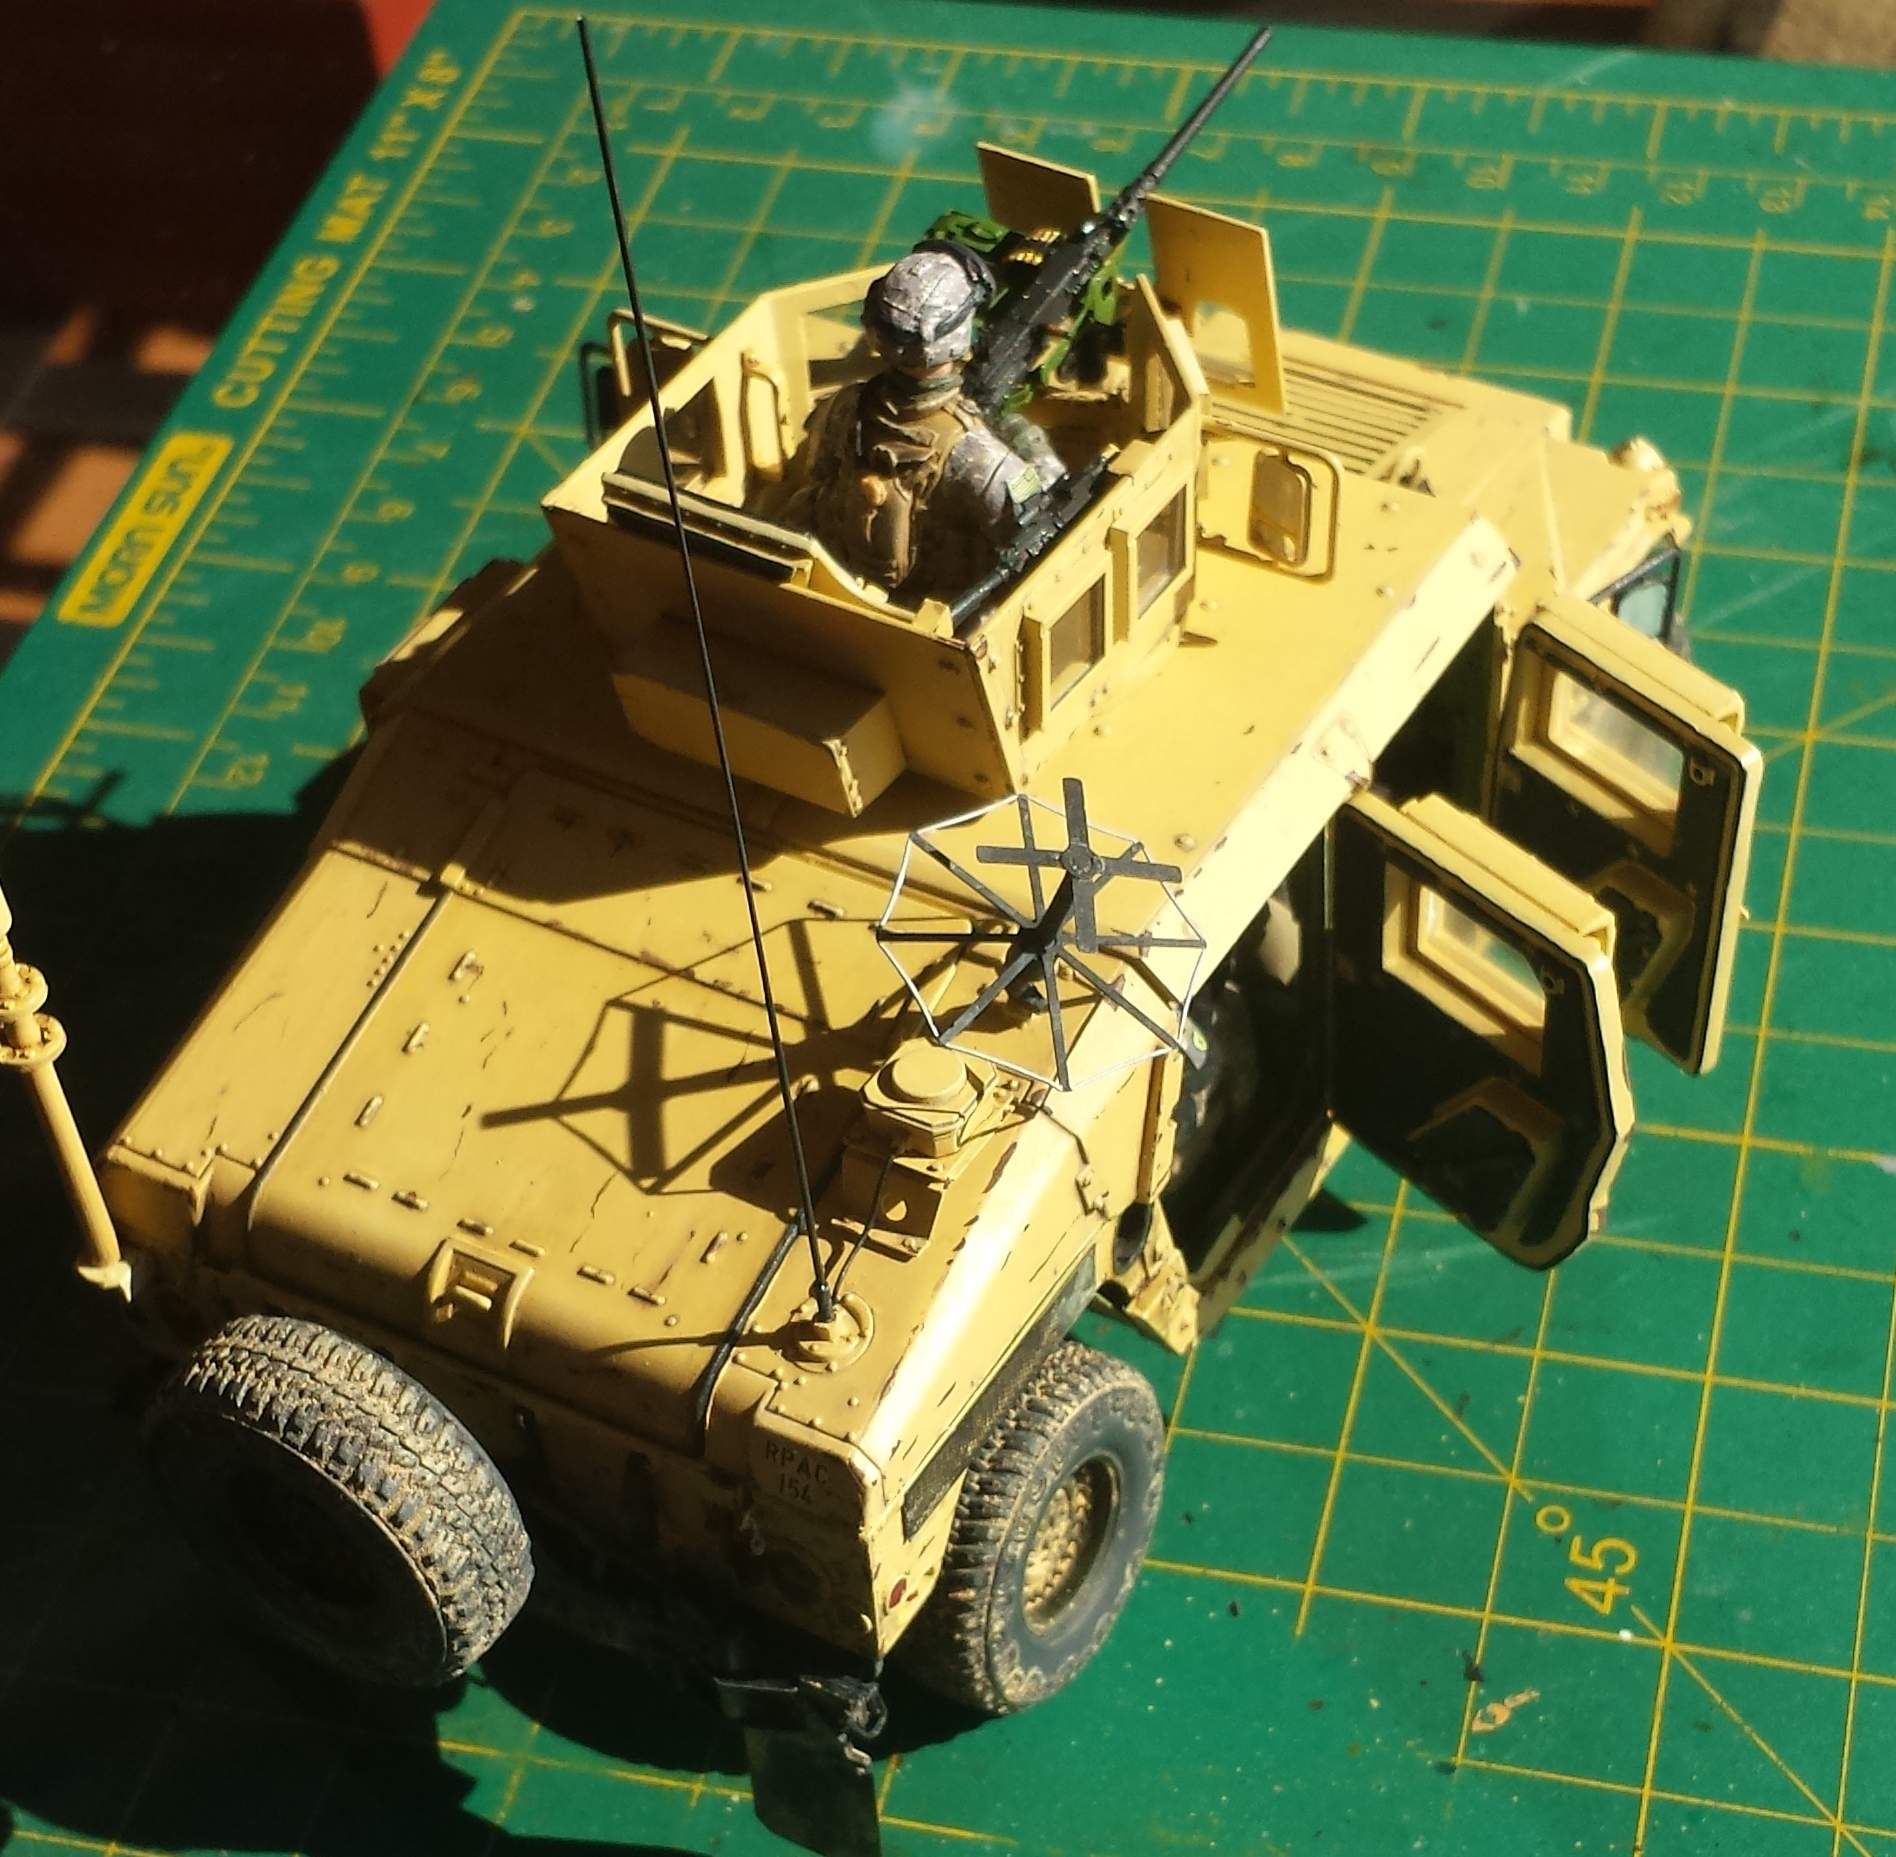
Hi, may I know how you make the comms wire at the back of the vehicle? I mean the black vertical wire. Thanks.
Distrito Federal, Mexico
Joined: May 31, 2013
KitMaker: 1,457 posts
Armorama: 1,440 posts
Posted: Sunday, November 16, 2014 - 12:44 AM UTC
The antenna is heated and stretched sprue. The actual wire is thin copper wire painted black. Hope it helps.


