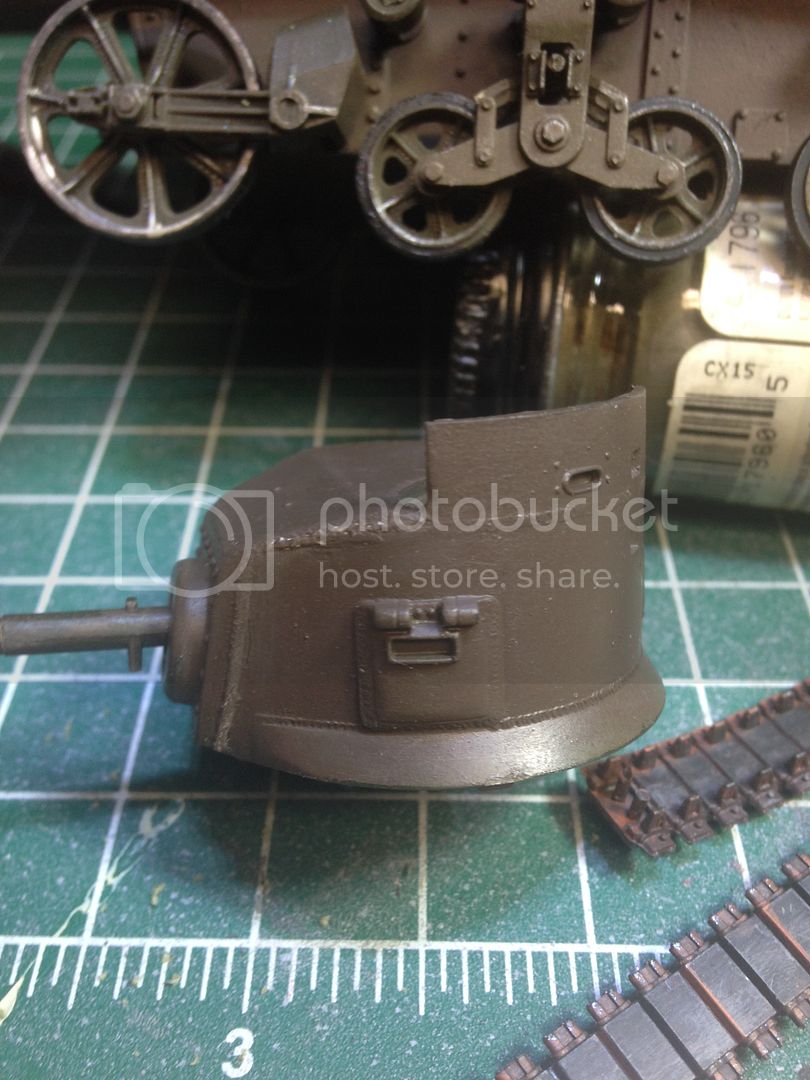
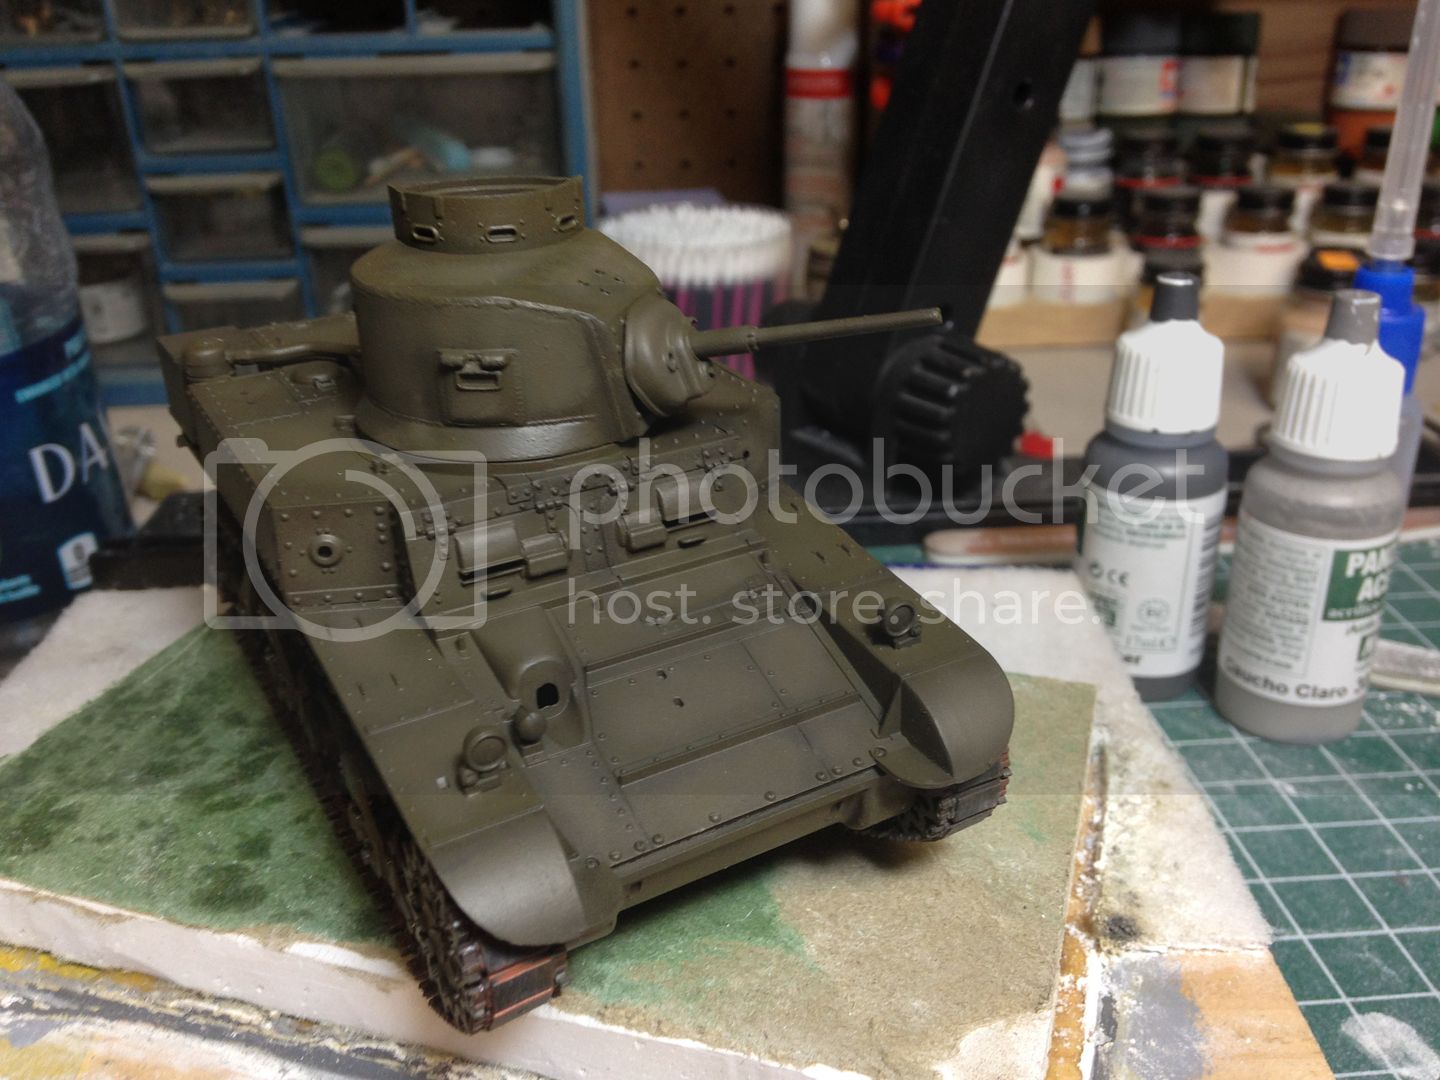
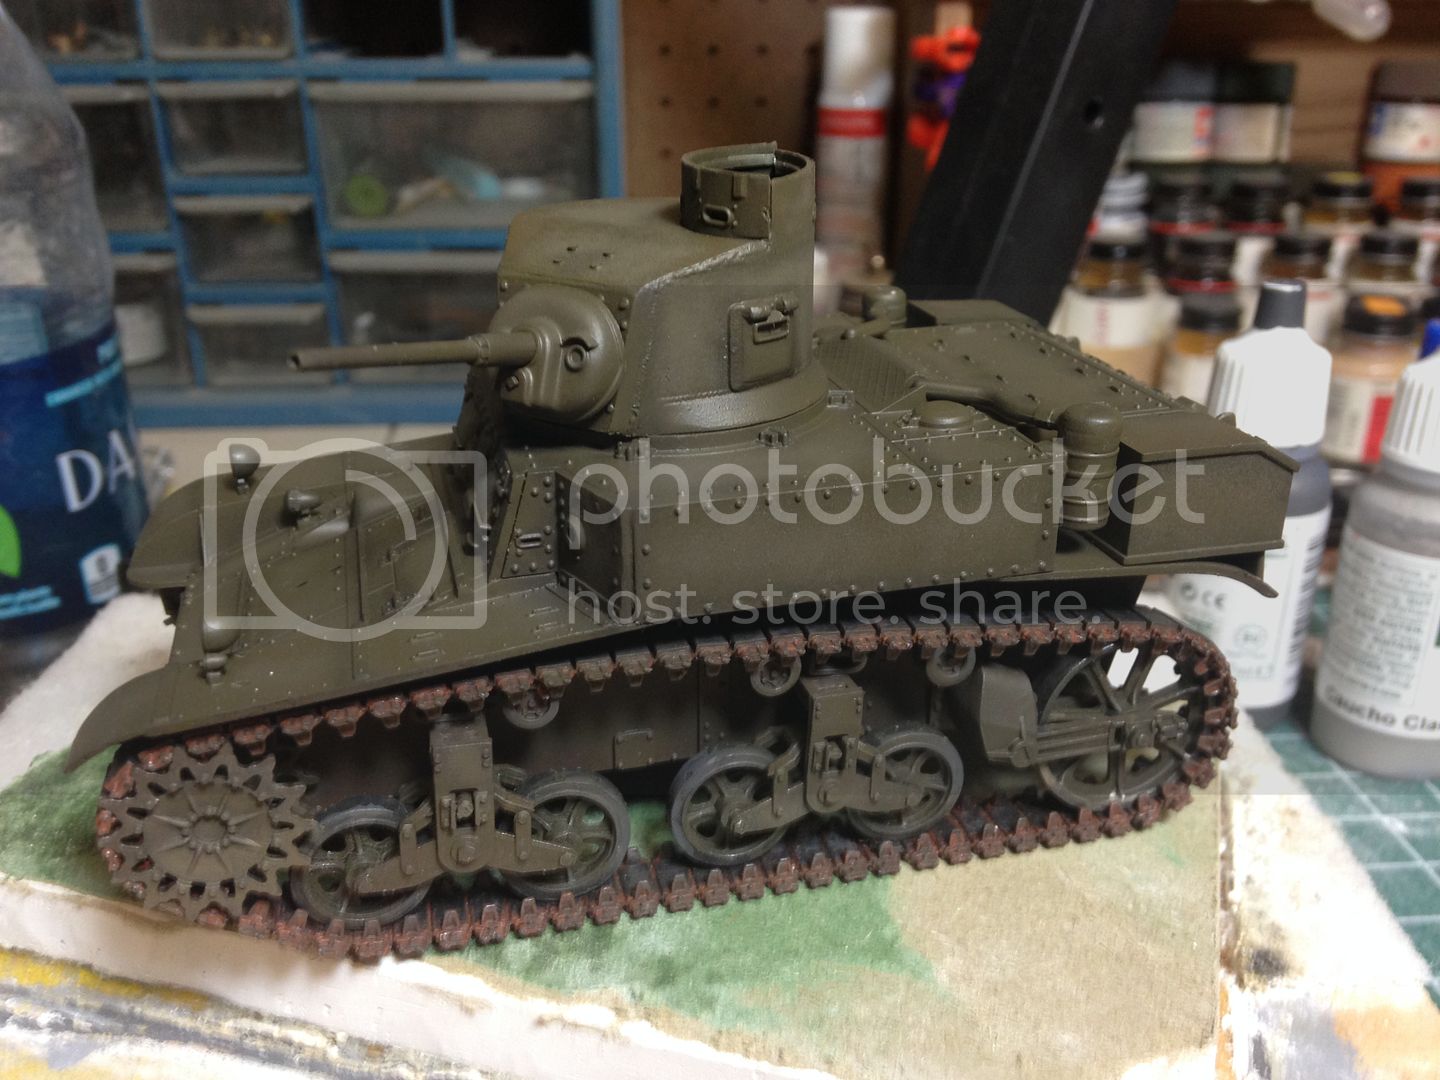
Bought this kit from a recent show and figured on doing a straight OOB. Nothing added except to throw some sheet stock in the spaces where Tamiya left. Its become more experimental/first try for me. Made up some home made welds on the turret, drilled out the cannon barrel, and trying my hand at airbrush shading and highlighting.
Constructive Feedback
For in-progress or completed build photos. Give and get contructive feedback!
Hosted by Darren Baker, Dave O'Meara
Tamiya M-3 Stuart Build
Posted: Monday, October 27, 2014 - 03:09 PM UTC
Posted: Friday, October 31, 2014 - 10:27 AM UTC
Posted: Tuesday, November 04, 2014 - 03:18 PM UTC
stoney
British Columbia, Canada
Joined: October 16, 2006
KitMaker: 480 posts
Armorama: 399 posts
Joined: October 16, 2006
KitMaker: 480 posts
Armorama: 399 posts
Posted: Tuesday, November 04, 2014 - 06:17 PM UTC
Brian, for such and old beast you've really made it look great. Well done, you should be proud!
Eric.
Eric.
Posted: Tuesday, November 04, 2014 - 08:12 PM UTC
Hey Brian - nice build! The pre shade looks good with the weathering!
Cheers
Nick
Cheers
Nick
Bravo1102
New Jersey, United States
Joined: December 08, 2003
KitMaker: 2,864 posts
Armorama: 2,497 posts
Joined: December 08, 2003
KitMaker: 2,864 posts
Armorama: 2,497 posts
Posted: Tuesday, November 04, 2014 - 11:58 PM UTC
Really well done. IMHO needs some big bright yellow Armor Force stars and turret bands to dress it up.
Posted: Wednesday, November 05, 2014 - 12:16 AM UTC
Thanks for the kind words guys! Steven, I have another Stuart in the stash that will be getting more "dressed up". I wanted a simple looking old beast. The scene is of a war memorial piece, similar to what I saw at APG when it was still open, or like you would see at a veterans park somewhere. To be completely honest... this was an experiment build. I hadnt ever done most of the techniques I used, and I refused to spend any money on aftermarket but wanted to jazz up the Tamiya kit with methods I could do from the workbench. It does look kind of plain, but most war memorials I have seen do. The three things I might still do are to add a grandpa and his grandson to the scene, add chocks to the treads to make sure the tank doesnt move, and I might make up a brass plaque in scale and put it on there. But, I want it to stay simple looking,
windysean
Wisconsin, United States
Joined: September 11, 2009
KitMaker: 1,917 posts
Armorama: 735 posts
Joined: September 11, 2009
KitMaker: 1,917 posts
Armorama: 735 posts
Posted: Wednesday, November 05, 2014 - 02:02 AM UTC
Really nicely done, Brian!
I just built one too, and I saw on the instructions that this kit dates back to 1974! Happy 40th birthday! Such a good kit too.
-Sean H
I just built one too, and I saw on the instructions that this kit dates back to 1974! Happy 40th birthday! Such a good kit too.
-Sean H
Posted: Wednesday, November 05, 2014 - 02:52 AM UTC
soooo the kit is ALMOST as old as I am.... gee, that makes me feel not so good LOL.
rfbaer
Texas, United States
Joined: June 12, 2007
KitMaker: 1,866 posts
Armorama: 1,696 posts
Joined: June 12, 2007
KitMaker: 1,866 posts
Armorama: 1,696 posts
Posted: Wednesday, November 05, 2014 - 07:49 AM UTC
Well done.
I built one of these when they were new, doing an M5 now, just for fun. They are great canvasses for trying new techniques.