Welcome to the forum. (a little belatedly) It's a nice effort - thank you for posting it. Now I will "harp" on a few details myself, only to help make your next one even better.
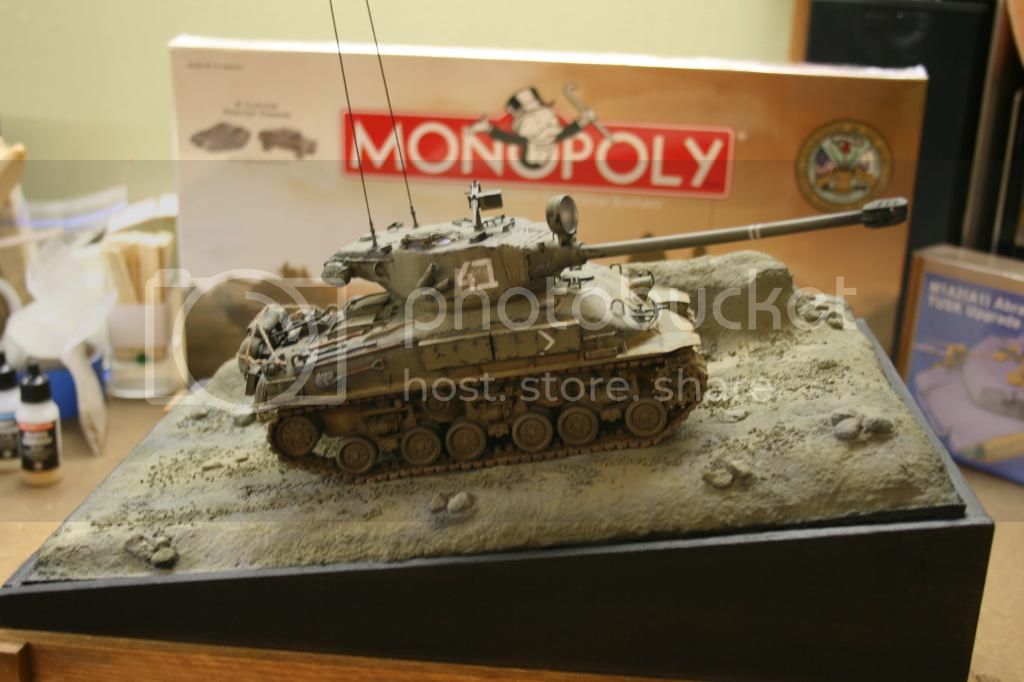
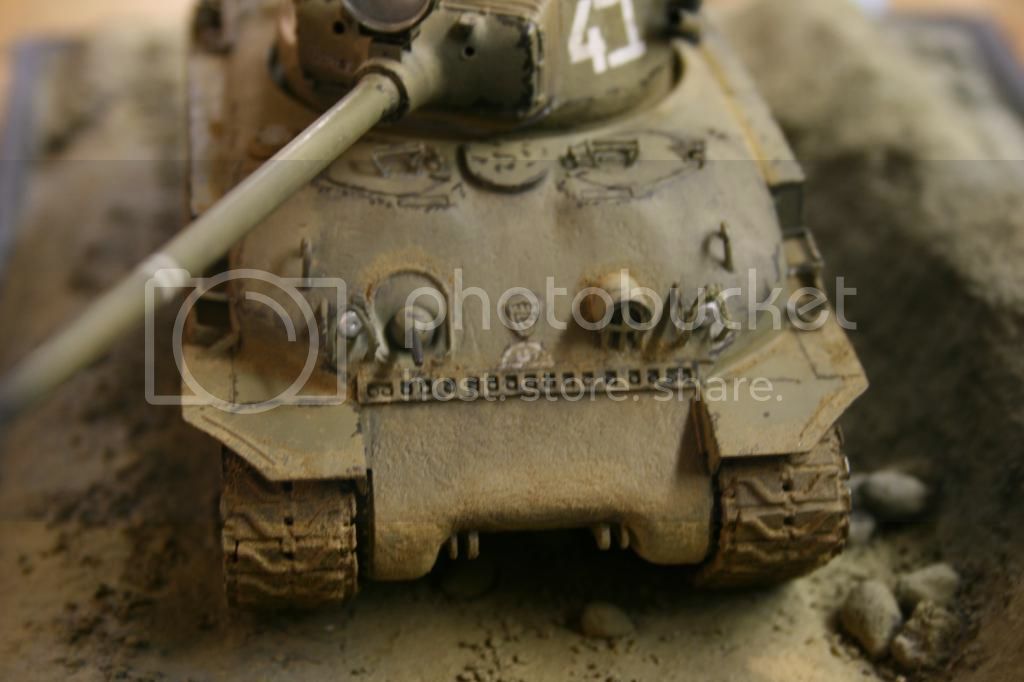
In the third photo, it looks as if there's a definitely seam across the top of the barrel. A Flexi File helps, but is not absolutely necessary. You can roll simple barrels like that one around in a bend of wet/dry sandpaper io insure you're not flattenign it out. In fact, when i open a new kit, the first thing I usually do it cement the barrel haleves together, with a liberal amount of cement, so that a little plastic/cement goo might even ooze out. If you do this first, by the time it's time to get to the barrel, the cement has cured and you can work the barrel right away. In the same photo, there are sinkholes in the headlights. They're hard to get rid of convincingly. You can still drill them out though, and replace them with MV lenses, available from Walther's or the train section of your hobby shop.
As for the much discussed pry bar, looking closely at it reveals what are called knock out pin marks - thosecircular divots. In this case they've actually squashed out some plastic on either side. In the future, look for those marks. Fill them with putty (I like CA glue as it sets instantly) and trim off any excess bumps like on your bar, and you builds will improve immensely.


