_GOTOBOTTOM
Armor/AFV: Axis - WWII
Armor and ground forces of the Axis forces during World War II.
Hosted by Darren Baker
Late War Panther G Build Log
SDavies
Visit this Community
England - South East, United Kingdom
Joined: January 09, 2010
KitMaker: 979 posts
Armorama: 959 posts
Posted: Monday, February 02, 2015 - 02:17 AM UTC
Hello

I have decided to start a build log to get me back into my long term Tiger 1 project. I have not done any Modelling in nearly 12 months and my skills (such as they are) were dulled through inactivity. For those of you that don’t know I was forced to stop due to babysitting duties.

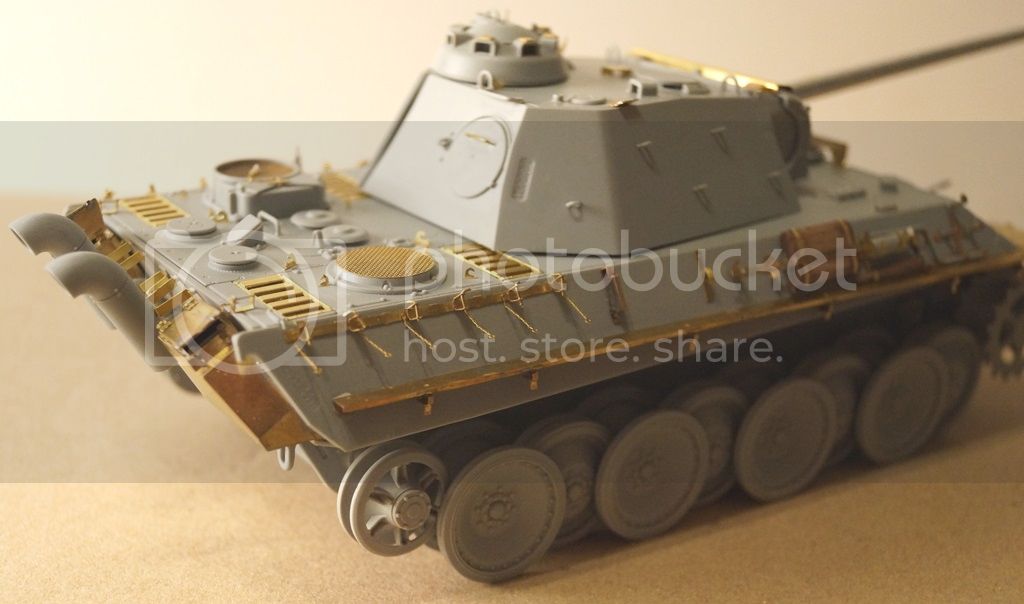
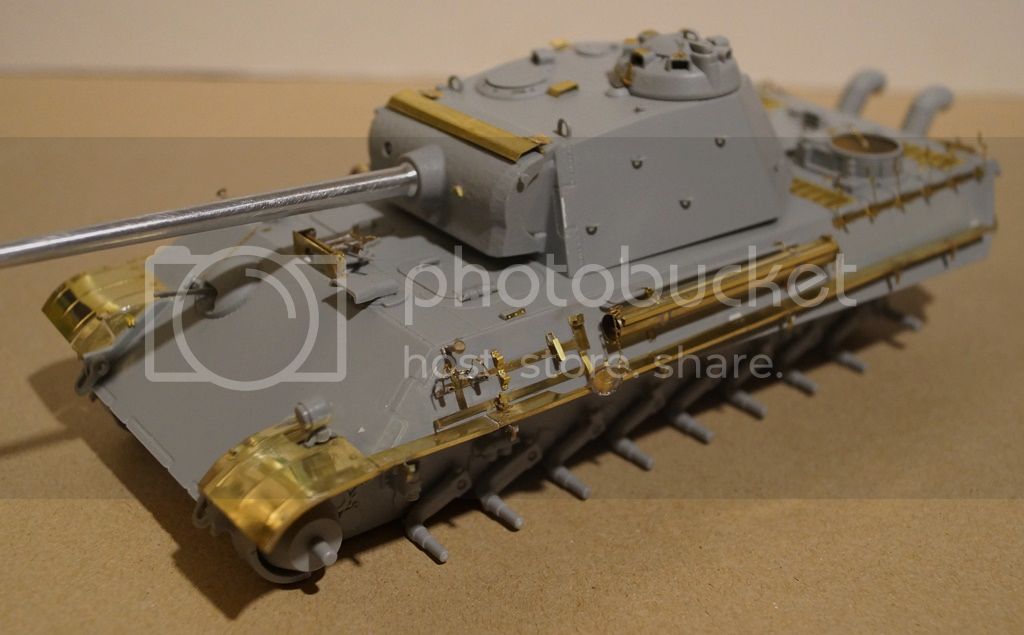
I have decided to work on an external only model of a late war Panther G. According to my references this Panther was produced very late into the war around April 1945, so this vehicle would have zero rust and minimal weathering.

The base model is a Cyberhobby/Dragon 6659 – I am not into all that Japanese manga tank stuff so this will be a regular German tank.
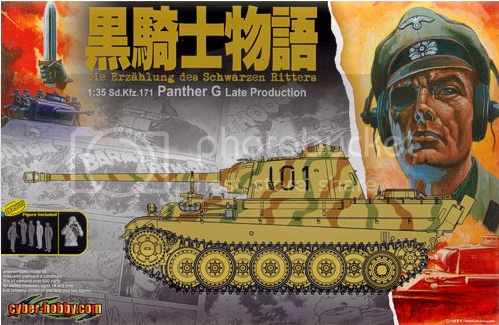


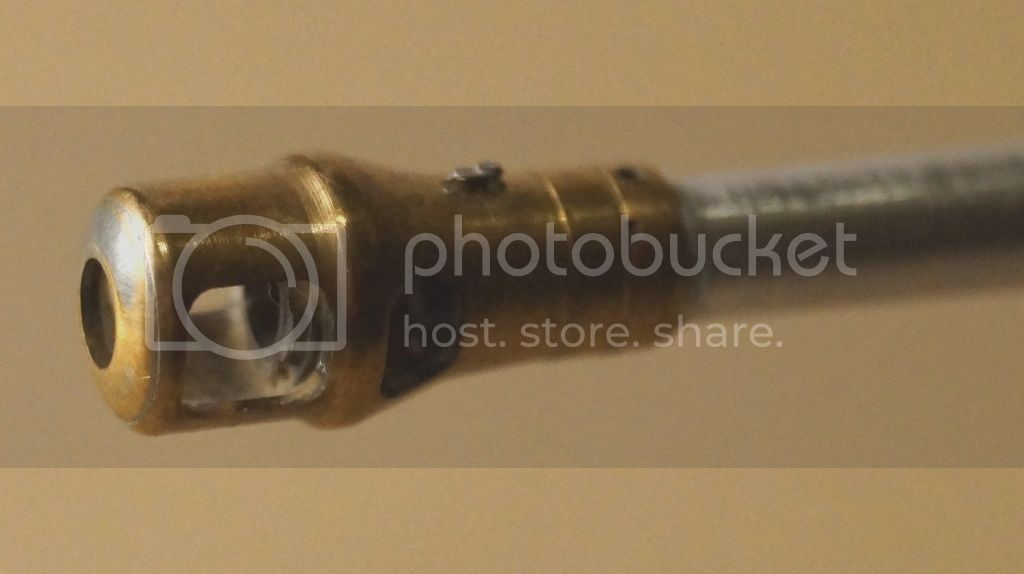
I have also added an Aber Gun Barrel and a Griffon model detail set.
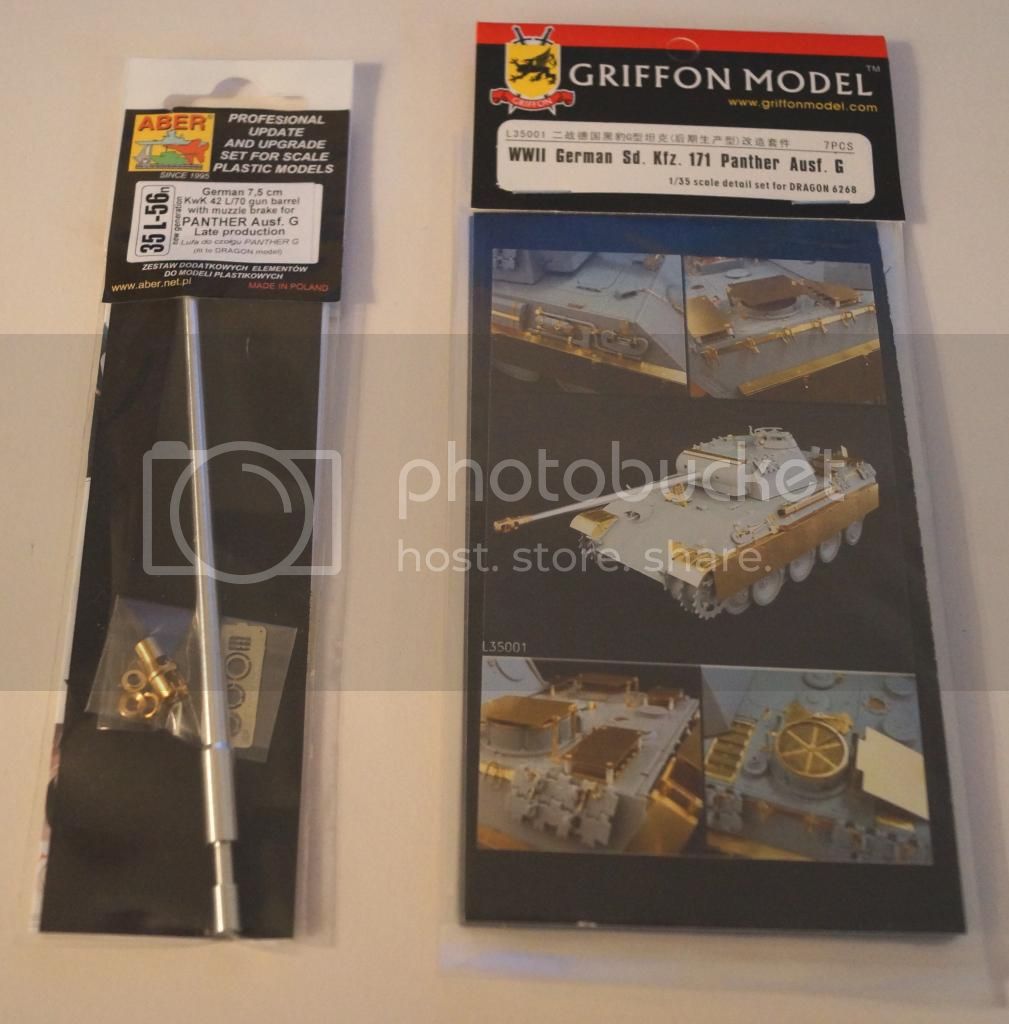


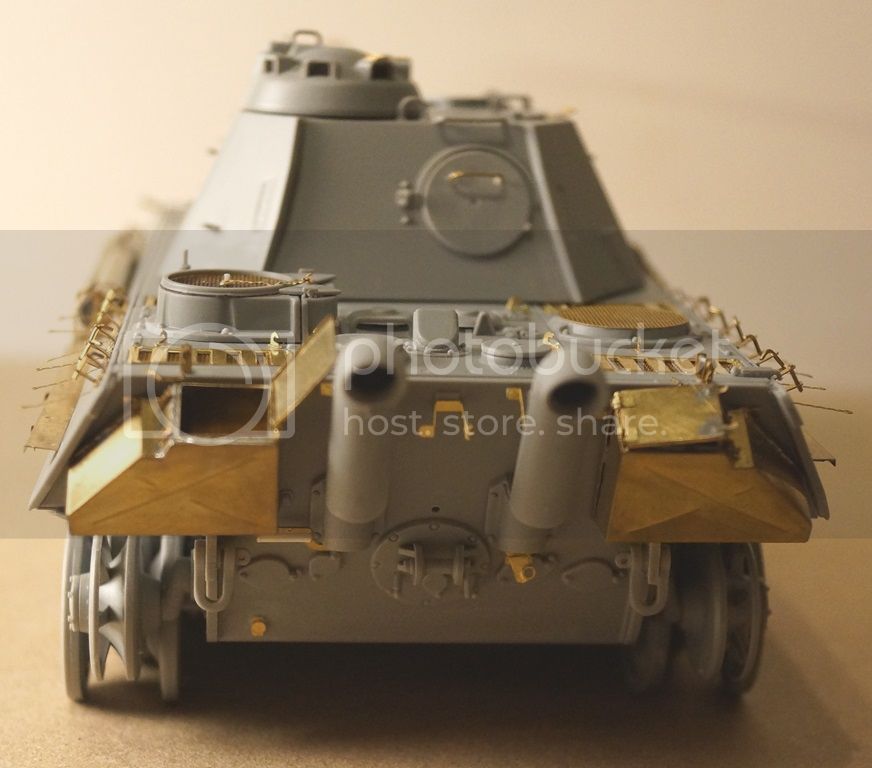
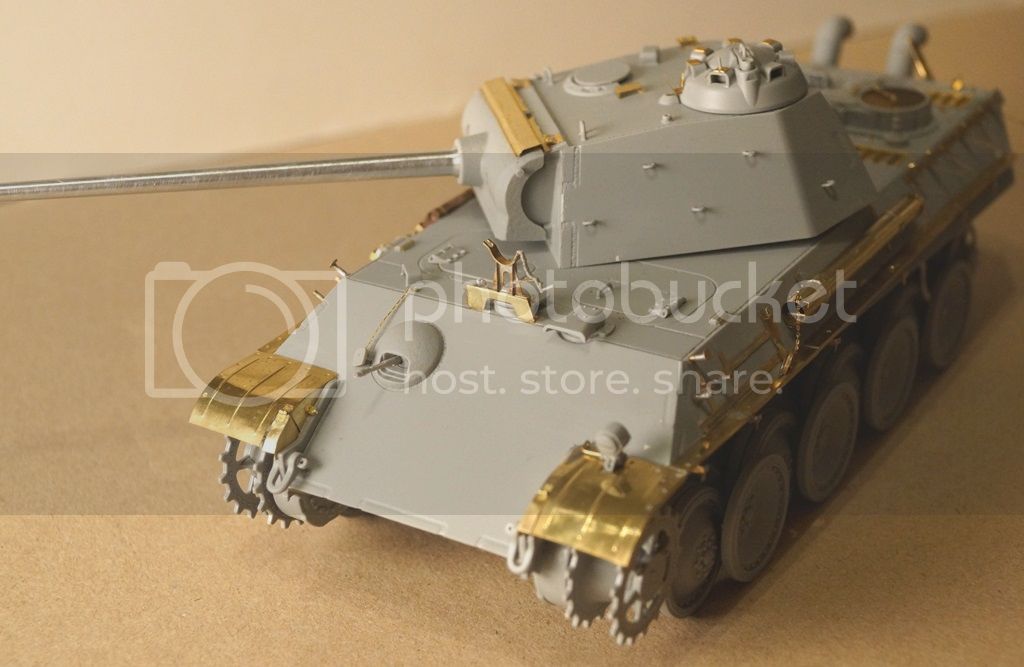
Now as you can see the build is really nearly completed. I figured that there were loads of Panther builds on the forum and mine was just another. While there is loads of detail work left to do the model is about 95% complete.

I have soldered most of the PE and only glued where the soldering became too complex

I have yet to order any tracks, I have not decided which brand to buy. Normally I would get friulmodel tracks but I am open to get any third party tracks for this build. Also I have no idea how I am going to paint it.

Oh the wheels are not glued on !


Thanks for looking and more progress will follow.
PanzerKarl
Visit this Community
England - North West, United Kingdom
Joined: April 20, 2004
KitMaker: 2,439 posts
Armorama: 1,980 posts
Posted: Monday, February 02, 2015 - 02:47 AM UTC
Like the PE work very well done,nice clean build.
Namabiiru
Staff MemberAssociate Editor
MODEL SHIPWRIGHTS
#399
Visit this Community
Rhode Island, United States
Joined: March 05, 2014
KitMaker: 2,888 posts
Armorama: 1,920 posts
Posted: Monday, February 02, 2015 - 03:04 AM UTC
Like Robert Plant said, "Gotta whole lotta brass"

How did you do the bends in the shovel?

SDavies
Visit this Community
England - South East, United Kingdom
Joined: January 09, 2010
KitMaker: 979 posts
Armorama: 959 posts
Posted: Monday, February 02, 2015 - 03:40 AM UTC

Quoted Text

Like Robert Plant said, "Gotta whole lotta brass"

How did you do the bends in the shovel?


Thanks for your comments Karl, Mark.

I bent the shovel using tweezers, gently bending each side while looking at an image of a real shovel for reference.

The brass is very thin so it takes next to no force

The real problem comes when dealing with the PE chains. Its very hard to make them look realistic, they should be really heavy and the PE looks flat and light.

I will probably purchase some cheap silver chains and cut them up for the Tiger build
Namabiiru
Staff MemberAssociate Editor
MODEL SHIPWRIGHTS
#399
Visit this Community
Rhode Island, United States
Joined: March 05, 2014
KitMaker: 2,888 posts
Armorama: 1,920 posts
Posted: Monday, February 02, 2015 - 03:52 AM UTC
Steve,
What I like to use for chain is two strands of thin brass wire twisted into a 'rope'. Then I use gentle pressure with smooth-jawed pliers to flatten them slightly. It's much more convincing (and sturdy) than PE chain, and closer to scale than any chain I've been able to find in the stores.

robw_uk
Visit this Community
England - North East, United Kingdom
Joined: June 22, 2010
KitMaker: 1,224 posts
Armorama: 1,207 posts
Posted: Thursday, February 05, 2015 - 01:19 PM UTC
Simply stunning... am sure however you paint it it will be up to your usual standard... wish I could handle PE as well....
Wulfen
Visit this Community
Oregon, United States
Joined: November 24, 2008
KitMaker: 53 posts
Armorama: 52 posts
Posted: Thursday, February 05, 2015 - 02:42 PM UTC
Great looking model, very clean build. I have this same model that I started a few years back and never finished. I am curious though, on the rear deck, it's my understanding that only the right hand side should have the sliding vent covers?
SDavies
Visit this Community
England - South East, United Kingdom
Joined: January 09, 2010
KitMaker: 979 posts
Armorama: 959 posts
Posted: Thursday, February 05, 2015 - 06:25 PM UTC
Thanks for the comments Robert, James.

James you might well be right with reference to the vent covers but since the Dragon Kit came with both and so did the griffon kit (and neither of them listed them as optional) I feel confident leaving them on !
jrutman
Visit this Community
Pennsylvania, United States
Joined: April 10, 2011
KitMaker: 7,941 posts
Armorama: 7,934 posts
Posted: Thursday, February 05, 2015 - 08:21 PM UTC
Very nice clean work on the PE. Also thanks for deciding not to put a lot of weathering and chipping on this almost brand new tank!!
J
SDavies
Visit this Community
England - South East, United Kingdom
Joined: January 09, 2010
KitMaker: 979 posts
Armorama: 959 posts
Posted: Thursday, February 05, 2015 - 08:29 PM UTC

Quoted Text

Also thanks for deciding not to put a lot of weathering and chipping on this almost brand new tank!!
J


Indeed rolled off the production line in April 1945 and was probably destroyed in April 1945

Thanks for the comment
jrutman
Visit this Community
Pennsylvania, United States
Joined: April 10, 2011
KitMaker: 7,941 posts
Armorama: 7,934 posts
Posted: Friday, February 06, 2015 - 12:10 AM UTC
Heheheh more likely ran out of gas.
J
SDavies
Visit this Community
England - South East, United Kingdom
Joined: January 09, 2010
KitMaker: 979 posts
Armorama: 959 posts
Posted: Monday, February 09, 2015 - 11:09 PM UTC
Hello,

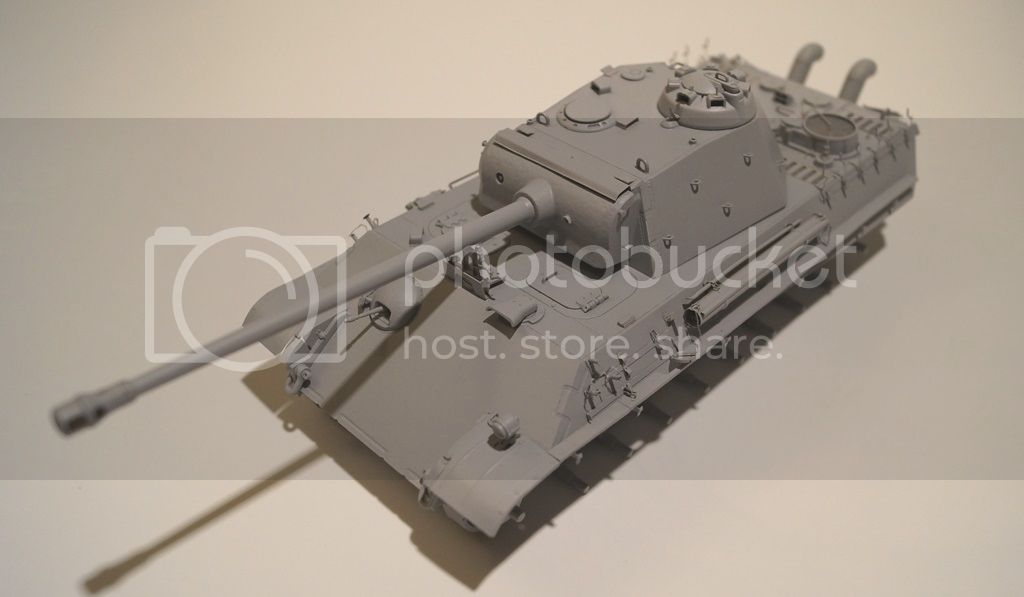
A very quick update tonight, I have completed the build aspect of the Panther G and I have purchased some paints and decided on a paint scheme.

I just wanted to show you the model before it is primed


I have not yet got round to ordering some tracks as I am still deciding on the best manufacturer. I could get friulmodel again at the risk of being rather predictable

The paints are the Mig 7101 and 7108 sets, I chose them because they seem good quality and I can use them on my tiger project. I dont think I will need he interior for this model but I have it anyway


Thanks for looking

S
DaGreatQueeg
Visit this Community
Napier, New Zealand
Joined: August 01, 2005
KitMaker: 1,049 posts
Armorama: 841 posts
Posted: Monday, February 09, 2015 - 11:47 PM UTC
Very clean and neat build. Loving all the PE, a great reference in case I ever learn to solder! Watching with interest Steve ....

cheers
Brent
ColinEdm
Staff MemberAssociate Editor
ARMORAMA
Visit this Community
Alberta, Canada
Joined: October 15, 2013
KitMaker: 1,355 posts
Armorama: 1,229 posts
Posted: Tuesday, February 10, 2015 - 12:37 AM UTC
Looking real good, eagerly awaiting the paint job!
SDavies
Visit this Community
England - South East, United Kingdom
Joined: January 09, 2010
KitMaker: 979 posts
Armorama: 959 posts
Posted: Friday, February 20, 2015 - 06:59 PM UTC
Hello,

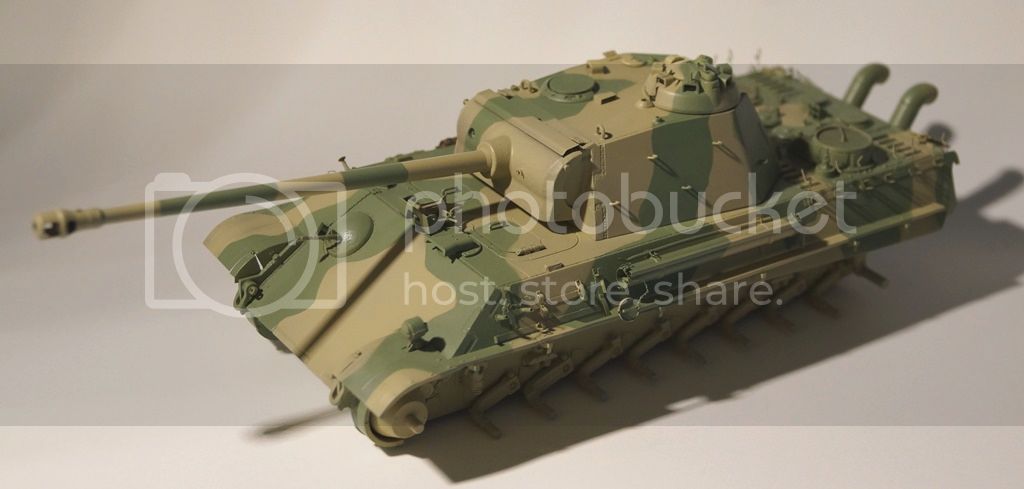
I have been working on the Panther and have primed and painted the tank. I have had considerable problems taking half way decent images of the tank and I have no idea why. My Sony Alpha A65 is a good DSLT but I had considerable difficulty in getting a real world representation of the Camo colour.

Anyway I think that these current crop of images are better
The Paints that I have used are MIG RAL7028 and RAL6011

First the tank after priming, oh never spray Tamyia primer through an airbrush, unless you want to nearly destroy it in the process.


And after application of the two colours:


SDavies
Visit this Community
England - South East, United Kingdom
Joined: January 09, 2010
KitMaker: 979 posts
Armorama: 959 posts
Posted: Monday, February 23, 2015 - 06:48 PM UTC
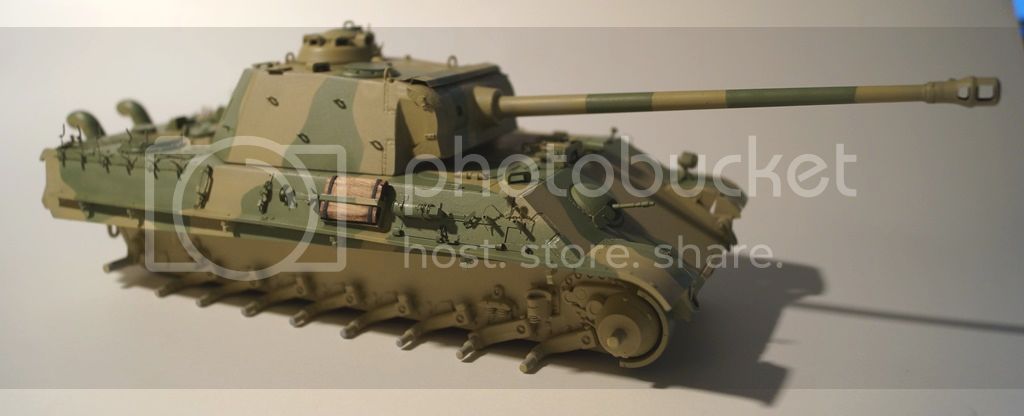
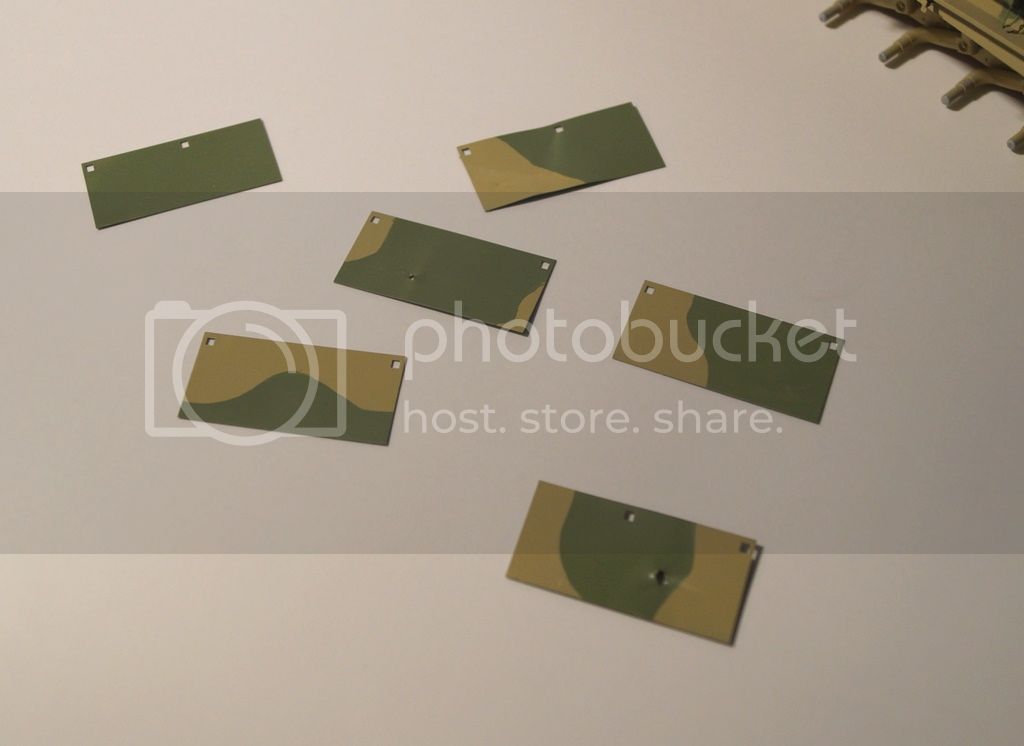
Quick Panther update, the light weathering has not started yet but the tools have started to be added and I made a template and sprayed on the tactical number.

Give the photo problems I was having, I decided to ditch the setup and take a picture on my desk


Thanks for looking

S
retiredyank
Visit this Community
Arkansas, United States
Joined: June 29, 2009
KitMaker: 11,610 posts
Armorama: 7,843 posts
Posted: Monday, February 23, 2015 - 07:10 PM UTC
It's coming together very nicely. I like the camo pattern you chose.
SDavies
Visit this Community
England - South East, United Kingdom
Joined: January 09, 2010
KitMaker: 979 posts
Armorama: 959 posts
Posted: Monday, February 23, 2015 - 07:18 PM UTC

Quoted Text

It's coming together very nicely. I like the camo pattern you chose.


Thanks Matt, I had a great deal of trouble choosing a camo scheme.

This tank would have been one of the last 25 Panthers produced by MAN before the war ended and would have had an operational life of no more than one month. Any weathering must reflect that !
retiredyank
Visit this Community
Arkansas, United States
Joined: June 29, 2009
KitMaker: 11,610 posts
Armorama: 7,843 posts
Posted: Monday, February 23, 2015 - 07:21 PM UTC

Quoted Text


Quoted Text

It's coming together very nicely. I like the camo pattern you chose.


Thanks Matt, I had a great deal of trouble choosing a camo scheme.

This tank would have been one of the last 25 Panthers produced by MAN before the war ended and would have had an operational life of no more than one month. Any weathering must reflect that !


I wish I had more camo options, for the steel wheeled version.
SDavies
Visit this Community
England - South East, United Kingdom
Joined: January 09, 2010
KitMaker: 979 posts
Armorama: 959 posts
Posted: Monday, February 23, 2015 - 07:24 PM UTC

Quoted Text


I wish I had more camo options, for the steel wheeled version.


Yep, I would imagine that you would have very limited real world options as the tank was a comparitively rare one
ColinEdm
Staff MemberAssociate Editor
ARMORAMA
Visit this Community
Alberta, Canada
Joined: October 15, 2013
KitMaker: 1,355 posts
Armorama: 1,229 posts
Posted: Monday, February 23, 2015 - 07:33 PM UTC
Looking real good Steven!
redrx7
Visit this Community
Northern Ireland, United Kingdom
Joined: August 12, 2014
KitMaker: 28 posts
Armorama: 26 posts
Posted: Monday, February 23, 2015 - 07:50 PM UTC
Nice clean build,love the PE,will now get the same for my own Dragon Panther G (6384)with Zimmerit(March-August 1944 production).
bill_c
Staff MemberCampaigns Administrator
MODEL SHIPWRIGHTS
Visit this Community
New Jersey, United States
Joined: January 09, 2008
KitMaker: 10,553 posts
Armorama: 8,109 posts
Posted: Monday, February 23, 2015 - 08:01 PM UTC
Very nicely done. I love the Griffon sets.
SDavies
Visit this Community
England - South East, United Kingdom
Joined: January 09, 2010
KitMaker: 979 posts
Armorama: 959 posts
Posted: Monday, March 02, 2015 - 08:42 PM UTC
Hello everyone,

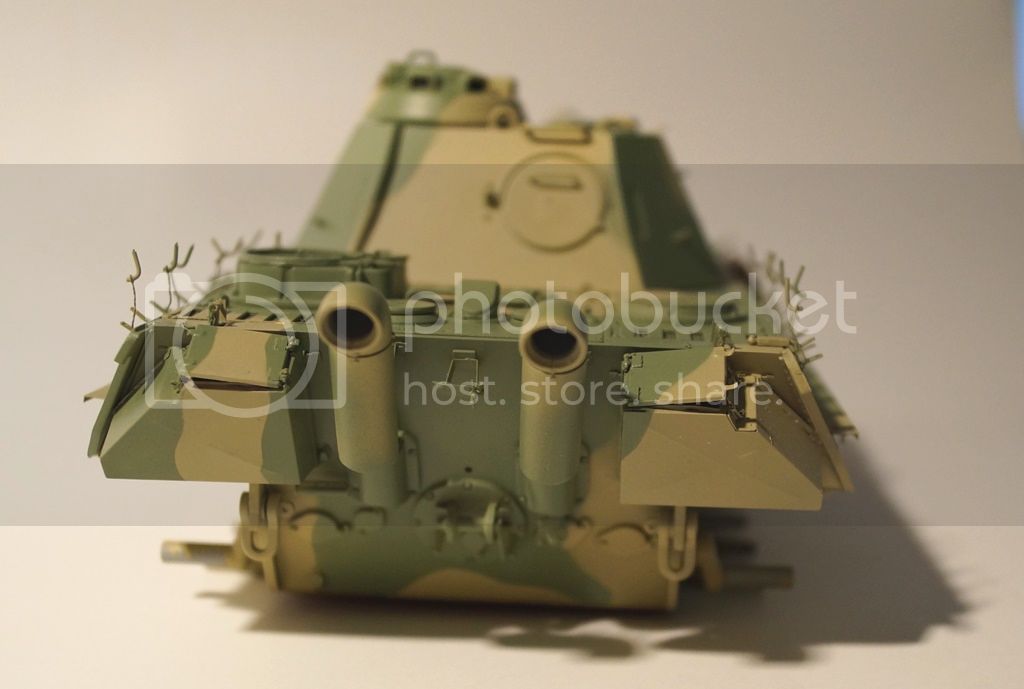
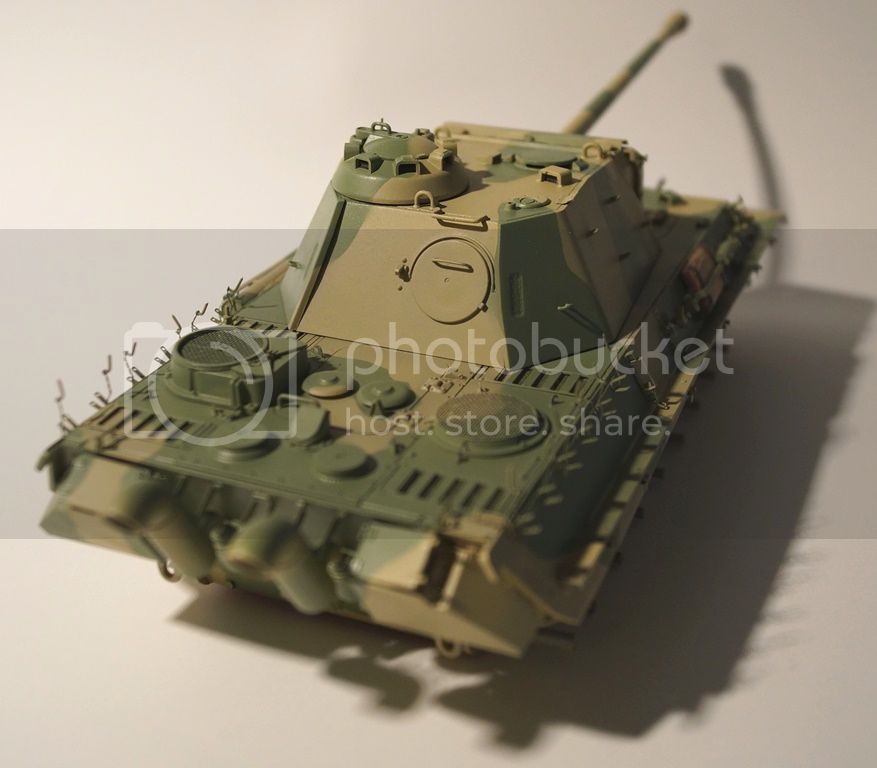
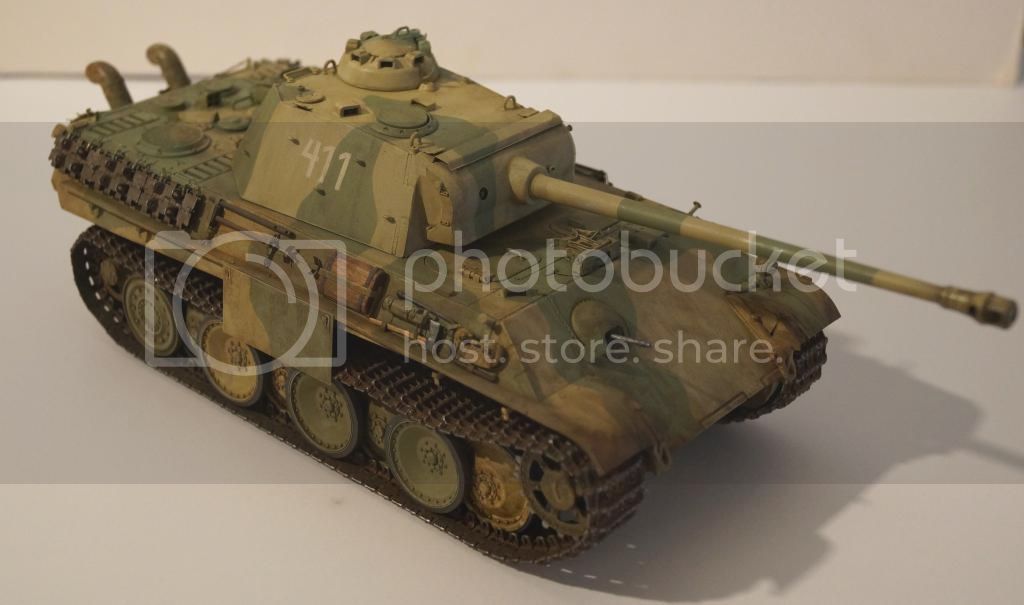
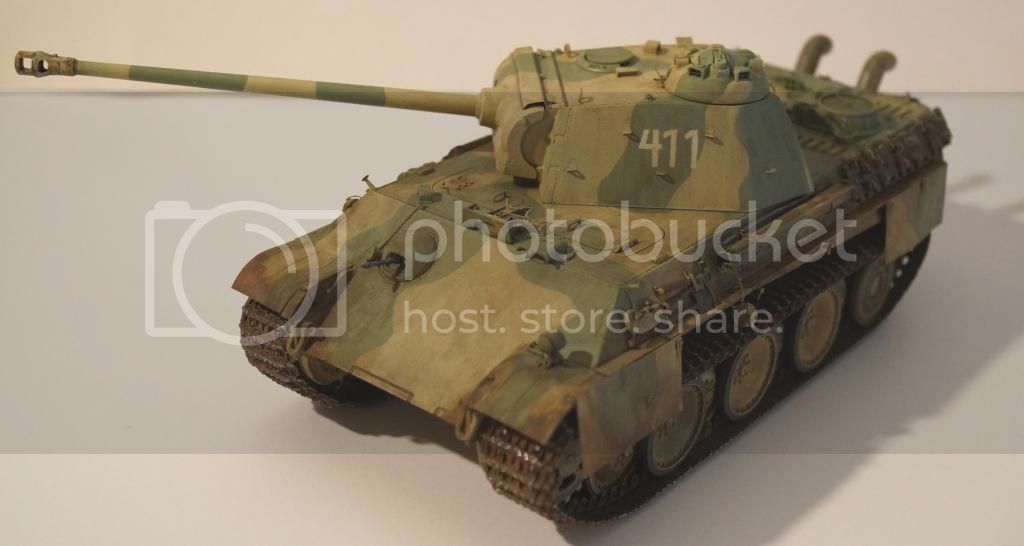
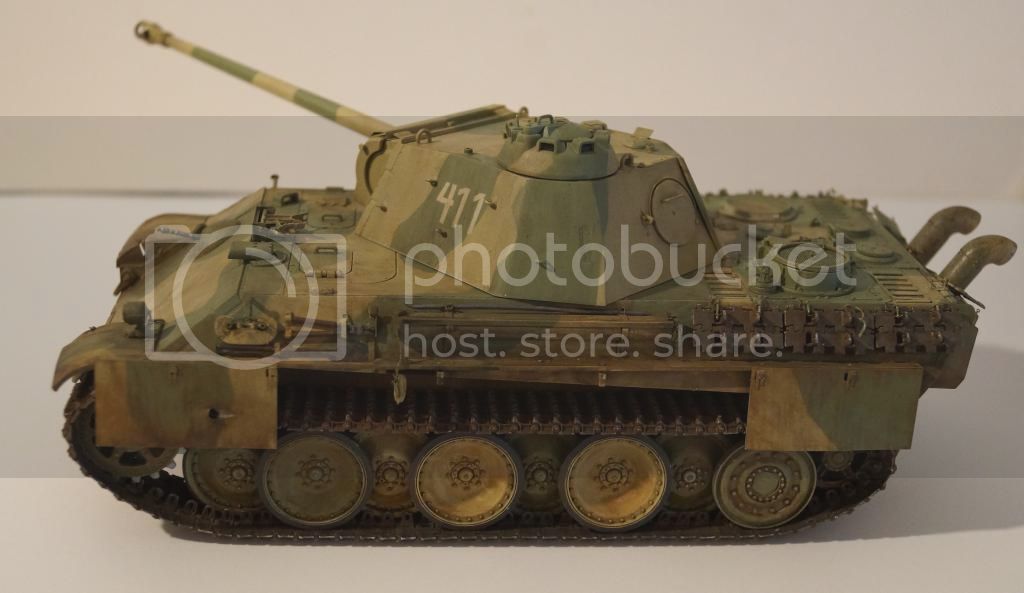
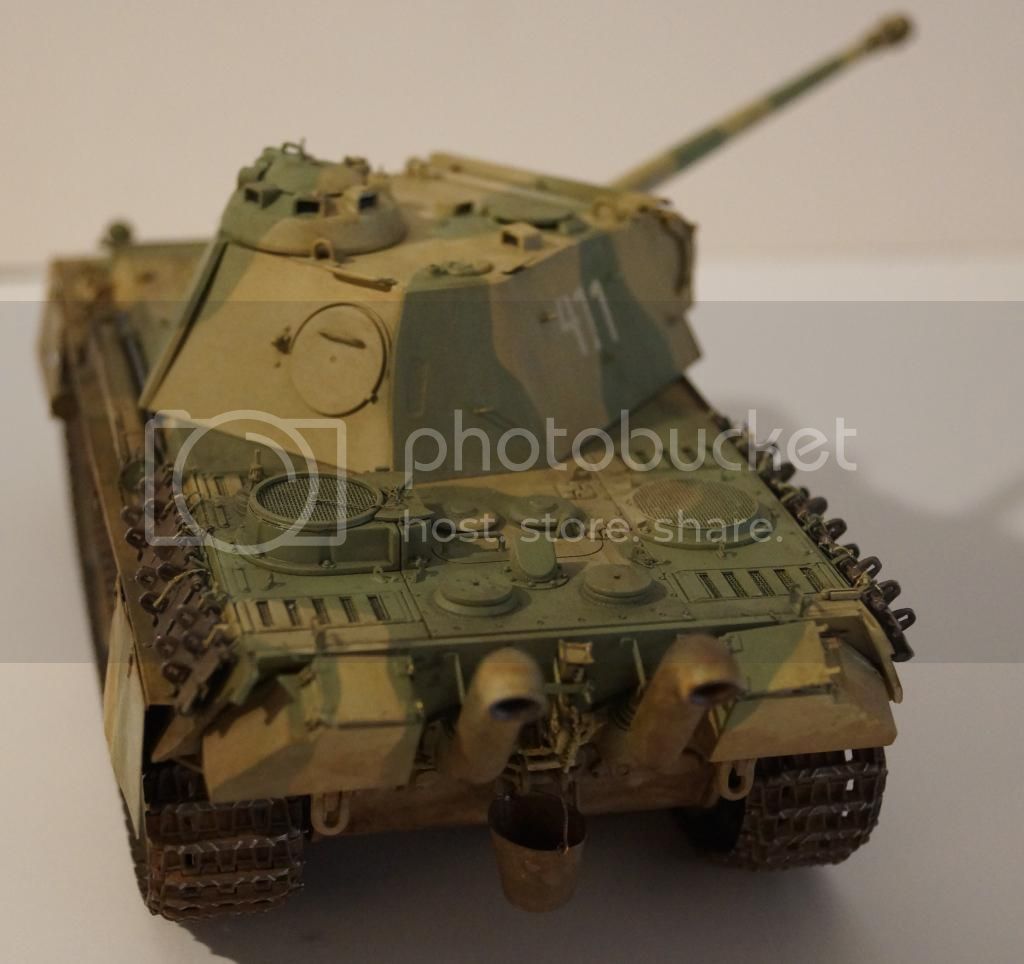
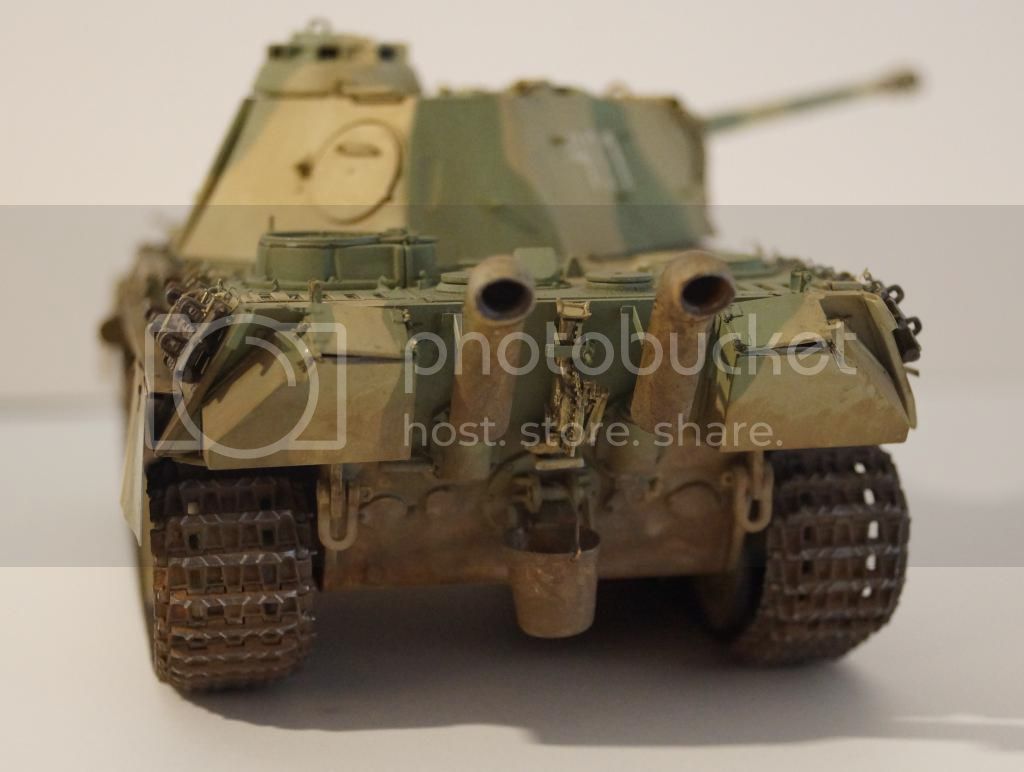
Thanks for the kind comments on my Panther Build, I am pleased to say that it’s finally finished. Considering I started it in December 2014 and have just completed it, the build was hardly quick.

I have been rather conservative in my approach to the project; I could have damaged the PE to replicate a battle worn tank or chosen a particularly demanding paint scheme with lots of wear. I chose instead to model a tank which was at most six weeks old before the war ended, meaning that I side stepped the issue of rust and weathering.

I added some AK washes to the model along with some MIG European Dust Pigments to the bottom of the hull. I went for a dirty look figuring the German Crew would be more worried about other things than tank washing.


I felt like I had to add the obligatory bucket to the back of the tank


One picture with a figure from an old Tamyia project to illustrate how big this medium tank actually was


For the next project I will go back to the past


I will complete the hull and paint it, but before I start the turret I will start another build log, probably a Late War Academy Hetzer with all the PE I can throw at it. I have never build a Hetzer and they look quite simple !

Anyway thanks for looking

S
Kelley
Visit this Community
Georgia, United States
Joined: November 21, 2002
KitMaker: 1,966 posts
Armorama: 1,635 posts
Posted: Monday, March 02, 2015 - 10:25 PM UTC

Quoted Text

Thanks for the comments Robert, James.

James you might well be right with reference to the vent covers but since the Dragon Kit came with both and so did the griffon kit (and neither of them listed them as optional) I feel confident leaving them on !


Since your done Steven this is for future reference. James was correct, the vent louvers were only found on the right side. This is a mistake originally made by Tamiya and a couple of the better known PE companies and it has been perpetuated by other companies. Your final results look good, very nice job.

Cheers
 _GOTOTOP