My newest build log is the Takom Mk IV Male British WWI tank, which I got as a review sample. A short delay due to far too much work over Christmas gave me time to compare it to the Tamiya kit, and to think about how I would tackle the build.
This kit shares a number of parts with its sister Female kit, and the new Tadpole version. Jim Starkweather did an unboxing that featured a bunch of sprue pictures, while we also got Romans Female build review and Alan McNeillys
Tamiya Mk IV review.
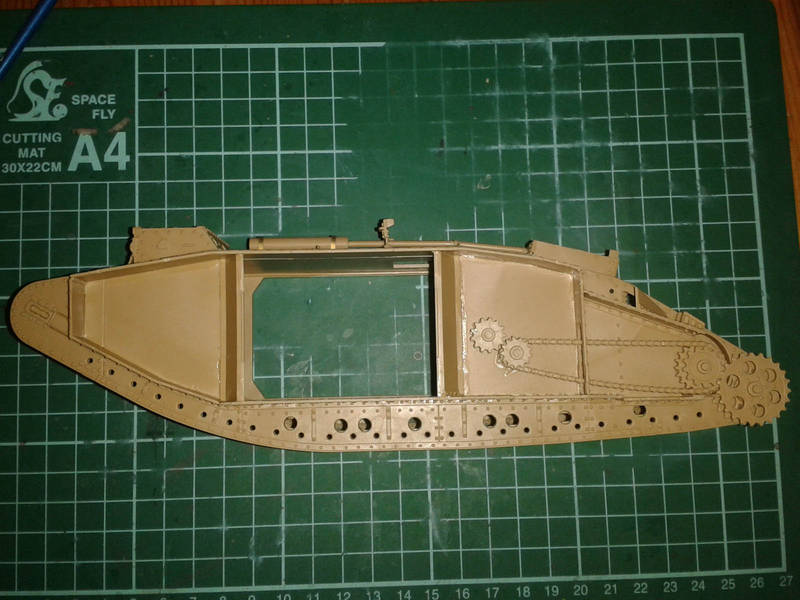
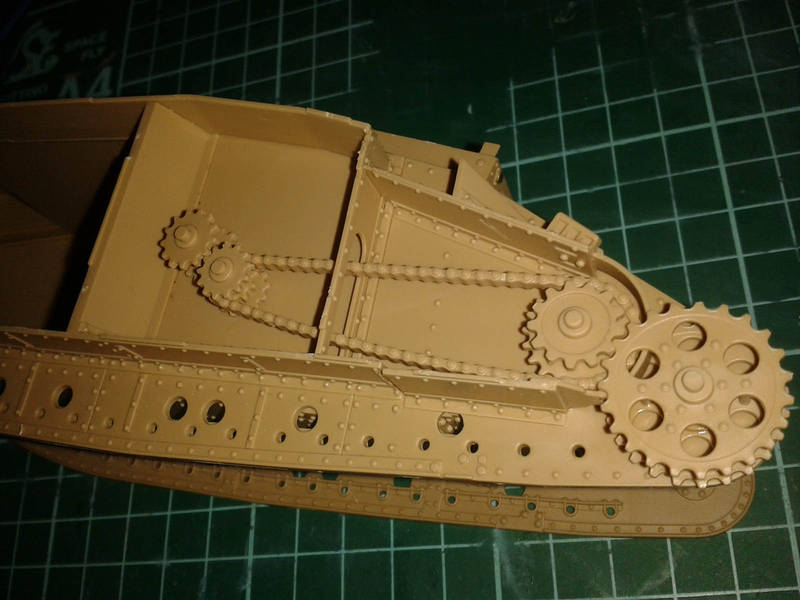
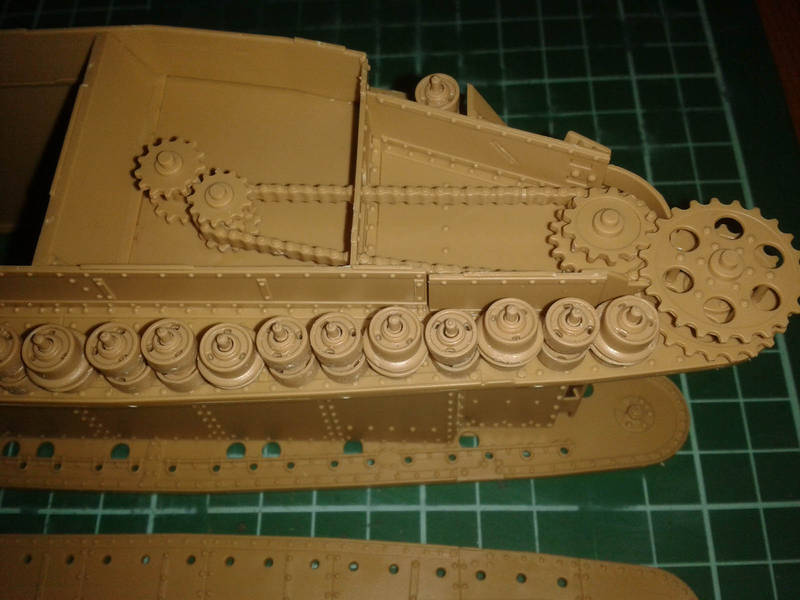
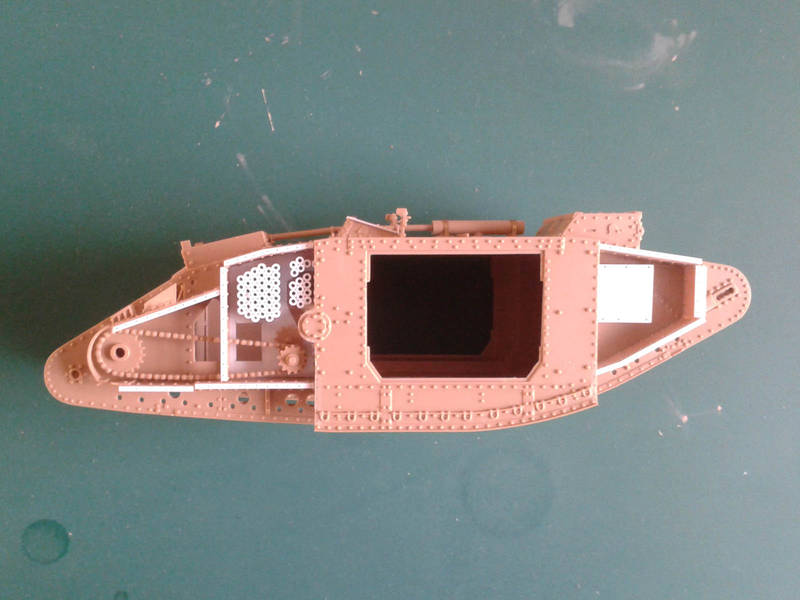
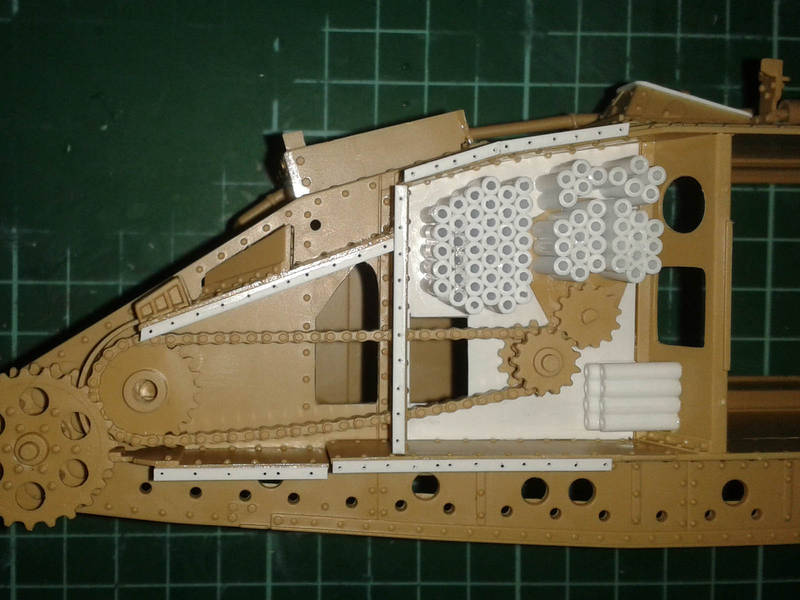
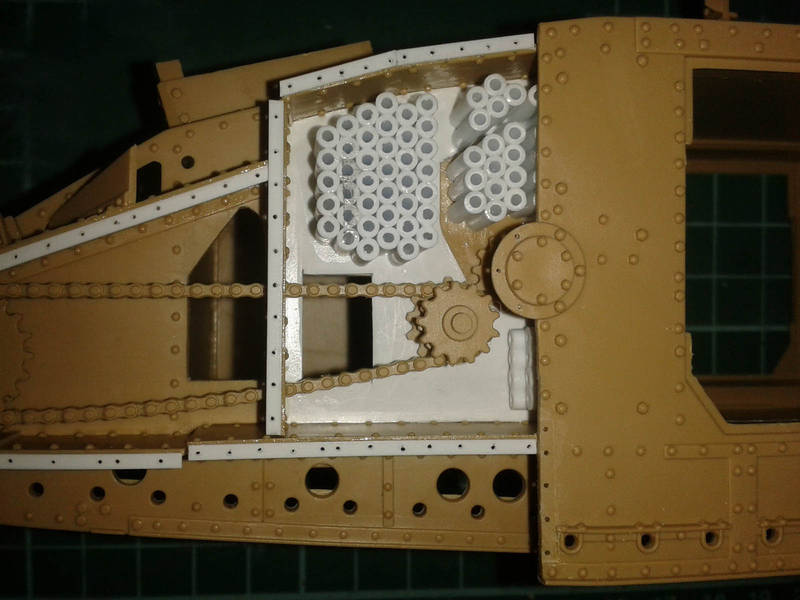
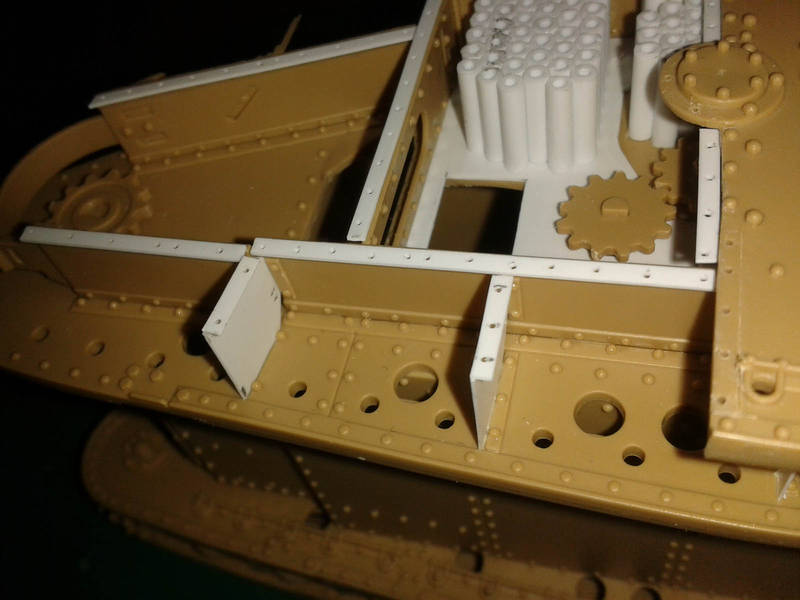
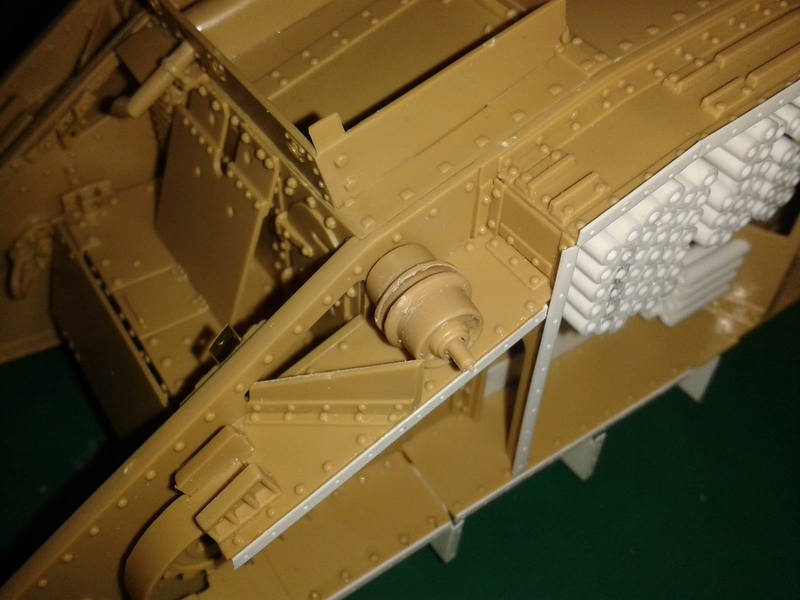
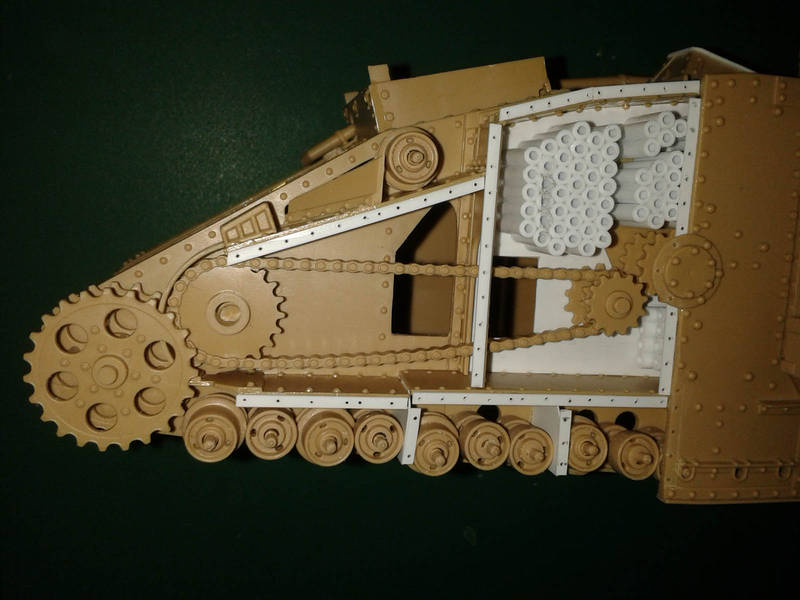
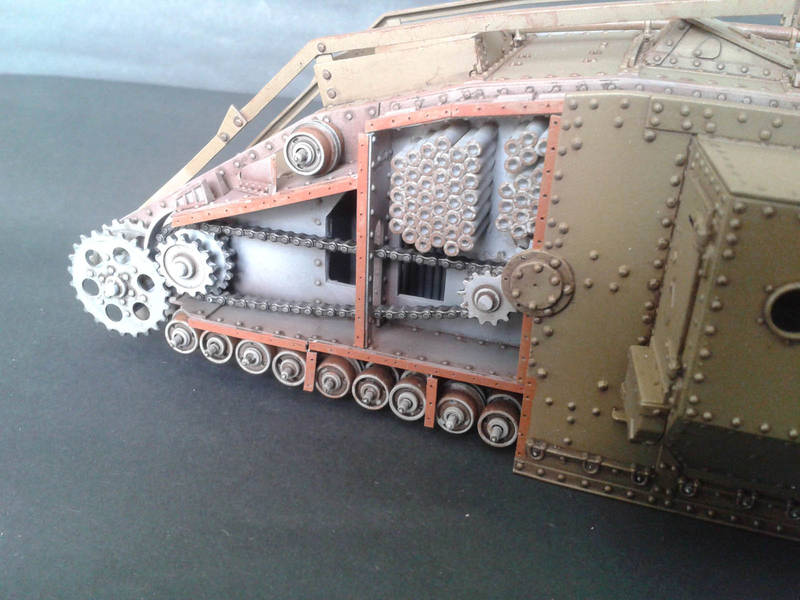
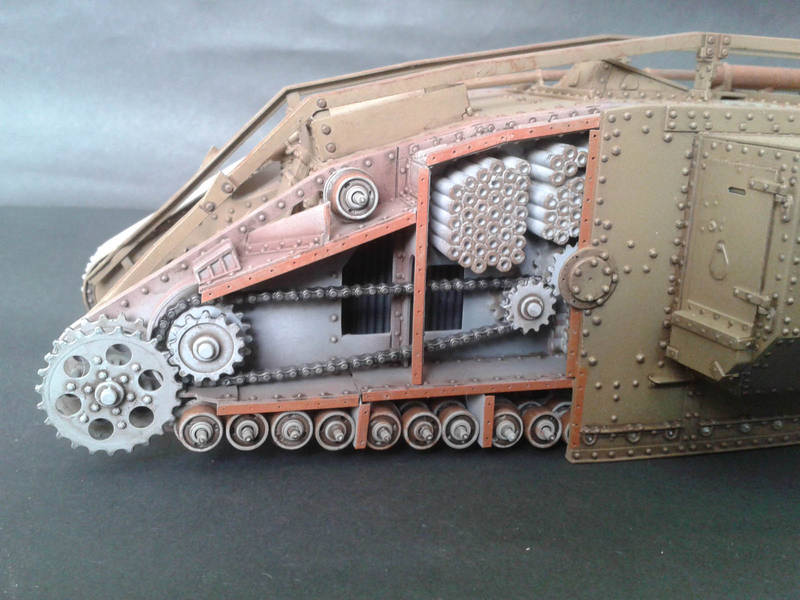
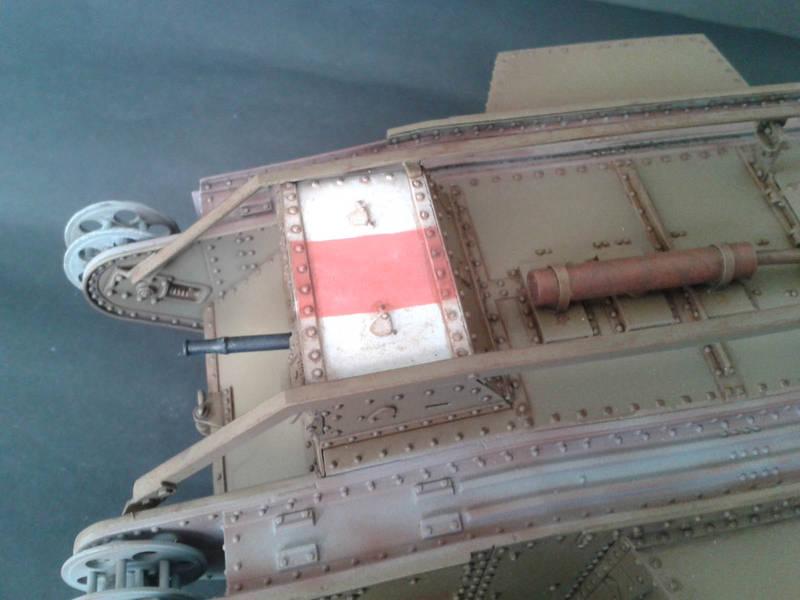
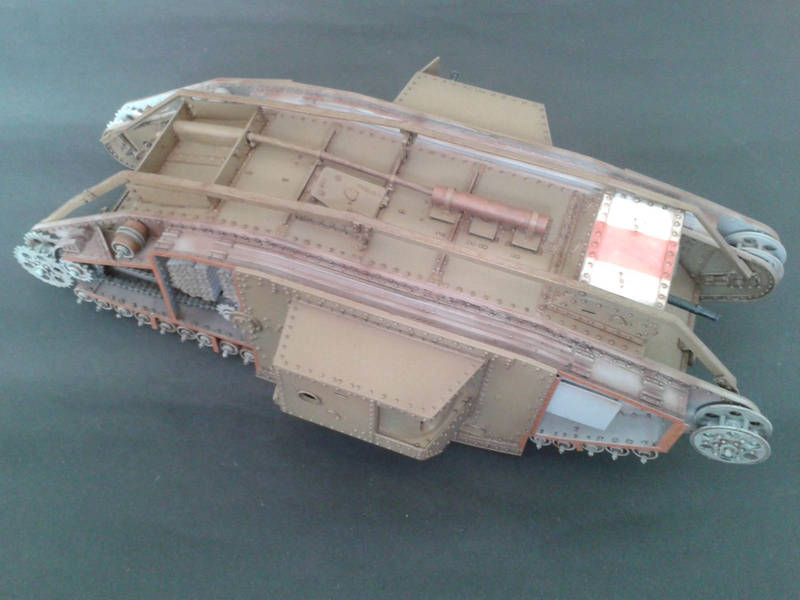
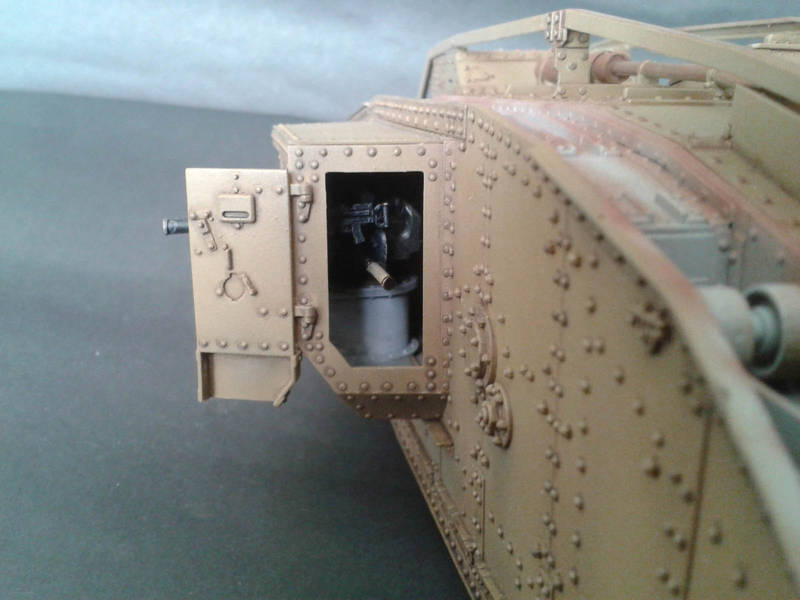
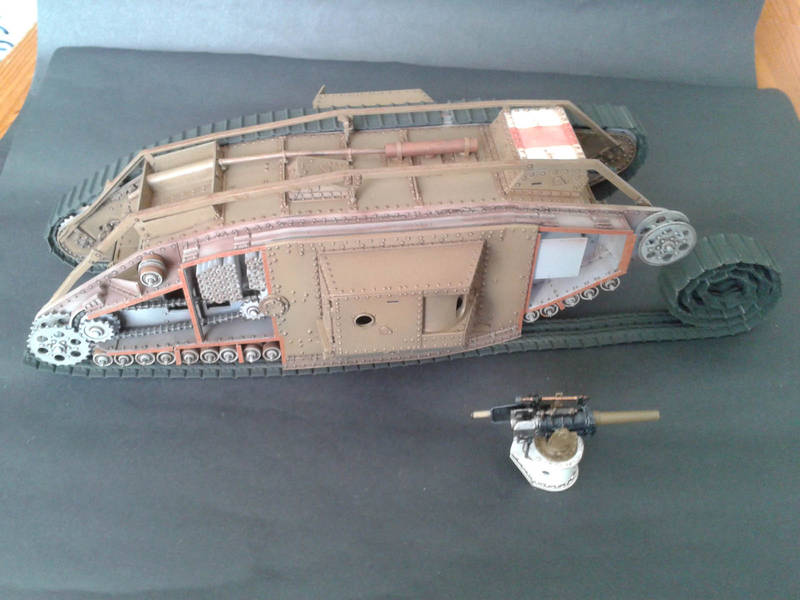
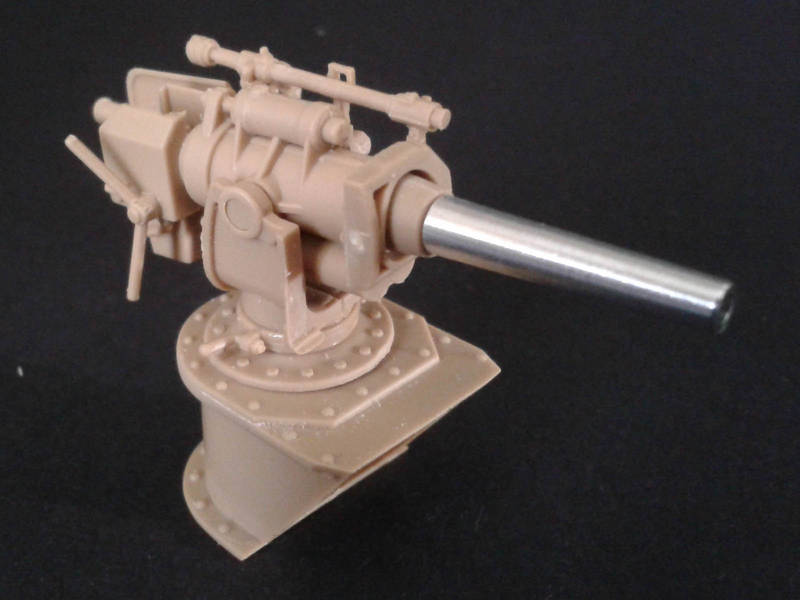
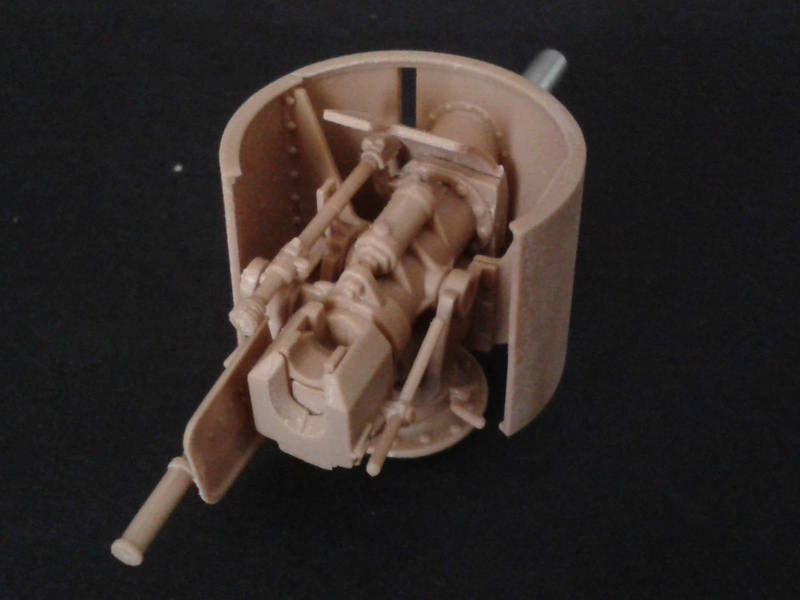
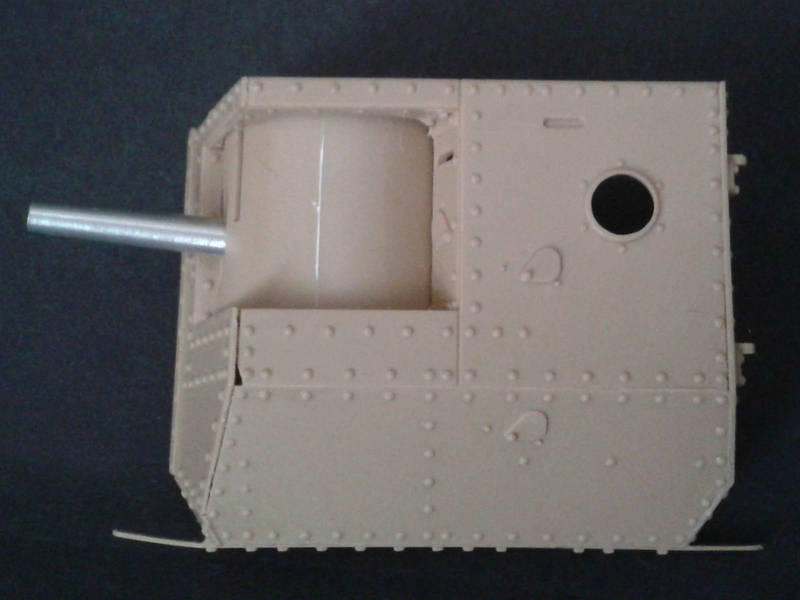
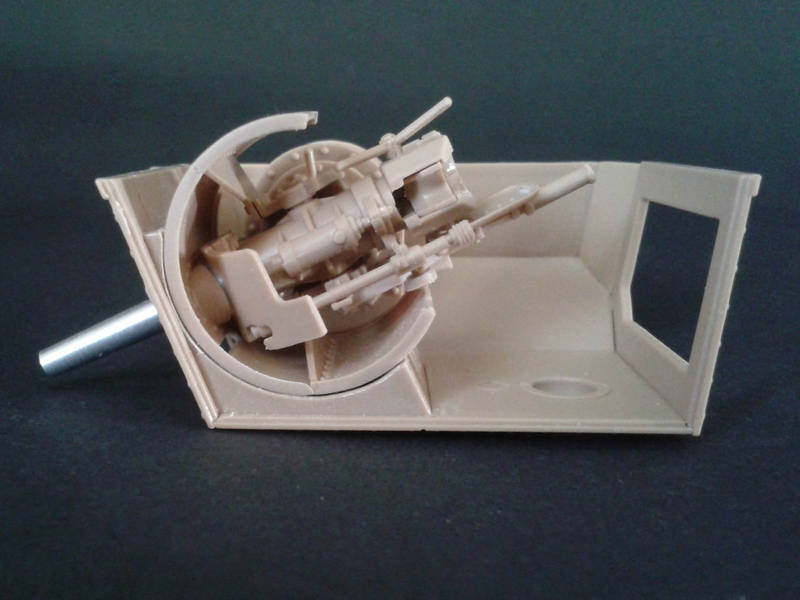
Takom offers parts for the drive gear that is hidden inside the track frames, as well as lots of lovely rivet detail, so my first dilemma was how to display any of this in a realistic way. The real things were riveted together before any of the moving parts were added, and were very unlikely to be dismantled again unless struck by artillery or broken up for scrap. Breaking the rivets would be easy enough, but before they could be rebuilt all the moving parts needed to come out to make room for the riveters to work negating any hope of displaying the sprockets etc in place. However, if the tank was a survivor on display in a museum, then all sorts of stuff could be removed to show the inner workings! This also meant I was free to remove a 6-pounder cannon and a Lewis gun for display, since they are far too detailed to waste inside a closed-up tank.
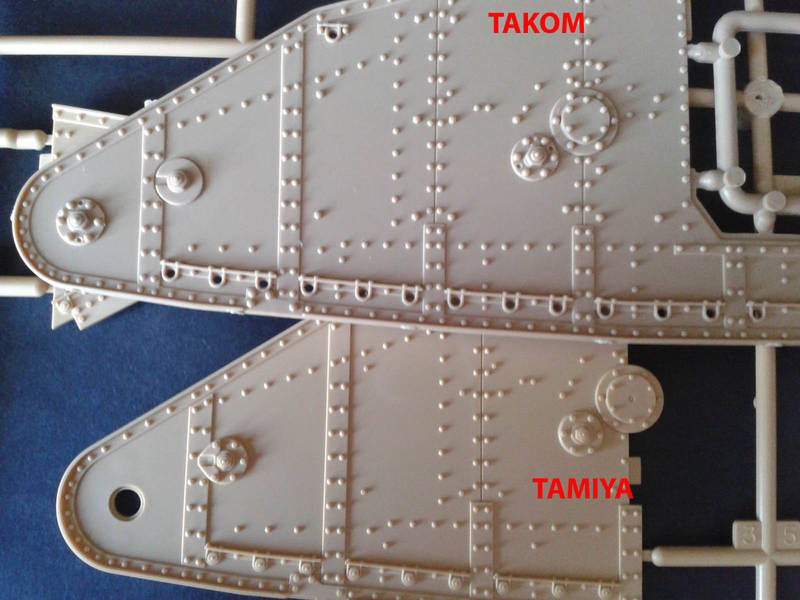
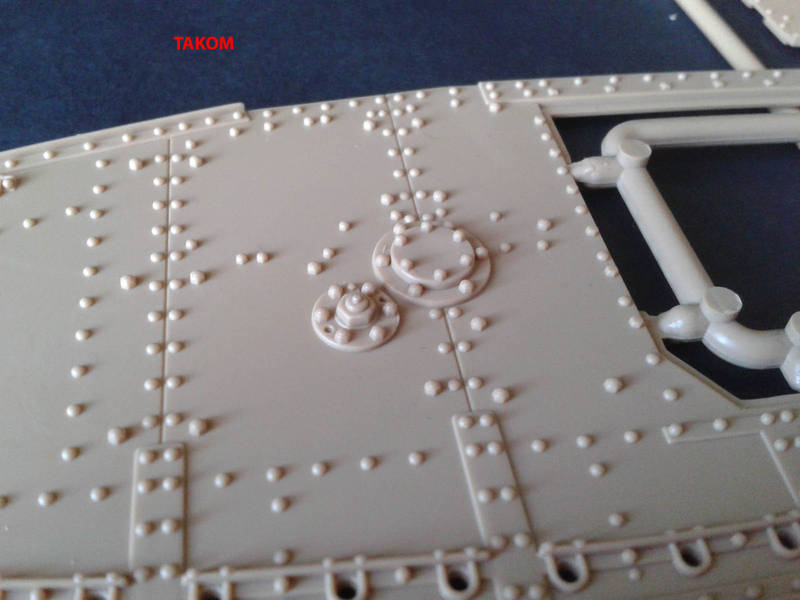
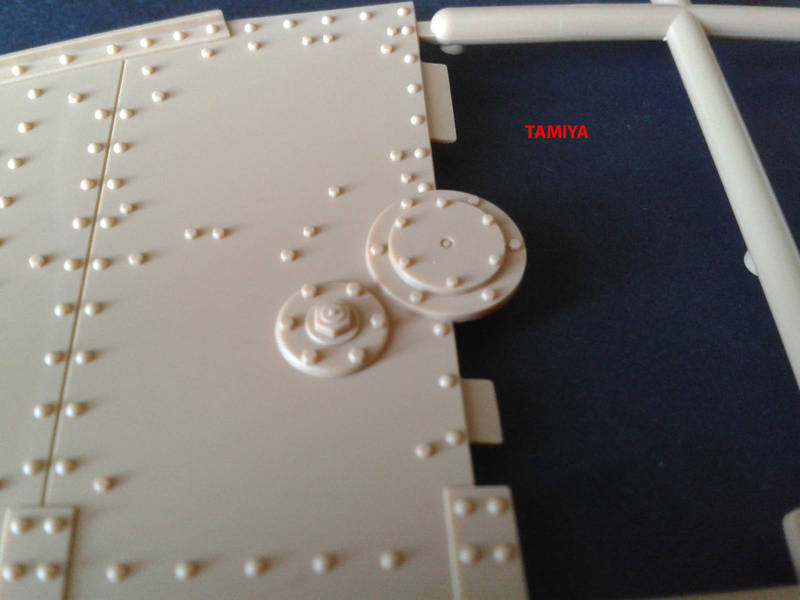
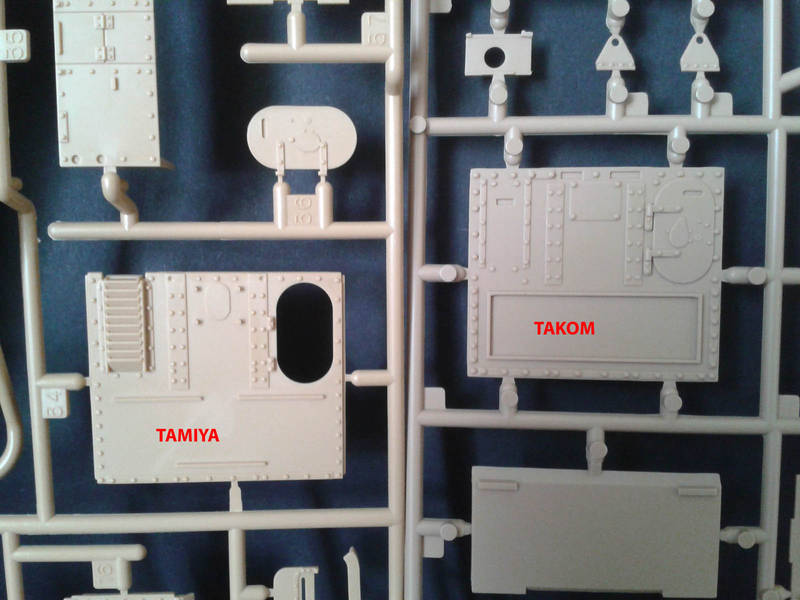
Aside from the obvious engineering differences, I found there was a different approach to detail between Takom and Tamiya. Takoms rivets are more pronounced, as are their bolt-heads the Tamiya ones seem a bit flat and undersized when comparing to real photos. This is not to say the Tamiya kit isnt good just that I find a difference when placed side by side.
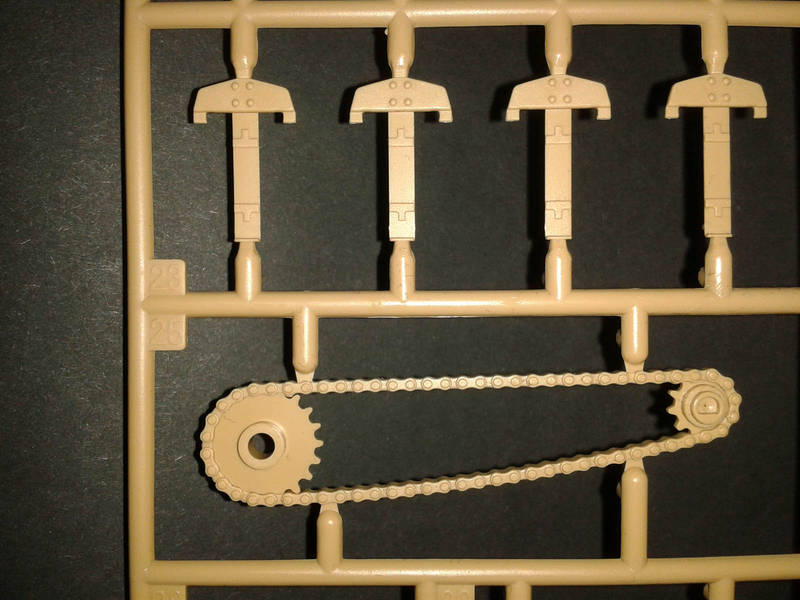
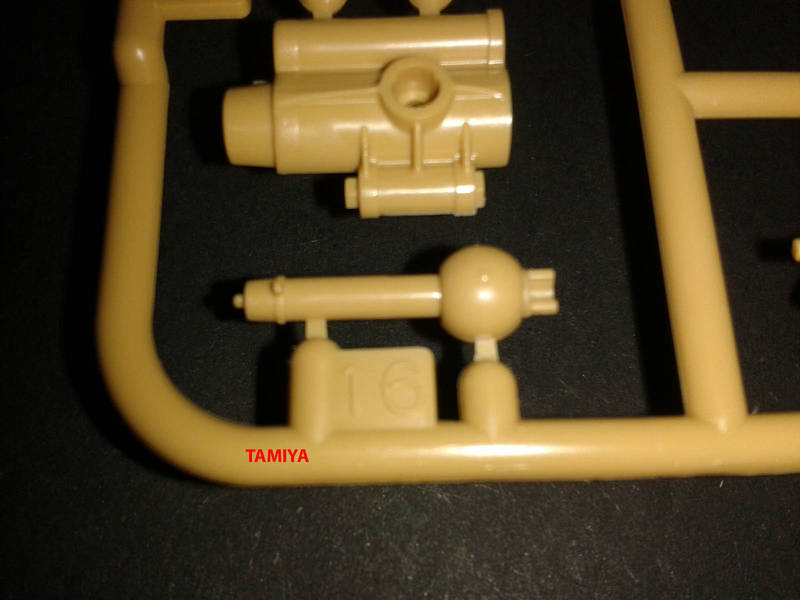
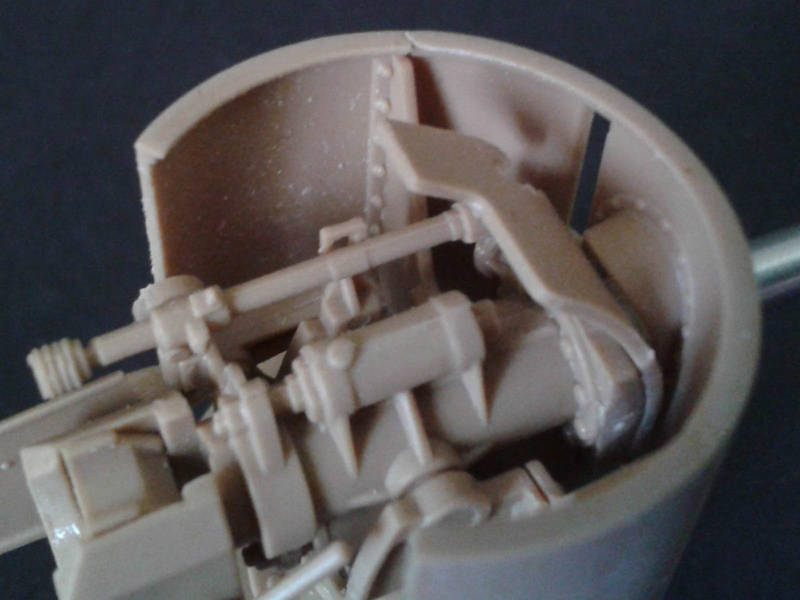
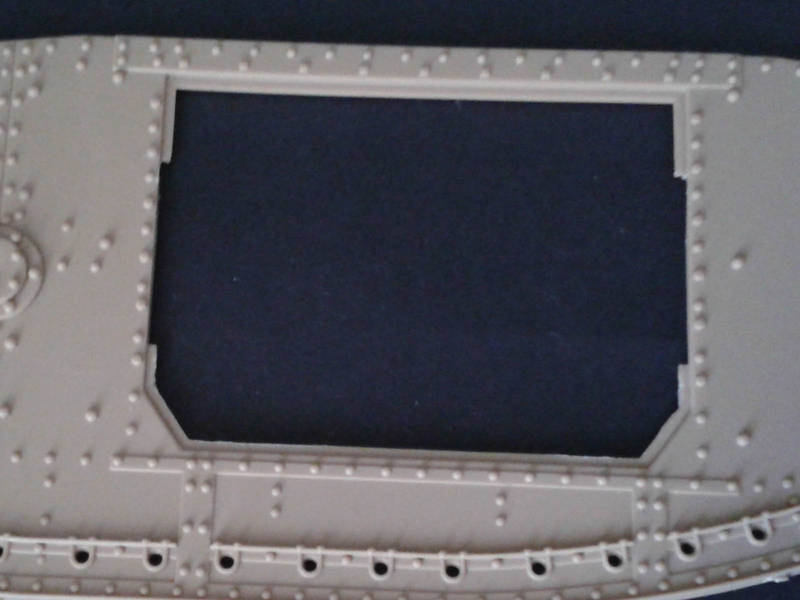
That hidden drive chain
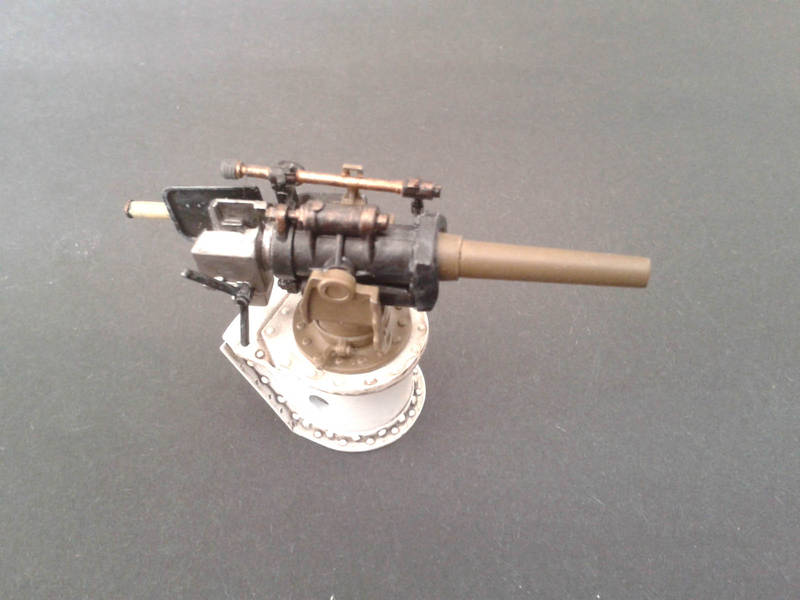
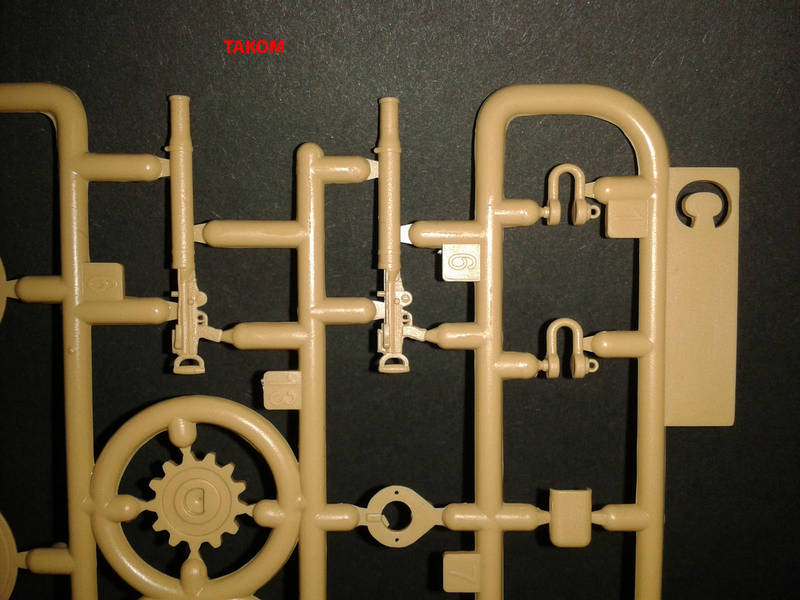
Another difference is the Lewis guns Takom offers a whole gun, while Tamiya just gives the outer barrel attached to the ball mount.
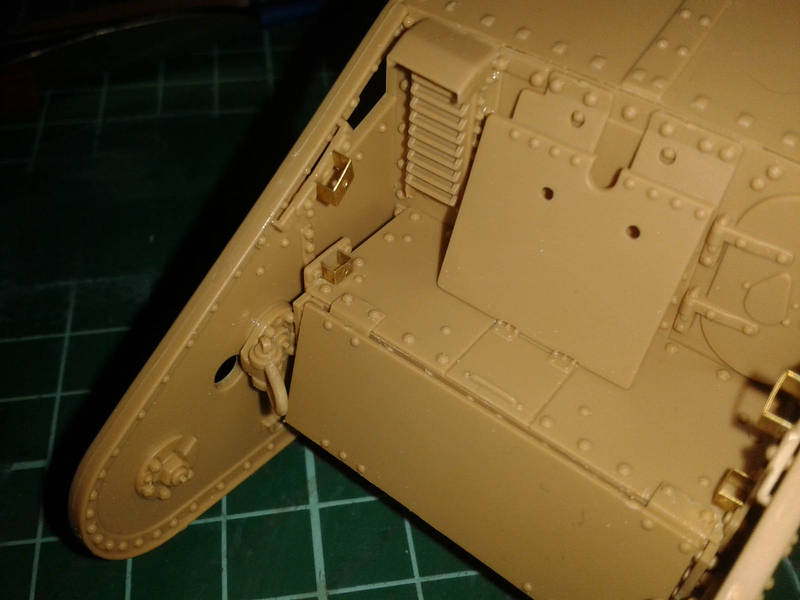
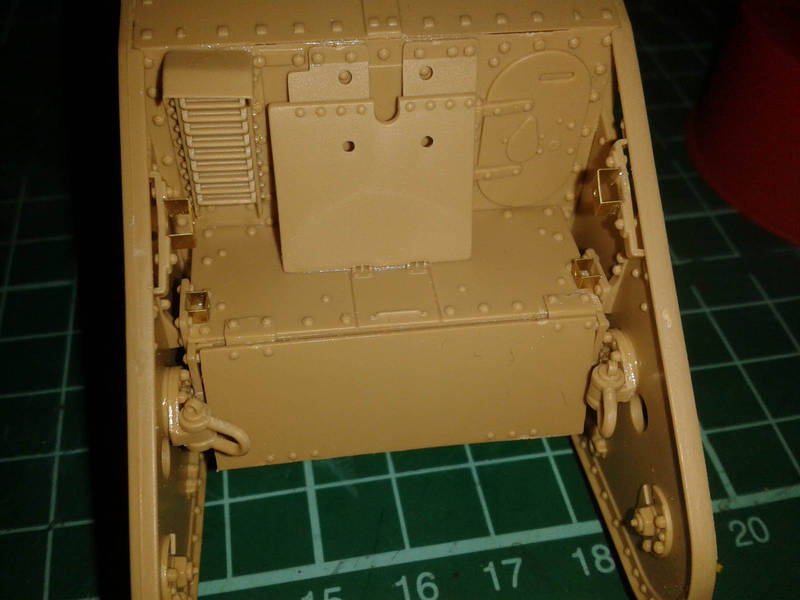
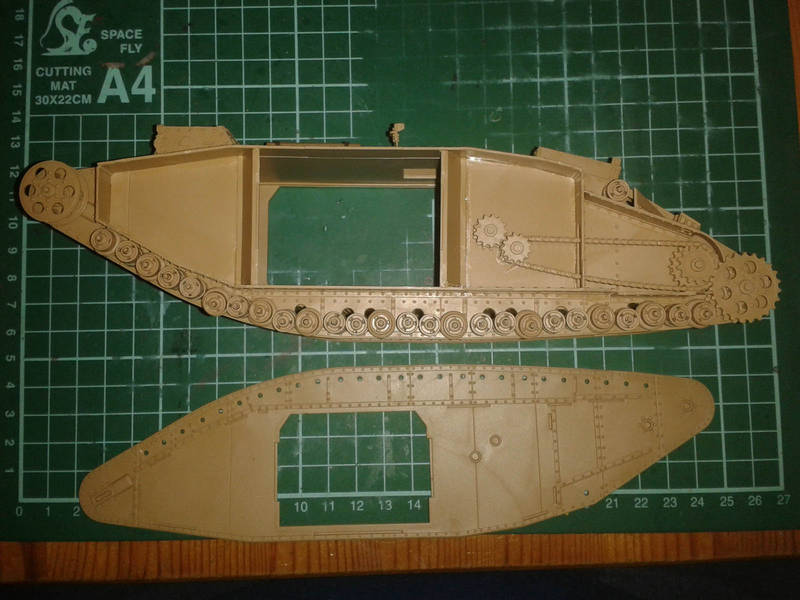
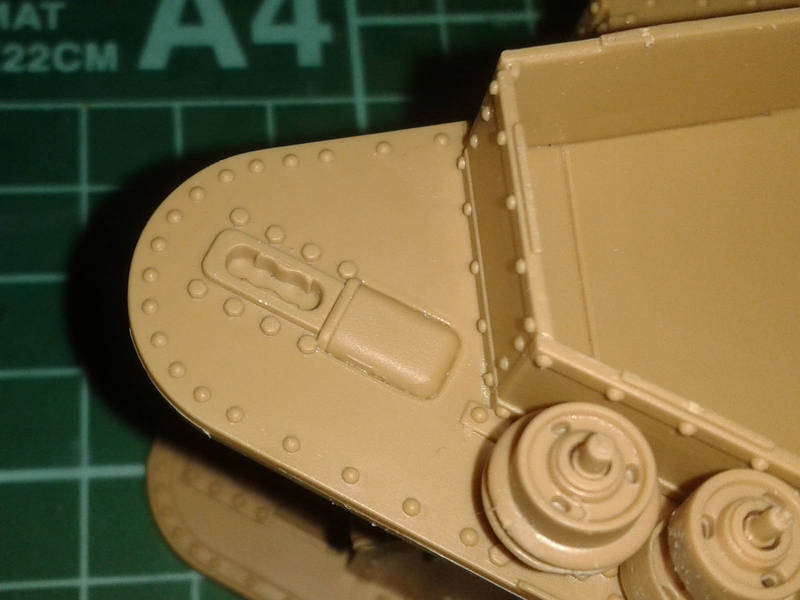
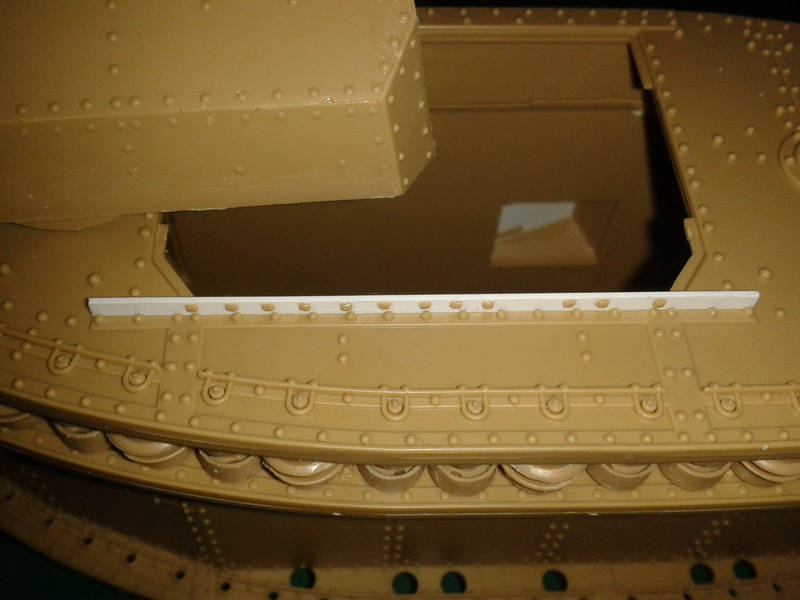
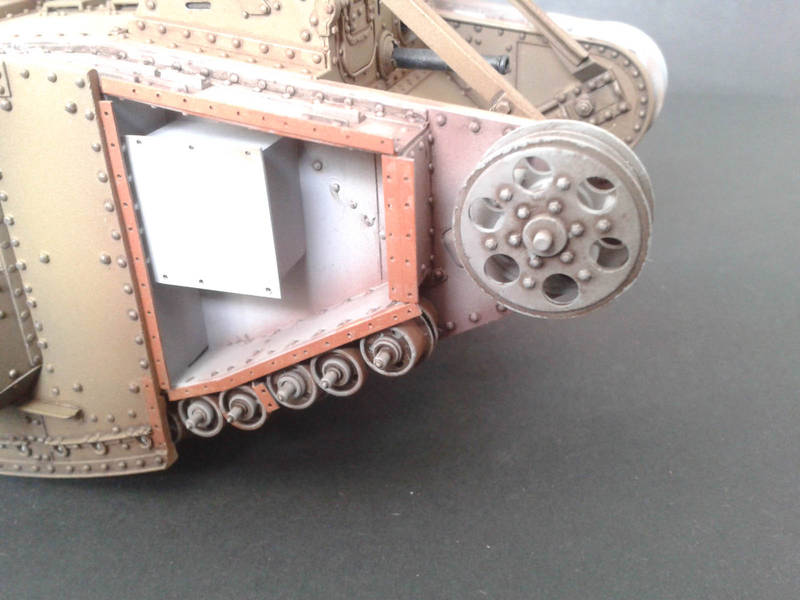
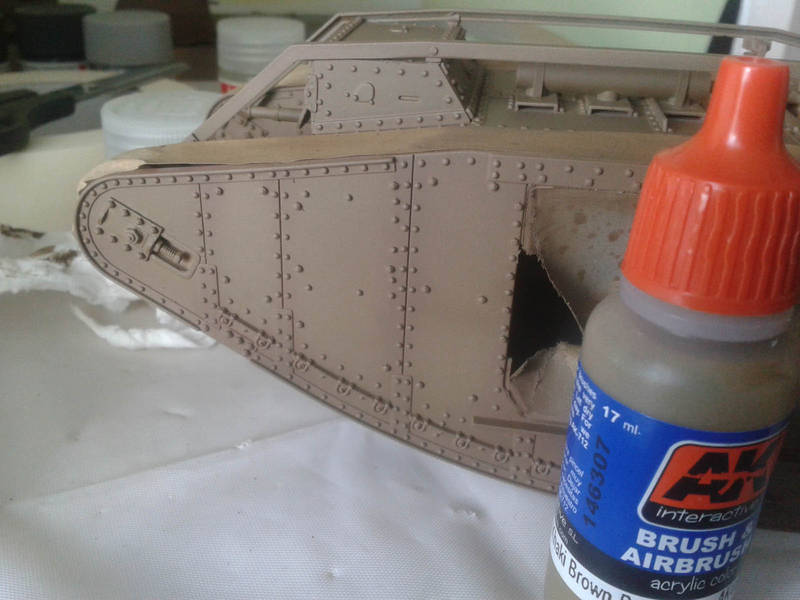
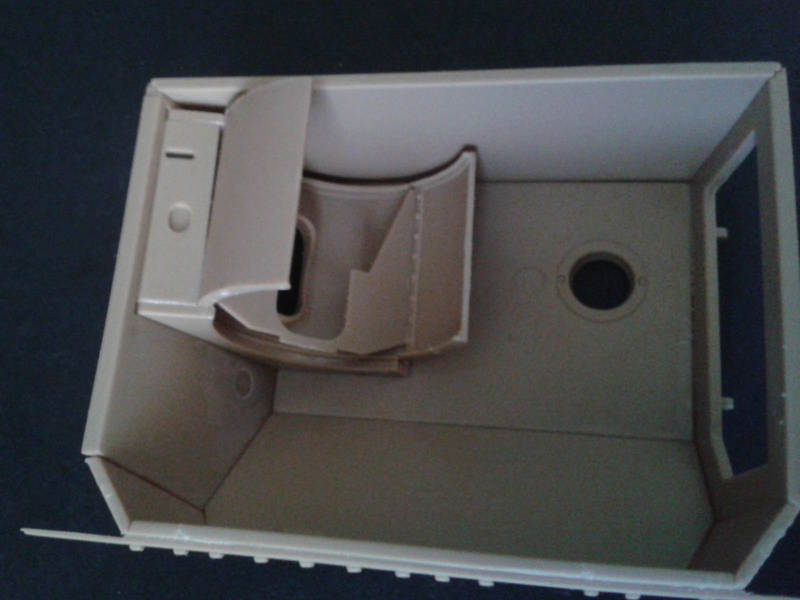
Then theres the rear door, which Tamiya provides as a separate part, but Takom moulded on.
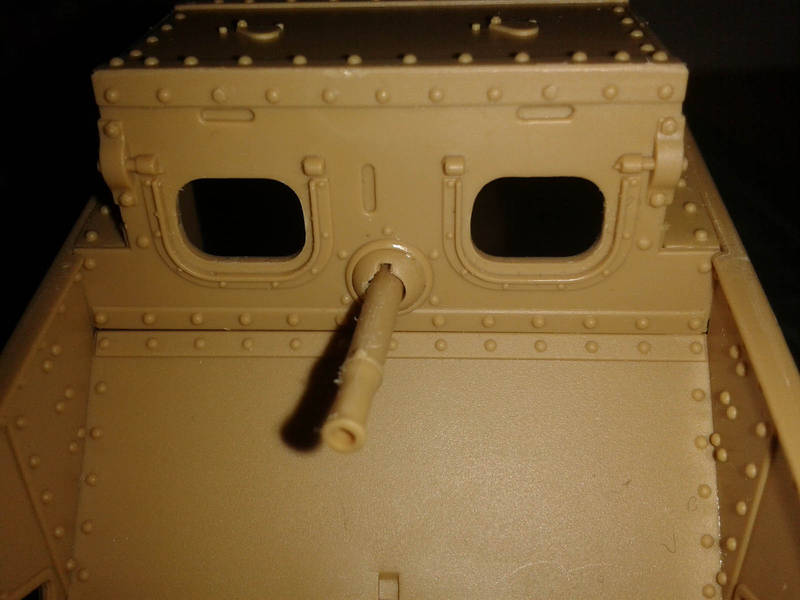
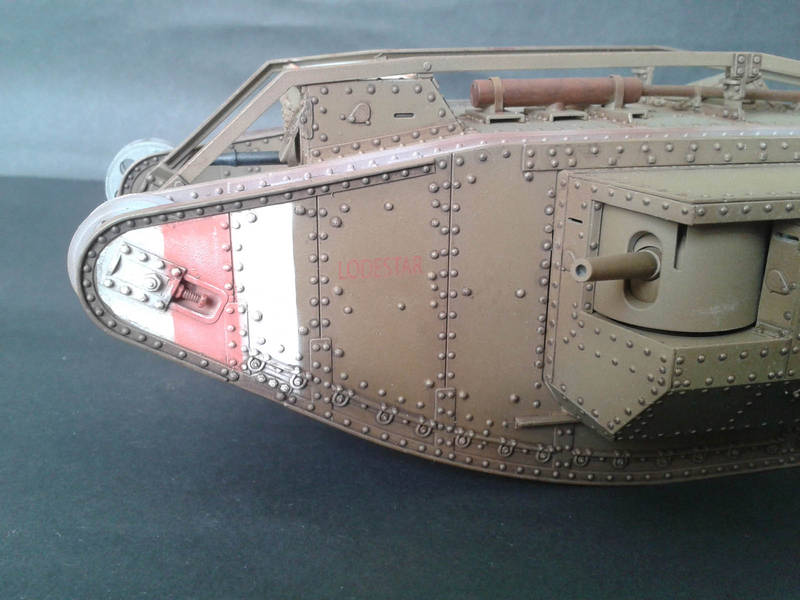
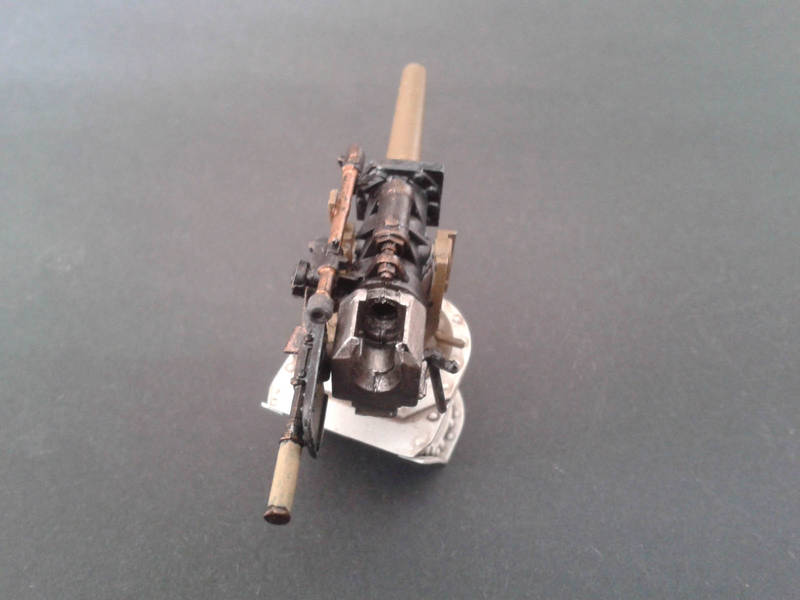
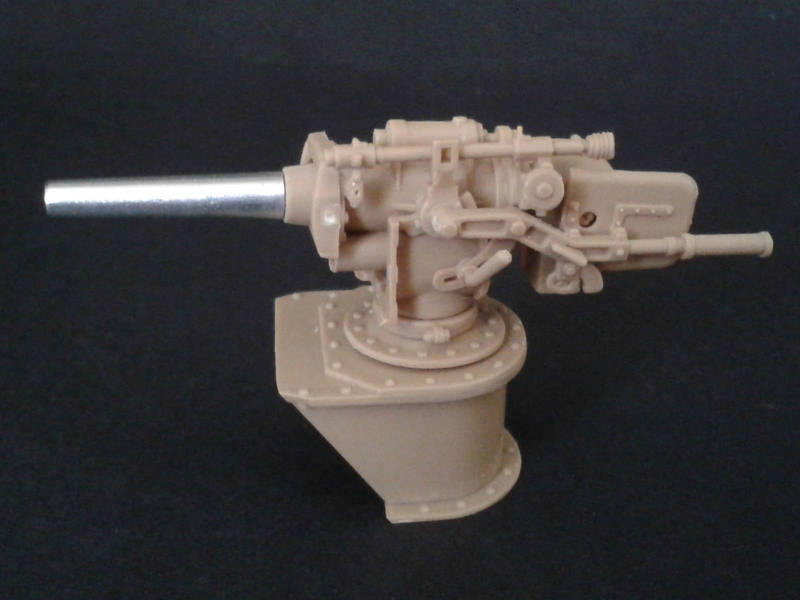
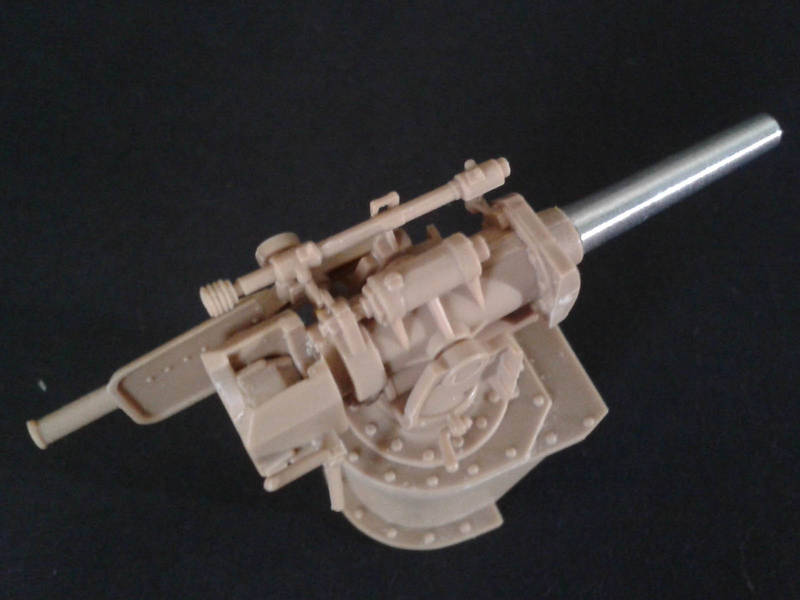
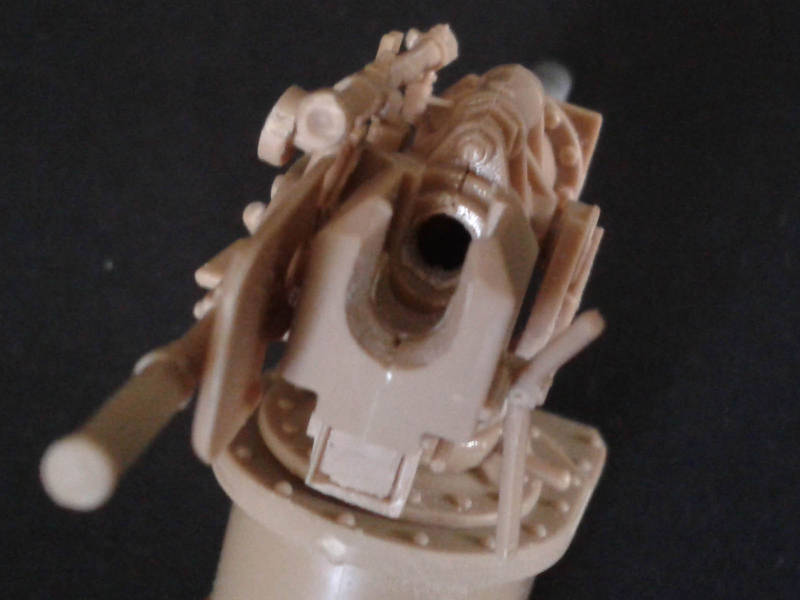
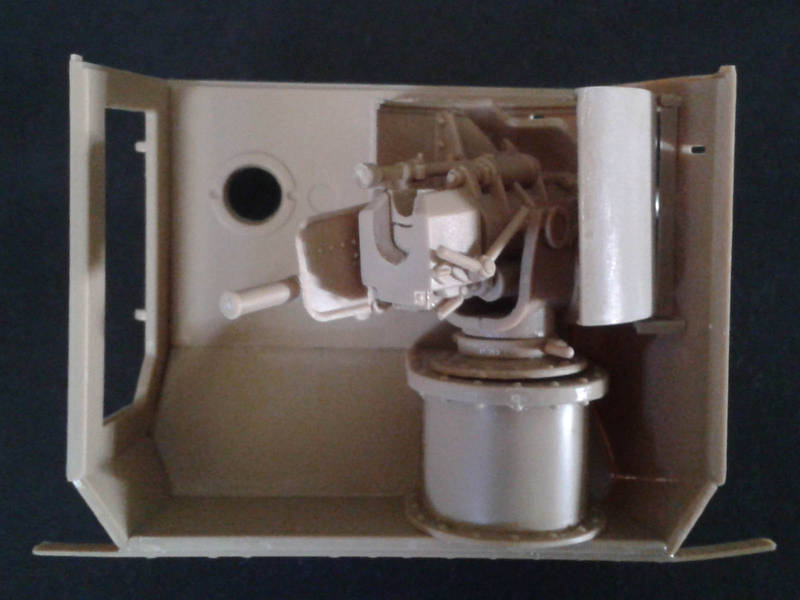
To start the build I went straight to the 6-pdrs. These are very complex little models, with a few very tiny parts. The recoil piston ends under the tube are almost impossible to hold while filing off the sprue gates, while the front bracket for the sight tube is a hoot I discovered it was best to glue it to the back of the shield collar BEFORE attempting to put the sight in place, despite what the directions show. The breach block can be mounted closed or open (the directions only show closed), but I needed to drill out the breach with a 2.5mm bit since it is a solid wall. Note that the breach lever position is different when open see the pics. I added the curved shields to the gun in the left sponson (which is getting entombed), but not the other one (with open breach) which is on display. The curved shield is very fragile, with a thin butt-joint on each side, so it is best to glue on those wings and let them dry before trying to fill the joint or stretch it over the V-shaped mounting plate. While the Takom kit has a metal outer barrel (unlike the Tamiya kit), I understand Takoms new Tadpole kit replaces these with plastic oh well.
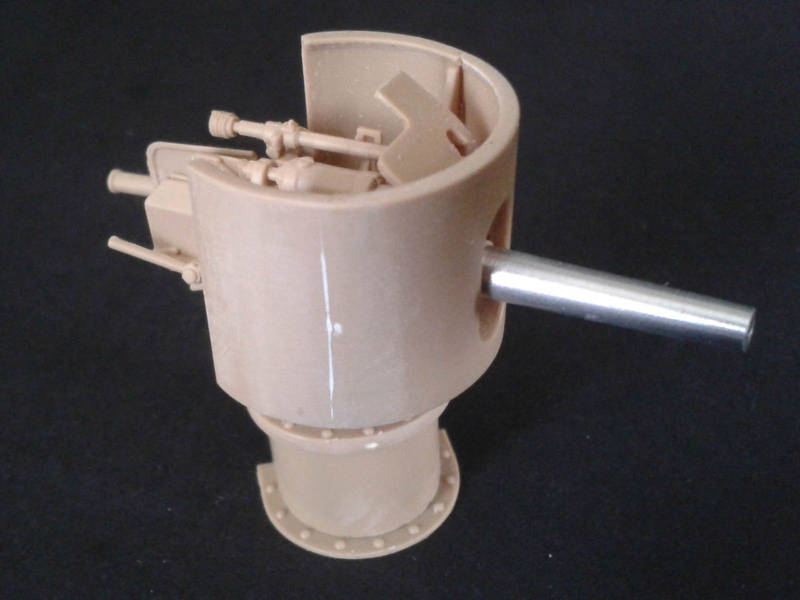
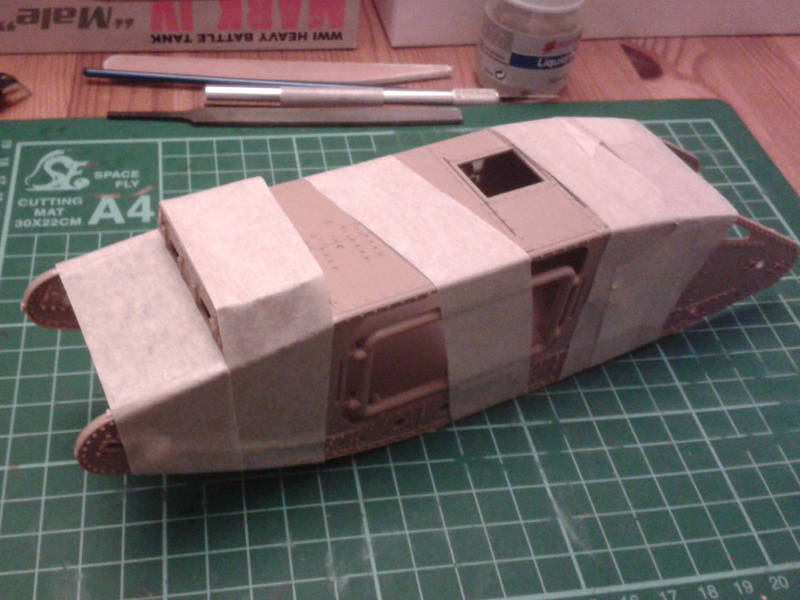
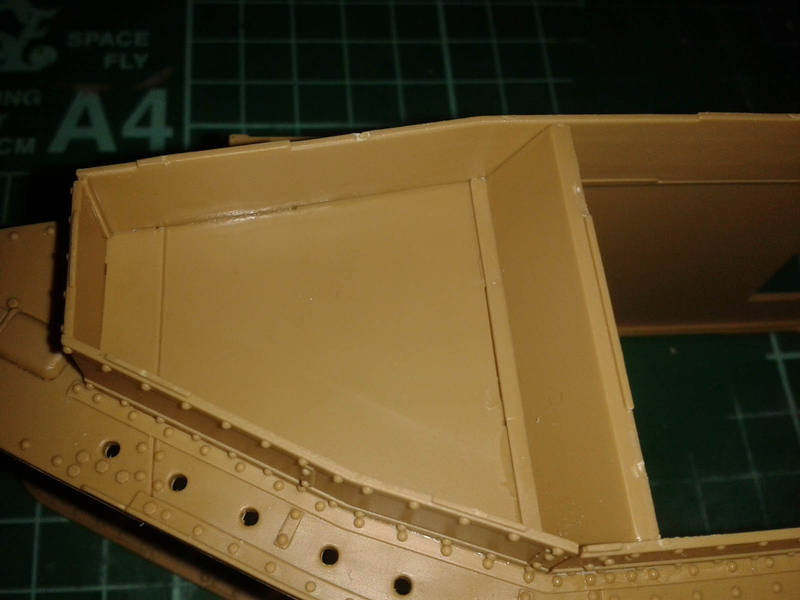
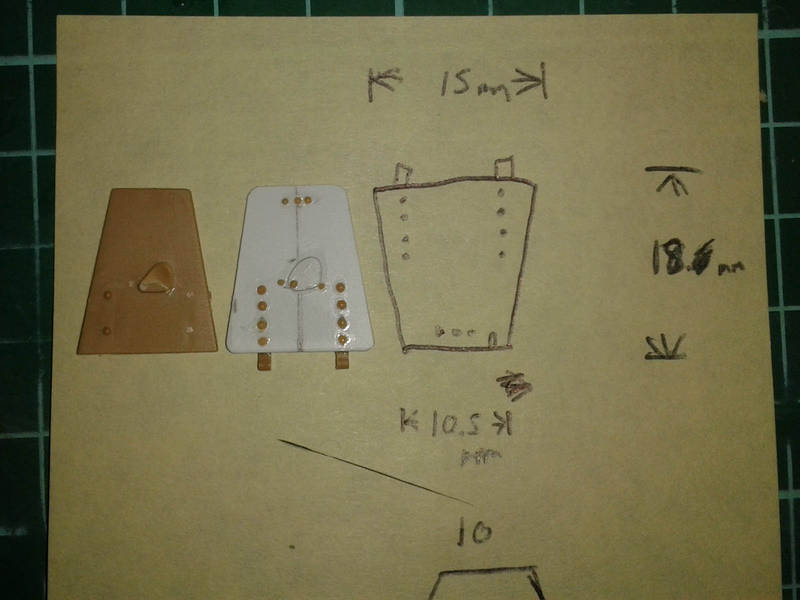
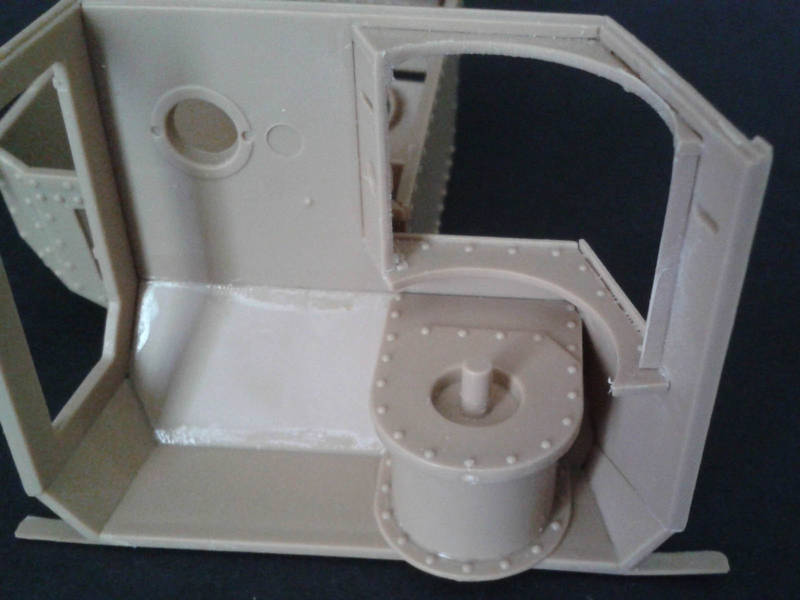
Next up were the sponsons. These are a collection of flat plates that have narrow joining surfaces at funny angles, so it was like wrestling a jellyfish! It took several attempts with the left sponson to get all the parts together the natural set left the back edge of the vertical sides sticking out about 1mm beyond the lower edges, which affects the way it fits the hull side, so be careful to make sure it all fits flat at the back!
With the right-hand sponson I left out the pedestal base for the gun, and it went together a bit easier. If I did one again, Id leave the pedestals out until I was ready to paint the guns, only installing the gun & pedestal after the sponson was painted and ready to be stuck on the hull side. That way I could add the sponson roof when assembling the sides making it much easier to get it all lined up.
Next Ill start on the hull